Gift wrapping.

1

Posted by Lenet Mos

30 December, 2020 - , , ,

Write a comment

Hello sweet Maja fans,

I hope you and your loved ones are safe.

I hope you had a wonderful and happy Christmas , dispite  it was a little differend than normal.

This Is a repost  , It was on the blog earlier but , some how It dissapeared , so here it is again.

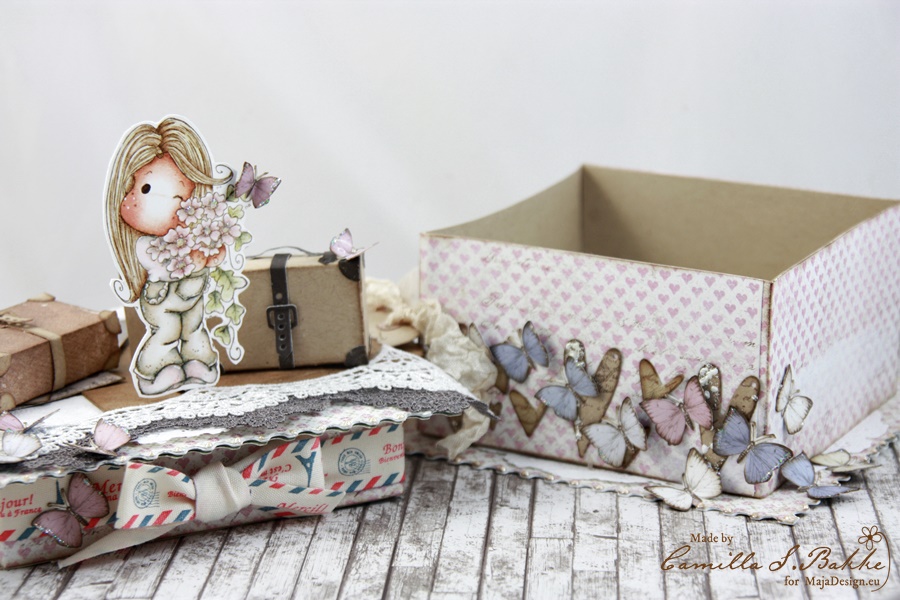
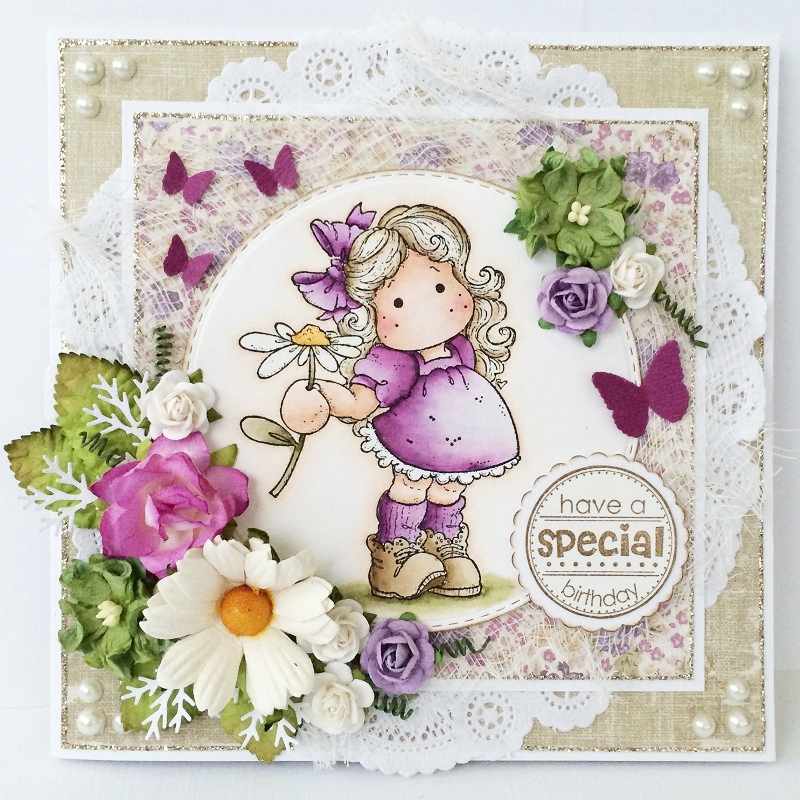
these are 3 gift wrappings I made for christmas presents , I can tell you now it was a great succes. the loved the wrapping as much as the in inside


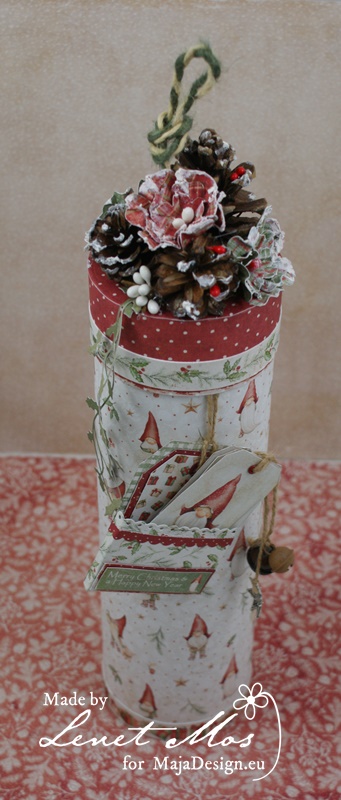
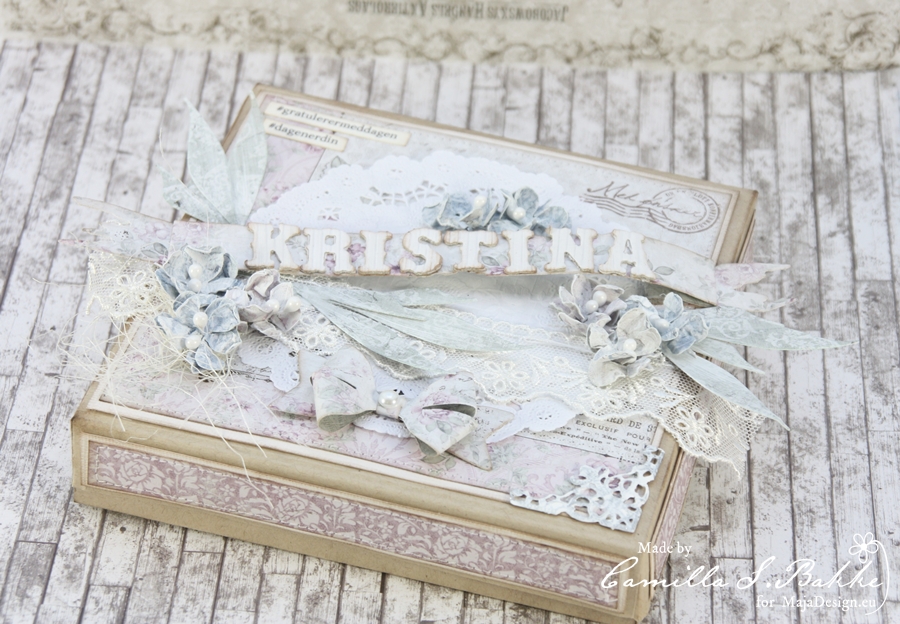
This was an empty container from scent sticks that I altered with the Traditional Christmas Collection.

This is perfect gift wrapping for a small bottle of wine , a nice scarf, t”shirt or something like that.


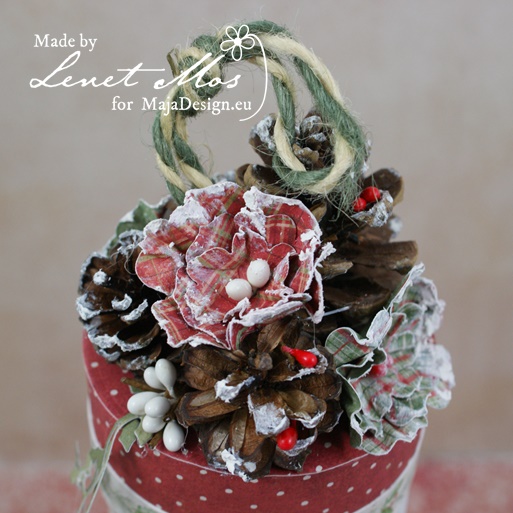
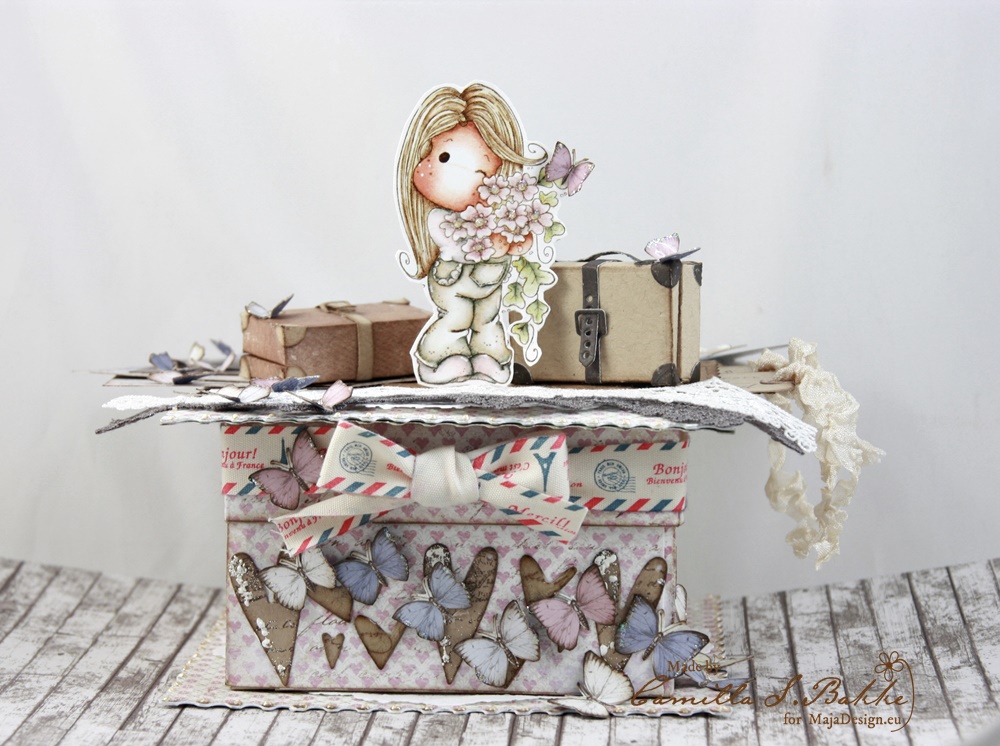
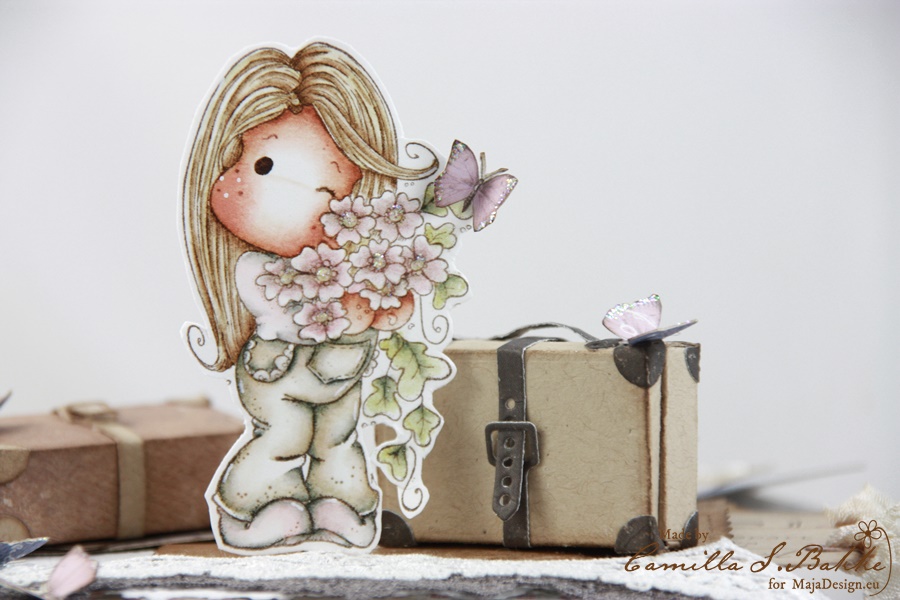
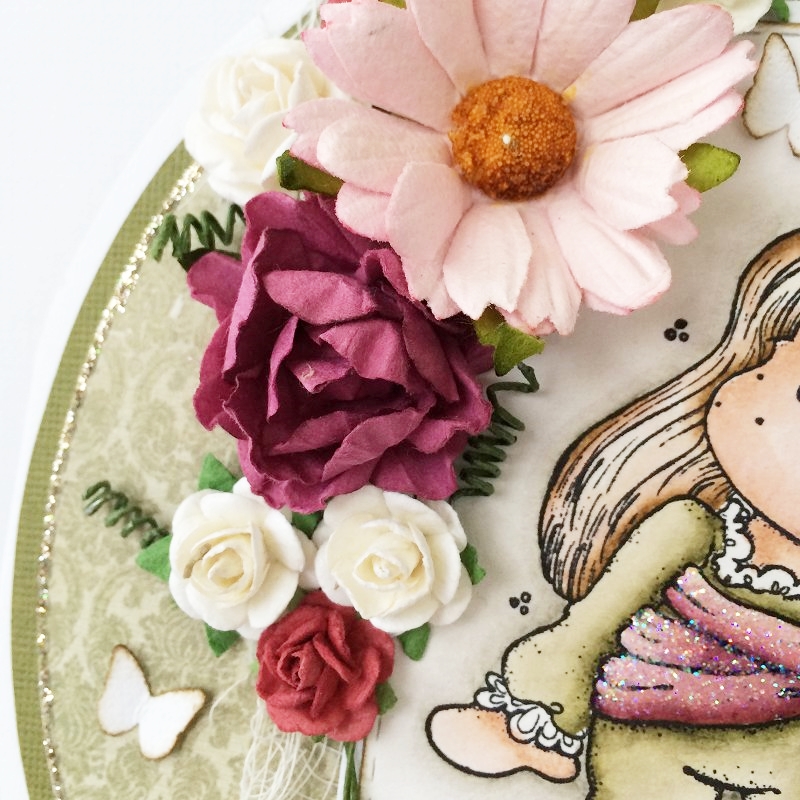
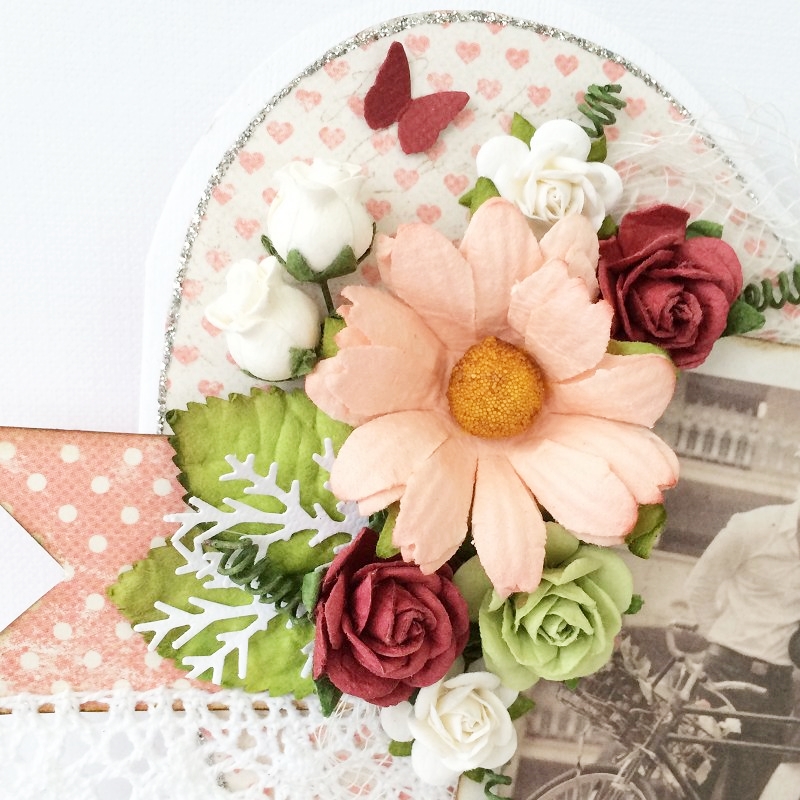
The top of the lid. I made some flowers  using papertrey ink dies.

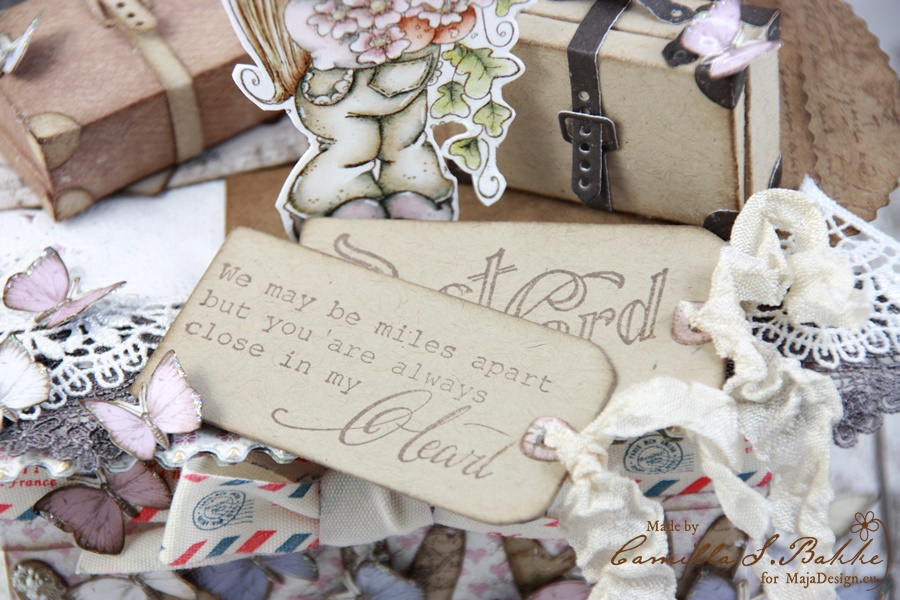
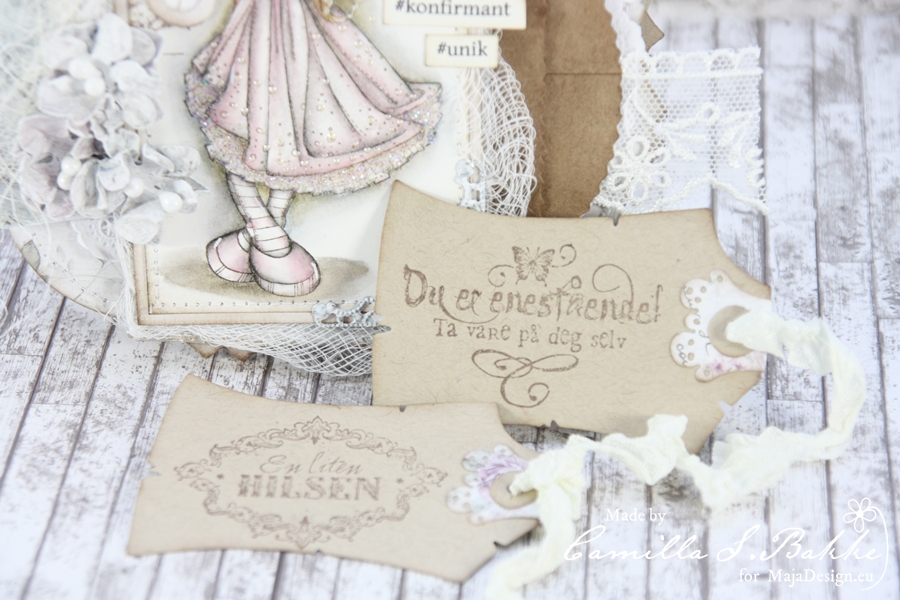
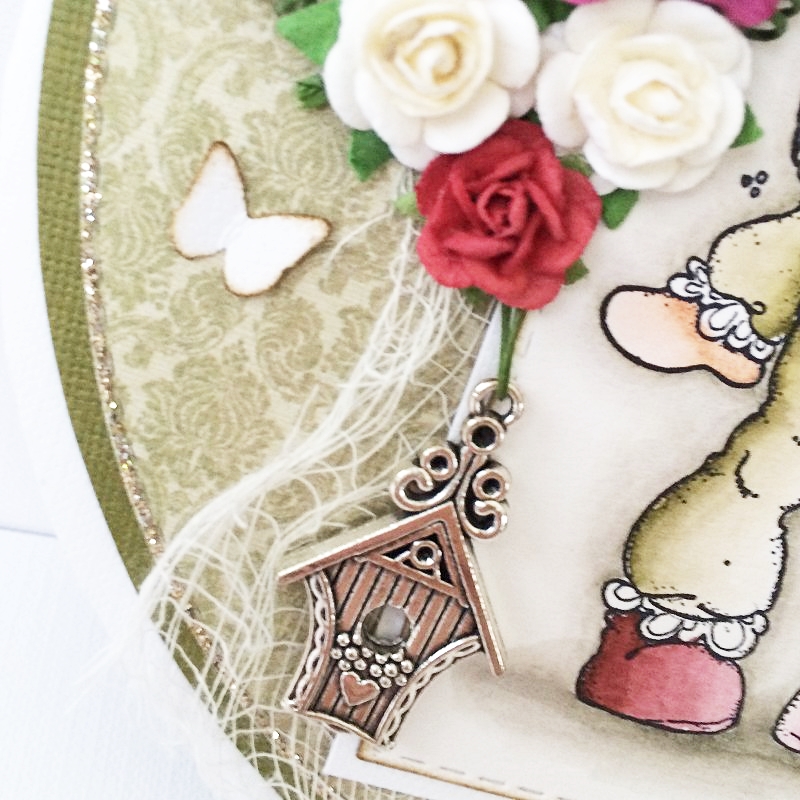
I hang a label pocket with some labels in it for a personal message.. I Looooove those little gnomes.

The pocket label is made with a die from gummiapan.

I have two gamer kids and the both asked game giftcards.. most boring gift to give , but the buy their games digital.

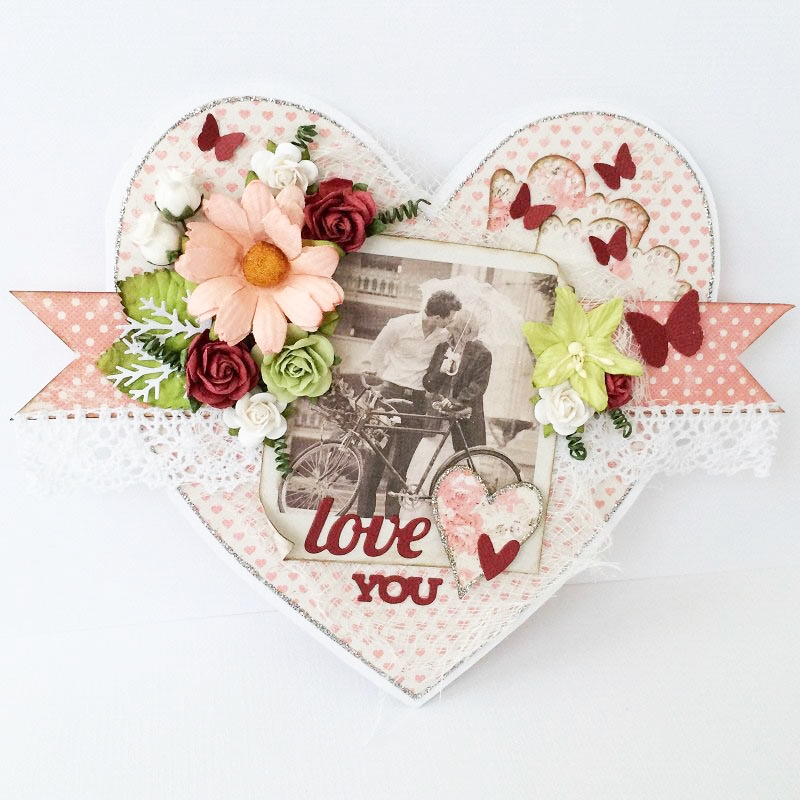
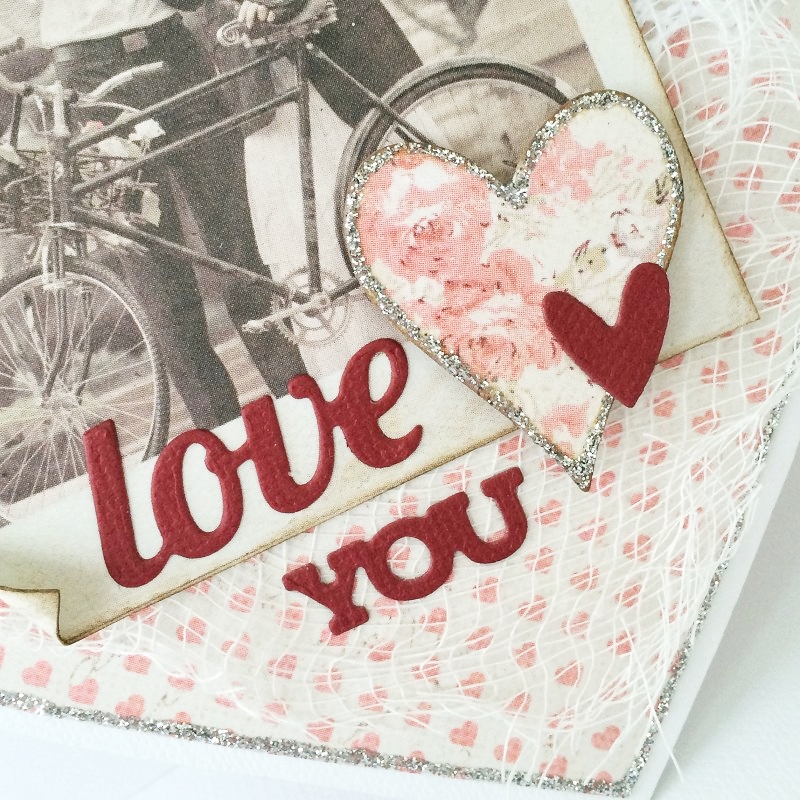
For my daughter I made this card because I bought her gamecard online ,and only got the code so (It’s non essential so not sold in a physical shop. )

I wrote that inside this card and put that in a gift envelope I made earlier.

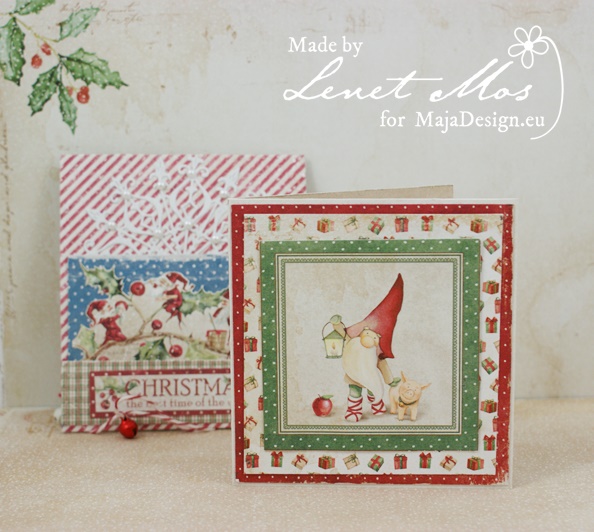
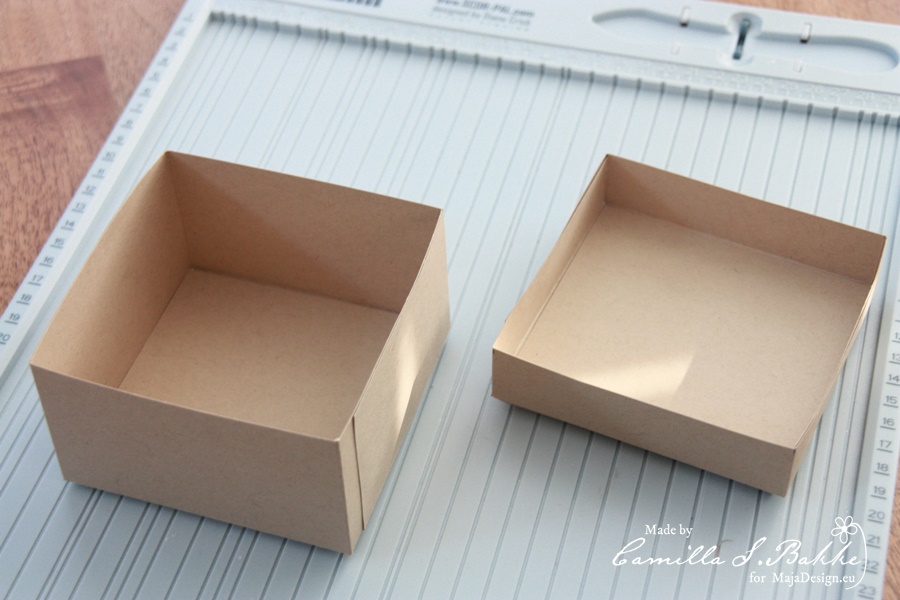
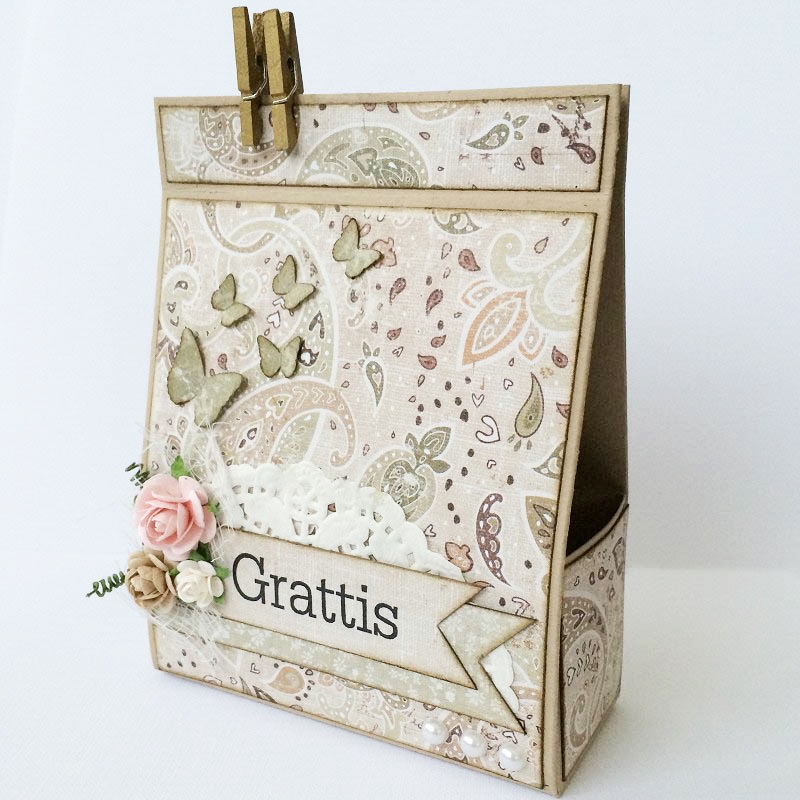
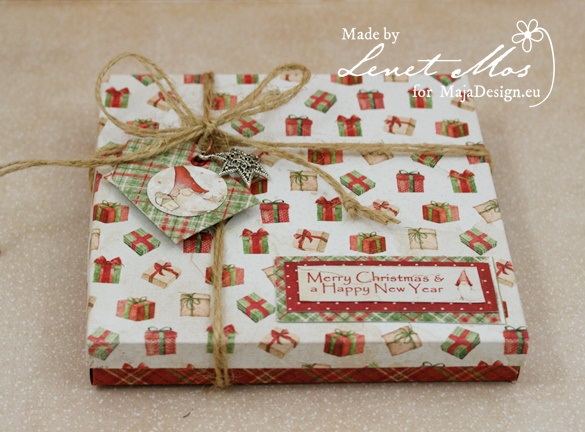
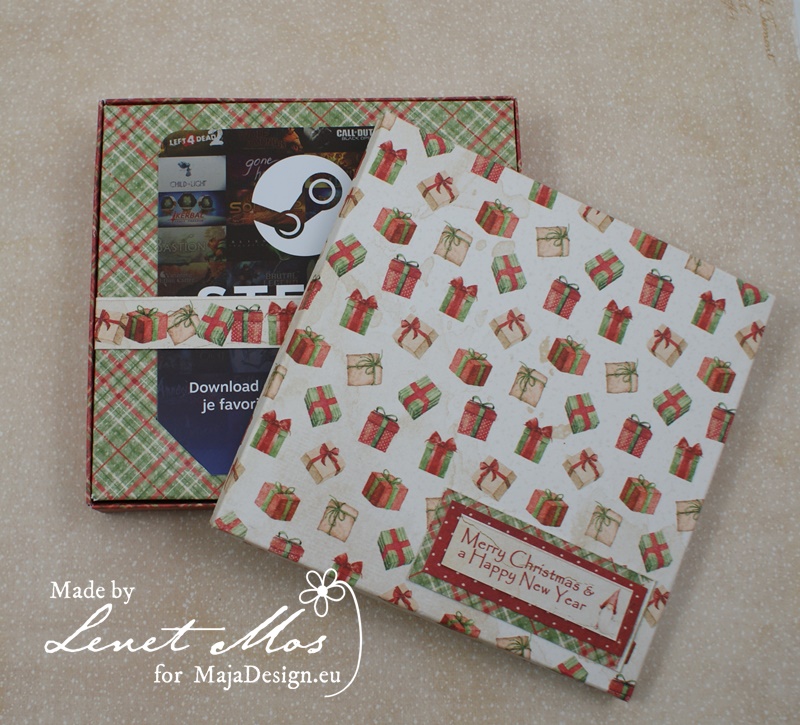
For my son I made this gift card box. His card I bought just before the closed the non essential shops.

On top there is a little envelope with a little card in it saying happy gaming.

This is the inside of the box with the card.

I hope you like what I made for you and that I give you some last minute wrapping inspiration.

I wish you all Happy Holidays and see you next year.  Stay safe.


A gift box

2

Posted by Camilla Støen Bakke

14 December, 2016 - , ,

Write a comment

IMG_5622

Hi there! I will show you a giftbox I made with wonderful papers from Maja Design. It is not Christmassy at all, but I will give you the tutorial on how I made the simple box; and who knows, maybe you want to try to make a box like this in a Christmassy style?! 🙂

1

Cut out two papers measuring 30 x 7 cm. Then fold both at 6 cm.

2

Then fold at 10,5 and 21.

3

Make cuts like this.

4

Then start with the lid on the box. Cut out two papers measuring 4 x 30 cm. Also here fold at 1 cm first.

5

Then fold the other way at each 10,6. This is because the lid has to be a bit larger than the bottom part of the box.

6

Make the cuts.

7

Put the parts together like this.

8

And this.

9

Cut out parts to fasten inside the bottom of the box and the lid. (10,4 x 10,4 and 10,5 x 10,5).

10

Like this.

11

Then use the background die to cut out the bottom part and one on the lid. I use a harder cardboard for this.

12

I also have painted the edges with white Gesso.

After putting the parts together and decorate them with beautiful Maja Papers, I have decorated the box on the top with different elements made with DooHickey dies from Magnolia (Vintage Box vol 3). I will show you some details:

IMG_5439

I just felt I had to decorate the whole box with butterflies:)

IMG_5466

The lovely photos and letters are also Maja Design papers.

IMG_5646

Here with the lid taken of.

IMG_5649

Beautiful sentiment <3

IMG_5655

I have used this beautiful collection for my project:

Coffee-in-the-Arbour

And here are the papers:

I have also used three sheets from this stunning collection:

Vintage-Summer-Basics3

Here they are:

Thank you so much for visiting today! Wish you all a wonderful Christmas, untill I am back for a new post the 28th of December.

Hugs,

Camilla

A confirmand card and a giftbox

1

Posted by Camilla Støen Bakke

20 April, 2016 - ,

Write a comment

Hello! Hope you are fine. Last week I got the most wonderful papers in my mail!! And since it is time for confirmations here in Norway, I have made a confirmand card and a box to put it in.

IMG_1410

Yes the papers are from the beautiful collection called Vintage Romance. I will show you the sheets I have used on my project further down in my posting. But here you see a glimpse of all the sheets ♥♥♥

Vintage-Romance-P

The image is from Saturated Canary, and is called Nevaeh. I have coloured her with Distress Ink, reinkers and Markers.

IMG_1393

I have made the flowers myself. I have used a flower die from the DooHickey Club Magazine vol 4. Sprayed them with water, then curled them up. Leting them dry, before I painted them briefly with White Gesso.

I used these three lovely shees for my flowers.

Here you see a closeup of three of them. I have used white pearl stamens from WOC to put in the middle of the flowers.

IMG_1451

For the leaves I have used the sheet To be with you. The greenish colour on the paper is perfect for any leaves and grass.

To be with you

The tags are cut out with the Magnolia die called Tilda Tag. I have used Kraft paper and the paper “Walk with me“. The text is from Stempelglede (Just a note). The ribbon is Vintage Seam binding from WOC, sprayed with water, curled and let to dry.

IMG_1416

The box measures 16 x 16 cm.

IMG_1420

I have used the same flowers on both projects. The letters on the box are made with a Sizzix die on white corrugated paper. Also the paper ribbon is made with a sizzix die.

IMG_1447

Here is a closer look on the box. I have also decorated the sides. All papers are inked with Distress Ink – Walnut Stain, and sewed with my sewing machine.

IMG_1429

A closeup, and you might see lots of glitter on her dress; and Liquid pearls in her hair and on the dress. The texts are written on my computer and printed out on Canson water colour paper 200g.

IMG_1465

And here are the other beautiful papers used on my projets:

Thank you so much for visiting! Wish you a lovely day ♥

Hugs,

Camilla

Guest Designer Malin Ellegaard

0

Posted by Carita Ruckman

11 January, 2016 - , , , ,

Write a comment

Hello there!

My name is Malin Ellegaard and I´m 42 years old. I live in Sweden with my partner Peder and our 3 children.

Malin-Ellegaard
I´m  SO honored to have been asked to do this Guest dt post for Maja design.
I have been scrapbooking since 2007 but I got more in to it in 2010 and I just LOVE it!
I love this little romantic and cute style and I guess you will see that in my projects to. I have made 3 cards and a little gift box for you and I hope that I in some way can inspire you with them.

Malin Ellegaard (3) Malin Ellegaard (4) Malin Ellegaard (5)

In my first 3 objects I have been using Maja Designs paper from the collection “Enjoying Outdoors”, I love the soft color in this paper. I usually use about 2-3 paper in the same project from the same collection because I think the paper are so adorable that I want to be able to see the pattern on them on my project and not just cover upp by flowers, stamps and so on.

Malin Ellegaard (1)

I made the little gift box very simple, I like this clean and simple style to and when I have small pieces of papers left I usually use them on clean and simple projects. I think that is perfect since I don´t want to throw any pieces of papers away. On this one it was perfect to use the small pieces to do some pennants of for my project.

Malin Ellegaard (2)

Malin Ellegaard (14) Malin Ellegaard (19) Malin Ellegaard (18) Malin Ellegaard (17) Malin Ellegaard (16) Malin Ellegaard (15)

Enjoying-Outdoors-P

In my last project I made a valentine card with a heart shape, since it is soon valentine I thougt it vas a perfect project to do. I have in this card been using paper from the collection “Summer Crush”, again I just love this papers since there are so soft and nice colors in them. I also love when it sparkle on my project so I often use a lot of stickles, pearls and so on. I think it does so much for the card when you can have it sparkle a little bit.

Malin Ellegaard (6) Malin Ellegaard (11) Malin Ellegaard (10) Malin Ellegaard (9) Malin Ellegaard (8) Malin Ellegaard (7)

Summer-Crush-P

I hope you enjoyed the projects.
Hugs

Malin-sign