Champagne in the Summertime

2

Posted by Silje Kristin Aunan

24 July, 2016 -

Write a comment

Hello everyone 🙂

Today it is finally time to share my first project created with the new collection to Maja Design, Summertime <3 

This is a delightful series of sheets that remind us of the summer. It brings up memories and makes us think about what we will do this summer. I have used the new sheets to decorate a small bottle with Champagne, placed it in a wheel barrow and the only thing I can think of is summer evenings with good friends, wine and strawberries <3

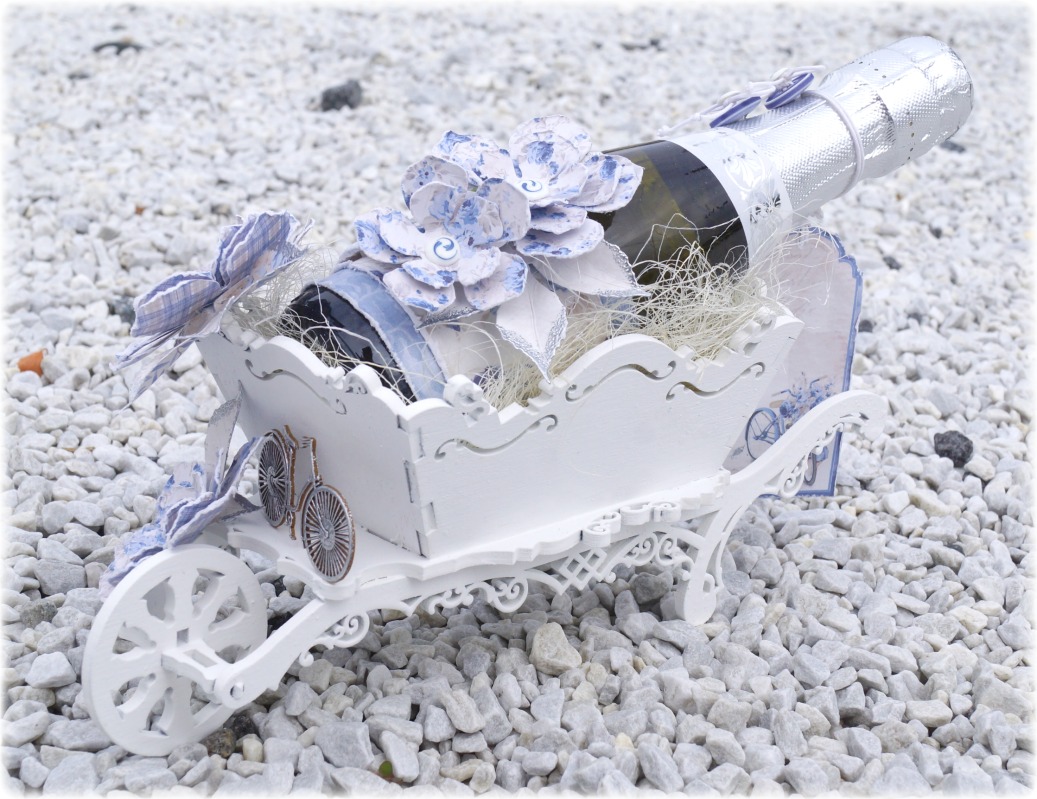
I have for a long time have the wheel barrow from Wycinanka, until the new sheets came from Maja Design, it have just been waiting for me to get an idea for what I whant to do with it. So I painted it white, before I started with the details. 

I have used several sheets from Maja Design, both from the collection that are 12×12 and 6×6. 
I have used these blue sheets from the new collection: 
Is My Favorite, Gives Me Joy, Glittering Water and By The Sea

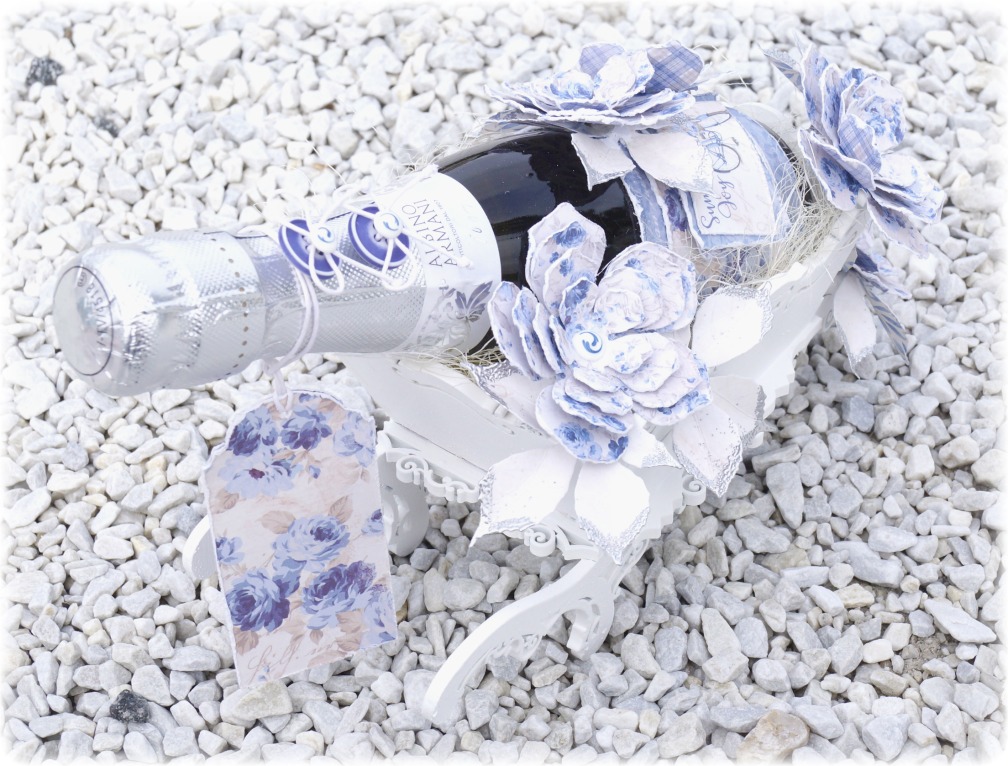
The bottle I have decorated with a label with a bike on, just to remind us abute lazy summer days.

On the bottleneck I have attached two buttons with a bow.

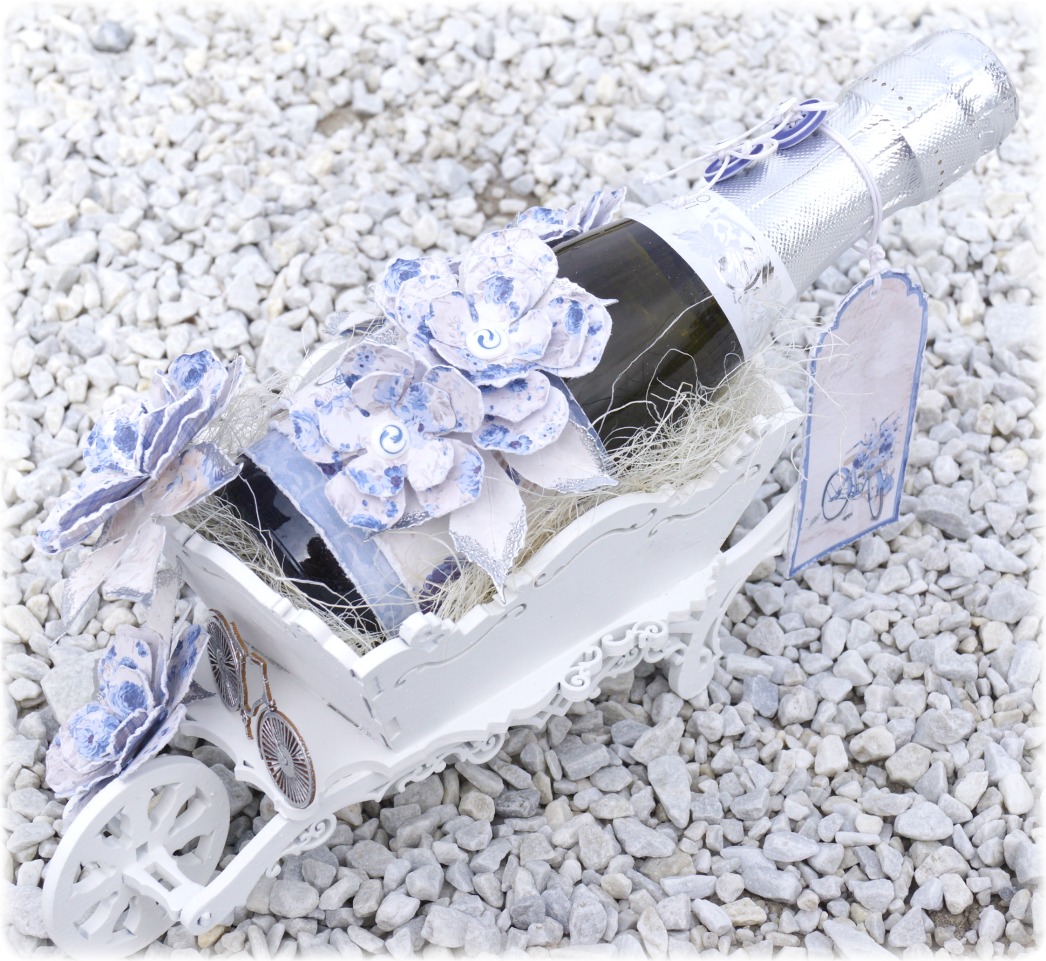
All the flowers are put together with an unknown dies and the leaves below is embossed with embossing powders in silver. 

Half pearls that I spent inside the flowers and on the buttons I’ve made myself with Nuvo Crystal Drops.

I have also chosen to place a bike on the front of the wheelbarrow, this is also embossed with silver and comes from Wycinanka.

In addition to the buttons on the bottleneck I have also attached a tag, here you can write a summer greeting if you will.
SiljeKristin-sign

Summertime!

4

Posted by Amy Voorthuis

18 July, 2016 -

Write a comment

Goodmorning lovelies,

Are you all enjoying your summer? Well for me that starts in little under one month, hopefully all will be better in Turkey by then as we leave to go on our vacation. For today I would like to show you some more projects showing of the newest “Summertime”collection! I am not sure what it is but this is such “must create” with collection that I just can’t put my finger on it hihihi. For my projects I used all pretty dies by Cheery Lynn Designs what better way to show off that gorgeous collection right?
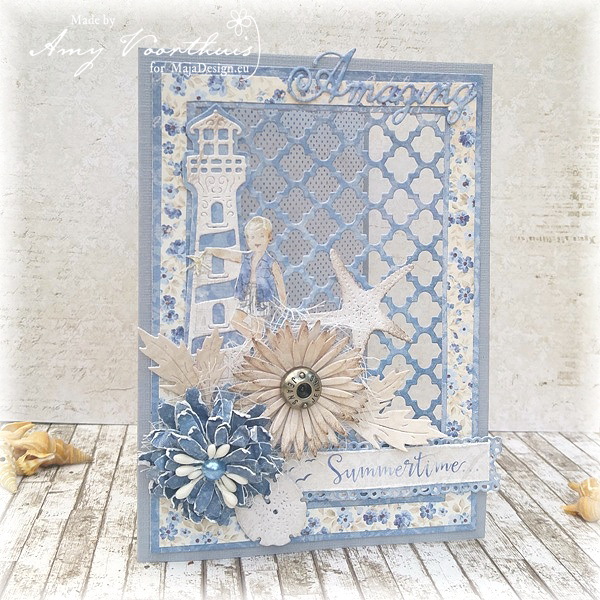
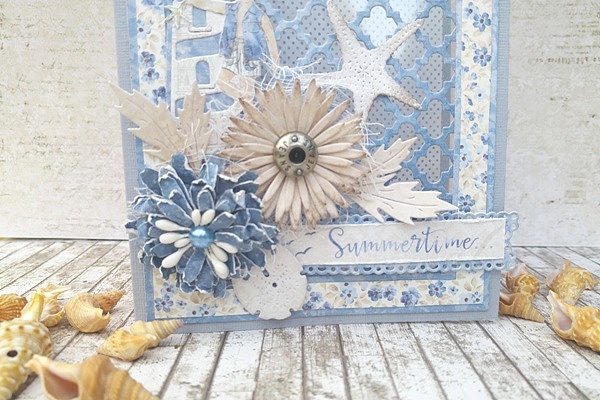
Amazing Summertime:

20160709_074140_HDR

As you can maybe see this card looks a lot like the card on my last post but only here I used a different color scheme more of a beach feeling. The pictures in this collection are super cute that it draws you to fussy cute them and create any kind of project with it.

20160709_074145_HDR

20160709_073955_HDR

Maja Design papers used: Only the blue and creme papers plus the 6×6 paper pad & It’s my favorite, Cute summer dress, Playing at the beach bs, Glittering water, Having fun bs, Wind in my hair bs.

Summertime-P

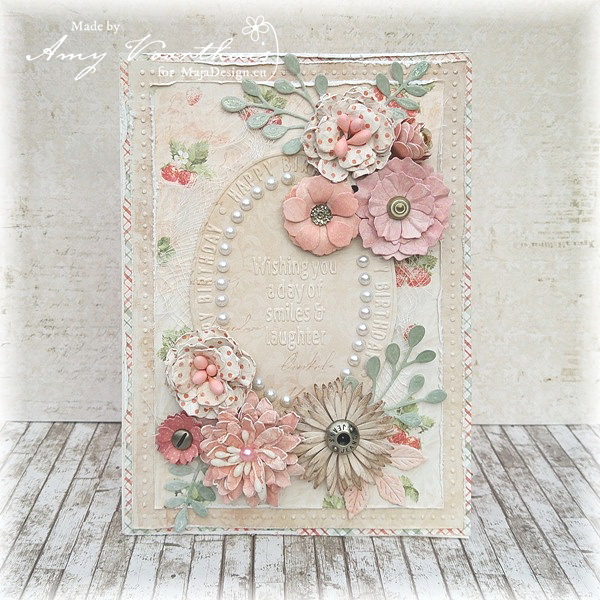
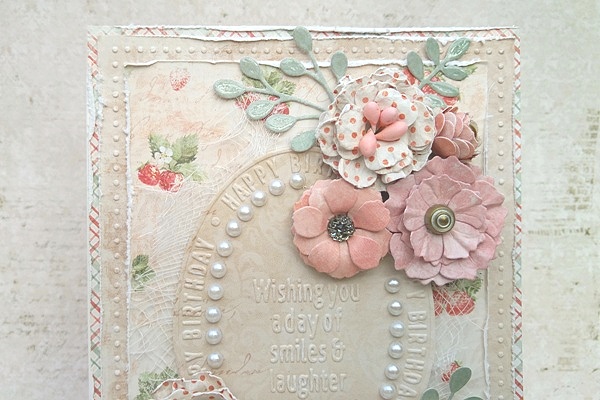
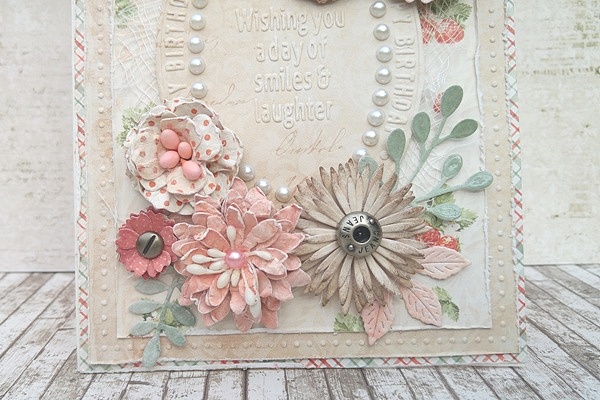
For the other card I used the other pretty colors in this collection and made a birthday card which is a very large card by the way the flowers on this card are also handmade. And I used a pretty new embossing folder and lots of dies. I am very pleased with how both cards turned out so very differently while using the same collection.

Happy Birthday: 

20160709_191457_HDR1 (1)

This card was made with lots of layers as you can see and I probably used all the papers in this collection for the flowers. For the flowers I mostly use scraps because then I use my scraps because when I don’t the pile of scraps will become massive. What do you do with your scraps I wonder???

20160709_191509_HDR

20160709_191503_HDR

Maja Designs papers used: Only the red, pink, green and creme papers plus the 6×6 paper pad & Wind in my hair bs, Taste the strawberries, Light scarlet, Taste the strawberries bs, Flowers everywhere bs, Is always the best bs, Is always the best, Greenery bs.

Summertime-P

Thanks for being here with us today and I hope you will visit my blog later today ==> “HERE” <== for your chance at winning this gorgeous collection….. next time I will have a layout to show you 😉 have a lovely weekend everyone!

Hugs

4

Flowers for you

1

Posted by Camilla Støen Bakke

17 July, 2016 - ,

Write a comment

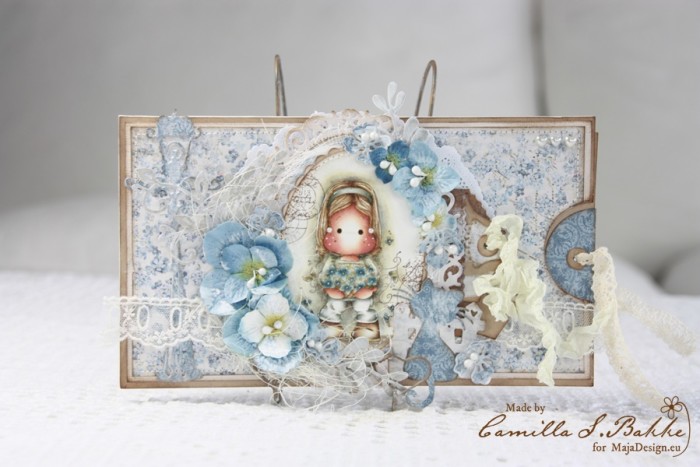
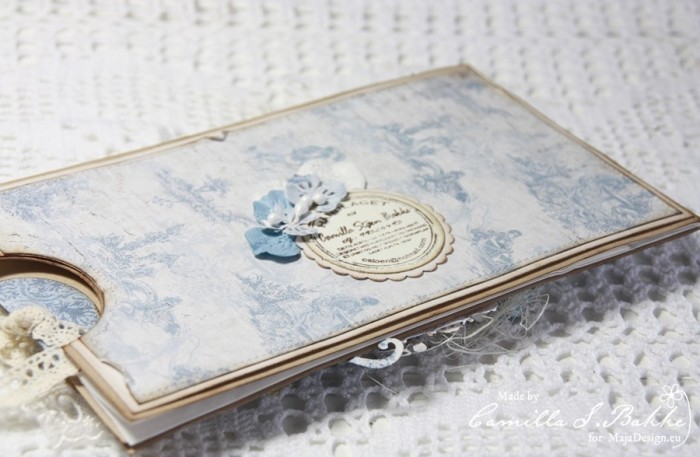
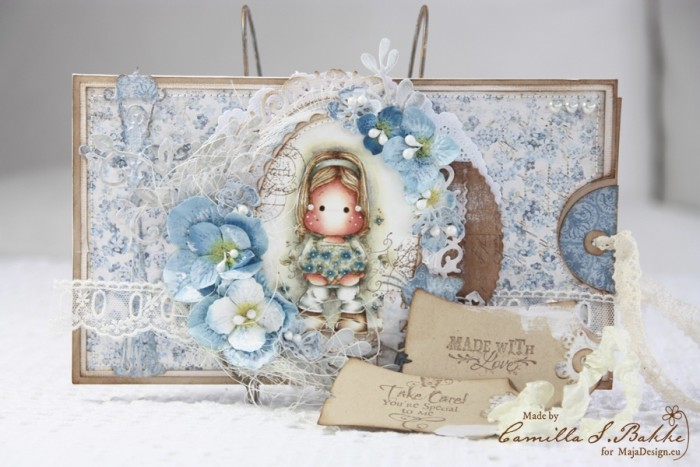
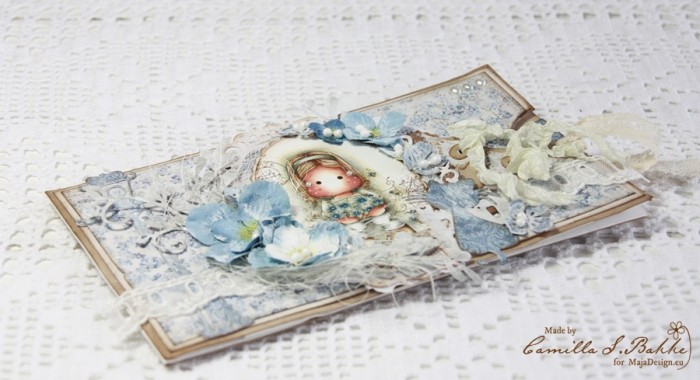
Hello beautiful crafters! It is Camilla here today showing you my latest card/decorated paperbag. I have used beautiful blue tones from the collection Vintage Romance.

IMG_3298

Vintage-Romance-P

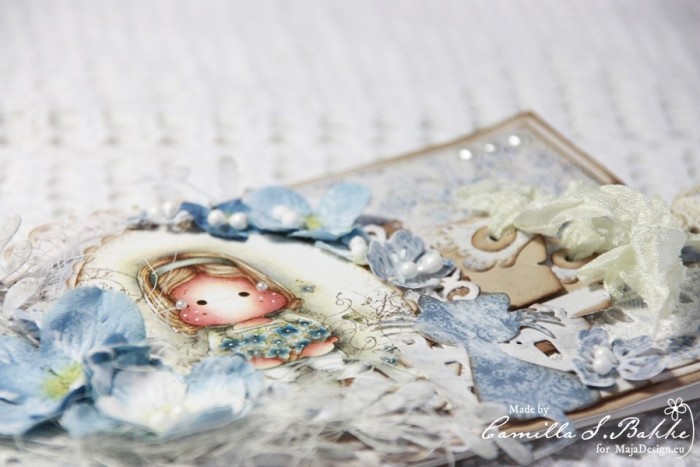
The image is from Magnolia’s latest collection, Sea Side Collection 16, and is called Tilda with an armful of flowers. I have coloured her in the same tones as the papers. And used my Distress Ink reinkers and markers. I have used weathered wood for her clothes and faded jeans on the flowers,-this as main colors, then I have used different other colours to make more life into the cute Tilda.

IMG_3261

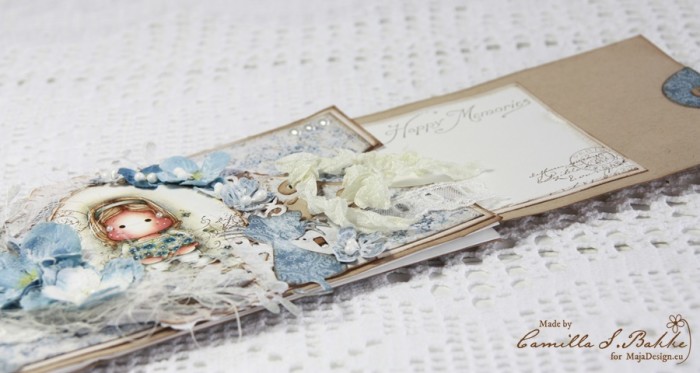
As I told you, I have decorated a paperbag. But I have left it flat, as a foldercard, and made a card inside, to write the greeting on.

IMG_3321


The back is quite simple, only my name stamp and some flowers. But the pattern paper is so beautiful in itself 🙂

IMG_3268

Here you can see the two tags (used the die: Tilda tag from Magnolia). The beautiful texts are from Stempelglede.

IMG_3317

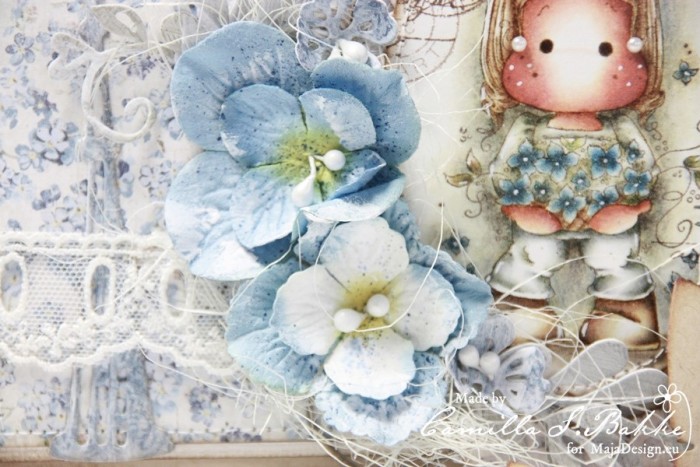
Lovely blue flowers matching the flowers on the image are from Prima. I have added some White Gesso on to them.

IMG_3290

I have also made some small flowers myself using beautiful Maja paper and a DooHickey flower die.

IMG_3310

Love how the cat is looking at little Tilda 🙂

IMG_3323

Here is the list of the papers used:

Thank you so much for visiting today! Wish you a lovely day!

Hugs, 

Camilla


Wedding Cards in Shabby Chic and Vintage

2

Posted by Silje Kristin Aunan

3 July, 2016 -

Write a comment

Hello all you wonderful people <3

Today I want to start my blog post by telling you how wonderful you all are <3 <3 <3 Whatever you create with your creativity, you are all great on your own way <3

Today I am ready for a new blog post for Maja Design, one card in Shabby Chic and the second card is in Vintage. This is the first offcial cards I created for Maja Design, I’ll be honest with you, I’m a little nervous, since card maiking is ot my strongest side.

Since I only think of wedding constantly, I have made two Wedding Cards I will share with you and both made with the Vintage Romance collection.

Both cards are punched out with a dies from Go Kreate called Frilly #7

The biggest part I’ve also cut out a square of white card which i have attached with double-sided tape on the back side. This I have done because the back of the card should be completely white. I also cut out two smaller squares that one can write a greeting on, but because it will be easier to write on these when it is not on the card, I have not attached the little card on the back of the card yet.

All the layers are built up with 3D foam pads and in all corners, I have two sets with 3D foam pads.

The card in Vintage is made of brown and bright tones.

When the cards was built up, I have used two oval dies from Sizzix, in between these two layers, I’ve attached one lace before I put them on the card with 3D foam pads.

The Dies with the text Bride and Groom is a dies from kaBoks. Here I first cut it out in moss rubber and then paper. The one in paper I have embossed with Walnut Stain from Distress Ink, before I put them on the card.

On the card I have used several different flowers in white tones and in between all the flowers I have used frosted berries in brown. The flowers I have used are from Wild Orchids.

The leaves I have used are punched out with a dies from Impression Obsession Rubber Stamps. I have used the same brown Embossing powder on the edge of the leaves.

Up in one of the corners, I have used white ribbon and a brown button with a bow.

The second card is the same card just made ​​in Shabby Chic.

I’ve used the same Dies on this card. But instead of using embossing powders in brown, I have used Weathered Wood from Distress Ink. This is a great color, that match the pink and the bright tones that this card is built up with.

The flowers I have used are from Wild Orchids and in between them, I have used pink frosted berries.

I’ve tried to make the cards so that the details are placed opposite on each card.

Rather than using a button in brown, I have used a button in gray on the top of the card.

What I think is so nice with the sheets from Maja Design, is that you can use multiple sheets to the same project without having to be afraid that it does not fit together. Therefore it is always so much fun to create projects with Maja Design and special when you can use 6 different patterned sheets one the same card. Maybe you have it on the same way as me and get the feeling that Maja Design just here absolutely perfect for whatever you whant to make <3


SiljeKristin-sign

Jewelery Box to the Young Woman

1

Posted by Silje Kristin Aunan

19 June, 2016 -

Write a comment

Hello Maja Followers

Today I stop by the Maja Design blog, becuse I have a new project made in lovely  Maja paper. A simple box to a young woman who is to be confirmed.

For this box I have used sheets from a Maja Design collection  called for Ska Vi Ta En Fika 

The sheets I have used are :
Kladdkaka, Kärleksmums, Söders Höjder and Mandelkaka.

Fika-P

I placed the pattern sheets directly on the box and put them on with double sided tape. The punch that I’ve used is from Martha Stewart and called Eyelet Lace. 

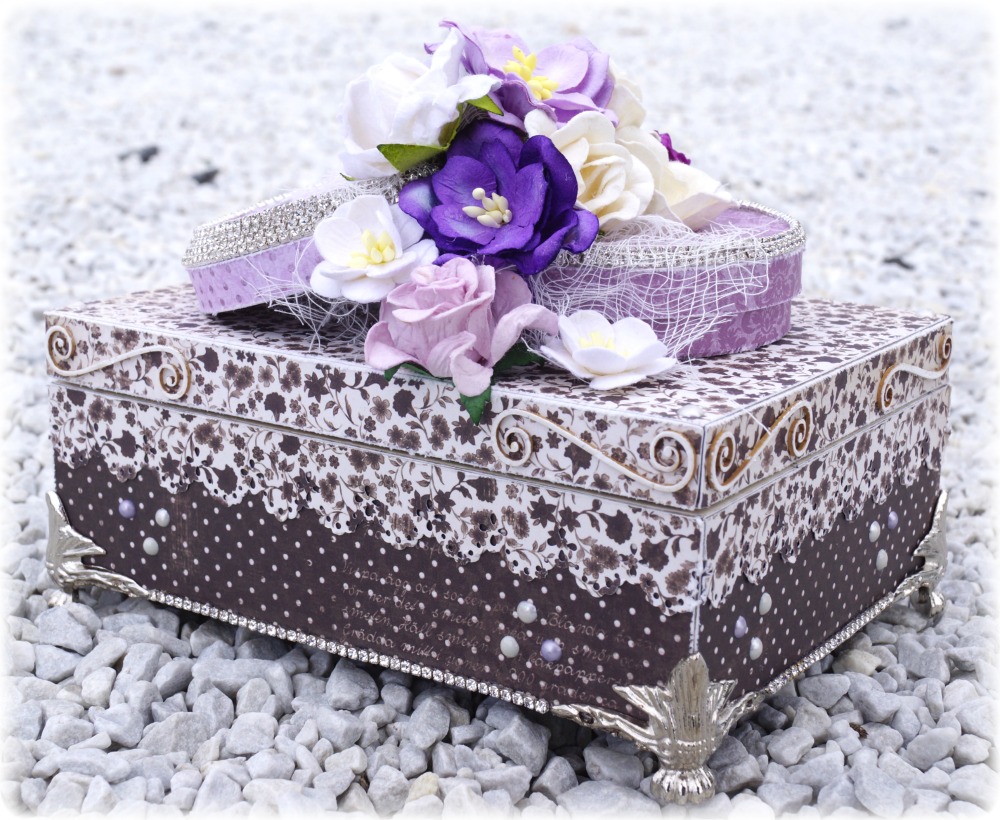
I often create boxes that I use metal feet in silver, and yes it is on this box too. At the bottom edge, I glue on a silver chain, which runs all the way around the box. On the lid I have used wood from Wychinka, these I have embossed with white embossing powder from Ranger. The three half pearls that you find on the side of the box are made with Nuvo Crystal pearls, the colors I have used are Oyster Gray, Ivory Seashell and Wisteria.

On the back of the box are the details about the same as on the other sides, the exception is that I have not pearls on the side and the wood from Wychinka are smaller than those at the front.

On top of the box you will find the big details. 
What I ‘ve done is I ‘ve spent a round box and covered the lid and the bottom with patterned sheets and silver chain with diamonds. These I have glue little bit on the top of each other.

At the center of the two circles I have placed a lot of flowers in white and alot in various purple tones. Under the flowers I have used some cheese cloth for an extra effect. This can be done on any type of project you create, if you dont whant to use leaves under the flowers, use some cheese cloth instead. 
The flowers are from Wild Orchids.

On one of the circles, you can see the name Maren. Maren is the girl this box is made too.

The letters I have used are from Prima and I made them brighter with Wink of Stella Bruch White.

If you Opens the box, I’m sure Maren can fit all the jewelry she gon on her special day <3

SiljeKristin-sign