A giftbag for a confirmand

1

Posted by Camilla Støen Bakke

2 October, 2020 -

Write a comment

Hello everyone! I hope you all are fine. It has been a while since I last posted here. As I have started studying again, on my old days 😀 20 years after last time. Anyways, we were invited to a confirmation, so here comes the confirmand bag I made for Patrick. And I am sure you can spot which collection I have used.

Yes! You are right, the wonderful Denim & Friends collection.

I have fastened som e twine around the image. And with this collection you get several of these lovely images, perfect for any boy/youth card. And behind I have fastened a bit of corrugated paper.

And behind all this I have placed a small papebag. Inside the paperbag I have two tags. Where I have stamped texts for the confirmand.

To make a more shabby look, I have painted here and there with white Gesso.

Thank you so much for visiting the Maja Design blog today

With love,


A confirmand card

2

Posted by Camilla Støen Bakke

22 March, 2017 - ,

Write a comment

IMG_7083

Hi there! How are you? Have you seen the new edition of the Sofiero papers? They even comes with monocromes papers. For my card I have used this gorgeous collection.

Sofiero-K

I have coloured up Tilda (Magnolia) here with some yellow/greenish colours. As I wanted the paper bag to have a fresh, springlike touch. The Sofiero papers are perfect for any romantic Spring card.

IMG_7113

The clipboard frame around the image is from Wycinanka, called Apple bloss. I have put it up on 3D foam.

IMG_7073

For the text I have used gold embossing, and it is from Stempelglede “Dear Confirmand”. I have fastened it to a paperstraw.

IMG_7076

Here is a closer look.

IMG_7077

On the left side I have put some lovely Ephemera cards, which is cut out.

IMG_7124

Here is a list of the papers used:

Thank you so much for visiting the blog today! Have a great day!

With love,

Camilla

Butterfly wishes

2

Posted by Camilla Støen Bakke

25 January, 2017 -

Write a comment

IMG_6422

Hello lovely Maja fans! I am back with a paperbag this time. I have decorated it with gorgeous pattern papers from the Vintage Spring Basics collection. Hope you like it.

Vintage-Spring-Basics-P

I will give you the list of papers used at the end of the post.

IMG_6471

The image from Magnolia is coloured with Distress Ink reinkers, and in colours that I feel matches the papers very well. They both have the soft, romantic tones. The sentiment and surrounding stamps are from Stempelglede.

IMG_6472

The small butterflies are cut out from the Vintage Spring papers.

IMG_6450

Since the front is so heavily decorated, I have made the back simple. I just love these beautiful papers, and here you got to see more of them.

IMG_6454

I hope you enjoyed my post. Here comes the papers used:

Thank you so much for visiting! Have a great day!

With love,

Camilla

A decorated giftbag for Christmas

2

Posted by Camilla Støen Bakke

16 November, 2016 - ,

Write a comment

IMG_5948

Hi there! Still in the middle of November, but I am in the Christmas mood. When it comes to cardmaking, that is. Who could resist with the gorgeous papers from I wish.

I-wish-P

Today I will show you a giftbag that I have decorated.

IMG_5954

I have coloured the sweet image from Magnolia called Holly Wreath Tilda, with Distress Inks re-inkers, in the same colours as the I wish papers I have used. I love these warm nostalgic colours. The Merry Christmas text is also from Magnolia. The postmark stamps around the image are from Stempelglede.

IMG_5965

Under you see the back of the bag.

IMG_5968

The texts on the tags (Magnolia).

IMG_5980

You get a better view on the different layers on the picture under.

IMG_5985

Here is the list of the paper used:

Thank you so much for visiting the blog today!

With love,

Camilla

Vintage wedding card

2

Posted by Camilla Støen Bakke

21 September, 2016 - ,

Write a comment

IMG_3989

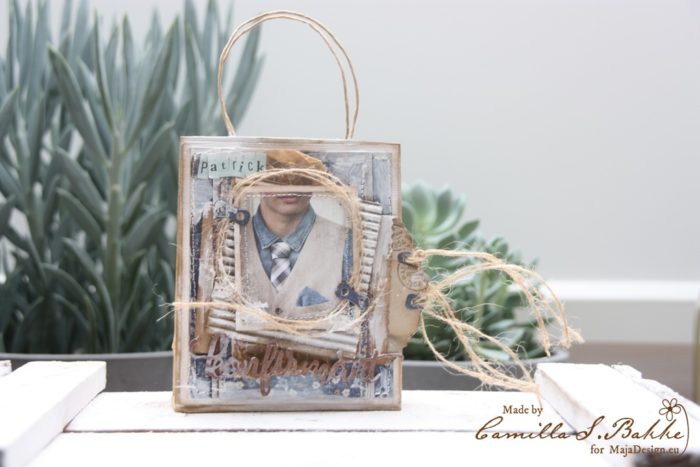
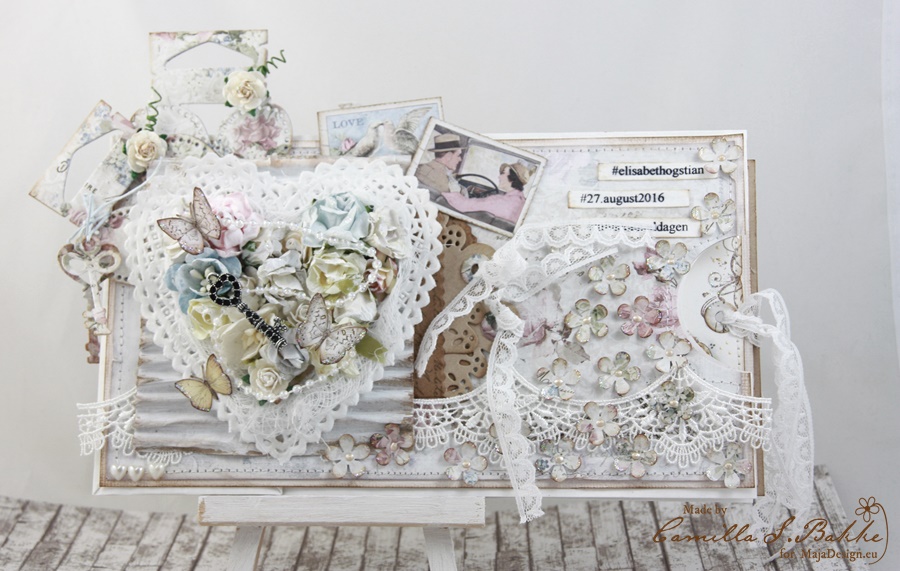
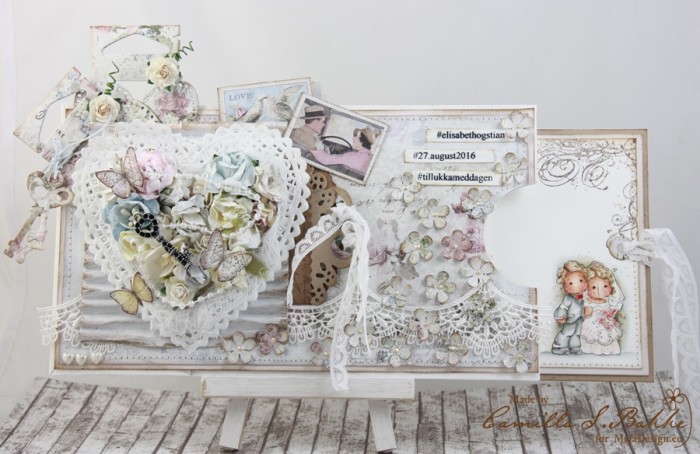
Hi there! I am back with a wedding card I made last month. I got a request to make a card that should be large enough to contain greetings from several persons. And ofcours I had to use the Vintage Romance collection for this card!

Vintage-Romance-P

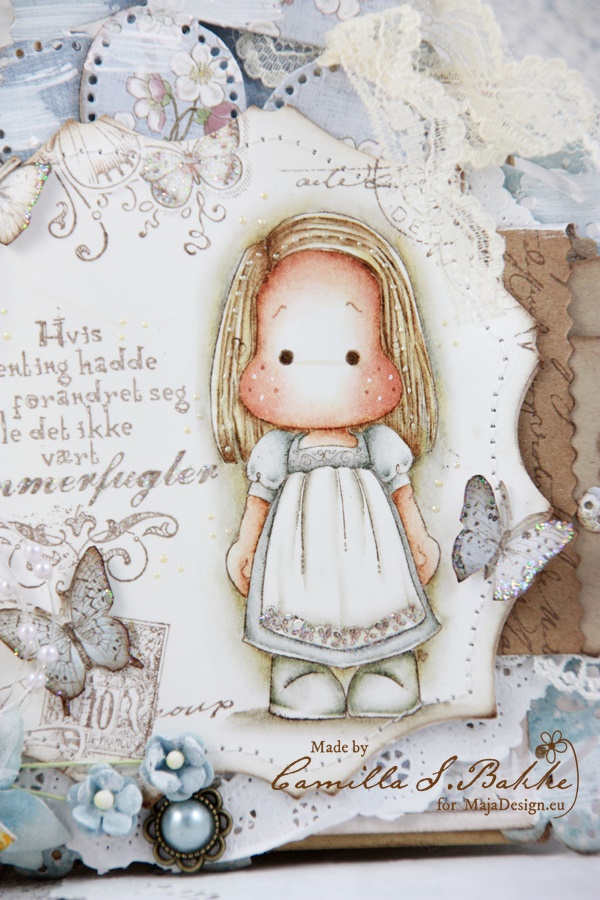
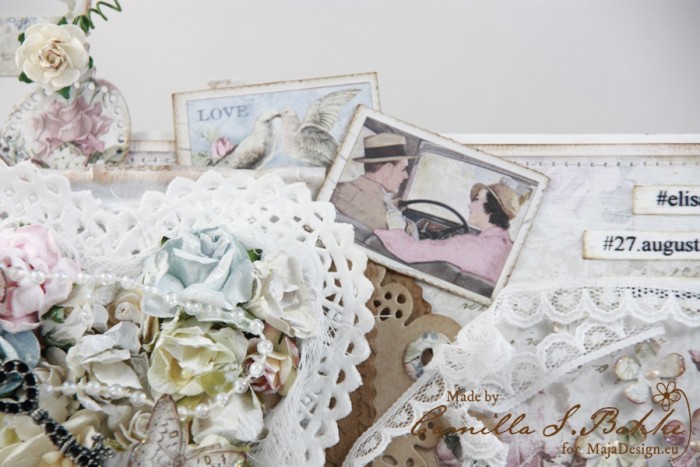
The groom is interested in cars, so I then I chose this image on the stamp.

IMG_3992

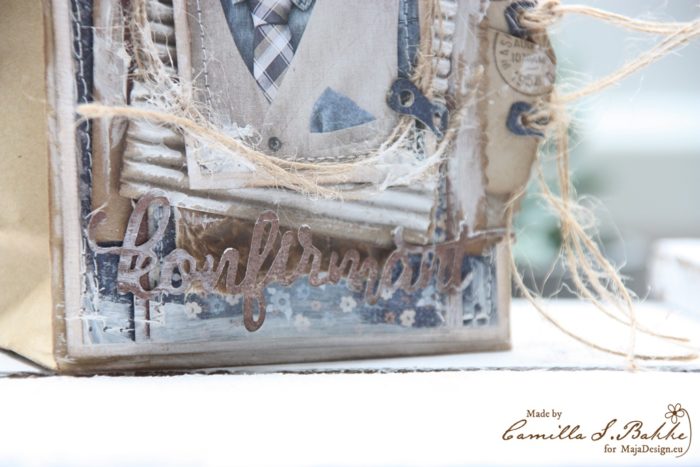
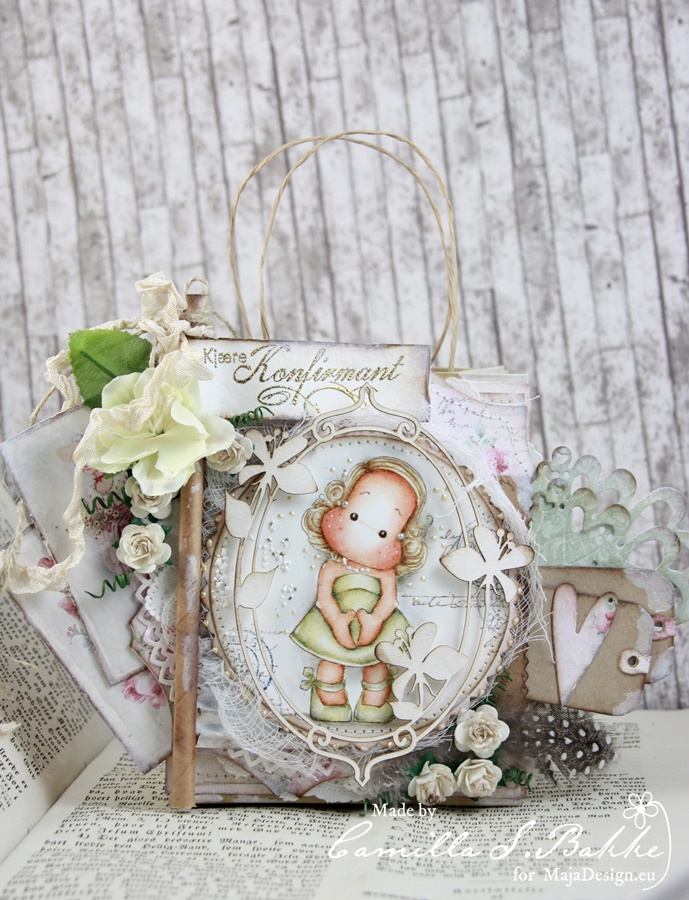
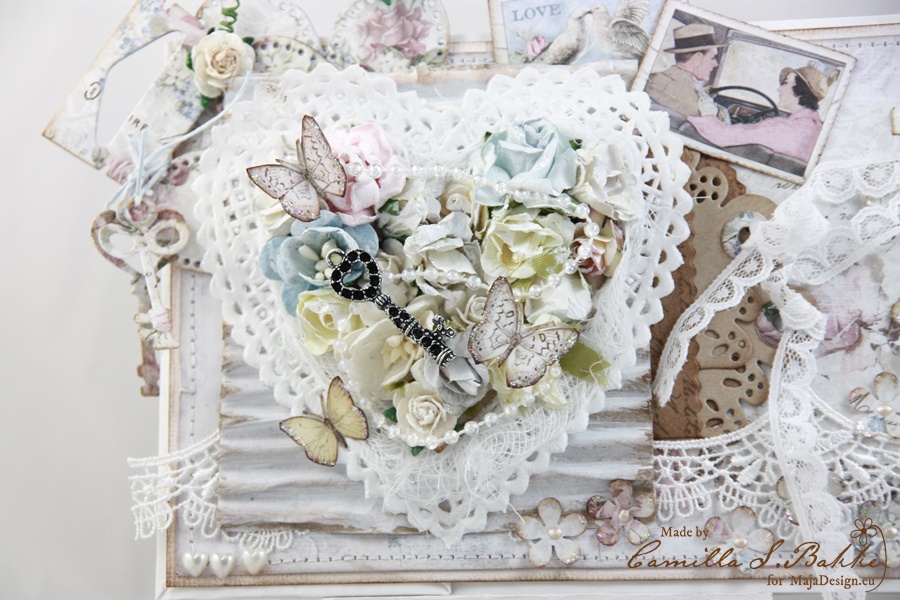
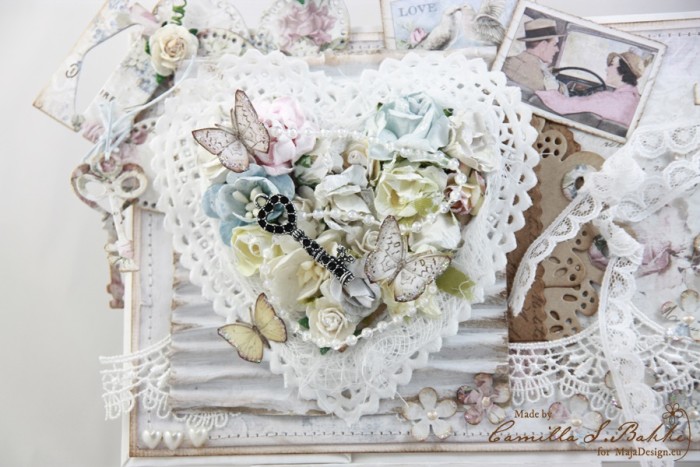
I made the heart by cutting out a Spellbinder heart from bazzill paper, then I glued on several flowers. I have also painted them with white Gesso. Behind the heart I have put som cheese  cloth and a heart doily. Then some corrugated paper that also is painted with white gesso. On the right side I have a small pocket, with two tags inside. The tages are made with DooHickey dies from Magnolia.

IMG_3993

Up to the left I have placed two more tags “So wrapped lovely” (Magnolia). They are so beautiful in Maja Design’s pattern papers.

IMG_3996

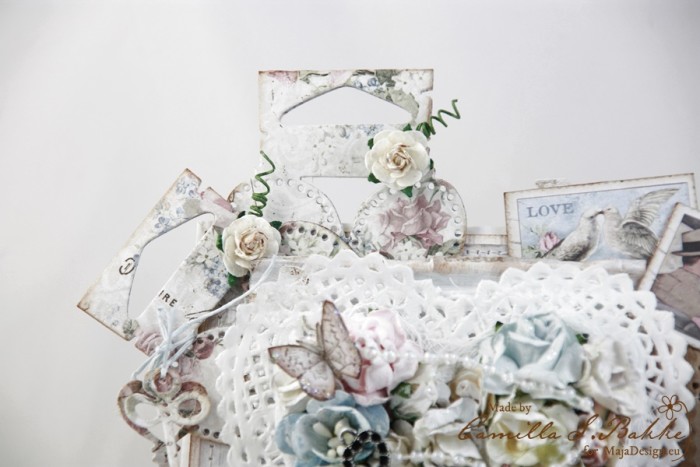
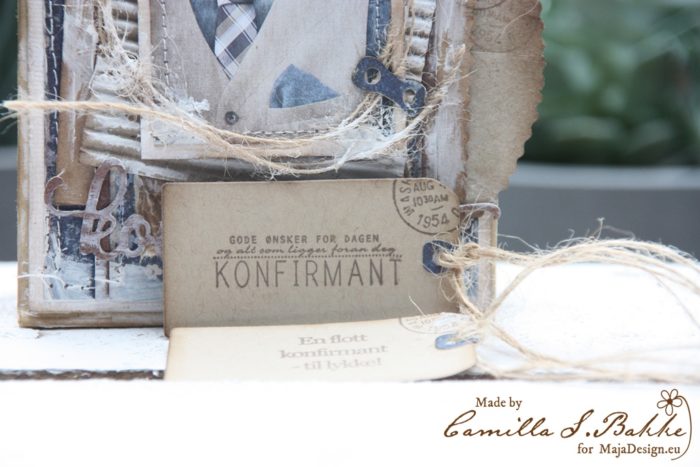
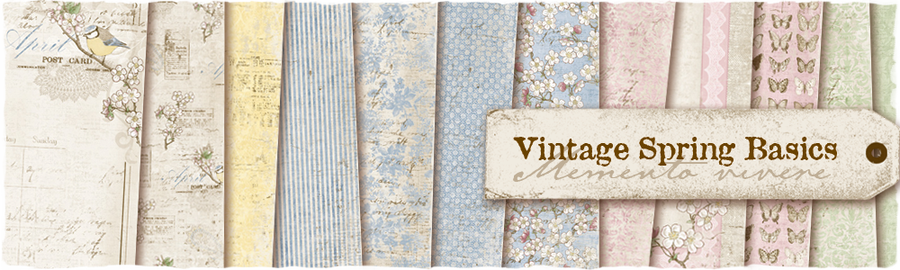
The small butterflies are from the Vintage Spring Basics collection and the “6th of May” sheet. I cut them out with scissors, and add some walnut stain ink to the edges of the wings. Under you can see the tags with a beautiful sentiment from Stempelglede.

IMG_4000

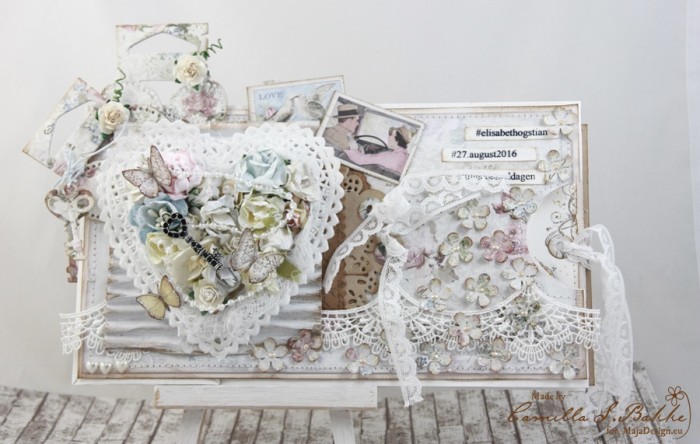
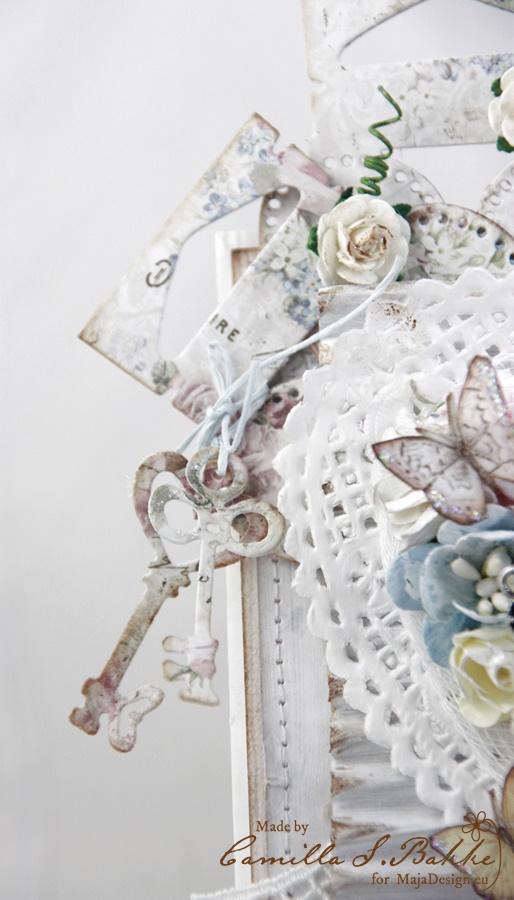
A close up of two keys, also made with DooHickey dies. You can also see that all paper edges are inked with Distress Ink pad – Walnut Stain. And I have used my sewing machine on the papers too.

IMG_4004

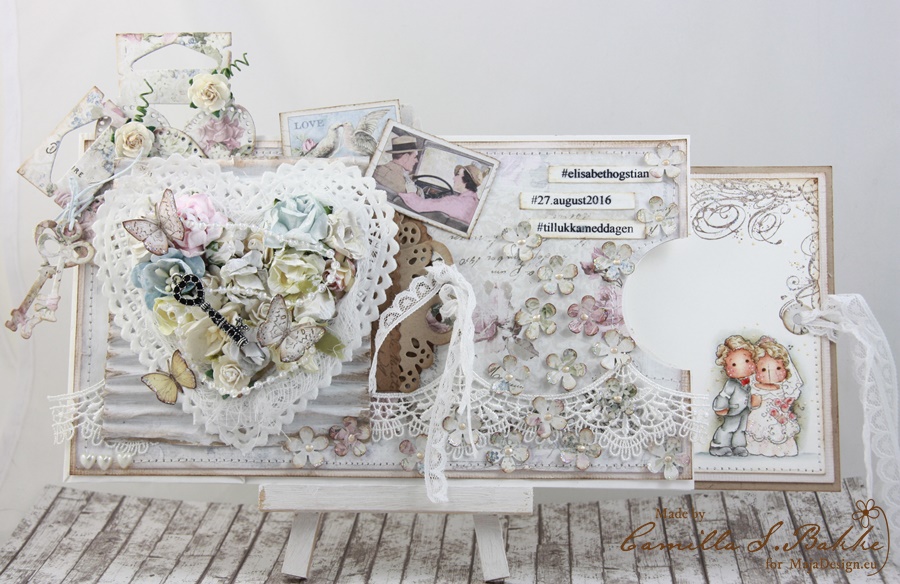
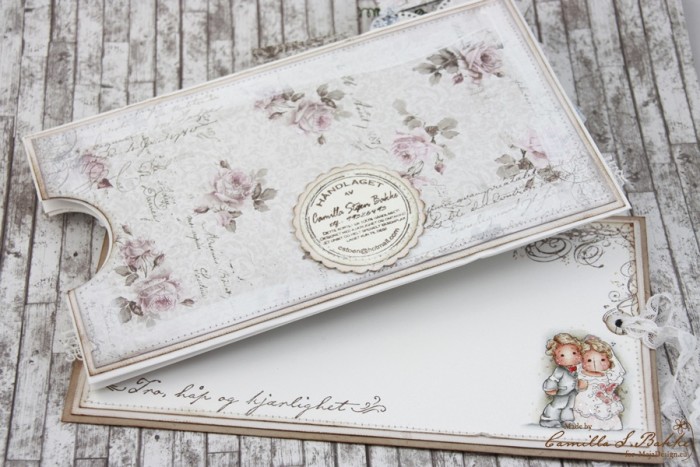
On the card inside to write on I have coloured a wedding couple from Magnolia with Distress Ink re-inkers. The swirls are made with a Stempelglede stamp. As you might see, the card is actually a decorated paper bag.

IMG_4012

The black/silver charm is glued on to the heart.

IMG_4016

The small flowers are also cut out from Maja Design papers, inked and added Stickles-Star Dust. In the middle I have put some liquid pearls. I have used a retro flower punch for the flowers.

IMG_4020

Here is the back of the card and the card to write on.

IMG_4028

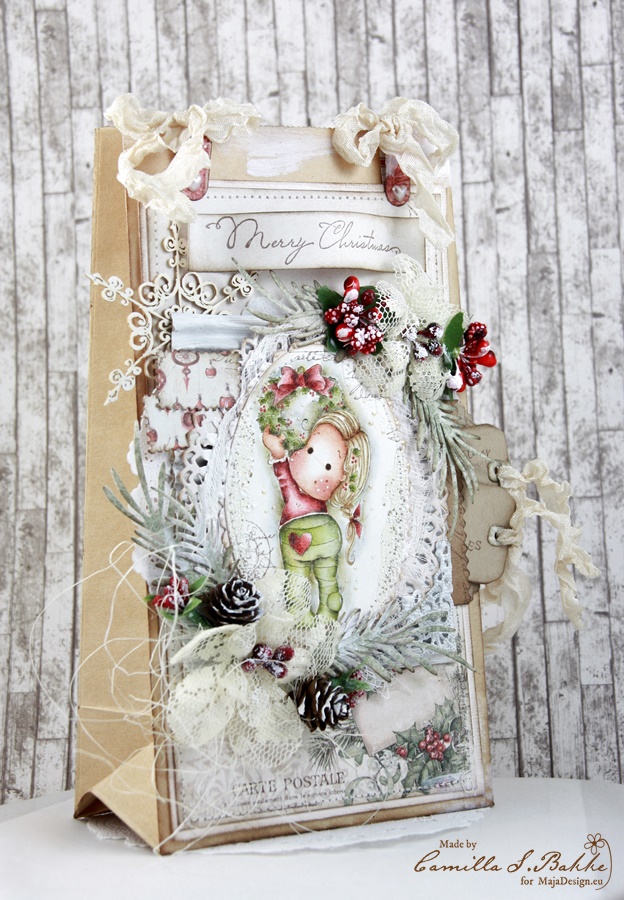
And the front of the card… 🙂

IMG_4030

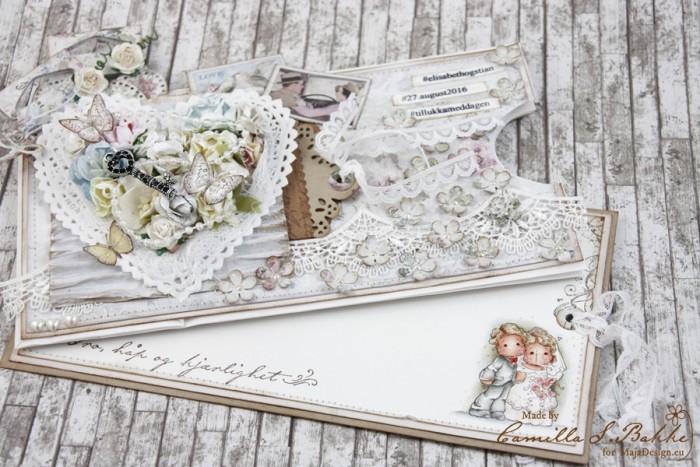
A close up of the cute wedding couple.

IMG_4036

Here is the list of the beautiful papers used:

Thank you so much for visiting!

Hugs,

Camilla