”Happiness is This”

2

Posted by Mary Tzalla

2 October, 2016 - ,

Write a comment

Layout

Hello my friends!

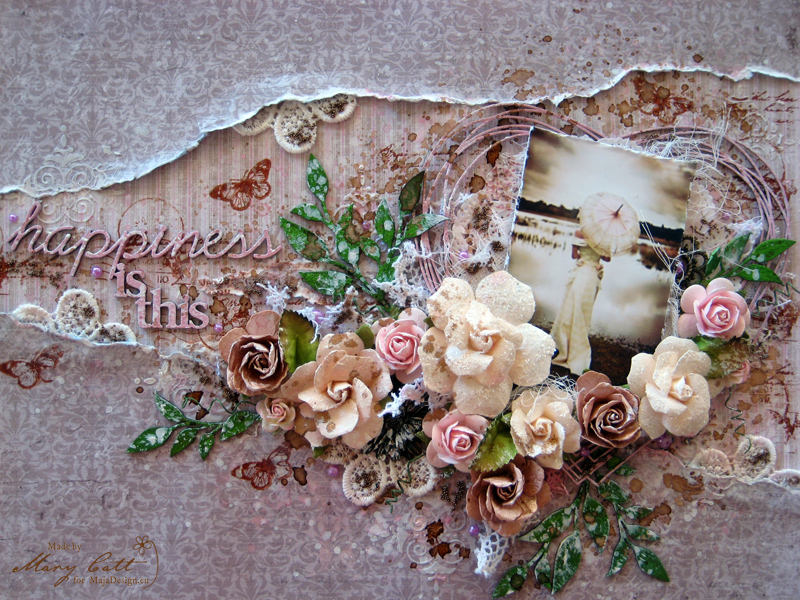
It’s Mary here with you, today, and I have a new layout to share with you. I made a romantic page, again, using papers from the ”Vintage Spring Basics” collection.

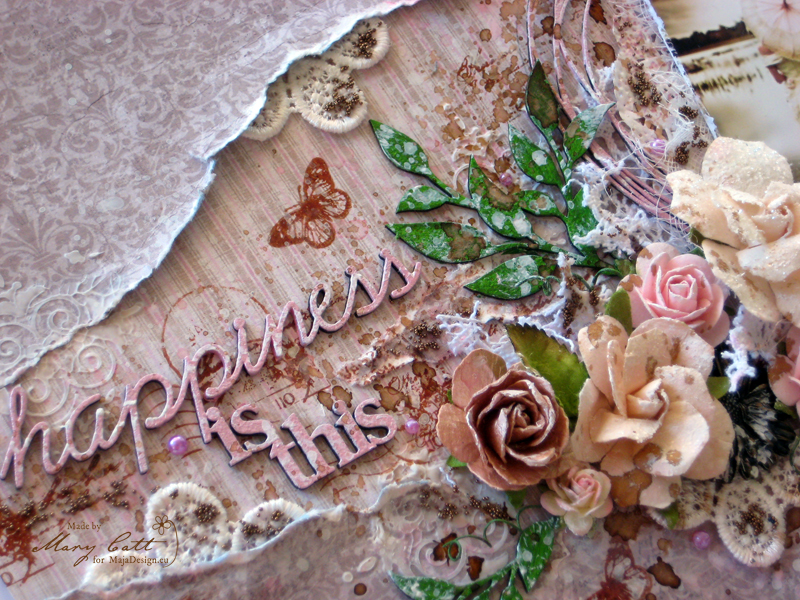
Close Up 1

The main paper on the background is the ”2nd of May”. I tore the ”8th of March” paper into three pieces and then I glued down the top piece on the top edge of the main paper. The lower torn piece of paper was glued on the bottom of the main paper, leaving the middle spot empty.

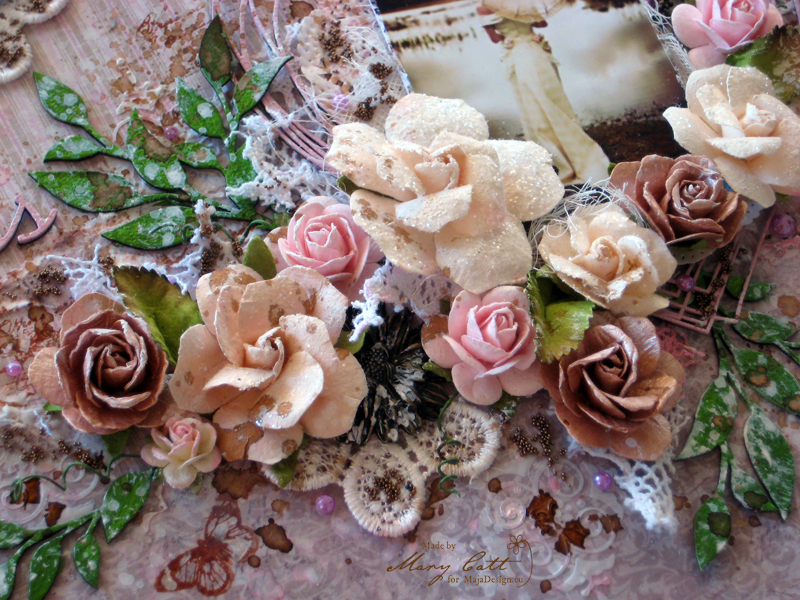
Close Up 2

When accembled the papers, I gave them a coat of clear gesso. I added texture by using modeling paste and a stencil. When everything dried, I used Lindy’s Stamp Gang mists, ”Cotton Candy Pink”, ”Salt Water Taffy” and ”Cattail Copper Brown” to color my page.

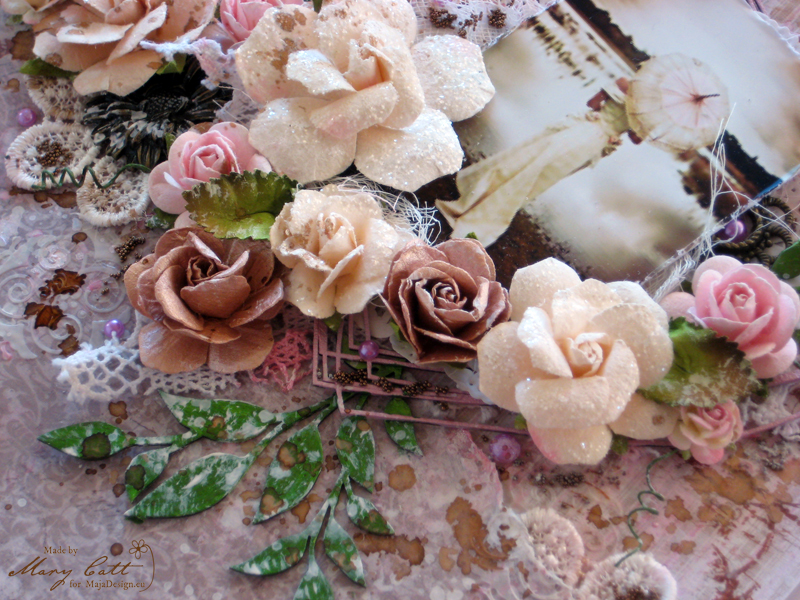
Close Up 5

I decided to make a simple cluster for my photo… only a doily, a little cheesecloth and some lace. And, at this point, I want to give all the proper gredits to the photographer of the photo, which I found on Pinterest.

Close Up 3

The chipboards are all 2Crafty and I painted them with Finnabair Acrylic Paints. For the title and the heart frame I used the ”Vintage Rose” and for the leaves I used two shades of green, the ”Lime Peel” and the ”Green Olive”. All flowers and embellishments are Prima Marketing.

Close Up 4

As a final touch I added some pearls and some microbeads and made some splatters with white gesso.

Papers used:

Vintage-Spring-Basics-P


Well, that’s all for today…

…see you again in two weeks!

Thank you for your time!

Mary-sign1

Κράτα το

Some LOVE With Love Hearts

2

Posted by Silje Kristin Aunan

28 August, 2016 -

Write a comment

Hello Everyone <3

Today I made a little special project that you can give to someone you whant to do something specal for.
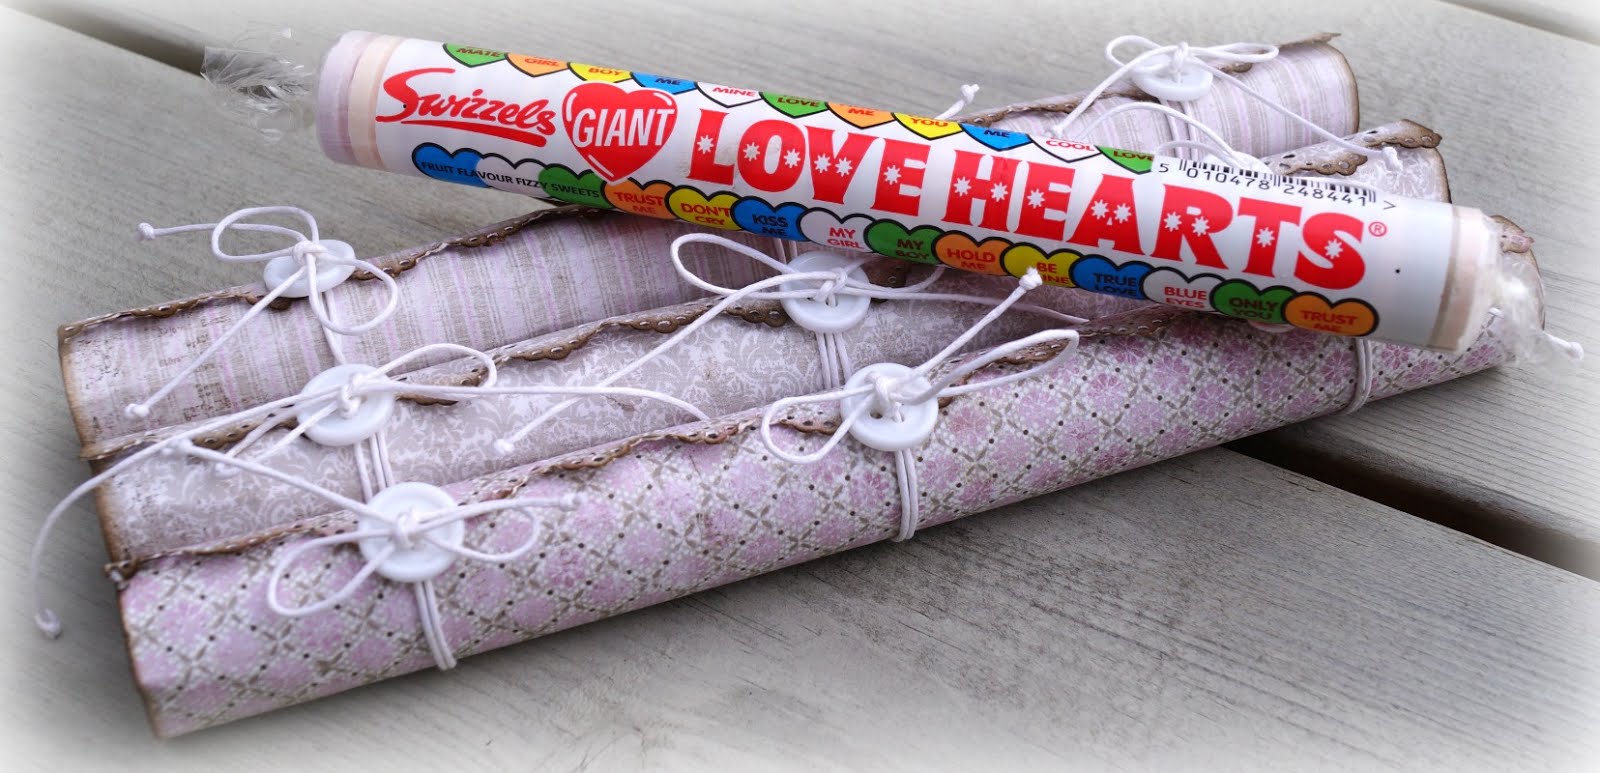
What I ‘ve done is I’ve decorated Love Hearts on a little creative way, as a small special gift <3 

The sheets I’ve used, I have taken from  The Vintage Spring Basic

The three paper sheets I have used is:
1st of May, 2nd of May og 5th of May

It all began with a pack of Love Hearts, so I decided to buy two more. When I had bought the candies, I decided to choose the paper to my project. 

I measured them and used a punch from Martha Stewart to make a little special edge. I inked the paper with Ground Espresso, from the Distress Ink series. 

To keep the pattern sheets in place, I have used white wax tread around and attachead it with a white button with a bow. I have spent 3 buttons on eatch of them. 

In each roll you will find a package of Love Hearts <3

To keep all of the rollers in place, I used the same pattern sheets around the Love Hearts. 

At the edges I have used the same punch that I’ve used on the rollers, that will be located inside of the small containers. Here I have iked the edges.

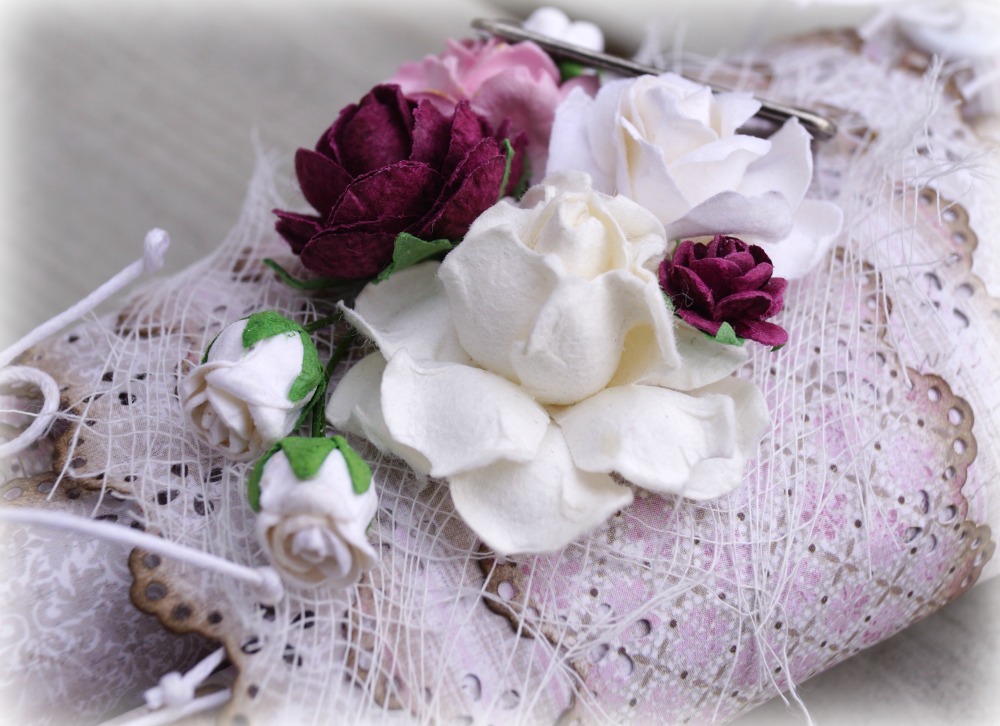
The flowers I have used are from Papirdesign and Wild Orchids. 
Under the flowers I have used a cheese cloth and one small metal sign from Prima with the word LOVE on.

When the Love Hearts is inside the small container, you see that some of the buttons with the bow appears on each side, and how the colors are consistent relative to the flowers.

Then You got a little gift idea you can make to someone You love <3

SiljeKristin-sign

Happy LO

1

Posted by Delaina Burns

18 August, 2016 - , , ,

Write a comment

Hello Hello!

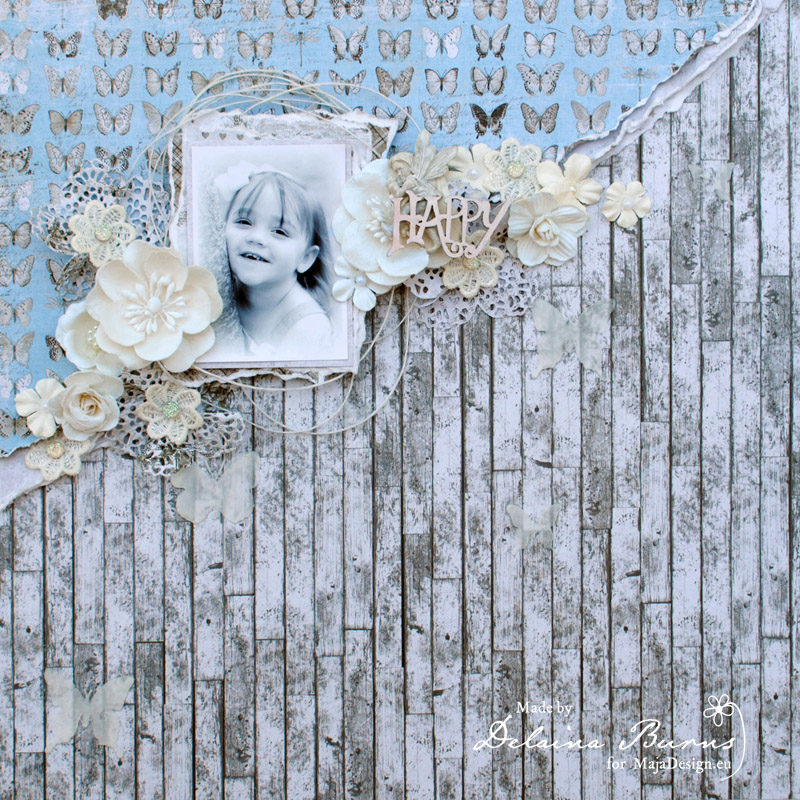
I have a LO to share today that created using 3 of Maja’s beautiful Collections.

Yet another reason I adore Maja papers… completely versatile and fabulous!

I chose the butterfly pattern paper because it happens to be one of my faves and it paired beautifully with the wood grain pattern and lots of torn edges.

Aug 19 Post (1)sized

I added jute, flowers with doilies and a bit of resin and a wood title… Lots of texture allows my

sweet Aaliyah’s photo to pop off the page…

Aug 19 Post (2)sized

Products:

Vintage Spring Basics

Vintage Summer Basics

Vintage Romance

Flowers- Prima

Jute Cord- Prima

Resin- Prima

Doily Die- Prima

Delaina-sign

To My Beautiful StepSon

1

Posted by Silje Kristin Aunan

1 August, 2016 -

Write a comment

Hello all you wonderful people

Today I am ready with a new project for Maja Design, one project that I can not with to share with you. I’ve made a chest, a special coffin, to a very special boy. 

A boy who deserves the whole world, a boy who deserves sunshine even when it rains, a boy who deserves to play all day long with the toys he love the most, a boy who deserves laugh and smile always. 

I’m so lucky that I’m a stpmom for a boy named Henrik. 
He is a lovely boy who makes me laugh, smile and fills up my days with so much joy. 

This is a chest which we will use to take care of special memories, everything from drawings, things we find outside in the woods, special clothing, to things he in the future is going to make or things he collect. The chest has a special touch, without that most likely the chest is to much babyish when he is older. It has his name on the front, while the sides we find tractors, one of his favorite. The chest is simple and clean in design, so one day it fits into a home to a young adult Henrik <3

I have used two types of patterned paper on this project, both sheets are taken from Maja Design’s collection Vintage Spring Basics.

Vintage-Spring-Basics-P

The chest I painted white first, before I used the pattern sheets. Around the chest, I have a strap that I have weaved myself from wax tread. The belt consists of two kinds of colors, and it holds the lid in place with the help of a brace from Tim Holtz. 

At the ends, I have used white embossing powder to be absolutely sure that the strap does not go up. Same technique I’ve used on the handles.

In all corners, I glue on white rivets.

On the front of the coffin, I have chosen to have the name too Henrik. These are large wood letters from a Polish producer named Scrapiniec. 

I made the name on a sign first, before I attached it to the coffin with many 3D pads. 

All the letters are embossed with white embossing powder.

On each side of the chest, I have 3 tractors, these tractors are wood from Wycinanka and is embossed with the same white embossing powder which I’ve used on the letters.

Over the tractors I have one handle, this is made on ​​the same way as the belt around the chest, just smaller. I used White embossing powder on the ends, I have attached the handle with screws into the coffin and to hide the screws I glue solid white rivets over. 

Over the handle I have three white crown, one large and two small ones.

At the back side of the chest, I have one tree, this is one dies from La La Land and down from the tree, I have a small swing, a dies from Memory Box. 

The tree is the symbol of family, that one must always remember the roots and where we come from. One symbol from us to Henrik, that whatever happens, he can anyway come to us <3 

Under the tree I have text tough guy, wood from Scrapiniec.
The word you see are on Norwegian.

Before I wish you a great Monday, I’ll tell you when I got the idea for this gift to Henrik. I met Henrik in January, even then, I knew that I’ll make a special project to this little boy <3

In February, I bought the chest from the store Søstrene Grene and in June it was finish. A special gift to a little boy, who has a very special place in my heart <3

SiljeKristin-sign

“A Little Handbag” PLUS a Video Tutorial By Di Garling

6

Posted by Di Garling

28 April, 2016 - , ,

Write a comment

bag 3

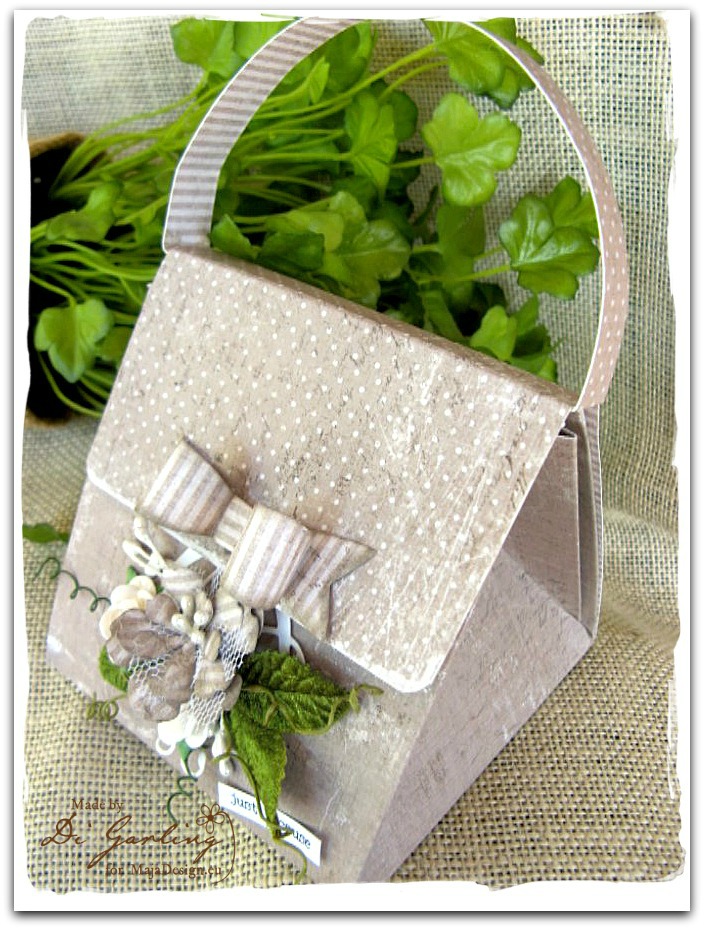
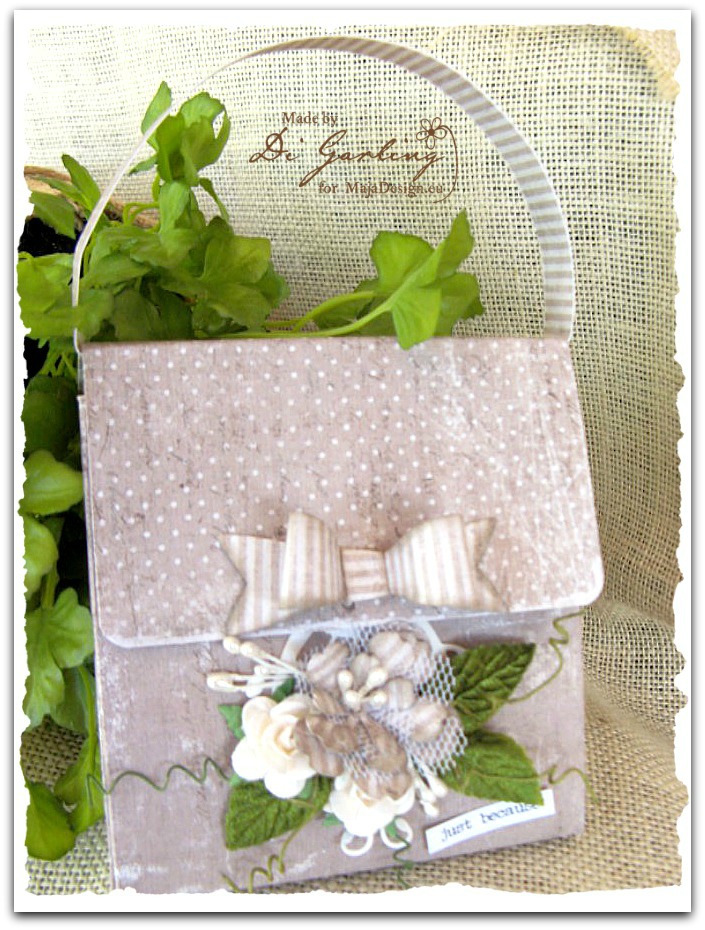
Hello Maja fans, welcome to the blog. Today I have a rather cute little handbag that I made to show you. It is actually a gift bag. Isn’t is just so sweet?  I made it using the “1903” from the “Vintage Summer Basics” collection for the base of the bag & then trimmed it using “7th of April” from the “Vintage Spring Basics” collections.

I have also made a VIDEO TUTORIAL to go with it.

TO VIEW VIDEO CLICK HERE….

Bag 1

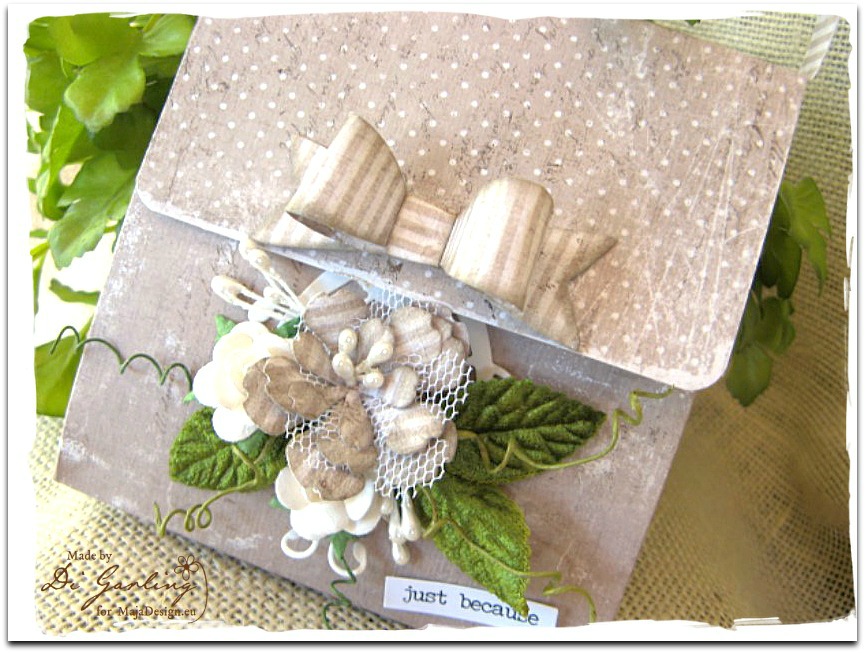
I created a handmade flower & this delightful little bow using the “7th of April – Vintage Spring Basics”. This delightful stripe paper is actually the reverse side of the spotty “7th of April” paper.

bag 4

When I made the little paper flower I also cut some tuille netting with my die cut machine to layer in between the paper petals & finished it off with a few pearl stamens. I think this adds a little pizaz to my handmade flower.

bag 5

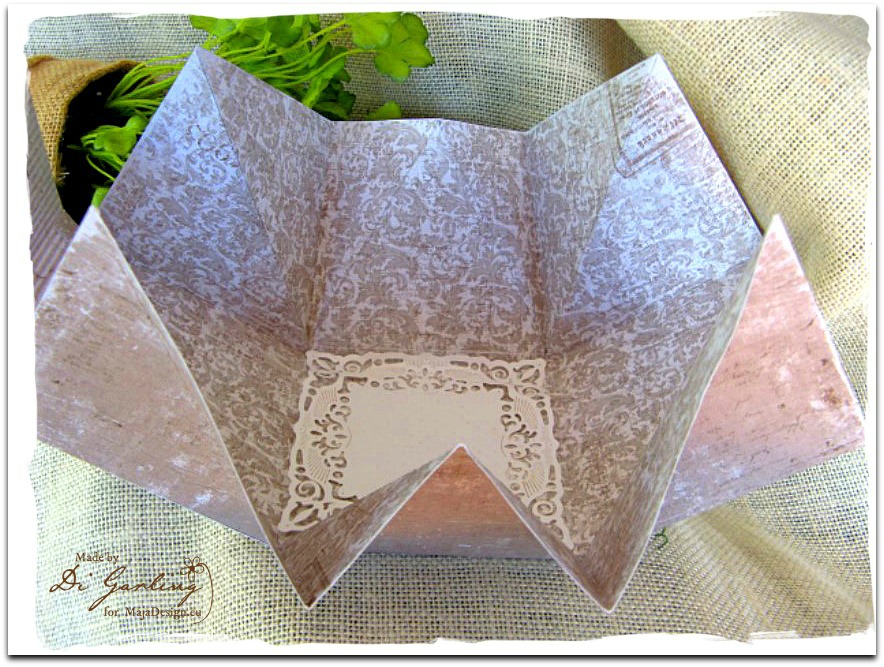
This photo shows how it looks when open. Just a perfect size for a small gift & so very novel too. Lastly I finished  it off with a small four inch square doiley I cut out of some white cardstock. You could also write a greeting on this doiley as well.

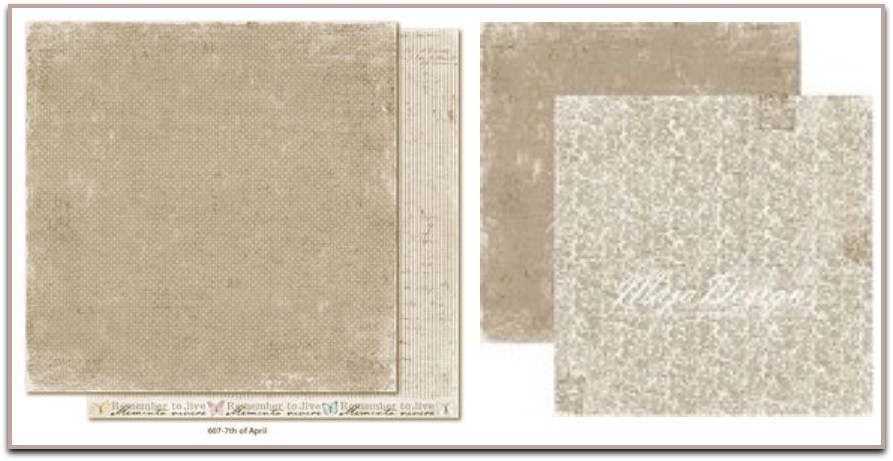
Maja Design Papers Used

“7th of April-Vintage Spring Basics”…………..”1903-Vintage Summer Basics”

maja papers-001

Vintage-Summer-Basics3

Well thats all from me today, I do hope you take the time to watch my video on how I created this over on the Maja Design You Tube channel. It really is a very easy project that only takes about ten minutes to make.

Until next time.Di's Signature