Memorial
0 Write a commentHello Sweeties
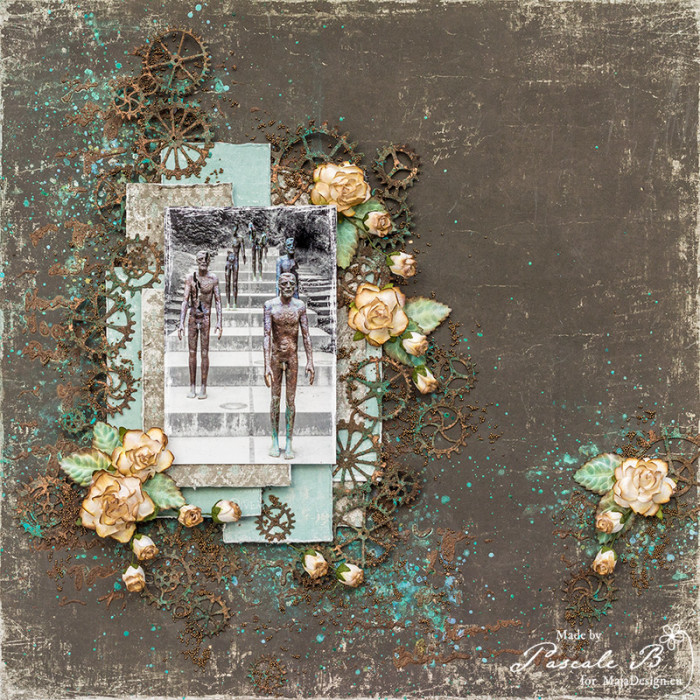
Today I’m u Maja Design blog with a layout featuring the Vintage Summer Basics collection. I chose a photo taken during my trip to Prague of the Memorial to the Victims of Communism. The memorial is the work of Czech sculptor Olbram Zoubek. It’s a truly magnificent memorial. A sad one, though.
First, I primed the background with clear gesso. I mixed together some copper crackle paste with the brown Rust effect paste. I used the mix with a stencil to add a design and I let dry. I didn’t expect the crackle to appear as I mixed the crackle
Thankfulness Book by Keren Tamir
1 Write a commentHi Everyone,
Its Keren here for the Maja Design blog with a new project.
I created another Thankfulness Book using the Vintage Spring Basics and the Vintage Summer Basics collections.
I kept it monochromatic this time and used several green tones.
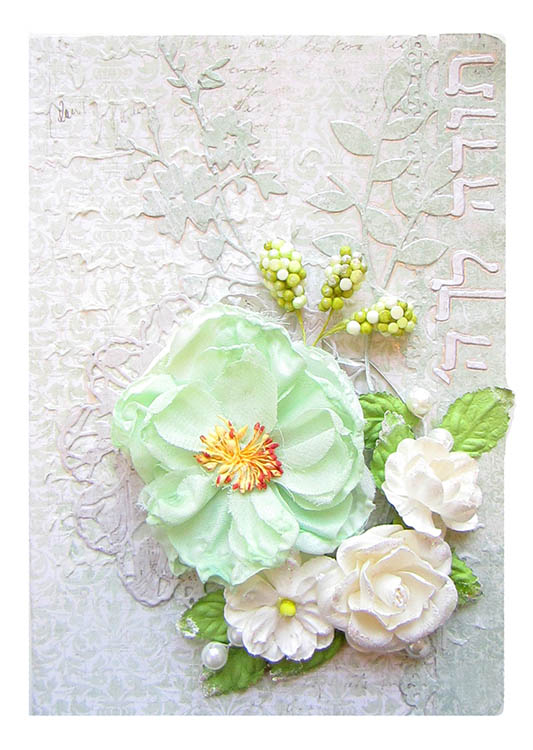
I covered a plain notebook from the dollar store with the 11th of March paper from the Vintage Spring Basics Collection and used the back side to cut a small border for the edge using a Martha Stewart Punch. I also used the back side to create some die-cut vines and flowers to embellish around the flowers.
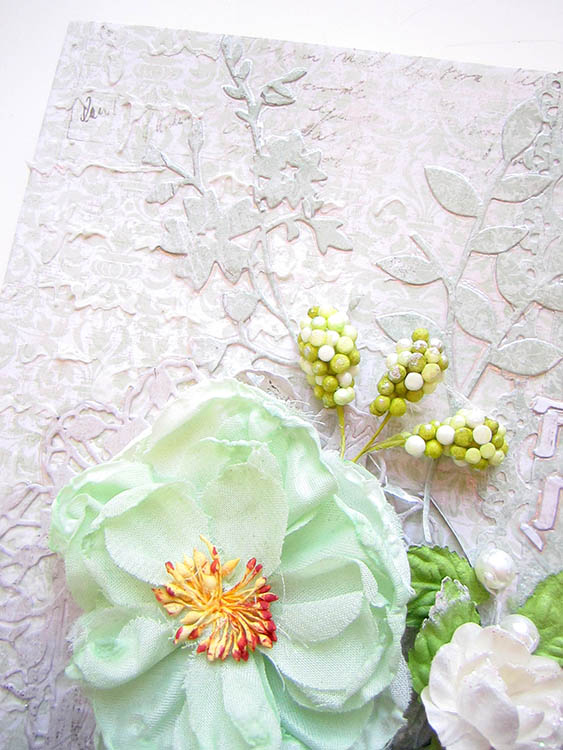
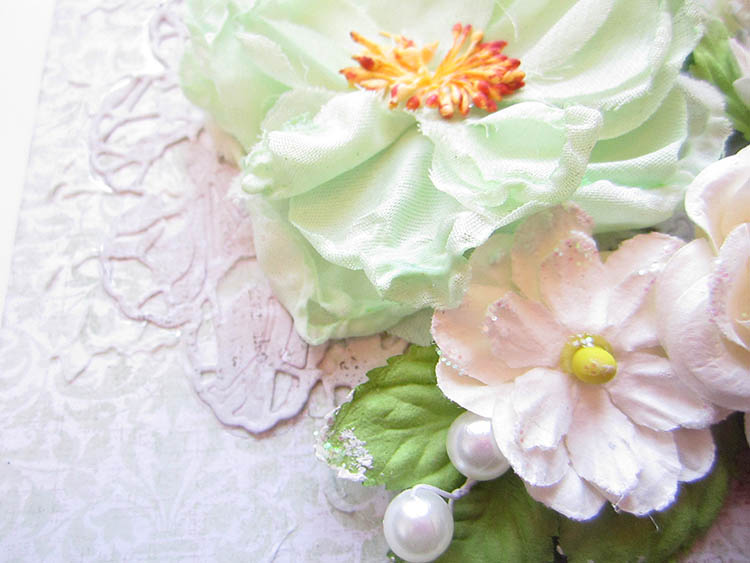
For the doily under the flowers I used the back side of 1904 paper from the Vintage Summer Basics collection as it was pretty neutral. Then I embellished with some Prima Marketing flowers and vines.
I used the Vintage Summer Basics collection to cover this journal:


and here are the papers I used from the collection:
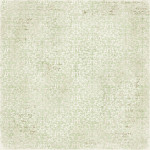
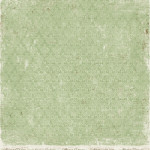
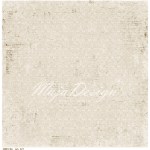
Thank you so much for visiting the Maja Design Blog
Have a Wonderful day!!

Gift set by Padoriaa
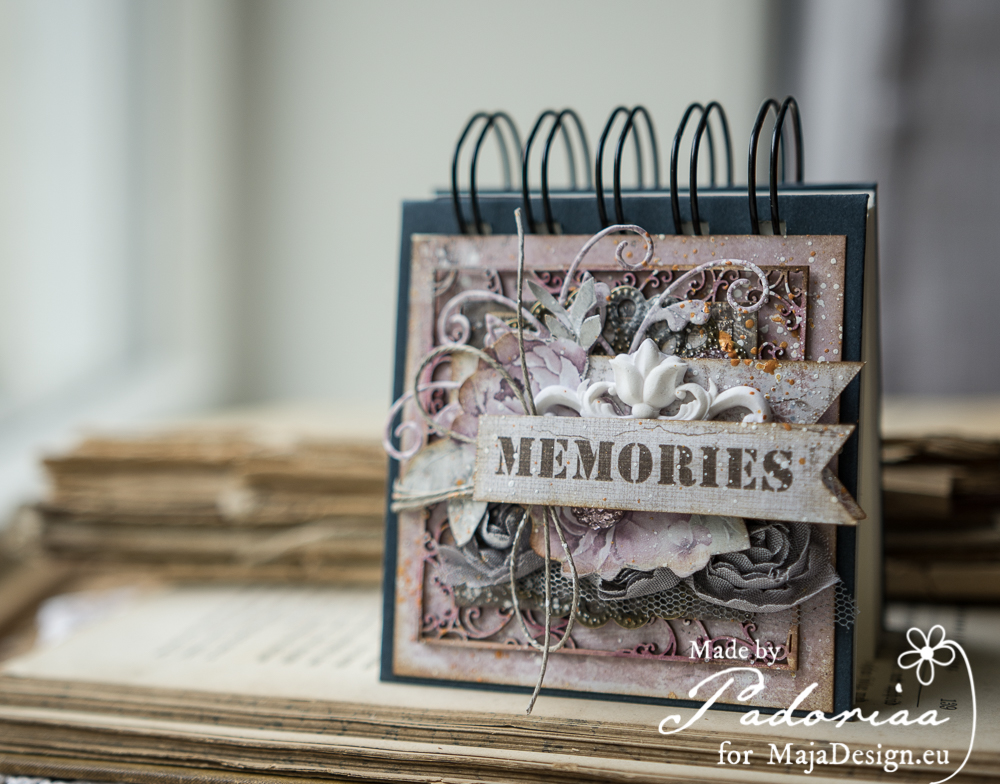
2 Write a commentHello our blog fans. Today I would like to show you gift set. It is a card with the notebook in a vintage style. I love to create this time of projects 🙂 Take a look, please :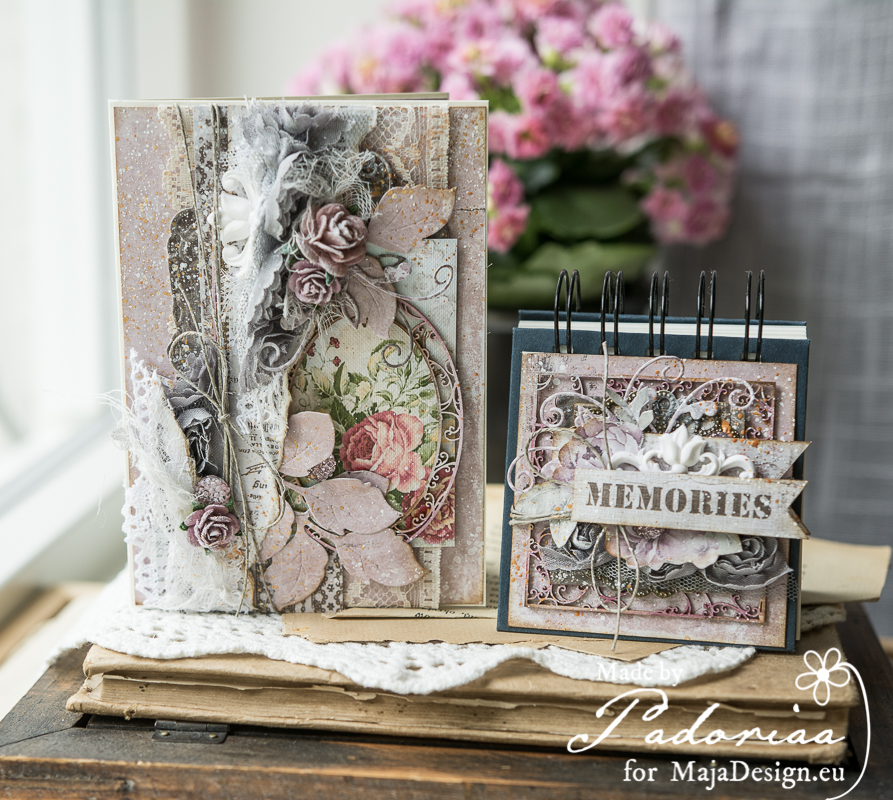
I started to created this project by finding the matching papers. Next step was to collect all add-ons, chipboard and laces. With the composition was easy – it is always in my head. I took a while before I found my own style … I can create cards in a different styles as well but with the vintage it is really fast. I know what I like !
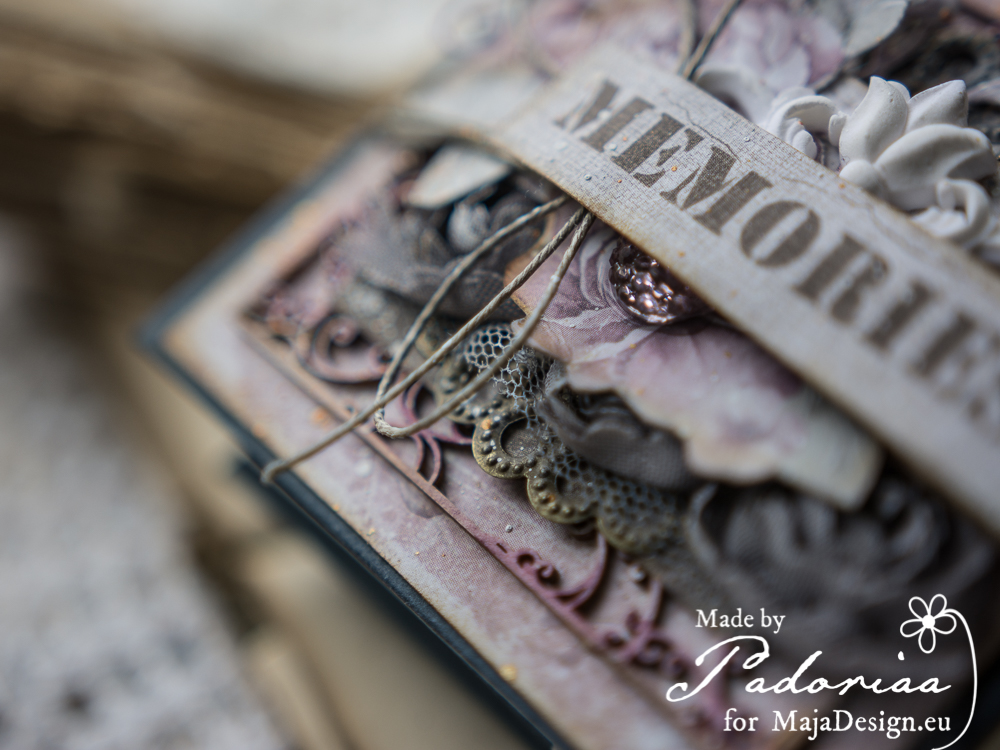
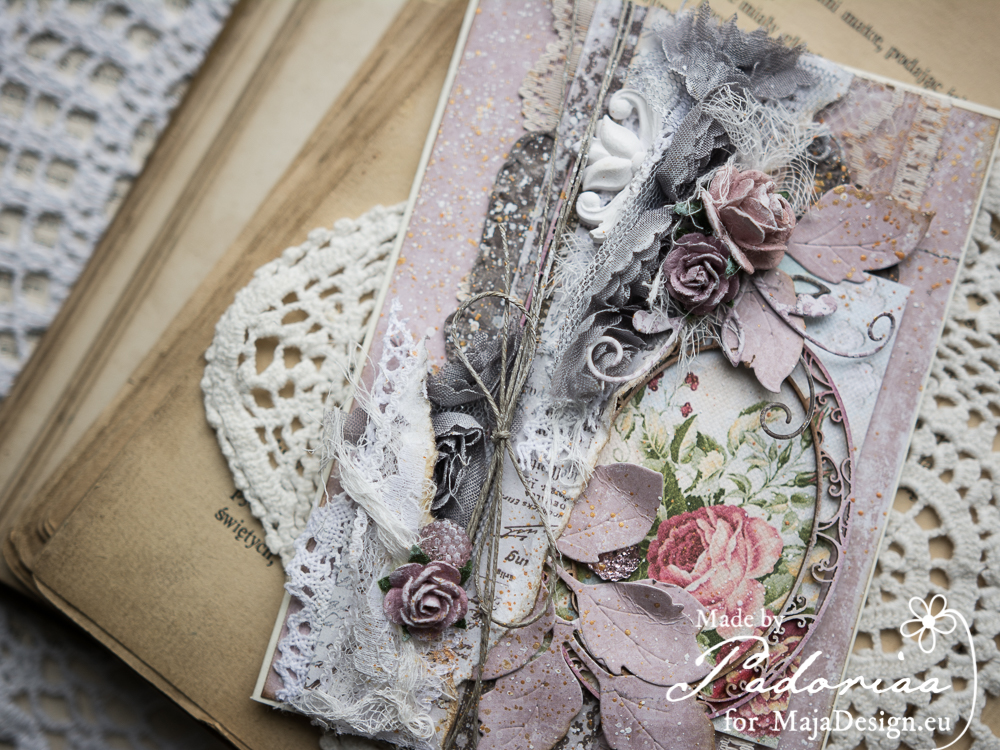 Usually I’m adding chipboards without colouring. This time I decided to add two colours. It made sense and I really like the final effect. Will do it more often – definitely.
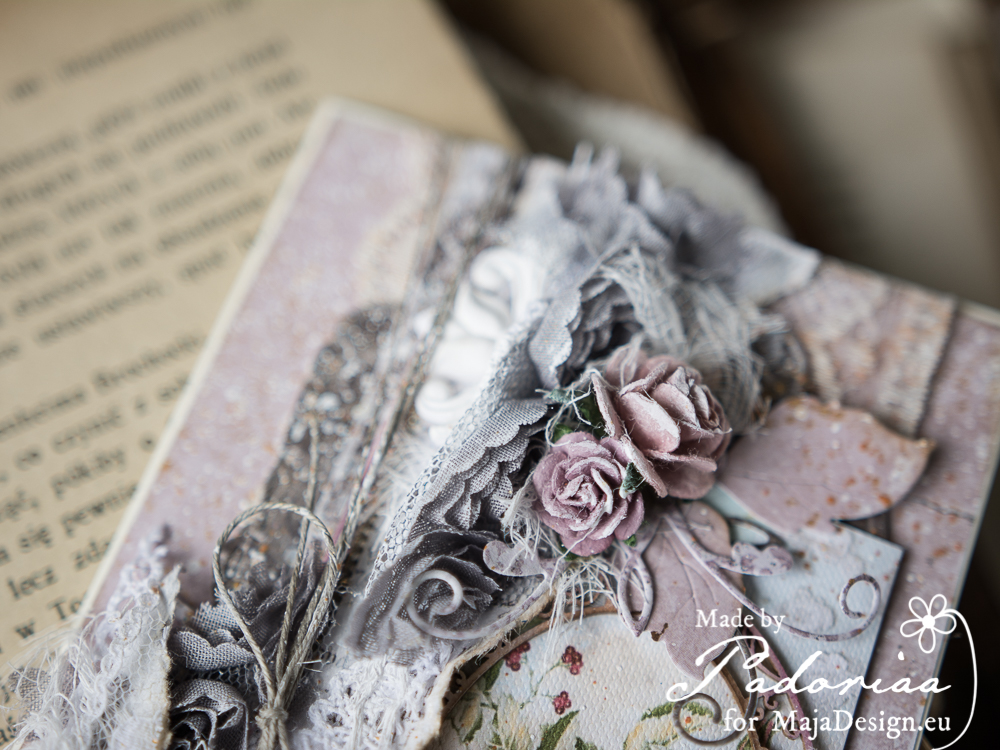 White gesso – added on the roses and the small details showed the texture and gave a pinch of a shabby chic style as well.
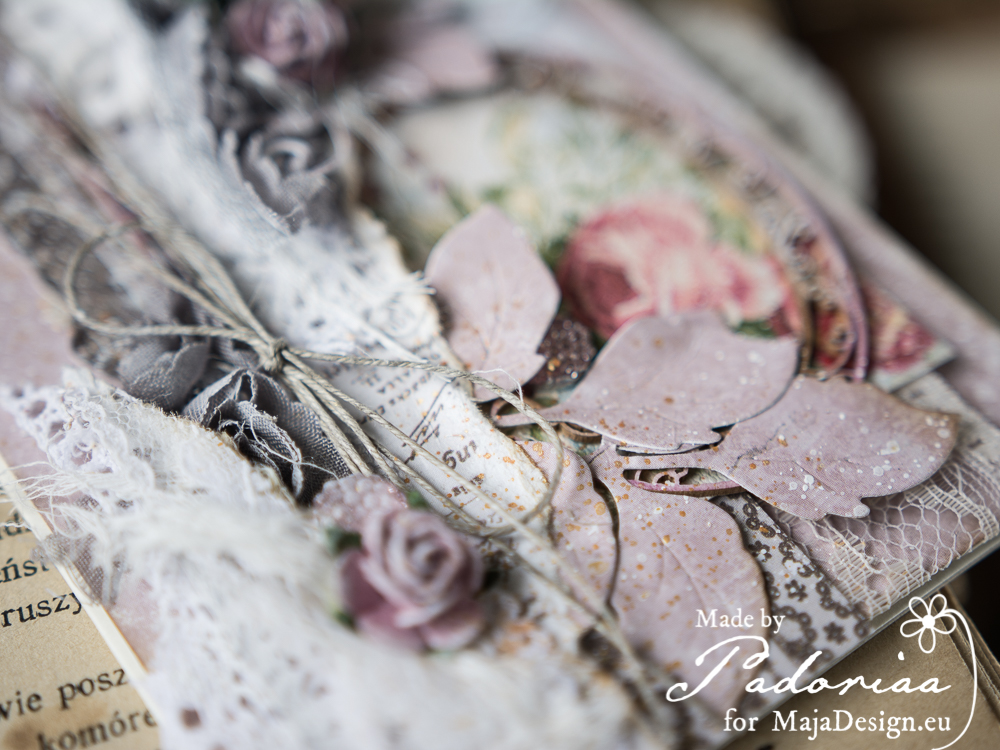
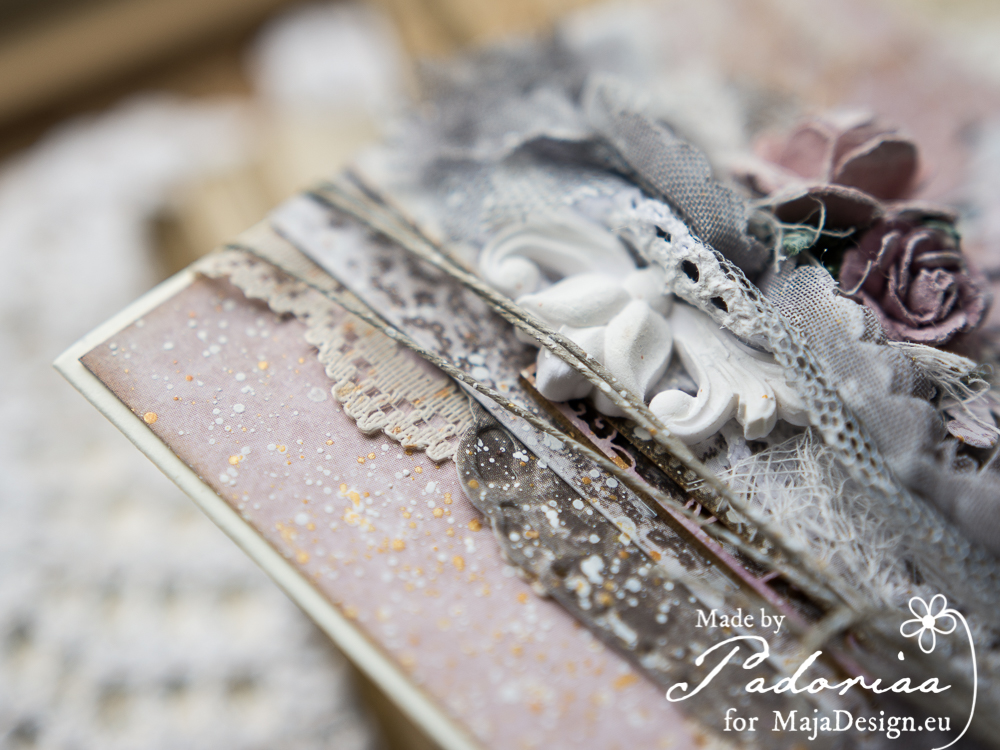 Tiny notebook – perfect to have it on your office desk. I used to have one and write down my inspiration, dreams etc…
 Hope you like my project. If you have any question – do not hesitate to ask. See you soon 🙂 Hugs, Paulina
Summer Blossoms Card
5 Write a comment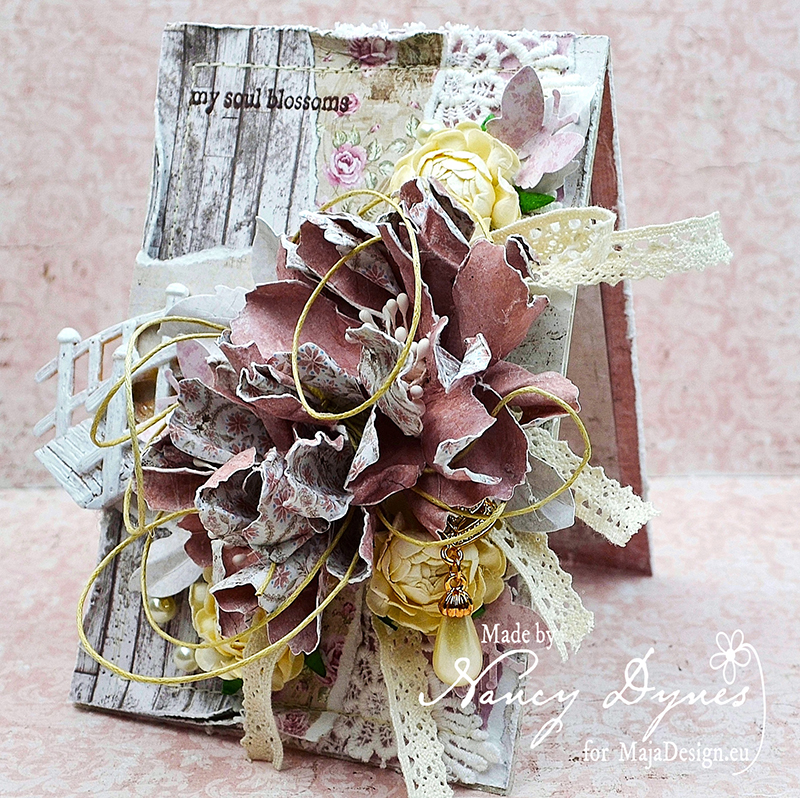
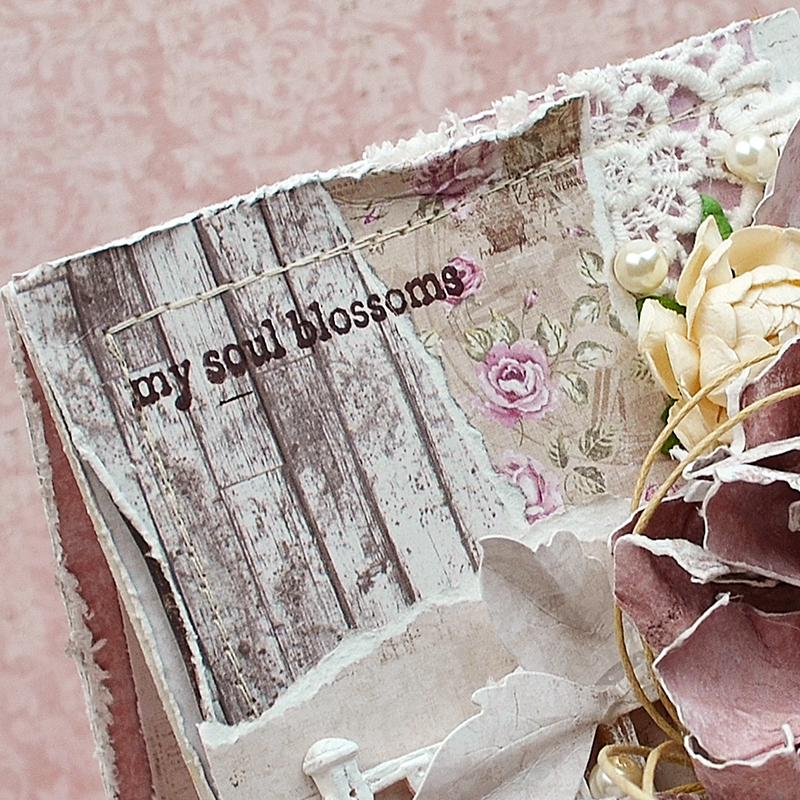
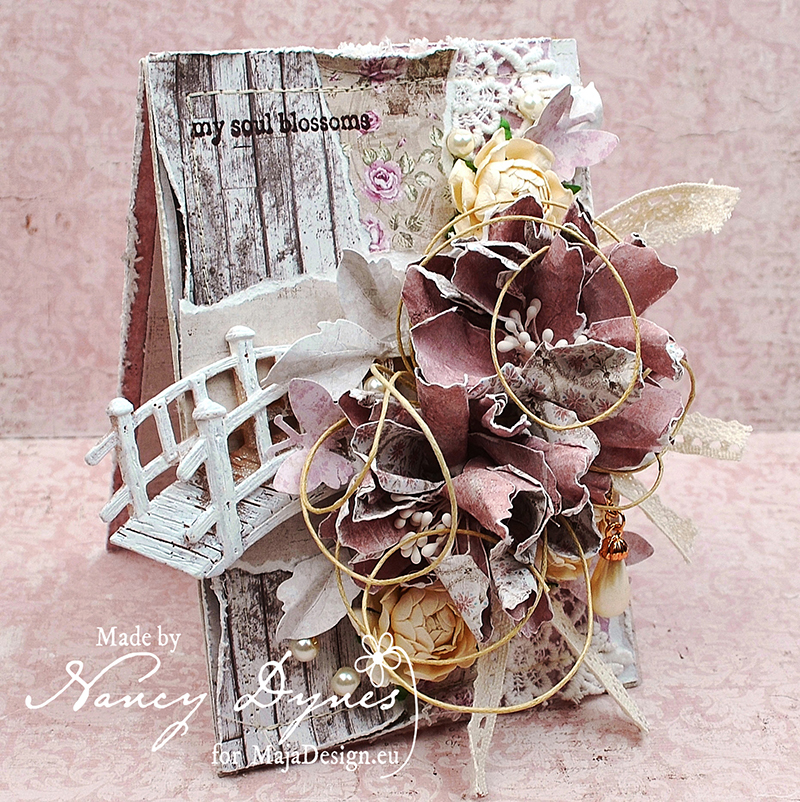
Hello and welcome to the Maja Design Blog! It’s Nancy today, with a new card to share. This week I’m inspired by the abundant seasonal blooms found all across the lovely city of Charleston. Summer is my favorite time of year. My soul truly blossoms with the long sunny days, warm weather, and beautiful flowers.
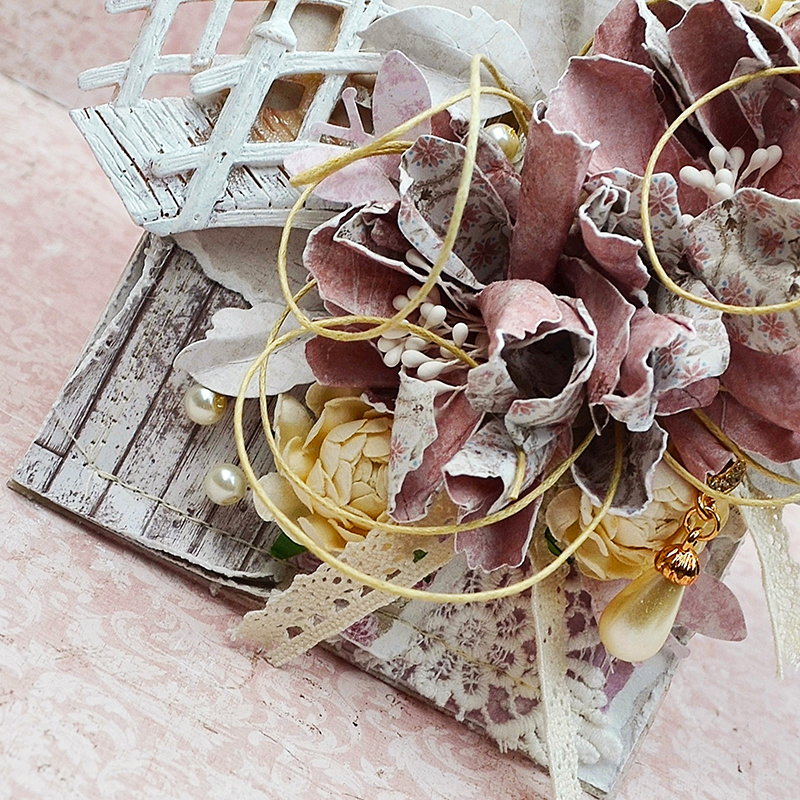
You’ll find quite a bit of layering along with a couple of my handmade wildflowers featured here. Each layer is artfully torn, distressed, and stitched together.
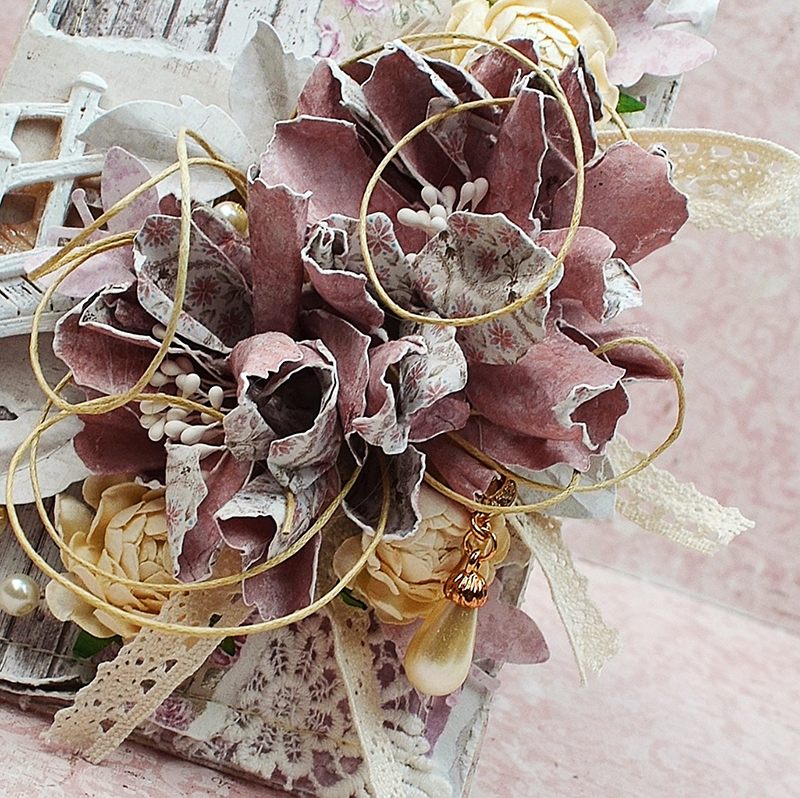
A tutorial for the wildflowers can be found on my blog. Lace adds a bit of vintage inspired texture. I rummaged around in my stash to find the pearl earring, glass pearls, and the Prima resin piece. Additional lace and twine create a frilly finishing touch.
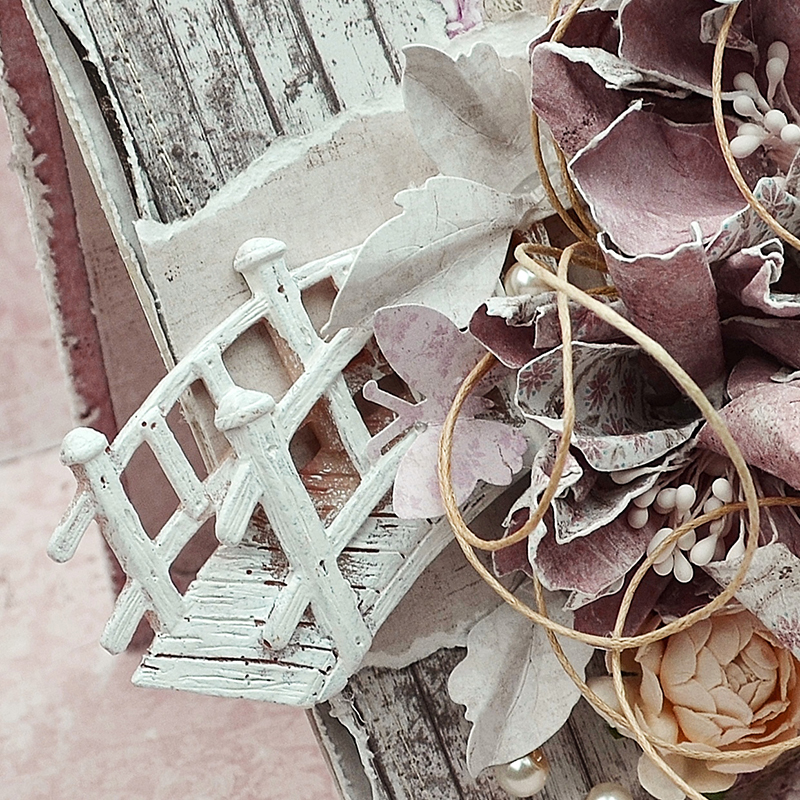
If you look closely you’ll notice a few butterflies have made a home here as well. The sentiment is rubber stamped in archival ink.
Maja Design Papers Used:
- 1908 bs
- 1908
- 1905
- 1904-BS
- 1925
- 1923
- 1922
- 1921
Other Supplies: lace, twine, rubber stamp, white paper flowers, flower stamens, butterfly punch, pearls and earring from my stash. Prima resin bridge, Magnolia Rose Leaf Die, Tim Holtz Tattered Flowers Die, Tim Holtz distress tool and Mini Mister, flower shaping kit, archival ink, sewing machine, and thread.
Thanks so much for being with us today. Don’t forget to check out our June Mood Board Challenge. You have plenty of time to enter your lovely project for a chance to win an entire Maja Design paper collection! May your day be filled with sweet summer breezes and crafty inspiration!
Hugs, 


