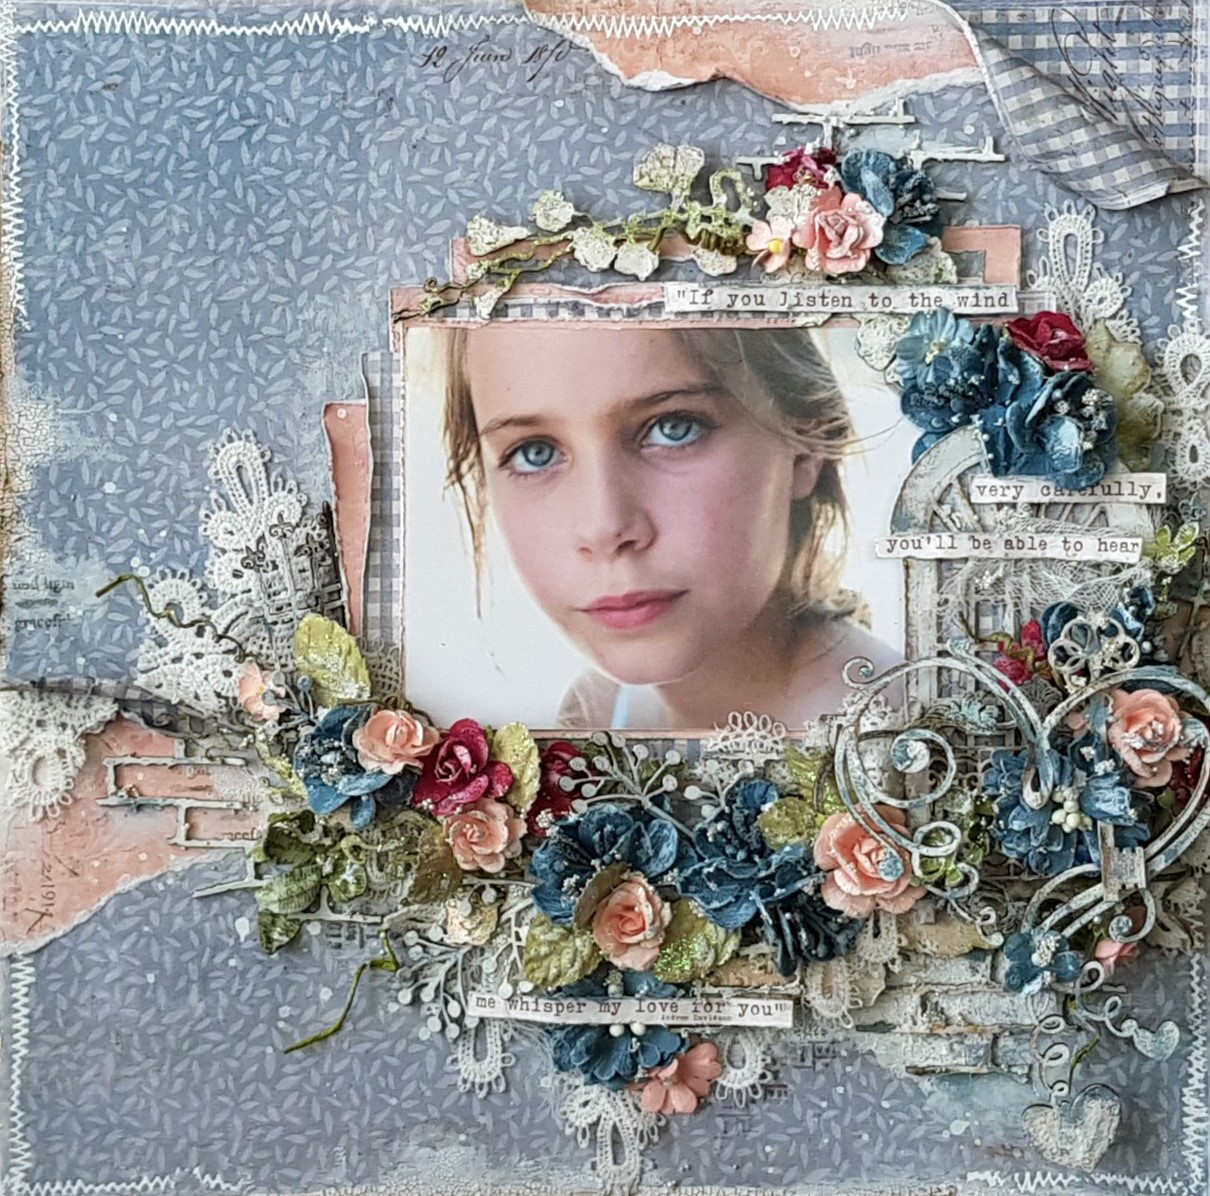
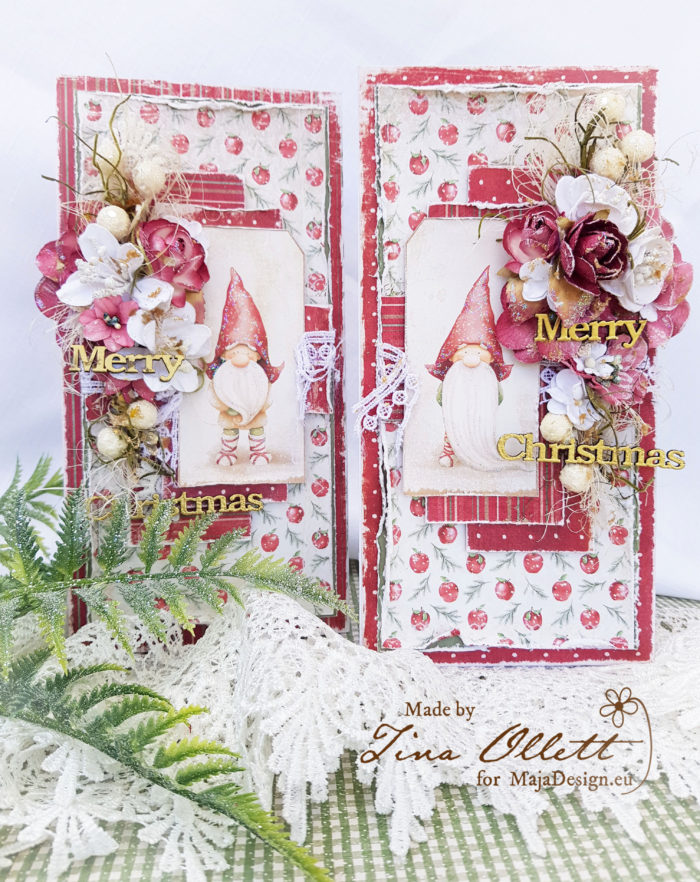
A very warm welcome back Maja Design friends. I am back with you today to share my next project which I have created by combining a mix of Maja Designs beautiful papers. I had a very special photo to start off with of my son down at the creek in the school holidays netting for yabbies. Something that we loved to do when we had spare time.
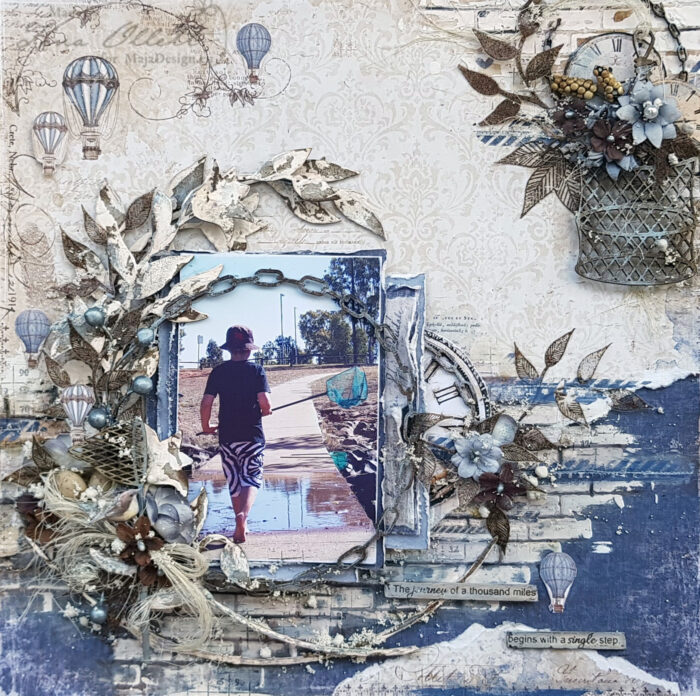
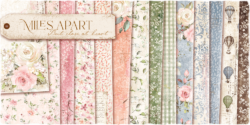
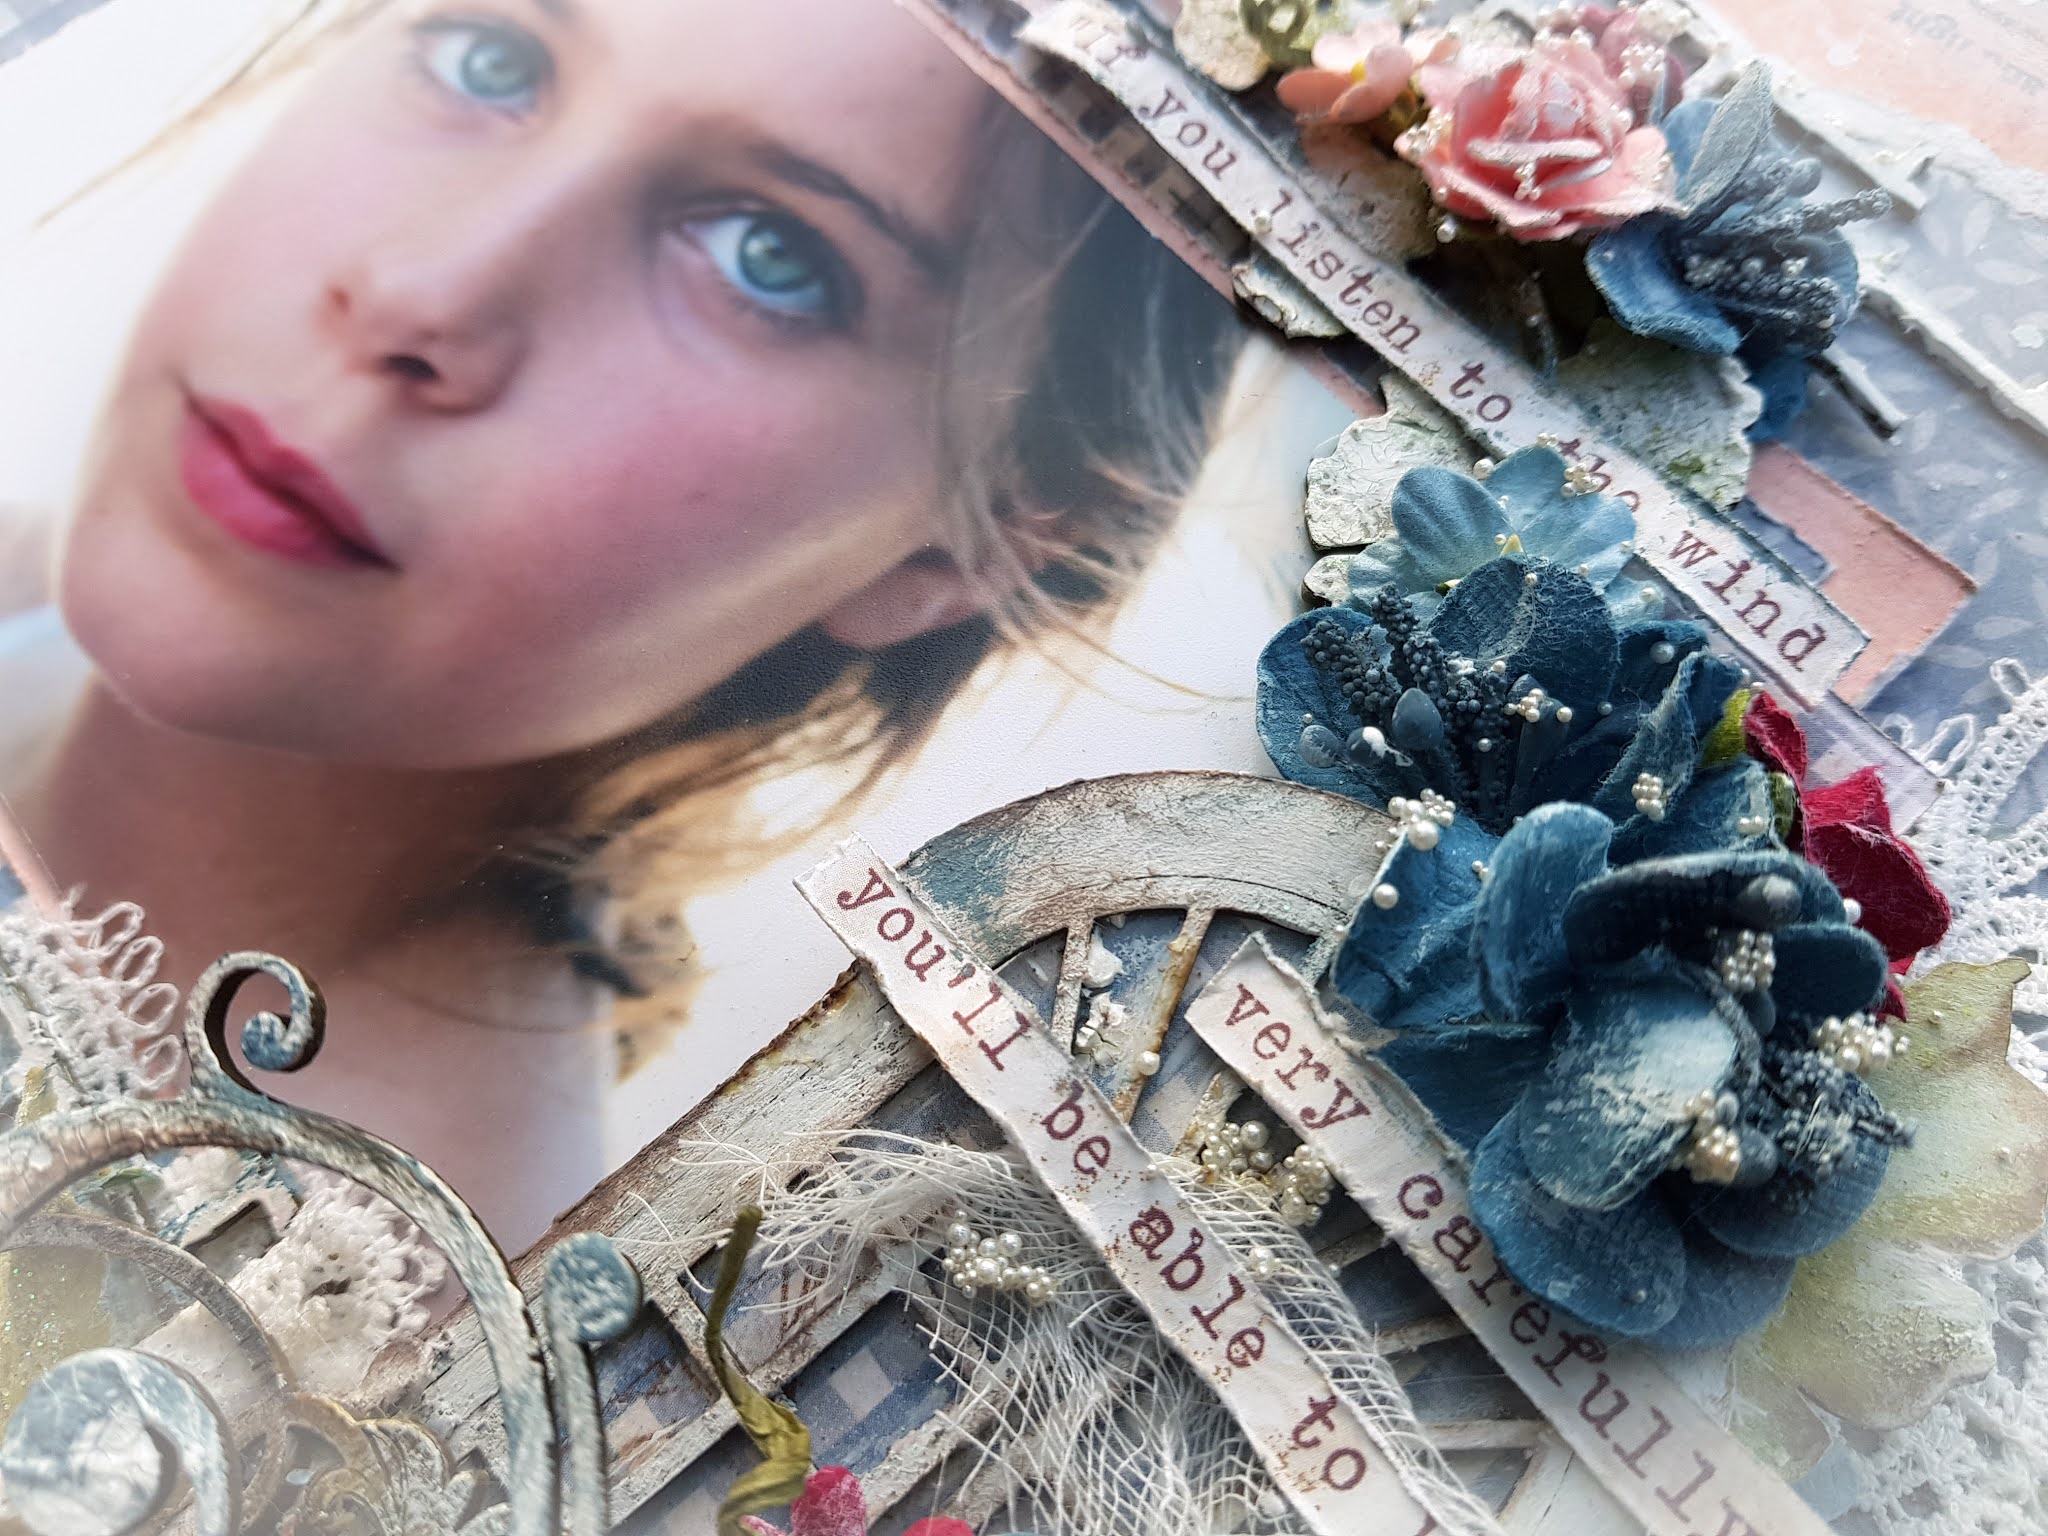
So because it showcases my son, I decided to create with the blue and brown tones with additional highlights of grey and black. I started out by tearing Miles Apart’s “Stay Home”. It was the base of this that was torn. I wanted to keep those cute balloons to complete the scene. To the base of this I added in an older piece but a huge favourite for me from the Autumn Basics collection, No.XXI. I adhered these two together and then added over some textures using the Brick stencil from Dusty Attic. Over the stenciled texture I coloured in the edges of the bricks using Distress Inks in the colours of Walnut Stain and Black Soot. I also did a little random stamping using a numbers stamp and Archival Ink in the colour of Watering Can. Once this was dried I then added in some rub-ons in a navy colour to match my papers and photo.
-
- Stay home-bs
-
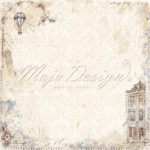
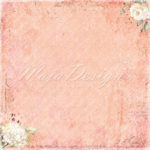
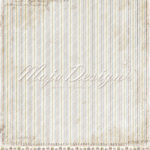
- Stay home
-
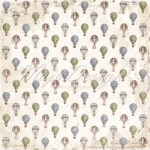
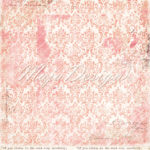
- Dream away
-
- Dream away-bs
-
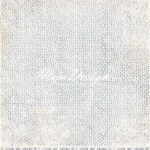
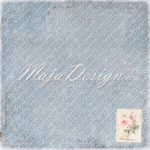
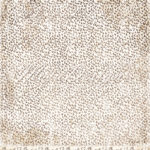
- Stonewashed
-
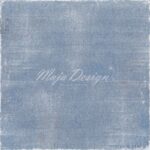
- Stonewashed-bs
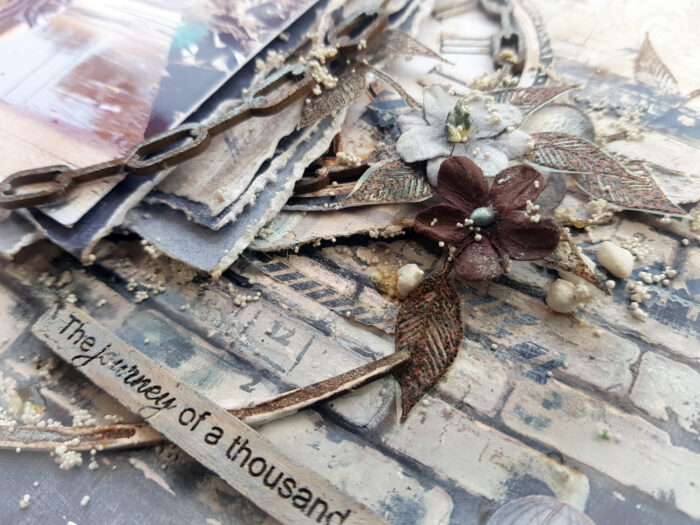
I then moved on to adding in my photo. For this project I used a 4 x 6 inch colour portrait photo. The edges of the photo were sanded and behind the photo I added in lots of layers of my leftover papers and I also added in an additional piece of Denim and Friends “Stonewashed” paper. All of these layers were distressed heavily and layered behind my photo.
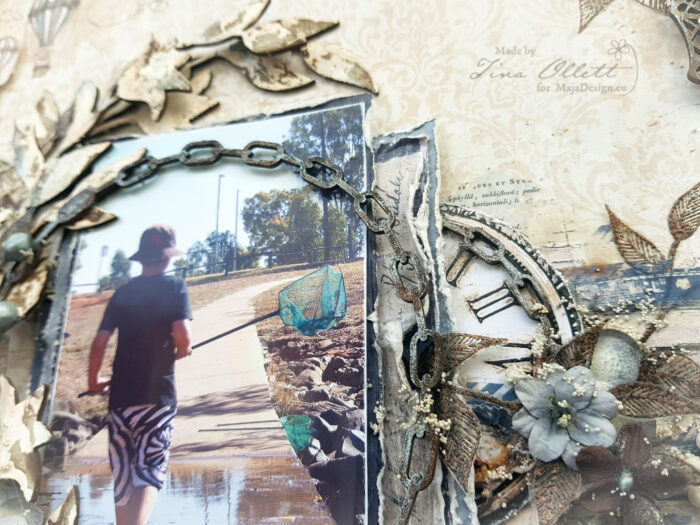
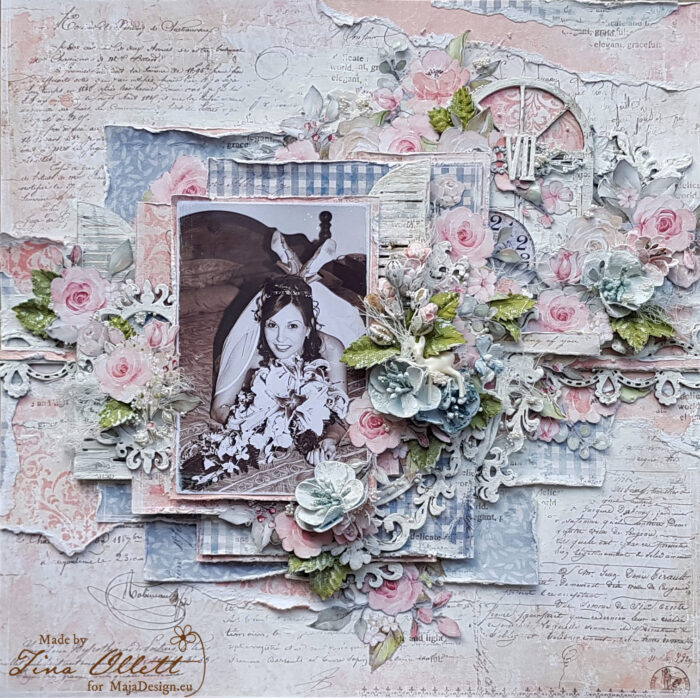
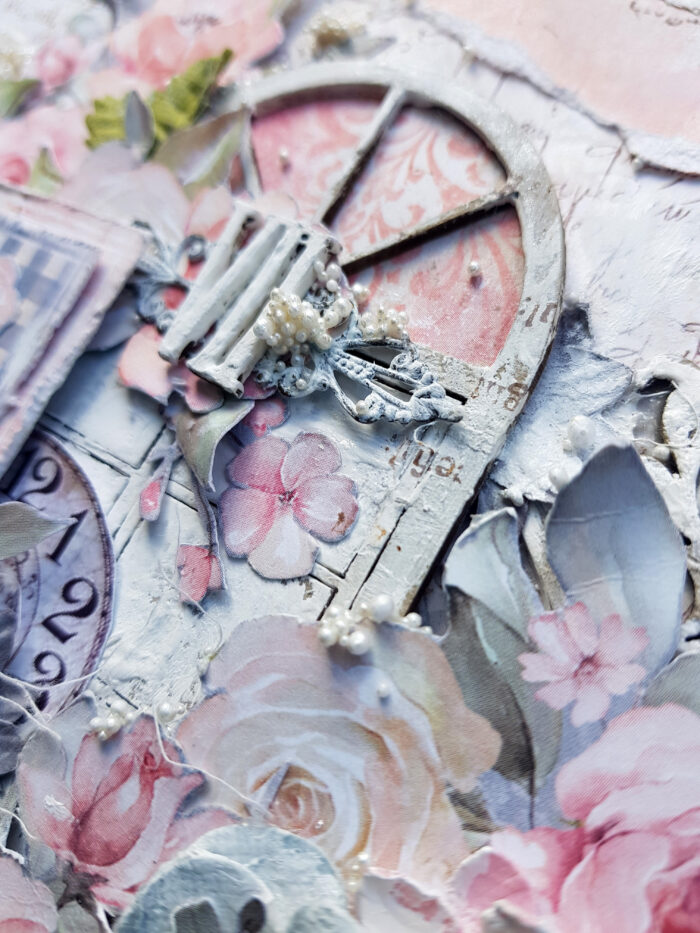
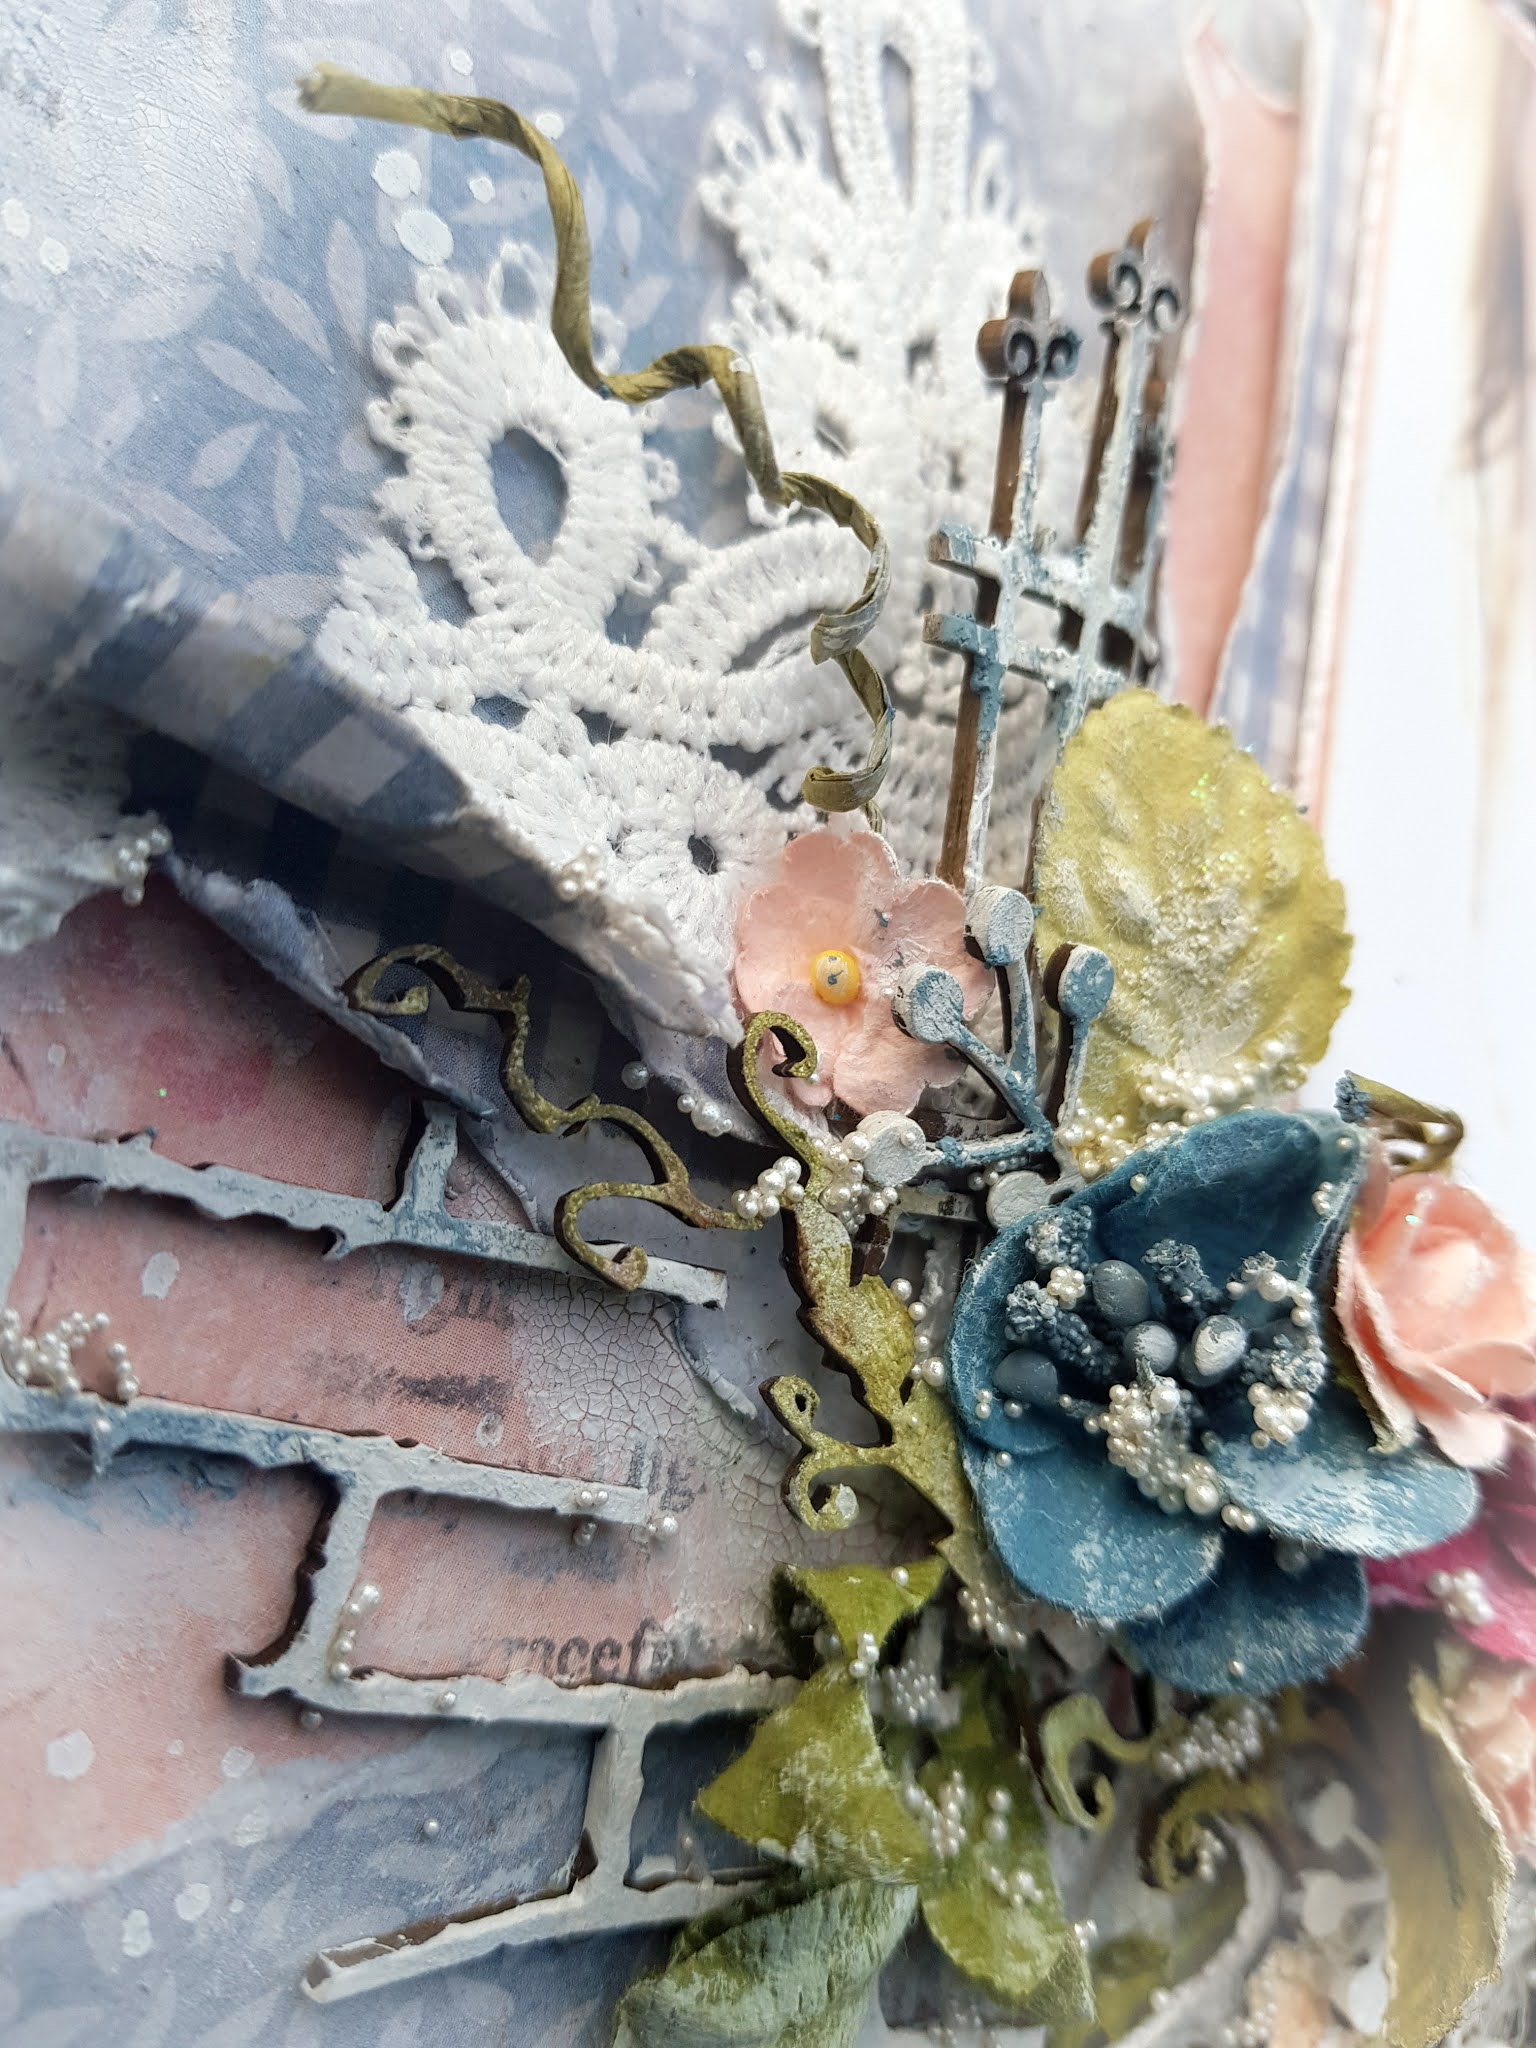
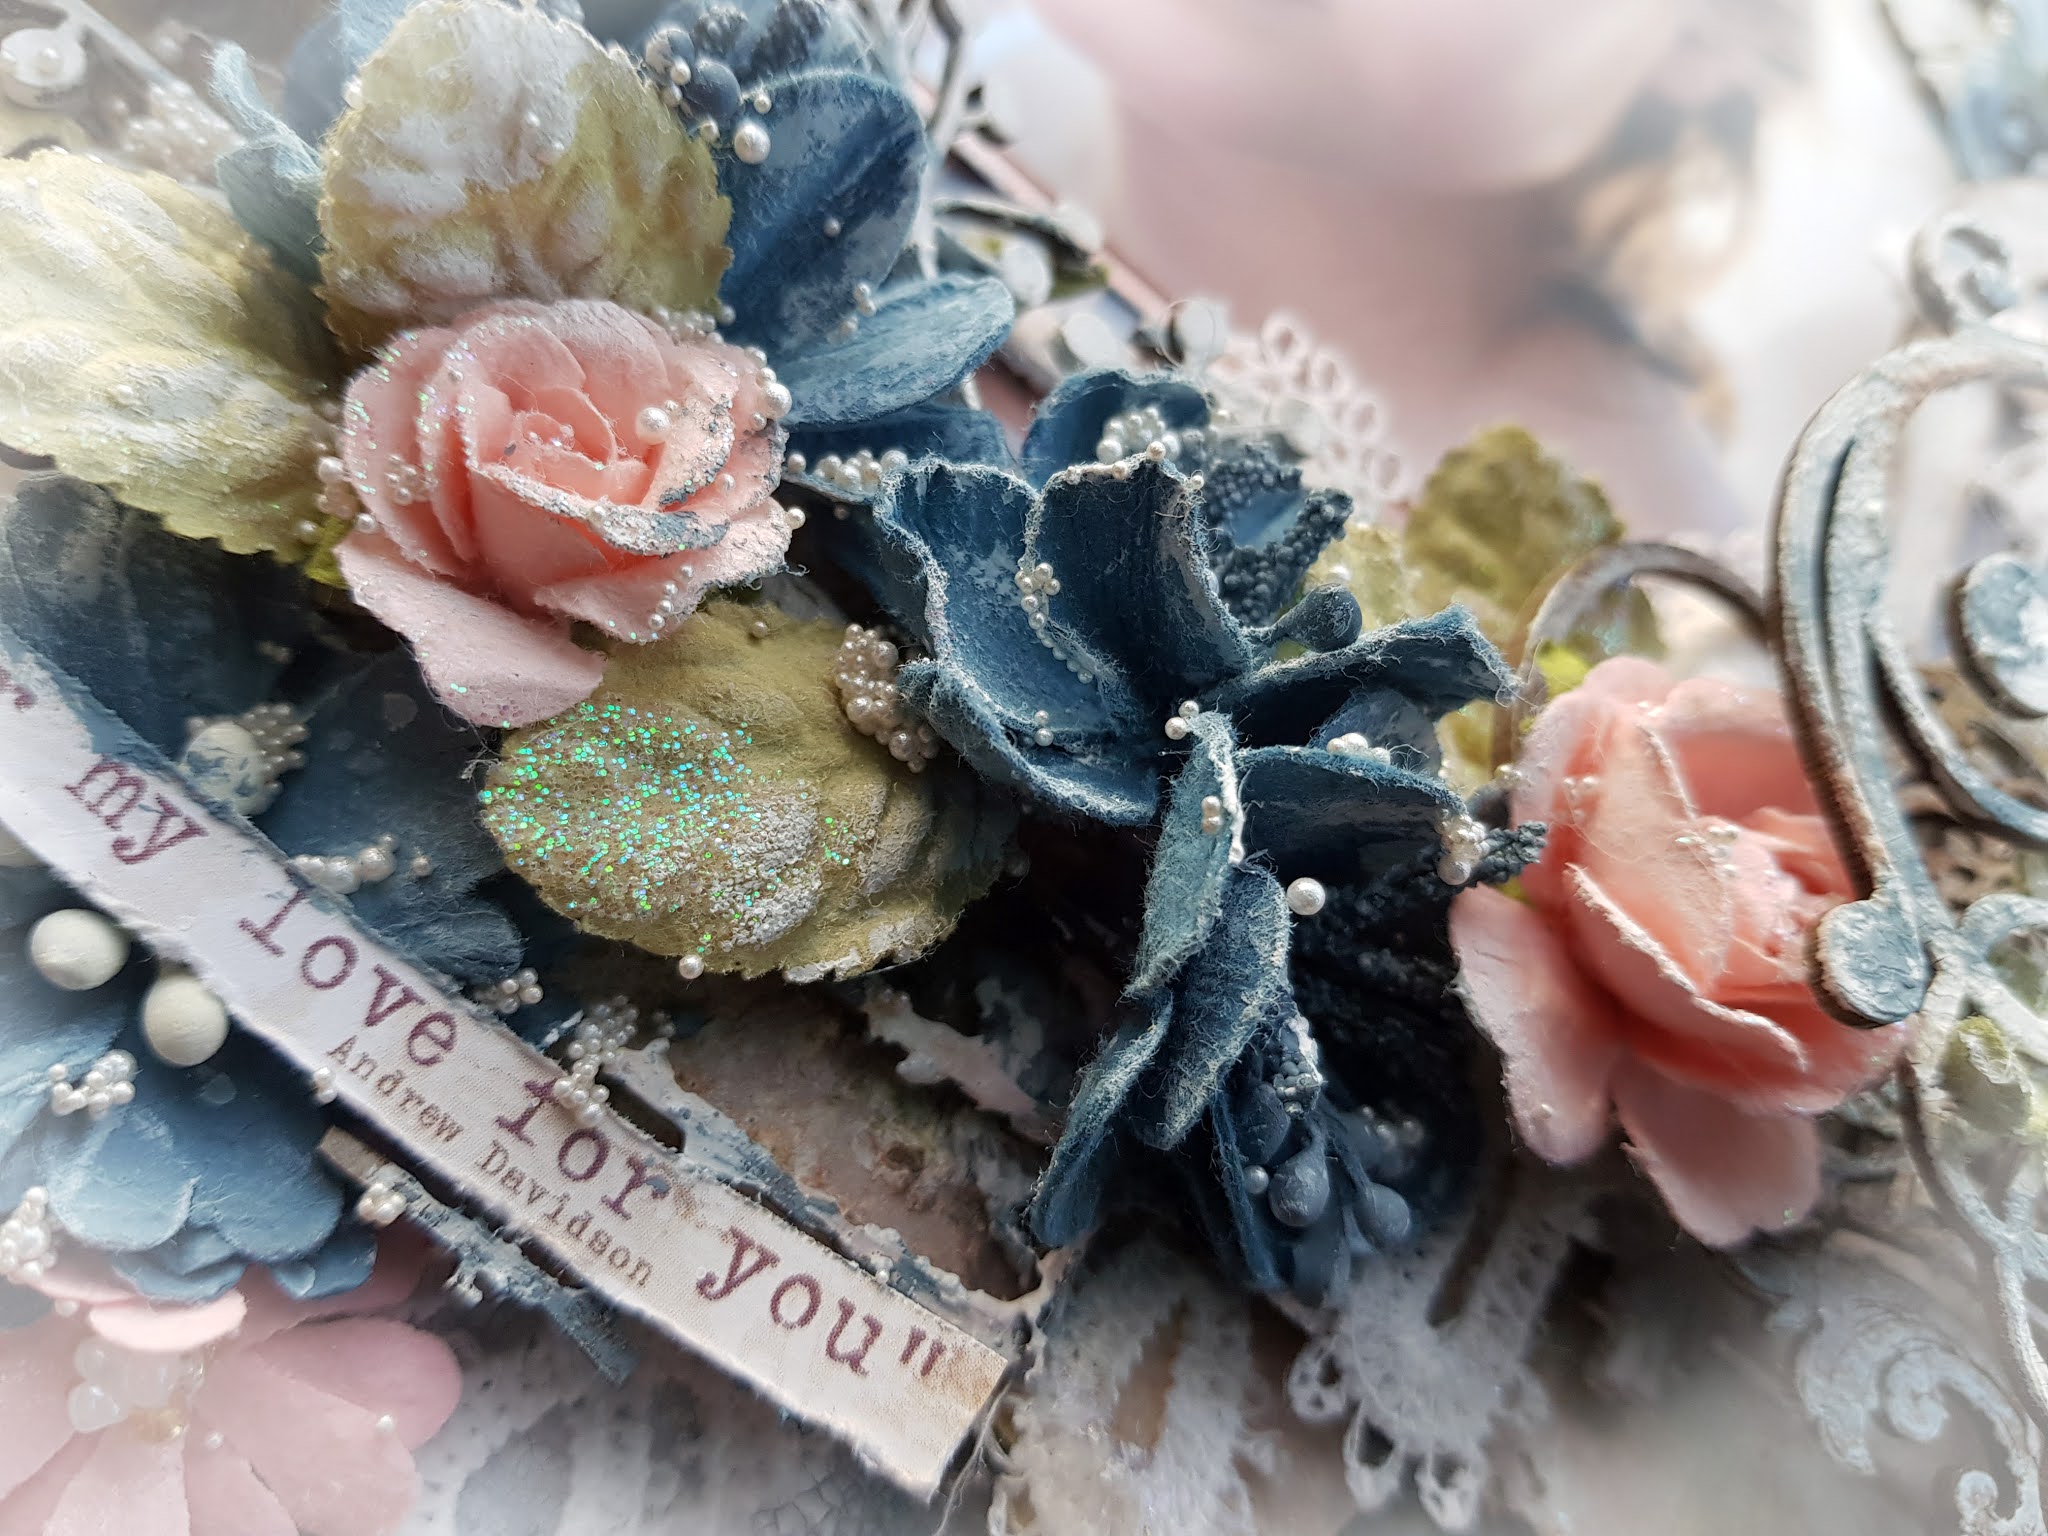
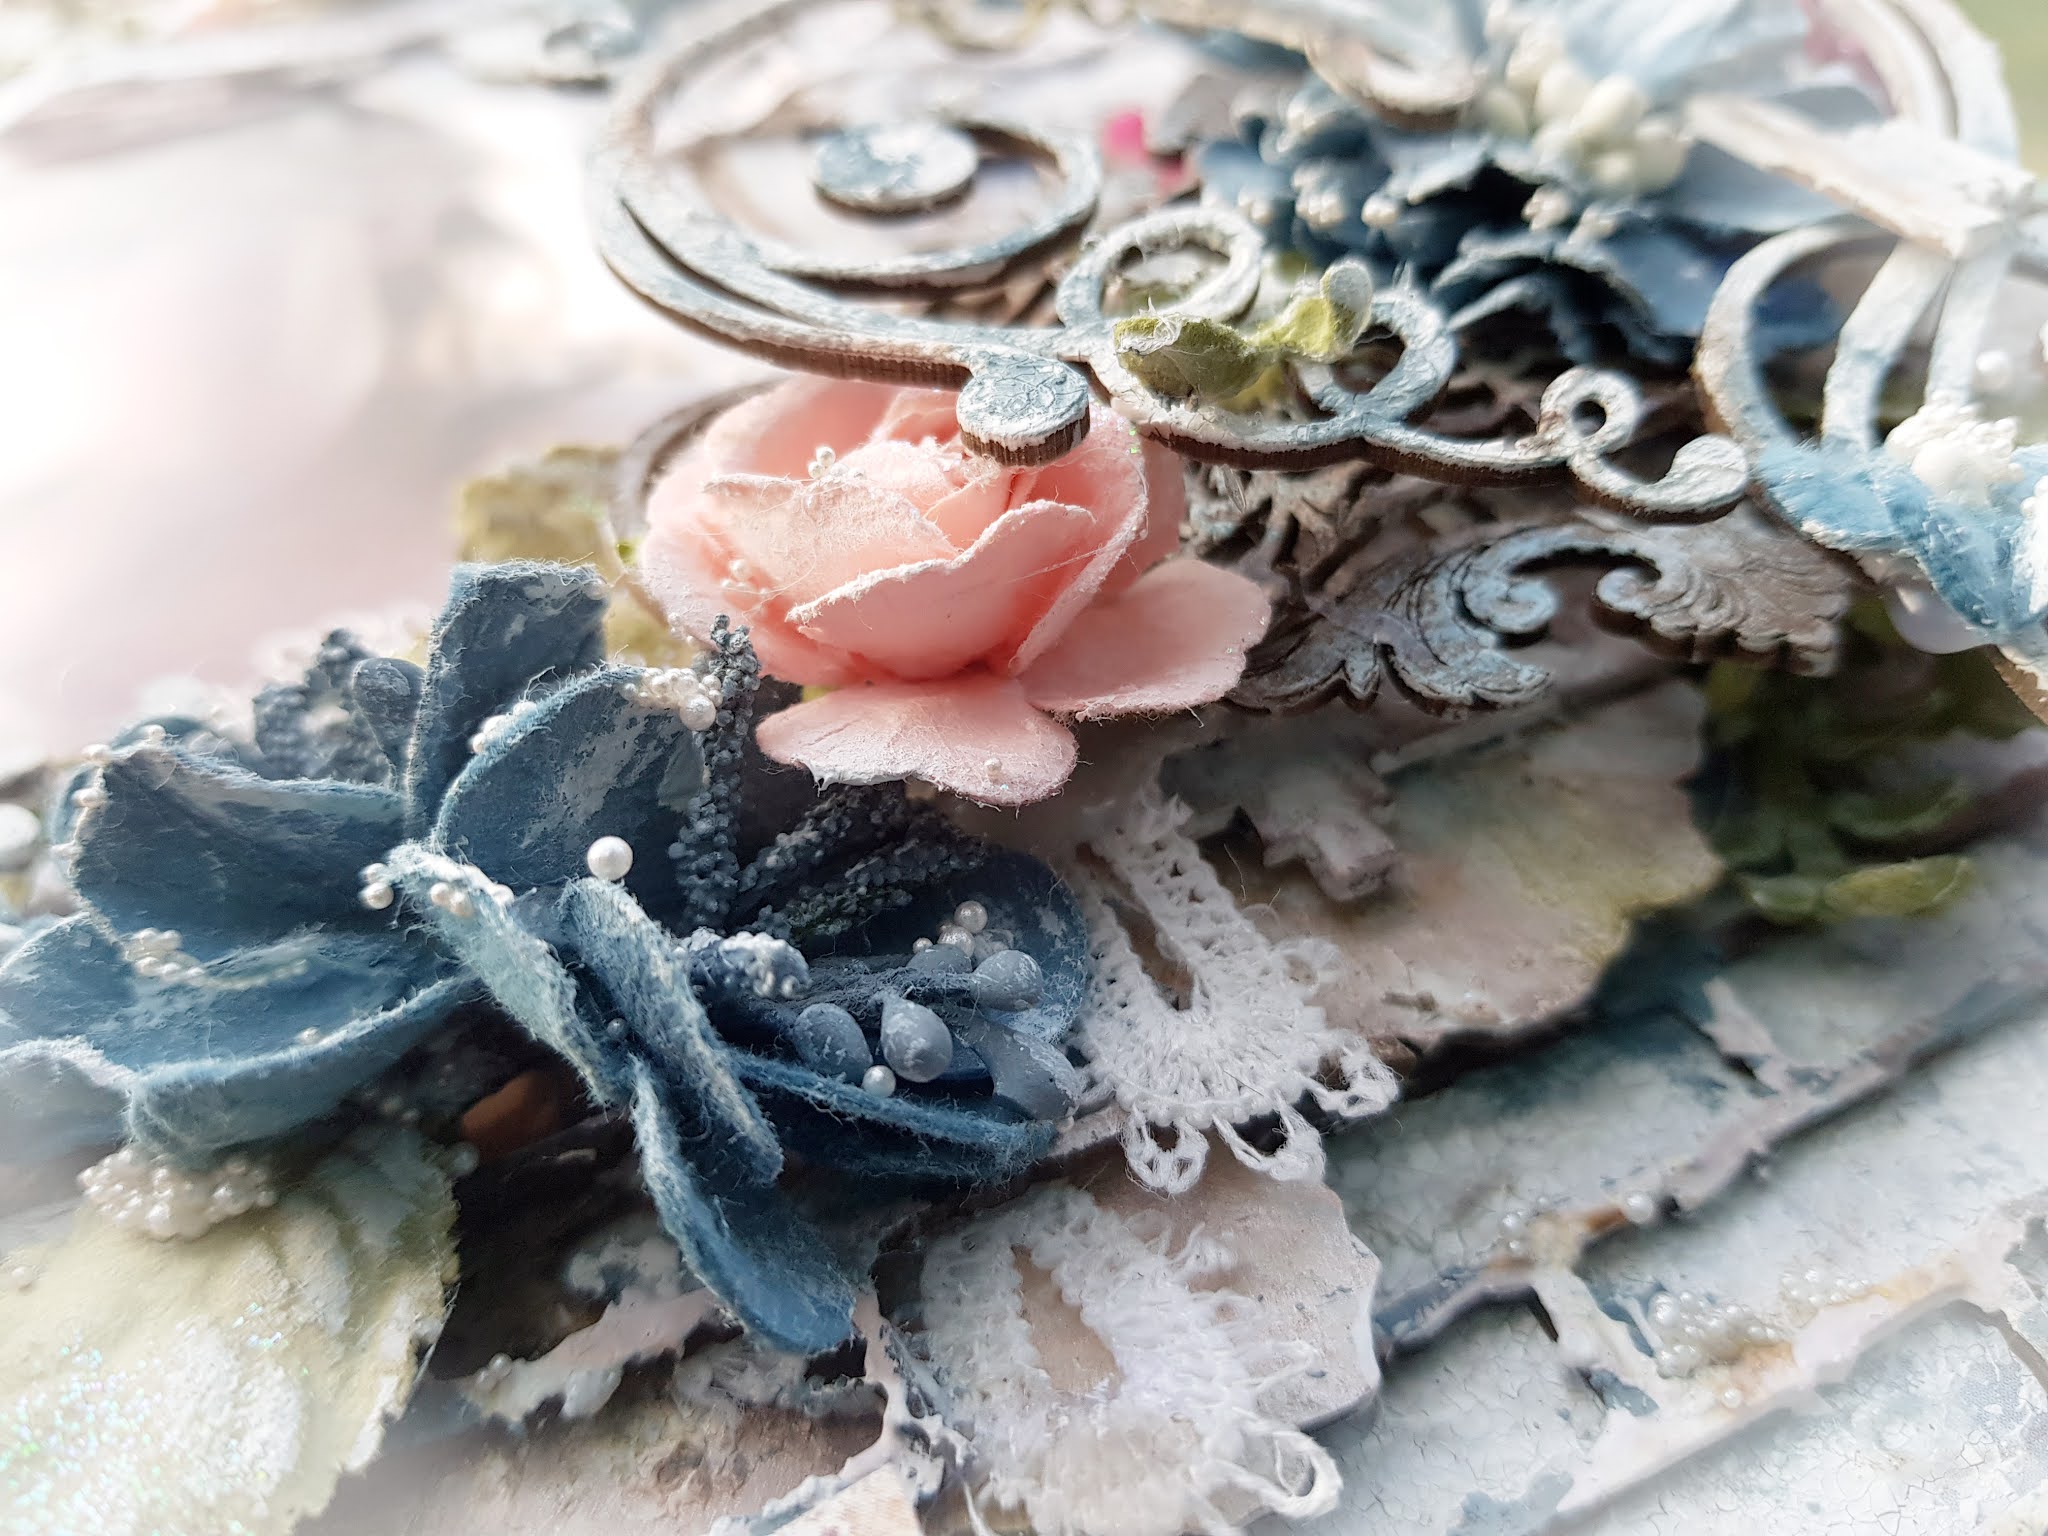
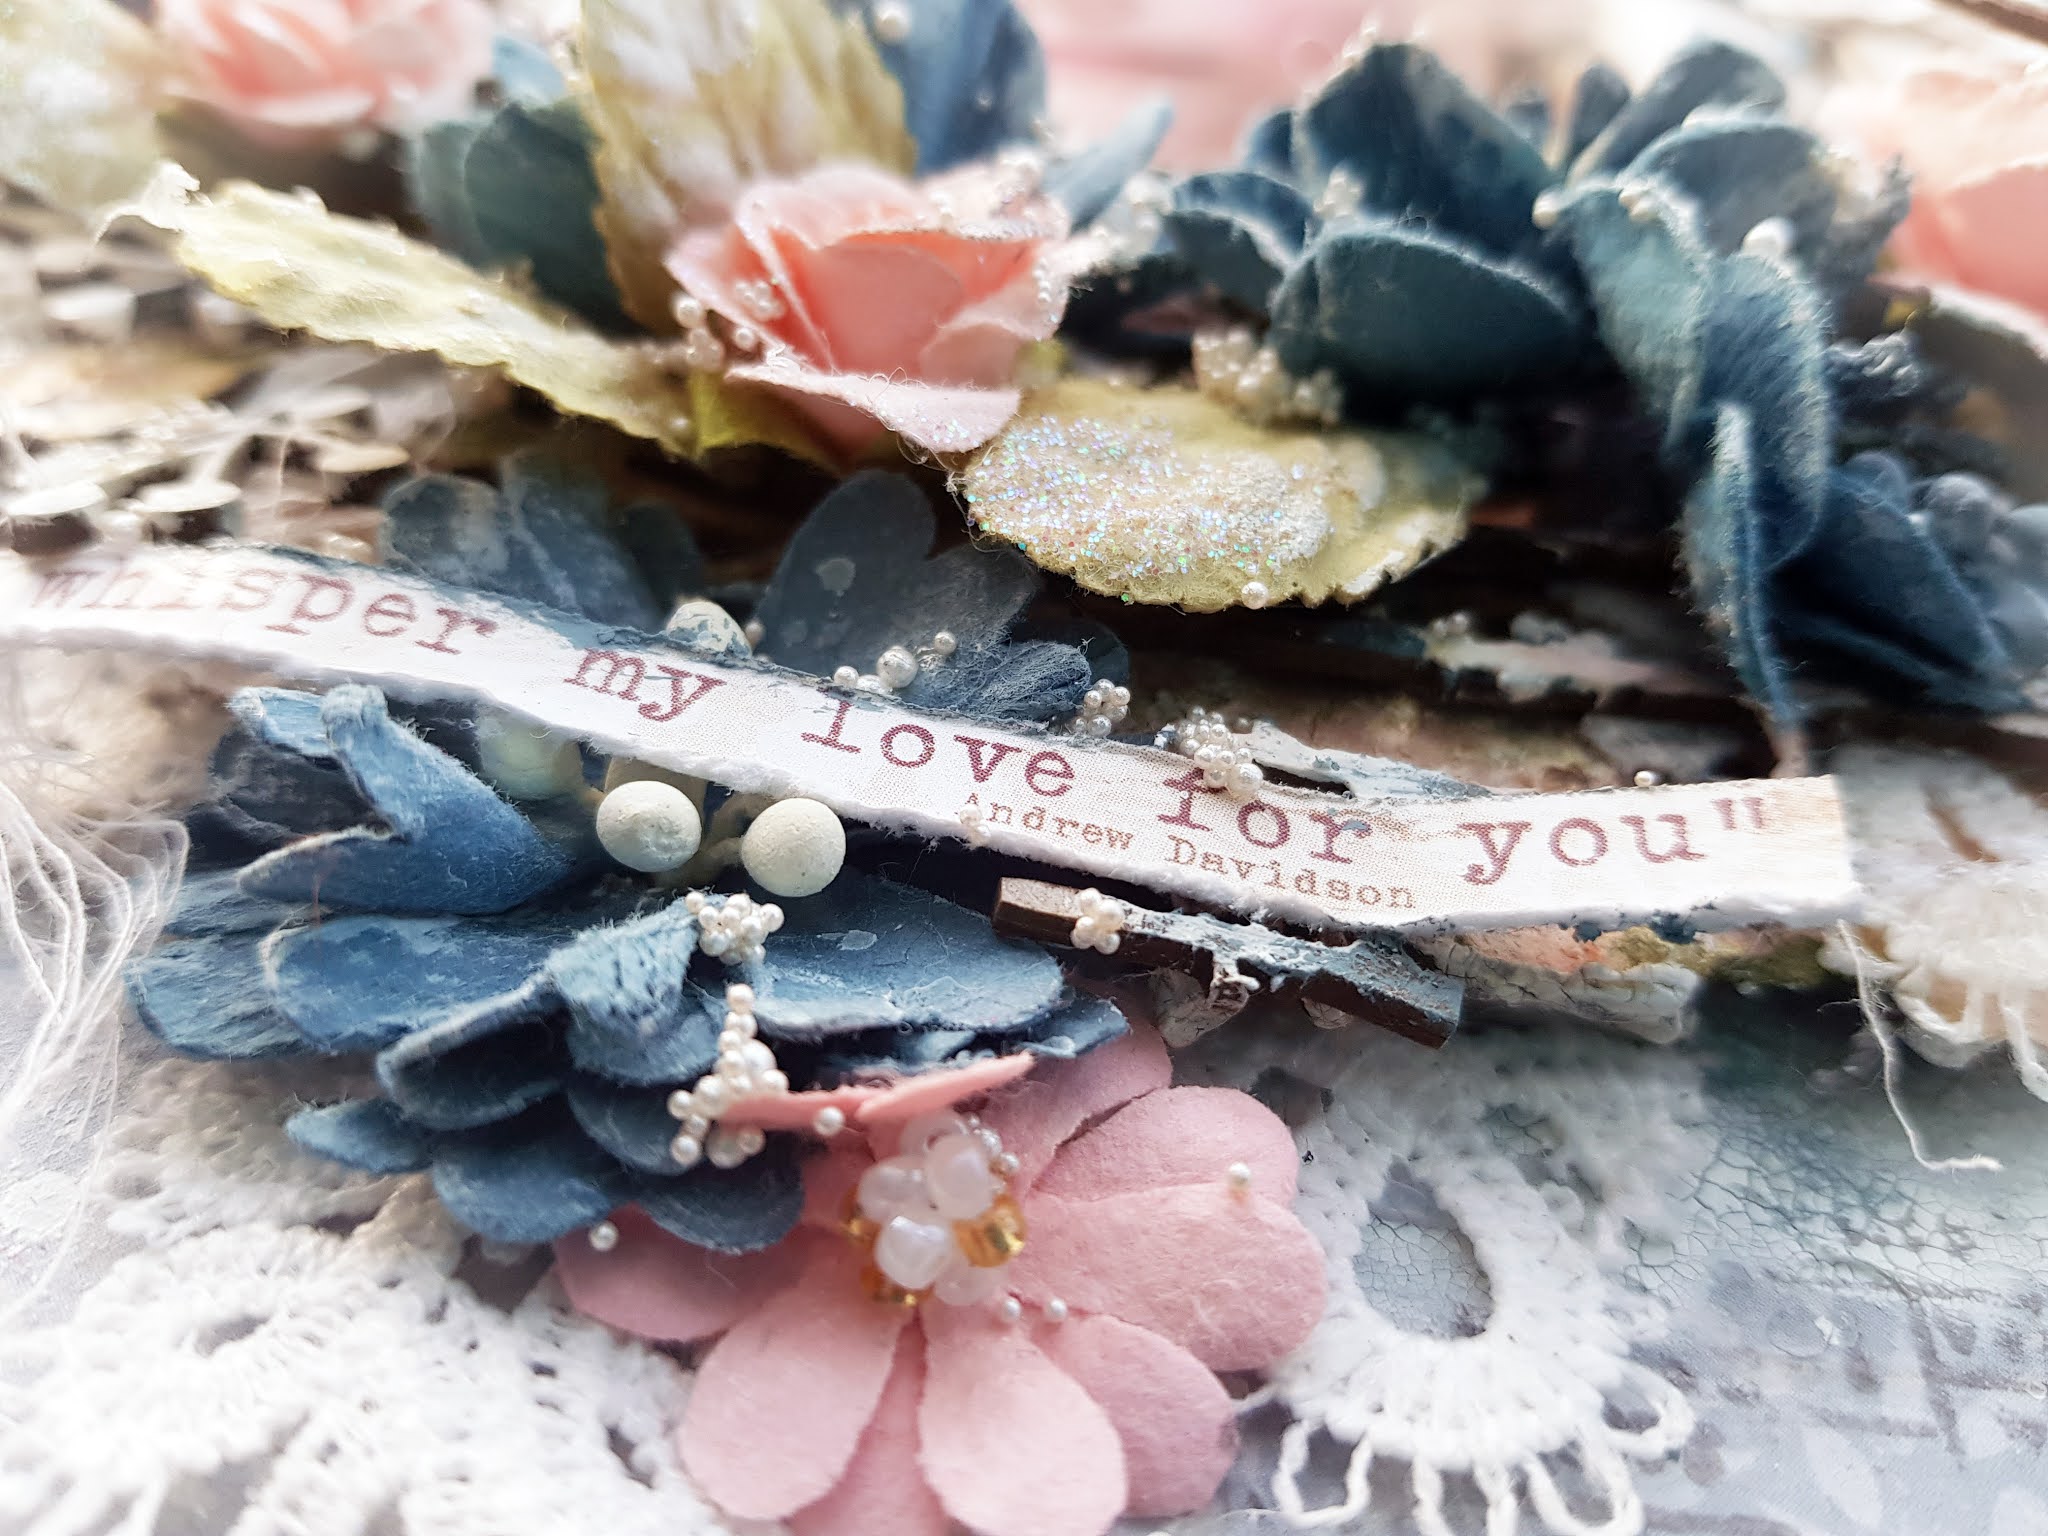
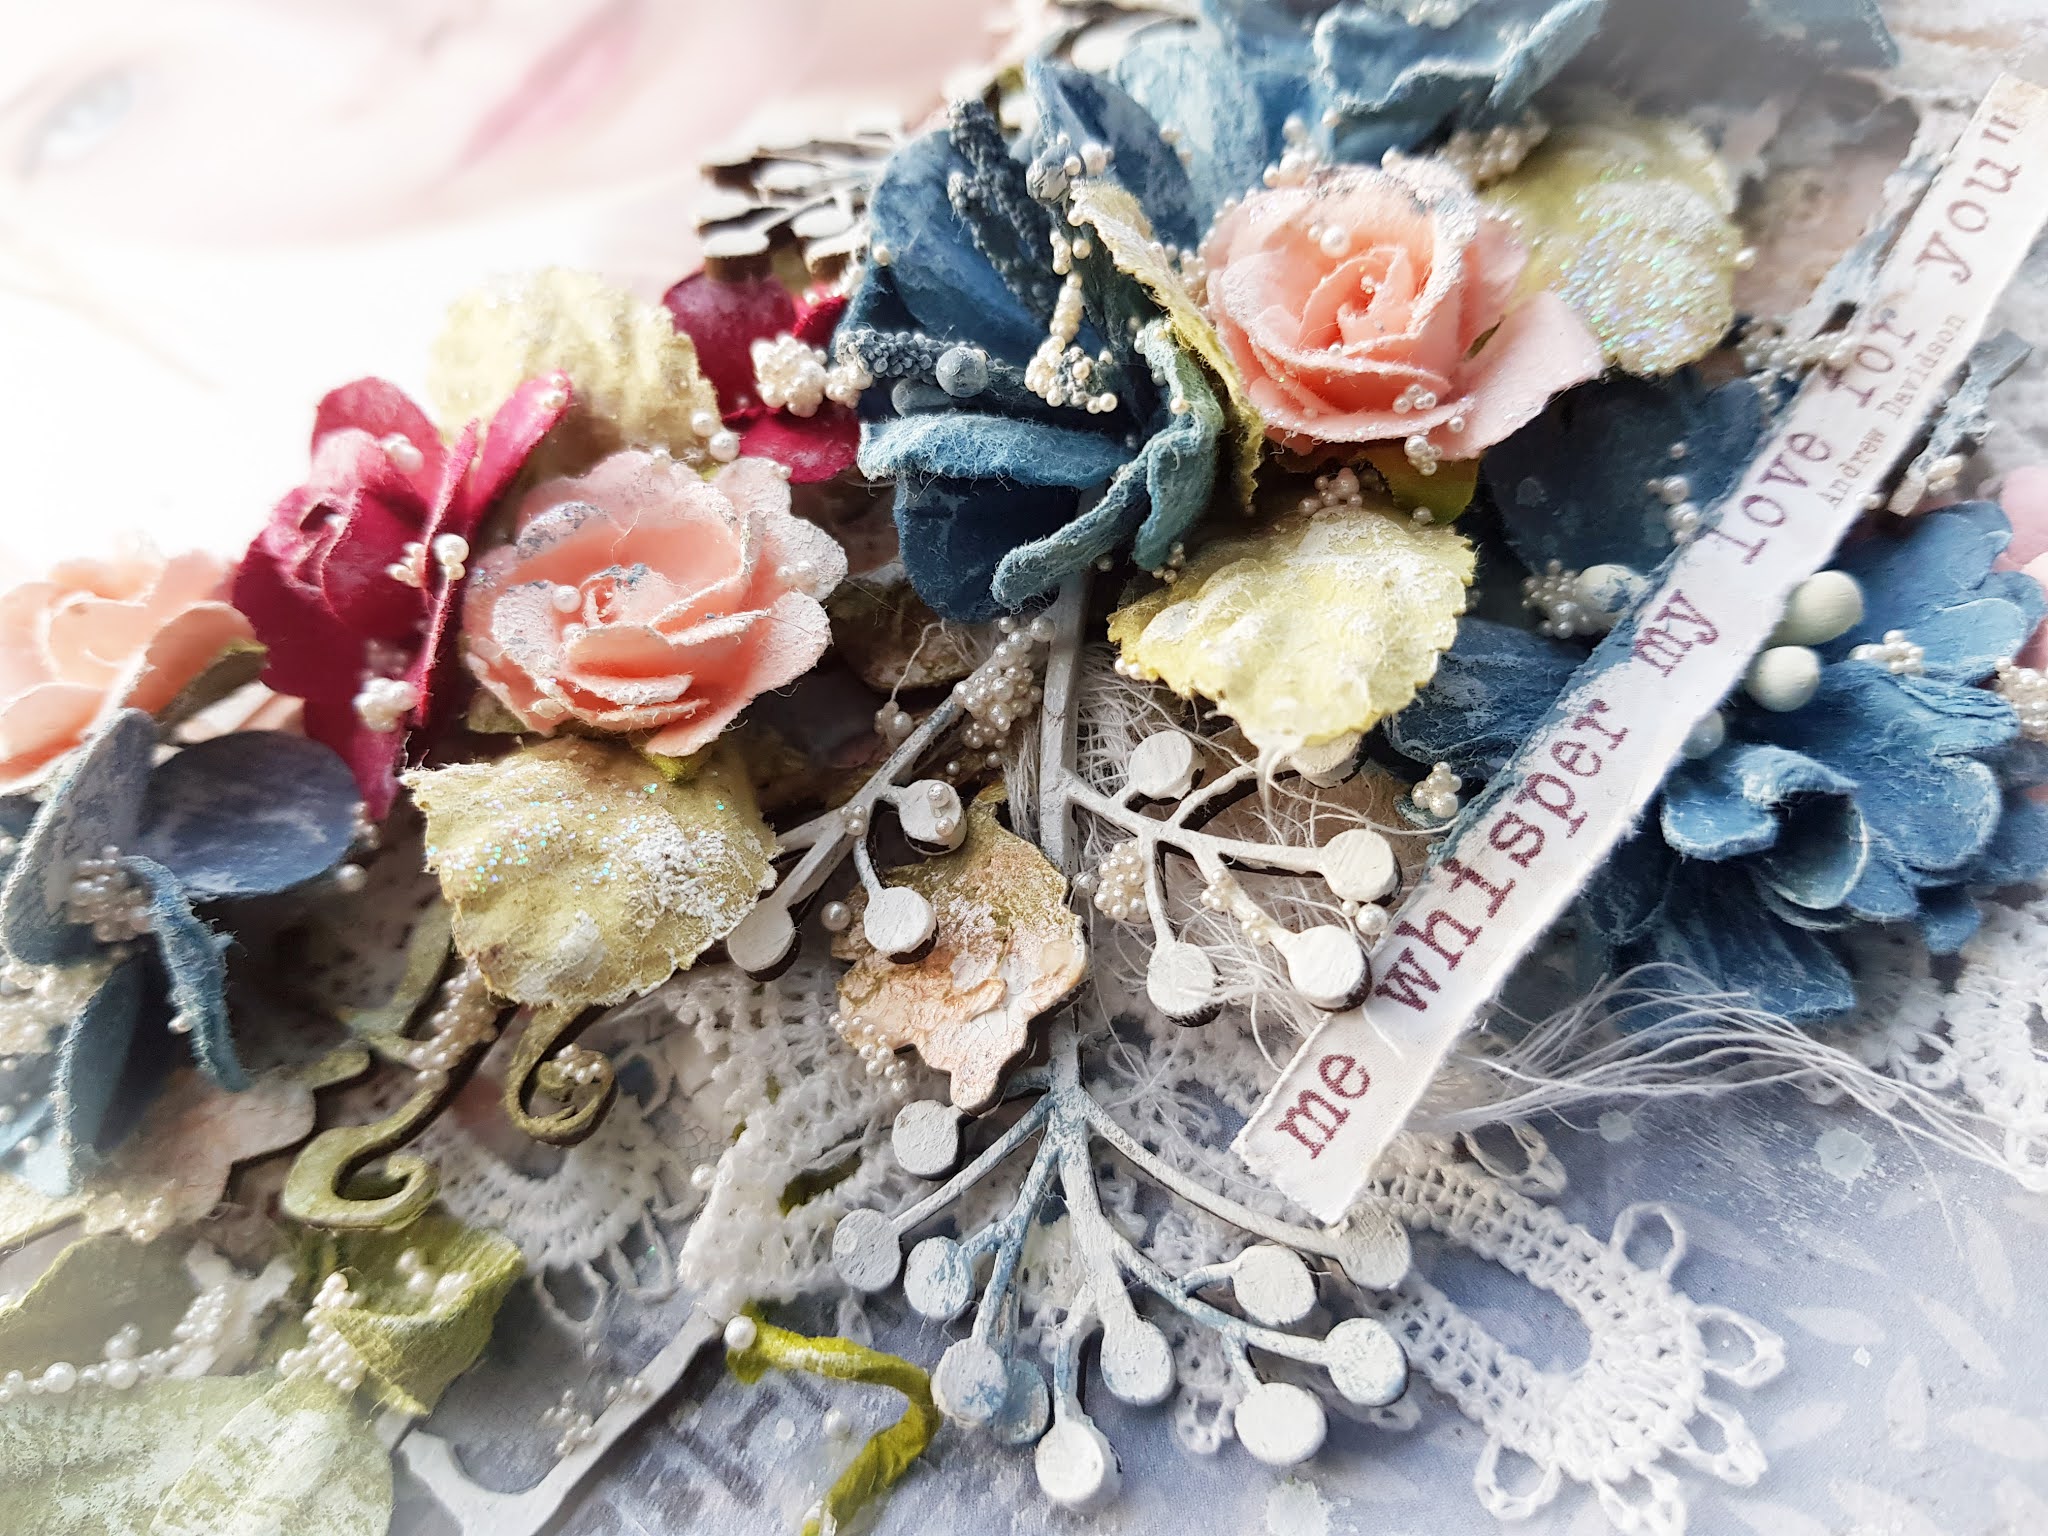
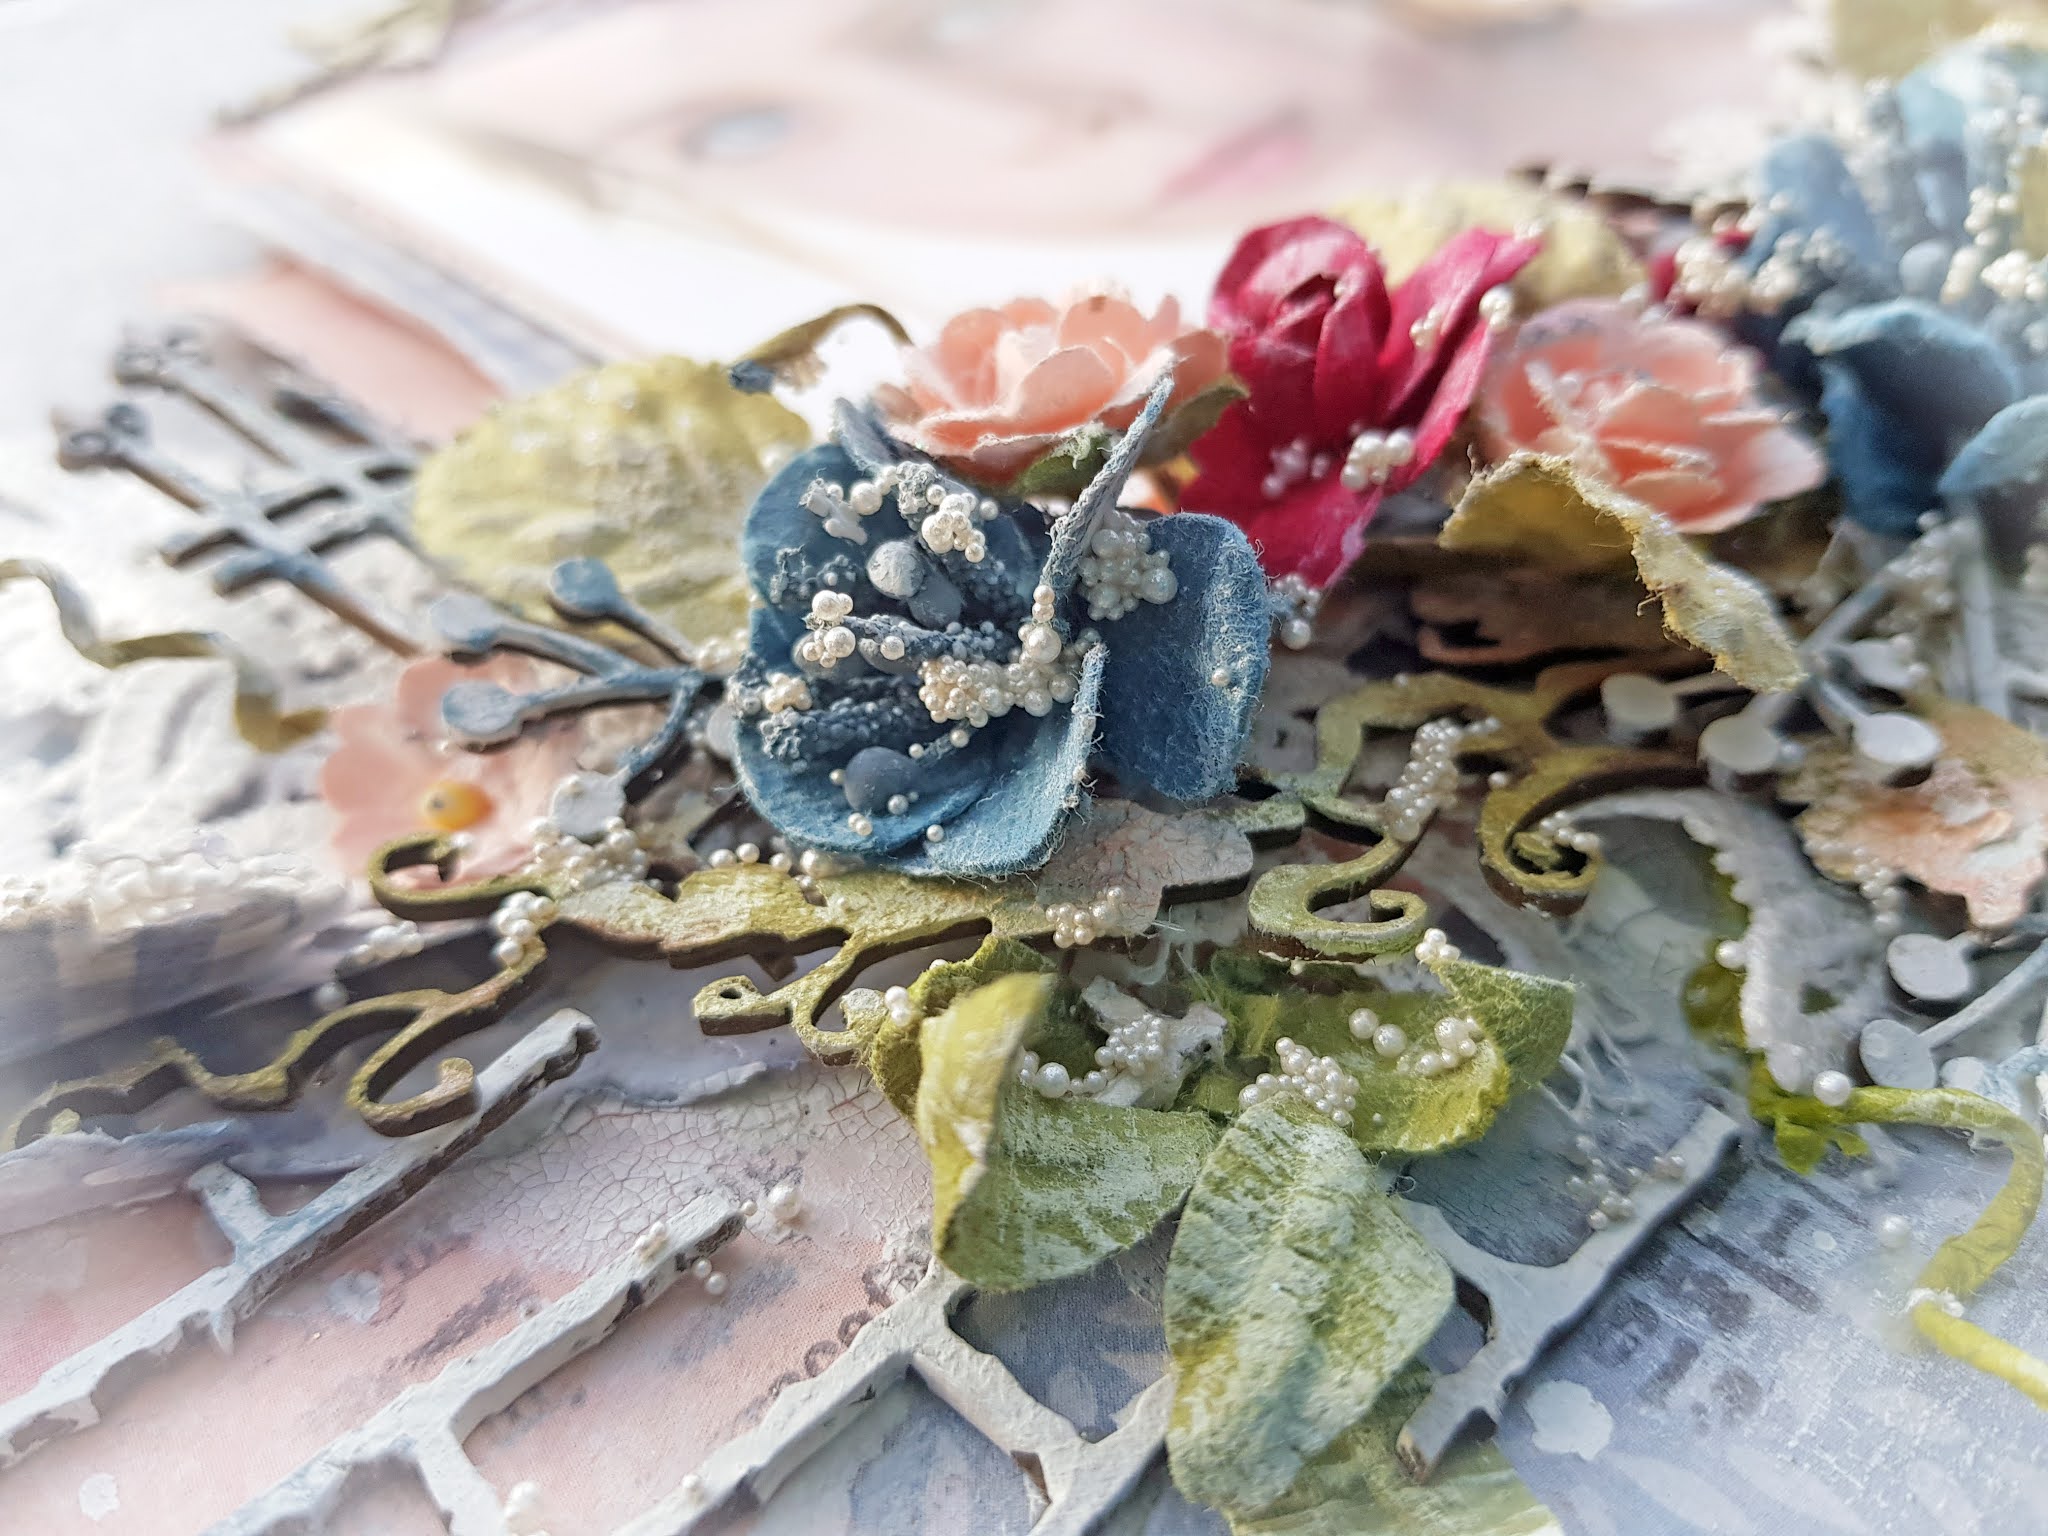
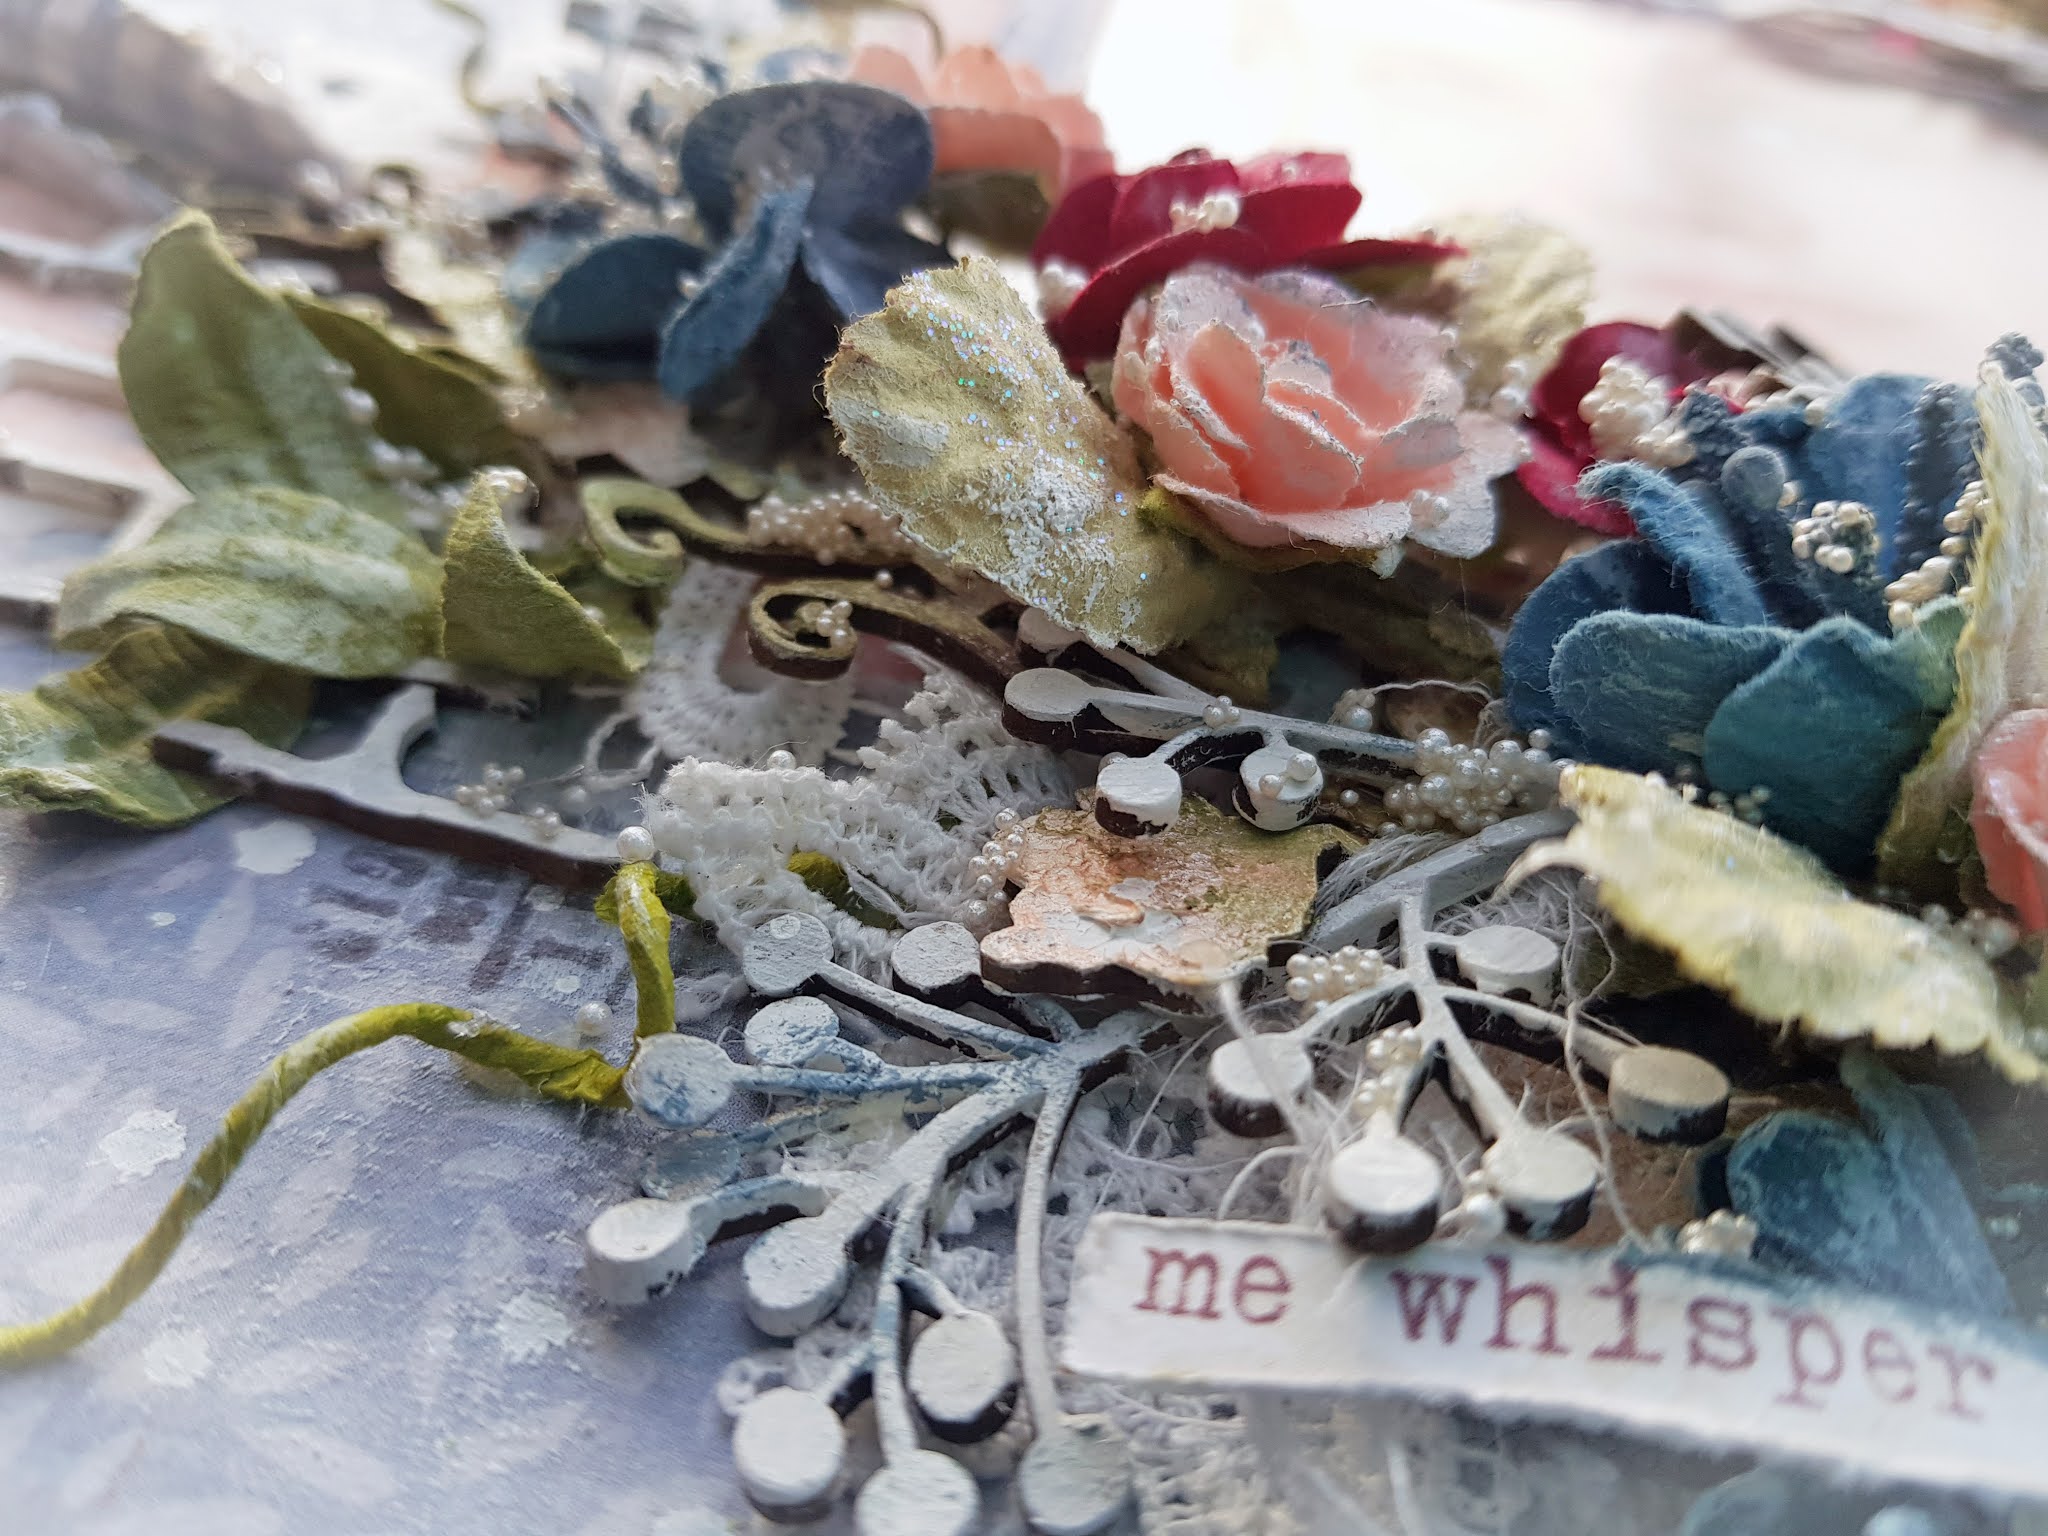
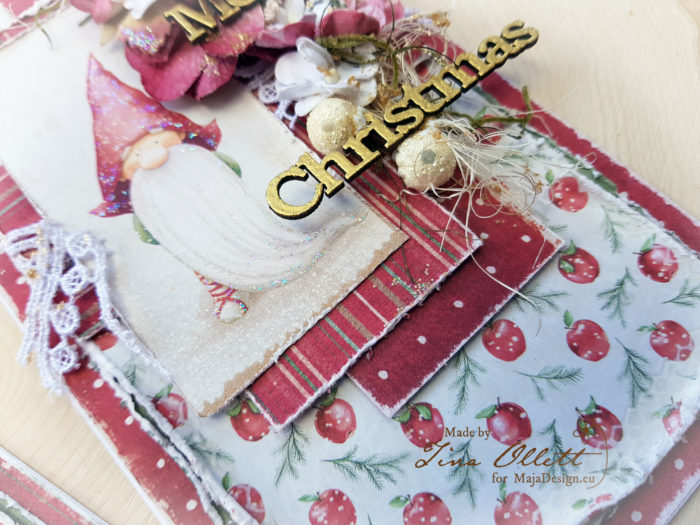
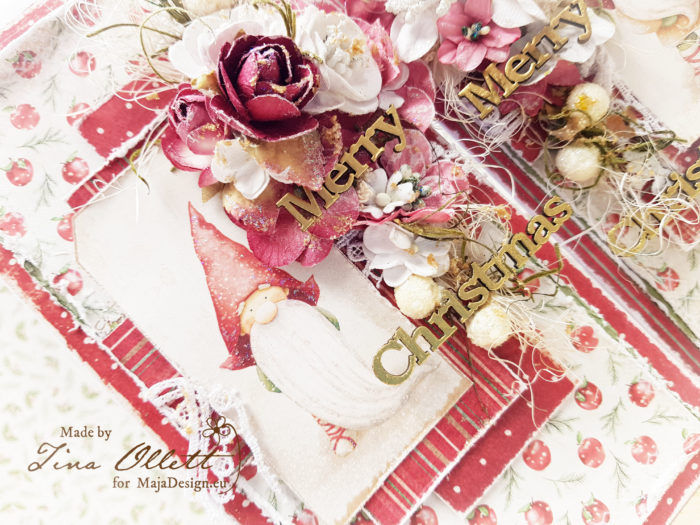
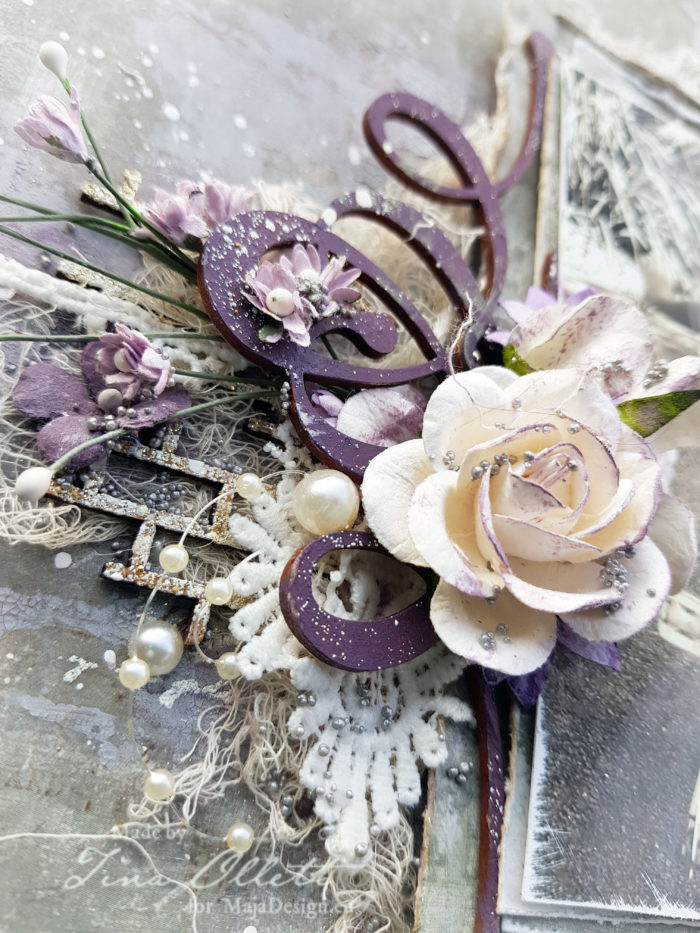
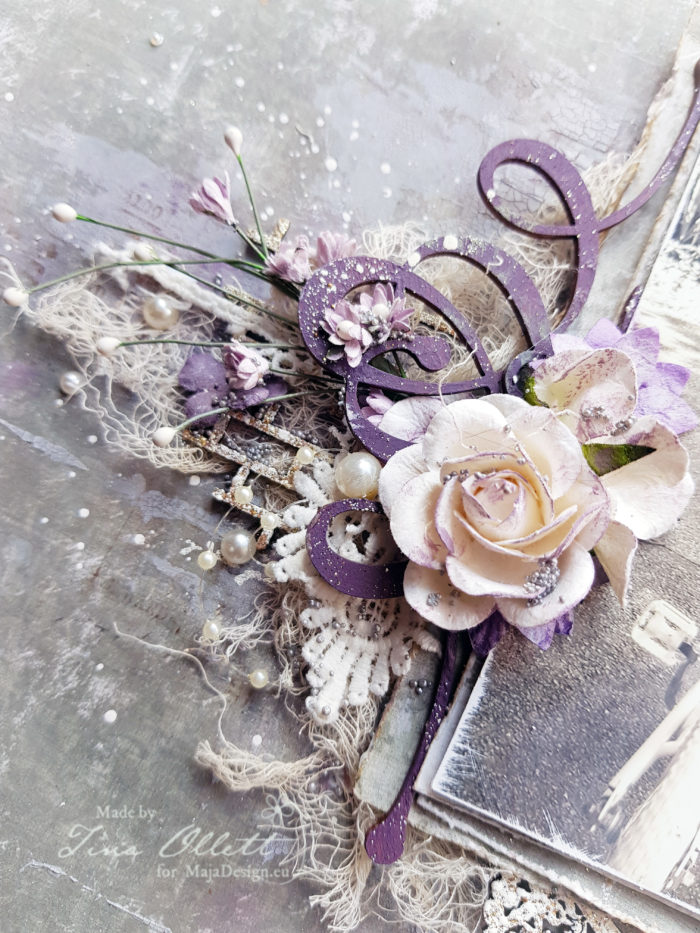
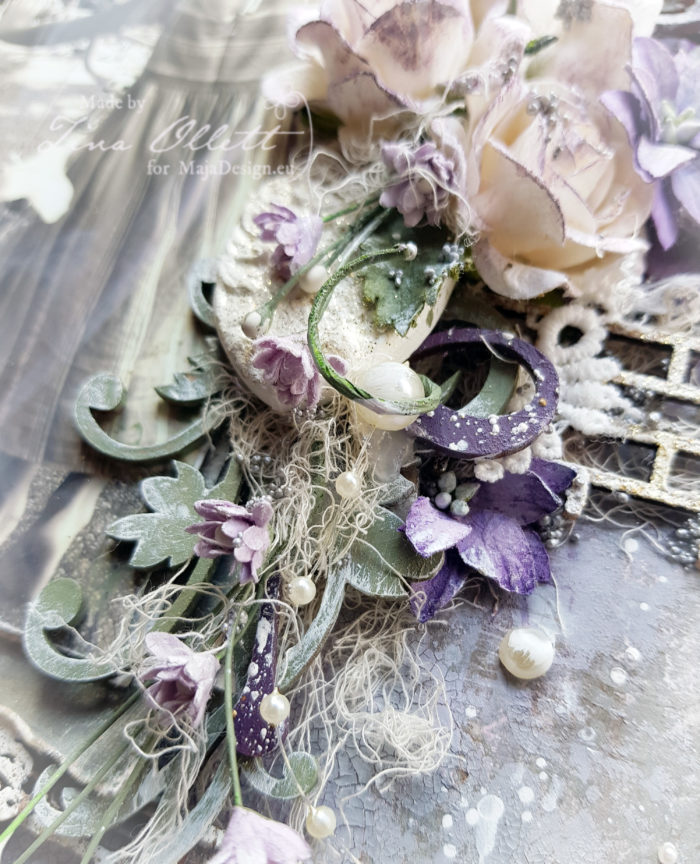
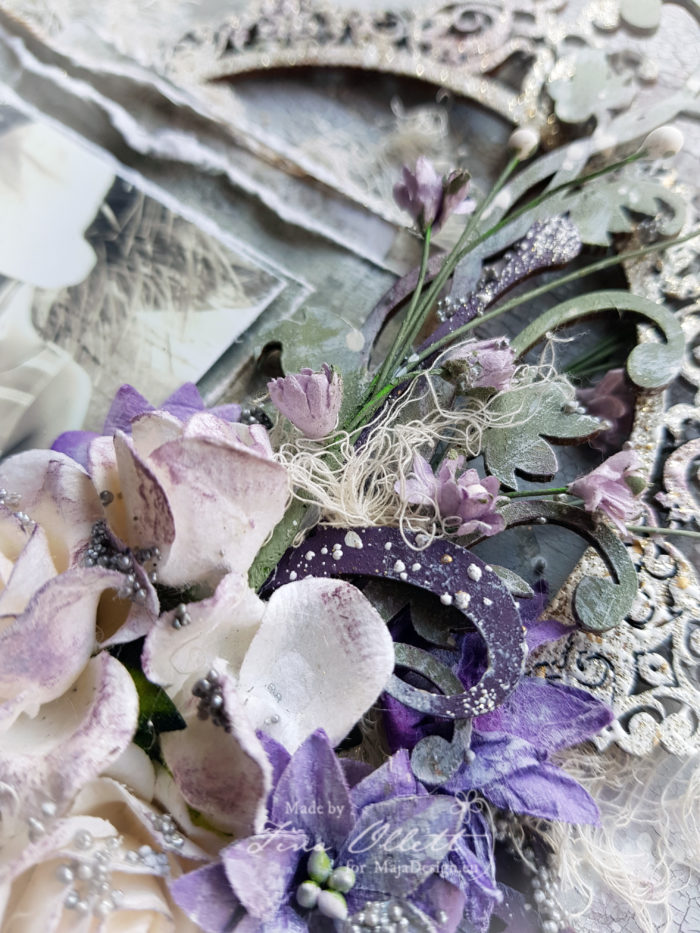
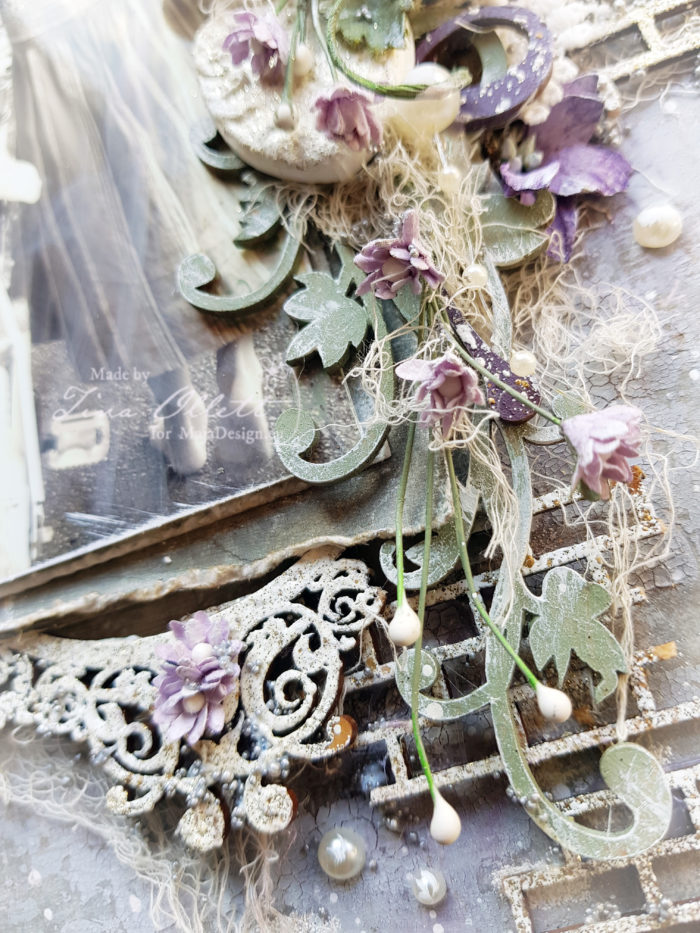
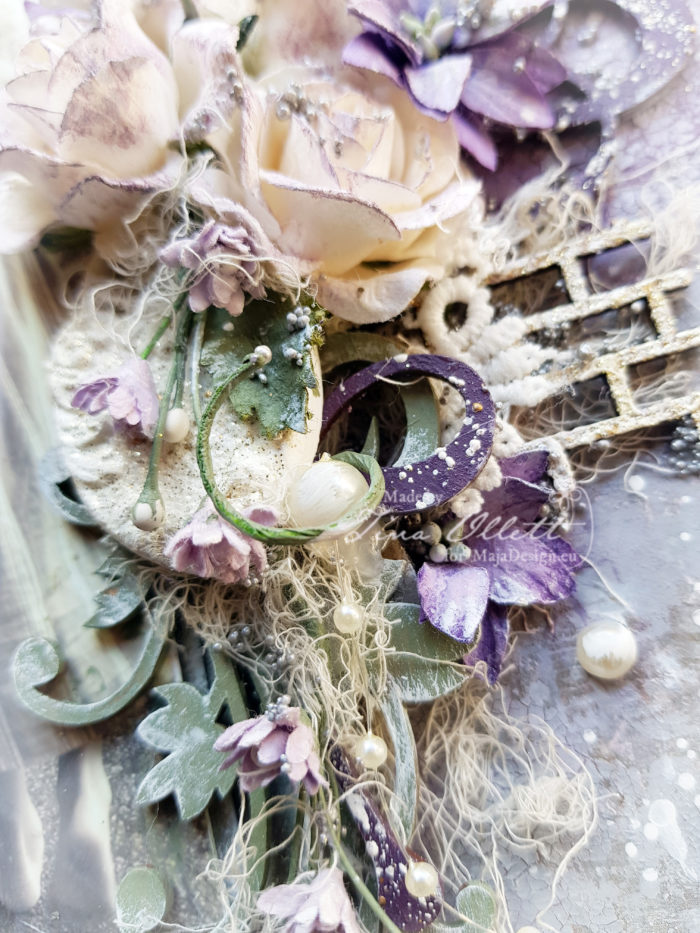
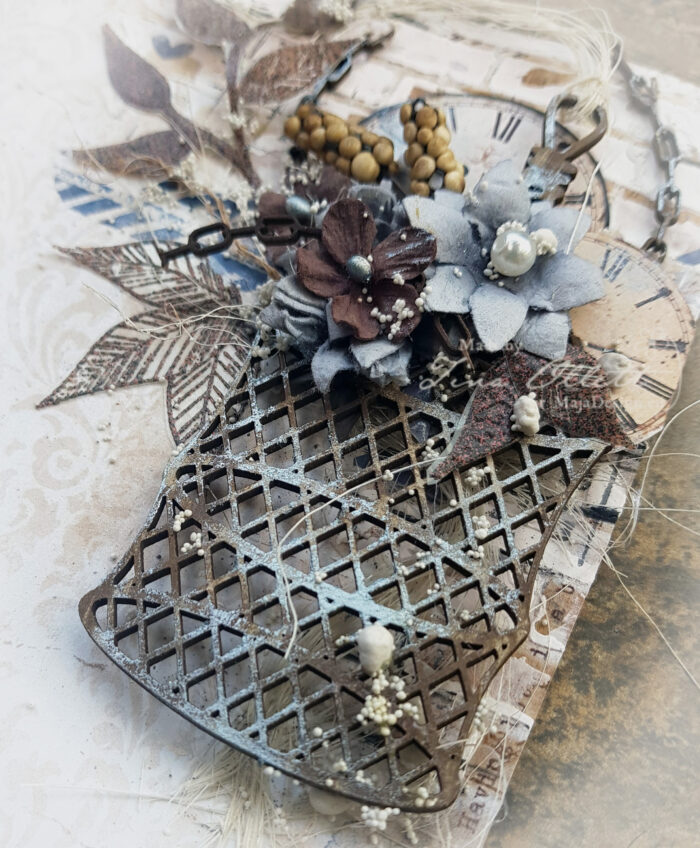
Once all the base pieces were adhered down I moved on to embellishing my layout. To it I added in some , well lots of Dusty Attic chipboards and 49andMarket flowers. I also made some extra acetate embellishments using a stamp and embossing powders. These were fussy cut and layered amongst the chipboards.
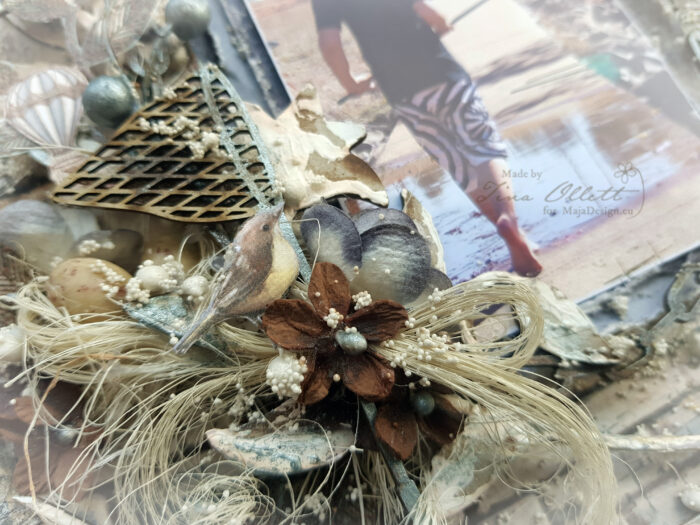
I also added in a little birds nest in the left corner of the layout. I made this using wood wool, a fabulous fibre that comes in handy quite often. I moulded the birds nest and glued it using gel medium. I added in a couple of cute eggs and a little ephemera bird from my stash. I also added in some art stones in differing sizes.
Finishing off my project I cut some more of those cute hot air balloons from the Miles Away paper of “Dream Away”. Some of these were adhered flat and some were popped up on tapes.
Well that is all I have for you today. I hope you enjoyed my project. Until next time take care and happy crafting.