“Moments” by Tina Ollett

2

Posted by Tina Ollett

17 June, 2022 - , ,

Write a comment
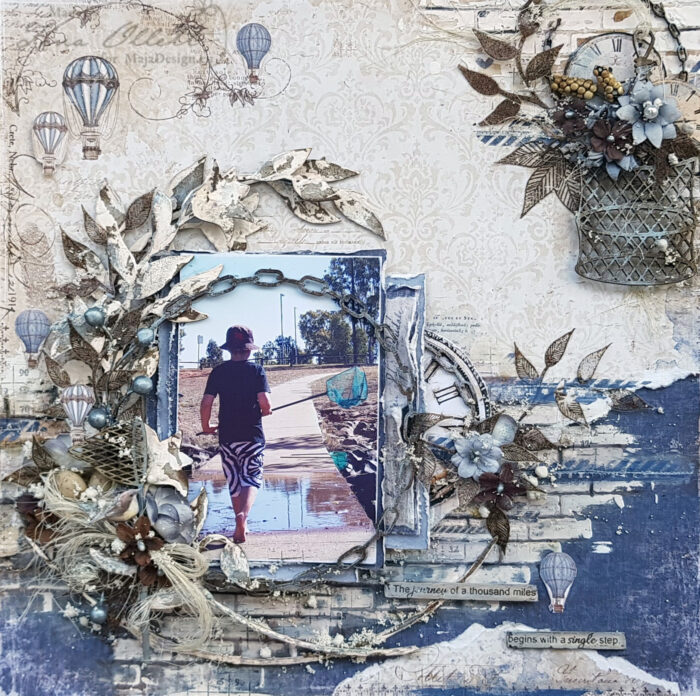
 Hello and a big warm welcome. Today I am here to share my newest design team project. I have been working on this one for a while and have finally found a little time over the weekend to add the finishing touches. I hope you love it as much as I did creating it.
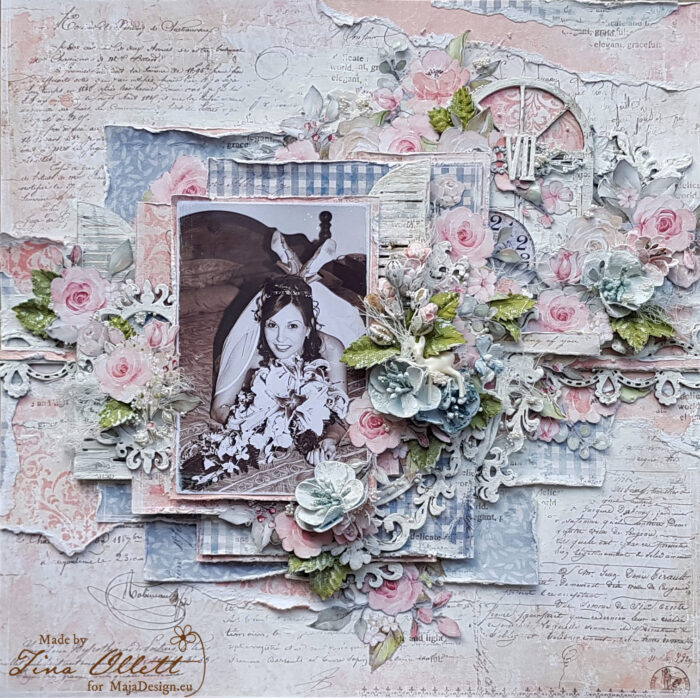
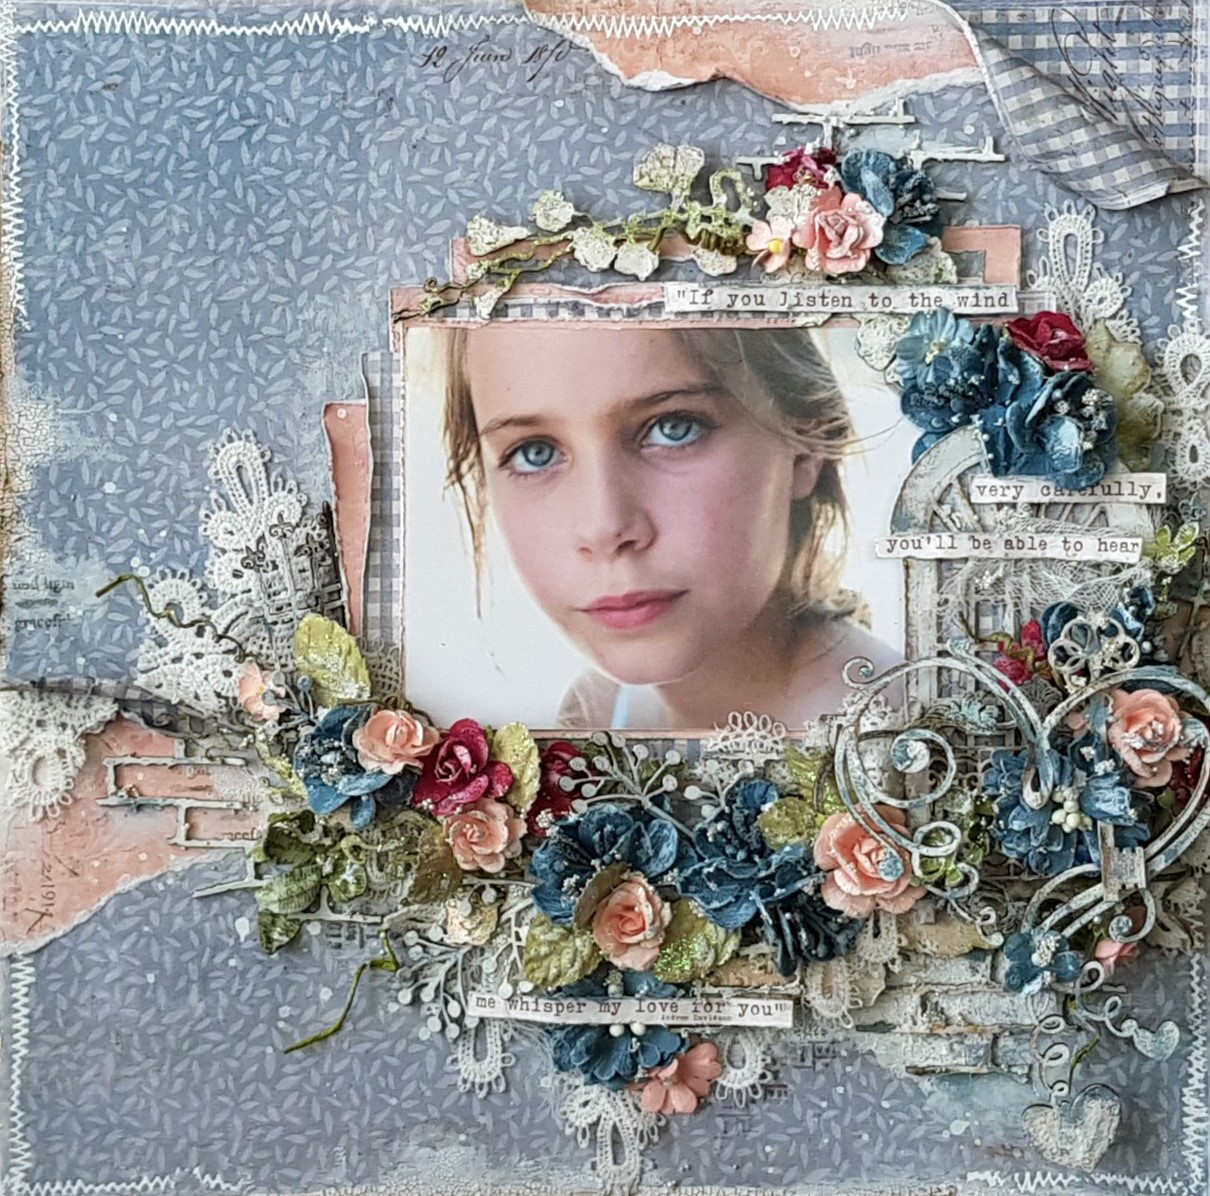
I have titled this project “Moments”.
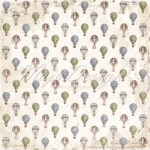
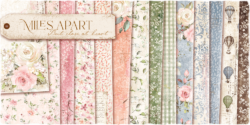
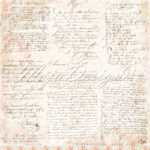
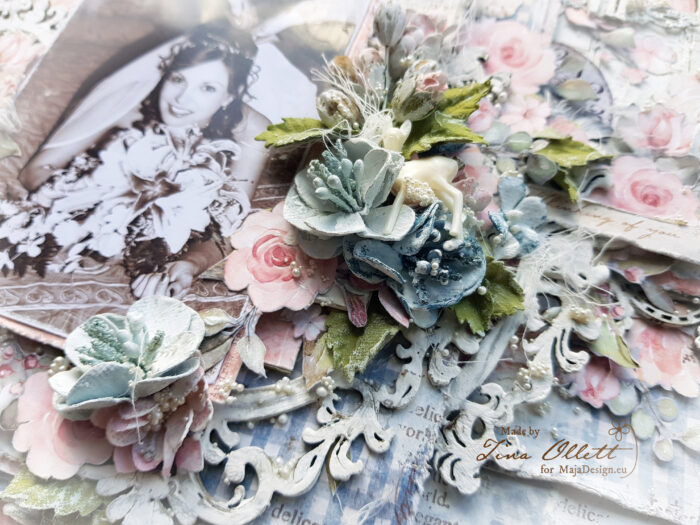
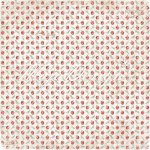
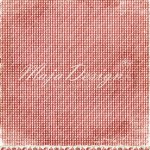
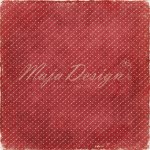
This scrapbooking layout features my gorgeous eldest daughter at her formal a few years ago now. I have so many photos from her school formal. I am so very glad that I took as many photos as I did. As soon as laid eyes on the gorgeous “Miles Apart” collection I instantly new that I would be using these  photos. They are the perfect fit. Below are the three sheets from the collection that I used to create my base page with.

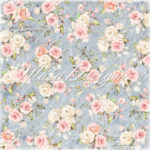
Close at Heart – Miles Apart

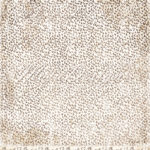
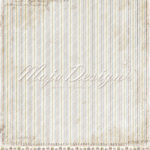
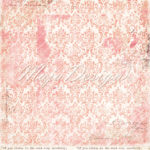
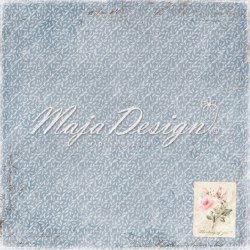
This piece was used as my background base. It was primed with clear gesso and I added in some stencilling using a 3D texture paste over the paper.

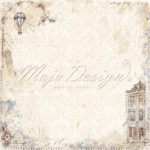
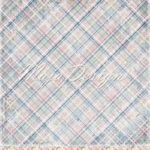
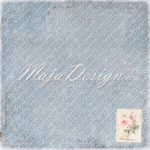
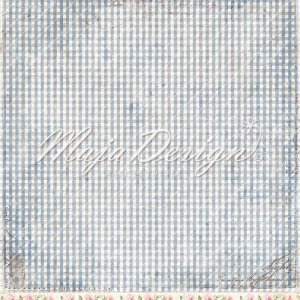
Thinking of you – Miles Apart

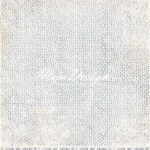
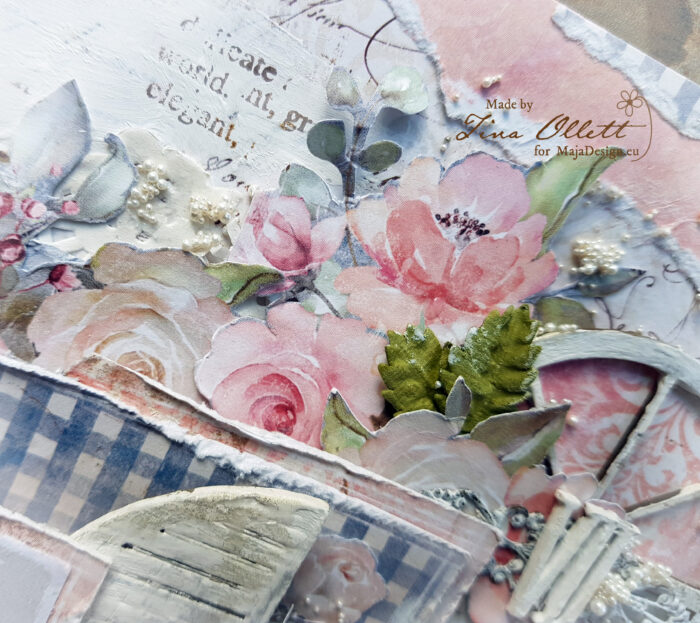
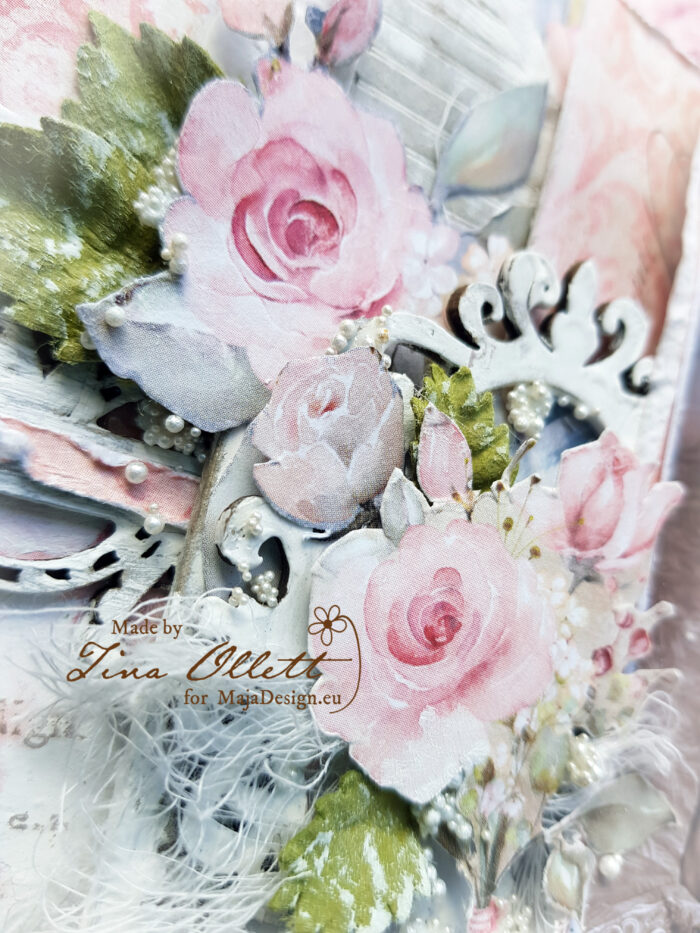
I used the “B” side of “Thinking of you” for the matting of my photos and I cut the floral elements from the “A” side .

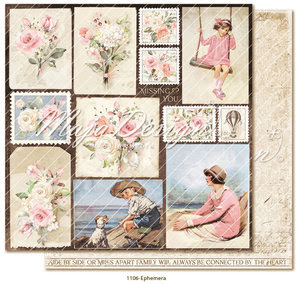
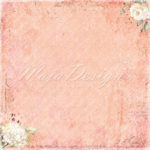
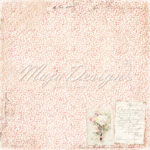
Ephemera – Miles Apart

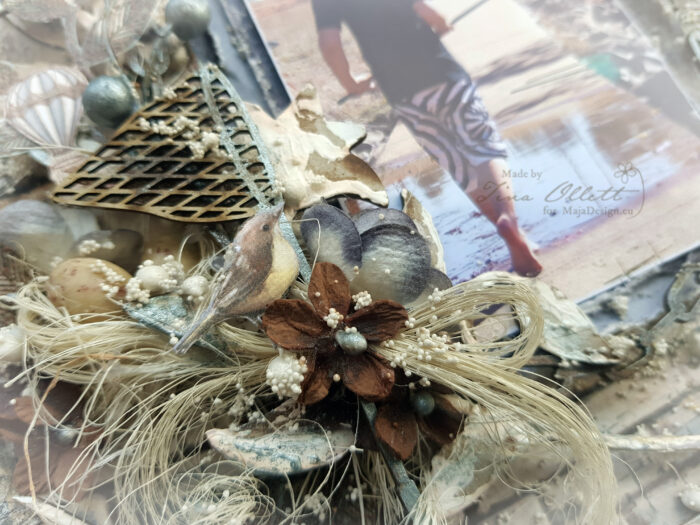
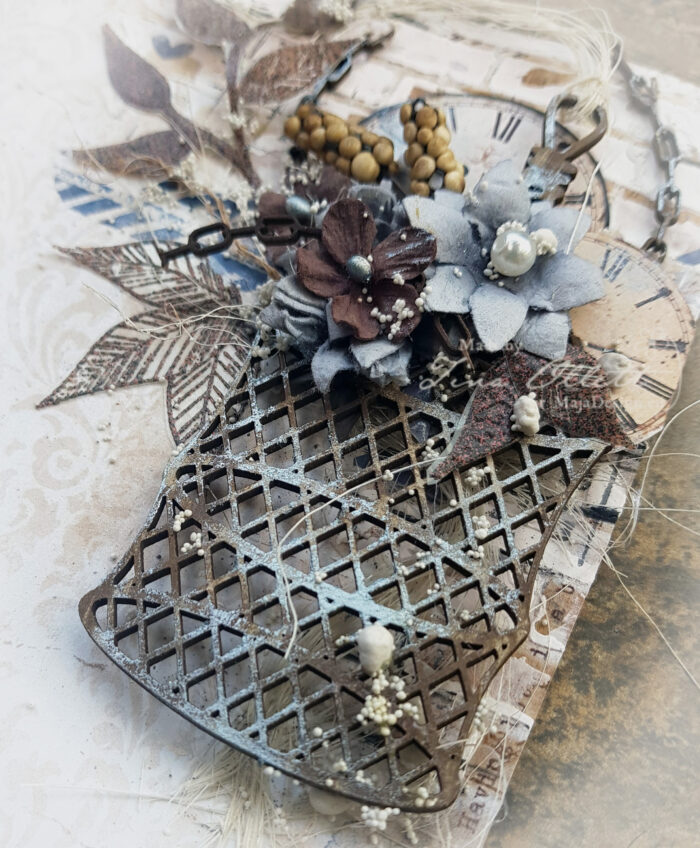
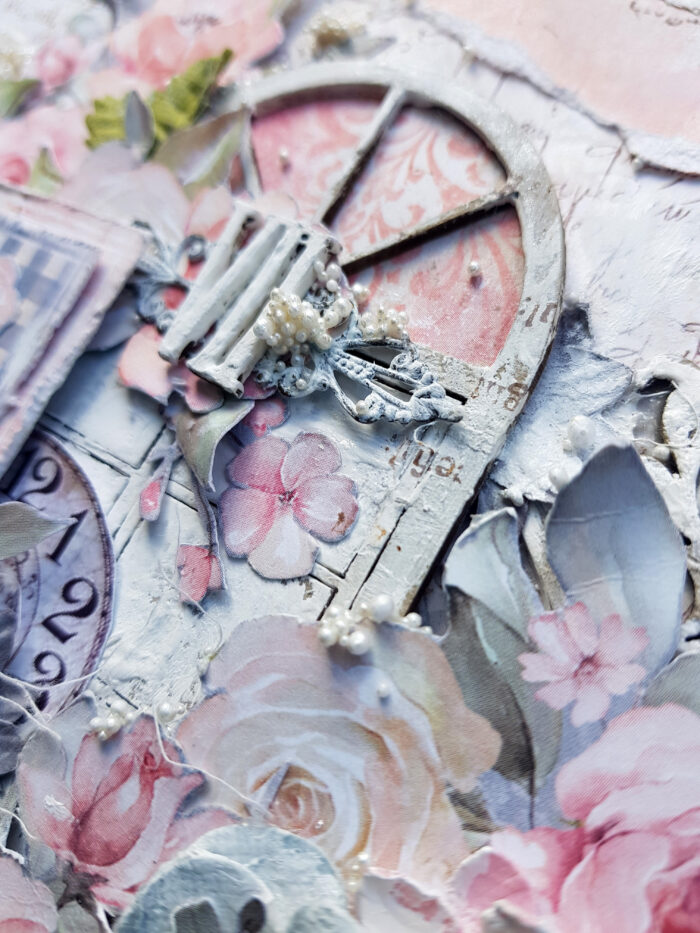
I also used some of the elements from the Ephemera Sheet of Miles apart to help embellish my page.


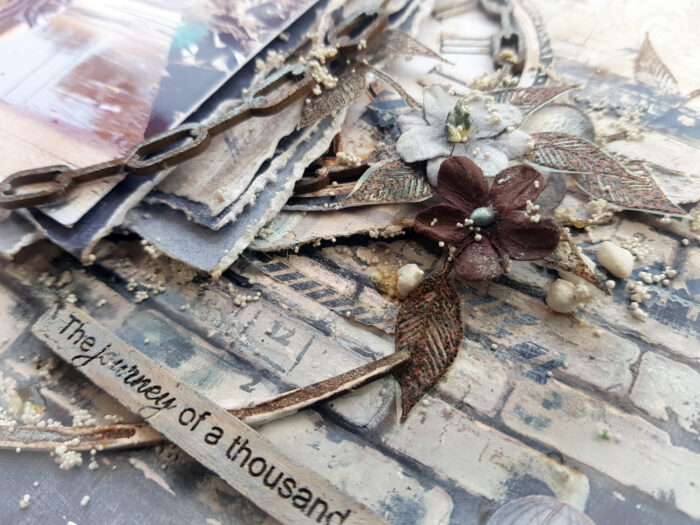
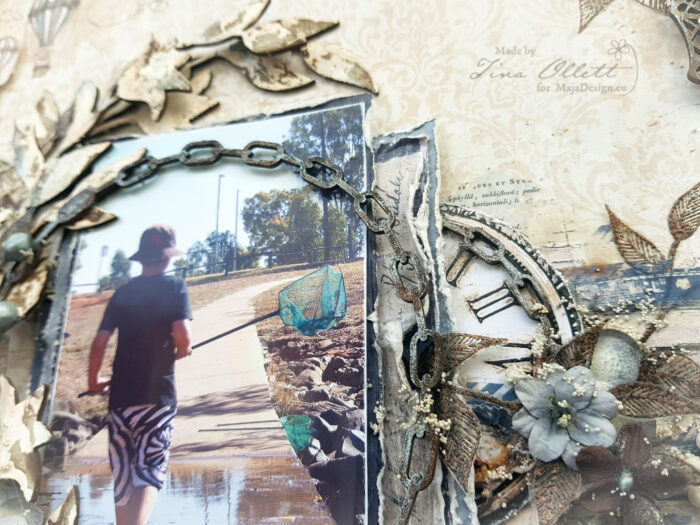
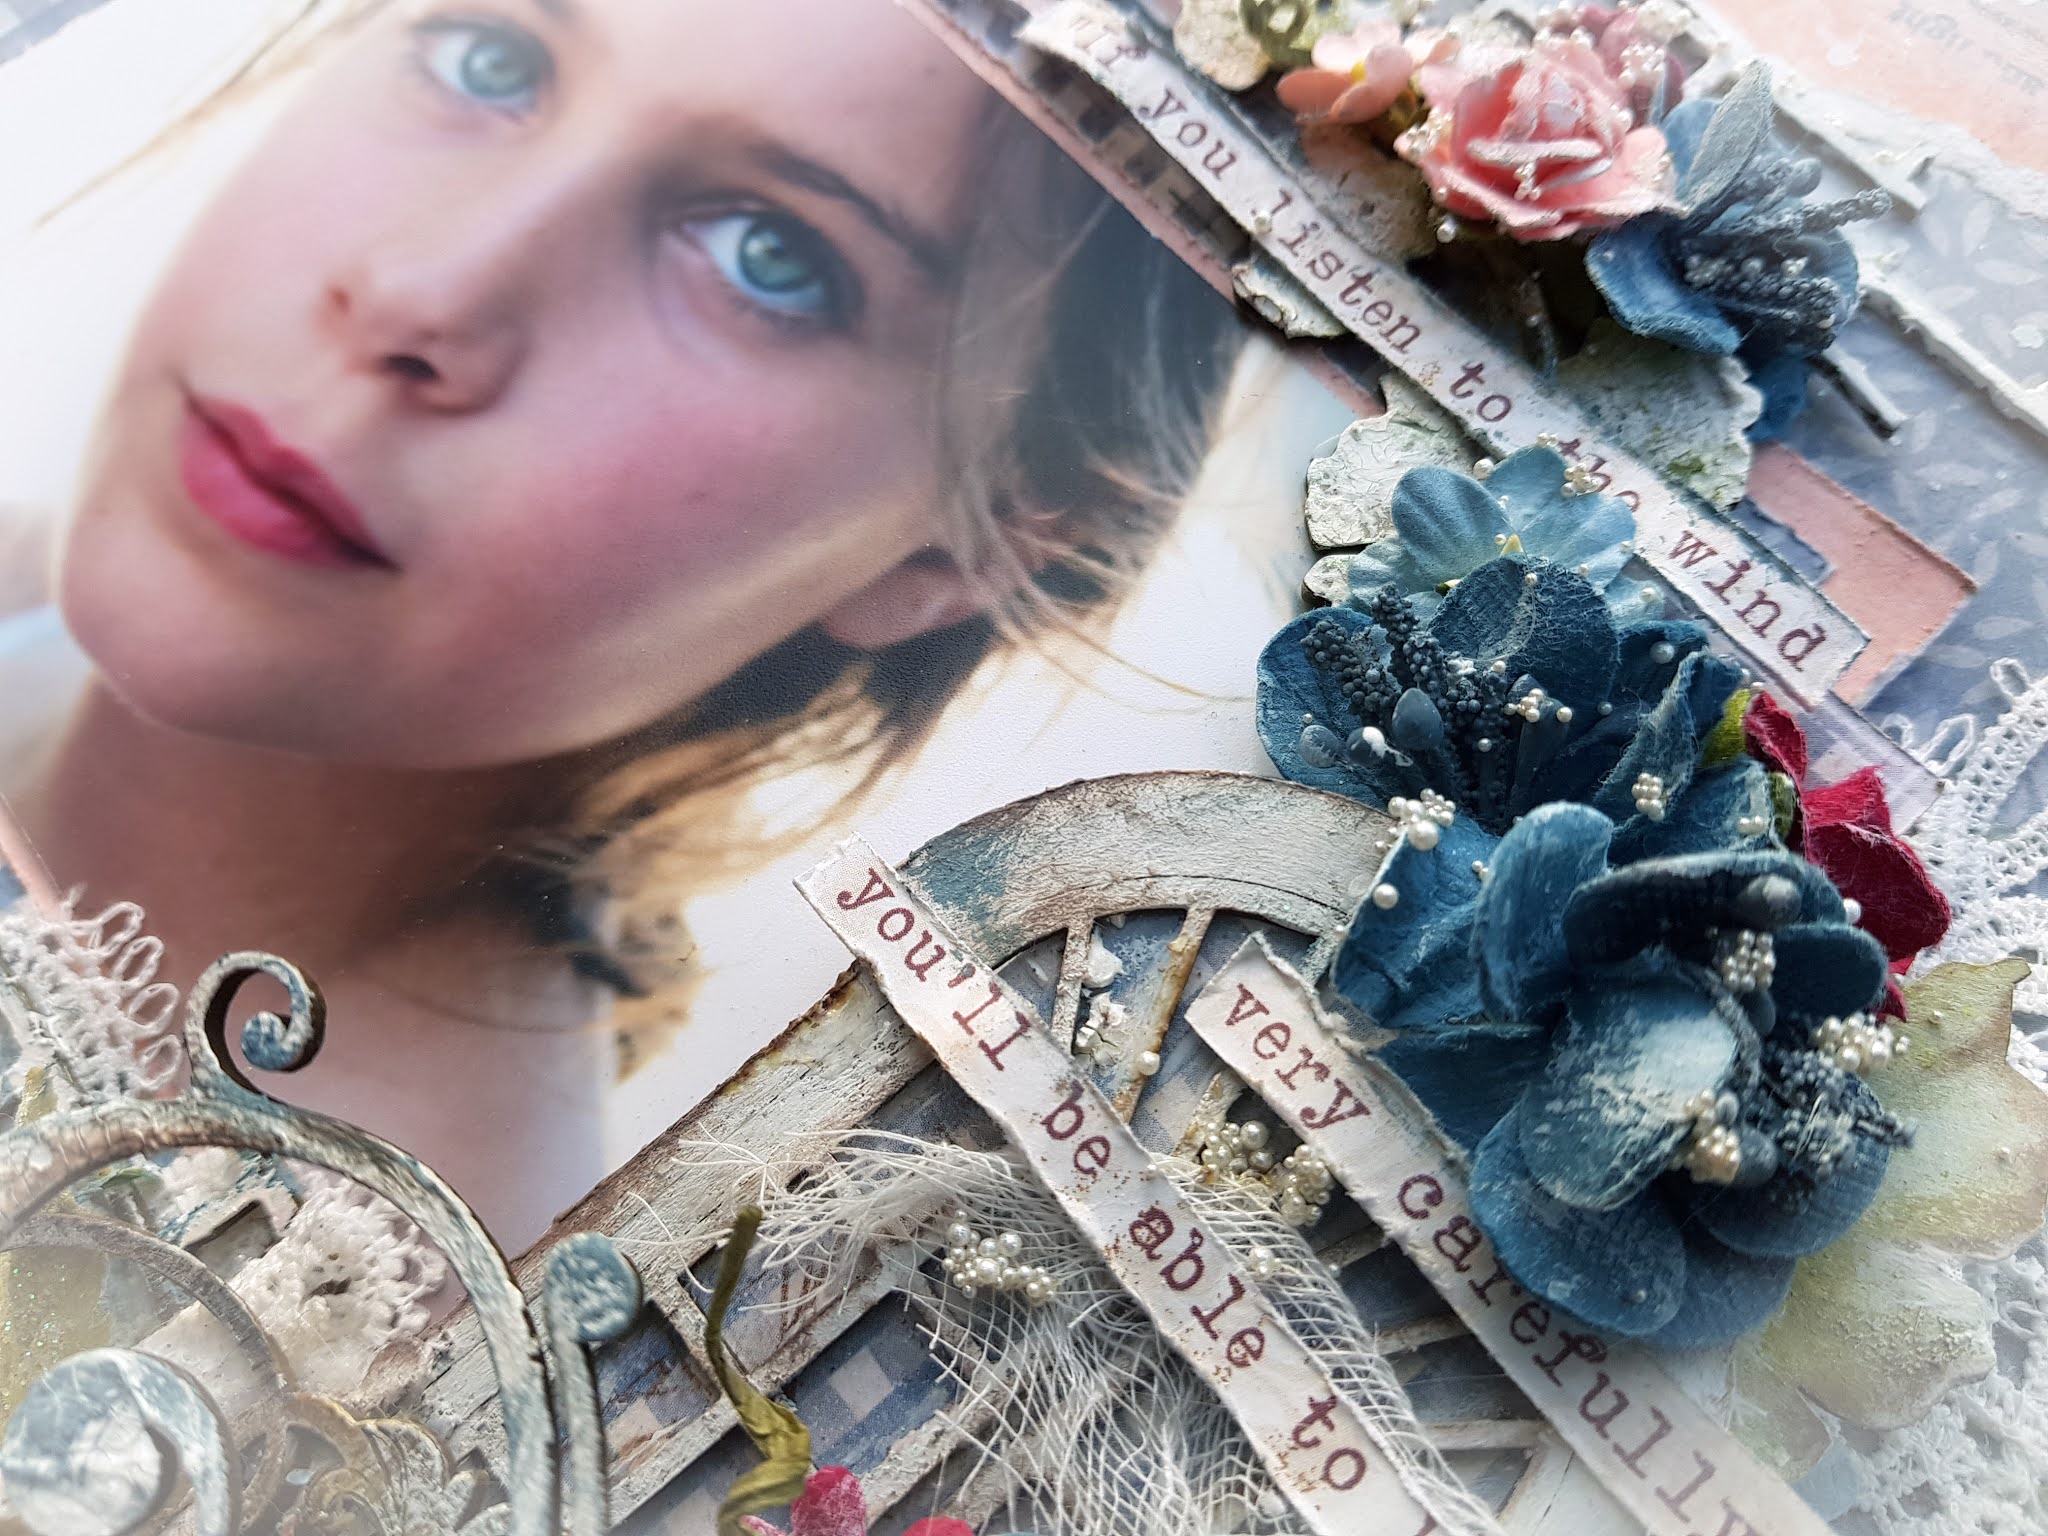
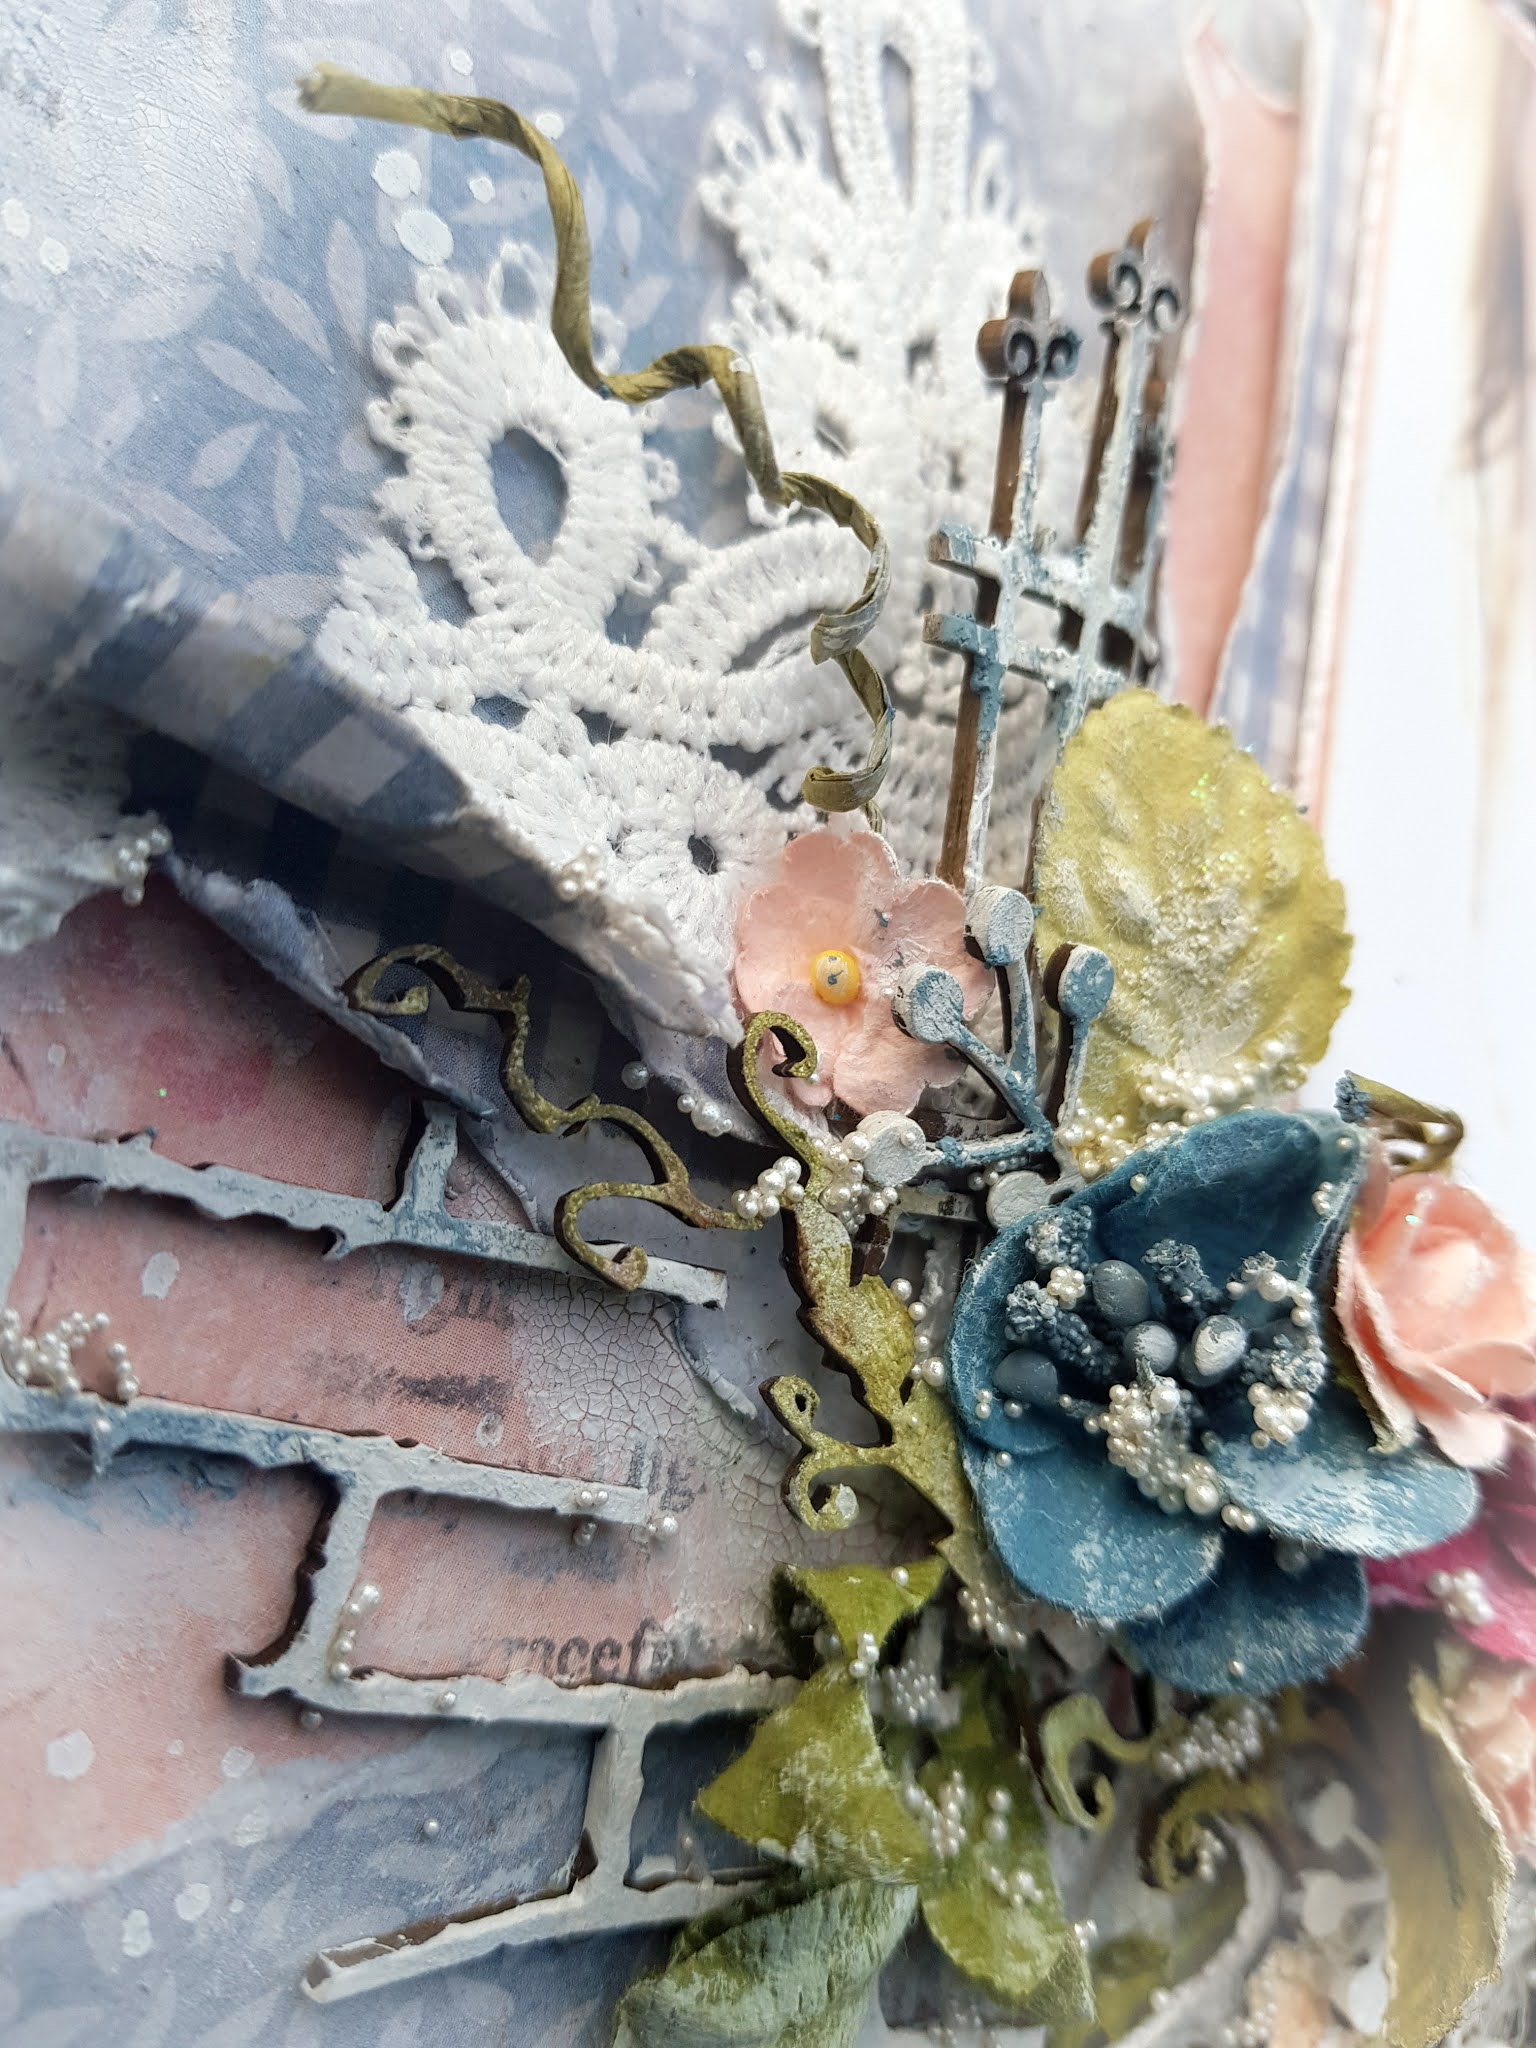
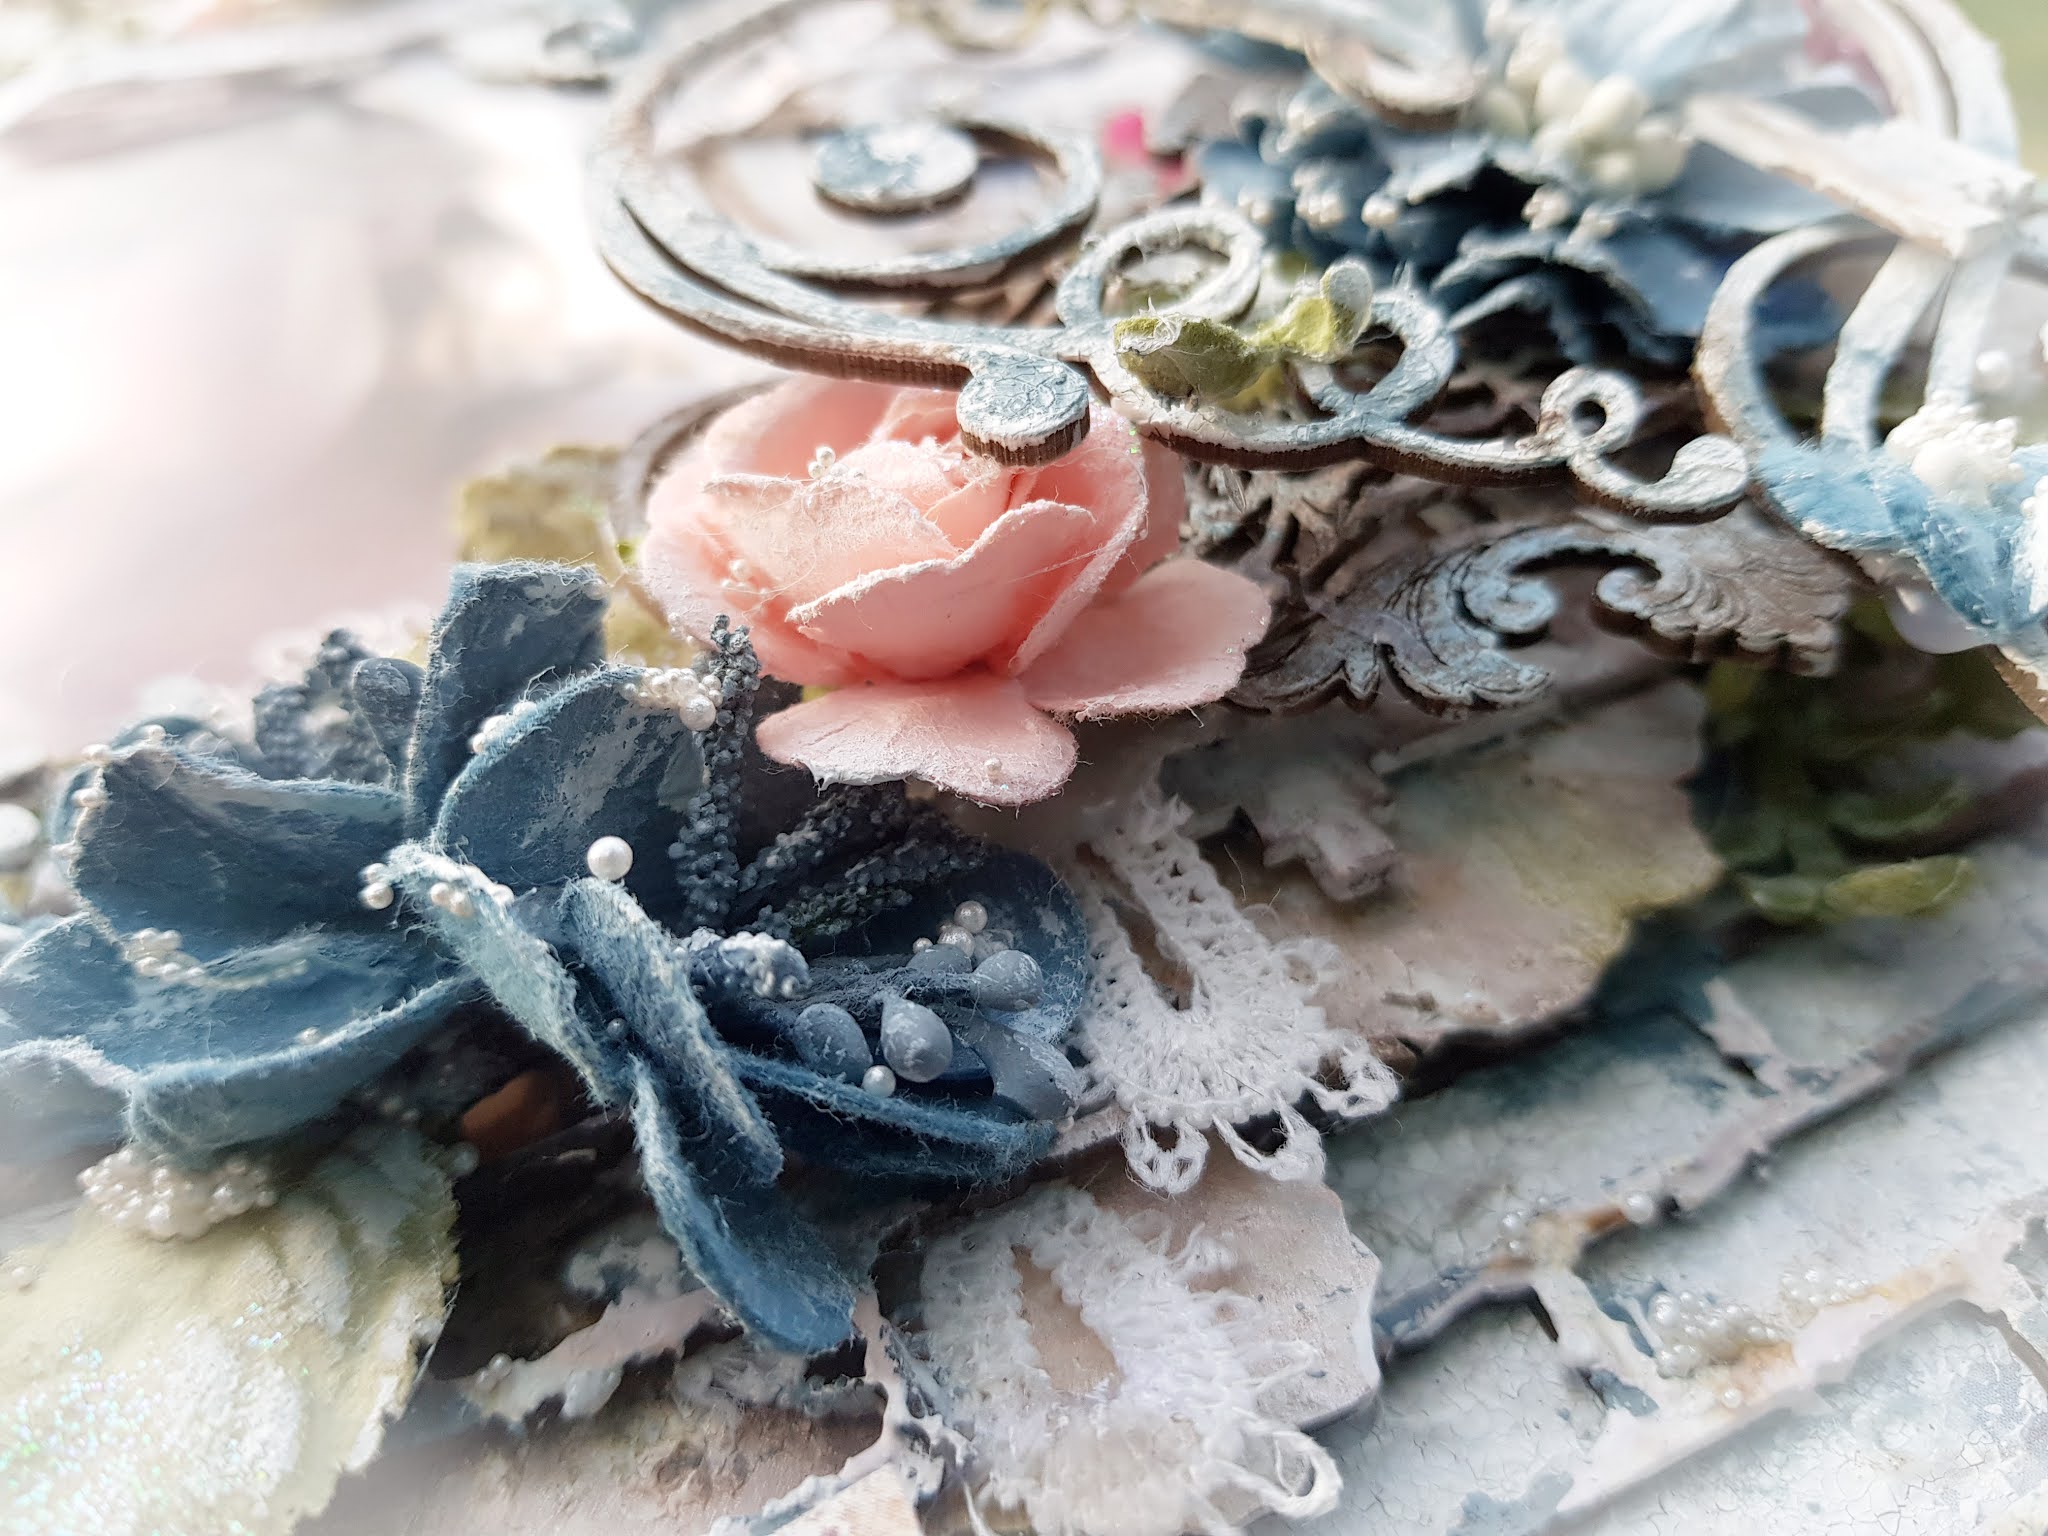
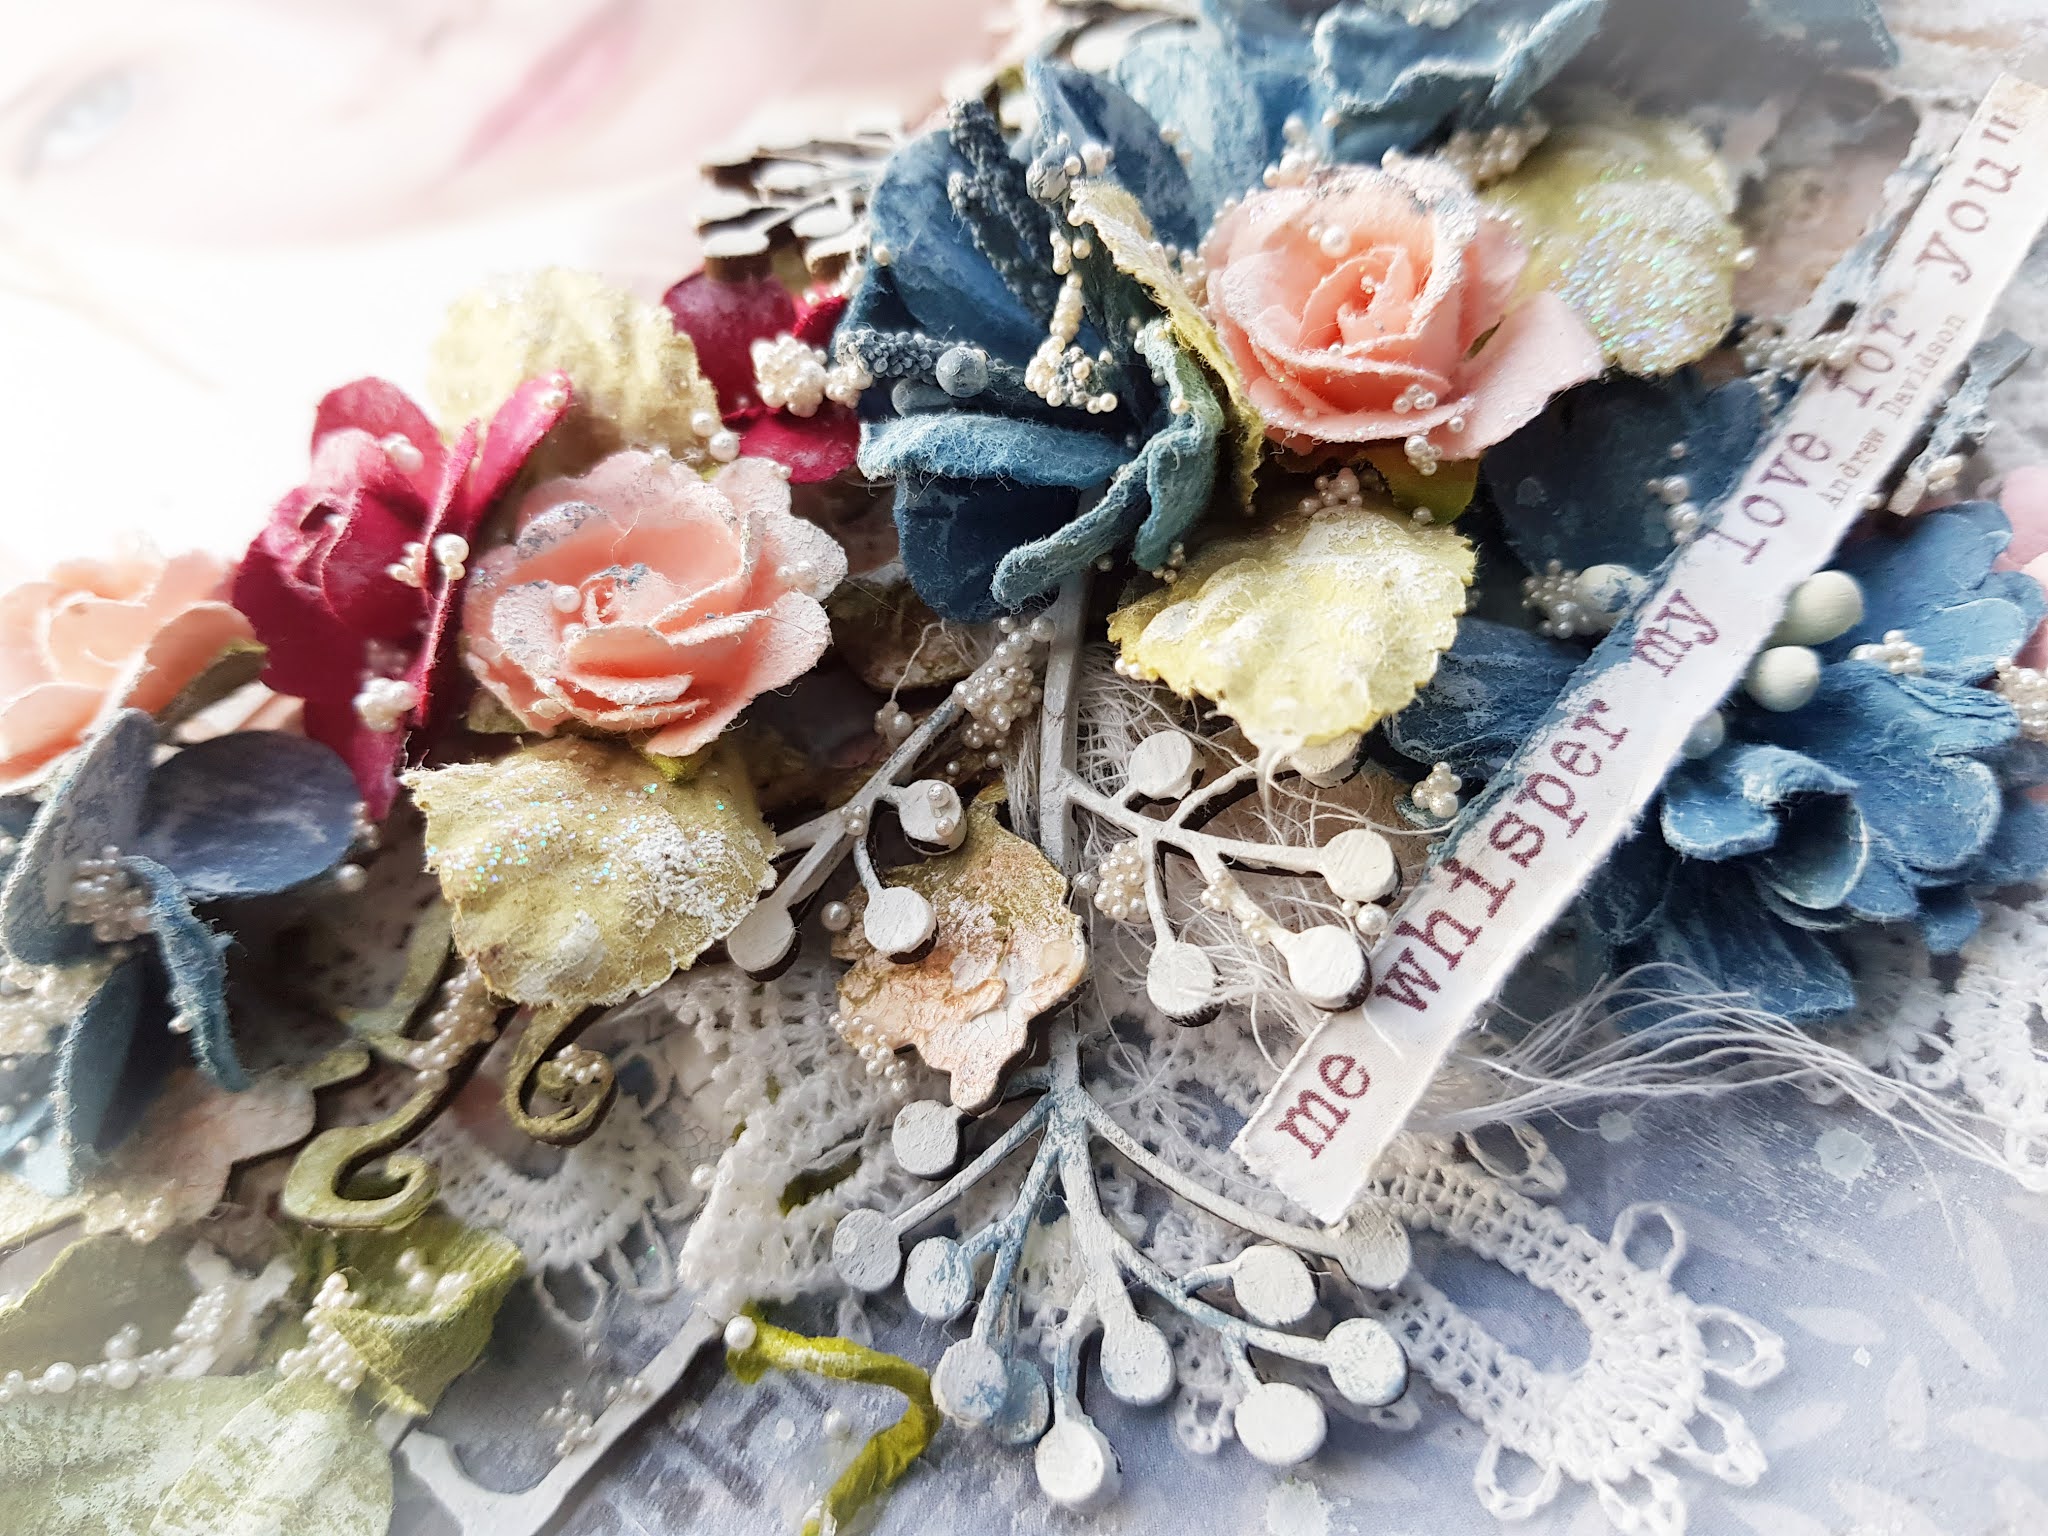
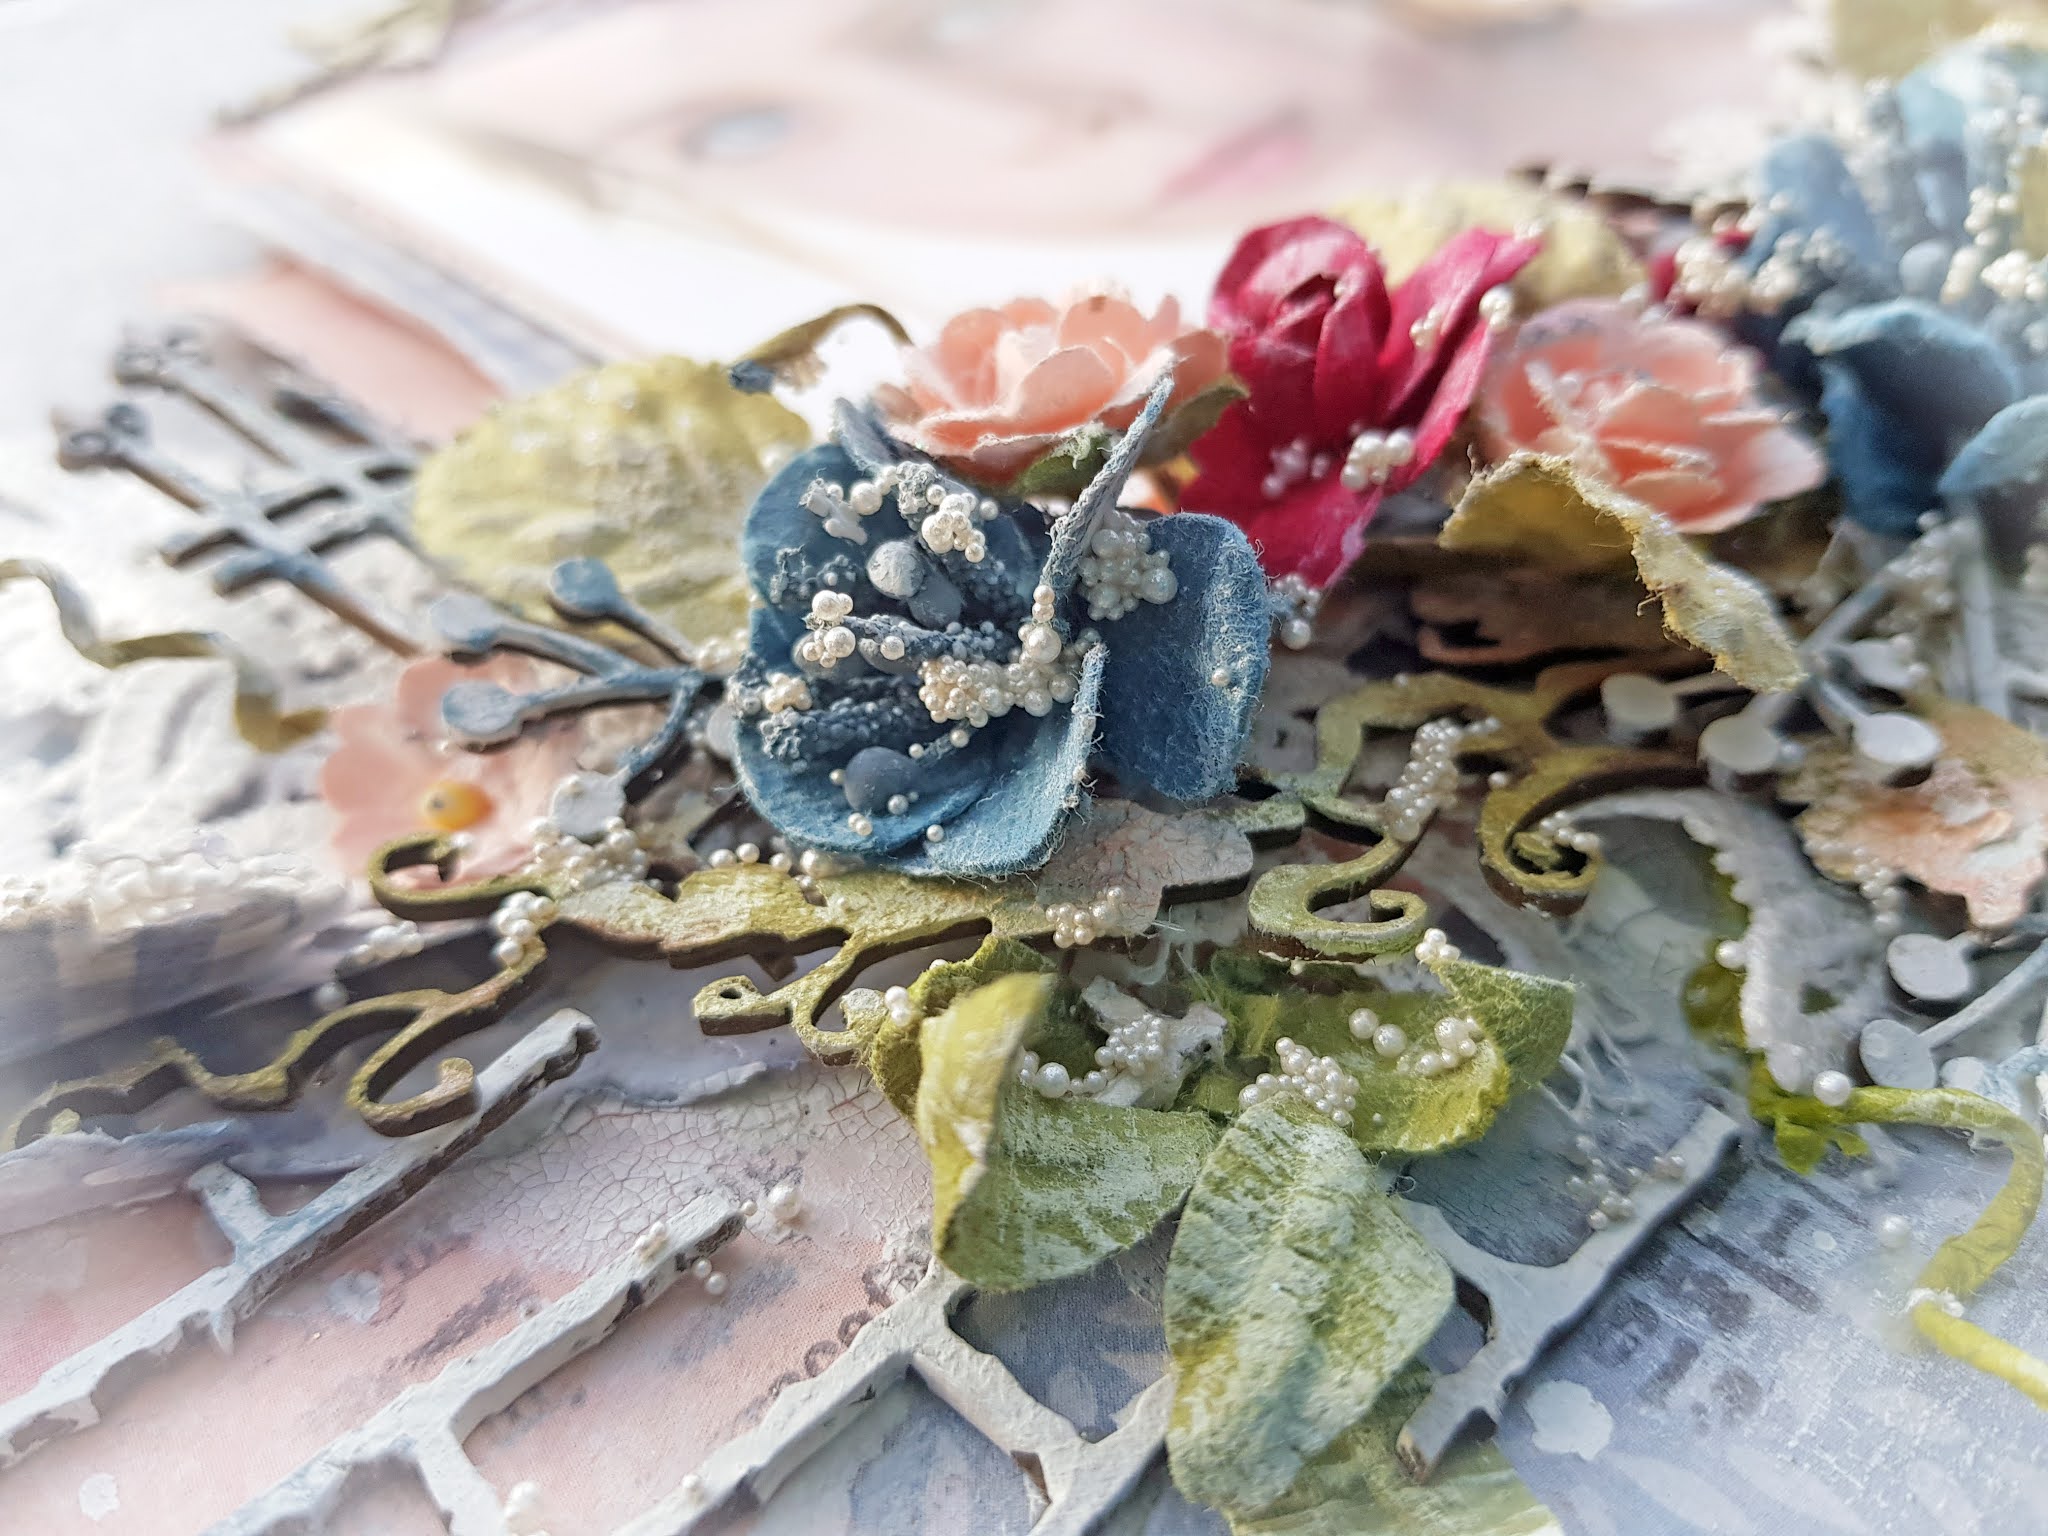
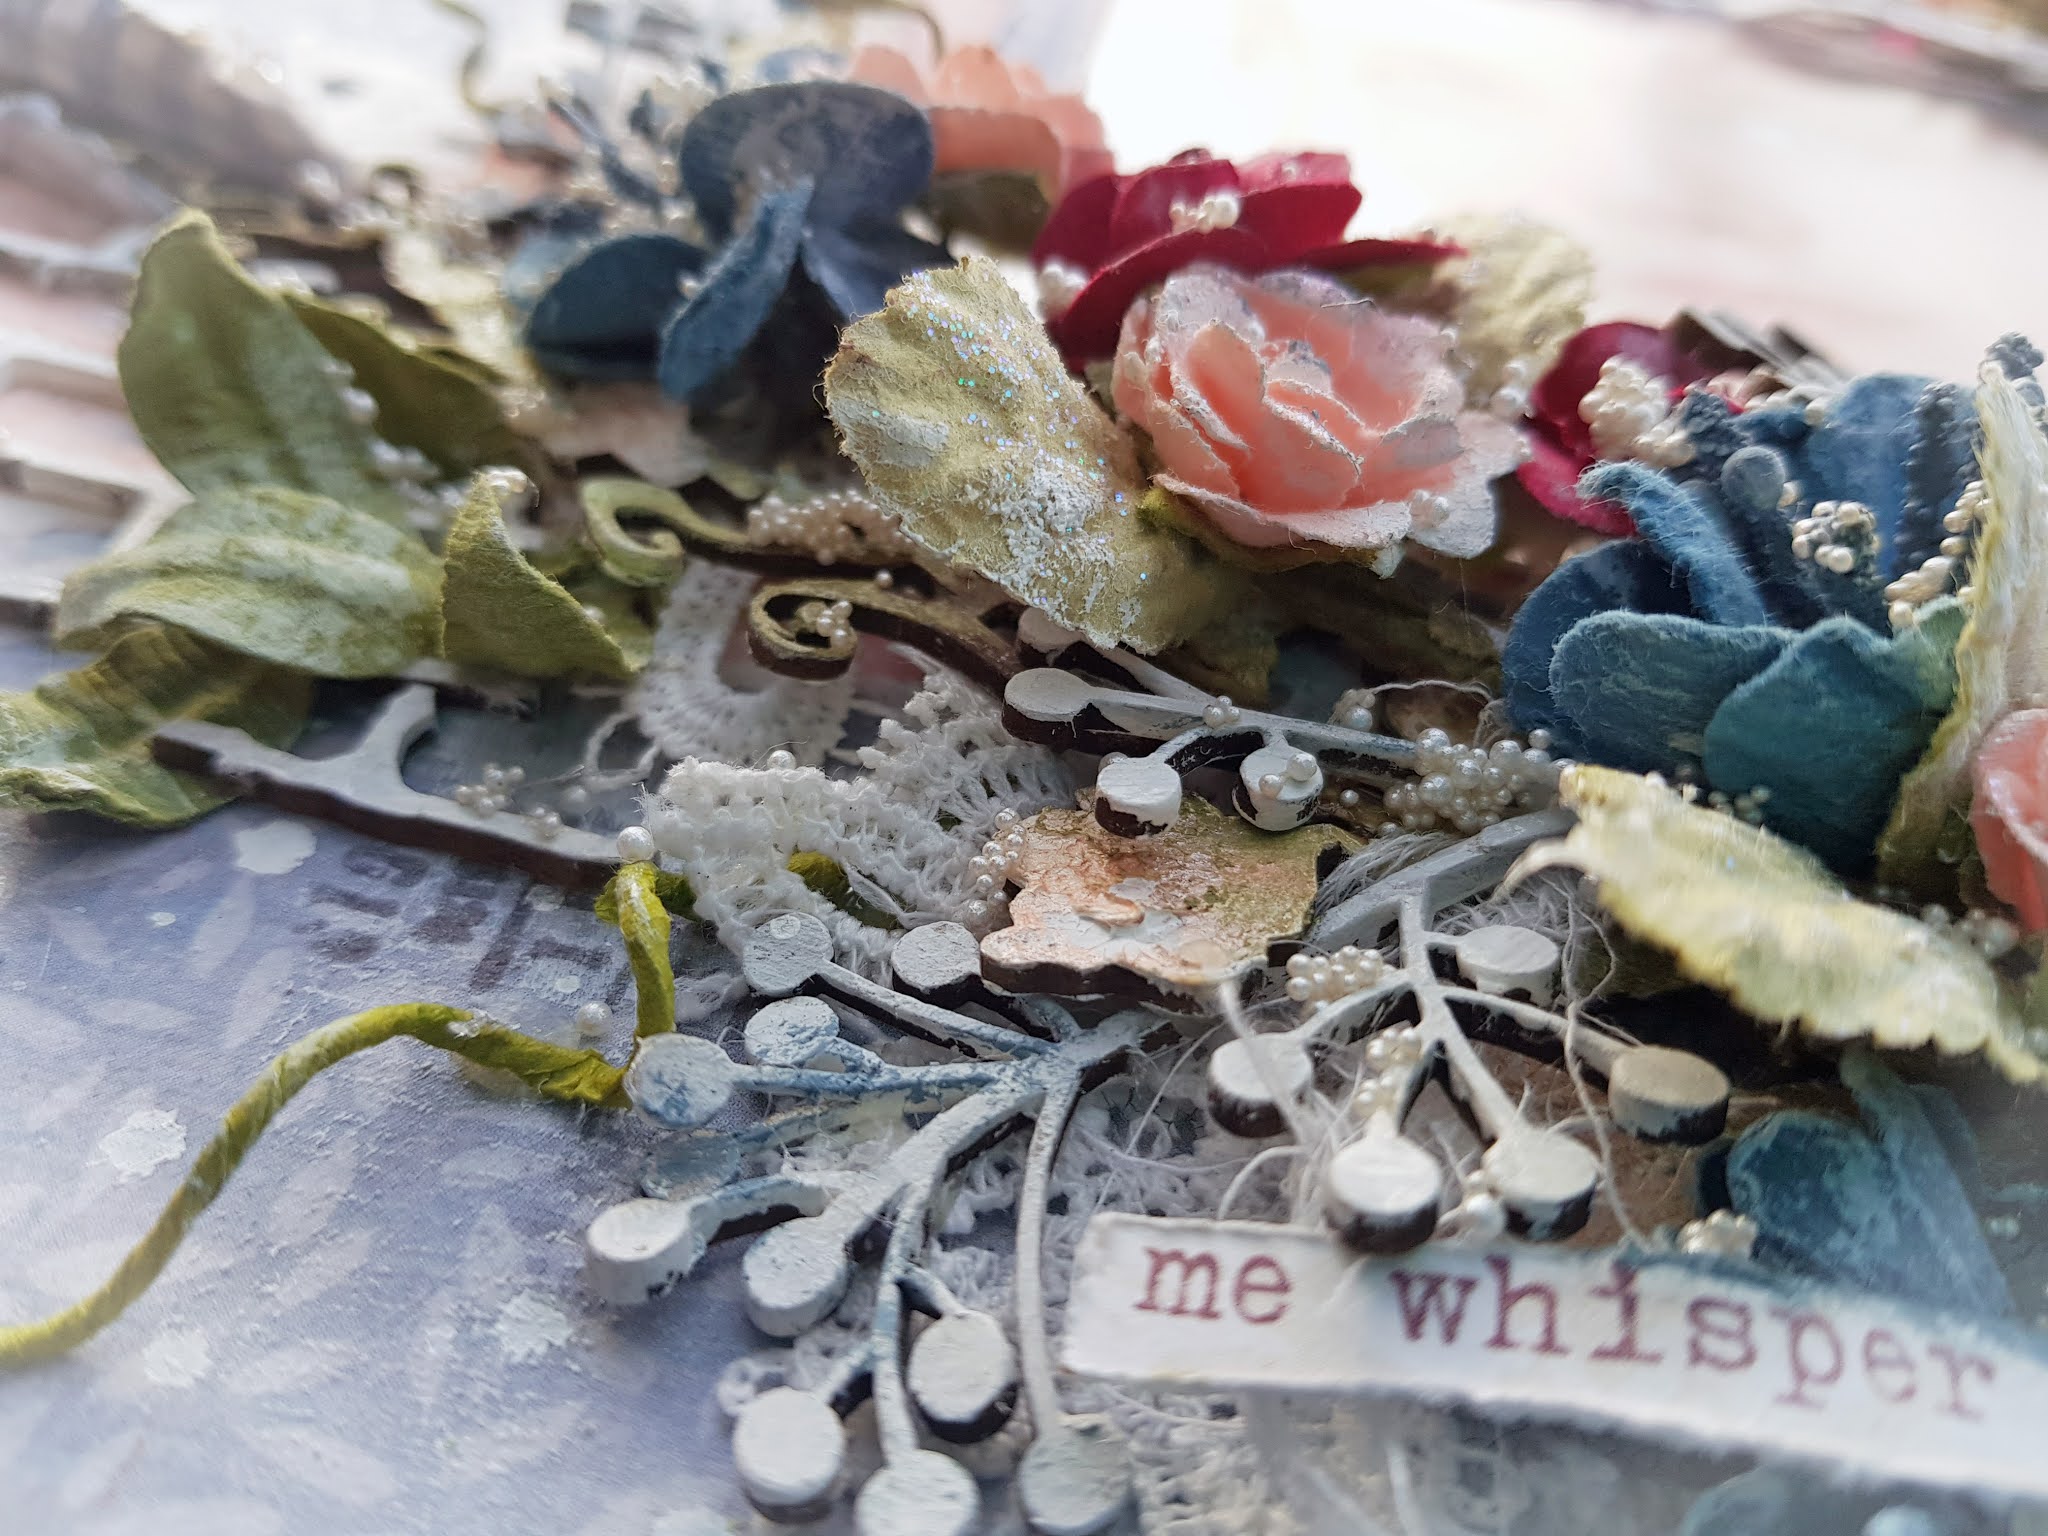
I have also used chipboards from Dusty Attic to create a frame to the left of the page. These chipboards were primed with Stamperia Primer. I then added in some dimension over the chipboards using Liquid Pearls. These were allowed to dry and then I painted over the top of them again. I added in some highlighting using Viva Decors 3D Stamp Paints in Silver.

To the right of the layout I used a wooden embellishment from iCraft Australia. This was dressed the same as the chipboard frame. Over this piece I added in a handmade “X” mould. This was also dressed in white gesso with highlights of the Stamp Paint in Silver.

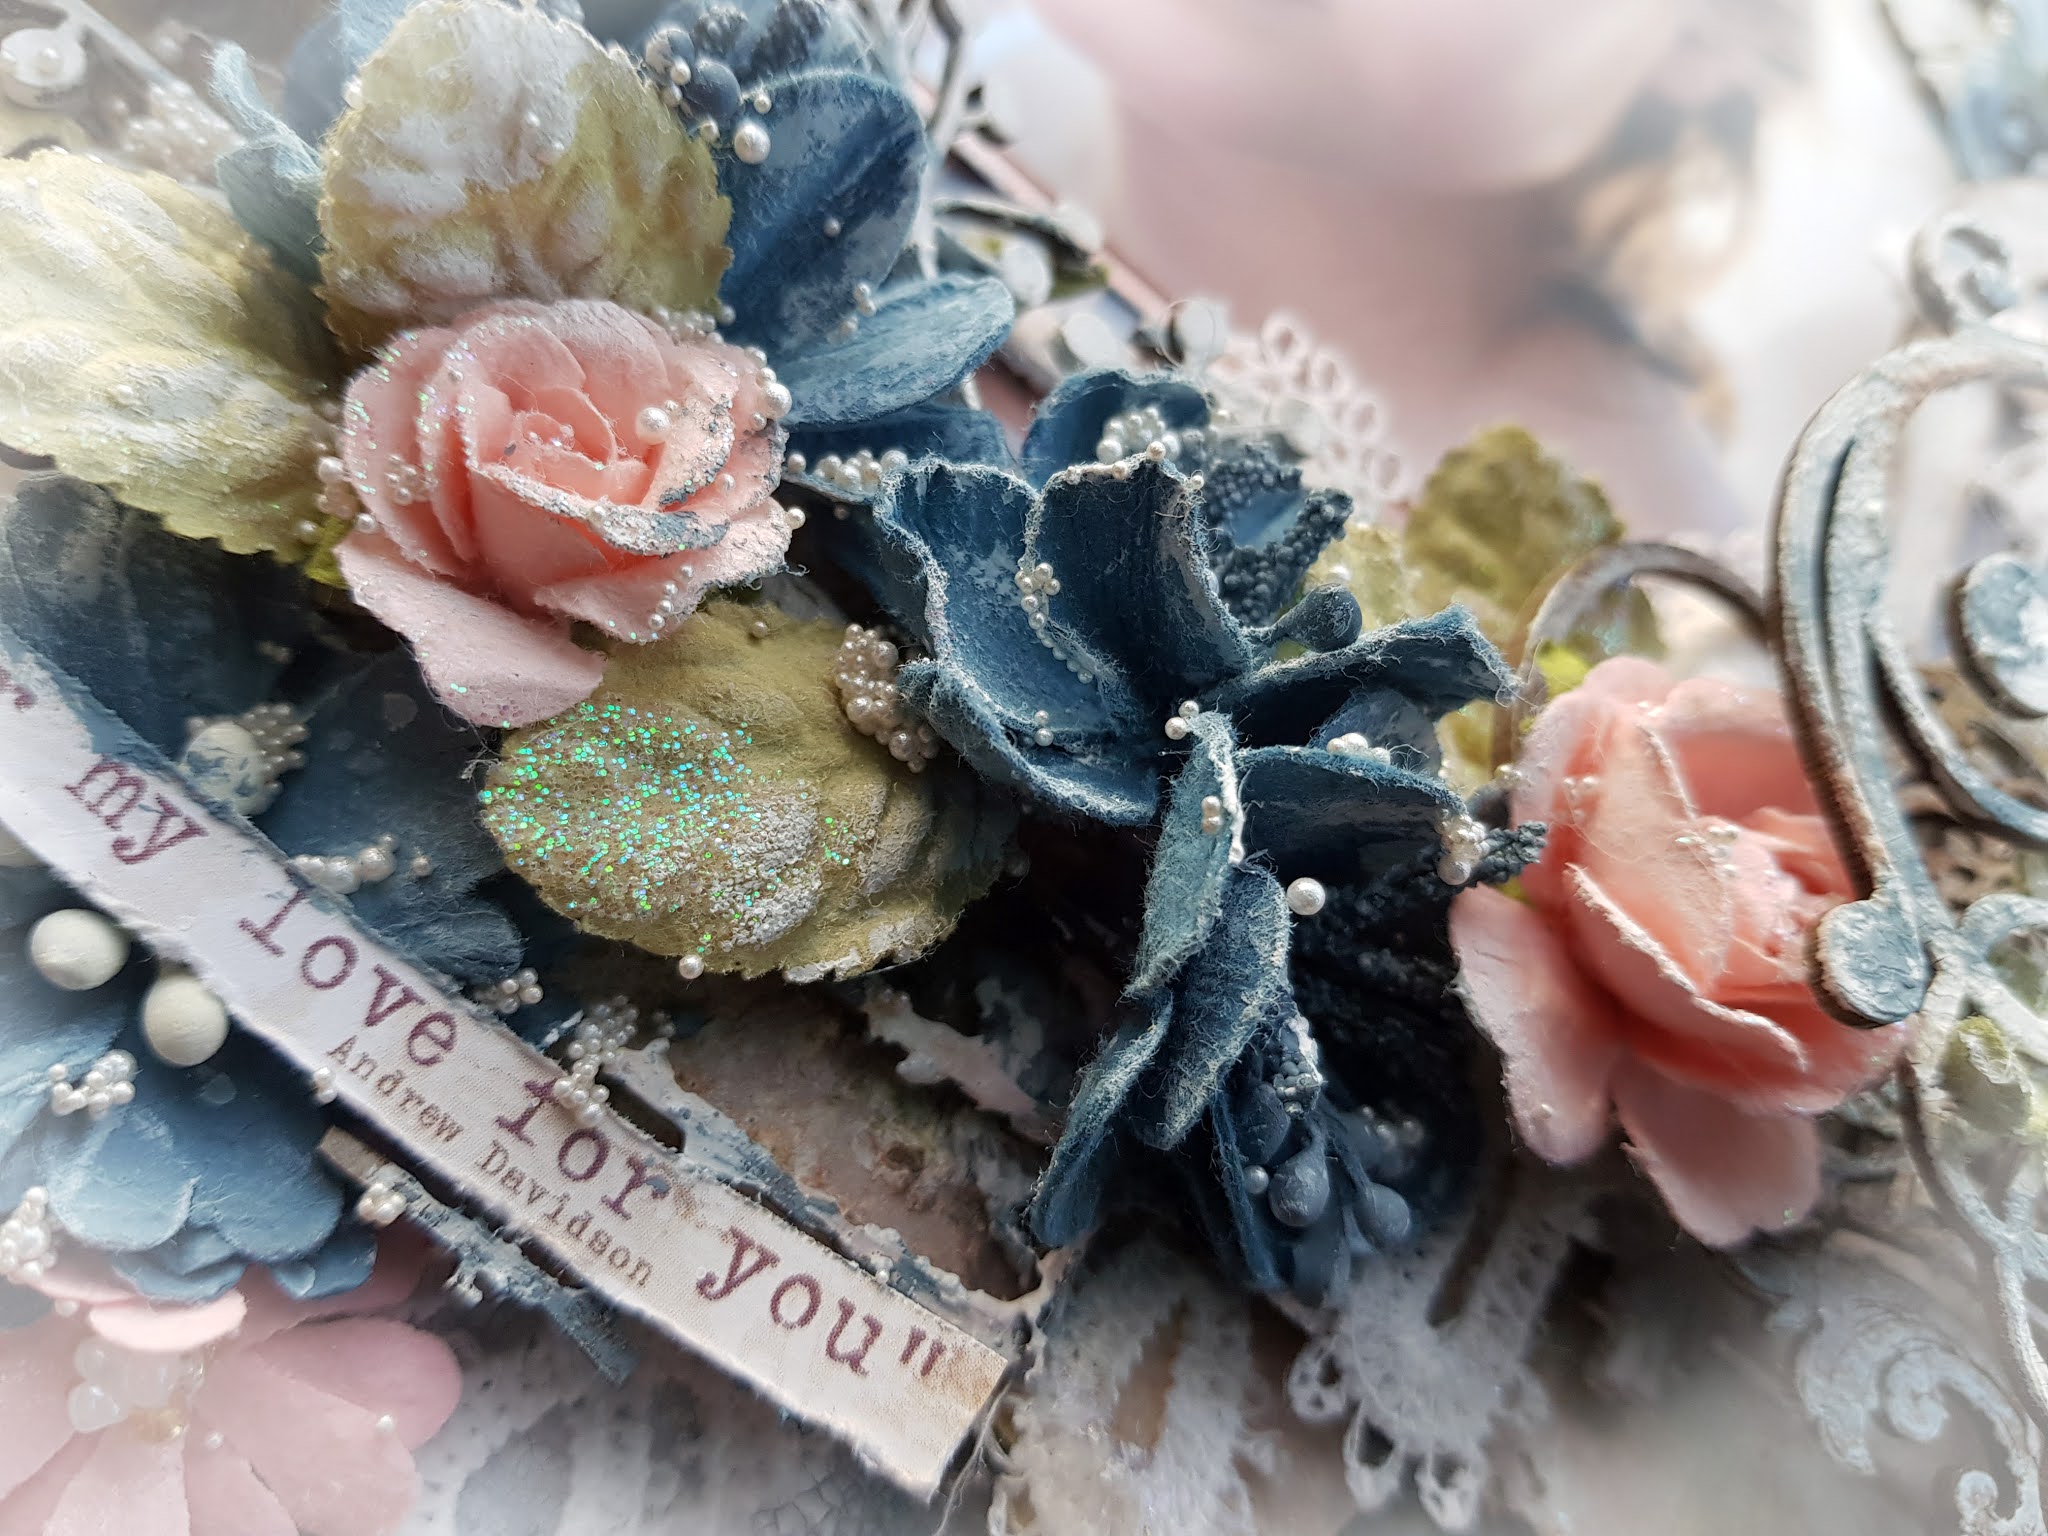
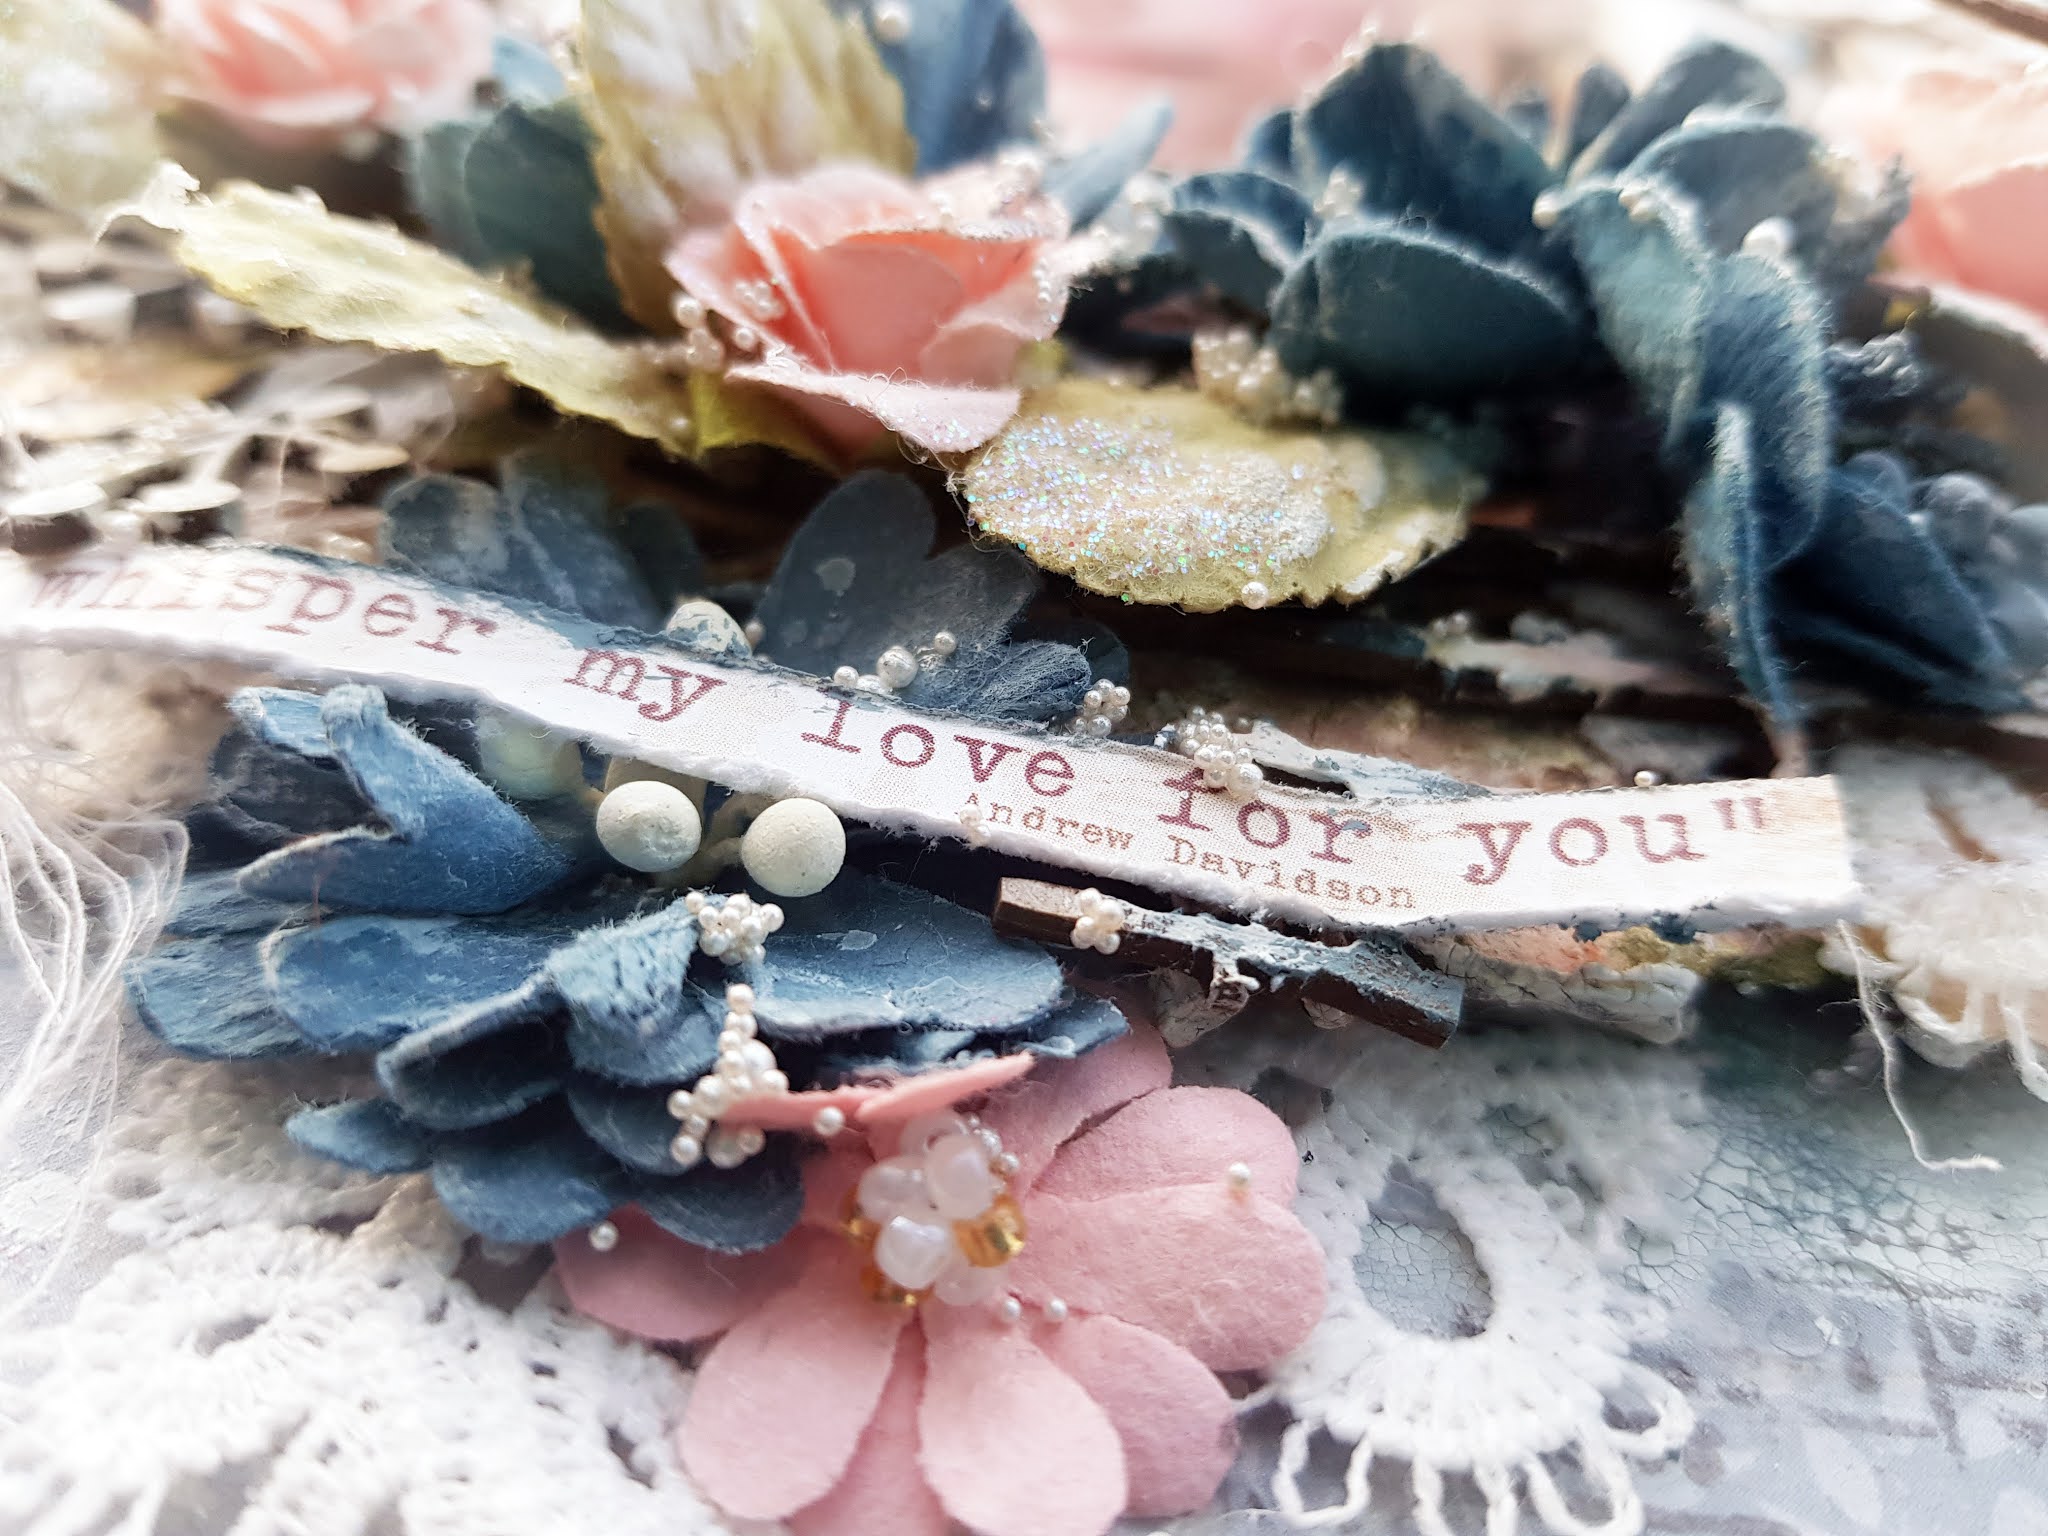
Once all the photos, chipboard and wooden embellishments were adhered I went to work on embellishing my page using the gorgeous Blush flowers from 49andMarket. I added in a little hand made heart from paper clay. Some flower pearls and string pearls were adhered in amongst the flower clusters along with wood wool and the fussy cut floral elements. I added in some Nuvo Glitter Accents over the elements to help them shimmer and shine a little more. Lastly I added in some handmade paper laces that you can see at the sides of the layout.
Well I hope you have enjoyed my post here today.
Thankyou so much for popping by.
Until next time take care and happy scrapping.


“The journey of a thousand miles” by Tina Ollett

1

Posted by Tina Ollett

20 March, 2021 -

Write a comment

A very warm welcome back Maja Design friends. I am back with you today to share my next project which I have created by combining a mix of Maja Designs beautiful papers. I had a very special photo to start off with of my son down at the creek in the school holidays netting for yabbies. Something that we loved to do when we had spare time.

So because it showcases my son, I decided to create with the blue and brown tones with additional highlights of grey and black. I started out by tearing Miles Apart’s “Stay Home”. It was the base of this that was torn. I wanted to keep those cute balloons to complete the scene. To the base of this I added in an older piece but a huge favourite for me from the Autumn Basics collection, No.XXI. I adhered these two together and then added over some textures using the Brick stencil from Dusty Attic. Over the stenciled texture I coloured in the edges of the bricks using Distress Inks in the colours of Walnut Stain and Black Soot. I also did a little random stamping using a numbers stamp and Archival Ink in the colour of Watering Can. Once this was dried I then added in some rub-ons in a navy colour to match my papers and photo.

I then moved on to adding in my photo. For this project I used a 4 x 6 inch colour portrait photo. The edges of the photo were sanded and behind the photo I added in lots of layers of my leftover papers and I also added in an additional piece of Denim and Friends “Stonewashed” paper. All of these layers were distressed heavily and layered behind my photo.

Once all the base pieces were adhered down I moved on to embellishing my layout. To it I added in some , well lots of Dusty Attic chipboards and 49andMarket flowers. I also made some extra acetate embellishments using a stamp and embossing powders. These were fussy cut and layered amongst the chipboards.

I also added in a little birds nest in the left corner of the layout. I made this using wood wool, a fabulous fibre that comes in handy quite often. I moulded the birds nest and glued it using gel medium. I added in a couple of cute eggs and a little ephemera bird from my stash. I also added in some art stones in differing sizes.

Finishing off my project I cut some more of those cute hot air balloons from the Miles Away paper of “Dream Away”. Some of these were adhered flat and some were popped up on tapes.

Well that is all I have for you today. I hope you enjoyed my project. Until next time take care and happy crafting.

“Thinking of you” by Tina Ollett

2

Posted by Tina Ollett

20 January, 2021 - ,

Write a comment

Hello and welcome back Maja Design friends. I hope this post finds you safe and well. Today I am back to share my next project using the gorgeously stunning paper collection of “Miles Apart”. The pastel colours of this collection always lead me to using Sepia photos. And close at hand was this photo of me from our wedding day quite some years ago. I have never used it before, so I am really glad that I chose this range to scrap with it.

I selected the sheets below to start off my project. I used the bs of “A few words” for my background page. I love this piece with all the additional handwriting and slight colouring over the background. I made lots of layers using “Keep in touch” and “Keeping busy” both a and b sides of each was used. I distressed my papers and layered them up using old board. I also tore some sections to run across the background page.

I chose to use 2 sheets of “The little things”. From the first sheet I did a lots of fussing cutting of the flowers and leaves as you will see above. I used a second pieces to add some layers in my project behind the chipboards.

The layering of this project was the most time consuming part this time around. I also used chipboards to help add more layers in. Each of these pieces were coloured with relief paste and sanded back to give the worn shabby look of time gone by. I also added in some extra flowers from my stash and a little muslin and flower pearls to keep with the prettiness of the papers. I have a few closeup photos for you below.


Amongst all the distressed layers I have added in some charms, muslin and flower pearls to keep it simple and shabby. I also added in a little more of the relief paste around some of the paper layers and over this some random stamping using a script stamp.

Well that is all from me today. I hope you enjoyed my post and stay tuned for more Design Team gorgeousness very soon.

Happy Crafting


“My love for you” by Tina Ollett

1

Posted by Tina Ollett

23 December, 2020 - ,

Write a comment
Hello Maja Design friends. Thankyou for returning here today. My project I am sharing with you uses the gorgeous gorgeous collection of Miles Apart.
This is  “My love for you”….
It was when I was going through the absolutely stunning paper collection of Maja Design’s new release “Miles Apart” that I came across a quote from the barcode strip of “Keep in touch”, that I knew this was my starting point.
The quote reads:
“If you listen to the wind very carefully, you’ll be able to hear me whisper my love for you”.
Just beautiful don’t you think? So I found my photo to work with this and went to work. I made lots of layers using torn papers from the Maja collection in the tones of the blues and apricot as in the moodboard below. I couldn’t believe really how close these colours were.


They are as listed below.


Keep in touch “A”
“Keep in touch “B”


“Keeping Busy” “A”


 “Keeping Busy” “B”

  
I did a little embossing in white around the outside of the background using a stitching stamp from 49andMarket. I also added in some texture using Rangers White Crackle paste and some random stamping in Archival Ink in Watering Can. The barstrip with the quote was cut up and distressed.
 
I used a number of gorgeous pieces of Dusty Chipboards some you will probably have to look very hard to see but they are there. For me it is all about the layers. So starting off once all my paper layers were down I added in the new release chipboard the “Flowering Vine”. I have used the smaller vine from this pack. It was dressed in white crackle paste along with Inka Golds in the colours of mint and apricot.

I have used a number of flower packs. Some from 49andMarket and some from Prima Marketing to create my flower clusters.


Lots of lace and leaves with pretty flower pearls and muslin were also added in amongst these layers.


Well that is all from me today. I do hope you have enjoyed this blogpost. I would like to take this opportunity to wish you all a very blessed and safe Christmas and New Year.
Can’t wait to see you all back here again next year.
Thanks for calling by.
Teen x


Merry Christmas Cards by Tina Ollett

3

Posted by Tina Ollett

20 November, 2020 -

Write a comment

Welcome Maja Design friends. Tina here with you today to share a couple of very cute Christmas Cards that I created with the newest Christmas collection : “Traditional Christmas.”

For those that know me well probably know that cards are really not my thing. I am a scrapbooker but when I opened up my goodies box from Marie I could not resist. This new collection truly is a remarkable Christmas collection filled with soft and elegant vintage touches.

Diecuts


Christmas Apples A and B side


Family Gatherings A and B side

Moss Green

Monochrome Moss Green

And these little guys, aren’t they just the cutest Elves or Gnomes ever? And the papers are just amazing…. and I especially love the sheets of apples and also the present parcel pages. So the apples paper were my starting point. I also used the polkadots and the striped pages as well as a couple of tags from the ephemera page, just some of my favourite pieces from this collection.

I made many layers from the papers using a and b sides distressing and sanding the edges.

I embellished with lots of gorgeous flowers and trims from 49andMarket and a chipboard title from Dusty Attic that was dressed in gold embossing powders. I also added in glitters and fibres.

Well that is all from me today. I hope you enjoyed your visit. Take care and stay safe. xx