Winter wonderland.

1

Posted by Lenet Mos

27 November, 2019 - ,

Write a comment

Hello again sweet Maja fans ,

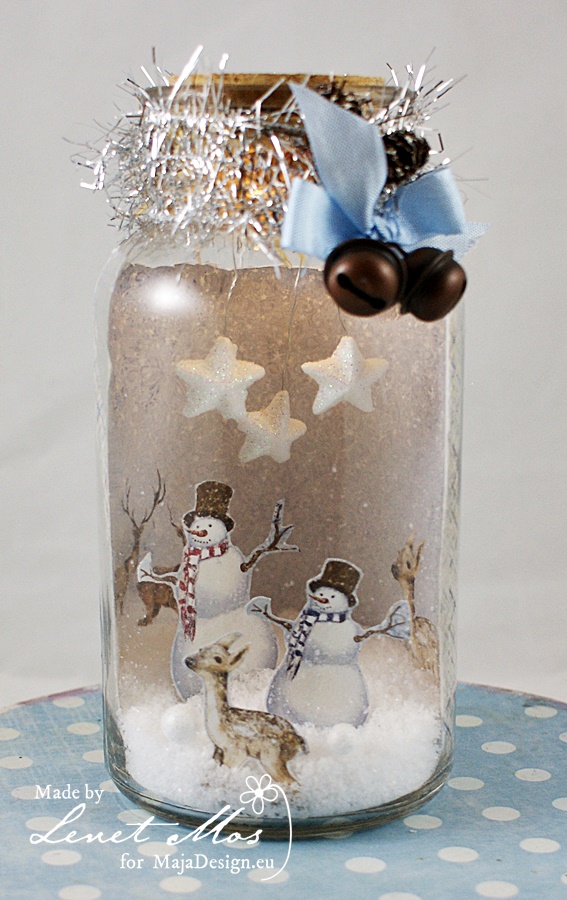
today I bring you this little  winter scenery I made in a jar.

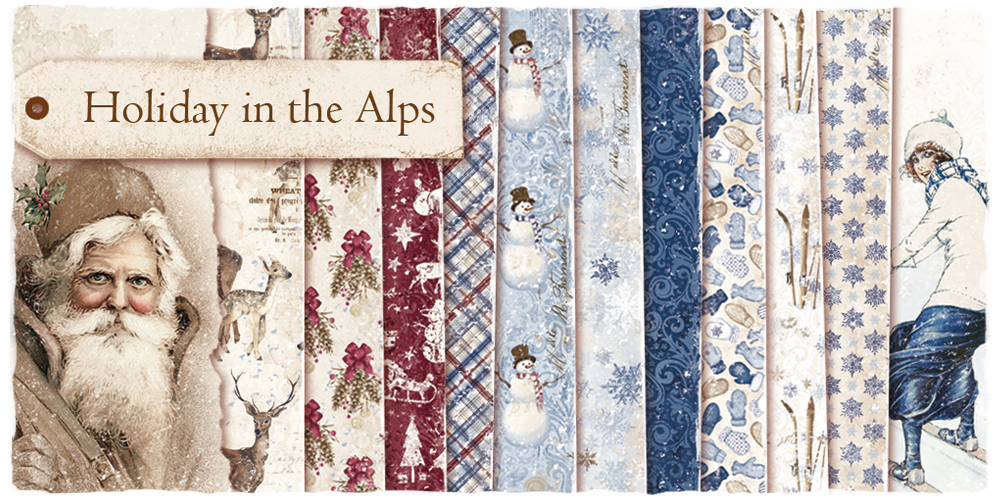
I used the Holiday in the Alps collection for it.

The back ground is made with the Winter night from the 6″x 6″ papers and the snowman and little deer are cut out of the Winter ephemera sheet of the 12″x12″papers.

I added some fake snow and there you have a winter wonderland in a jar. Isn’t it super cute?.

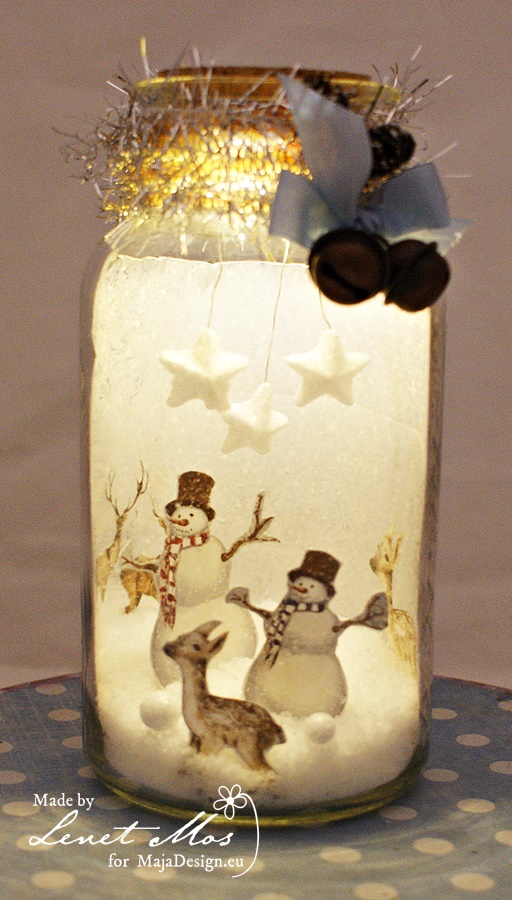
I really love how this turned out and want to enjoy it day and night or evening  so I added a little light in it as well.

I hope you like what I made for you this time.

Thank you for visiting , hope to see you back next time.


Birthday Exploding Box

2

Posted by Maja Nowak

10 August, 2019 - ,

Write a comment

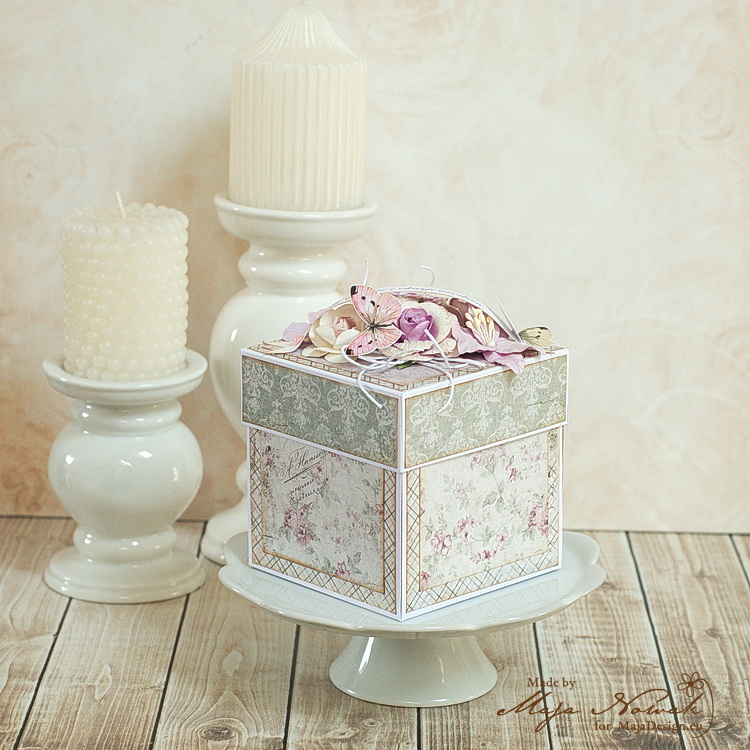
Good morning, dear Maja friends, welcome to the blog today!

I have a birthday exploding box to share, for a certain lady who celebrates her 40th birthday today 🙂

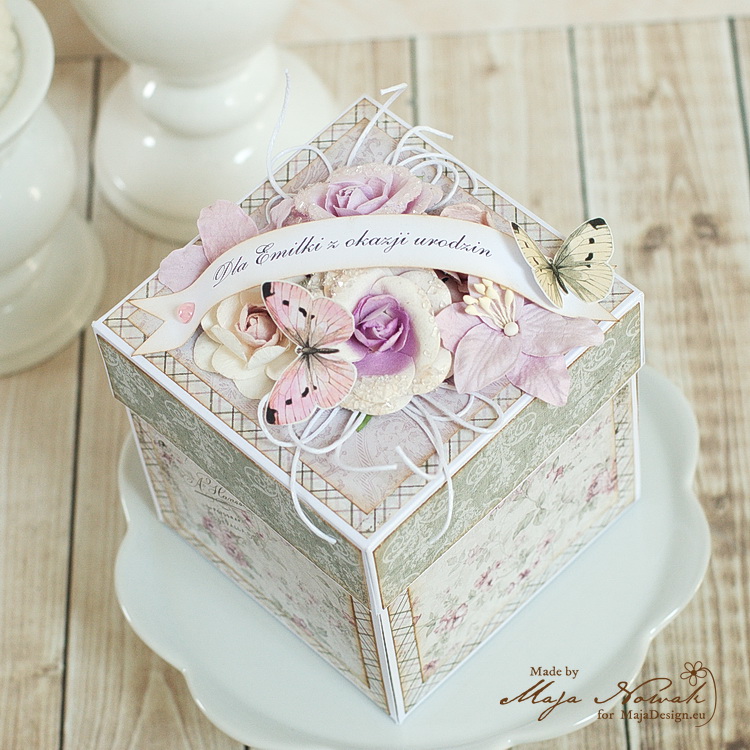
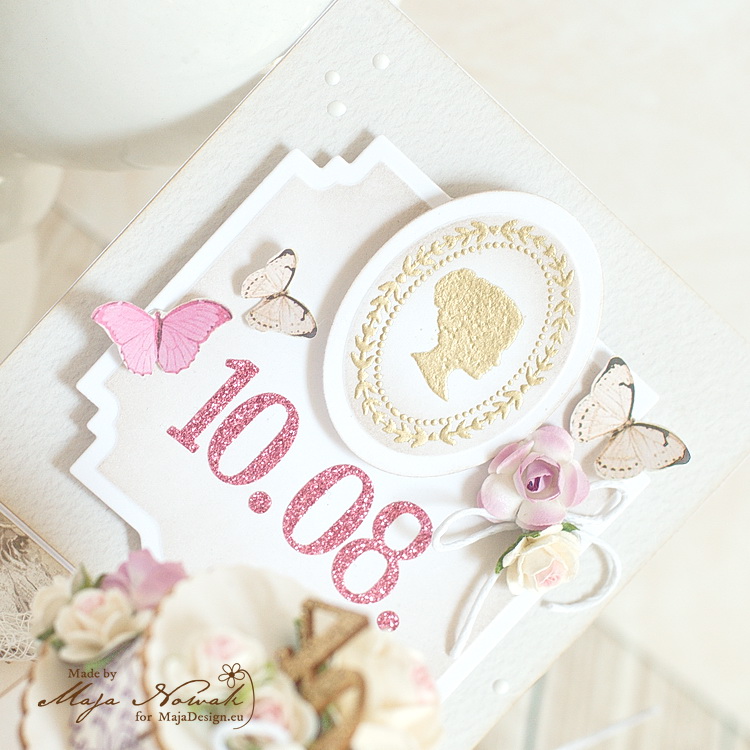
The box is made with the Vintage Romance collection which I simply love for the delicate flowery patterns and a soft colour palette! I used pinks, mauve and green to create a feminine and elegant look. The lid is decorated with a flower bouquet and some butterflies:

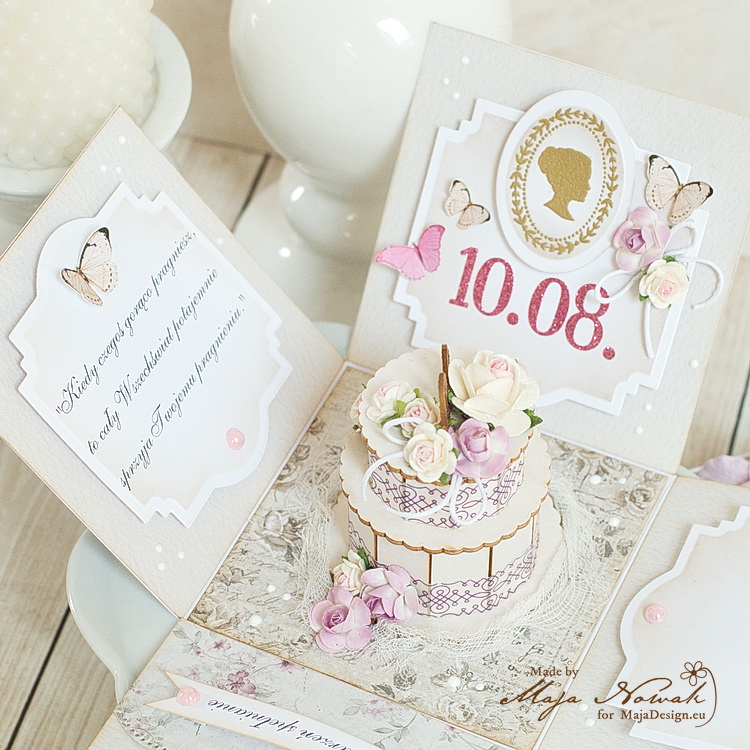
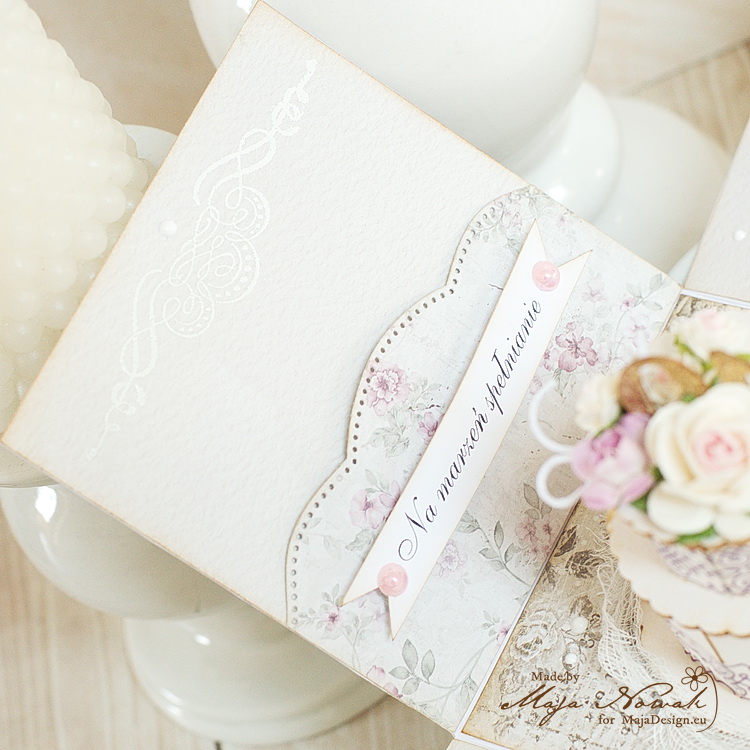
When you lift the lid the box opens and reveals the inside with decorated walls:

One of the walls features a stamped and embossed lady cameo with the birthday date:

Another one has a pocket for some money gift:

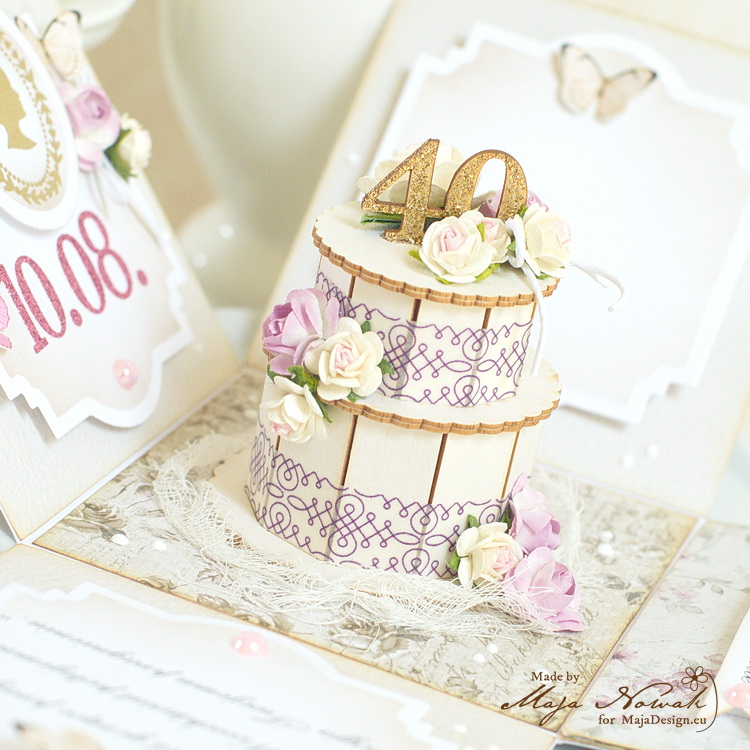
In the centre I put a chipboard cake that I decorated with washi tape and mini roses:

As you can see, the main decorative motives of the box are roses and butterflies and I think Maja Design papers provide a perfect background for them. What do you think?

And here’s what I used for the box:

Maja Design papers:

Other: box base: Latarnia Morska; chipboard cake: Wycinanka.pl; dies: Spellbinders; stamp: Waltzing Mouse Stamps; flowers: Prima.


That is all for today, thank you very much for visiting and don’t forget to drop by tomorrow for more inspiration!

See you soon 🙂

Little notebook

1

Posted by Lenet Mos

25 June, 2019 -

Write a comment

Hello to you sweet Maja Fans

I hope you have a good day, It’s very hot here in the Netherlands almost to hot to do any crafting.

Almost, but not entirely .

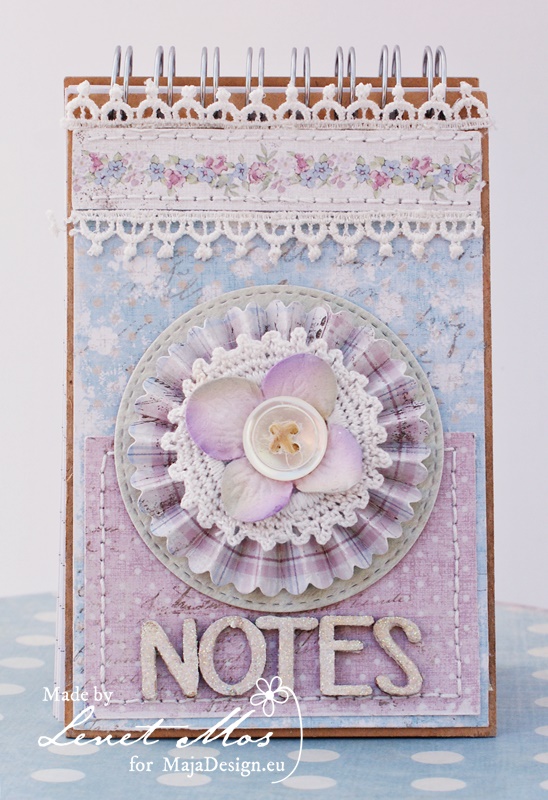
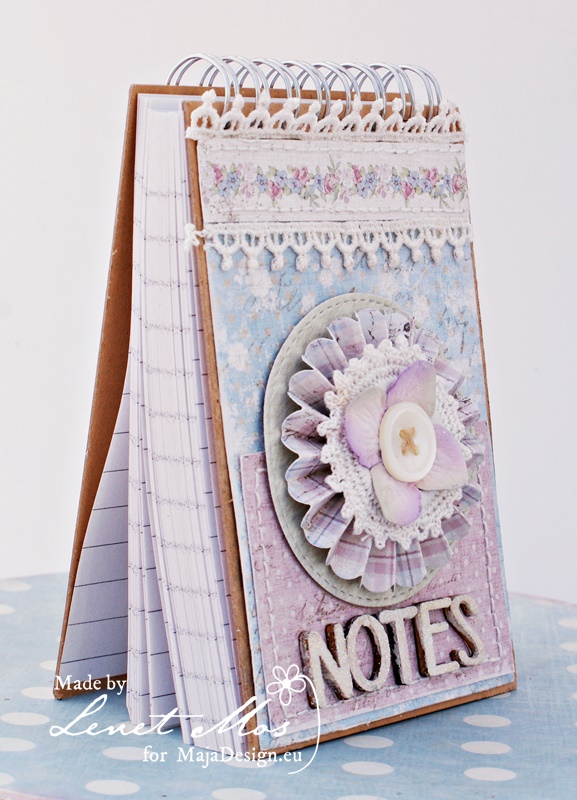
This time I made you this little note book . perfect for small notes and small shopping lists.

I never have large lists ,because I have a shopping center nearby . It’s just a bike ride of 10 min. away.

I bought it at the local dollarstore, but thought it was to boring so I made it a little prettier with some left over snippets from other projects.

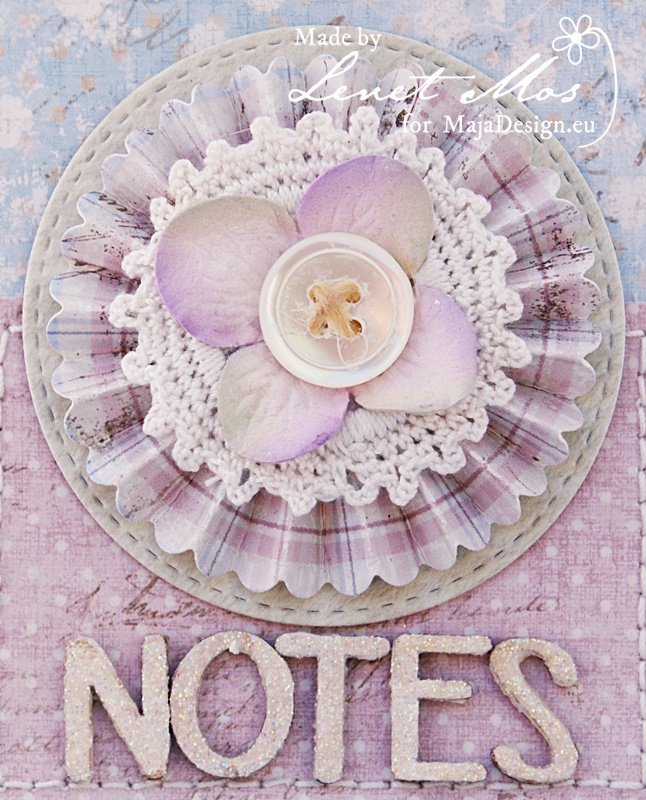
and a close up.  Te rosette is made with the Tim Hotlz minipaper rosettes dies

The word Notes is made of small wooden letters from the dollarstore , paited white and glittered with a glitter and clear embossingpowder mix I made myself.


I hope you like my project for today.

Thank you for visiting ,make shure to check in  later to see what the other Maja girls have made for you.

Daddy Rocks – A Boxframe Tutorial

1

Posted by Maja Nowak

24 June, 2019 - , , ,

Write a comment

Good morning, dear Maja friends, welcome to the blog today 🙂

Yesterday we celebrated Father’s Day in Poland. For this very special occasion I decided to make a special gift. But first let me share you a story behind it 😉

I make a lot of dimensional cards and therefore use a lot of card boxes too. And being a true scrapper and hoarder 😀 I tend to collect everything that could potentially be used, altered, reused and recycled, and that includes faulty box pieces. And so I gathered lids and bottoms that were assembled wrong, or stained, or wonky – and felt it was the right time to do something about them 😉
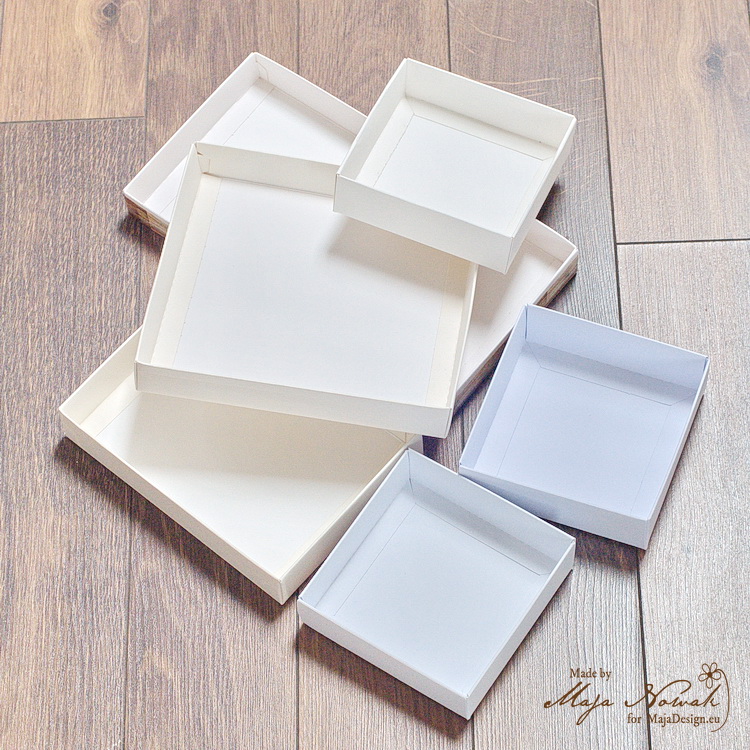
Yes, I decided to make a shadobbox-like frame using box elements 🙂 And I’m going to share a step-by-step tutorial with you.

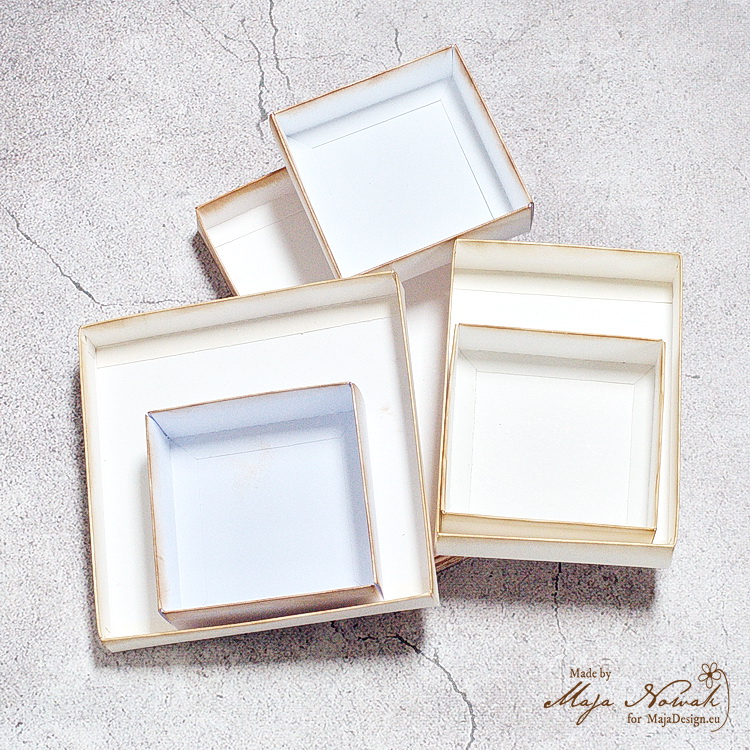
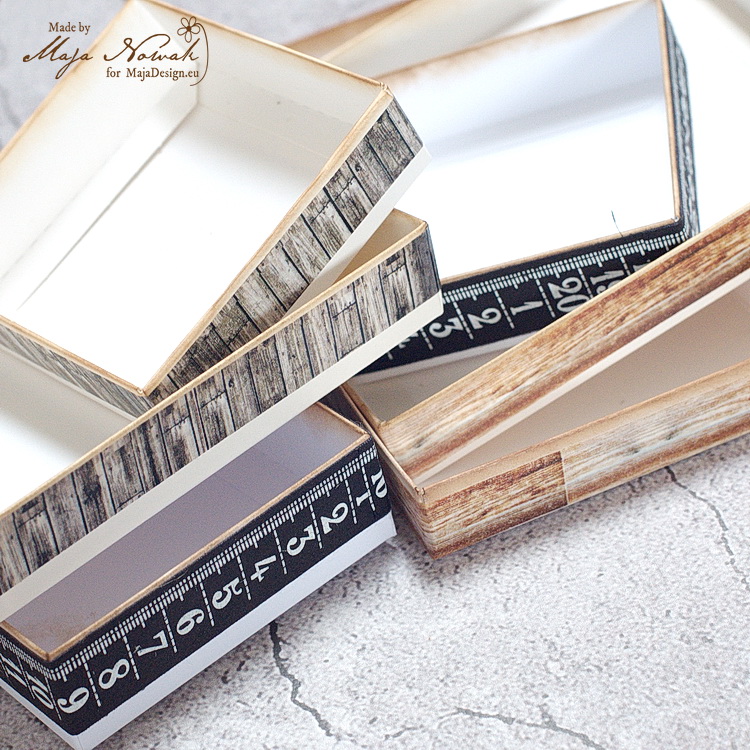
The boxes were of various sizes and colours, so first I inked all the outside edges:
…and then wrapped the sides with washi tapes:
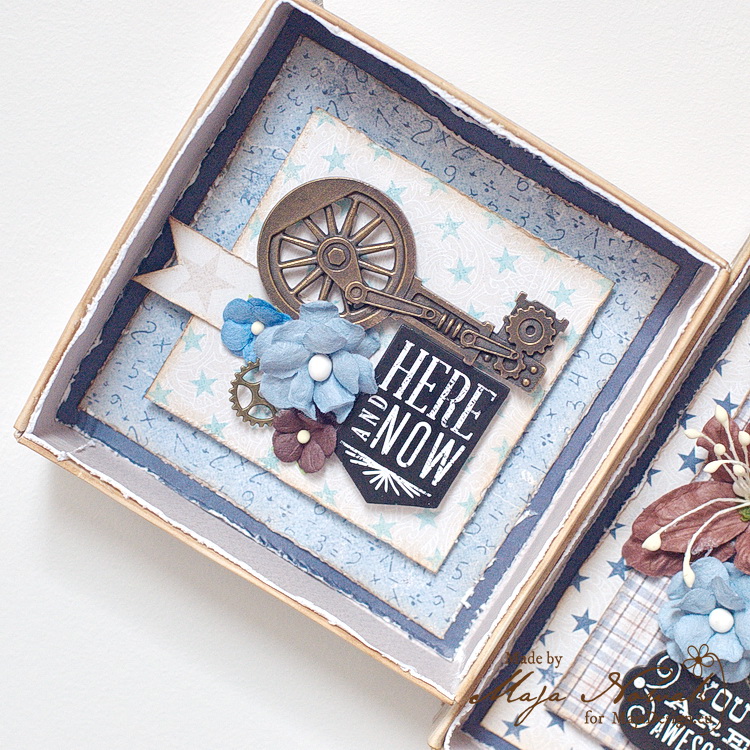
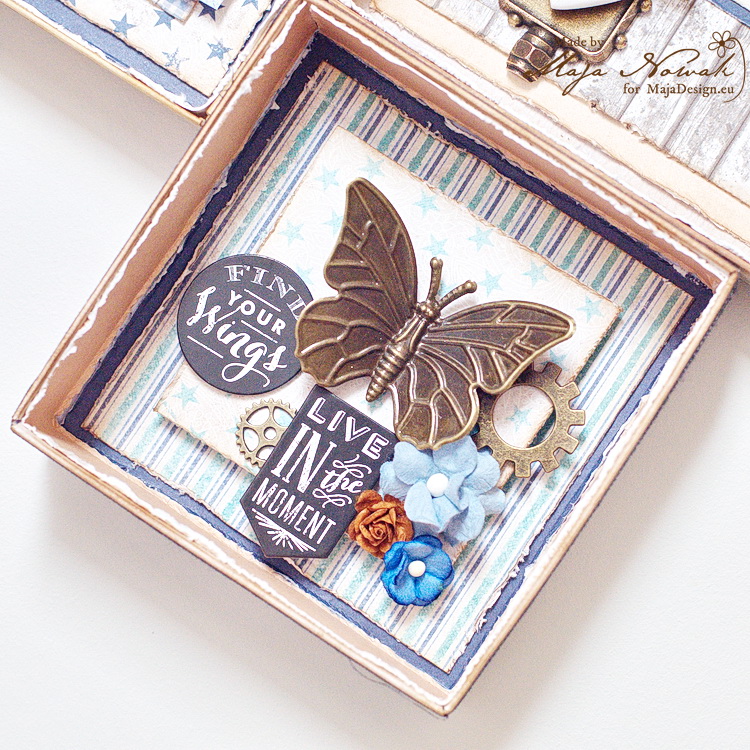
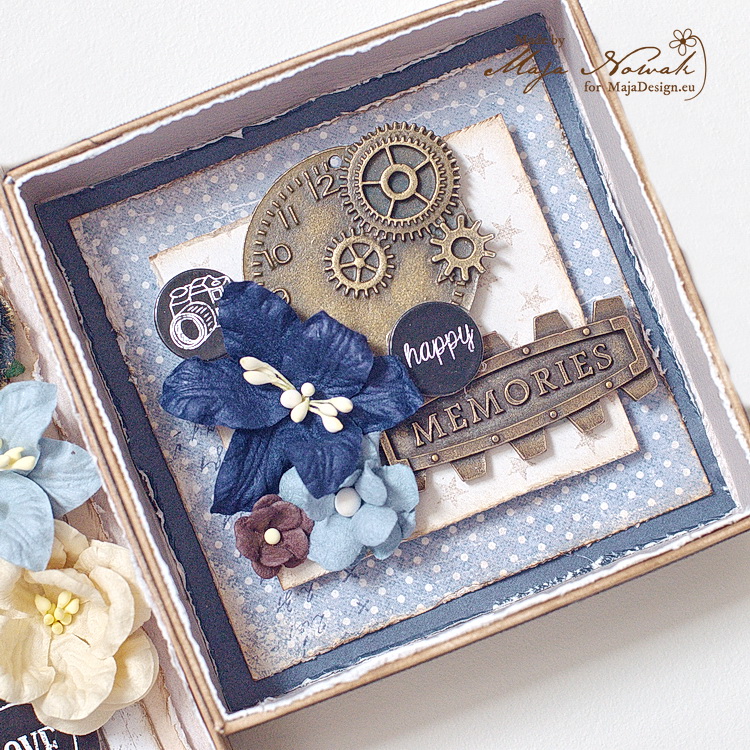
The next step was to decorate the inside of the frames – first I covered the inner sides with strips of papers and then added layers of papers inside. I used the Denim&Friends collection – my all-time favourite papers for masculine projects:
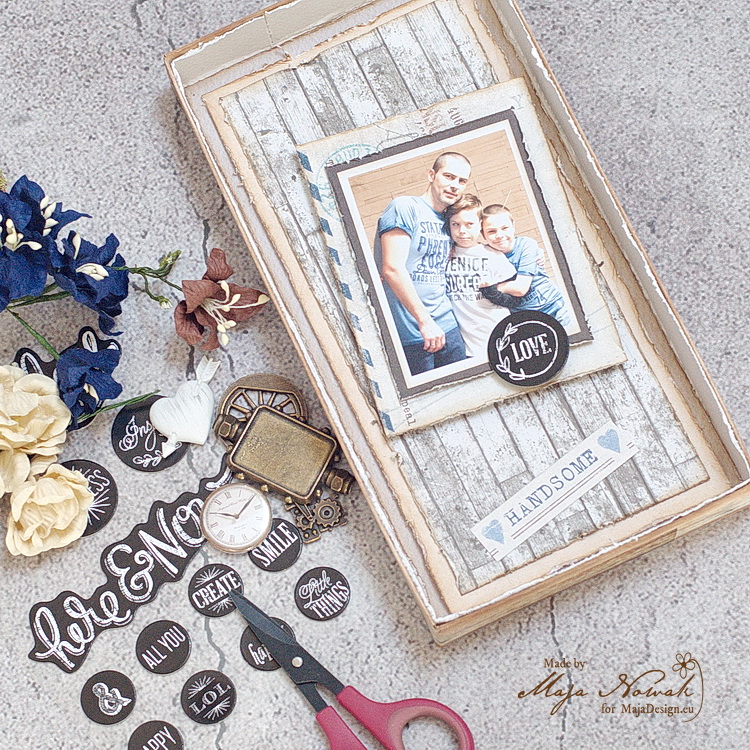
First I decorated the photo frames:
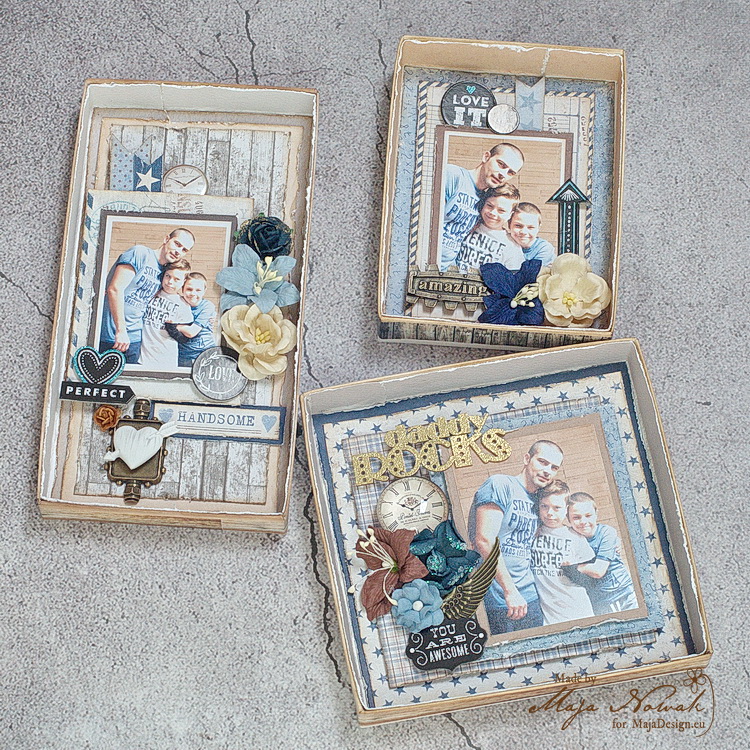
…and then additional decorative pieces:
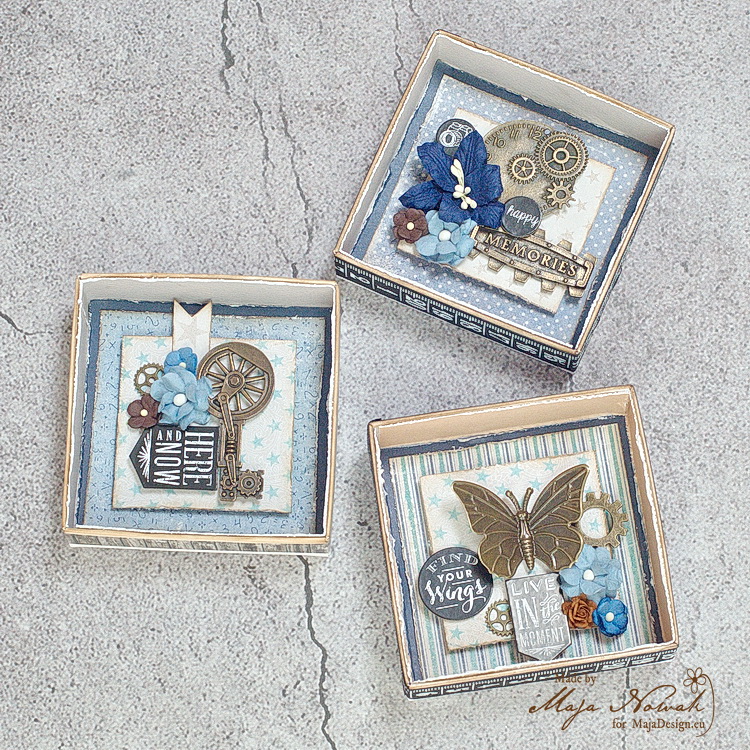
Once I had all the pieces finished, I tried various element designs to make a frame. When I was happy with the layout, I attached them all together with strong double-sided adhesive tape:
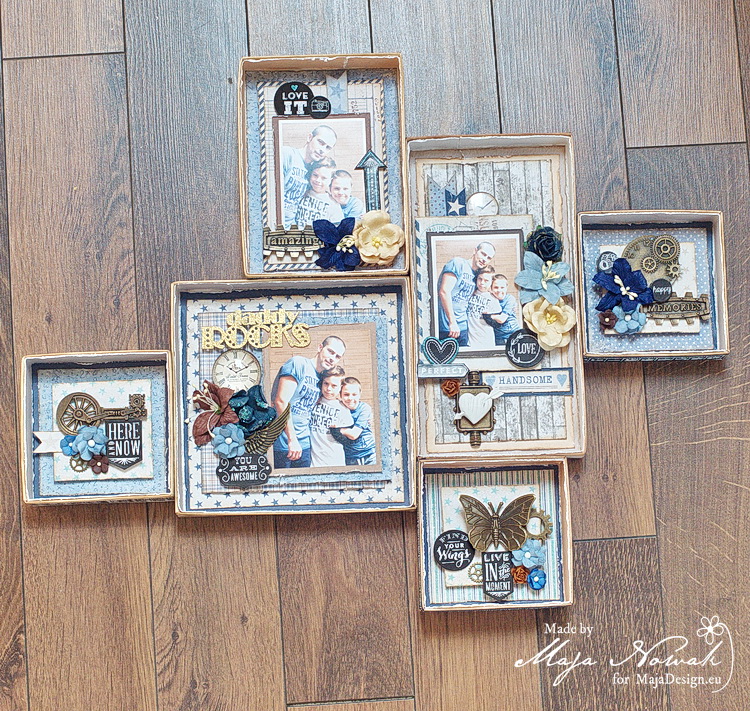
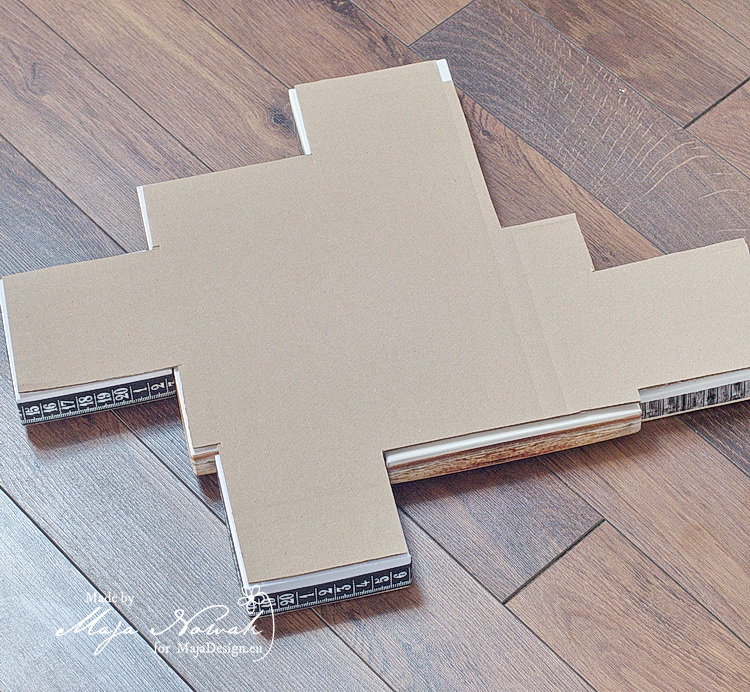
Then I took the largest cardboard piece I had in the house 😉 and traced the shape of the frame. I cut out the shape slightly smaller so that the cardboard doesn’t peek outside the frame:
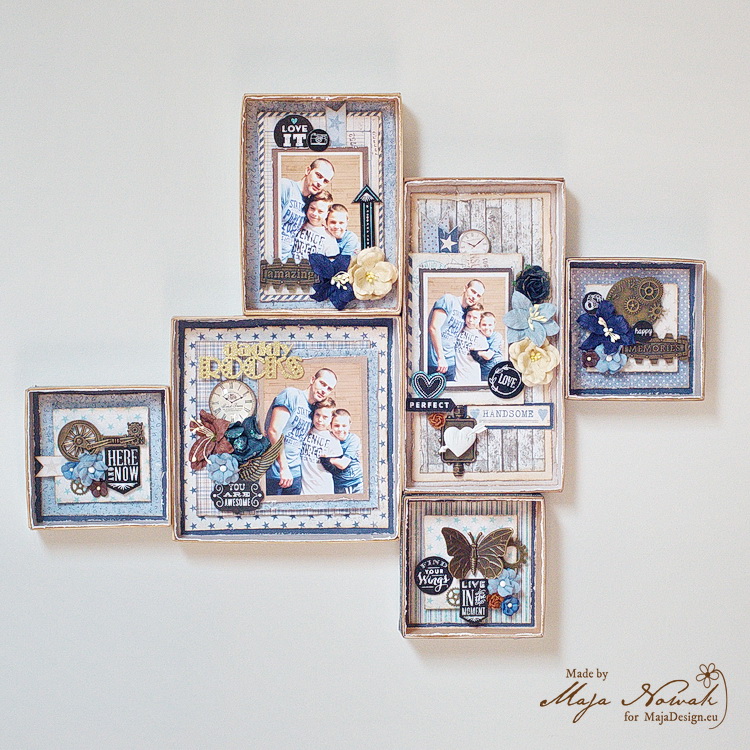
And my Father’s Day box frame was done 🙂
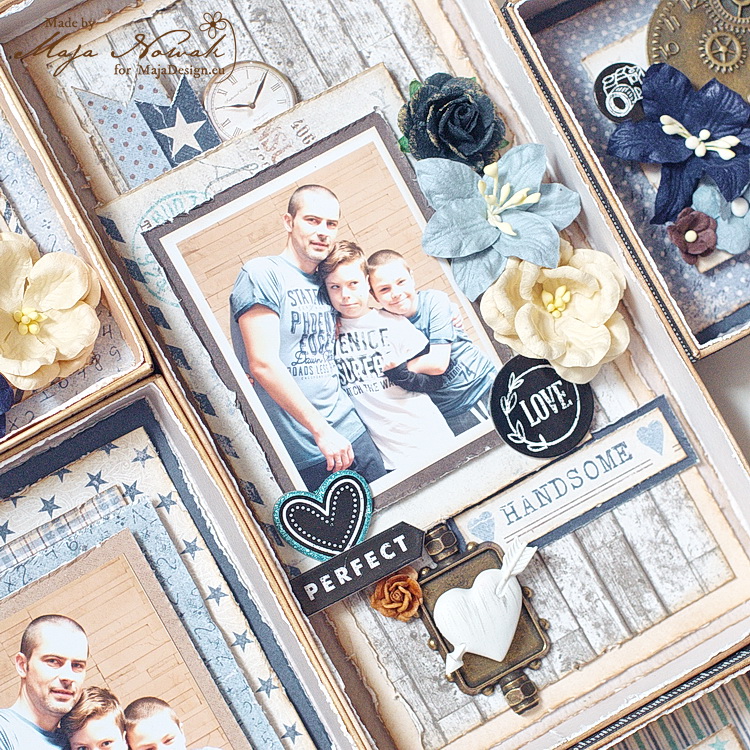
Let’s take a closer look:
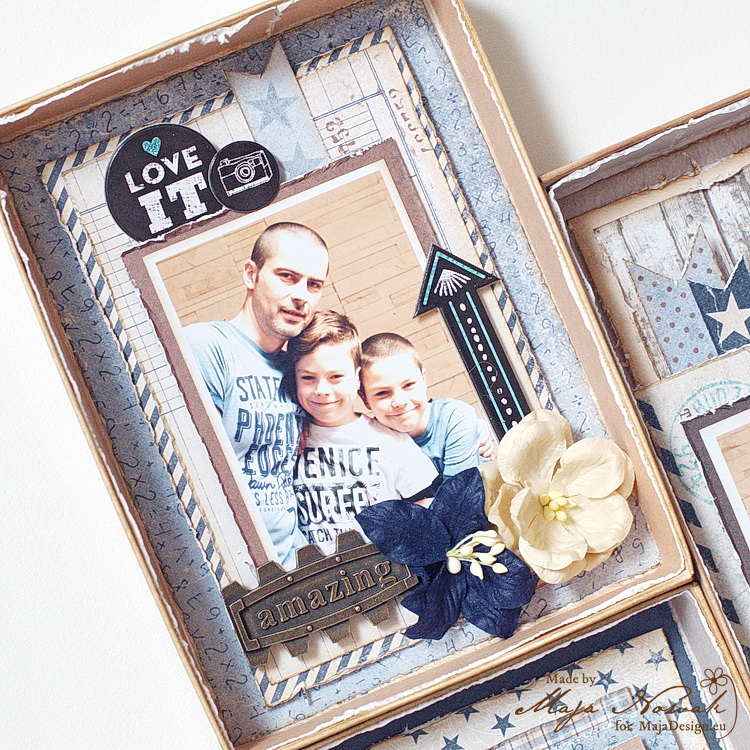
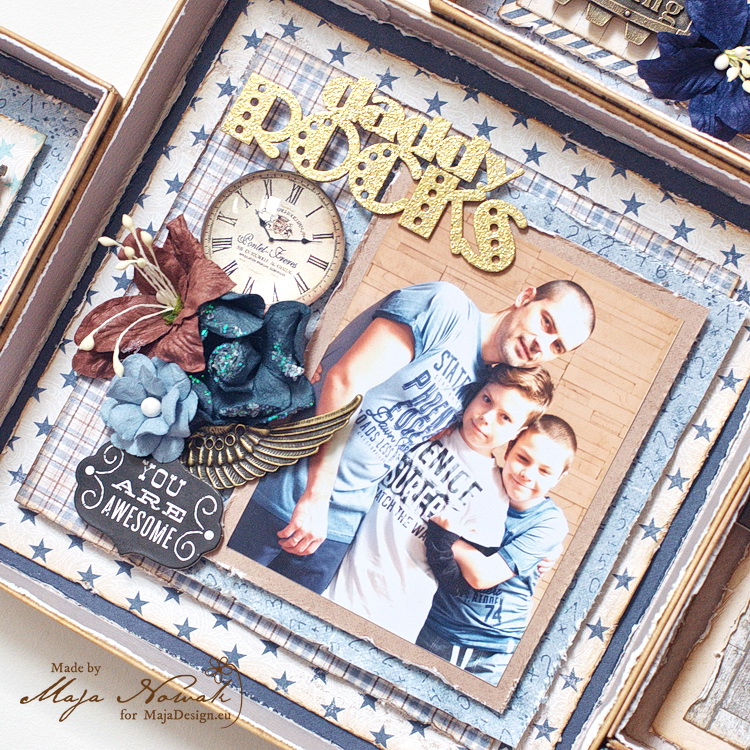
I really like the way it turned out: the papers’ colour palette perfectly matches the photos, I used up pieces of boxes I couldn’t use for cards and I made an original gift that can decorate the wall above my husband’s desk 🙂

What do you think of it?

And here’s what I used:

Maja Design papers:

Other: flowers: Prima, Wild Orchid Crafts; metal embellishments: Scrap Hobby; stickers: MAMBI.

And that’s all for today. I hope you liked my tutorial! See you soon!

sweet shabbychic giftbag.

1

Posted by Lenet Mos

14 June, 2019 -

Write a comment

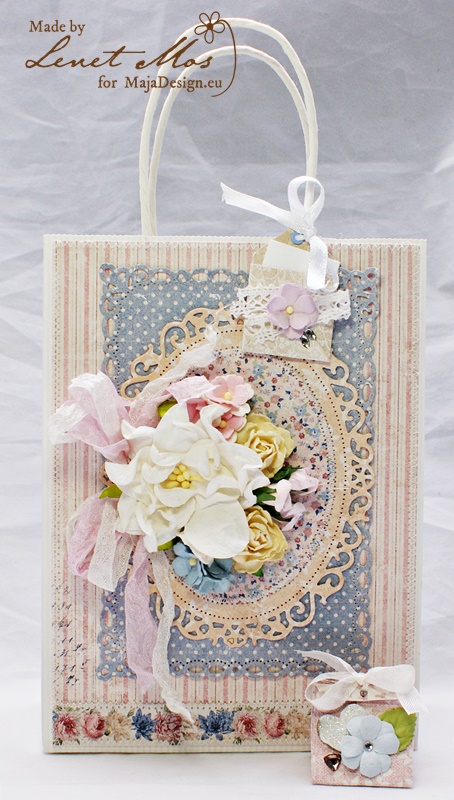
Hello sweet Maja fans,  Lenet here and today I bring you this giftbag.


For this I used the wonderful collection of Denim and Girls. Like a lot of you I really love this collection with his bleus and pinks. the flowers ribbon and lace are from my own stash.

the square and oval are made using Spellbinder dies.

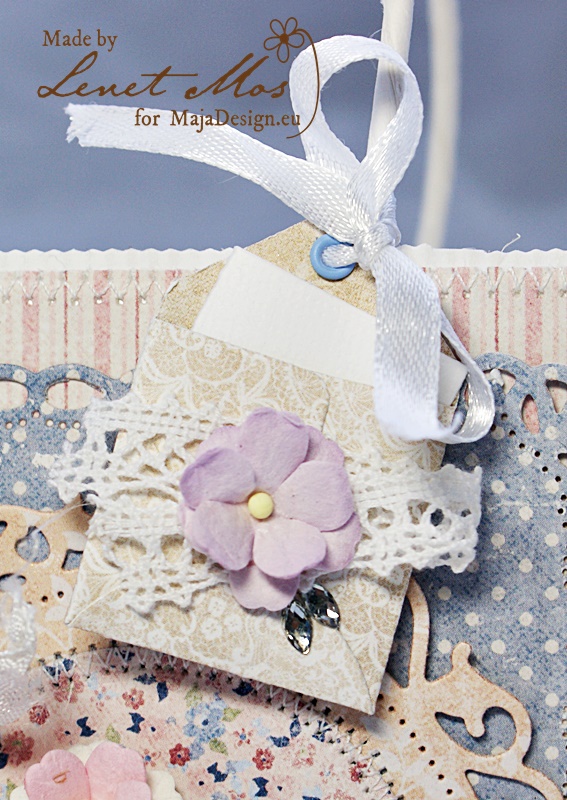
For the cute  little envelope that I used instead  of a label ,I used a Gummiapan die it has a little card in it that you can use for your message.

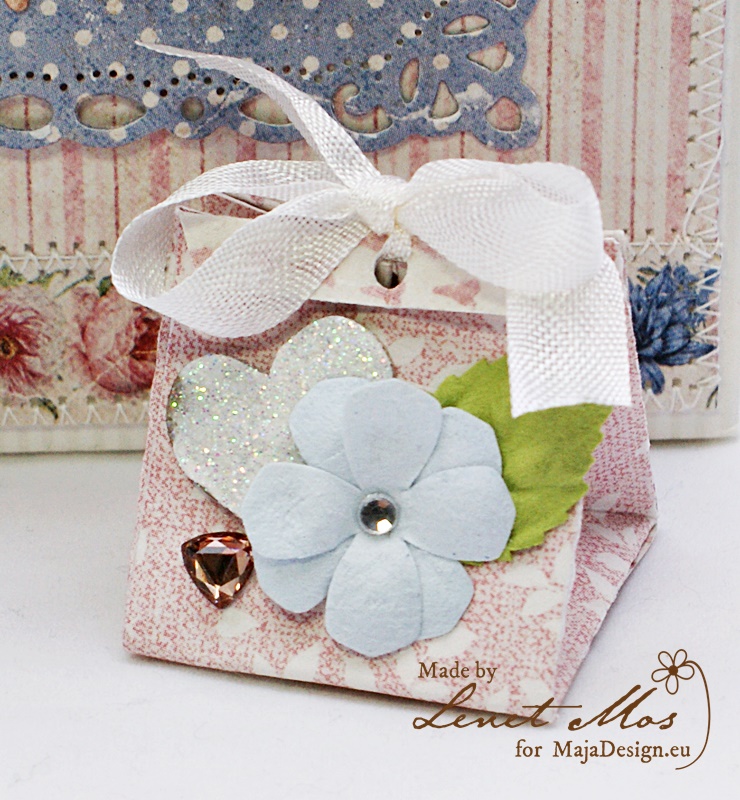
I had a little strip of Denim and Girls Pink linen left over , and I used a Gummipan die to make this cute little giftbag .

Thank you for visiting today , I hope you like what I made for your inspiration today, hope to see you again next time.

Don’t forget to visit again later to take a look at the work from the other Maja Girls.