First Communion Exploding Boxes

1

Posted by Maja Nowak

10 May, 2019 - , ,

Write a comment

Good morning, Maja Friends, welocme to the blog today 🙂

May is traditionally a month of the First Communions in Poland. Every May Sunday in various churches a group of kids receive the Sacrament and then celebrate with their faimilies with festive dinner and presents. Money and jewellery are quite popular First Communion gifts and I designed exploding boxes to give them a nice packaging 🙂

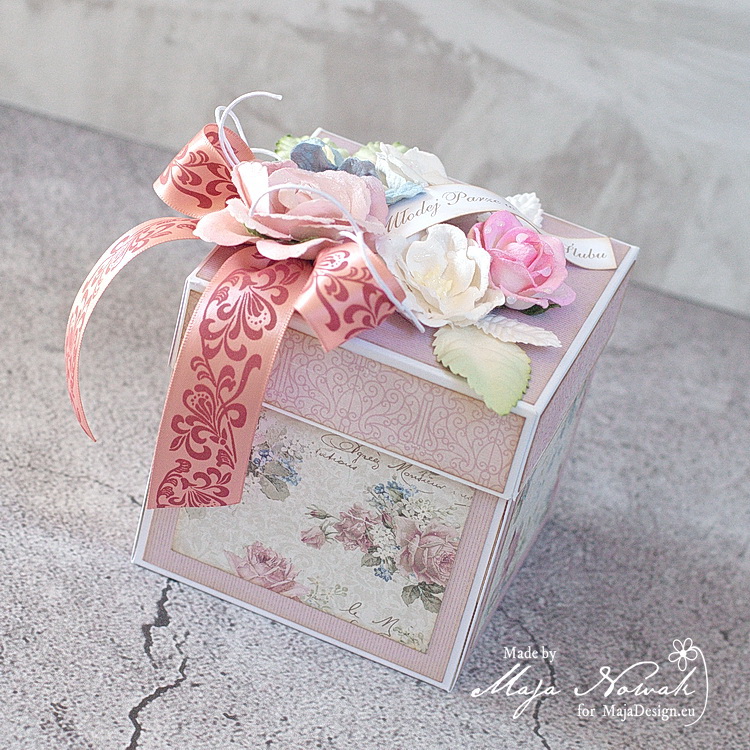
Here’s the girl’s version:

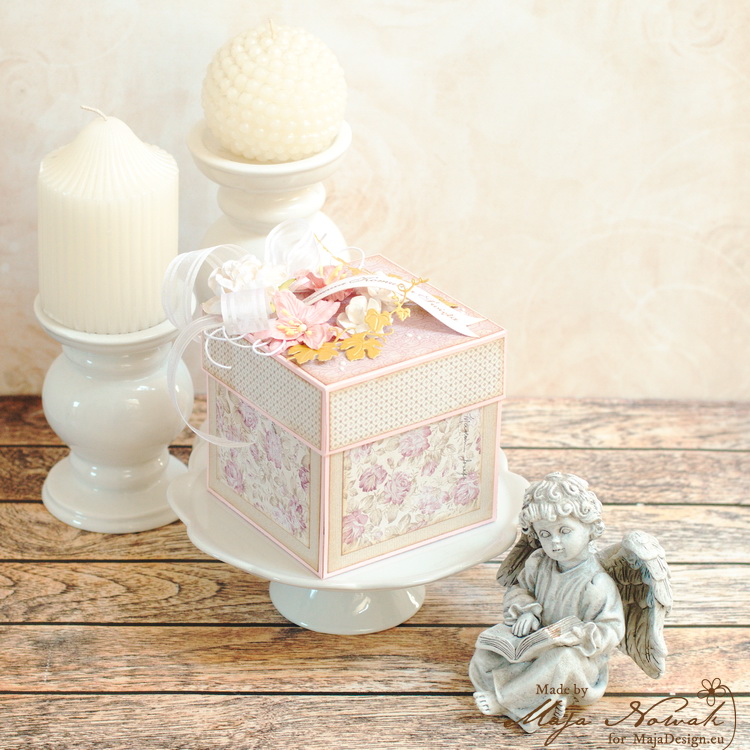
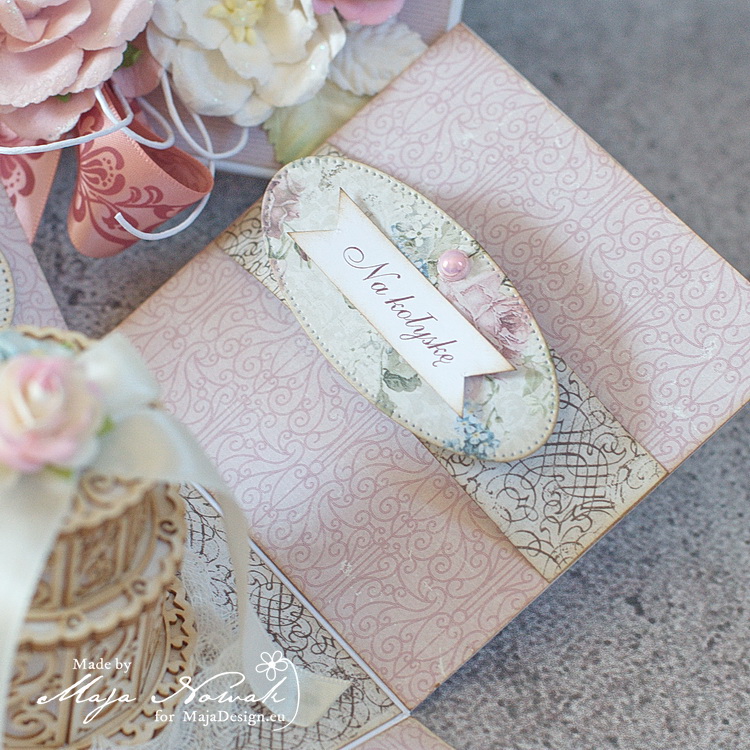
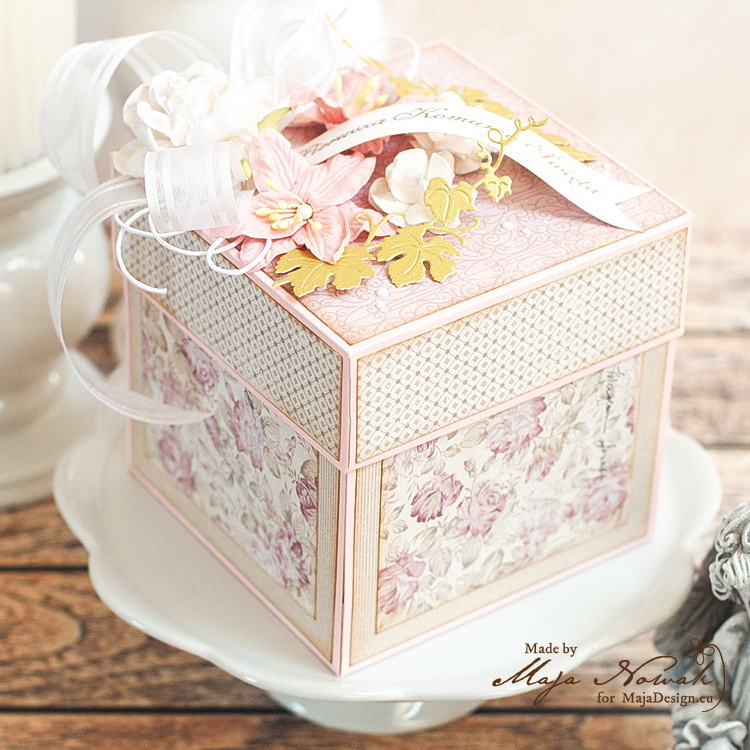
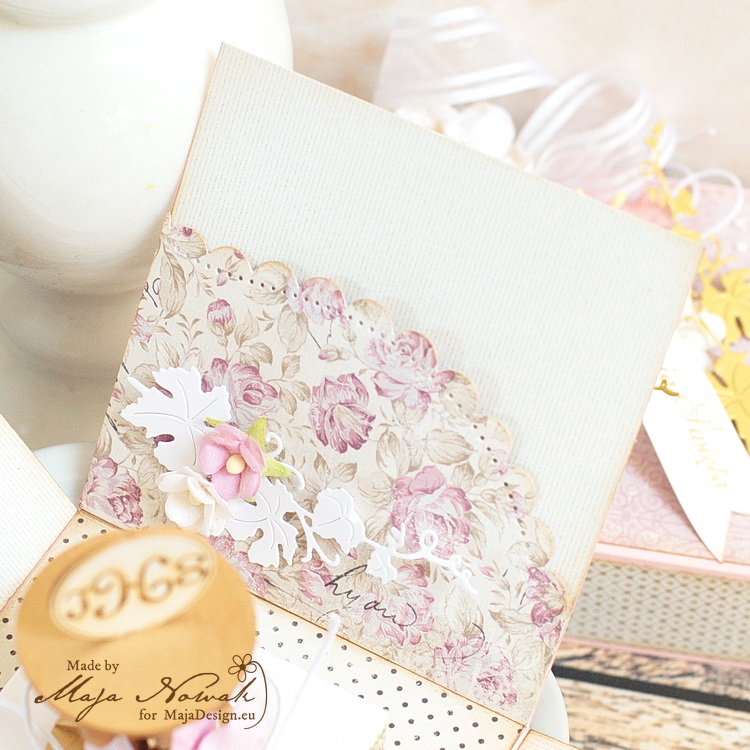
I decorated the box with Celebration papers:

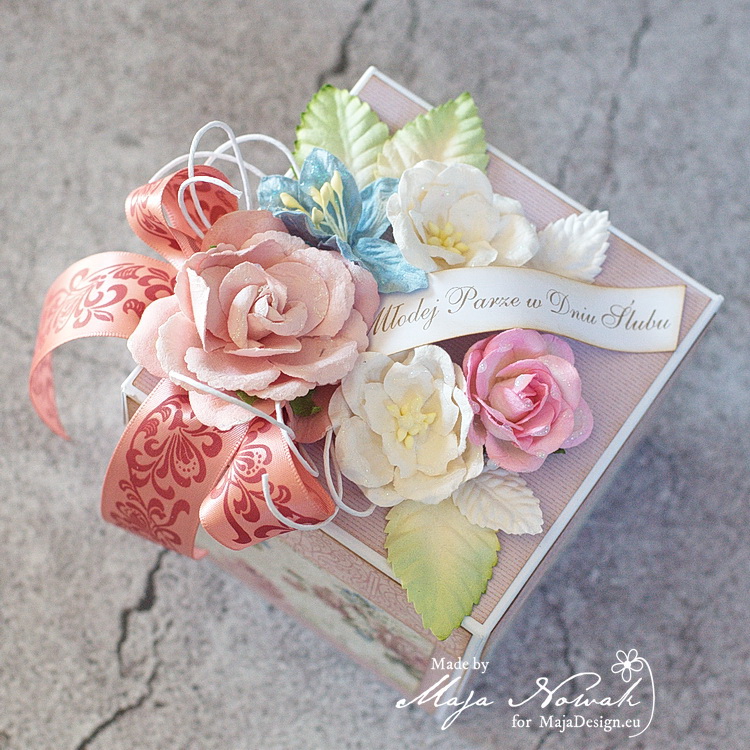
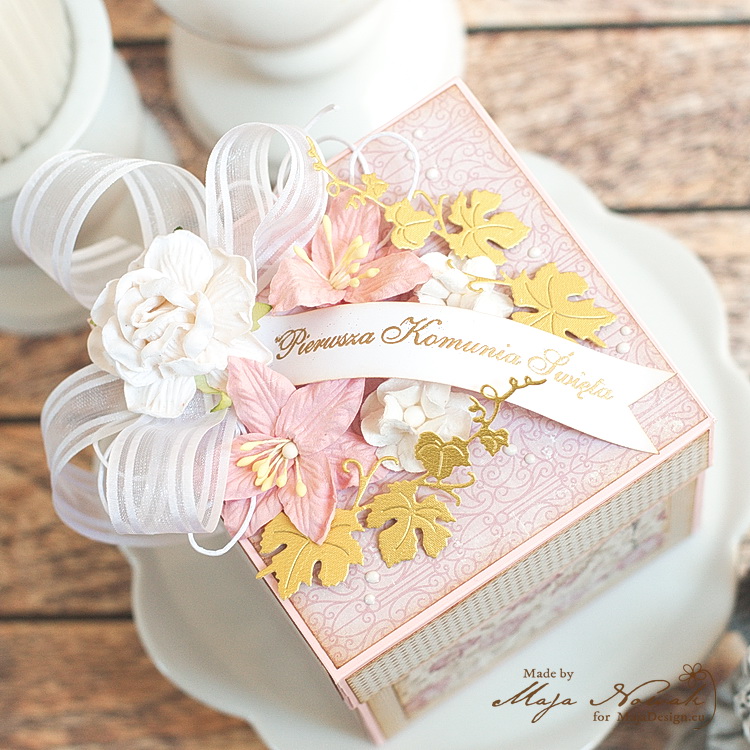
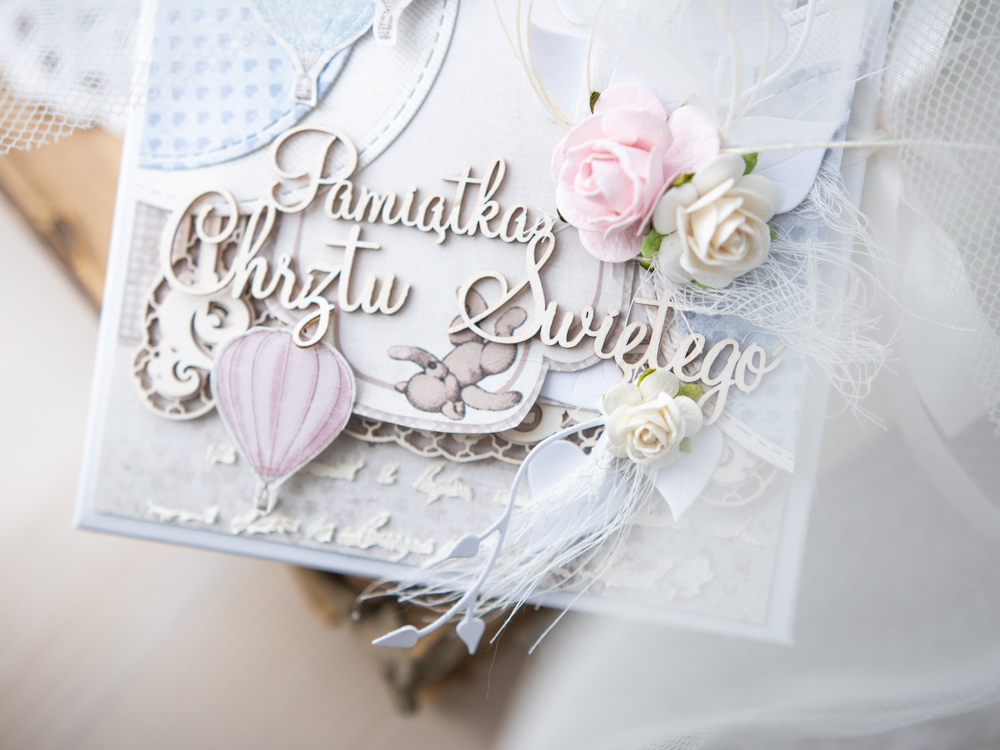
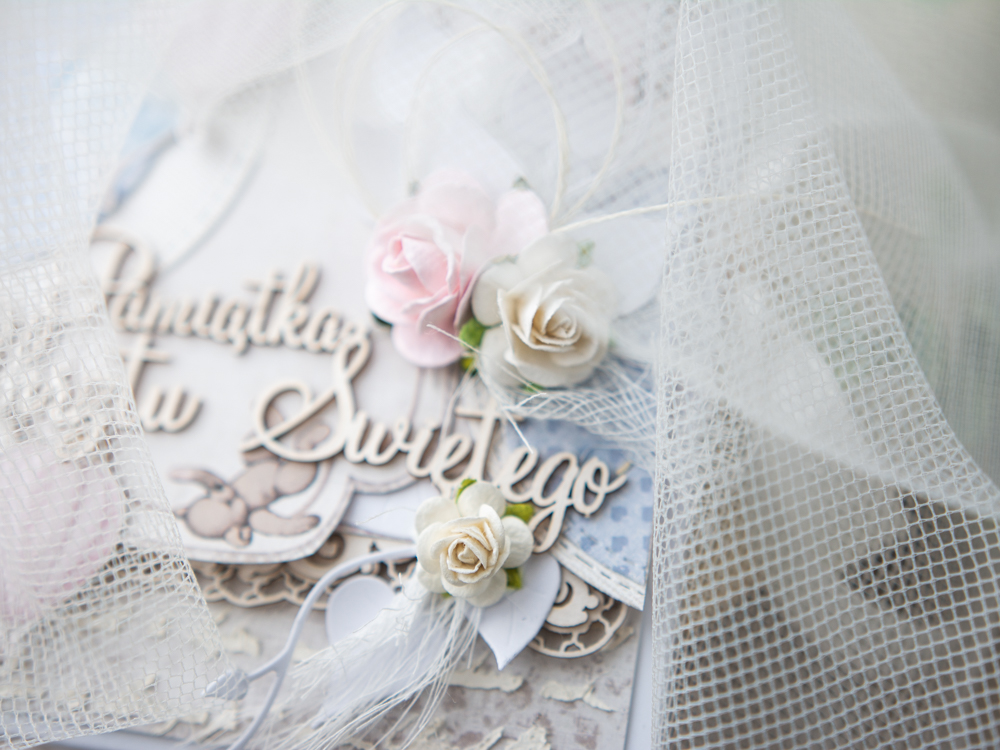
The lid is decorated with a flower bouquet and a stamped sentiment embossed with golden ep:

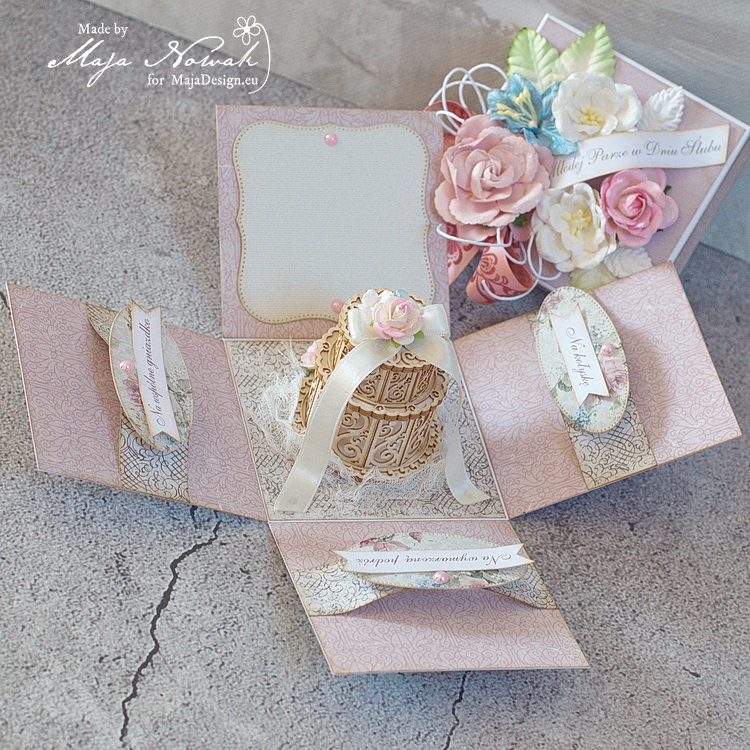
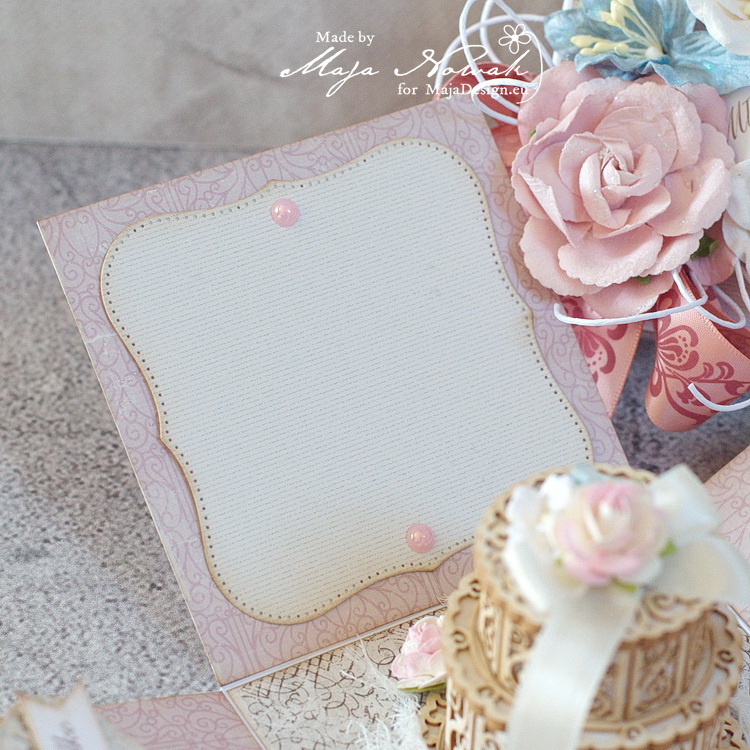
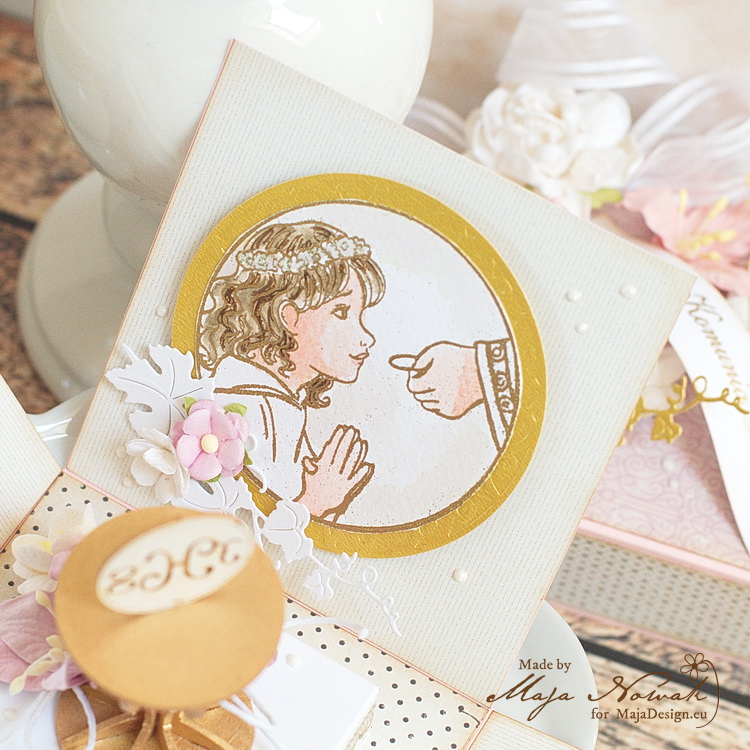
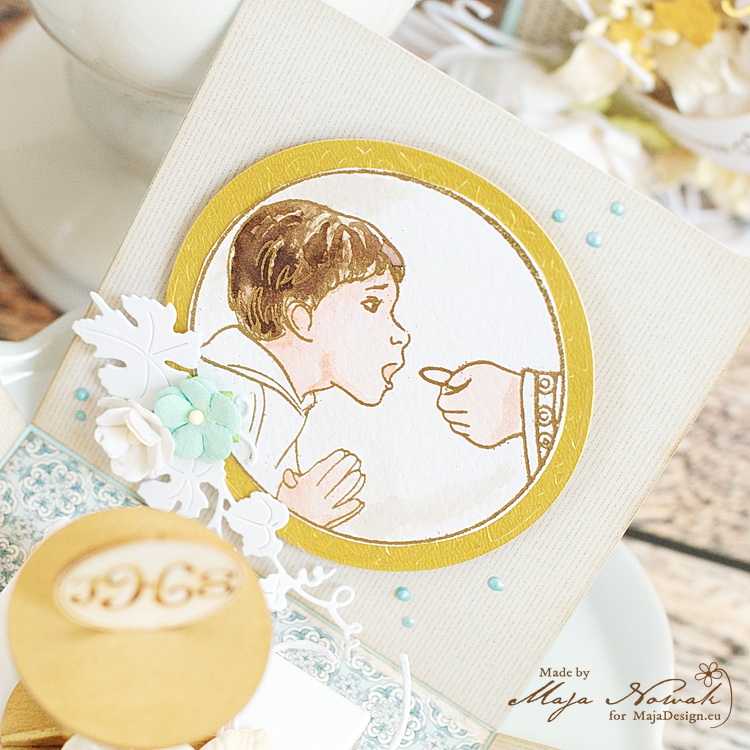
When the lid is removed, the walls fall open and reveal the inside. There’s a stamped, embossed and hand-coloured image of a First Communion girl:

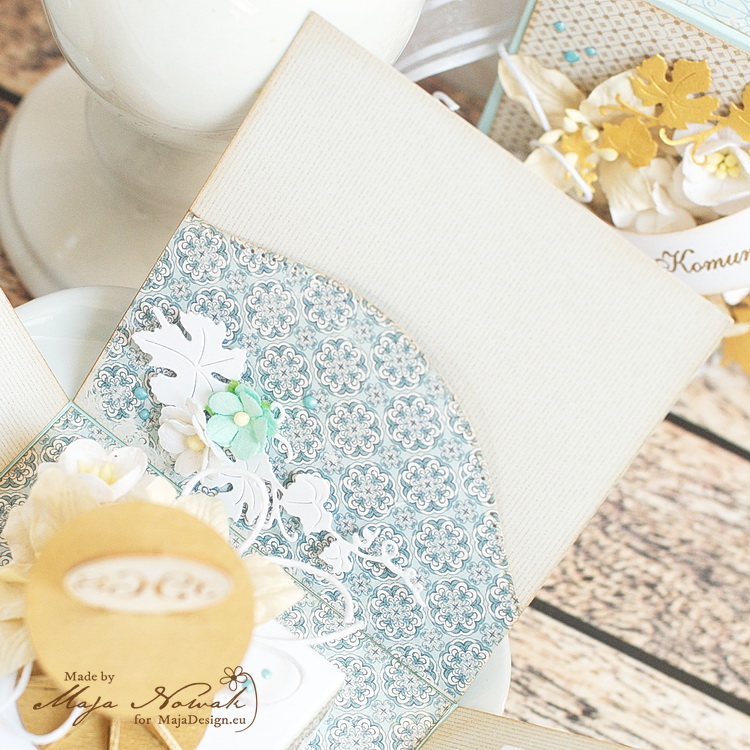
…a small gift pocket:

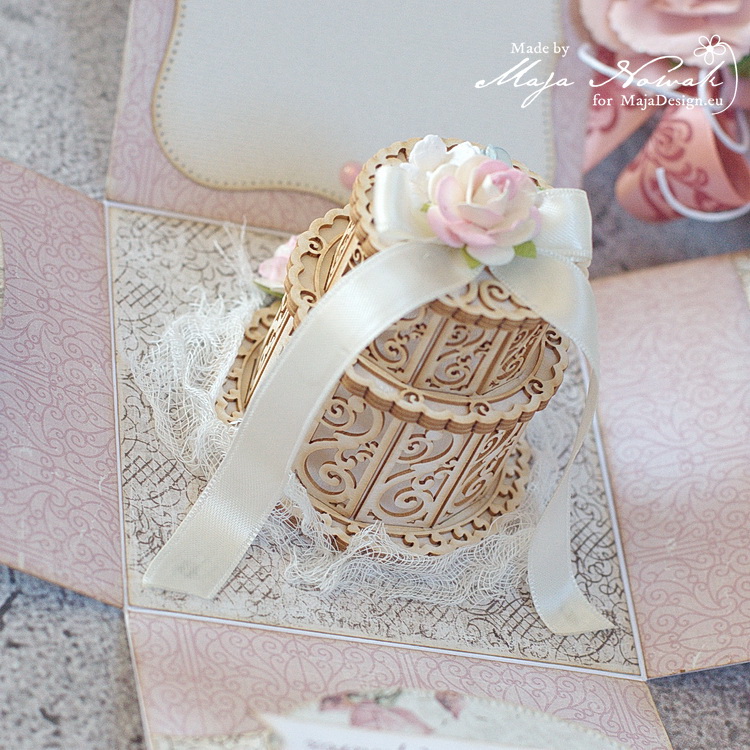
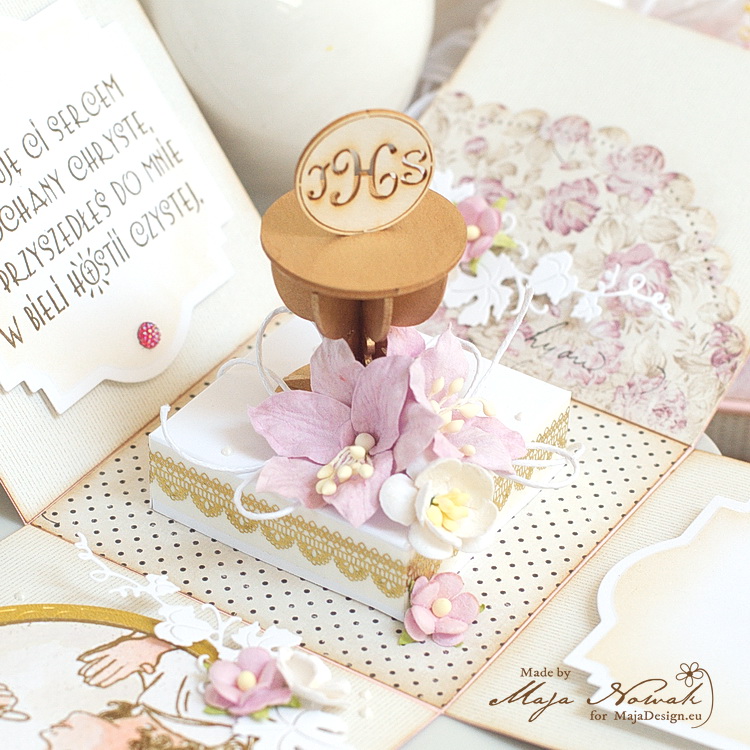
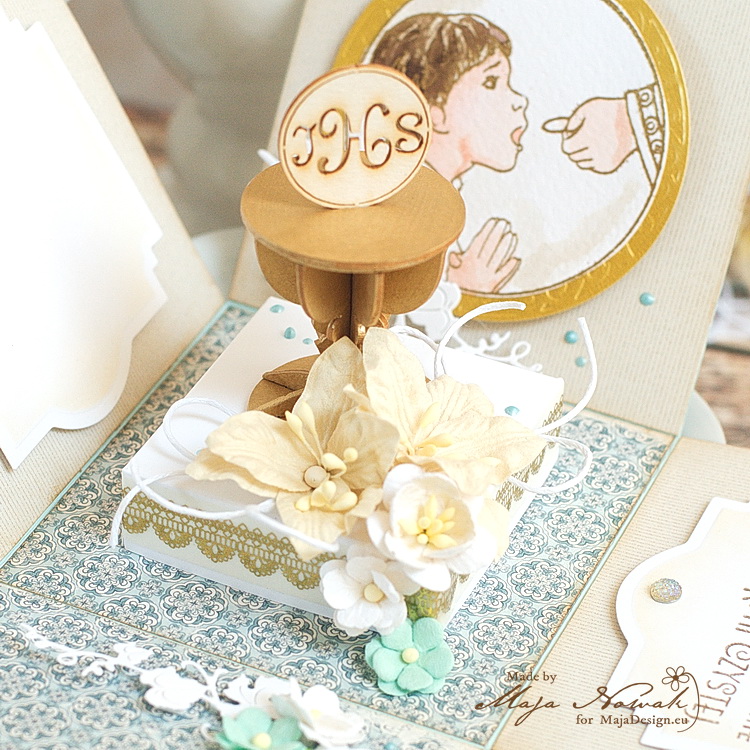
I also added a panel with a stamped poem, whilst in the centre I placed the chalice decorated with flowers:

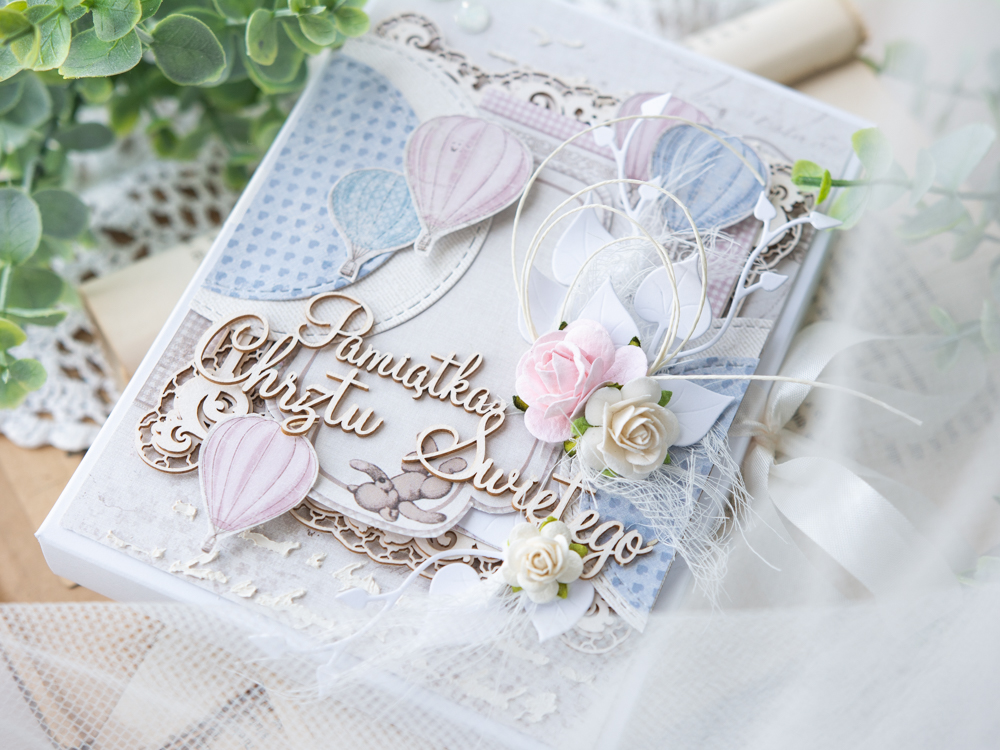
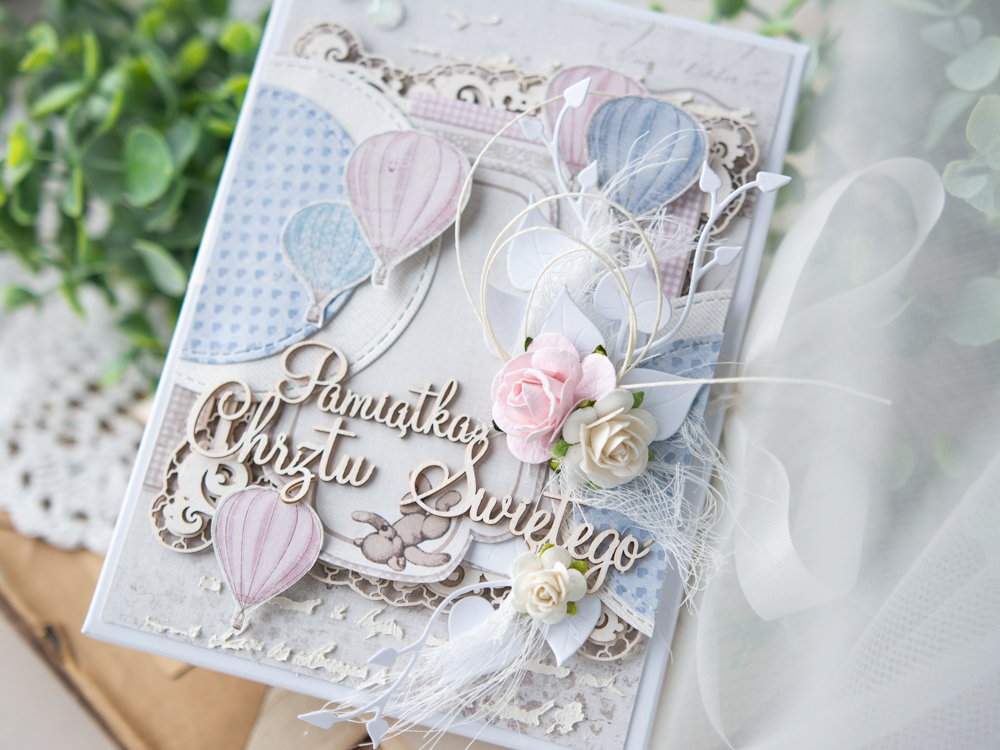
The girl’s version is traditionally in the pink palette – I also made a boy’s version in blues:

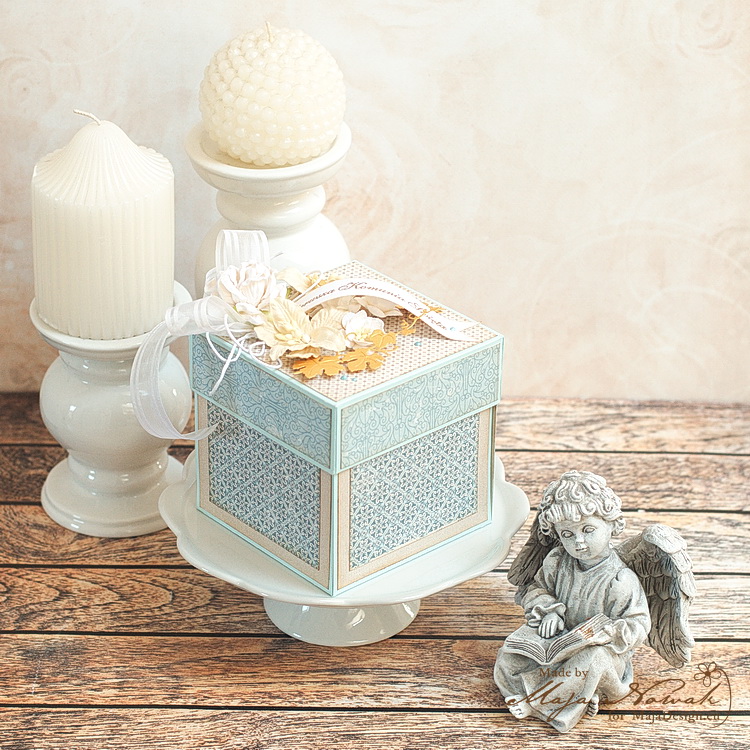
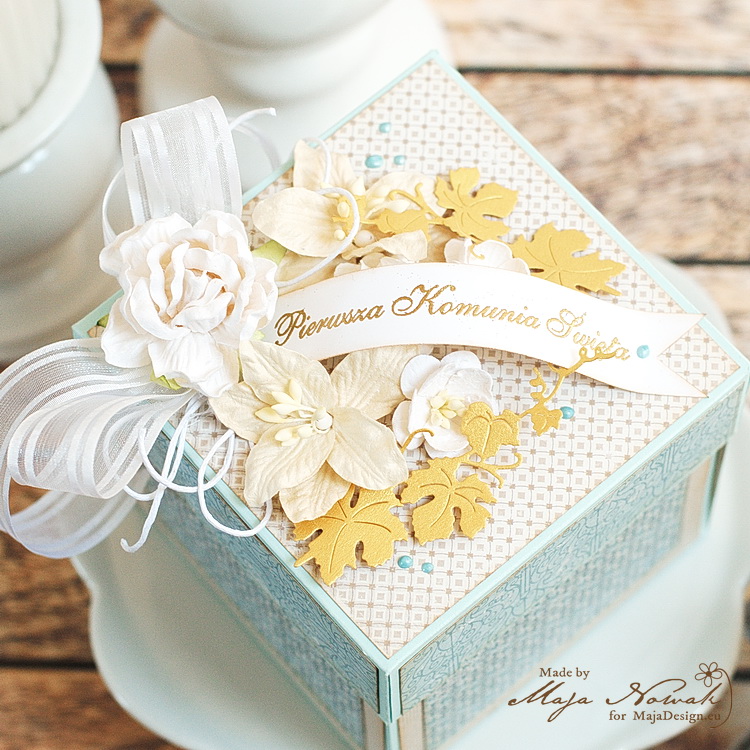
The design is basically the same, of course the stamp is different 🙂

I really like how the Celebration collection provided delicate flower patterns for the girl’s box, but also elegant flowerless motives for the boy version 🙂

And how do you like the boxes?

Here’s the list of my supplies:

Maja Design papers:

Other: dies: Spellbinders, custom vine die; flowers: Wild Orchid Crafts; stamps: Lemonade; washi tape: Dekoracyjna Taśma; bling: Marianne Design.

I hope you enjoyed your visit to our blog, don’t forget to drop by tomorrow for more inspiration!

Have a nice day!

Childish Card Box

1

Posted by Paulina Monasterska-Tronina

5 March, 2019 - , ,

Write a comment

Hello, our blog fans. For the previous inspiration, I have created two childish cards. Today I would like to show you another project – this time I created a card box in the same style. It will be a gift for a Baptism.

I did not create the paper box from the scratches – I’m not so patient. I bought a ready base from a polish producer called GoatBox. The base is really easy to fold and then decorate. Paper came from the Maja’s “Vintage Baby” Collection. I love all type of delicate pattern and pastel colors, recently. 

This time I added some structure paste. I didn’t want to make many layers. I have chosen only some chipboards from Scrapiniec and paper flowers. Kept it as simple as possible (I did my best!)

 I hope you enjoyed today’s post. If you have any question – don’t hesitate to ask! I wish you a wonderful day. Hugs, Paulina

Rose Wedding Exploding Box

2

Posted by Maja Nowak

12 September, 2018 - , , , ,

Write a comment

Good morning, dear Maja Friends, welcome to the blog today!

The wedding season is slowing down a bit, but still the wedding bells can be heard each Saturday 😉 And so it is reasonable to have a stock of wedding cards and gifts at hand. Therefore for my today’s post I decided to make a wedding exploding box for those who wish to complete their wishes with some cash too 🙂

I combined two collections in the box, and they are both perfect not only because of beautiful colours and elegant patterns, but also because of their names! Mix Vintage Romance with Celebration and you have a perfect wedding project.

I matched the flowers I used for the box with the printed ones of the Engagement sheet.

Inside the box are the usual slots for money – the sentiments say: for the crib, for the shared nest and for the journey of your dreams – as well as the space for writing in wishes:

The filigree chipboard cake I used perfectly matches the flourishes of the papers! I decorated it with mini flowers and satin ribbon:

And how do you give cash presents to the newlyweds? Just an envelope or something more elaborate?

Here’s what I used to make the exploding box romantic and flowery:

Maja Design papers:

Other: flowers: Prima, Wild Orchid Crafts; chipboard cake: Wycinanka.pl; dies: Crealies; ribbons, cheesecloth, pearls: my stash.


And that is all for today, thank you for visiting the blog and feel welcome to drop by any time to find more inspiration 🙂


Treasure your memories.

2

Posted by Lenet Mos

30 August, 2018 - , ,

Write a comment

Hello Maja fans  Lenet here and to day I bring you this altered frame  I bought at the local dollar store.

It was a simple grey  3D  that I wanted to give a weathered look like it has been laying at the beach for a while because I wanted to use these pics. of my friend and her kids that were taken at the beach.

So I distressed  the frame by sanding it and than dry brushed it with Finnabair art basics Plaster paste and made some little termite holes in it.

I made the little pegs that hold the pictures grey with chalkgrey Ayeeda mist from 13@rts and dry brushed them also with the plaster paste

For the back ground I used Vintage Summer Basics1936 as the sky and cut the fence from Vintage Summer Basics 1905


The create the sand I used  Finnabair artstones mixed with artbasic 3D Matte Gel Transparent and pushed some litte shells in it.

A little seastar  and some fishingnets in the corners to finished it off.


Thank you for watching and hope to see you back


Traveller’s Journal

2

Posted by Maja Nowak

4 July, 2018 - ,

Write a comment

Good morning, Maja friends, welcome to the blog today 🙂

The summer holidays started in most countries with school education 😉 And so many of us realise their travellin dreams and go to see the world. Even though nowadays smartphones are mostly used to collect and share memories, there are still many traditional freaks like scrapbookers and journal artists who prefer to keep accounts of their travels in paper books. And so here’s one for them:

I made the notebook using my favourite masculine collection, Denim&Friends. The hemisphere pattern papers from the 6×6 pad were just perfect for the covers! I decorated the front with strips of plaid paper and signature strips and added some stamping and a die-cut wind rose. I placed the notebook title in a metal frame attached with nail-like brads.

The notebook closes with a piece of rubber elastic. A fabric brad acts as a kind of stopper for it.

I decorated the inner covers and the title page too, using a lot of Tim Holtz stamps. I also added a kraft envelope for some loose pages, photos, tickets etc. one might want to collect during summer travels.

And some more stamping on the back cover 🙂

And here’s what I used for the notebook:

Maja Design papers:

Other: stamps: Tim Holtz; die: Cheery Lynn Designs; chipboard covers: Scrapiniec; notebook insert: Studio75; kraft envelope: Anita’s; brads: Rayher, Craftmania; metal elements: my stash.

So what do you think? Would you take that notebook with you fro your holidays?

See you soon!