Good morning, dear Maja friends, welcome to the blog today 🙂
Yesterday we celebrated Father’s Day in Poland. For this very special occasion I decided to make a special gift. But first let me share you a story behind it 😉
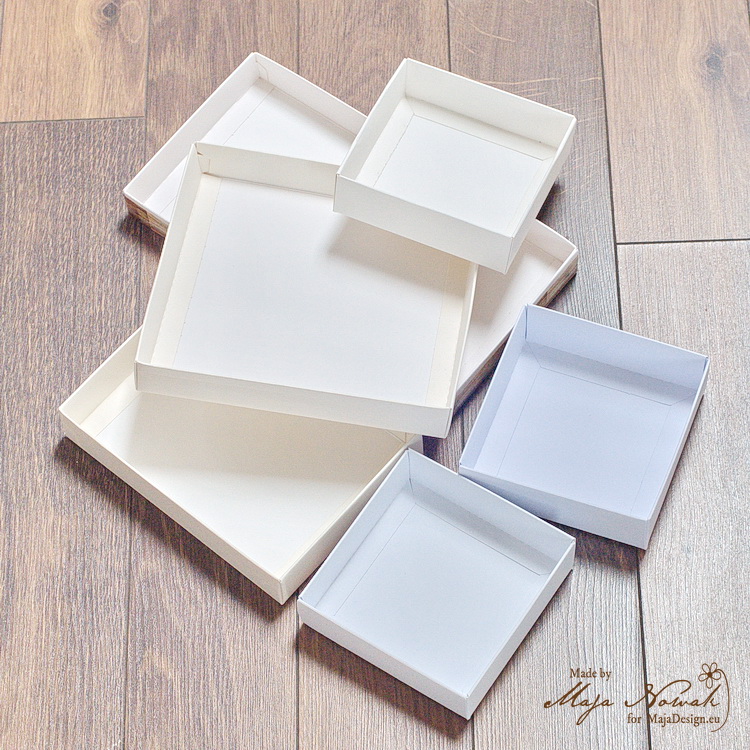
I make a lot of dimensional cards and therefore use a lot of card boxes too. And being a true scrapper and hoarder 😀 I tend to collect everything that could potentially be used, altered, reused and recycled, and that includes faulty box pieces. And so I gathered lids and bottoms that were assembled wrong, or stained, or wonky – and felt it was the right time to do something about them 😉
Yes, I decided to make a shadobbox-like frame using box elements 🙂 And I’m going to share a step-by-step tutorial with you.
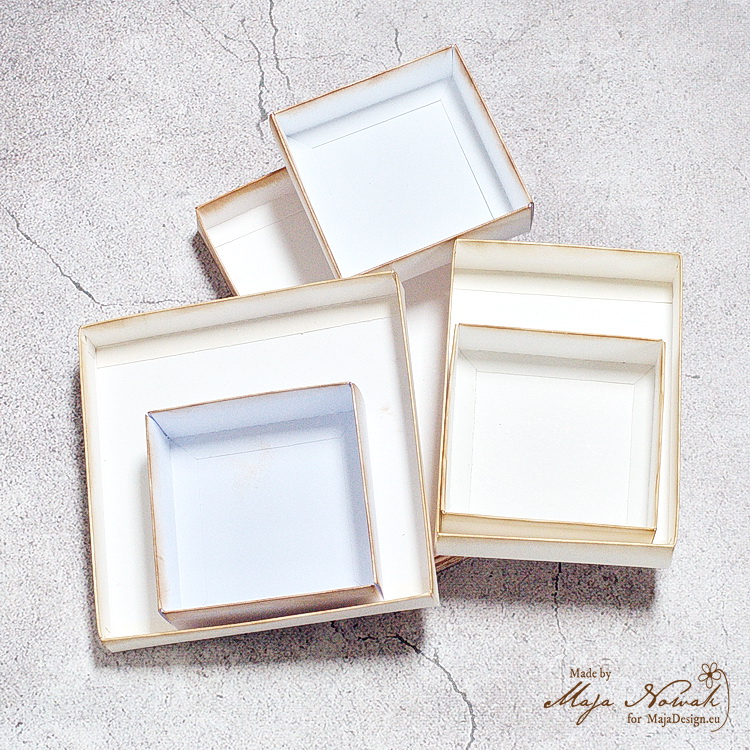
The boxes were of various sizes and colours, so first I inked all the outside edges:
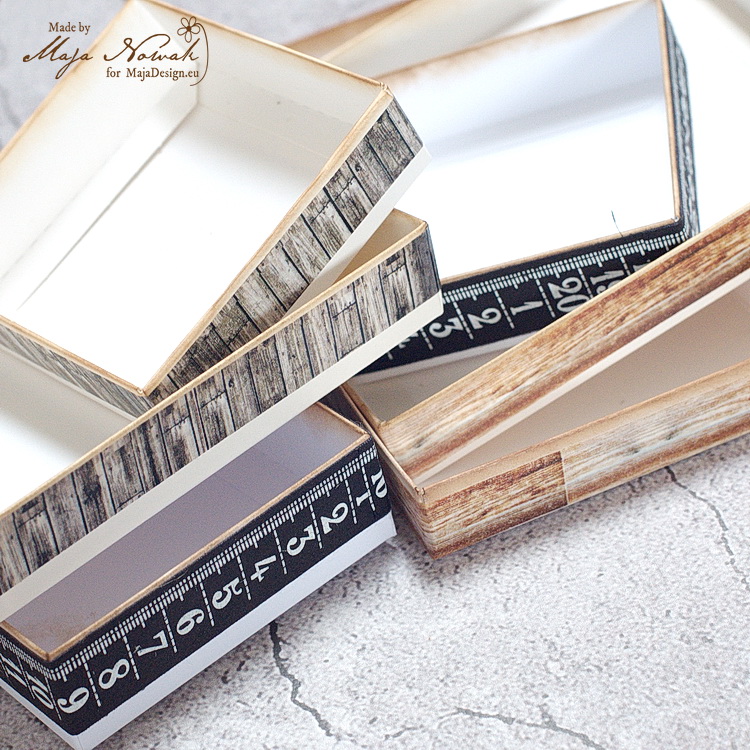
…and then wrapped the sides with washi tapes:
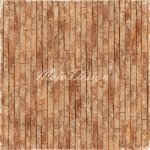
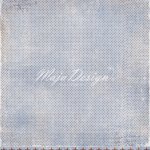
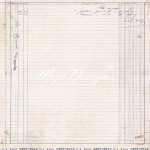
The next step was to decorate the inside of the frames – first I covered the inner sides with strips of papers and then added layers of papers inside. I used the Denim&Friends collection – my all-time favourite papers for masculine projects:

First I decorated the photo frames:
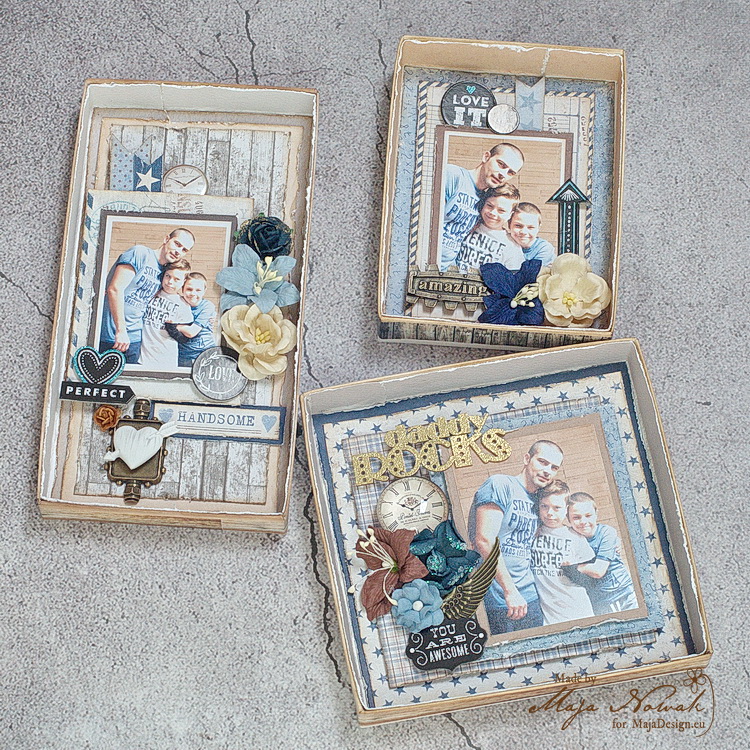
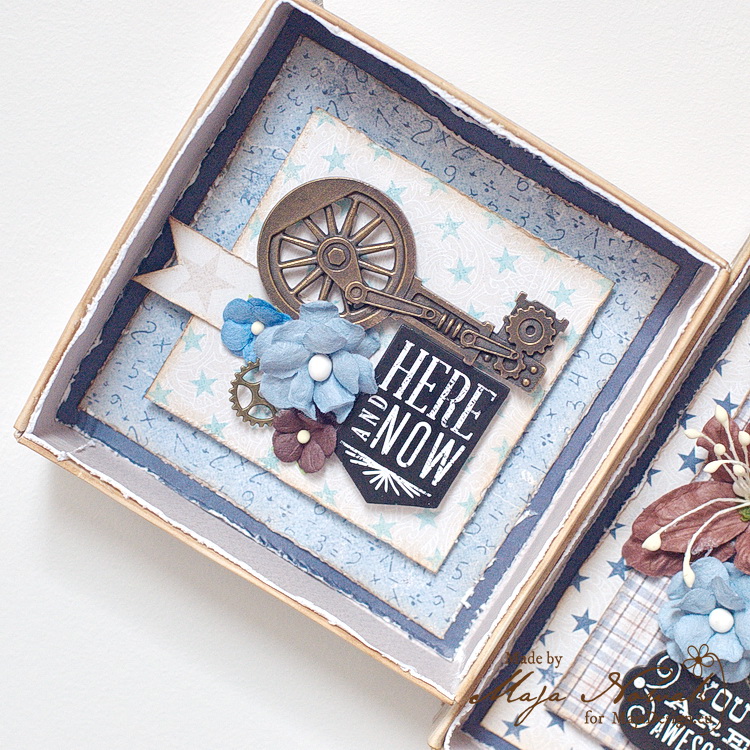
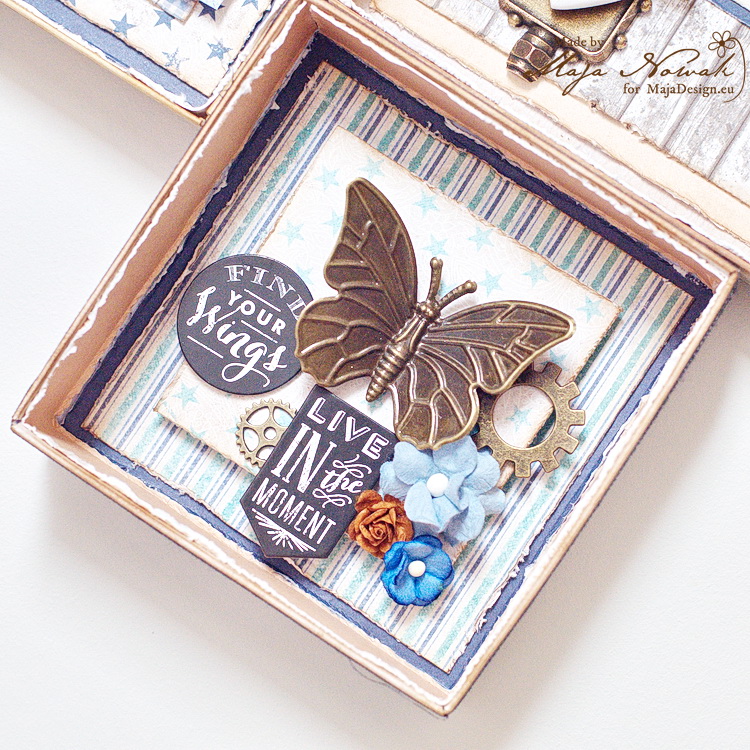
…and then additional decorative pieces:
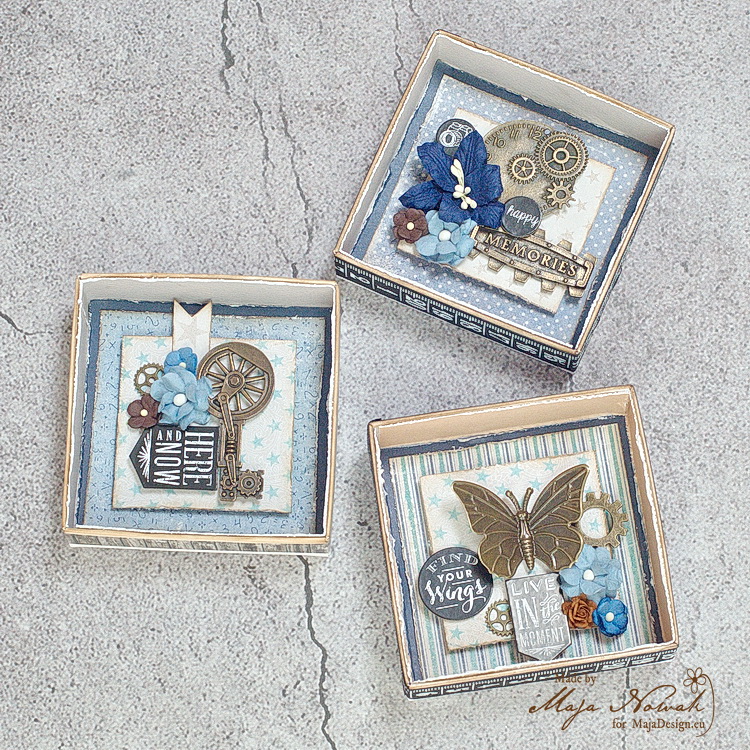
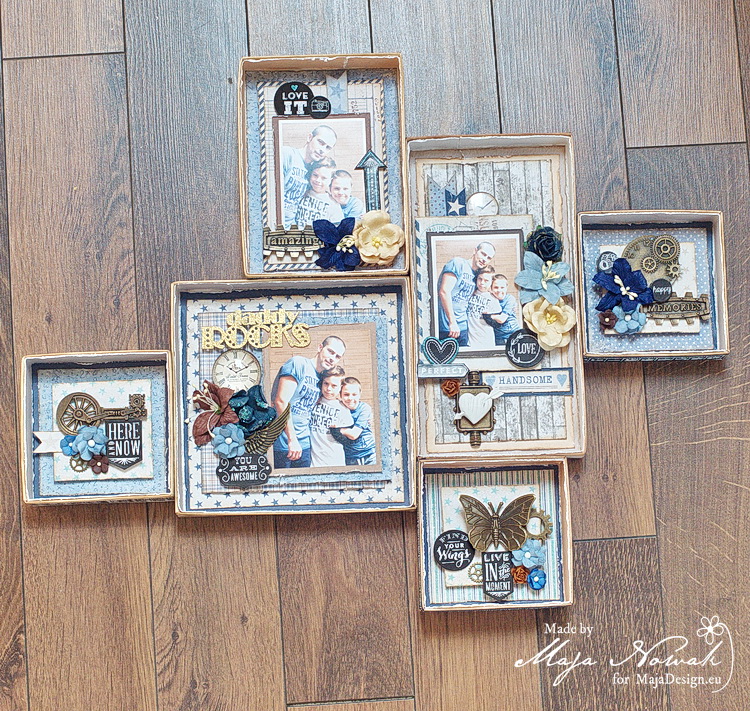
Once I had all the pieces finished, I tried various element designs to make a frame. When I was happy with the layout, I attached them all together with strong double-sided adhesive tape:
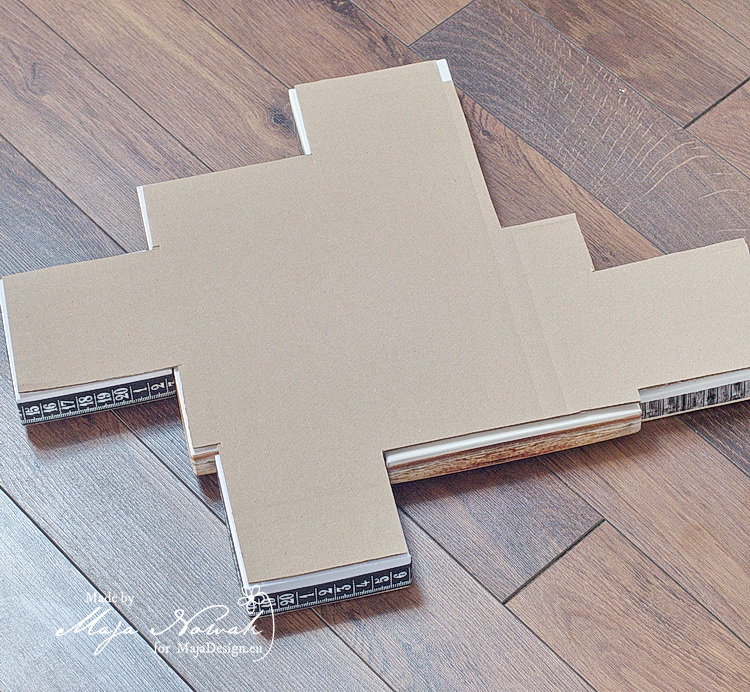
Then I took the largest cardboard piece I had in the house 😉 and traced the shape of the frame. I cut out the shape slightly smaller so that the cardboard doesn’t peek outside the frame:
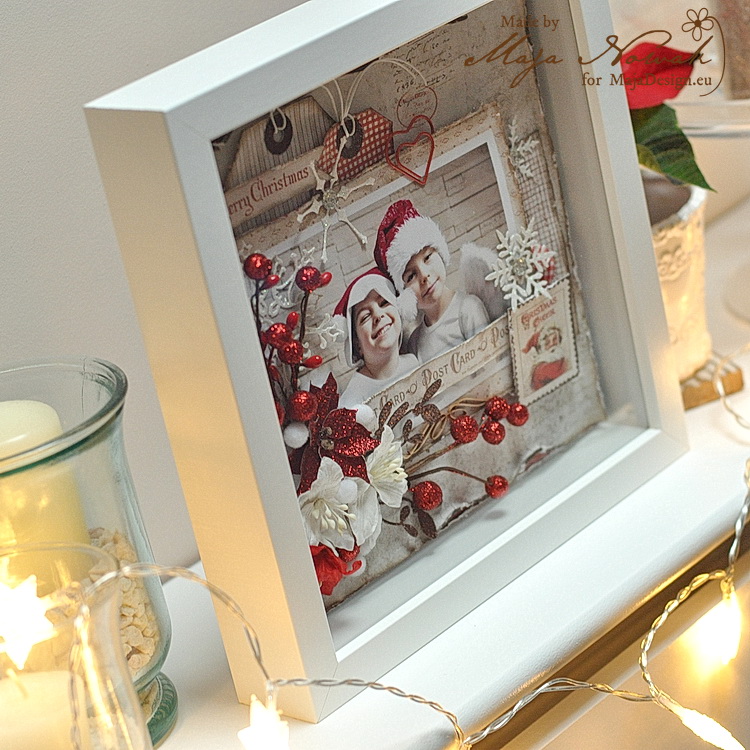
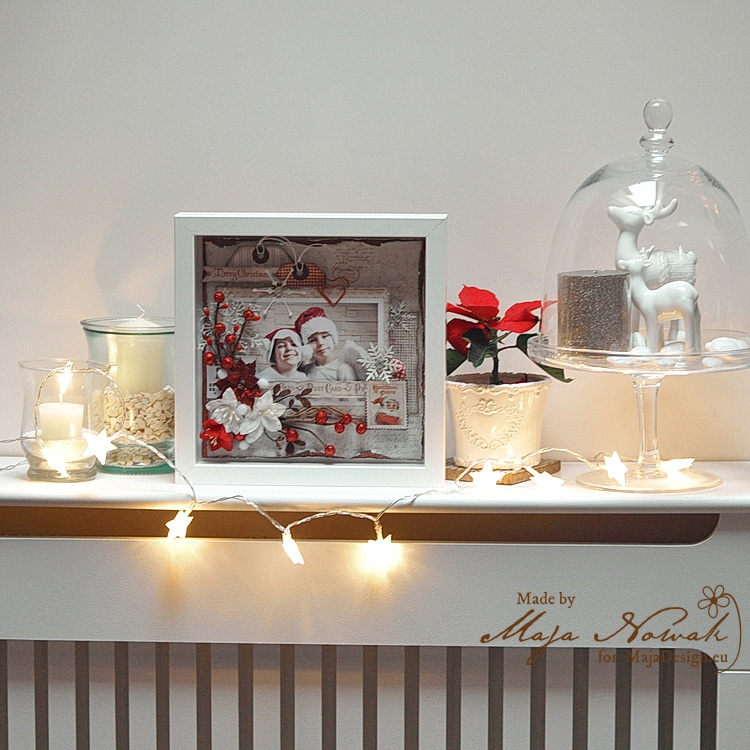
And my Father’s Day box frame was done 🙂
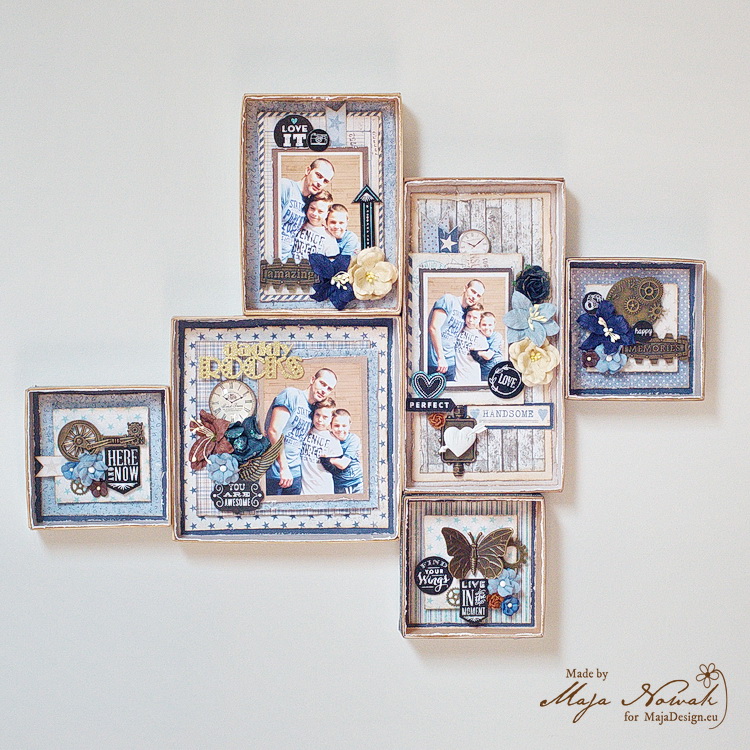
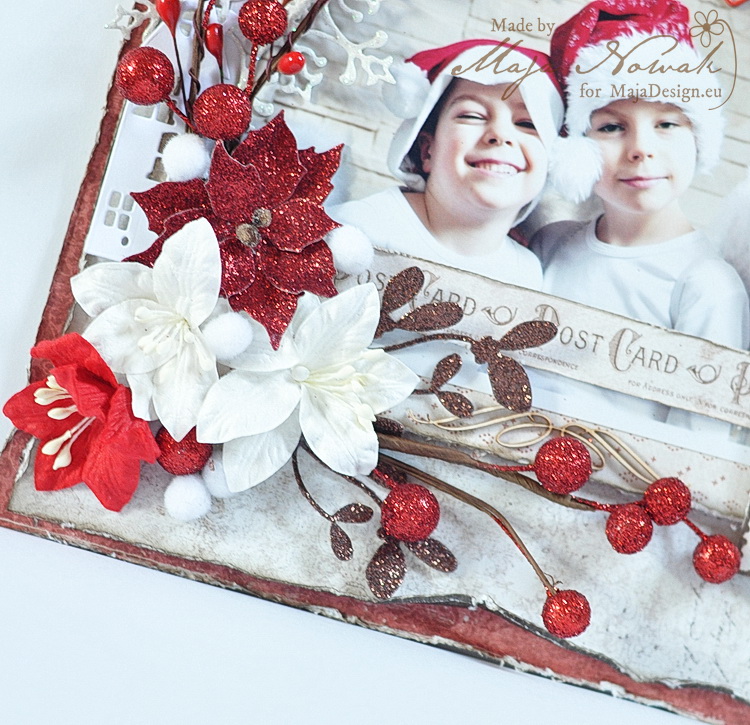
Let’s take a closer look:
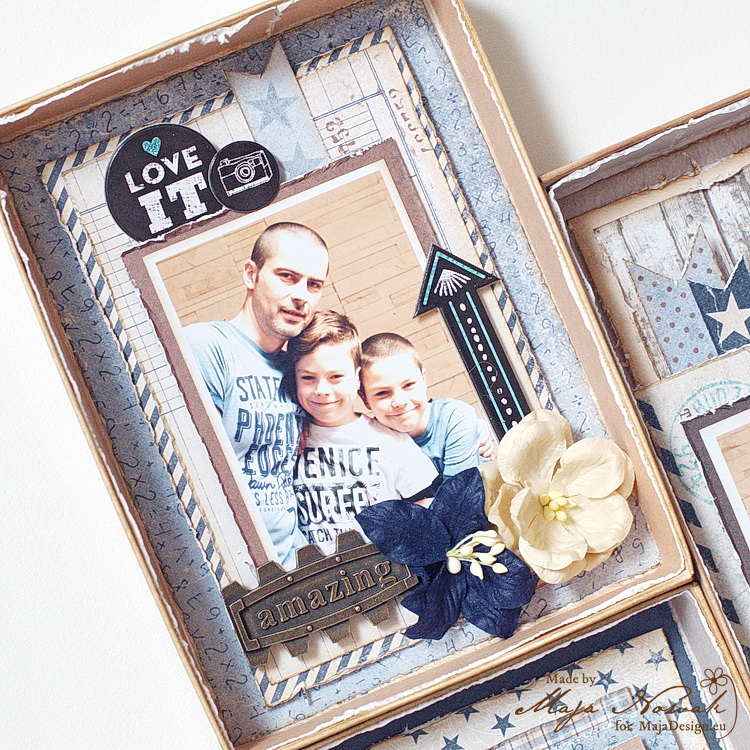

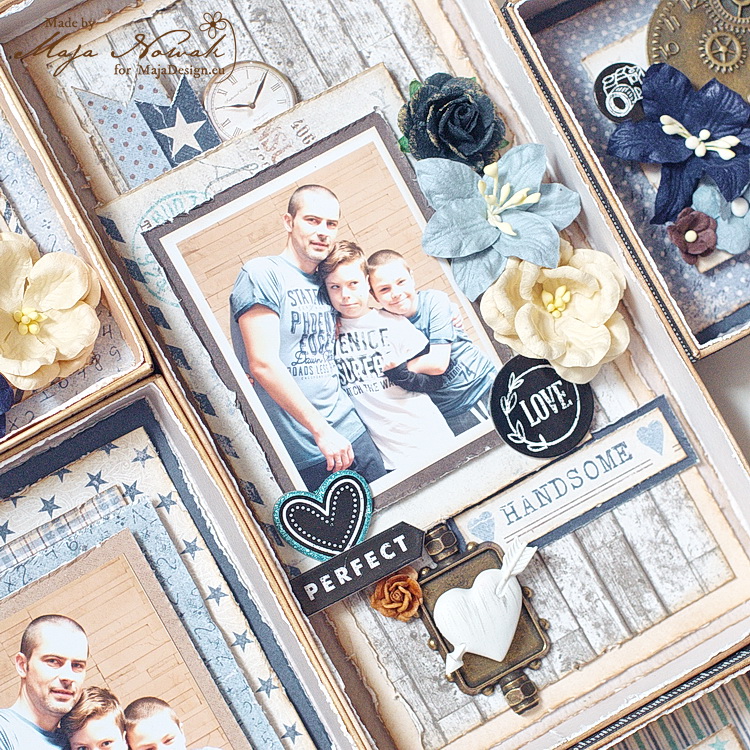
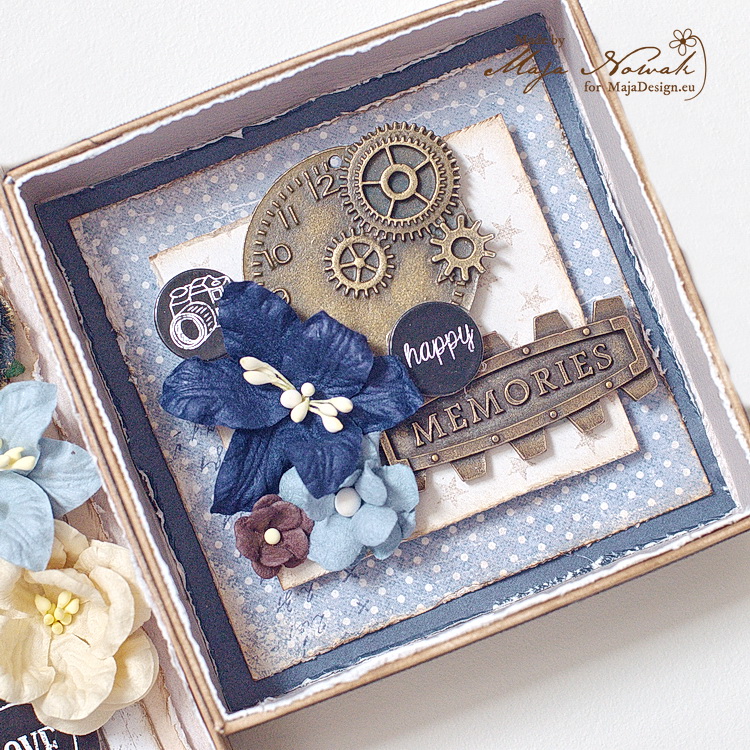
I really like the way it turned out: the papers’ colour palette perfectly matches the photos, I used up pieces of boxes I couldn’t use for cards and I made an original gift that can decorate the wall above my husband’s desk 🙂
What do you think of it?
And here’s what I used:
Maja Design papers:
-
- Leather bs
-
- Gentleman bs
-
- Stonewashed
-
- Fashion
-
- Streetwear
-
- Casual
-
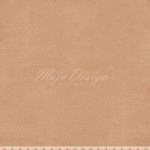
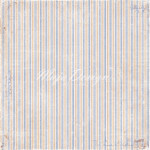
- Mono Denim – Beige bs
-
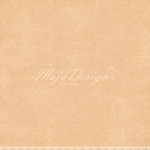
- Mono Denim – Pale orange bs
-
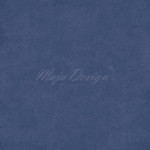
- Mono Denim – Dark blue
Other: flowers: Prima, Wild Orchid Crafts; metal embellishments: Scrap Hobby; stickers: MAMBI.
And that’s all for today. I hope you liked my tutorial! See you soon!