For You, Grandma, For You Grandpa

1

Posted by Maja Nowak

24 January, 2021 -

Write a comment

Good morning, dear Maja Friends, welcome to the blog today 🙂

A couple of days ago we celebrated Grandmother’s and Grandparent’s Day in Poland. And I created a set of cards for this occasion.

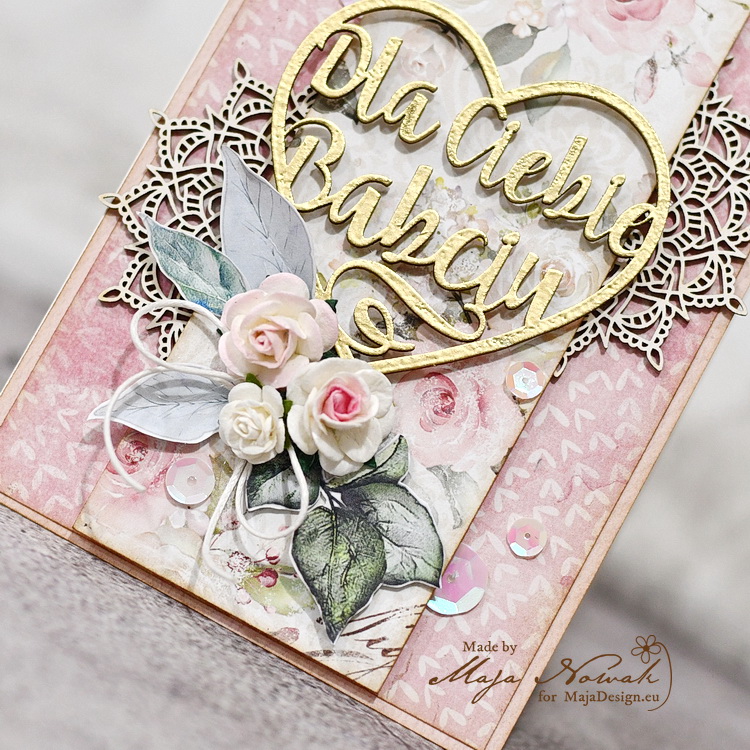
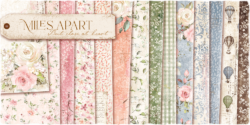
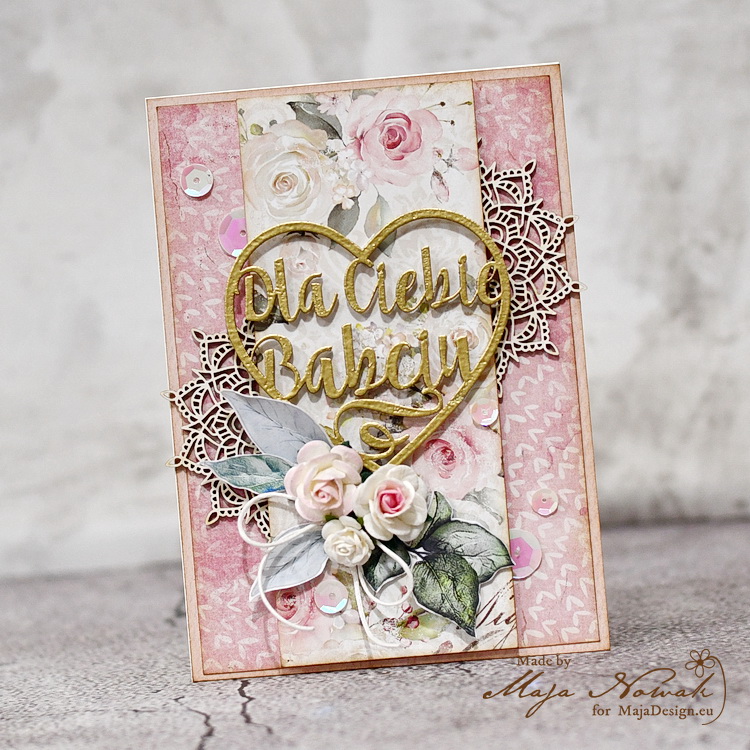
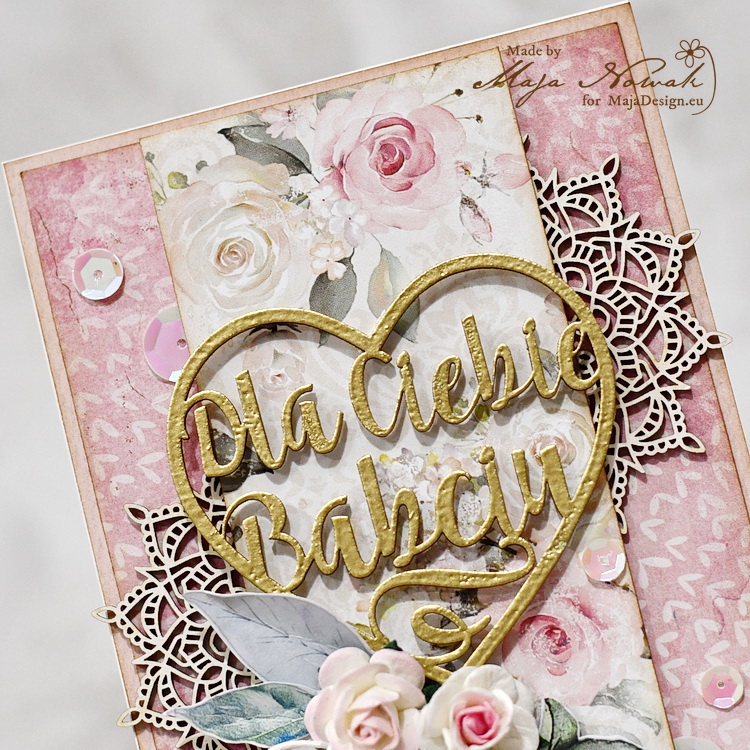
Both cards use the Miles Apart collection and feature the same design – a middle panel upon a background of a different pattern, a chipboard heart sentiment I very often choose to make almost identically composed cards as I love to see how papers and embellishments can totally change the final appearance. Just take a look: the card for grandma has the floral panel placed upon the heart-patterned background. I combined these with chipboard mandala doilies and a mini roses cluster that nicely blends into the printed flowers. The delicate and romantic look is topped with opalescent sequins:
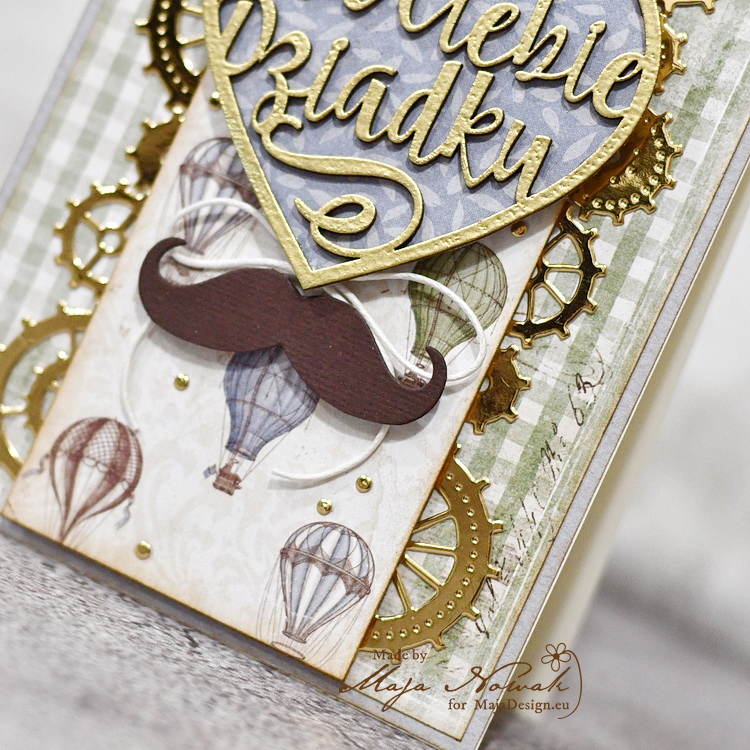
Now the card for Grandpa: the same design and the focal element, but instead of flowers and doilies I added die-cut gears and moustache, and matted the chipboard heart with a piece of paper. The central panel is filled with ballons and instead of sequins I decorated the card with teeny tiny gold dots that were left after die cutting the gears 🙂
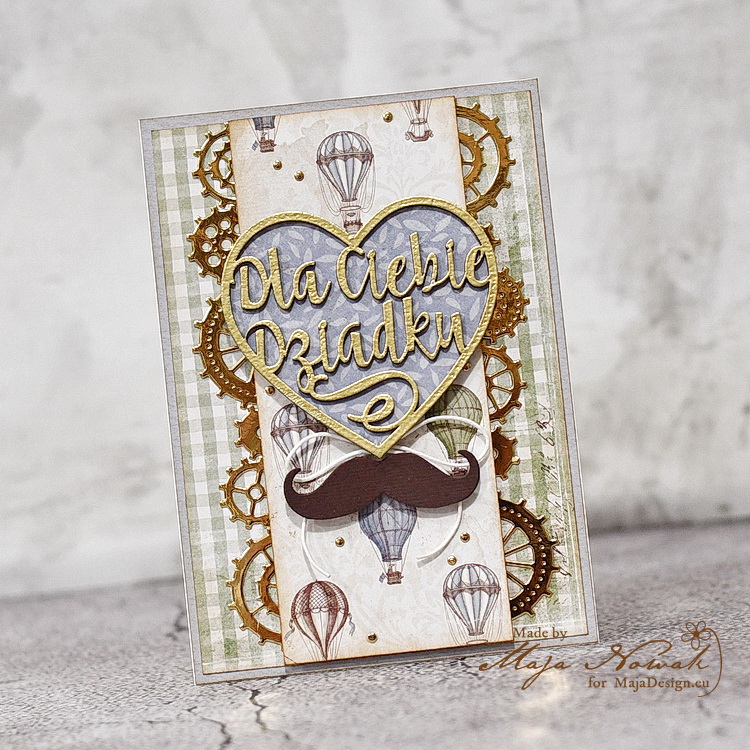
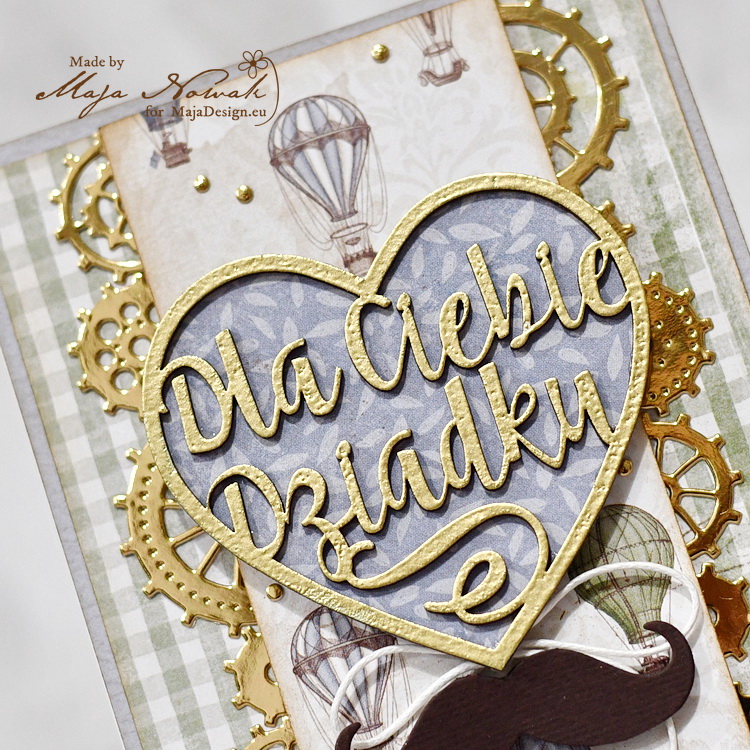
As you can see, you can play around with the same design and by changing patterns, colours and embellishments get dozens of various looks 🙂

Here’s what I used for my cards:

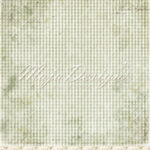
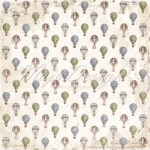
Maja Design papers:

Other: dies: Cheery Lynn Designs, Cottage Cutz; flowers: Wild Orchid Crafts; chipboard: Agateria; sequins: my stash.


That’s all for today, see you soon!

“Thinking of you” by Tina Ollett

2

Posted by Tina Ollett

20 January, 2021 - ,

Write a comment

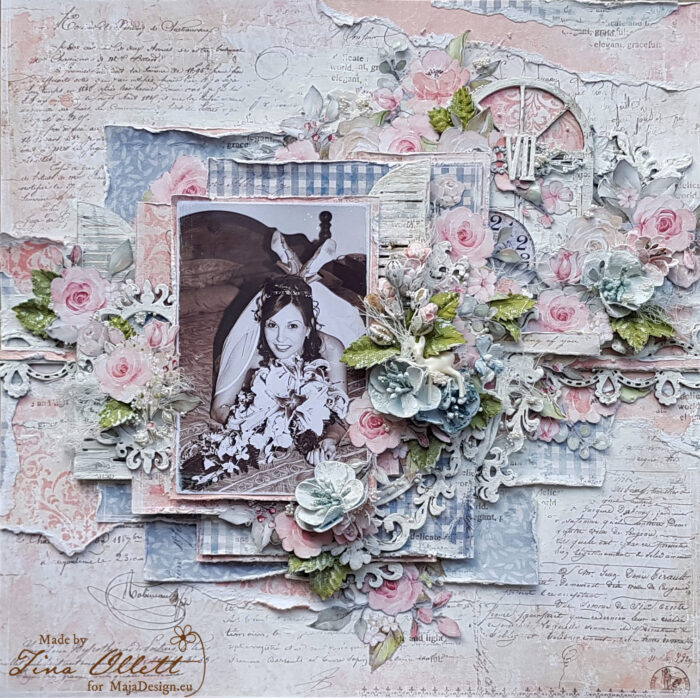
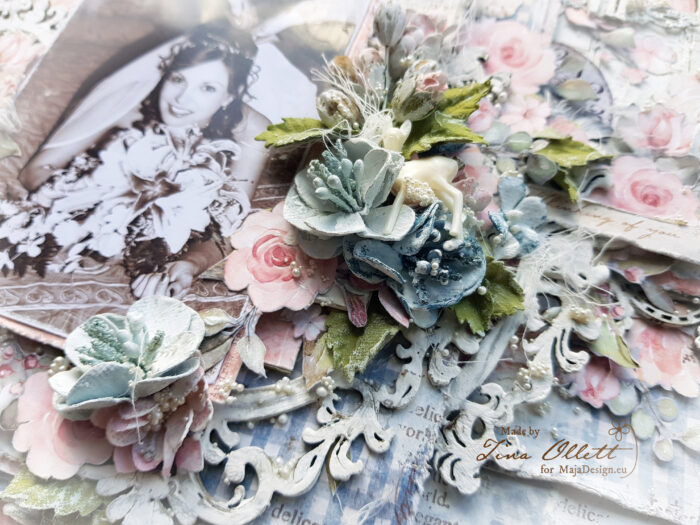
Hello and welcome back Maja Design friends. I hope this post finds you safe and well. Today I am back to share my next project using the gorgeously stunning paper collection of “Miles Apart”. The pastel colours of this collection always lead me to using Sepia photos. And close at hand was this photo of me from our wedding day quite some years ago. I have never used it before, so I am really glad that I chose this range to scrap with it.

I selected the sheets below to start off my project. I used the bs of “A few words” for my background page. I love this piece with all the additional handwriting and slight colouring over the background. I made lots of layers using “Keep in touch” and “Keeping busy” both a and b sides of each was used. I distressed my papers and layered them up using old board. I also tore some sections to run across the background page.

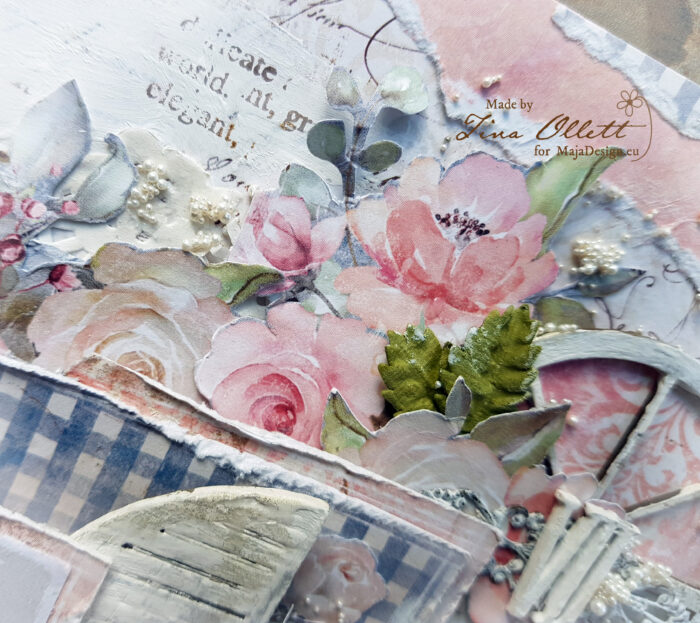
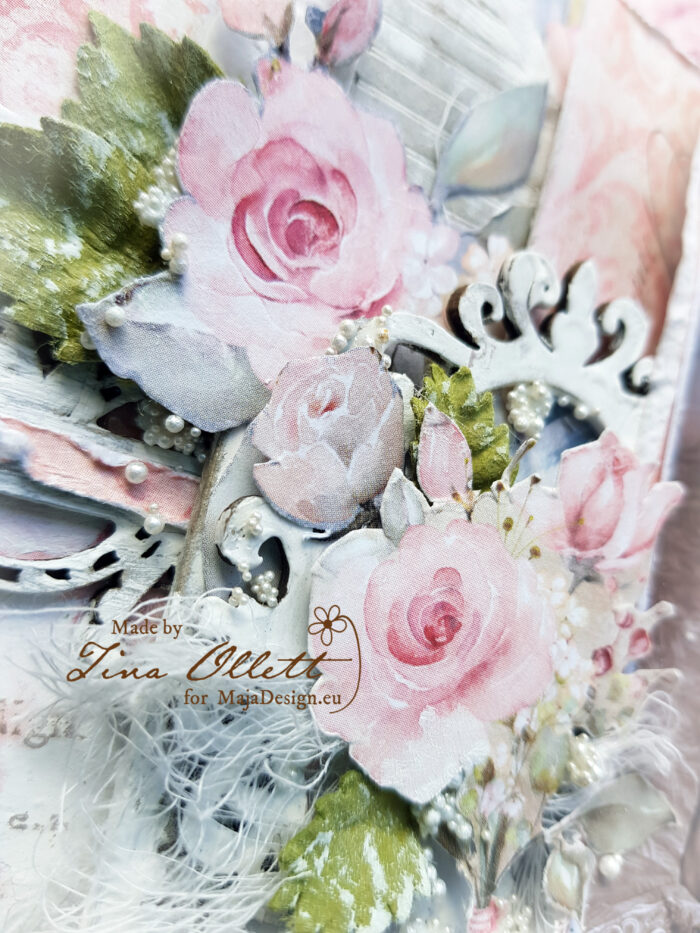
I chose to use 2 sheets of “The little things”. From the first sheet I did a lots of fussing cutting of the flowers and leaves as you will see above. I used a second pieces to add some layers in my project behind the chipboards.

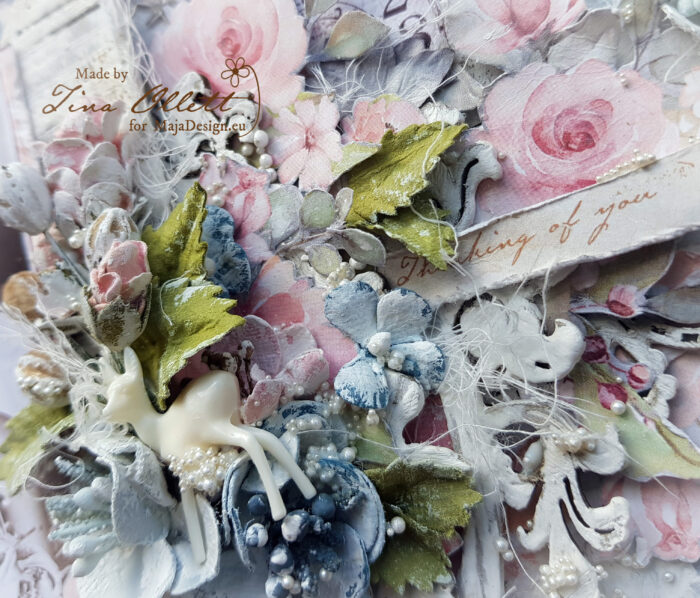
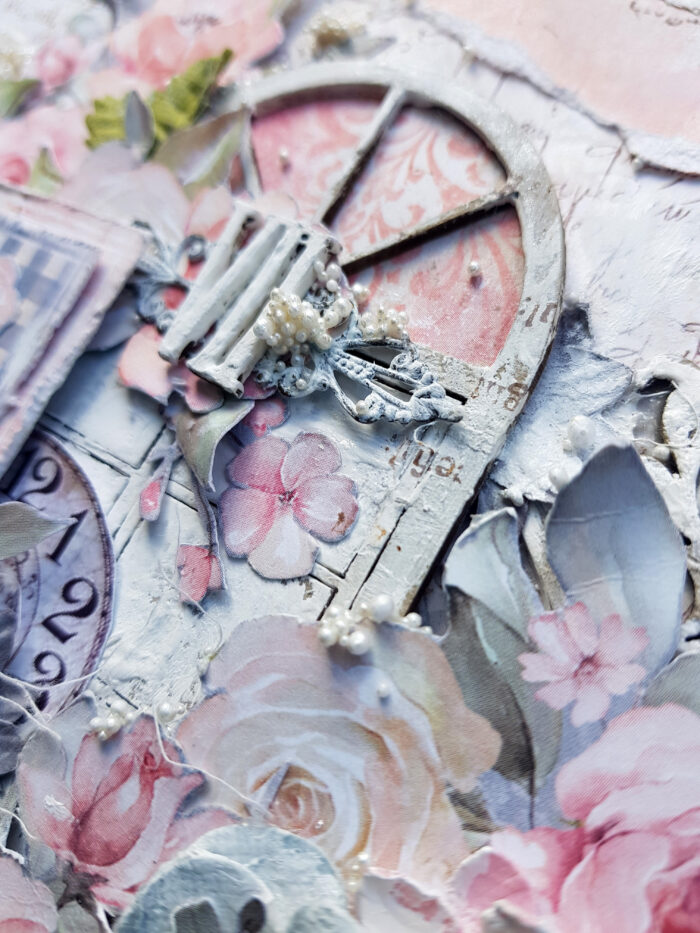
The layering of this project was the most time consuming part this time around. I also used chipboards to help add more layers in. Each of these pieces were coloured with relief paste and sanded back to give the worn shabby look of time gone by. I also added in some extra flowers from my stash and a little muslin and flower pearls to keep with the prettiness of the papers. I have a few closeup photos for you below.


Amongst all the distressed layers I have added in some charms, muslin and flower pearls to keep it simple and shabby. I also added in a little more of the relief paste around some of the paper layers and over this some random stamping using a script stamp.

Well that is all from me today. I hope you enjoyed my post and stay tuned for more Design Team gorgeousness very soon.

Happy Crafting


Beauty of Winter

1

Posted by Kerstin-Inga Peters

17 January, 2021 - , , ,

Write a comment

Welcome creative friends!
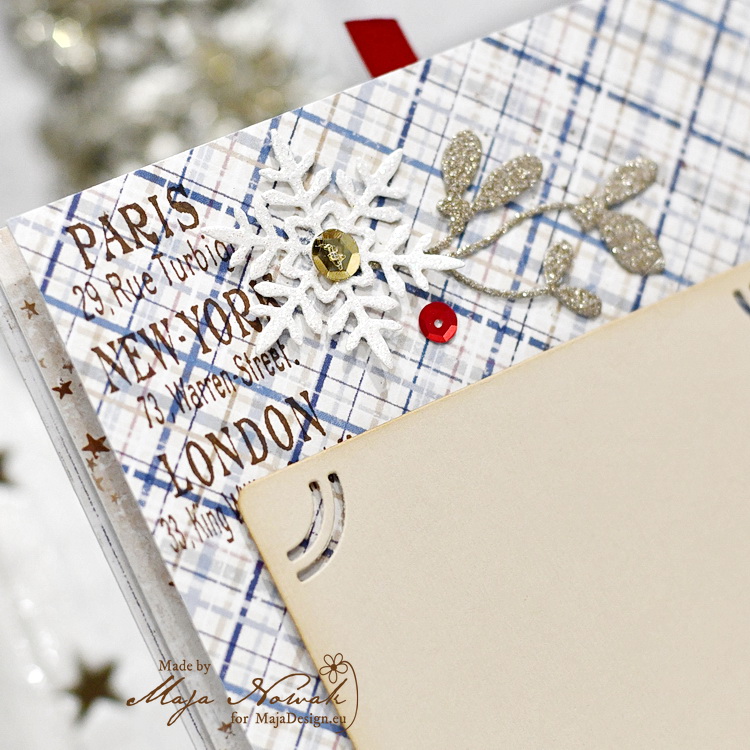
 

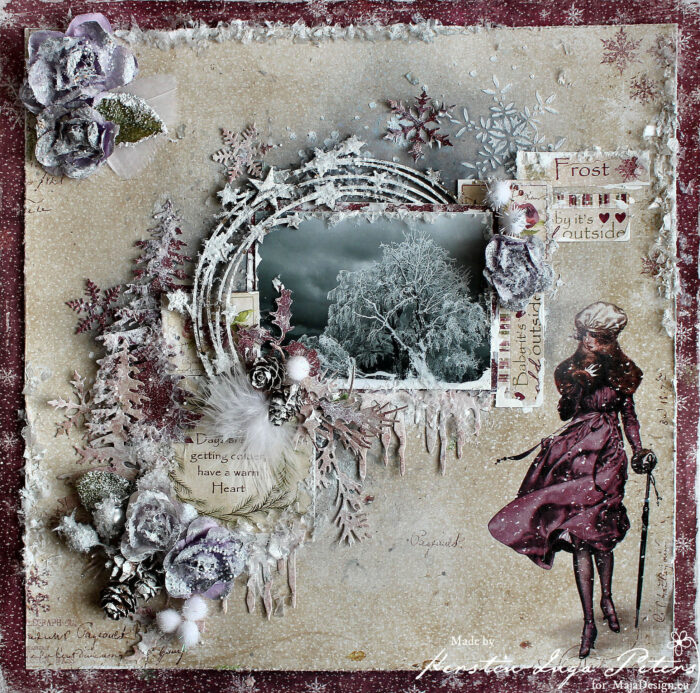
Winter isn’t my favourite season, but this season also holds beautiful magical moments for us.

One of them is when there has been hoar frost, everything sparkles and glitters and the world is like enchanted.


I was inspired to create a layout in grey, purple and red shades, our latest paper collection ‘Winter is coming’

was absolutely perfect for these wintry hues.

I used a black-and-white photography, which really came into its own

with the Maja winter papers used.

The elegant lady besides makes us literally feel the icy temperatures.


.

some close up’s


+
+

.

 used Maja Design papers


12×12 and 6×6 paper pad

other materials: cutting dies, stencils, chipboard, Snow paste, Deco Snow


I hope I could inspire you to try your own idea in a original project !

Wish you a beautiful wintertime!

Kerstin

Christmas Travel Album

1

Posted by Maja Nowak

10 January, 2021 -

Write a comment

Good morning, dear Maja Friends, welcome to the blog today! 🙂

I hope you had a great Christmas time spent joyfully (and safely) with your loved ones.

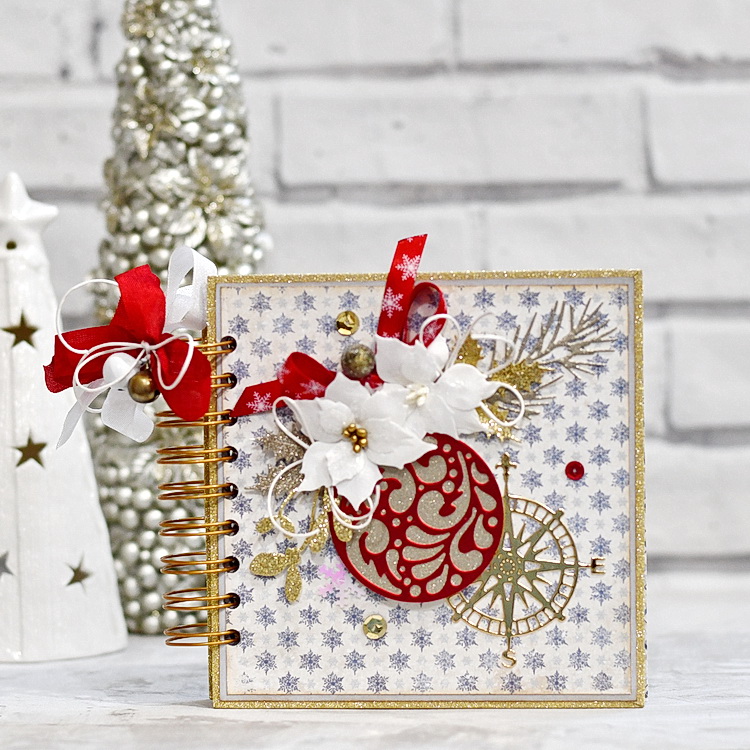
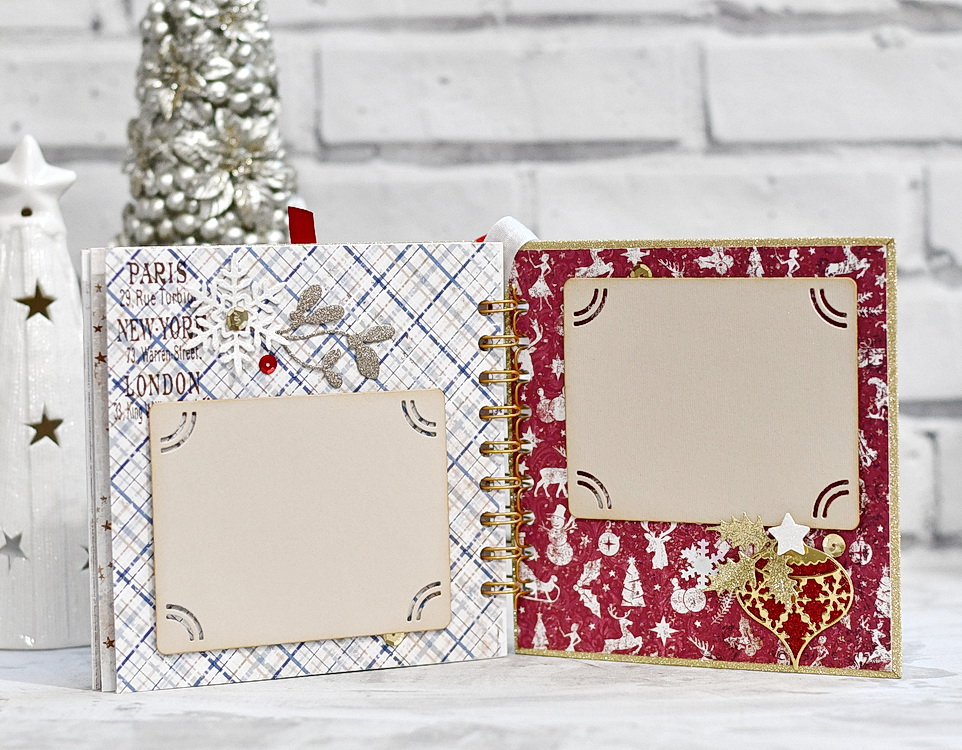
Today I’m bringing you a holiday album made for a couple who loves to travel. The idea was to combine Christmas papers with travel motives, as the album was meant for some most precious summer trips photos. And so I reached for Holiday in the Alps papers to make a small photo album:

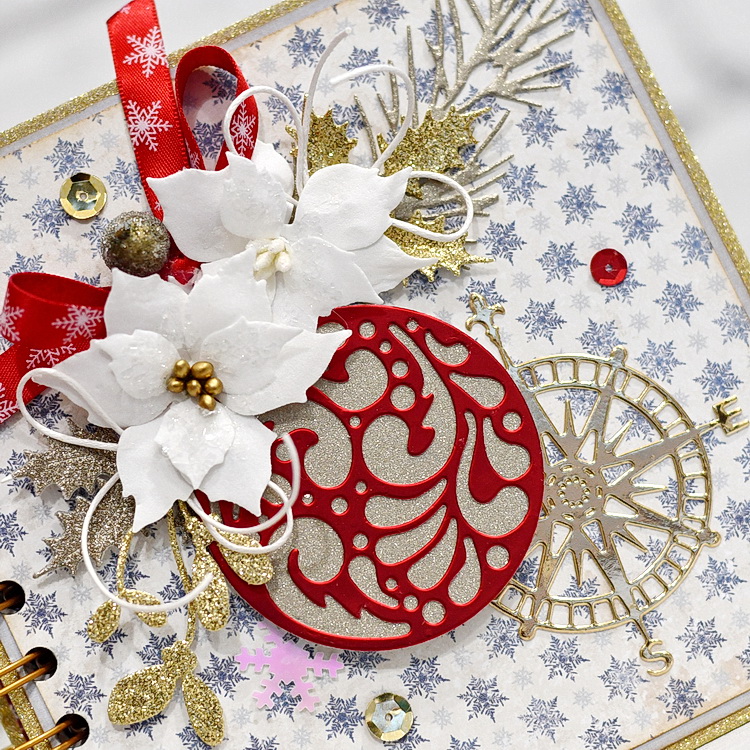
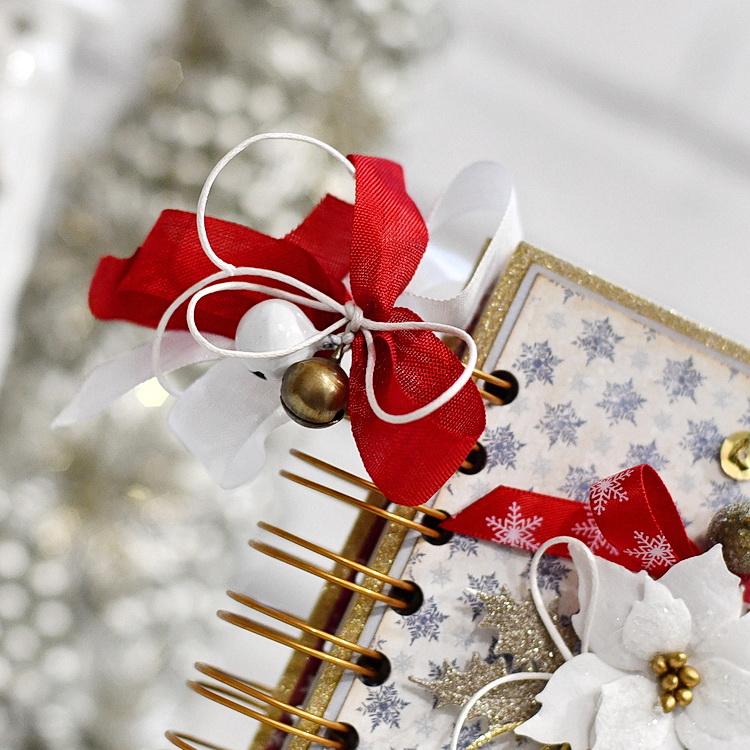
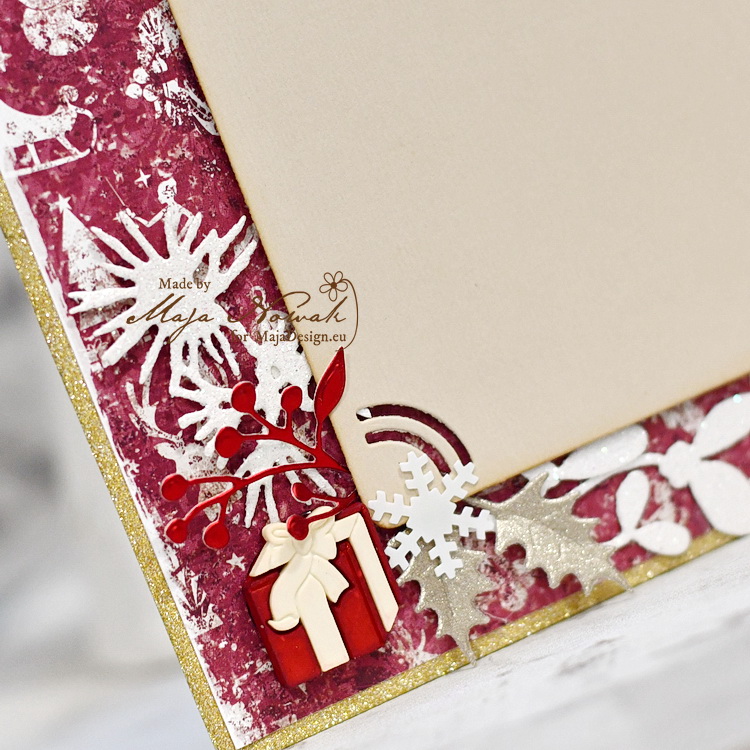
On the front cover I placed a die-cut Christmas bauble decorated with various leaves, handmade foamiran poinsettias and printed ribbon. I also added a wind rose compass die cut from mirror gold cardstock. The wire is decorated with riboons and some little bells.

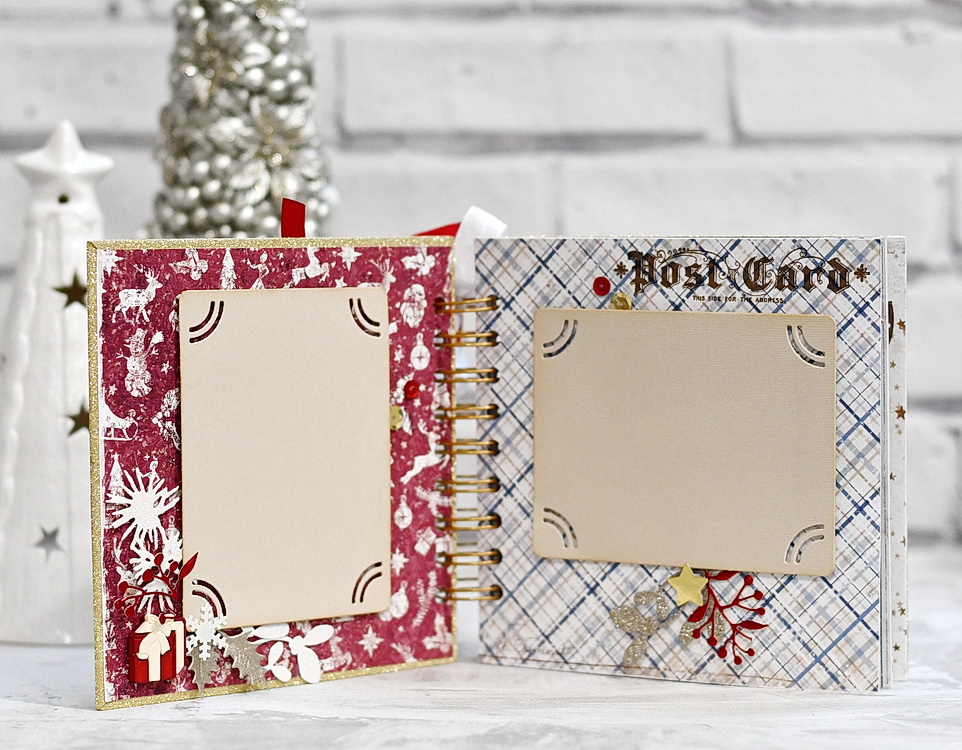
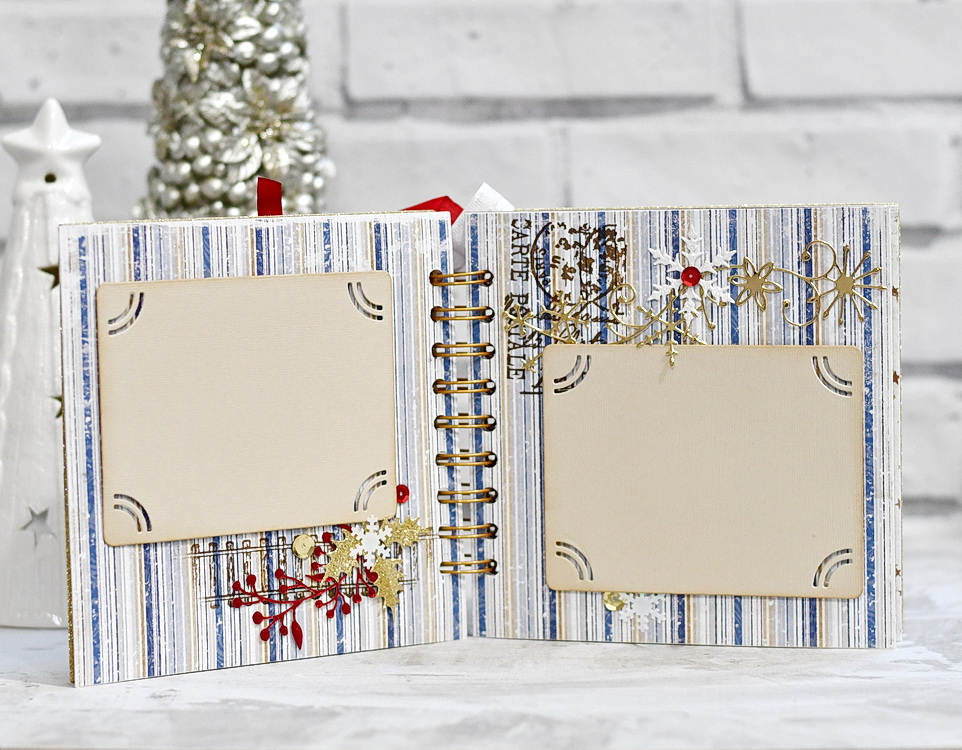
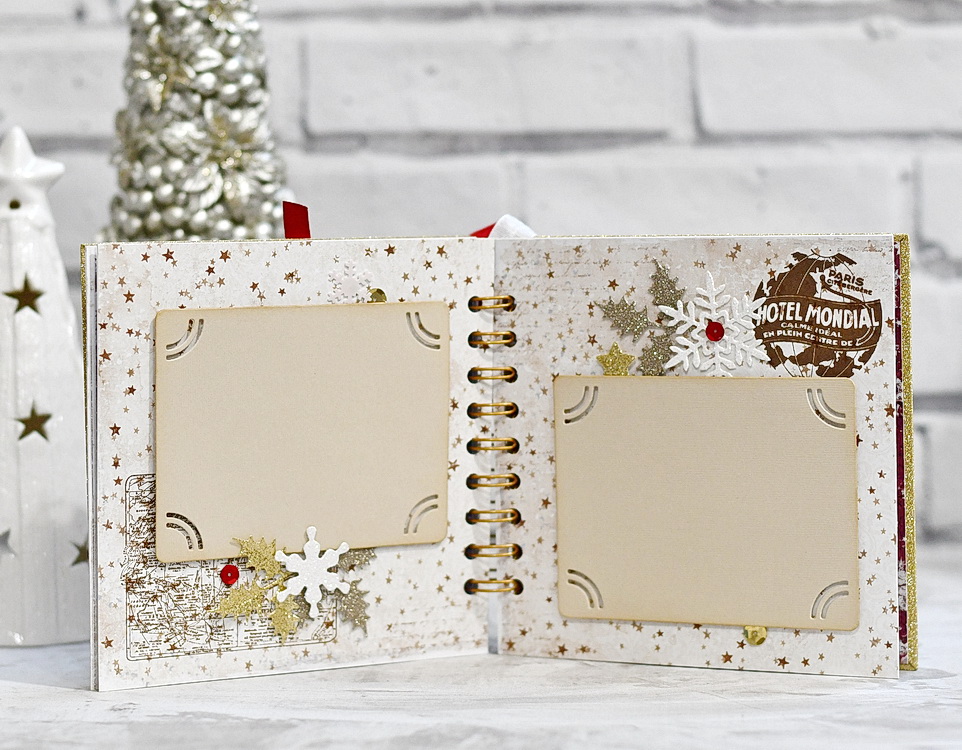
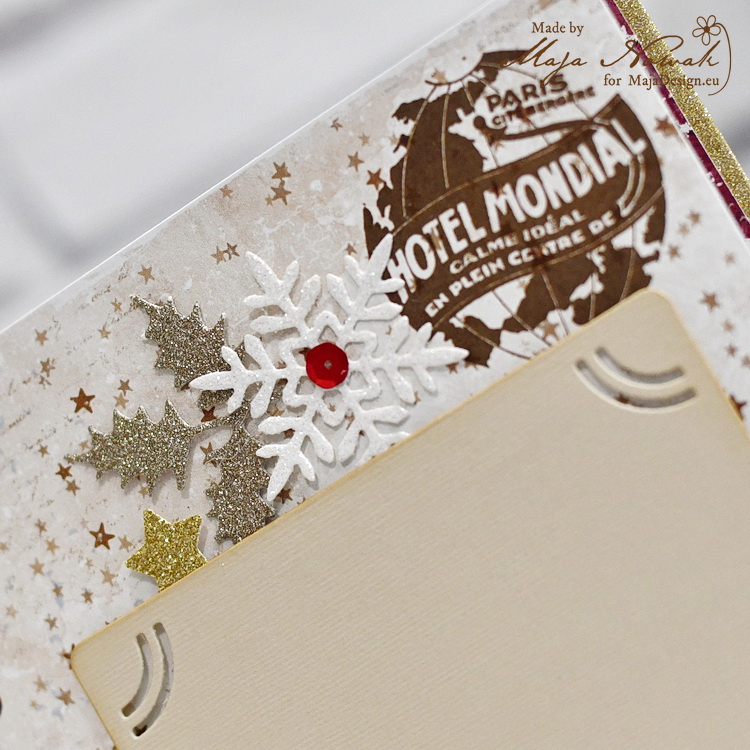
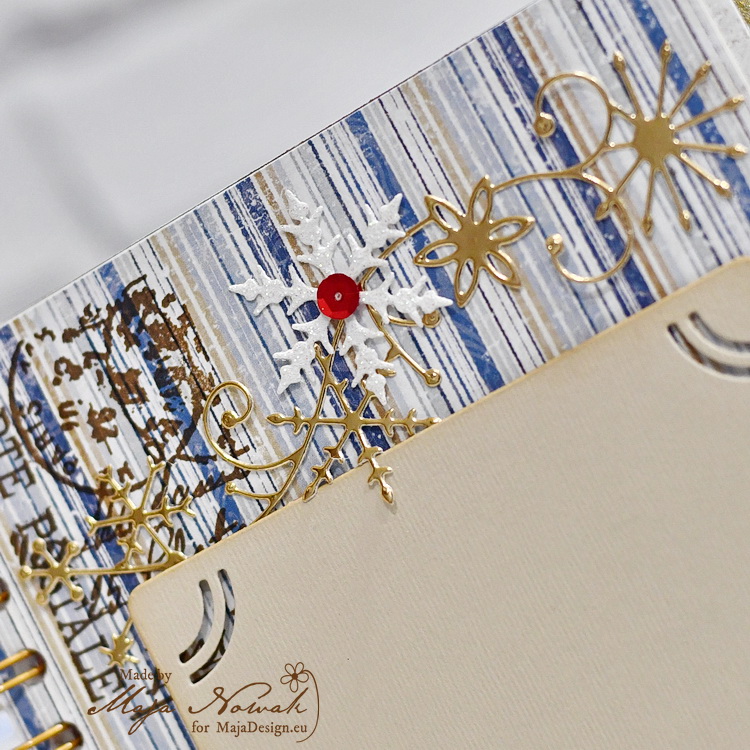
For the inside pages I used matting tags for photos that I decorated with little cluster ornaments and the travel motives are stamped in the background:

Here are some close-ups:

I hope the couple who received this album liked it – and that you like it too 🙂

This is the list of supplies I used:

Maja Design papers:

Other: dies: Magnolia, Sizzix, Cheery Lynn Designs, Craft&You Design; stamps: Tim Holtz; bells: Dp Craft; sequins, ribbon: my stash.


As you can see, even using few supplies, with right papers you can create a nice little photo album 🙂 Try it!


Christmas Memories to Cherish

7

Posted by Amy Voorthuis

1 January, 2021 - , ,

Write a comment

Goodmorning everyone,

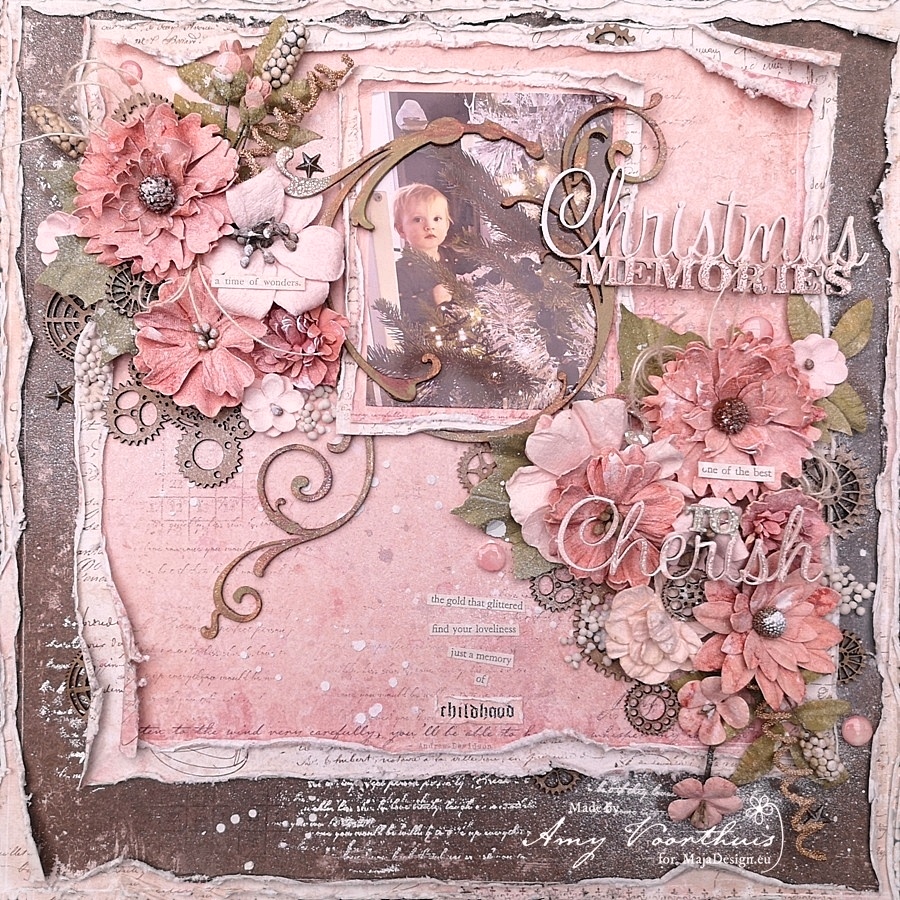
Happy New Year everyone I hope this year will be much better for everyone then 2020 was……Today I’d like to show you my latest layout. For this layout I combined two collections “Miles Apart”& “I Wish” I really like how well all collections of Maja Design go together…now pink/cherise/peachy & brown always look awesome don’t you think?? I off course used a picture of Abbey the first time next to a Christmas tree a nice memory for her.

I made a layout with lots of layers which I really like to do it gives your work more demension. The brown sheet of the I Wish collection I used for my base underneath that sheet I used the ‘a few words’ sheet of the Miles Apart collection. On the background I used the distressed script stamp by Creative Embellishments with some clear embossing ink and some purely white embossing powder By Lindy’s Stamp Gang.

Then I distressed like a crazy woman ohhhh did I went nuts sometimes you need it to get your shit together. Then I placed the slightly smaller sheet on top of my background with underneath the same sheet as I did behind the brown one. Then I used about four different Lindy’s sprays to compliment my background.

Then I placed the flowers around like I wanted them just like I did with the picture….you see some handmade leaves too in my flower clusters those are made with Cheery Lynn Designs dies and sprayed with lindy’s sprays gold & green. The I added some metal stars & some chipboard Gears by Creative Embellishments.

Maja Design Paper used: Miles Apart: a few words & keep in touch and I Wish: those memories will last.


Thank you so much for being here with us today I hope I have inspired you… and we would love it if you share your work with us at the Maja Design Facebookpage …..stay safe & healthy…… Love