131 Search Results for baby card

Just another baby card!

2

Posted by Camilla Støen Bakke

3 May, 2017 - , ,

Write a comment

IMG_7248 (2)

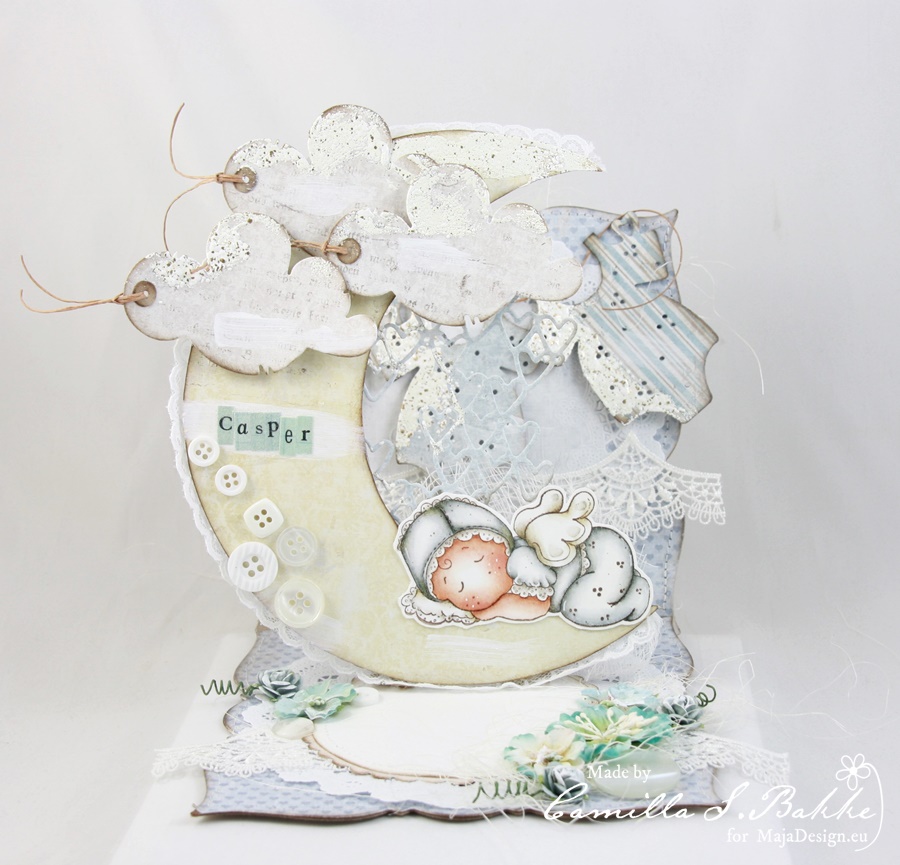
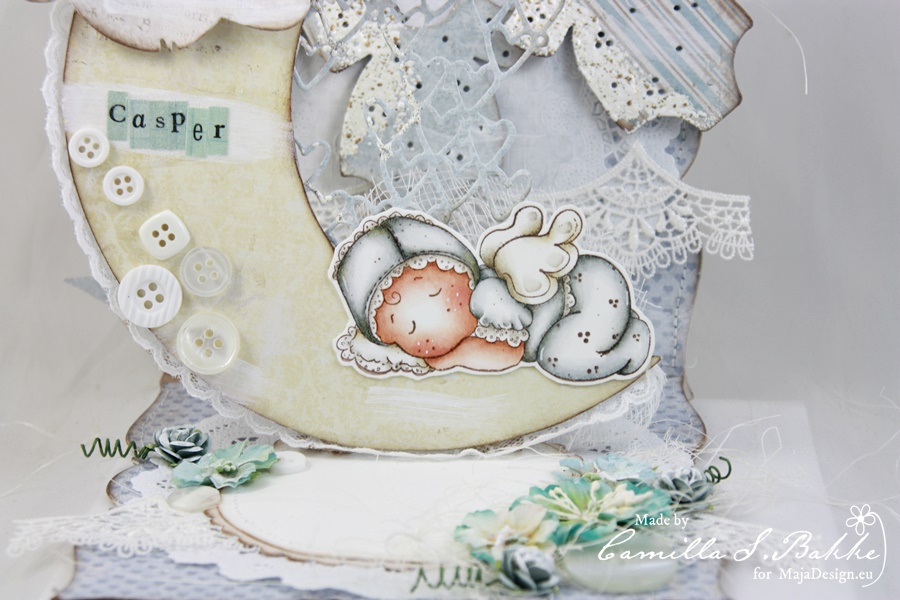
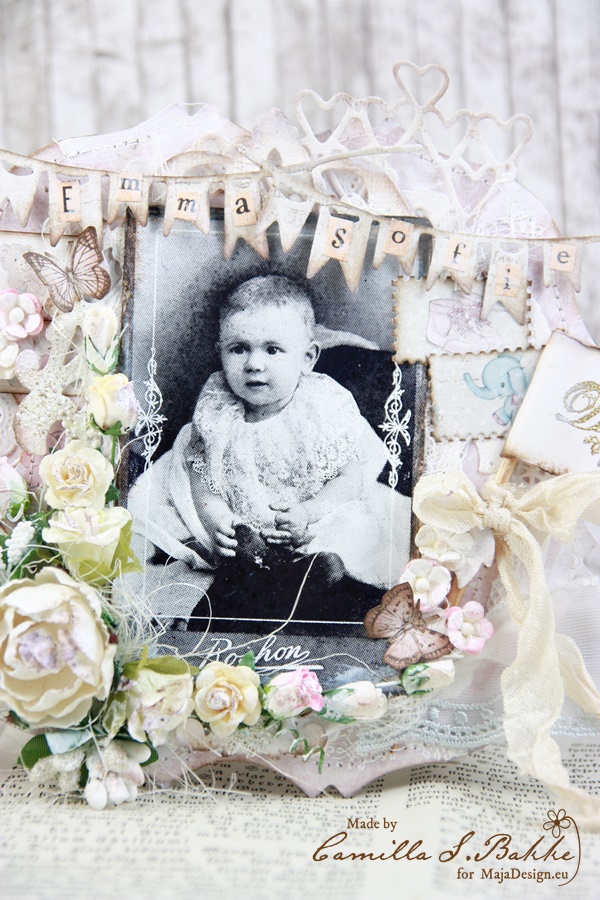
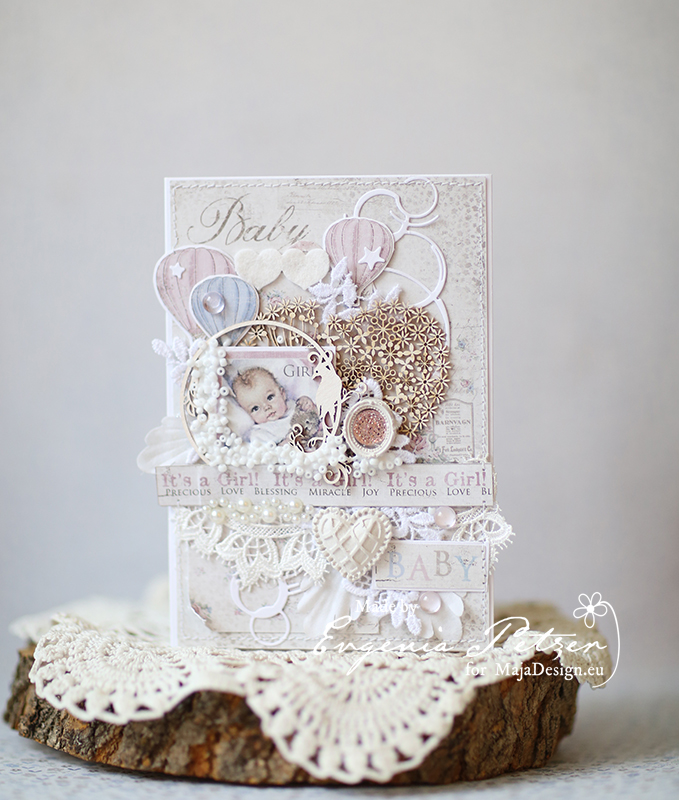
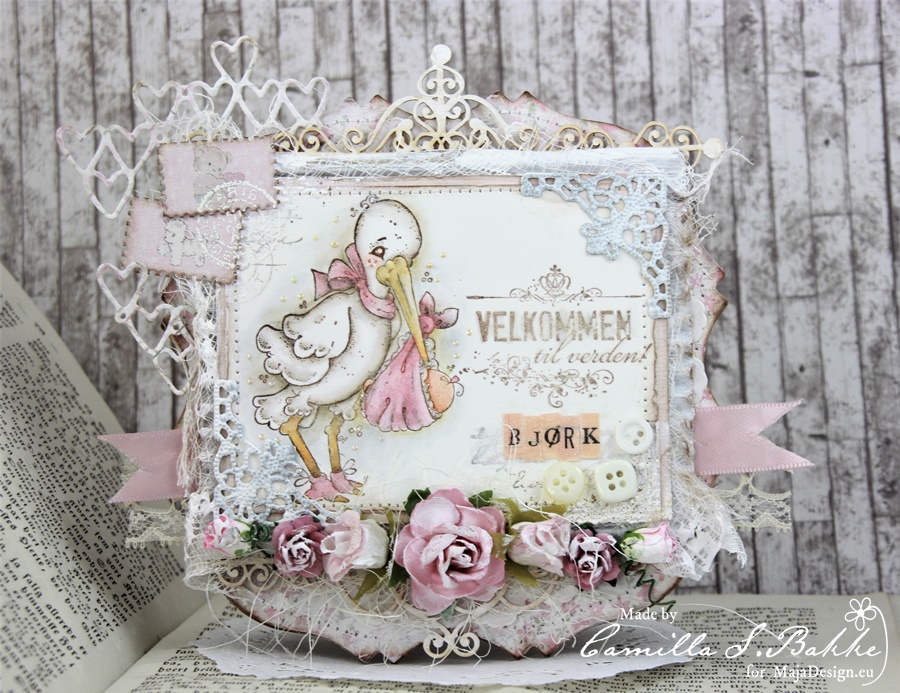
Hi there Maja fans! I hope you have had a wonderful May so far! Here the weather is so nice, it has been sunny and warm. So lovely! As you might know, I live in the western part of Norway where it is raining all the time, so a bit sun is much needed:) Ok, I will tell you a bit about my card. I made it for my cousin’s baby, by the beautiful name Bjørk.

Sofiero-K

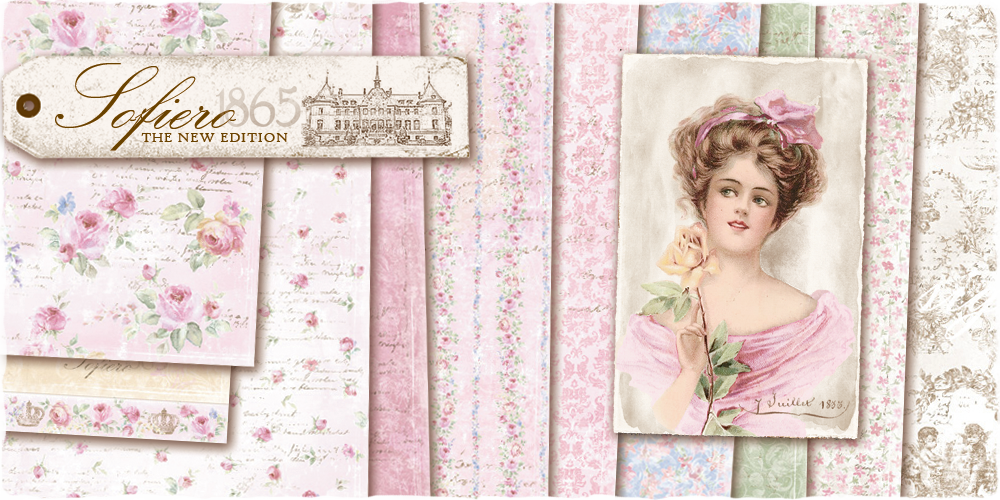
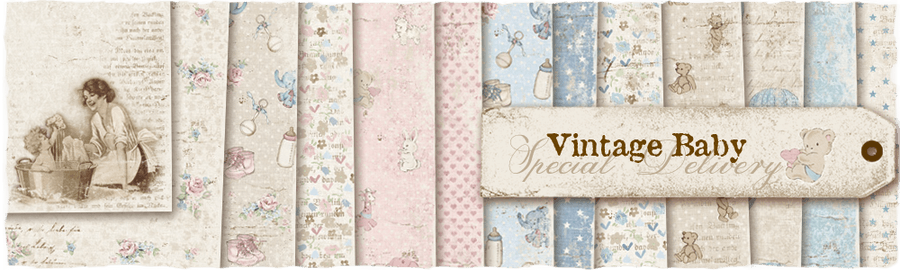
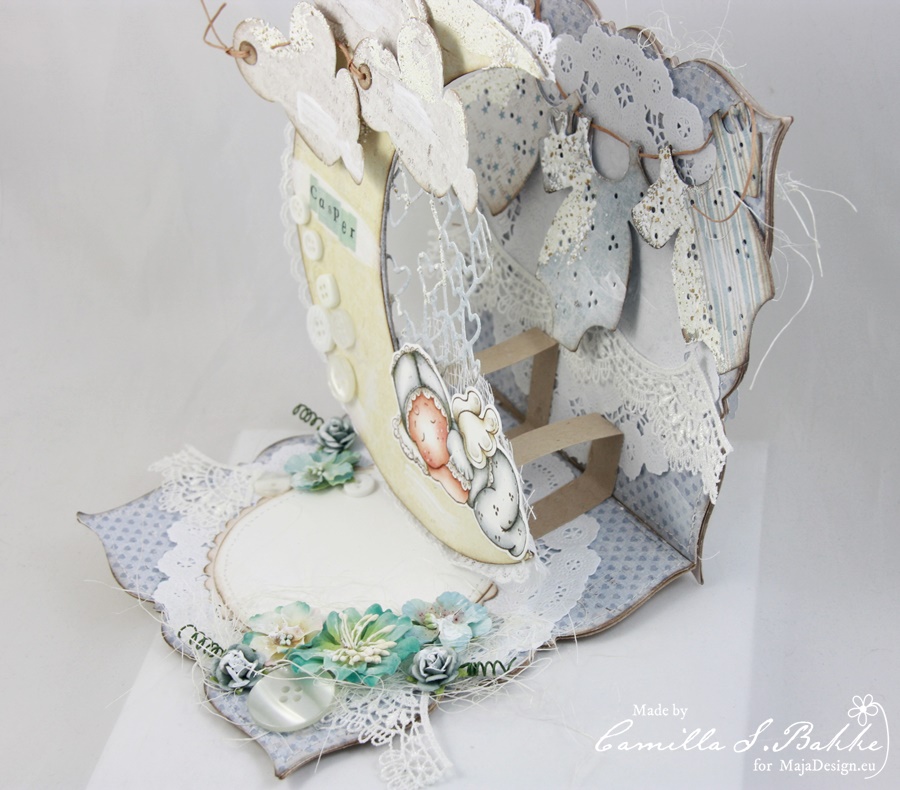
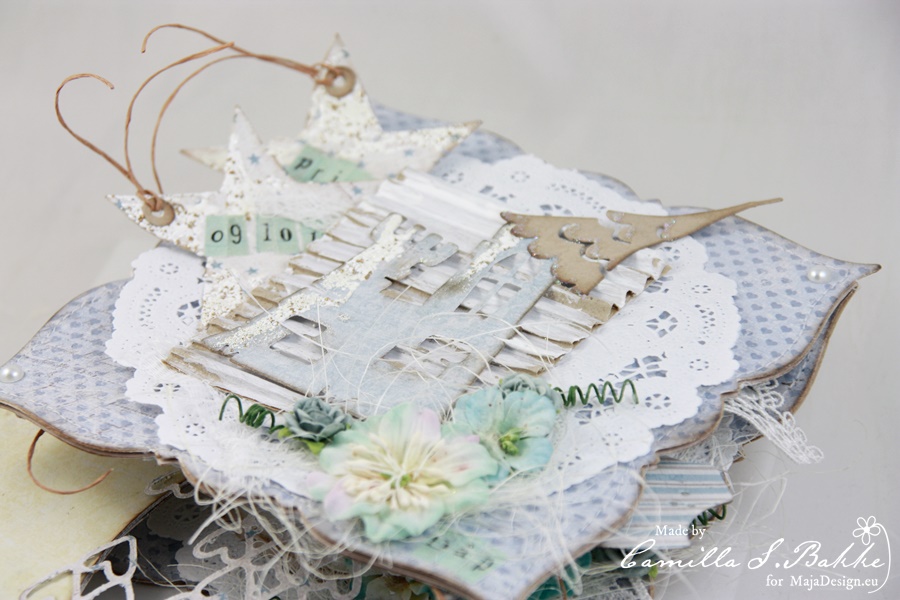
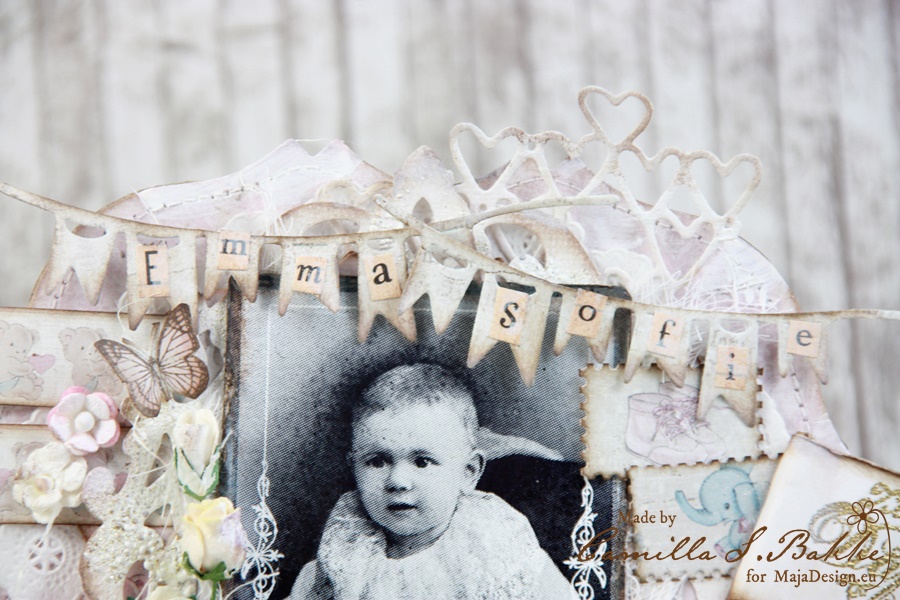
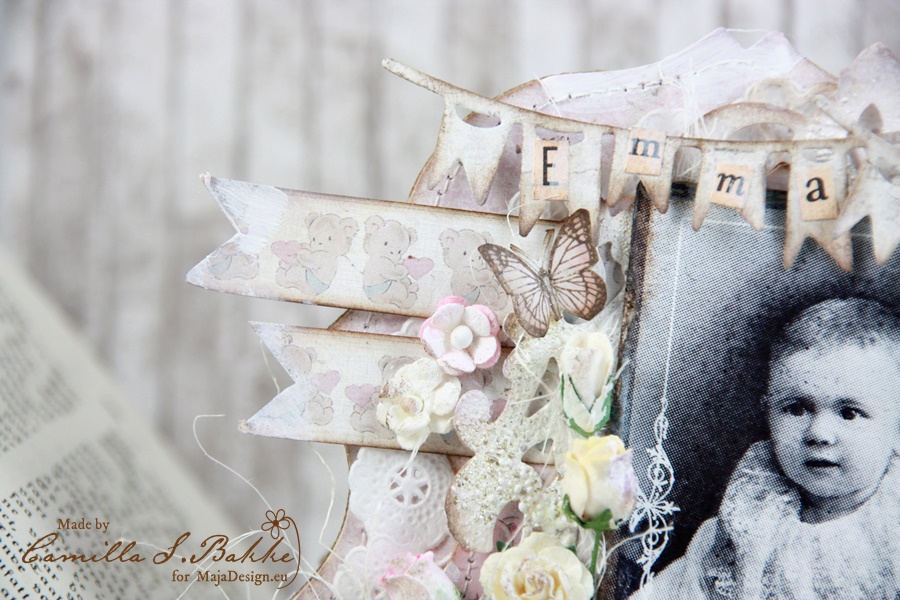
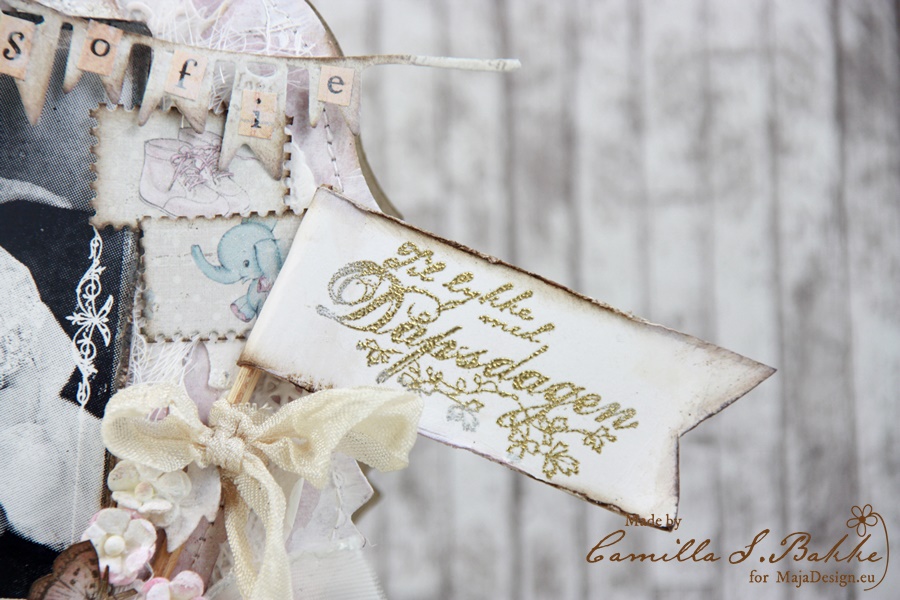
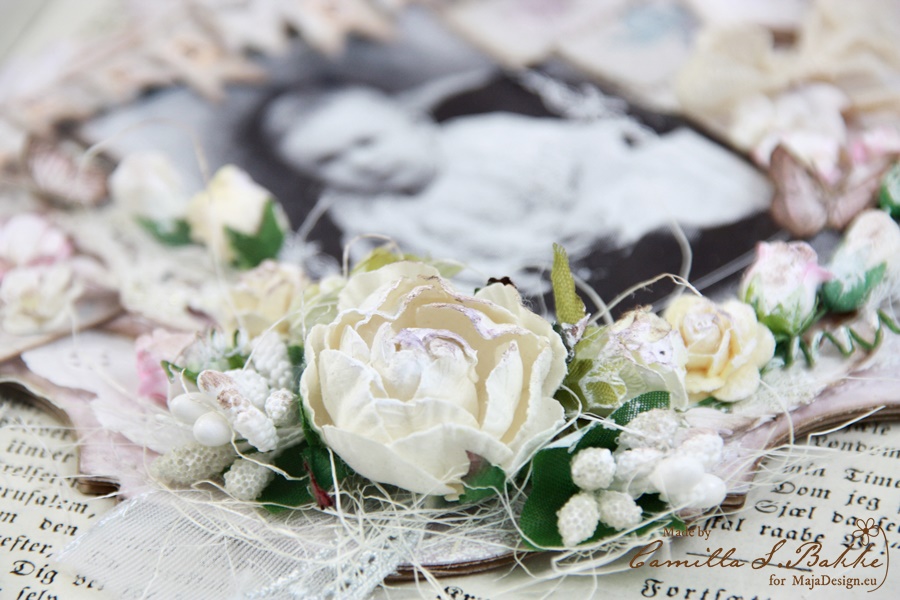
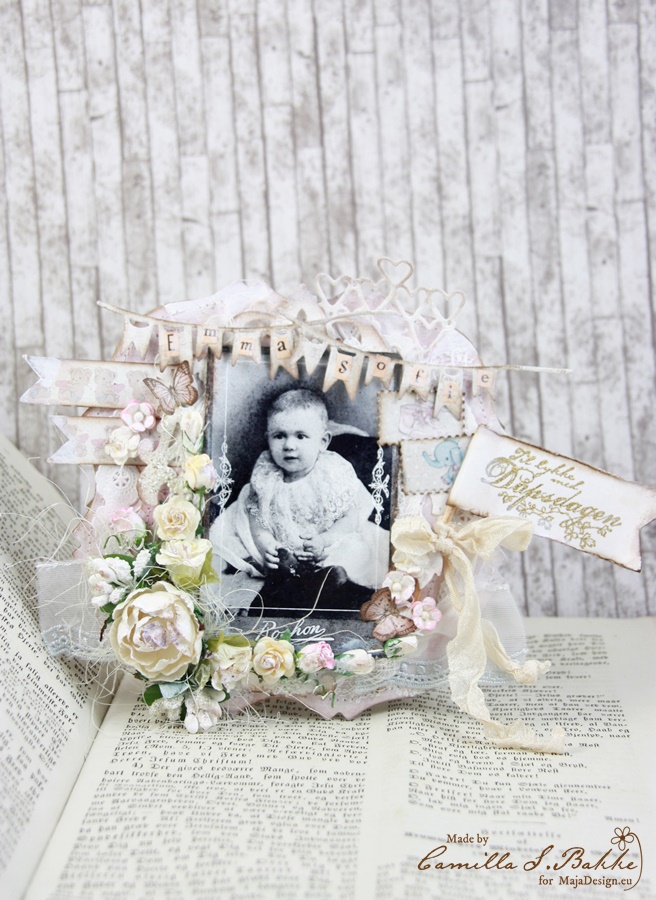
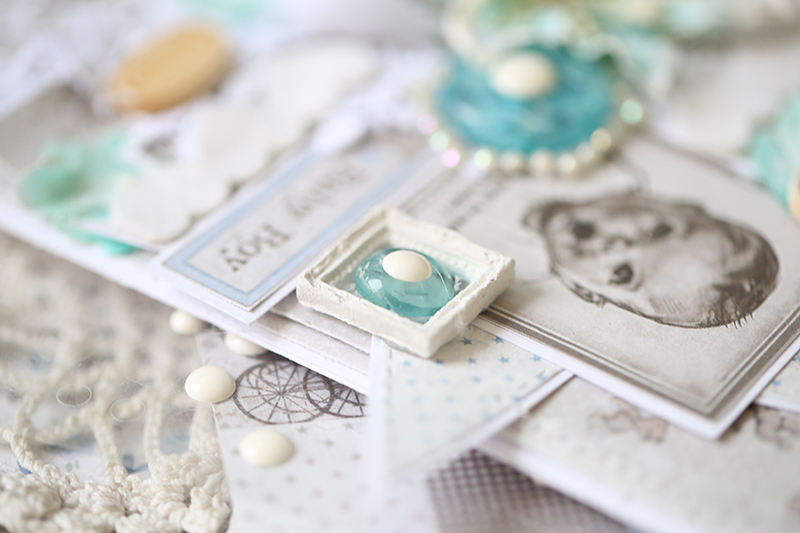
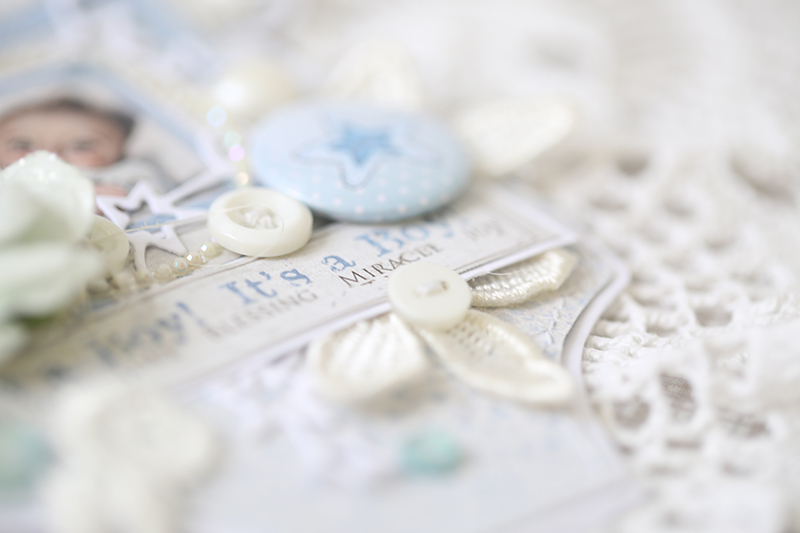
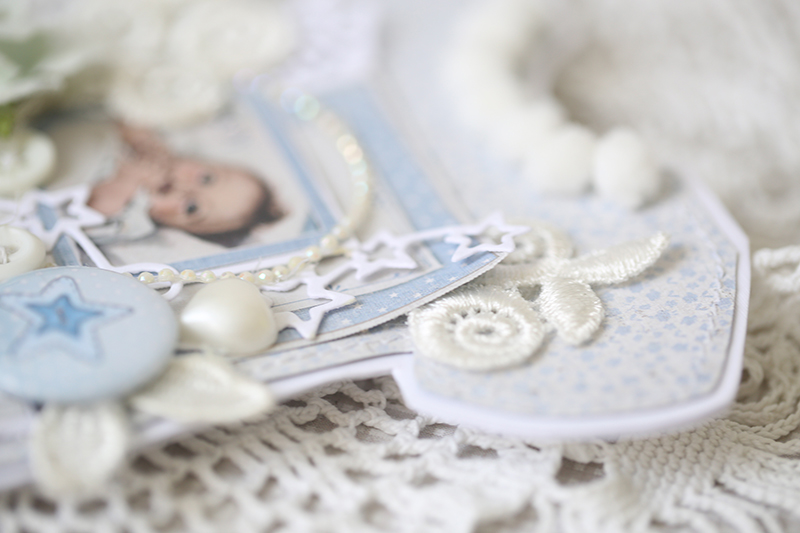
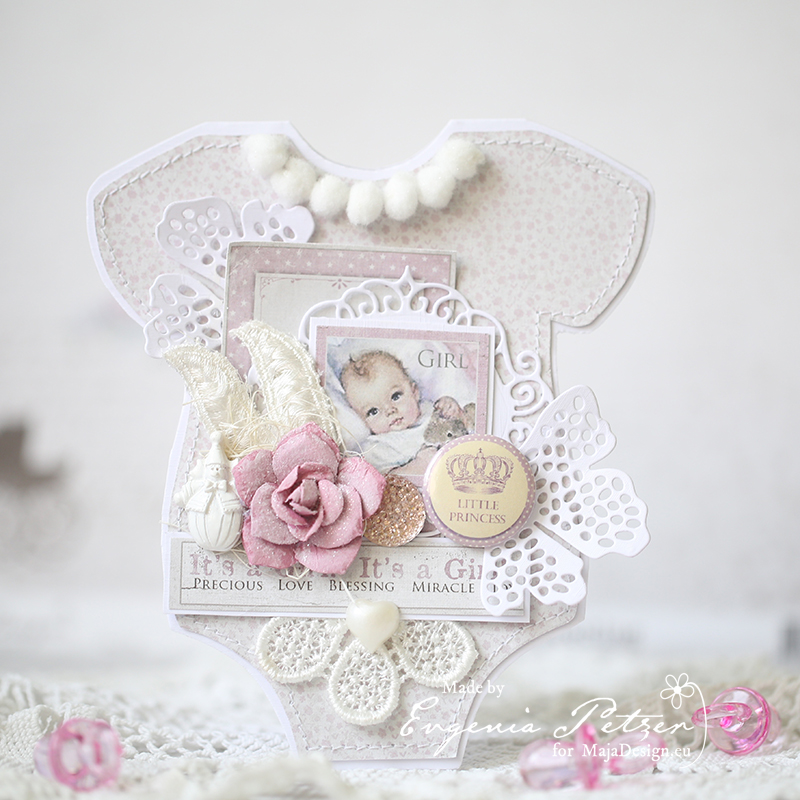
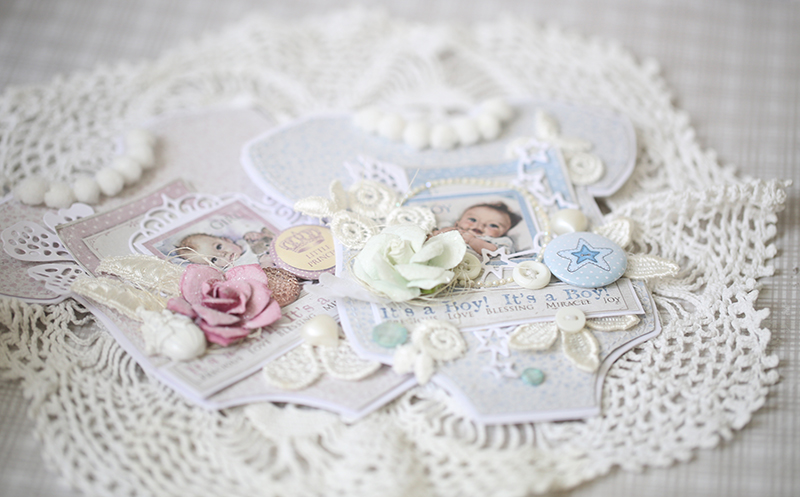
I have used papers fom the new Sofiero collection, and also added two postmarks with images from the Vintage Baby collection. I have used a postmark stamp on them from Stempelglede with white embossing powder.

IMG_7255

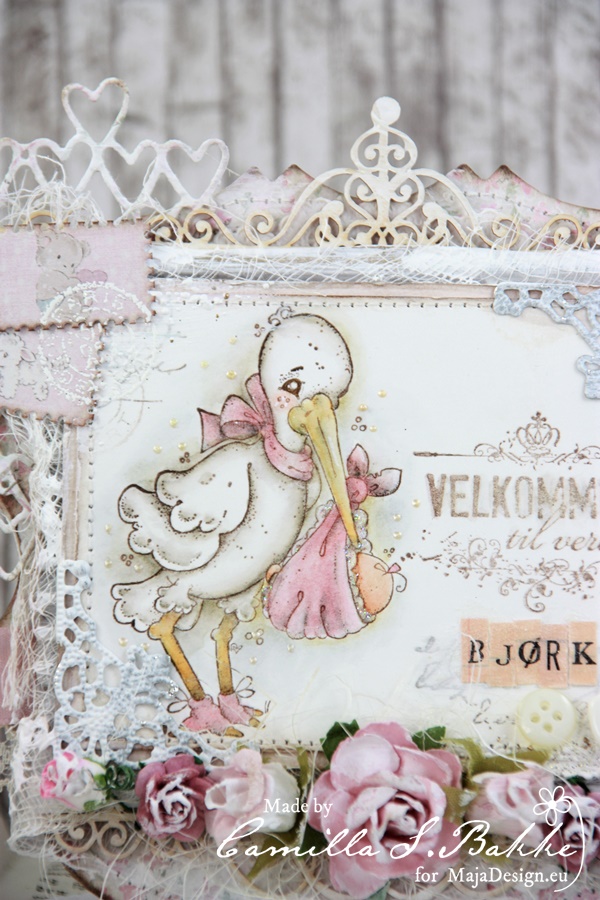
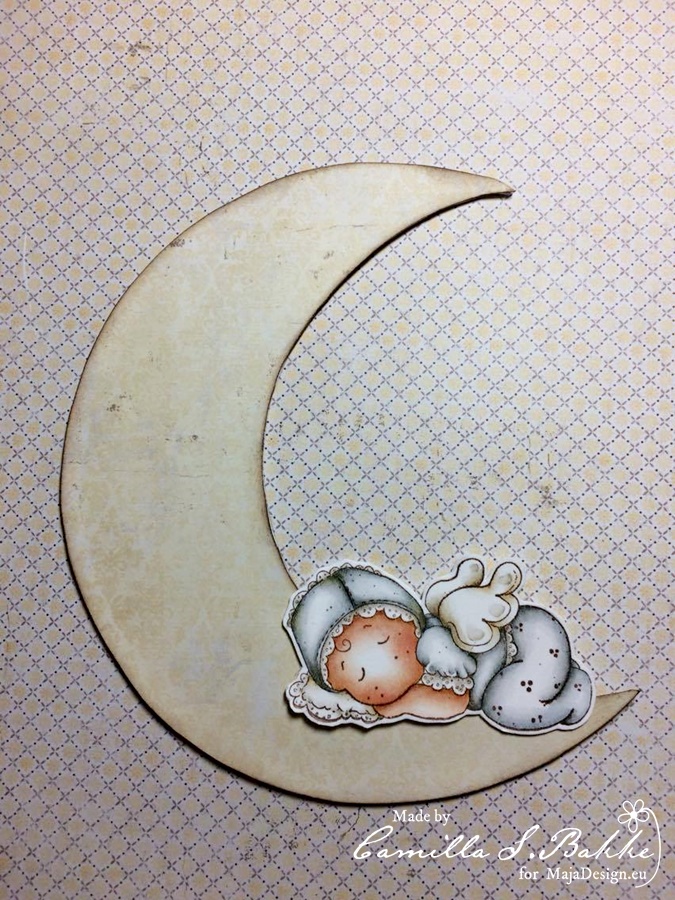
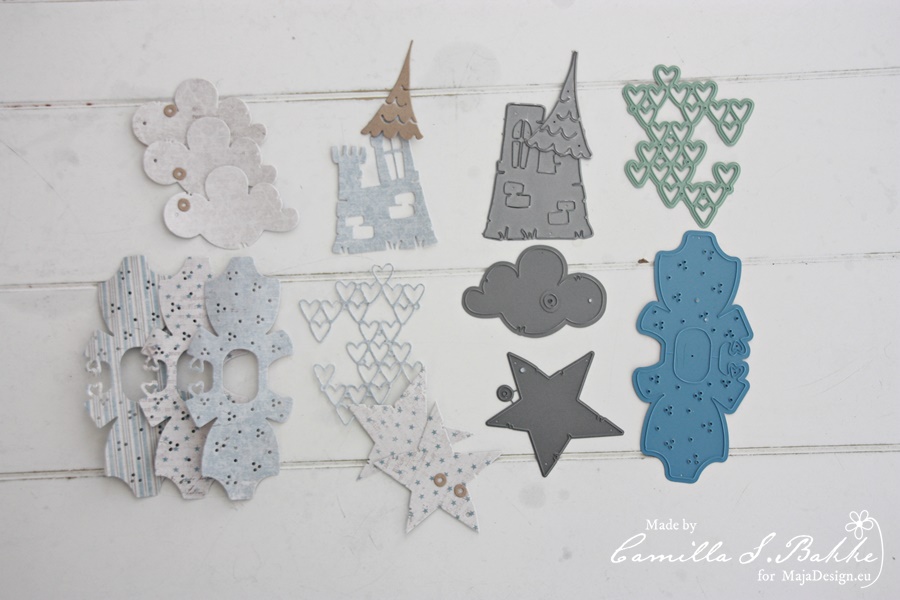
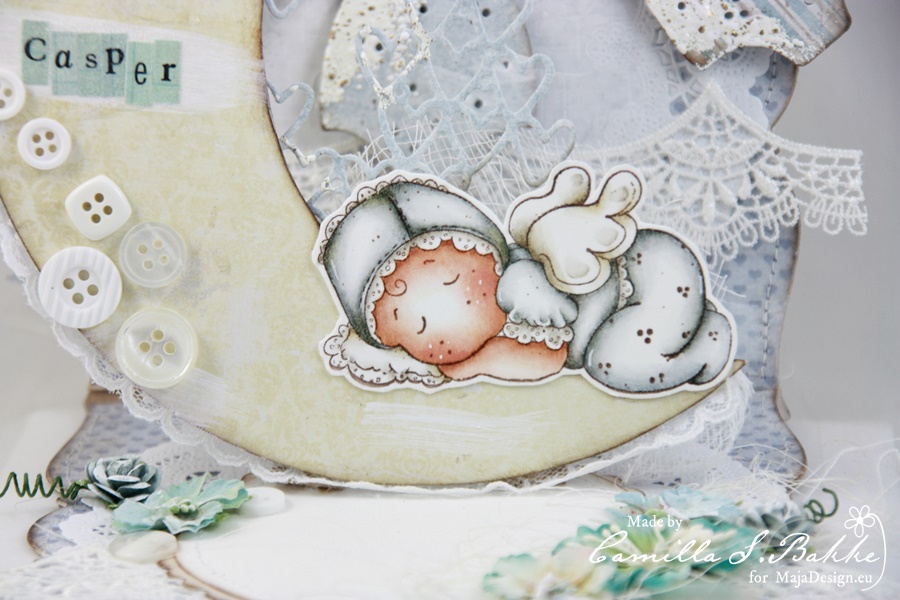
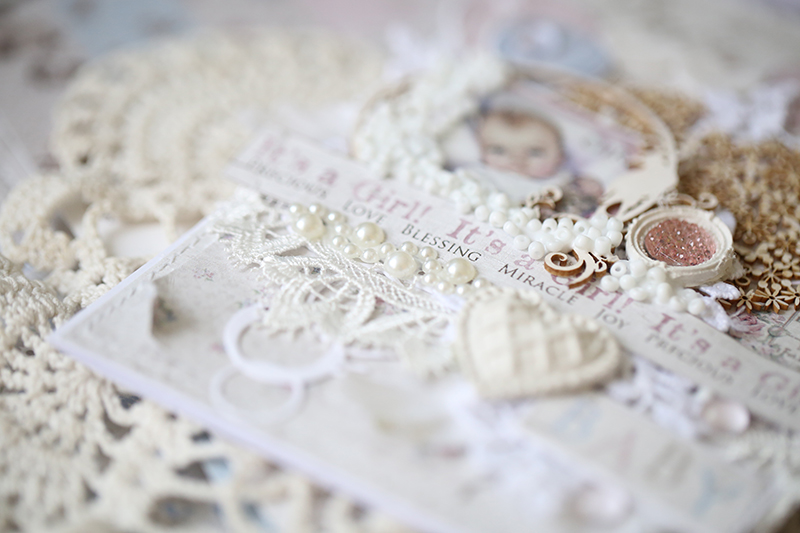
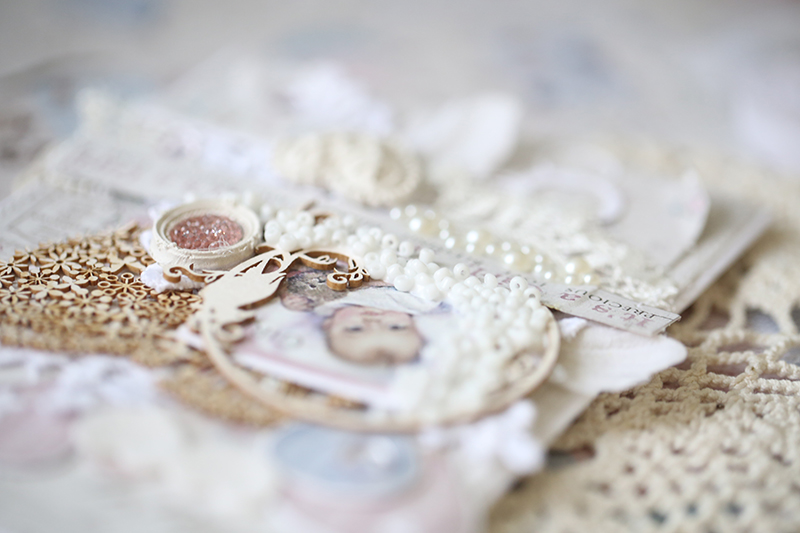
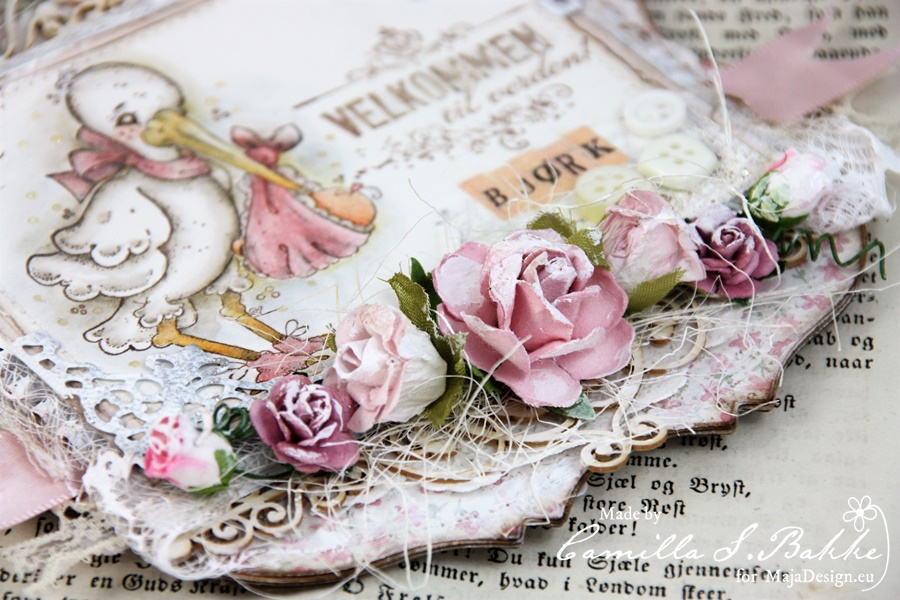
The image is from Magnolia, and the text is from Stempelglede. The flowers are from WOC and Kort og Godt.

IMG_7273

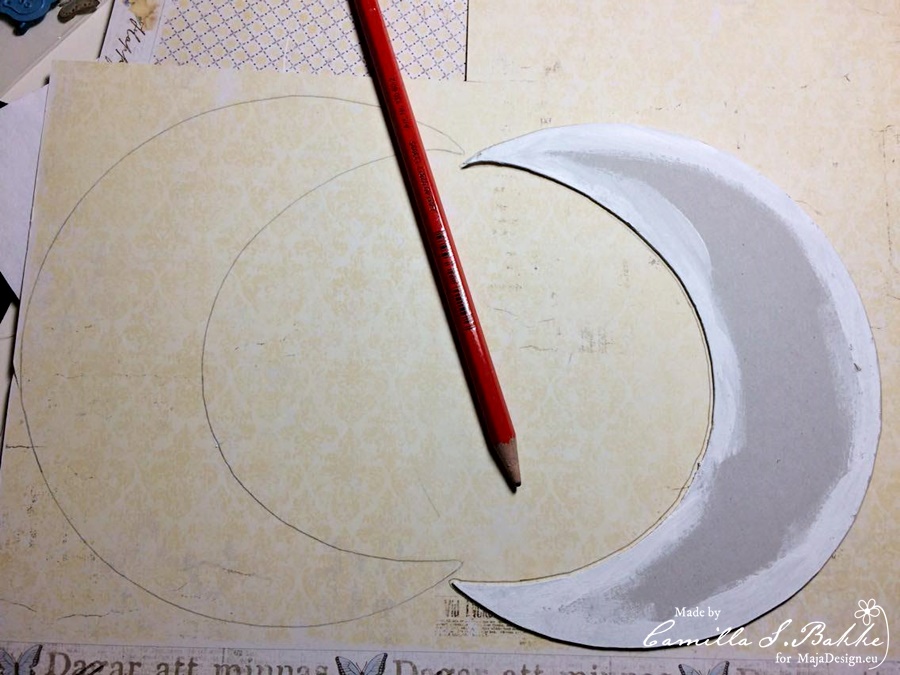
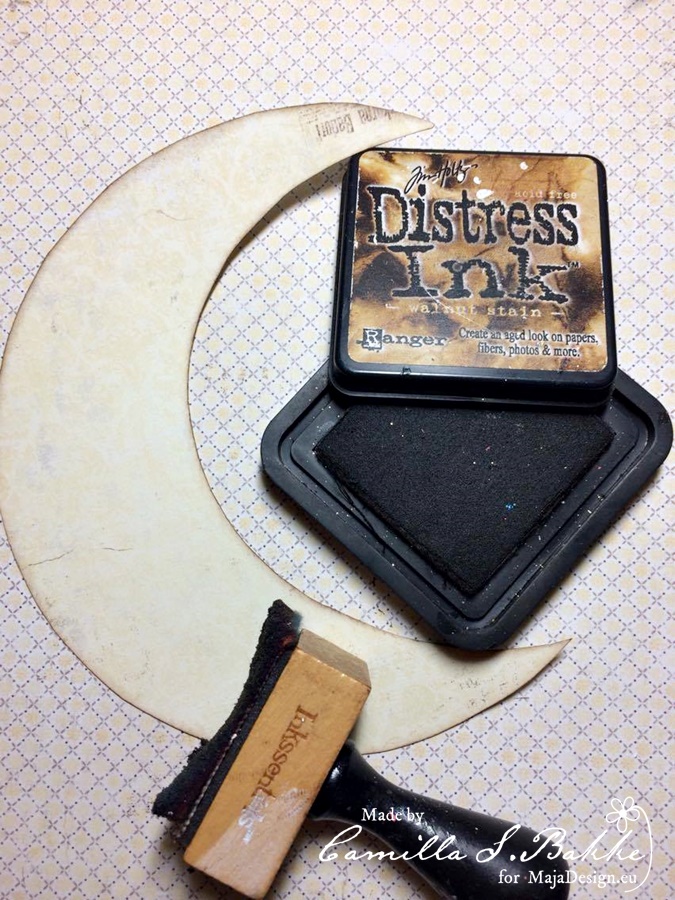
The chipboards are from Wycinanka.

IMG_7276

Thank you so much for visiting the Maja Design blog today!

With love,

Camilla

Pop-up baby card with a tutorial

2

Posted by Camilla Støen Bakke

19 April, 2017 - , , ,

Write a comment

IMG_4980

Hi there! Hope you all had a wonderful Easter. Here comes a card I have made both for Maja Design and Magnolia. I have will also show you how I made the moon and the pop-up effect.

Vintage-Spring-Basics-P

Vintage-Baby-P

For this project I have used the beautiful Vintage Spring Basics collection and the Vintage Baby collection. Now to the little step by step:

1

I started with making the moon. First I used my compasses. I made a circle with a diameter of 16 cm. Then I drew the rest of it by hand like this. I used hard cardboard for this.

2

Then I painted the edges of the moon with white Gesso.

3

Then I drew the moon on some Maja Design pattern papers (two times, for the front and the back).

4

Then I inked the edges with Distress Ink pad, Walnut Stain.

5

Place the baby on the moon.

6

Fold a paper strip like a rectangle and fasten it like this. Make two so that the moon will have a good grip inside the card. (You can see this better on the finished card)

7

To decorate the card, I have cut out some shapes from Maja papers: heart background, celebration, star tag, (flag and) cloud, castle. The dies are Magnolia DooHickeys.

IMG_4994

I will now show you some details of the finished card, and how the pop-up looks like.

IMG_4984

A close up of the baby.

IMG_4982

Under you see how the front of the card looks like.

IMG_5002

IMG_5004

Here is a list of paper used:

Thank you so much for visiting the Maja Design blog today!

With love,

Camilla

Vintage Baby card

1

Posted by Camilla Støen Bakke

5 April, 2017 -

Write a comment

IMG_7192

Hi! Here comes a new card where I have used the sweetest collection called Vintage Baby. I will give you the list of paper used at the end of this post. If you are wondering, the paper behind the card is from the Vintage Summer Basics collection and is called 1905

Vintage-Baby-P

I have also cut out two butterflies from a paper from the Vintage Spring Collection called 6th of May.

IMG_7188

This is a baptism card for a girl, so I have used papers in pink tones. I have also made two postmark stamps with Maja papers and a Magnolia die. The main image is a stamp from Stempelglede.

IMG_7183

The pennants are made with a die from Magnolia, and I have fasten the letters on to them. I have used a beige Maja paper here.

IMG_7186

The teddybears are from the bottom of a Maja paper. I have used gold embossing on the flag. The text is made with a stamp from Stempelglede.

IMG_7197

A close up of the flowers.

IMG_7199

The card from another angle.

IMG_7202

The flowers are from Wild Orchid Crafts.

IMG_7182

Hope you liked the card! Here is the list of papers used:

Thank you so much for visiting the Maja Design blog! Have a great day!

Hugs,

Camilla

Vintage Baby cards

2

Posted by Evgenia Petzer

22 October, 2016 - ,

Write a comment

Hello dear friends, its Evgenia Petzer with you today. Being a mom to three boys, I can’t get enough of a baby theme! One of my all time favourites! And the Vintage Baby collection- I am cutting and cutting it again.

I will start with the baby boy card. I decided to add some turquoise color as a little contrast…

Some die  its, the heart border is cut from the felt, so it gives that little extra soft touch to the project.

baby_boy_card_vintage_baby_petzer

some close ups:

baby_boy_card_vintage_baby_petzer_det1 baby_boy_card_vintage_baby_petzer_det3

and another card for the baby girl:

baby_girl_card_vintage_baby_petzer

Love those air balloons, I have fussy cut it from the paper from the same collection.

Lots of beads, pearls, some die cuts and gorgeous chipboard

baby_girl_card_vintage_baby_petzer_det1 baby_girl_card_vintage_baby_petzer_det2

Both of these cards use the Vintage Baby paper pad collection:

have a lovely scrappy weekend,

Two baby cards

4

Posted by Evgenia Petzer

16 July, 2016 - ,

Write a comment

Hello dear Maja friends! Its Evgenia Petzer with you today and I am sharing two baby cards that I made. I really had a wonderful time while playing on them. The baby theme is definitely my favorite in either card making or scrapbooking.

First up is the card for a baby boy. Some die cuts here, stitching, flowers, pearls- all the lovely pieces in light shades of the shabby chic style.

bodik_boy_maja_petzersome close ups:

bodik_mal_det1 bodik_mal_det2

and the second one is for the girl:

Fir the girl I basically mad pretty much the same, but also used some glitter on top of some elements for that extra princess sparkle and feeling that this little thing provides.

bodik_girl_maja_petzer

close up:

bodik_dev_det1and both of them together:

bodik_mal_det_all

I have used the paper pad for the Vintage Baby collection (I absolutely love this collection, I think its my third paper paid that i am finishing now:)

have a lovely day,