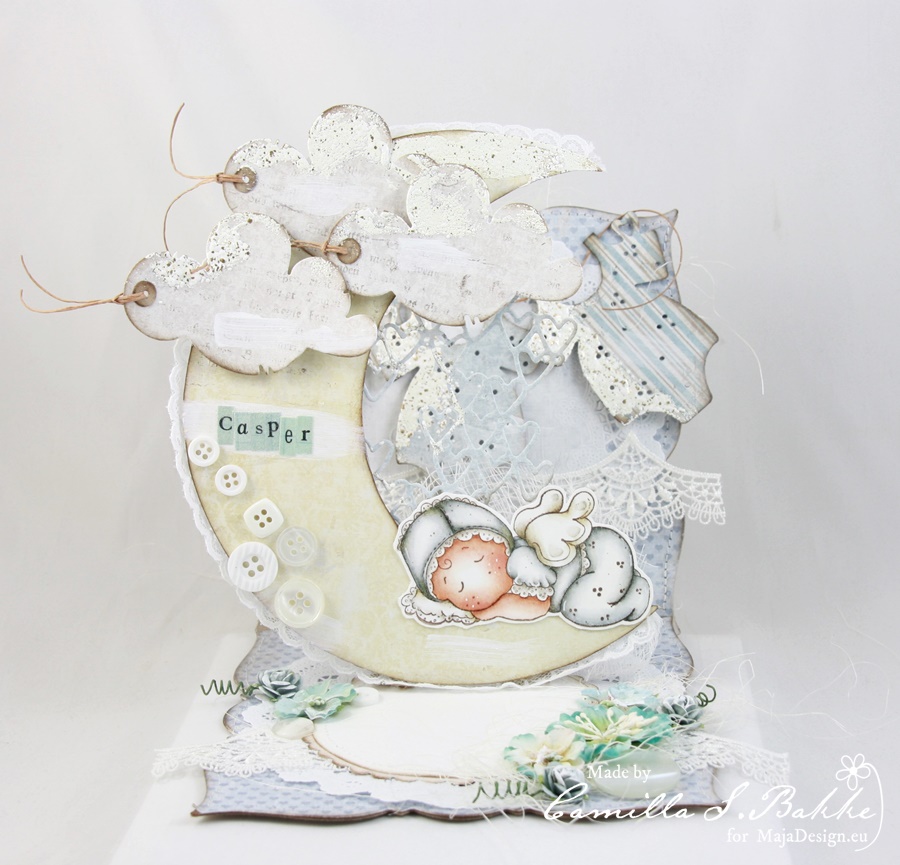
Hi there! Hope you all had a wonderful Easter. Here comes a card I have made both for Maja Design and Magnolia. I have will also show you how I made the moon and the pop-up effect.
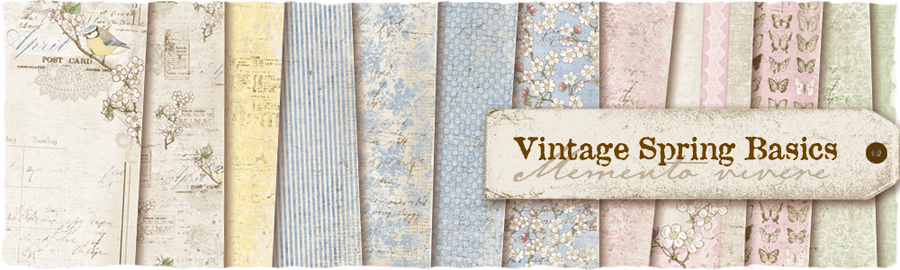
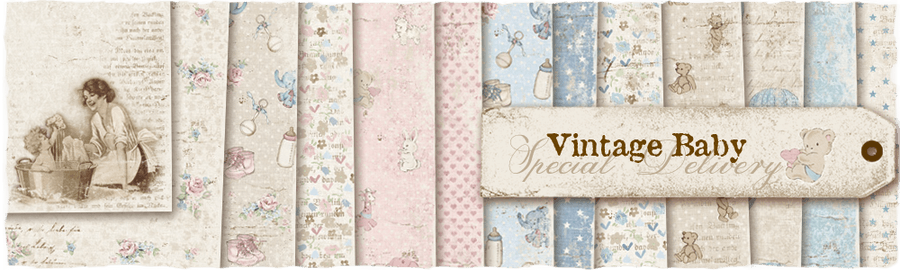
For this project I have used the beautiful Vintage Spring Basics collection and the Vintage Baby collection. Now to the little step by step:
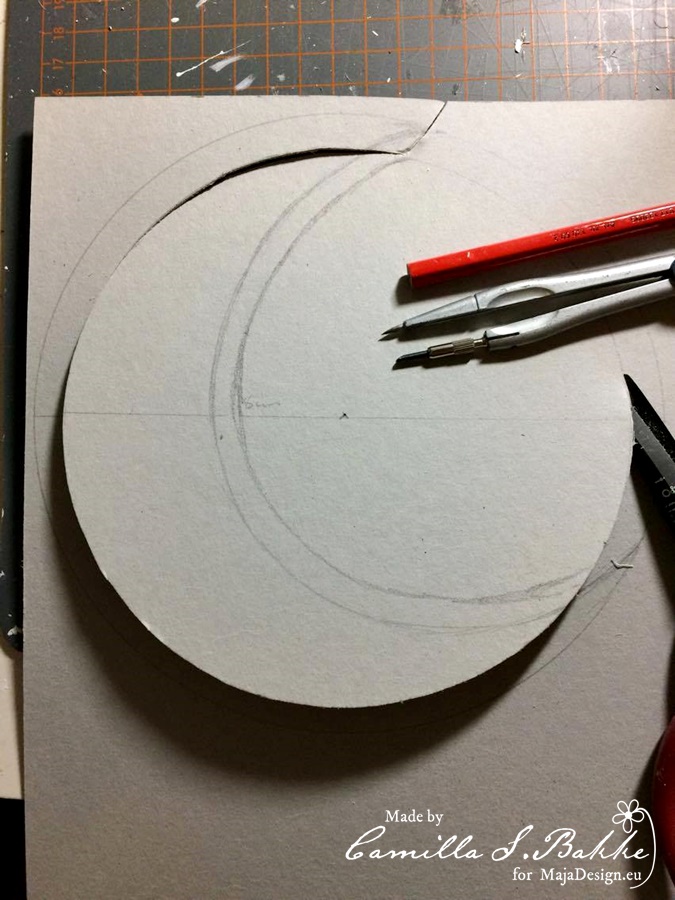
I started with making the moon. First I used my compasses. I made a circle with a diameter of 16 cm. Then I drew the rest of it by hand like this. I used hard cardboard for this.
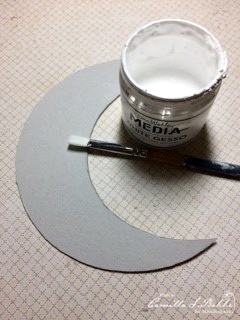
Then I painted the edges of the moon with white Gesso.
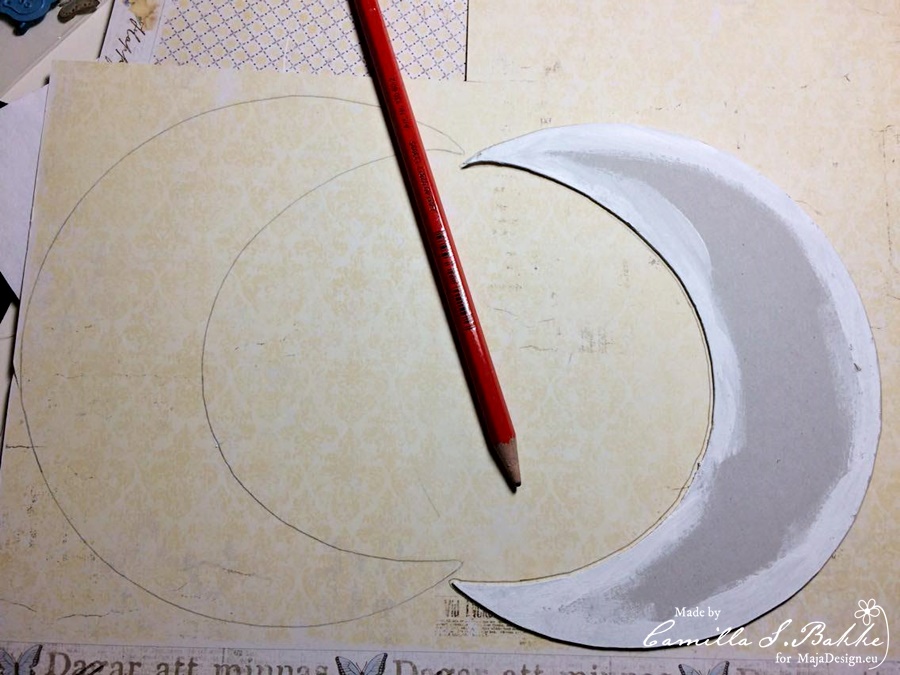
Then I drew the moon on some Maja Design pattern papers (two times, for the front and the back).
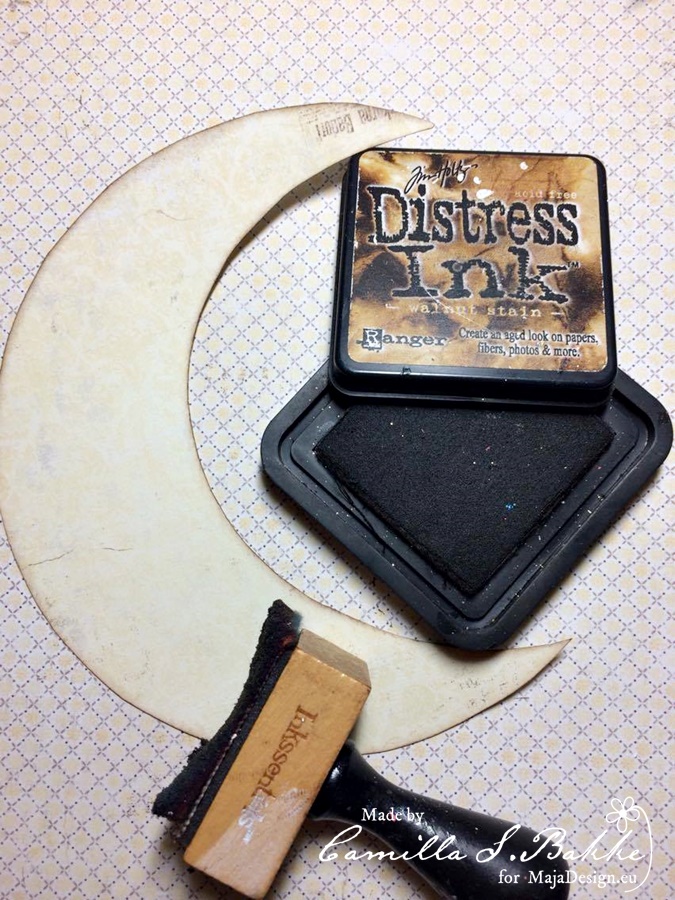
Then I inked the edges with Distress Ink pad, Walnut Stain.
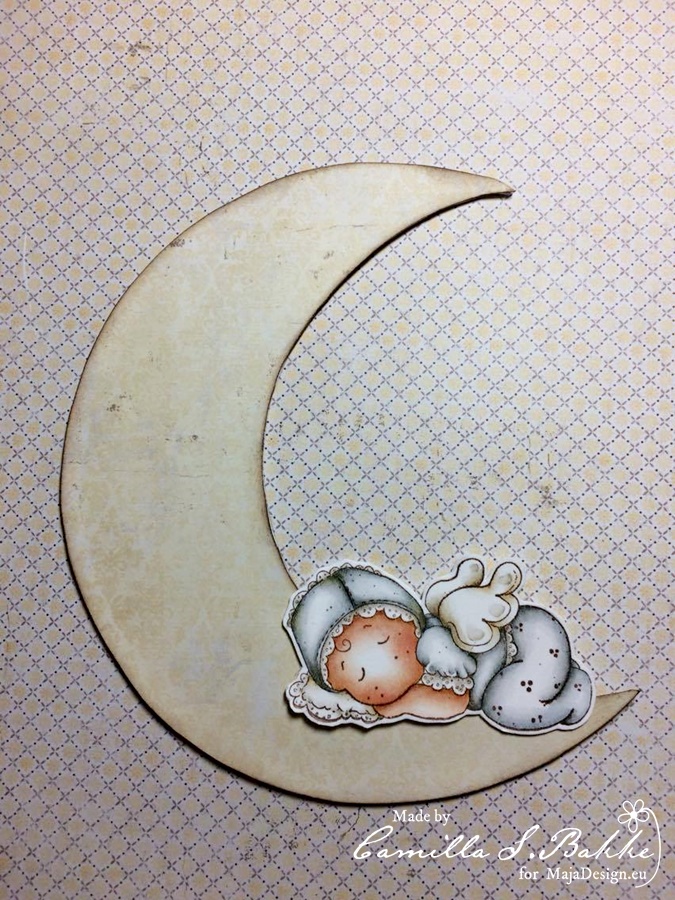
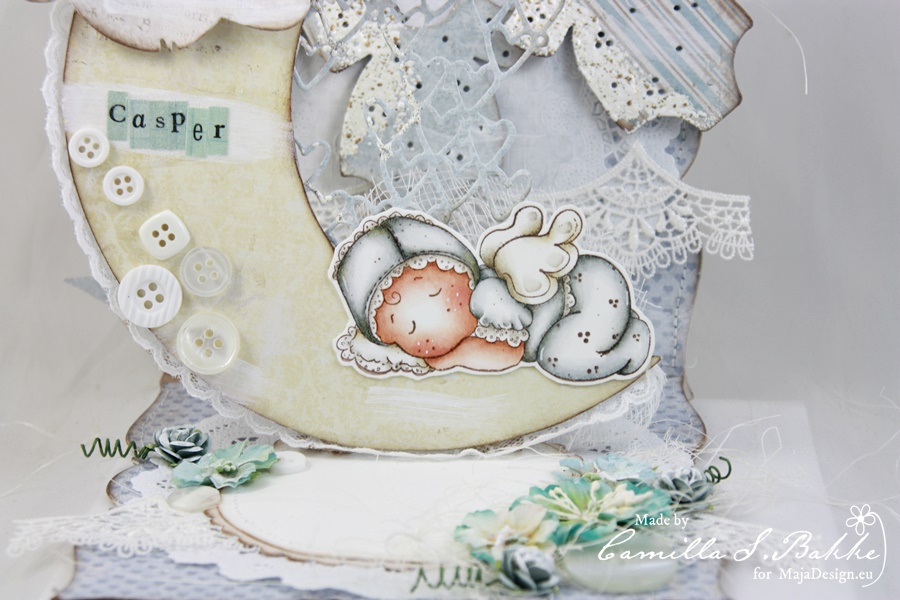
Place the baby on the moon.

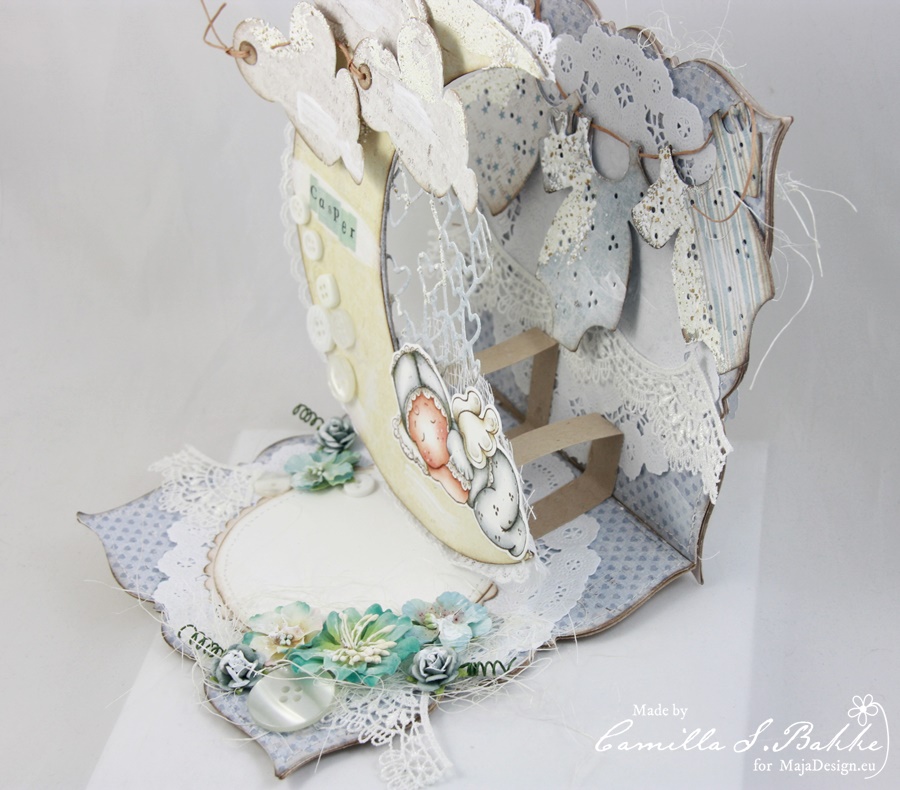
Fold a paper strip like a rectangle and fasten it like this. Make two so that the moon will have a good grip inside the card. (You can see this better on the finished card)
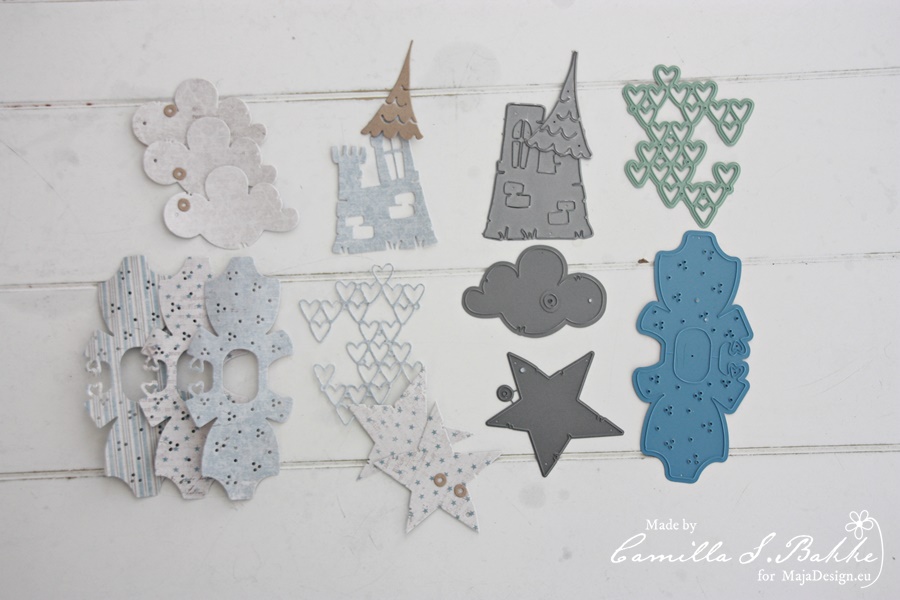
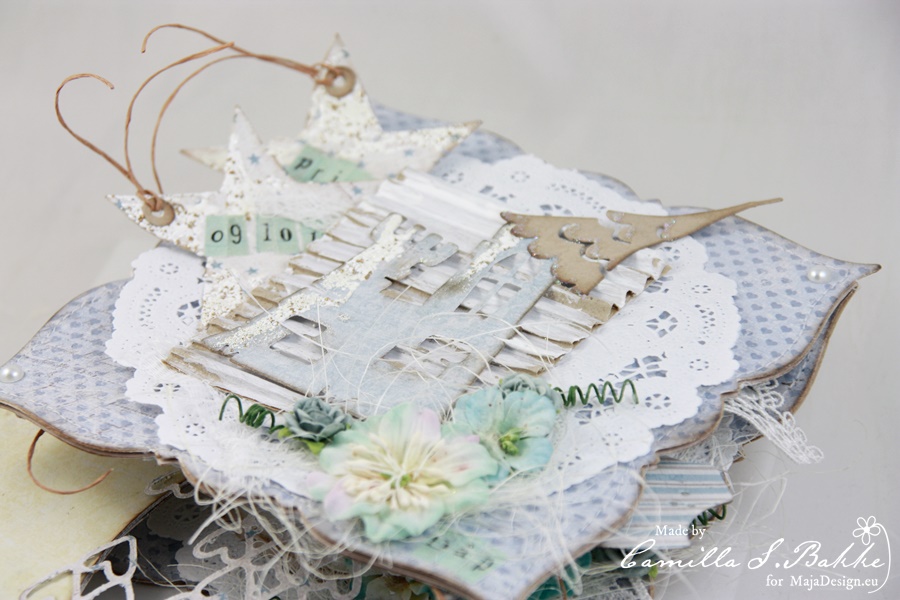
To decorate the card, I have cut out some shapes from Maja papers: heart background, celebration, star tag, (flag and) cloud, castle. The dies are Magnolia DooHickeys.
I will now show you some details of the finished card, and how the pop-up looks like.
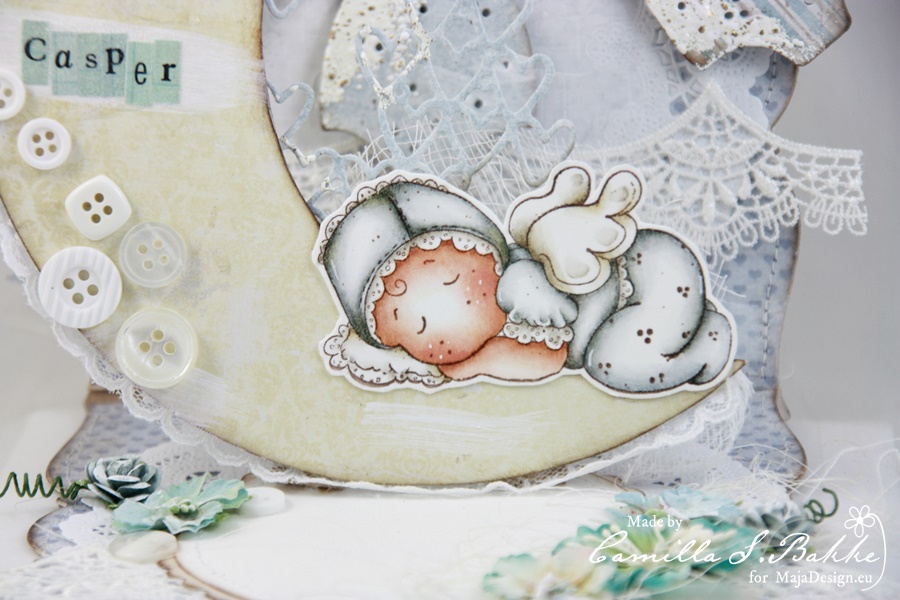
A close up of the baby.
Under you see how the front of the card looks like.

Here is a list of paper used:
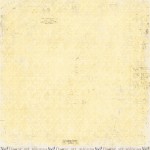
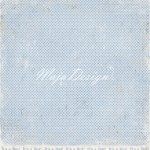
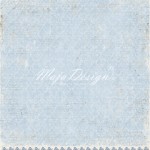
-
- Newborn
-
- Cutie – bs
-
- Special moment
Thank you so much for visiting the Maja Design blog today!
With love,

2 Comments
What a beauty here Camilla, you´ve really made a masterpiece here once again. I love your soft and cute babycard and thanks sooo much for explaining how it´s made too with this special effect on it, that can make any new mum smile, when she recieves a card like this.
This is so adorable. Lovely.