Waiting for Spring

4

Posted by Kerstin-Inga Peters

21 March, 2018 - , ,

Write a comment

Hello Maja friends!

It’s March now and everyone is waiting for spring because we have had enough of the snow and coldness.

As the snow slowly melts and patches of green start to show, a whole
new world unfolds around you, offering a nature experience of a different kind.
As soon as the days start to draw out again shoots begin to show everywhere:
the first to peek through the soil are the snowdrops, daffodils and crocuses.
I was able to discover them in my garden before winter came back.

But what is one of my favorite sayings?

Now matter how long the winter
Spring is sure to follow!
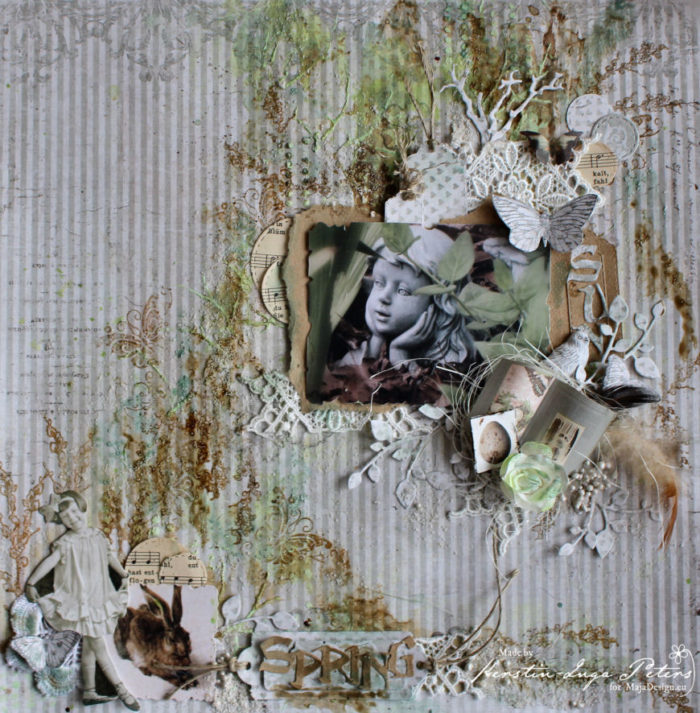
So I was inspired to make a springtime layout with some paper sheets

from the beautiful collection ‘Vintage Romance’

together with some stamps, cutting dies (letters, circles, branches, frames, butterflies, tags, leaves),

lace, feathers, Art stones, old note paper, Distress inks,

a small book page from La Blanche

and a little paper doll from Tim Holtz.

some details
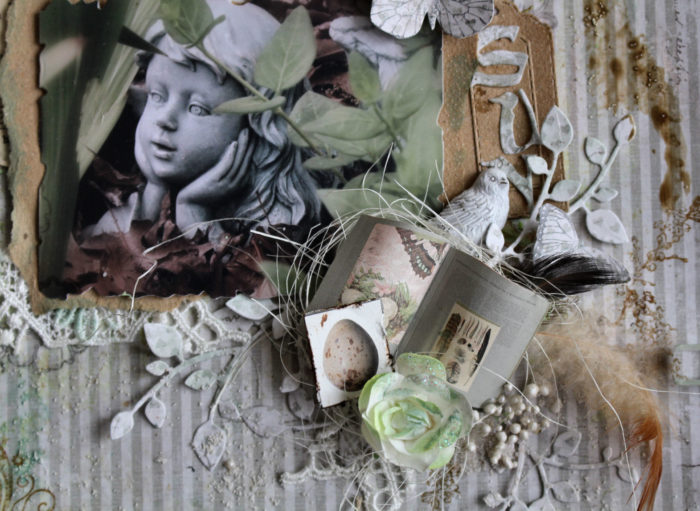
the background paper ‘When I saw you’ has so wonderful delicate green stripes,

very subtly and suitable for beginning of spring
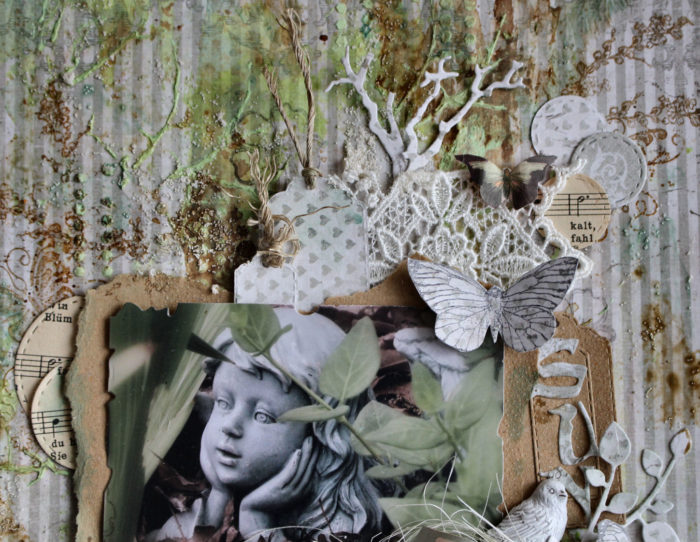
some little hearts in light green were a perfect addition

and I used this paper together with a lot of various cutting dies

oh, the word SUN is hidden on the right side beside this sweet photo

it’s no wonder, or?!

Is like a message to us, that we have to go on and don’t leave our way

to make the sun shine on us again.

Thanks for your visit!
Have a beautiful time!

Together

3

Posted by Maja Nowak

14 March, 2018 - , , ,

Write a comment

Good morning, dear Visitors, welcome to the Maja Design blog 🙂

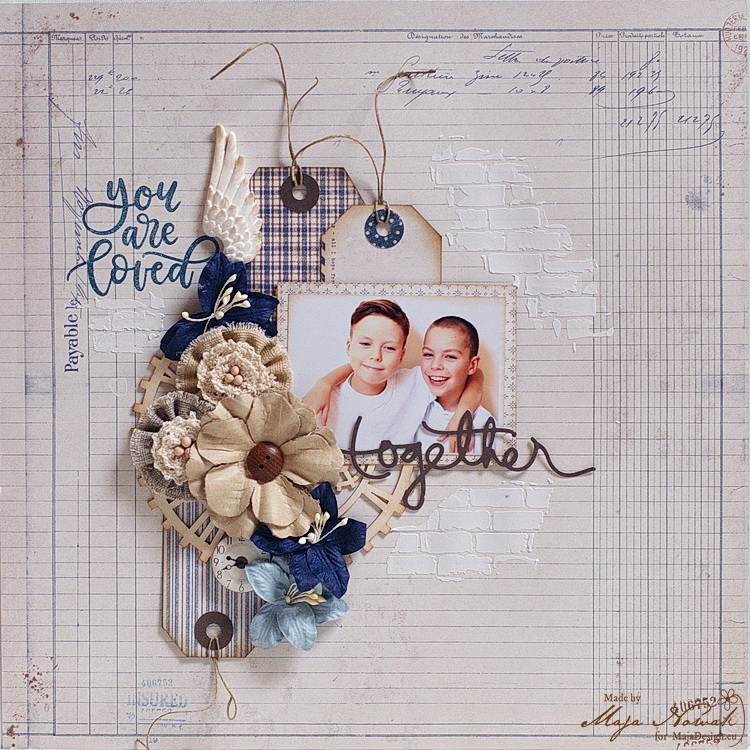
After a series of projects I created with the latest Celebration collection I return to one of my all-time favourites, Denim & Friends. I just love the colours and patterns of these papers! And here’s the layout I made:

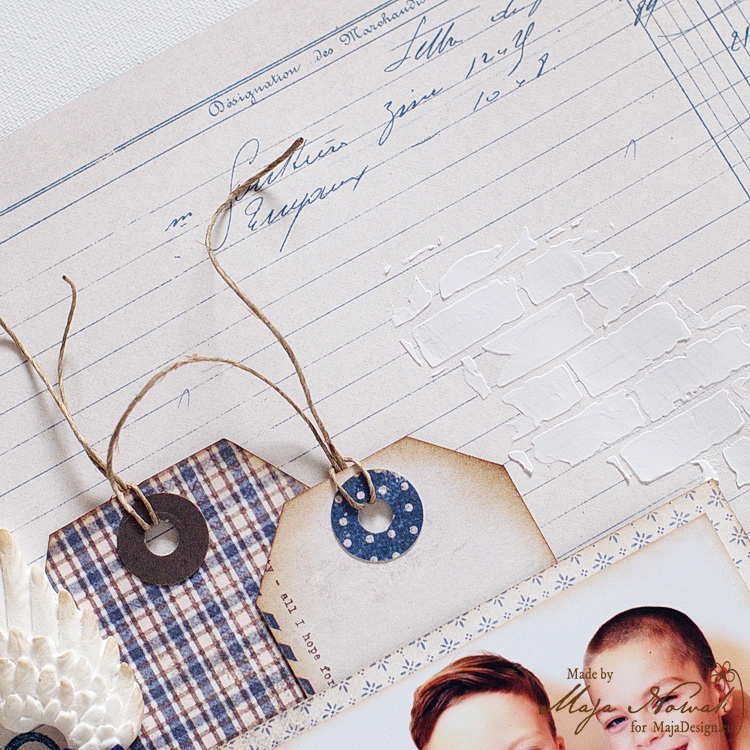
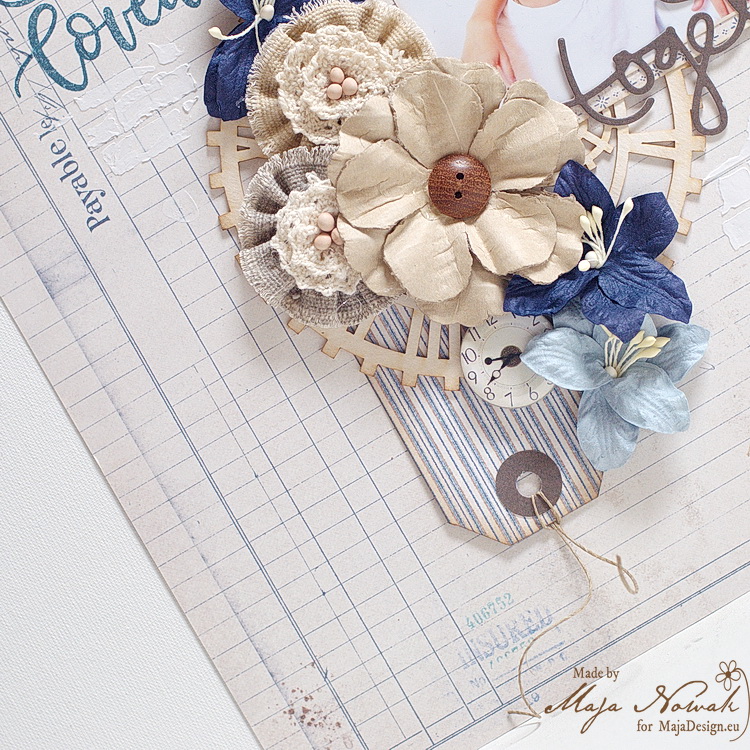
The design of the page is my version of the clean&simple style 😉 I didn’t want to cover the beautiful background paper too much, so I matted the photo with just a couple of tags and a flower cluster mounted on a chipboard clock face:

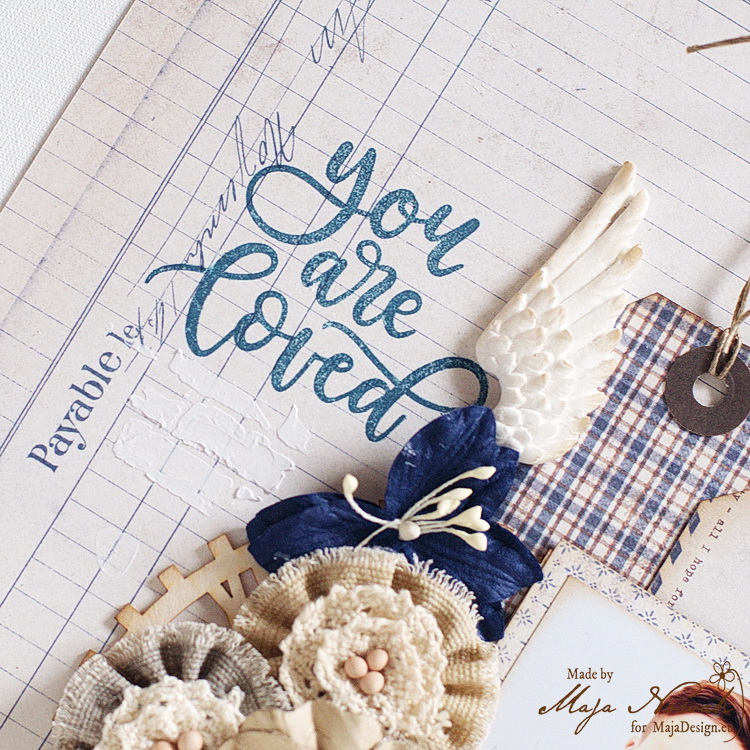
I also decorated the paper with some stamping and a delicate brick pattern that I added with a stencil and modeling paste. The art clay angel wing adds some lightness to the darker colours:

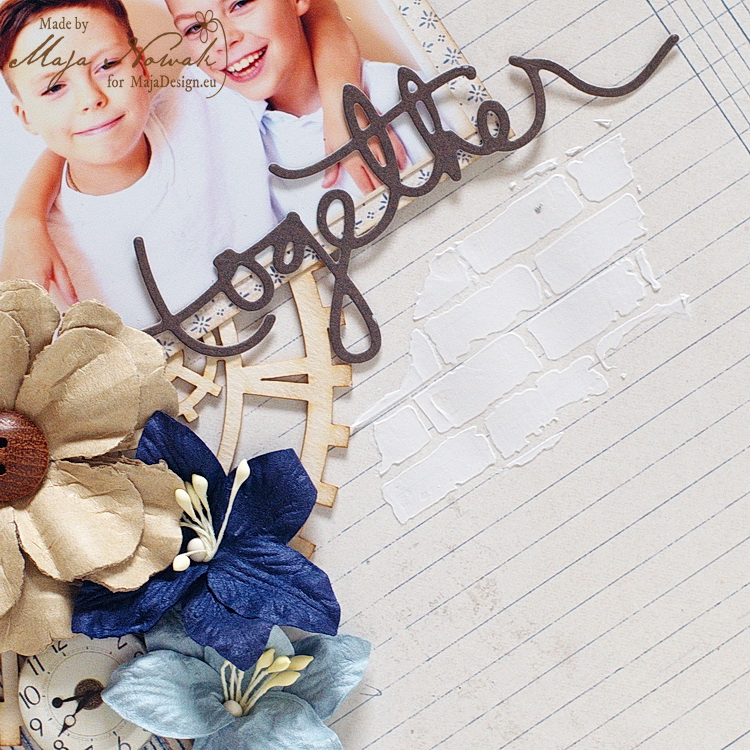
I die-cut the layout title from the brown Monochromes set matching the collection – I’m so happy Maja started to release the plain papers sets, they save the pain of sacrificing beautiful patterned papers for matting and small elements 😀

Though it’s not the classic clean&simple page, I still like the way it turned out – light and fresh 🙂 What do you think?

And here’s the list of supplies I used:

Maja Design papers:

Other: die: Kesi’art; stamp: My Favourite Things; flowers: Prima, Wild Orchid Crafts; stencil: Tim Holtz; chipboard: Wycinanka, button: Lemoncraft; wing mold: Prosvet.


Thank you for visiting today and see you later 🙂

Dream

1

Posted by Lenet Mos

8 March, 2018 - , , , ,

Write a comment

Hello dear Maja fans ,

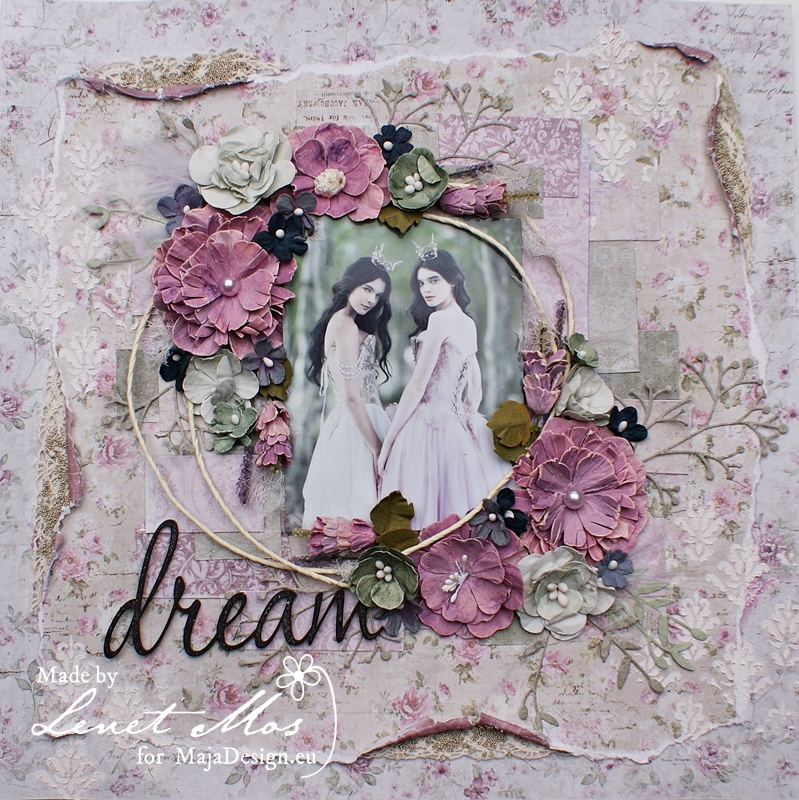
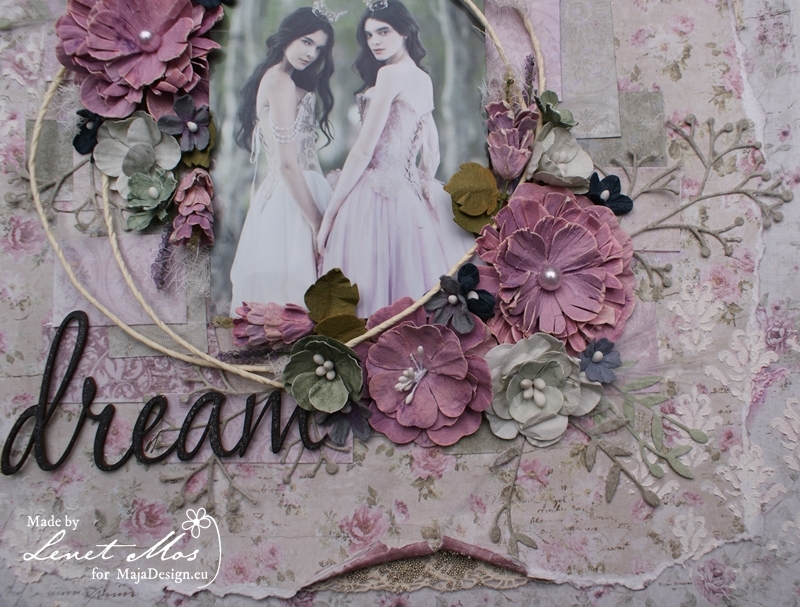
Today I bring you a dreamy layout  inspired by this months moodboard.

I love moodboards they are alway so inspiring , when I look at one the idea for a layout , card, minialbum or what ever will pop right into my mind.

For this layout i used the papers of two collections : vintage romance – Walk with me, for the base and Vintage Summer Basics -1922on top of it.

Besides that i used a lot of snippets that I placed underneath the picture.


The word Dream is a chippie from dusty attic and all the flowers from 49and market.

Thanks for visiting , hope I gave you some extra inspiration for the moodboard challenge.

Let’s have fun

1

Posted by Kerstin-Inga Peters

21 February, 2018 - , ,

Write a comment

Good morning Maja friends!

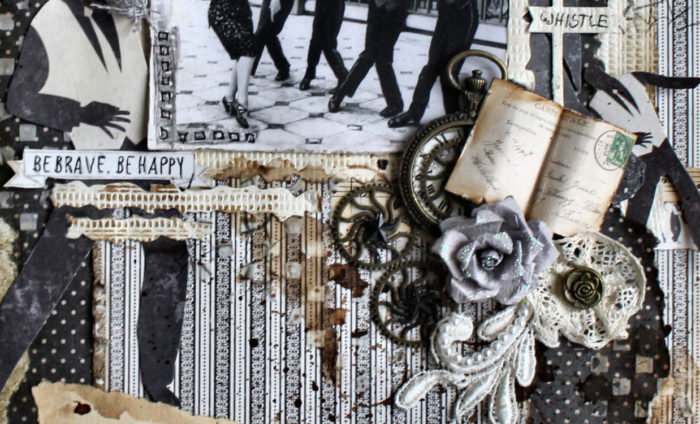
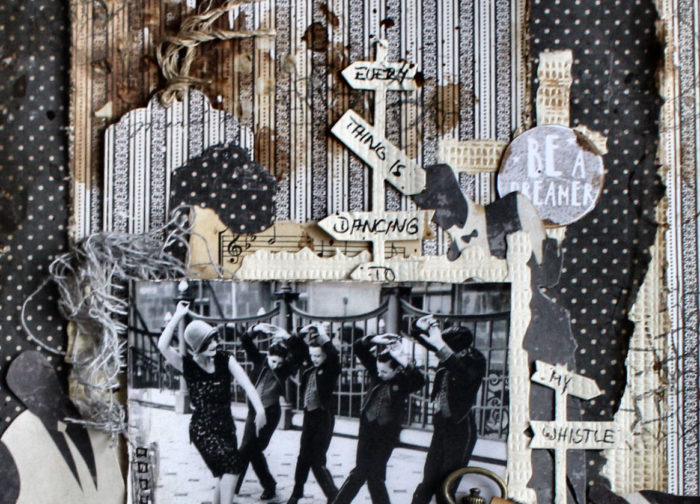
– Be brave, be happy , be a dreamer –

Every thing is dancing to my whistle 😉 that was my motto for this funny layout.

Kerstin is here and I had a lot of fun with this old and very cool photo and thought

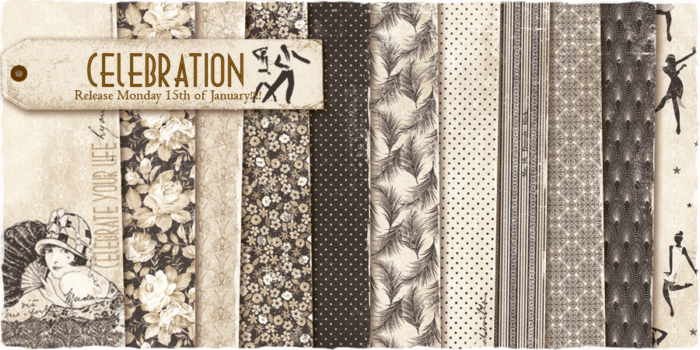
our newest paper collection ‘Celebration’ is more as suitable

for a vintage layout, which should make a little bit good mood

 in our gray everyday life.

I used our latest amazing Paper collection ‘Celebration’


and some details

I cut out some from this beautiful man silhouettes and used this people to frame the Black/ white photo.


and I love the borders from this papers,

dancing people have a happy and funny appearance, a perfectly addition, right?!

Thank you very much!

Have a wonderful time!
Sweet

2

Posted by Lenet Mos

15 February, 2018 - ,

Write a comment

Hello  dear Maja fans.

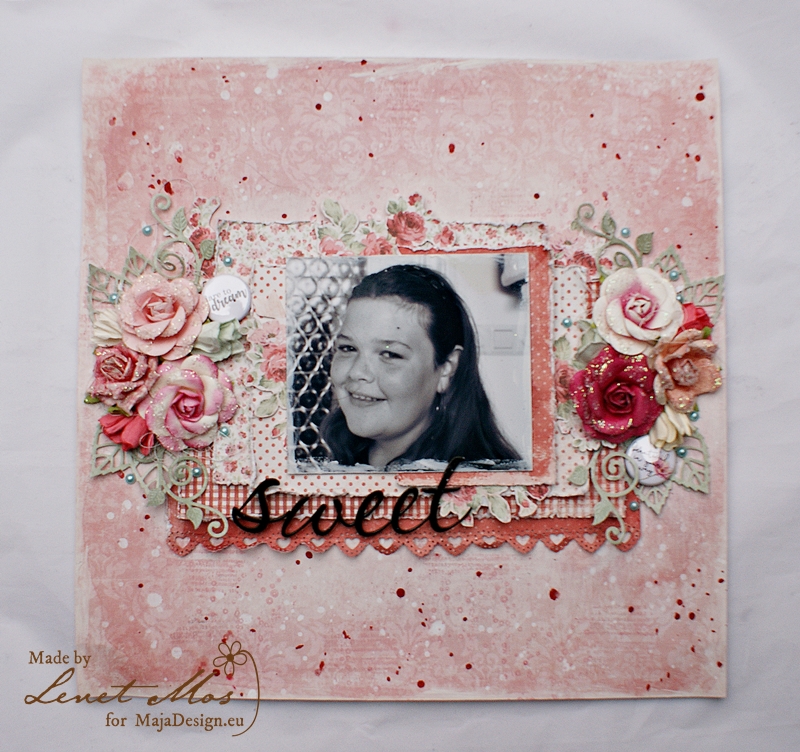
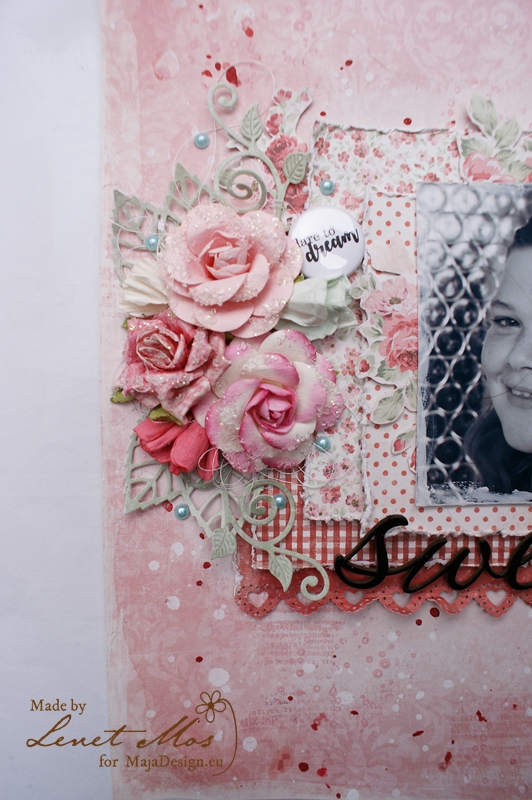
Today it’s my turn again to inspire you and this time I have a tutorial of how I made this lay out for you.

For this one I used the beautiful papers of the summertime collection.


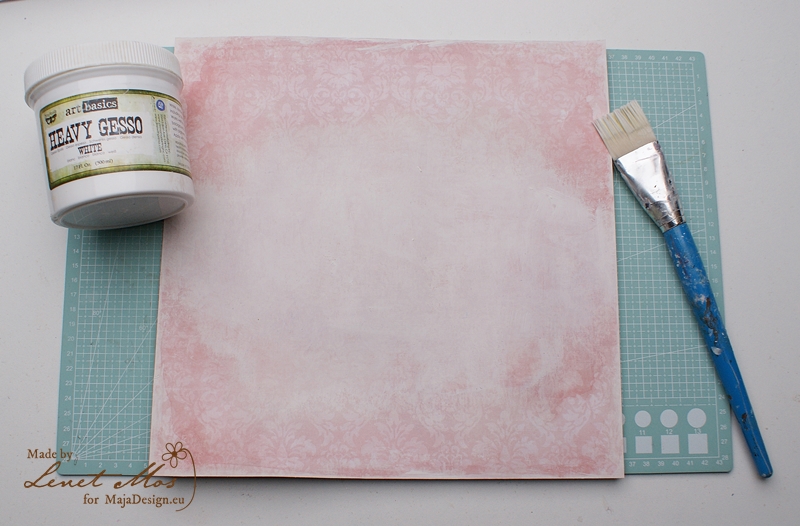
For the background I used the backside of Flowers every where. I high-lighted the area where want my to make my composition with some gesso

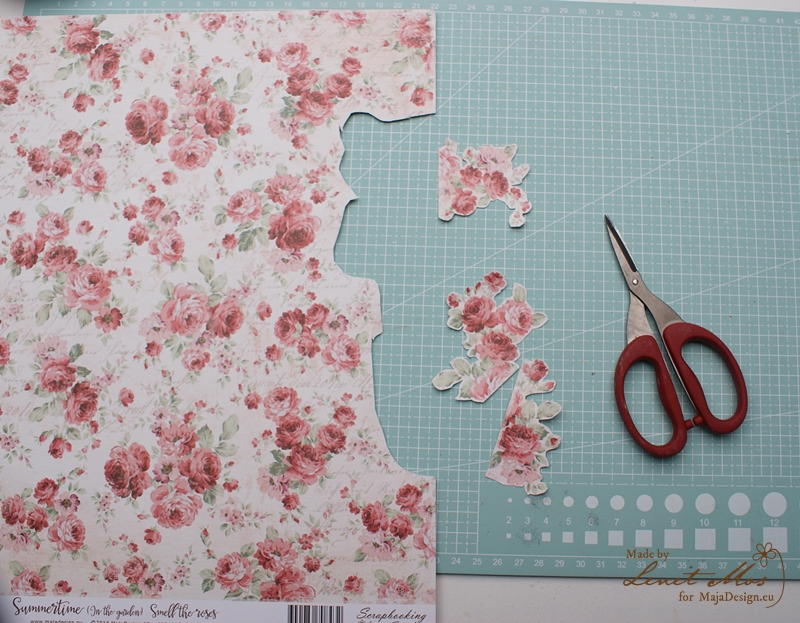
While the gesso is drying  I cut out some roses out of the smell the roses sheet, those I will tuck behind the picture and papers later.


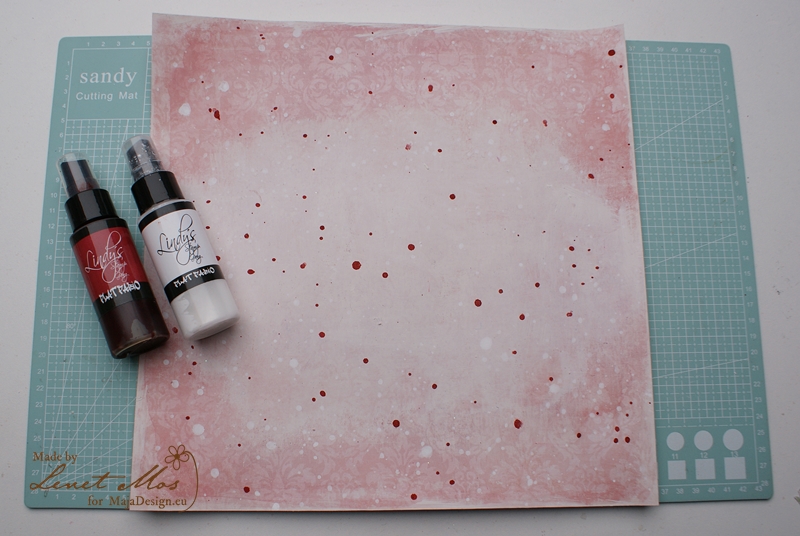
When the gesso is dry  I made splatters with  Lindy’s flat fabio”s sidewalk chalk and queen of hearts red.

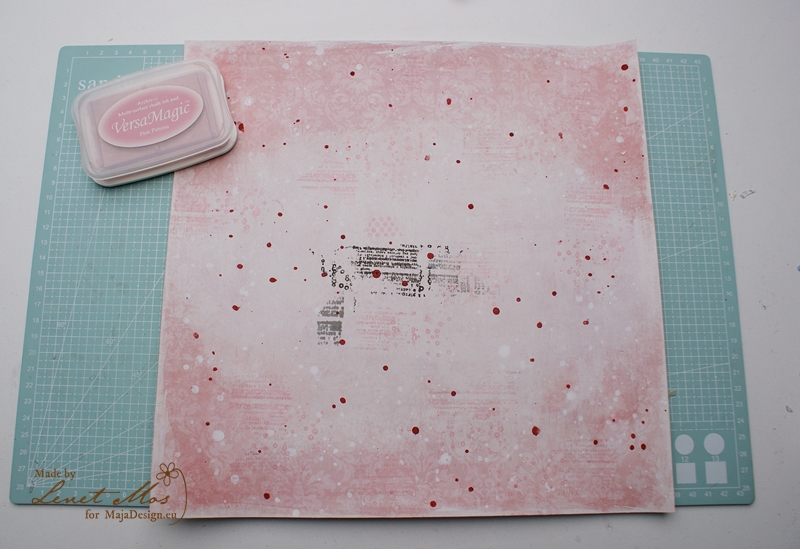
Than I added some random stamping when the splatters were dry.  To see what  the stamp and what color ink I like and want to use,

I did some test stamping at the place that will be covered with the papers. This way I can have a better look at what feels right for me.

I decided to use Pink petunia from versaMagic.

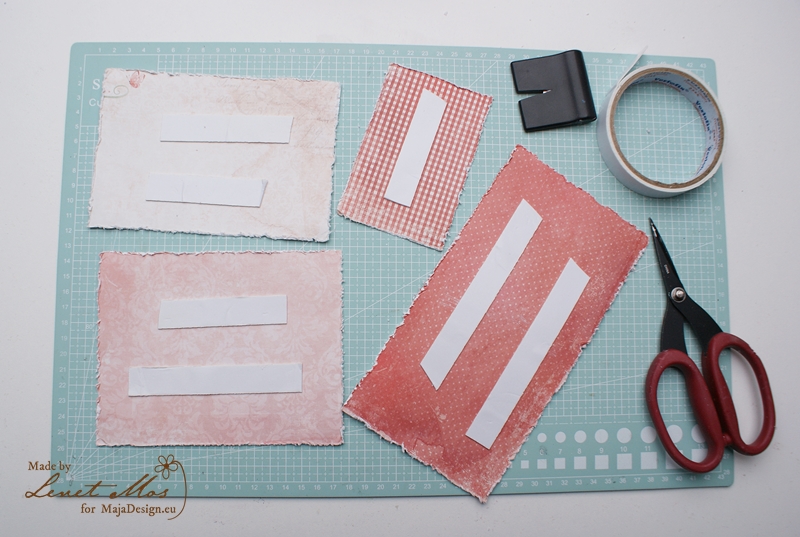
After choosing the papers I want behind my picture, cutting them in the right size I distress the edges with mt paperdistresser from Making Memories

I have this one for I think 10 years used it a lot and really love it. I tried other distressers  when the were introduced  but always went back to using this one.

For sticking the papers on to the papers I use  foamtape because it gives your layout some demension.

I always stick it in the middle so you can tuck flowers or other embellies behind it later on.

Because i own a lot of supplies I never used I gave myself the challenge to try to use some oldies on every project I make from this layout on..

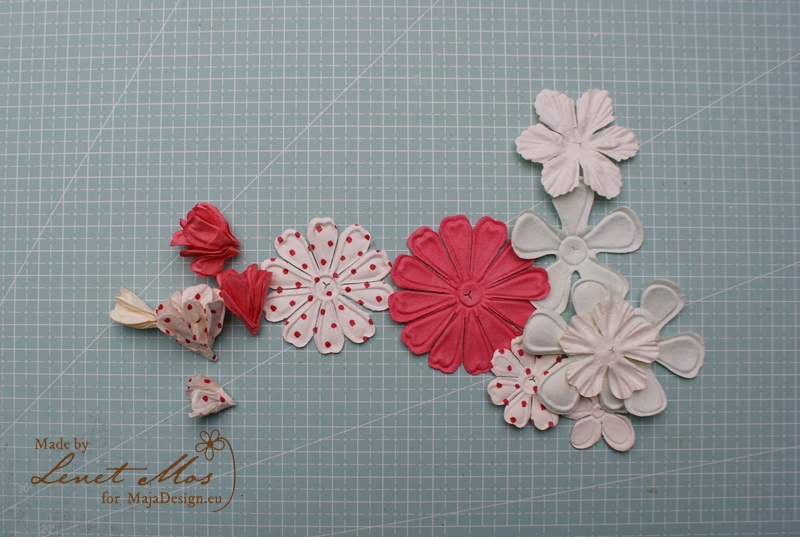
This time I took these Prima flowers. I crunched them to these flowers and  tucked them with the roses .

I love the the way the look now so I’m sure I will use this more often in the future.


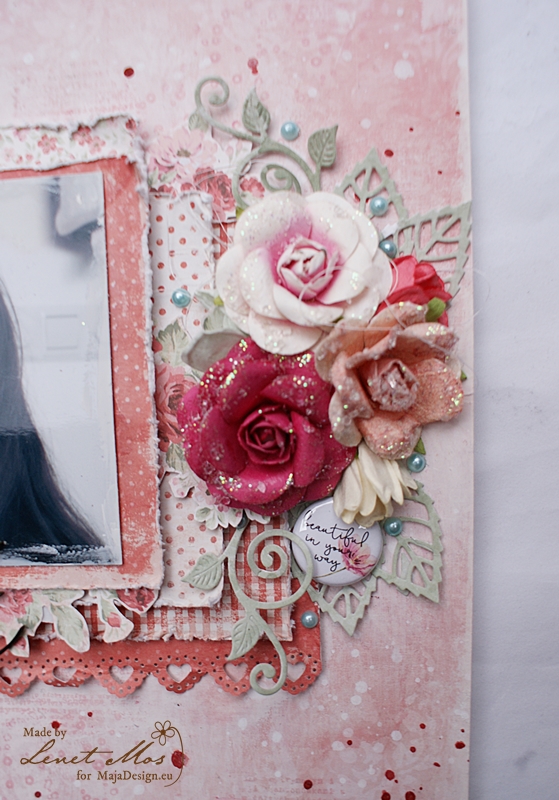
After sticking the papers and picture on to the background , I embellished  it with roses from Prima, badges from cuts2luv , pearls from the dollarstore.

The leaves are made using  Monochromes shade of Sofiero – Celery/Sage with dies from My favorite things and the swirly ones I think from Marianne Design.. and l tucked the roses I cut out earlier between the layers of the papers.

The edge with the little hearts is made with a punch from Martha Stewart. the word Sweet is a chippy from dusty attic that I colored with black embossing powder.

I hope you enjoyed this tutorial and that it inspired you .