Christmas Ornaments by Padoriaa

1

Posted by Paulina Monasterska-Tronina

14 December, 2017 - , ,

Write a comment

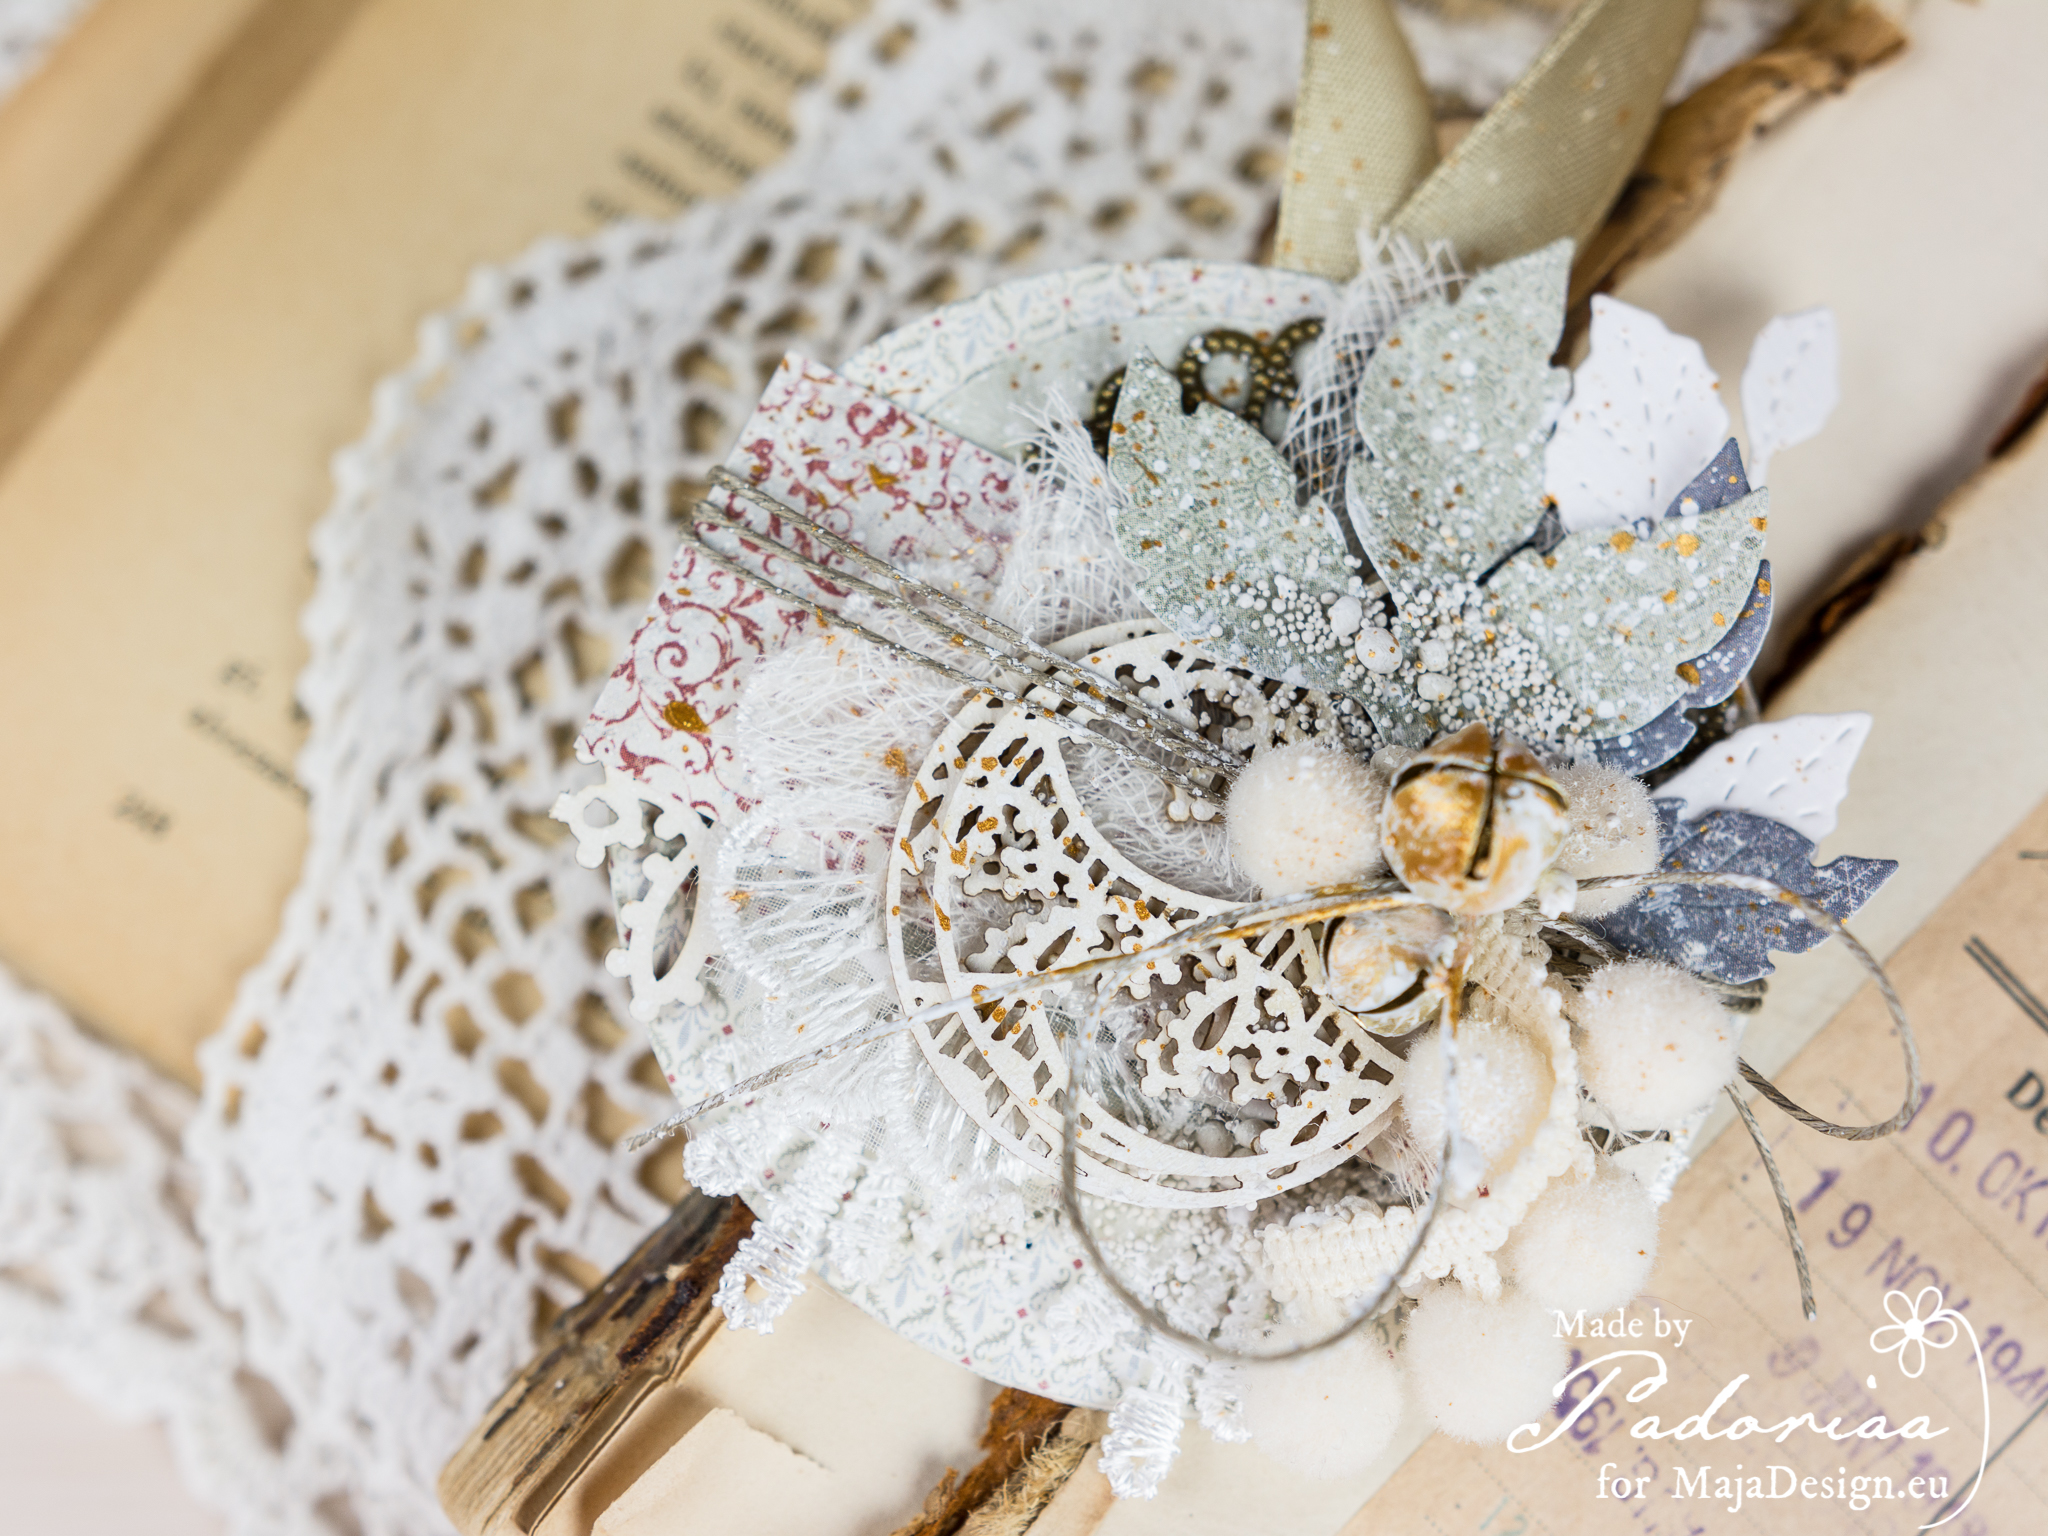
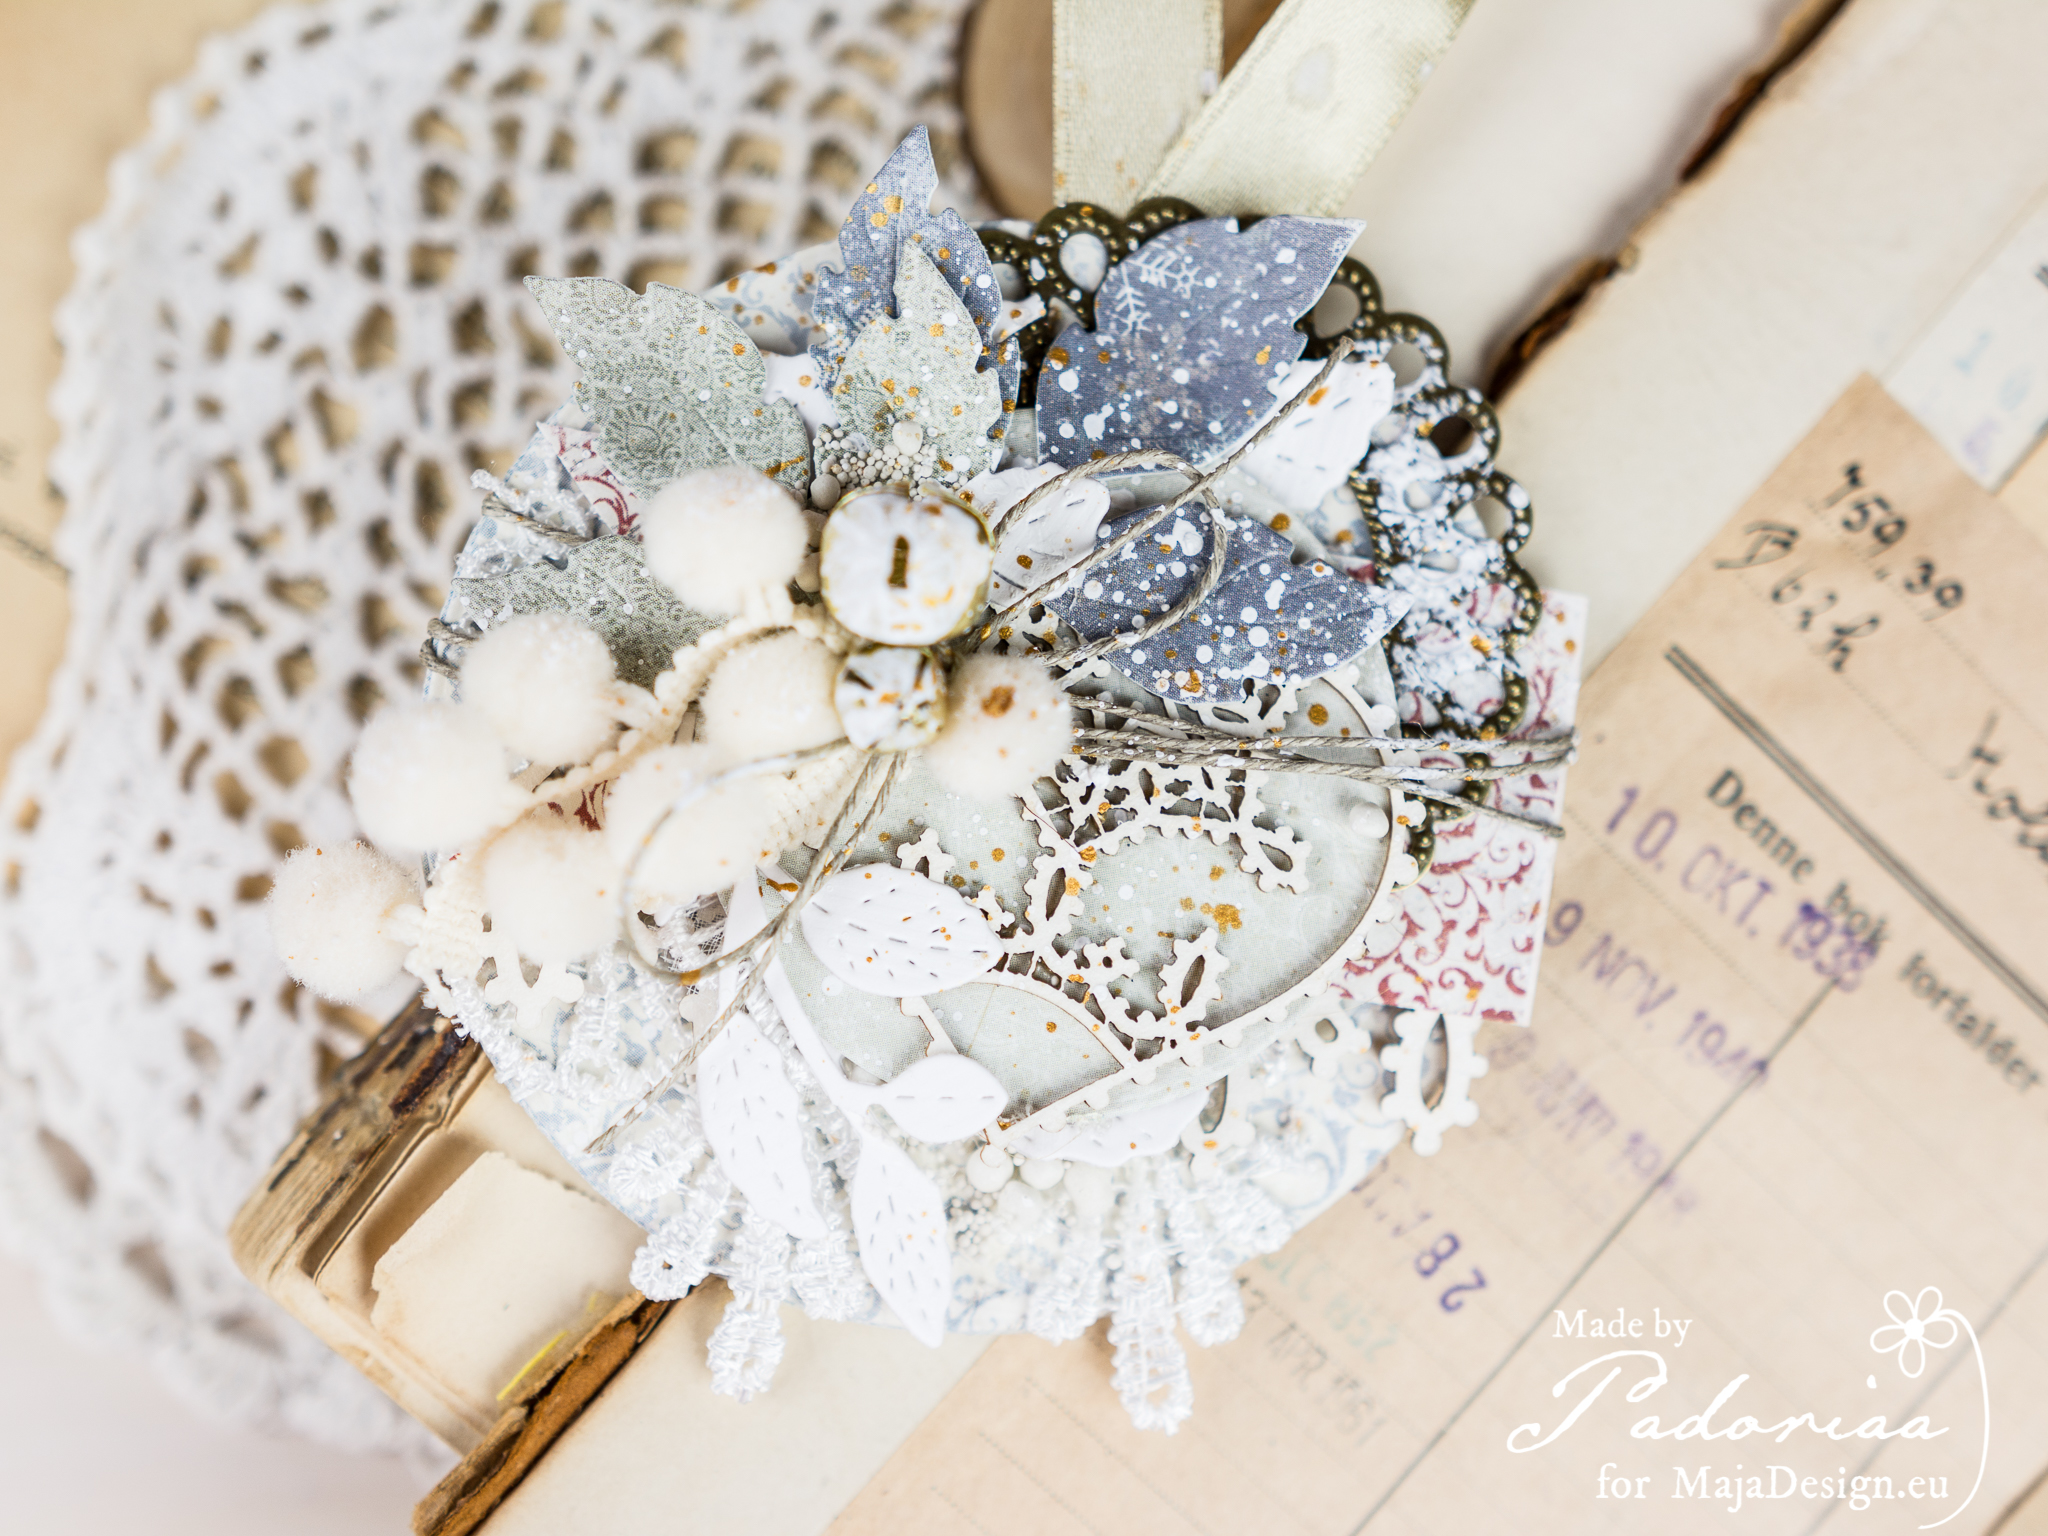
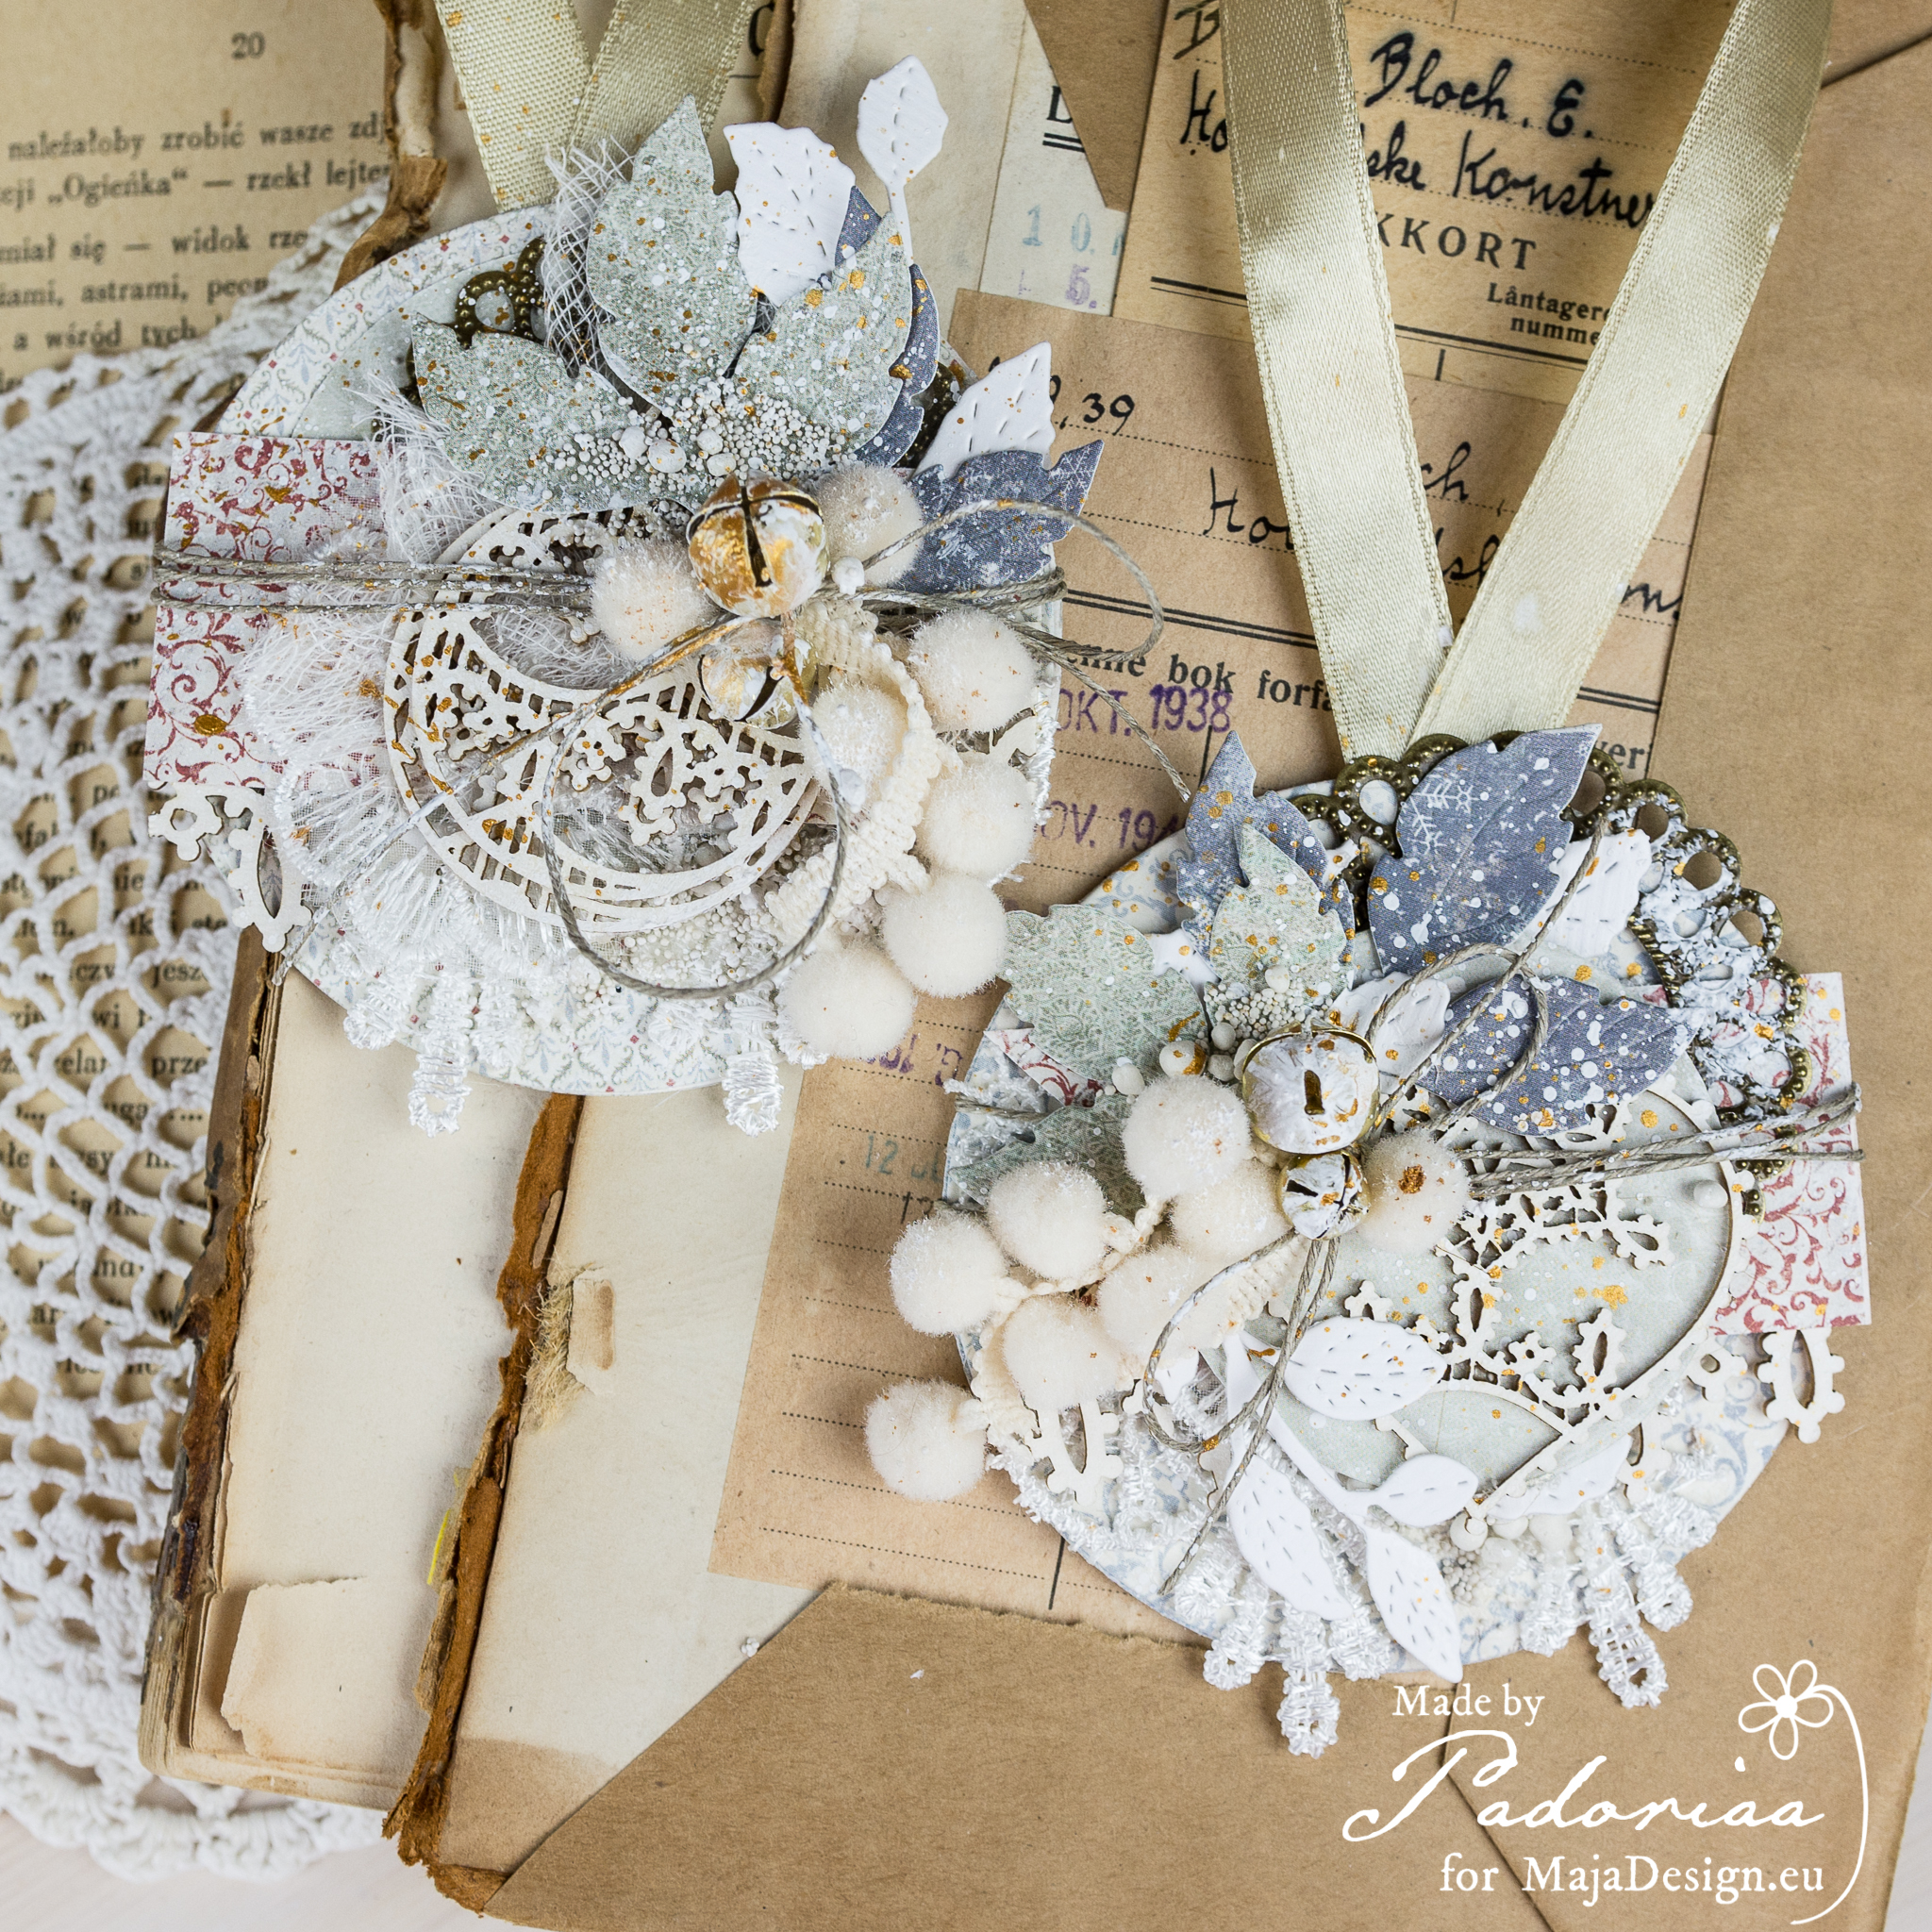
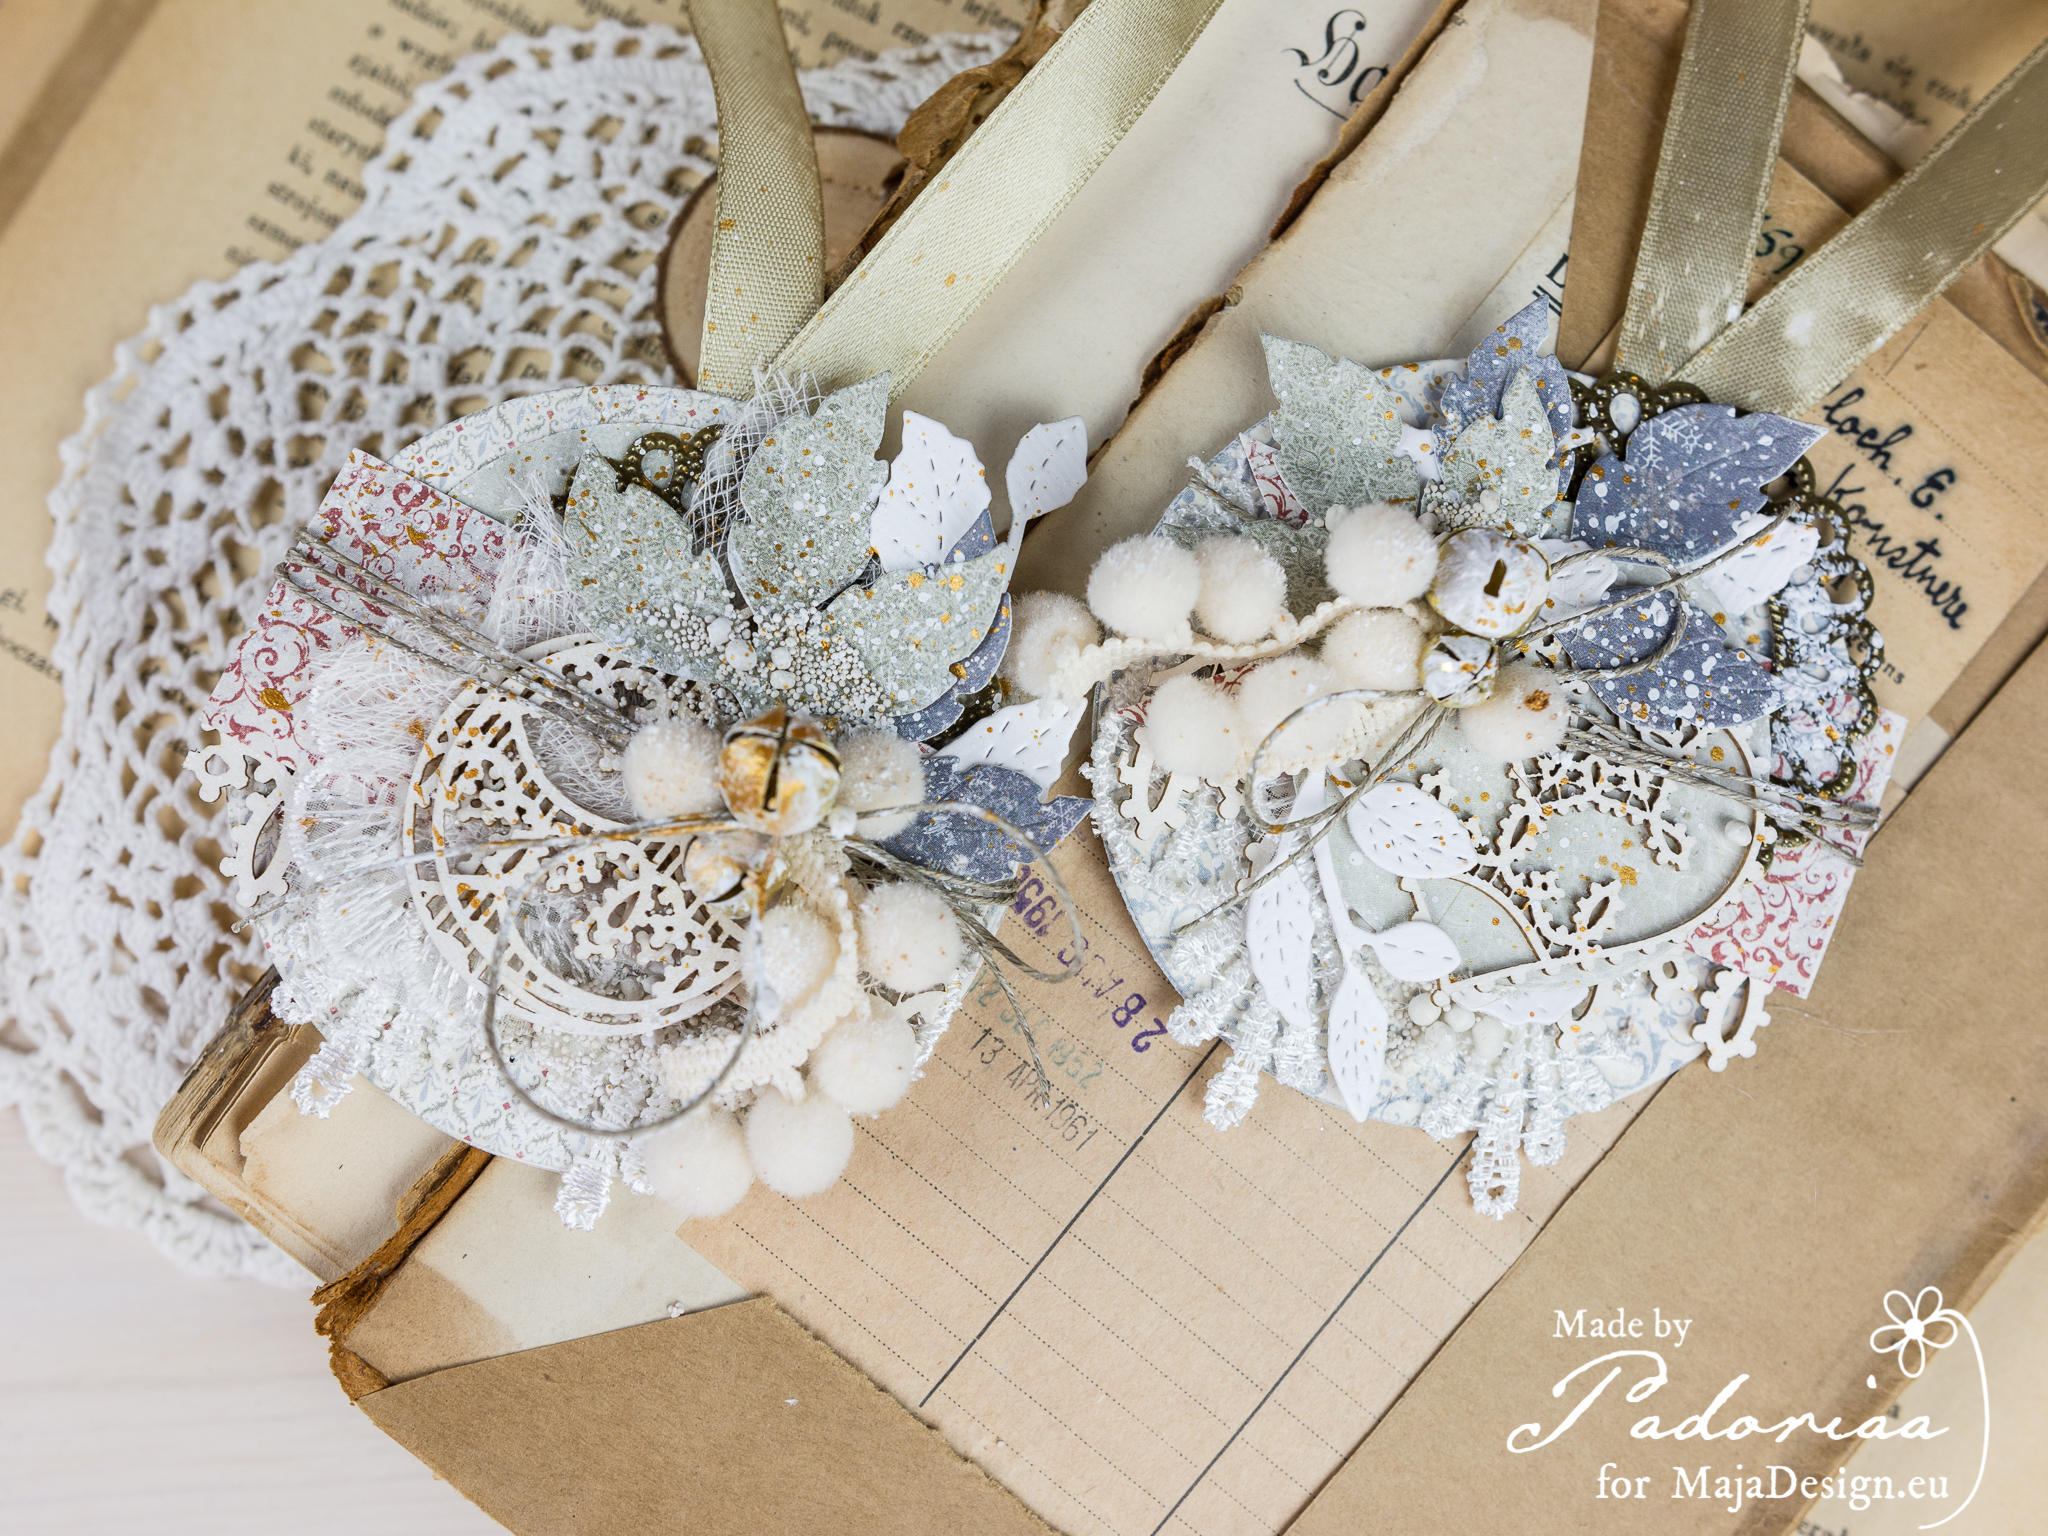
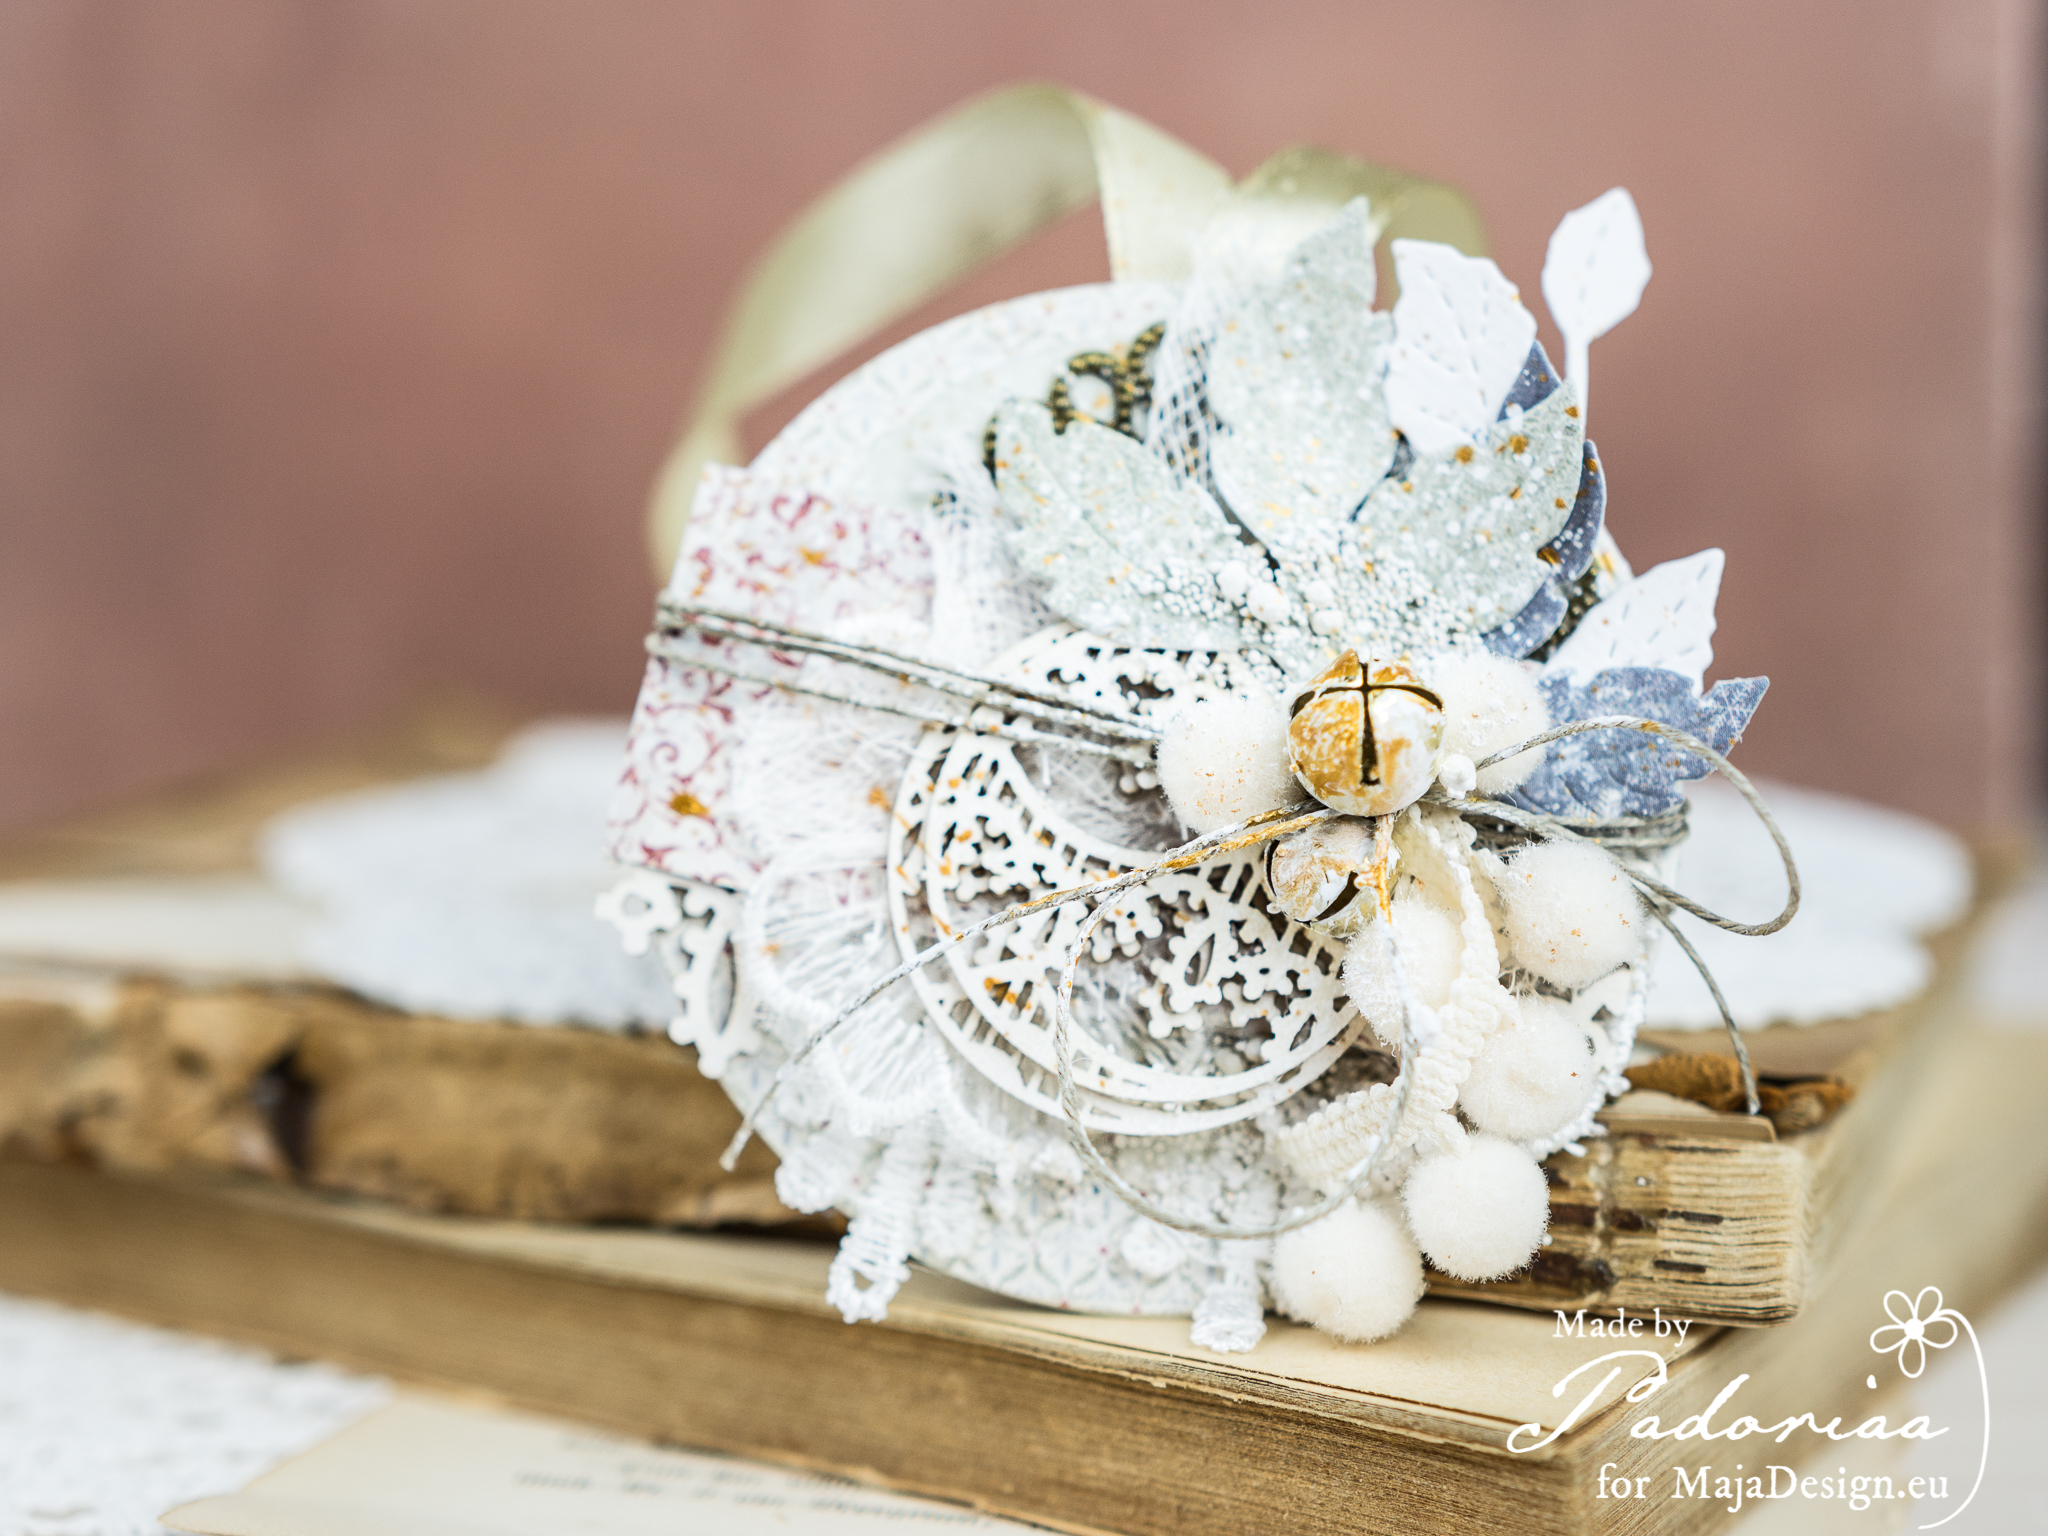
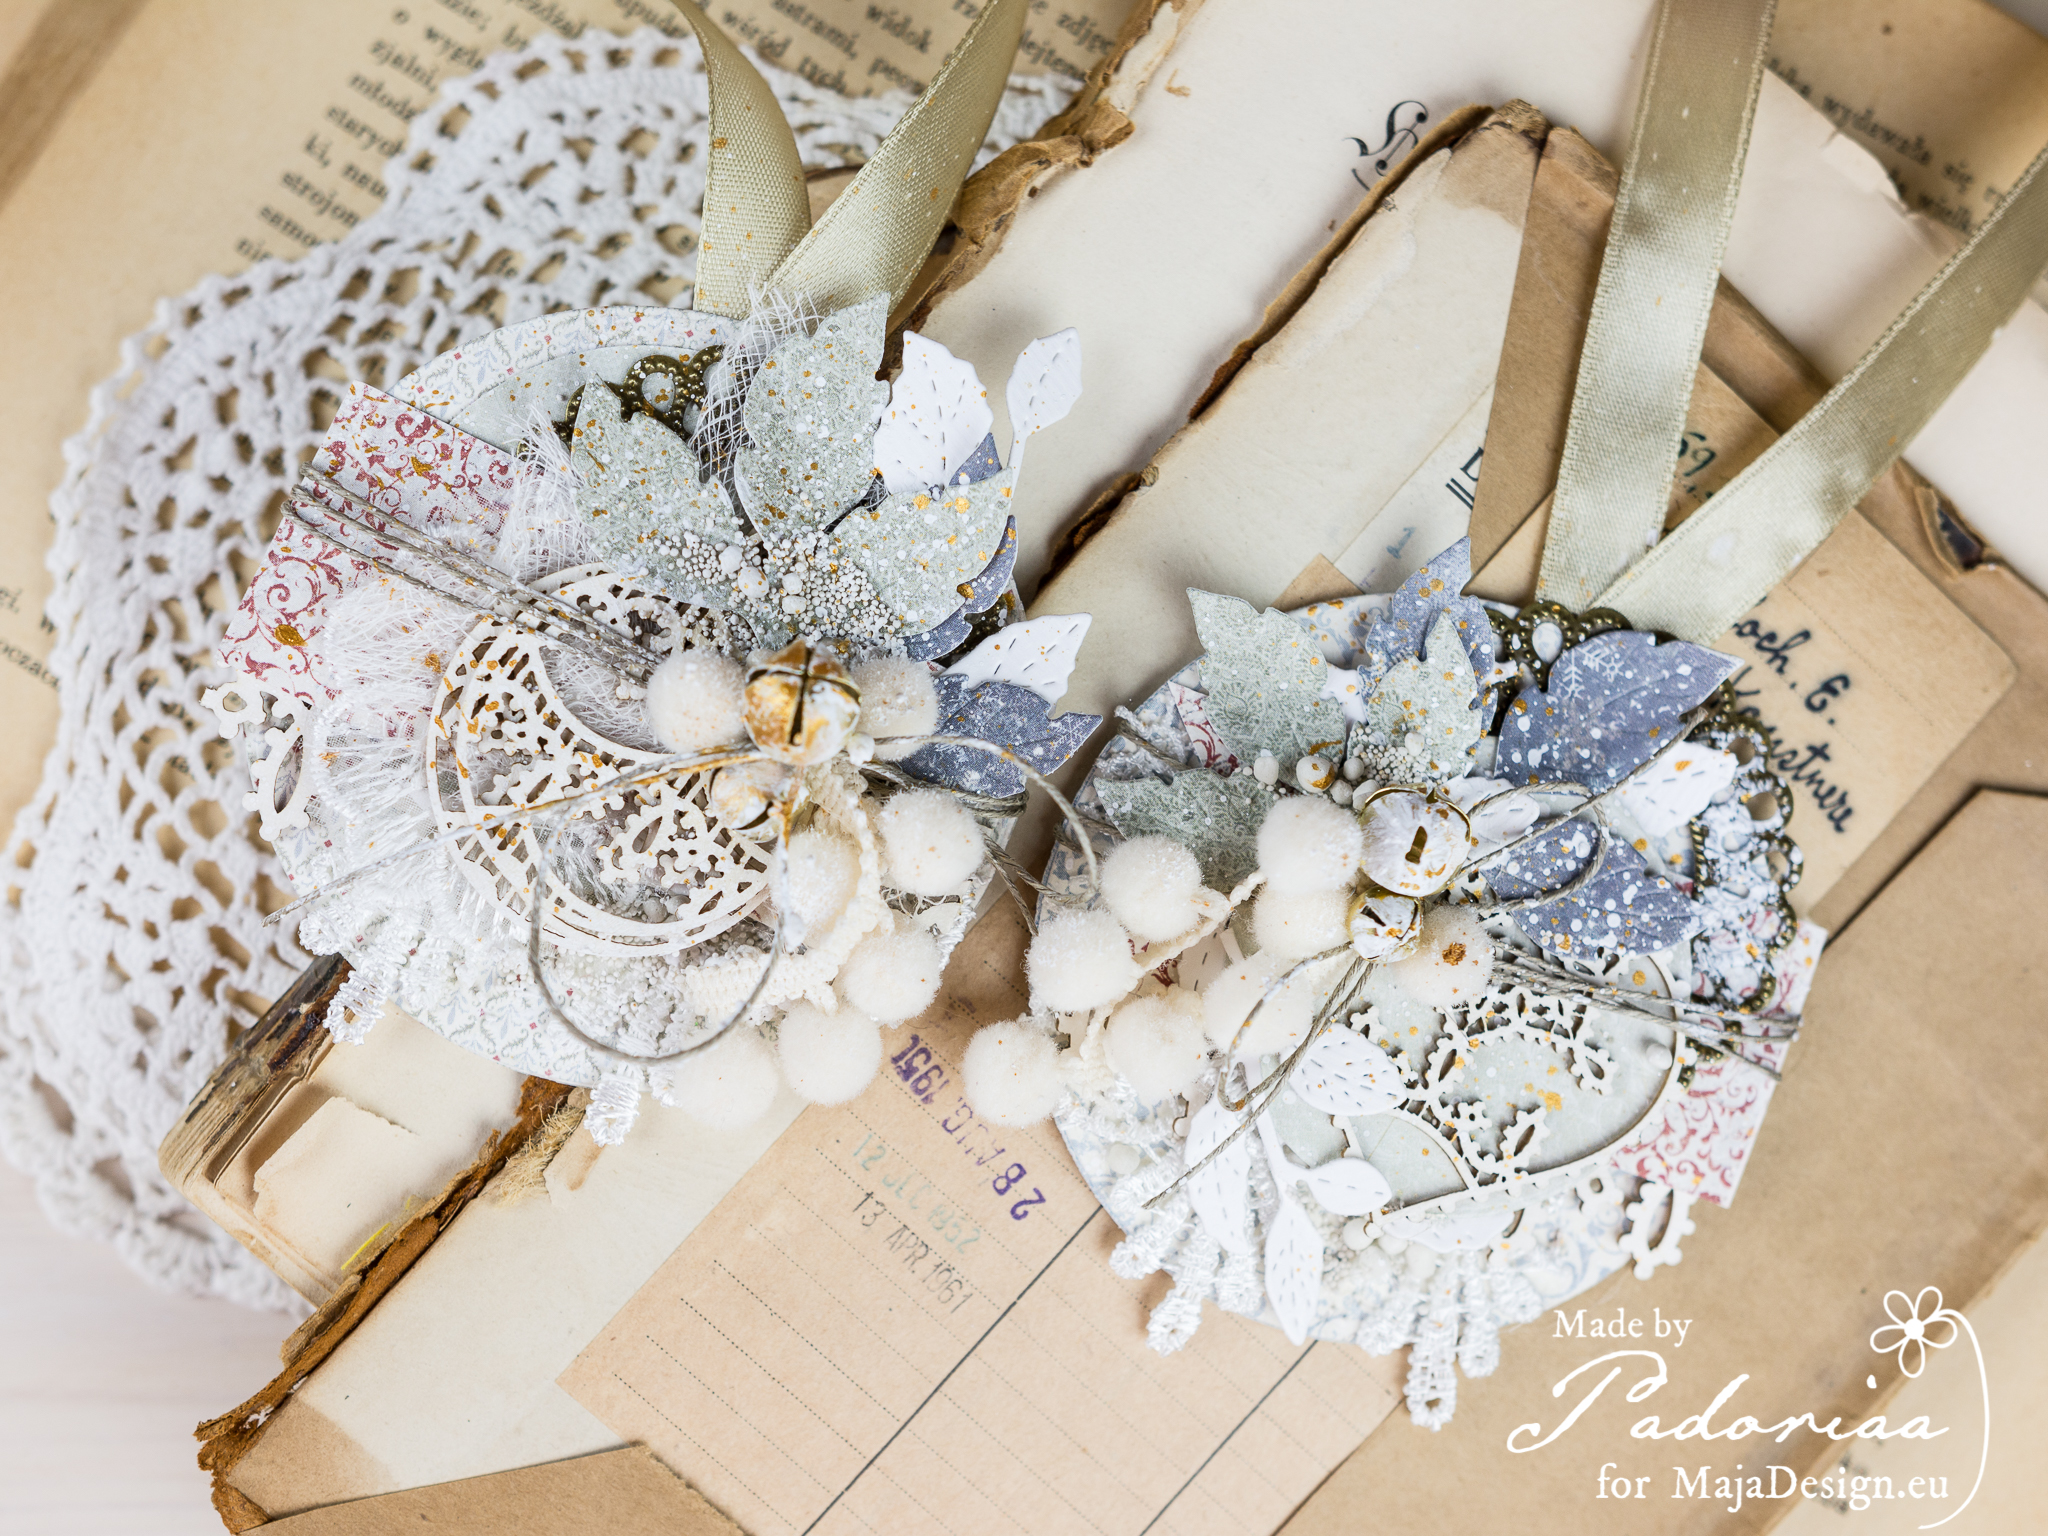
Hello our blog friends. Today I would like to show you something special. This time I created some of the Christmas ornaments. Crystal balls – handmade, made from paper. I thinks it’s gonna look awesome on the Christmas tree. Take a look, please :

Christmas Ornaments Christmas Ornaments Christmas Ornaments Christmas Ornaments Christmas Ornaments Christmas Ornaments Christmas Ornaments Christmas OrnamentsI really hope some you will find time to create some ornaments, home decor. I’m looking forward to visit blogs and take a look what have you created this year.  Have a wonderful day, Paulina :*

Joyous-Winterdays-PPadoriaa-sign

Delicious Christmas

0

Posted by Maja Nowak

6 December, 2017 - ,

Write a comment

Ho ho ho, Maja Friends, Santa Claus is coming to town! 🙂

Have you been naughty or have you been nice and found some great gifts under your pillows this morning? I don’t know about your countries, but in Poland kids are so good they receive presents not only on Christmas (delivered by the Christmas Star or Father Christmas), but also on St. Nicholas day, which is celebrated today 🙂 The generous saint usually comes in the night or so early in the morning that everybody is still asleep and leaves small gifts under the pillow or in the shoes under the bed. Oh, I still remember the excitement and anxiety in the morning – did he come or not? Was I good enough to get my dream presents? 🙂

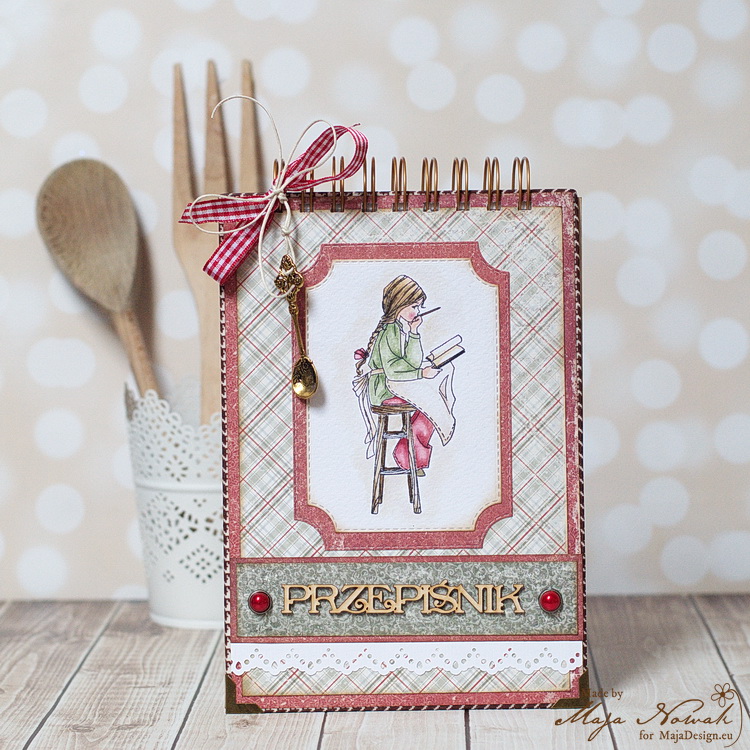
Anyway, whether you got anything or not, it’s a good moment to think of Christmas presents for your family and friends. And a handmade recipe book is always a good idea!
mdprzep

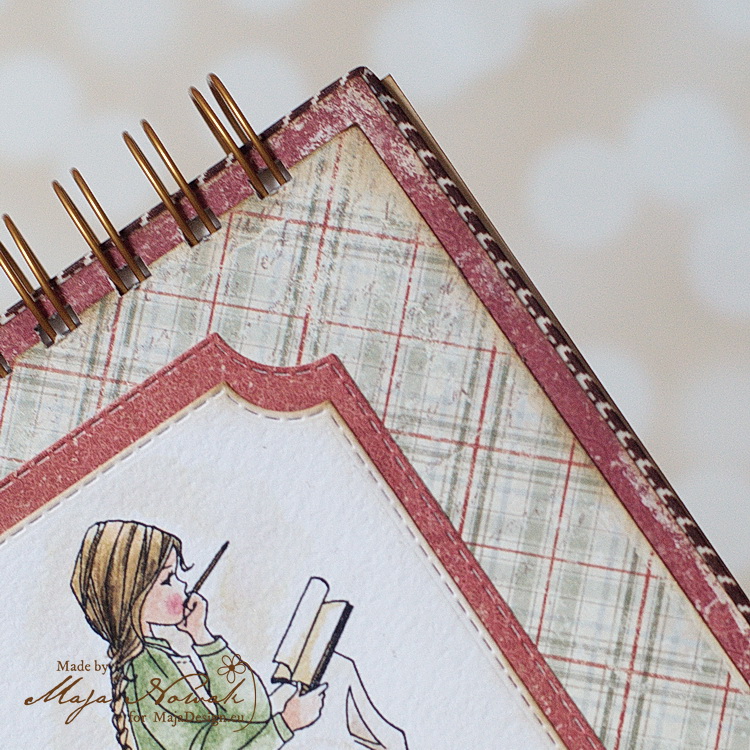
I kept my recipe book as practical as possible, without too many fancy embellishemtns that could get torn off during the cooking frenzy 😉 I first wrapped the edges of the chipboard covers with washi tape and layered some Joyous Winterdays papers on the front and back:
mdprzep1

As usually, I decorated the wire with a piece of ribbon and a metal spoon charm:
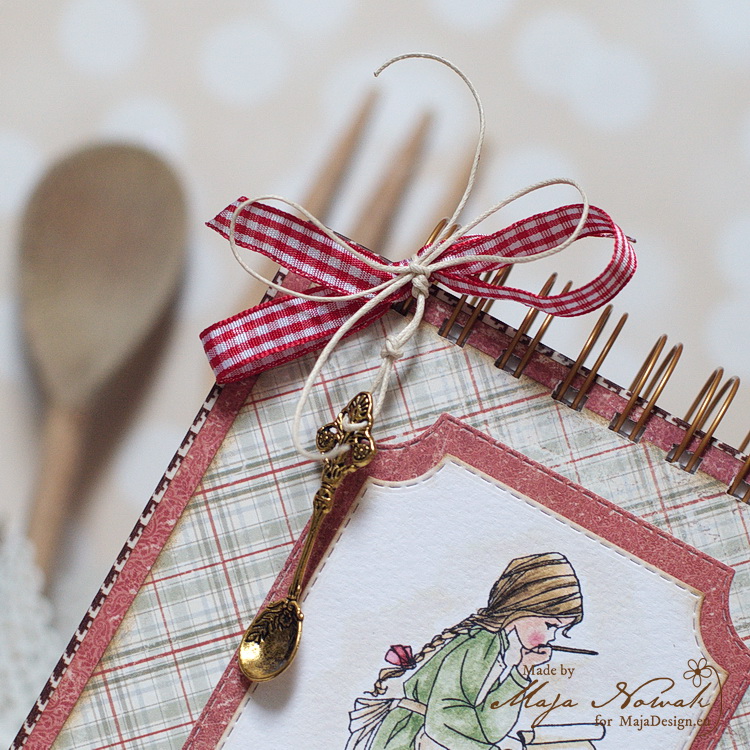
mdprzep2

I added a chipboard word on a border embellished with a punched trim and large pearl brads:
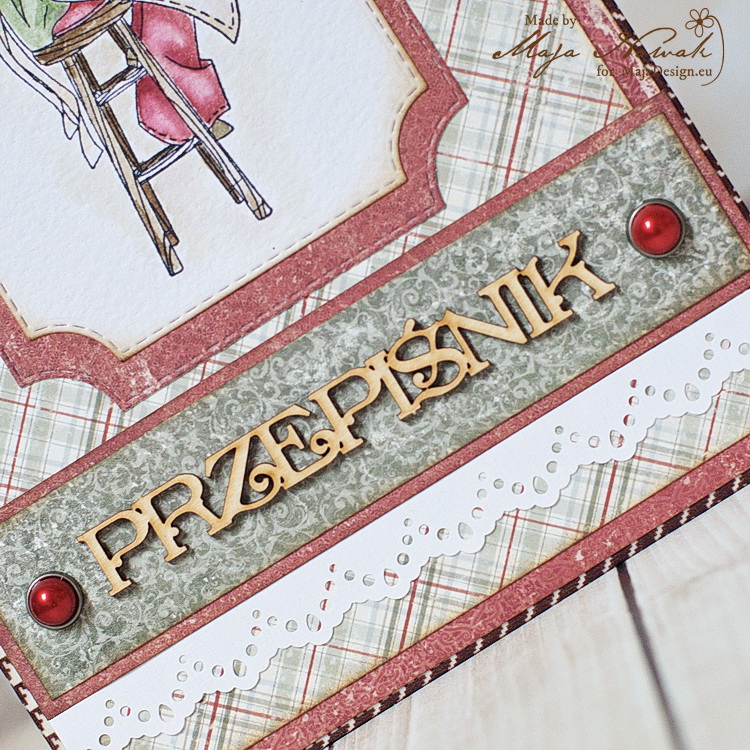
mdprzep3

The main decorative element of the cover is a stamped image that I coloured with Distress inks:
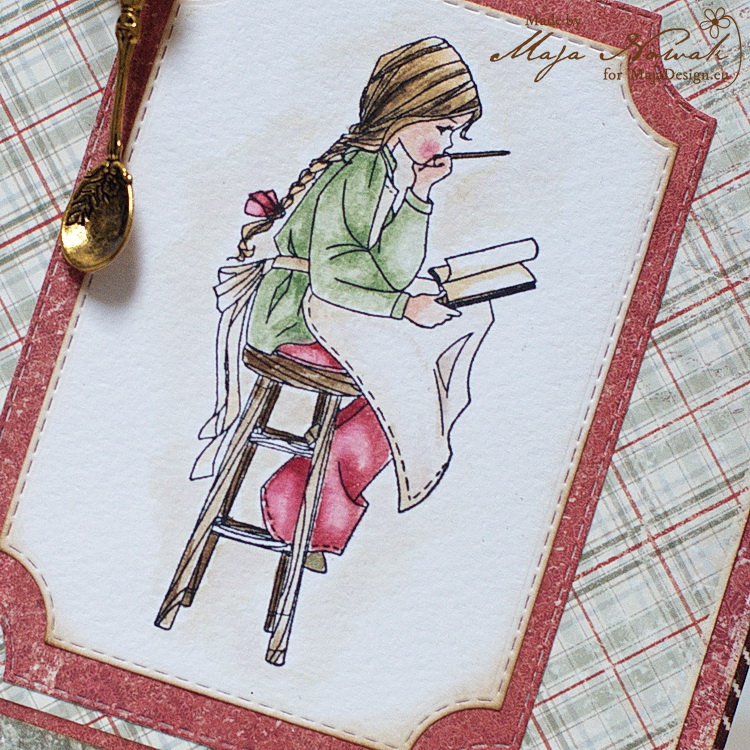
mdprzep4

I also used stamps for the inside cover and the front page:
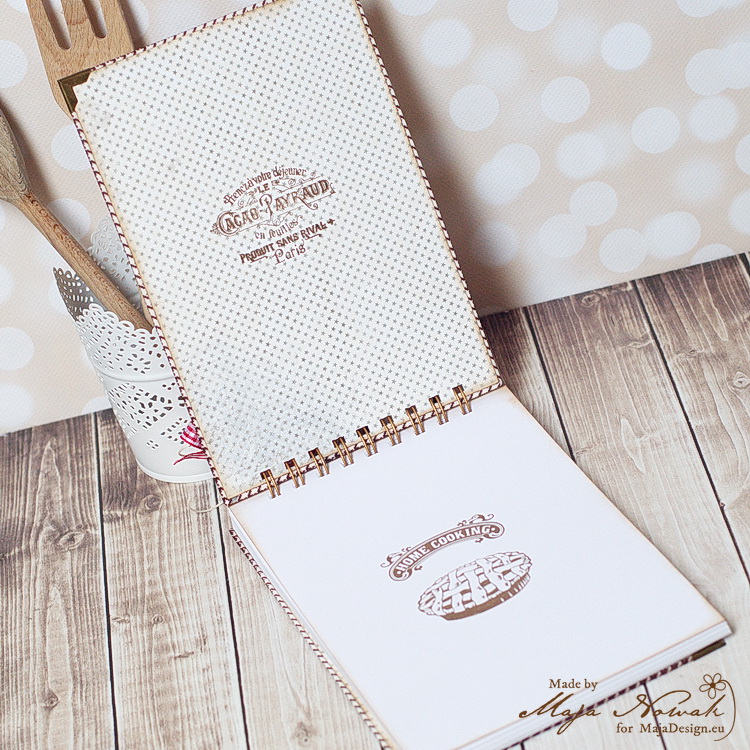
mdprzep5

…and on the pocket for some loose pieces of paper which I placed on the inside back cover:
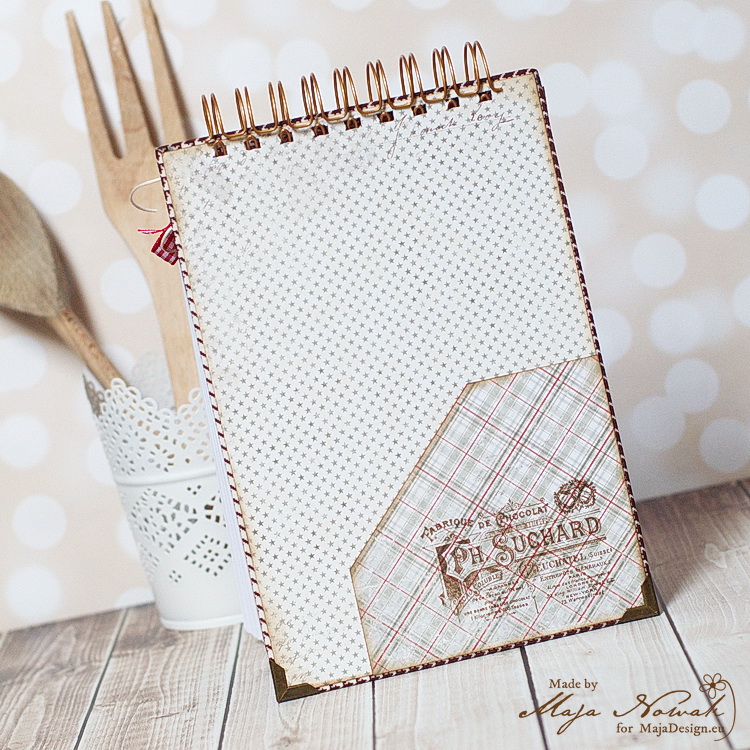
mdprzep6

This time I placed the binding on the top instead of on the side – thus the book stands by itself for easy recipe checking 🙂

And here’s the list of my supplies:

Maja Design papers:

Other: dies: CreaLies; punch: Martha Stewart; ribbon: Rayher; chipboard: Latarnia Morska; brads: Craftmania; stamp: Whiff of Joy.


I really like the way it turned out and I hope it will make a nice Christmas gift to write in some delicious holiday recipes. See you soon!

Maja-sign

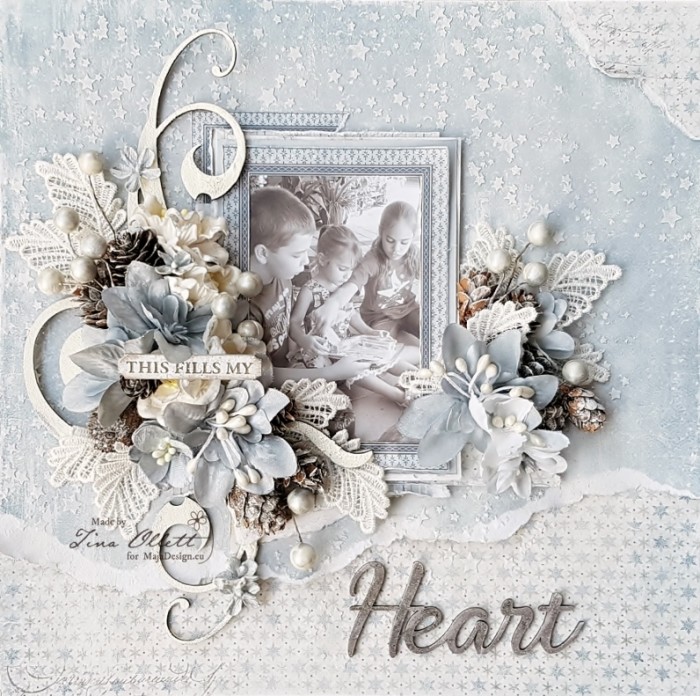
“This fills my heart” by Tina Ollett

1

Posted by Tina Ollett

5 December, 2017 - ,

Write a comment


Hello and welcome back to Maja Designs. Tina with you today to share my next instalment. I have to tell you a little secret that probably isn’t a secret because I do share it quite often with my friends but I hate to say it out loud. I really don’t do Christmas layouts……. there I said it. Over the years I have been known to avoid doing them at all. So today I decided to put my big girl pants on and give it a go.

2017-12-05 This fills my heart 039 (800x792) (2)

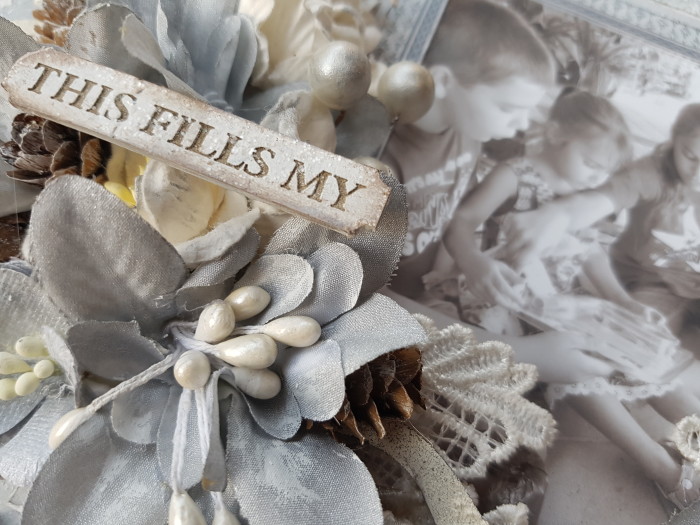
I have used Maja Designs new release collection Joyous Winterdays to create my Christmas layout with. And I have to tell you I am in love with it. It is no secret that I love blue and so that is what I went with along with a very old photo I dug up of my 3 sweet kids at a much younger age. I felt it really told a story and this is what I wanted to start the layout with.

Joyous-Winterdays-P

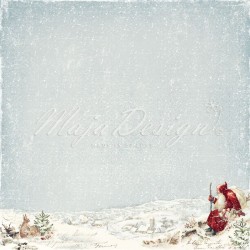
My first sheet that I used is called Santa Claus and it is simply stunning to say the least. But as you well know living here in sunny Queensland in Australia doesn’t bring us snow at Christmas time ever! We swelter in the highest of temperatures most Christmas’s. That is why we always sit by the pool.So anyway getting a little side tracked…….. I tore the snow section from Santa Claus and backed it with Sparkle which I also very much love. So from there I did a little stenciling using a Star stencil from Dusty Attic and some texture paste. Whilst it was still wet I sprinkled over some Dress My Craft Sparkling Dust. and allowed it to dry.

Ephemera

Ephemera

Ephemera bs

Ephemera bs

938-Santa-Claus

Santa Claus

943-Sparkle-bs

Santa Claus bs

943-Sparkle

Sparkle

With the other papers above I created a matting for my photo.

2017-12-05 This fills my heart 043 (800x600)

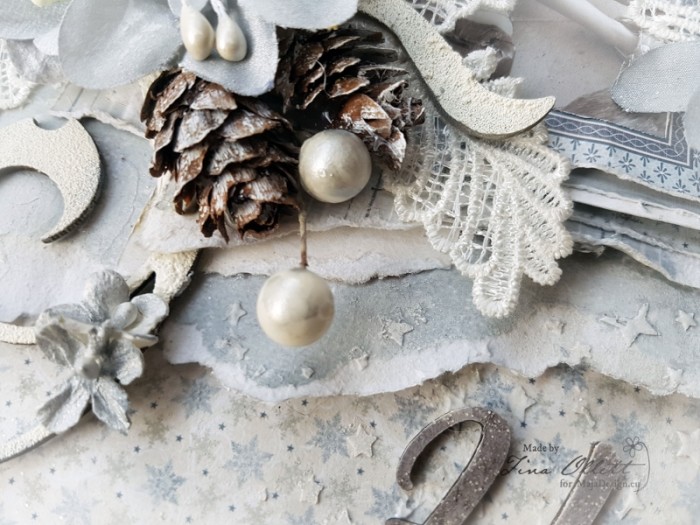
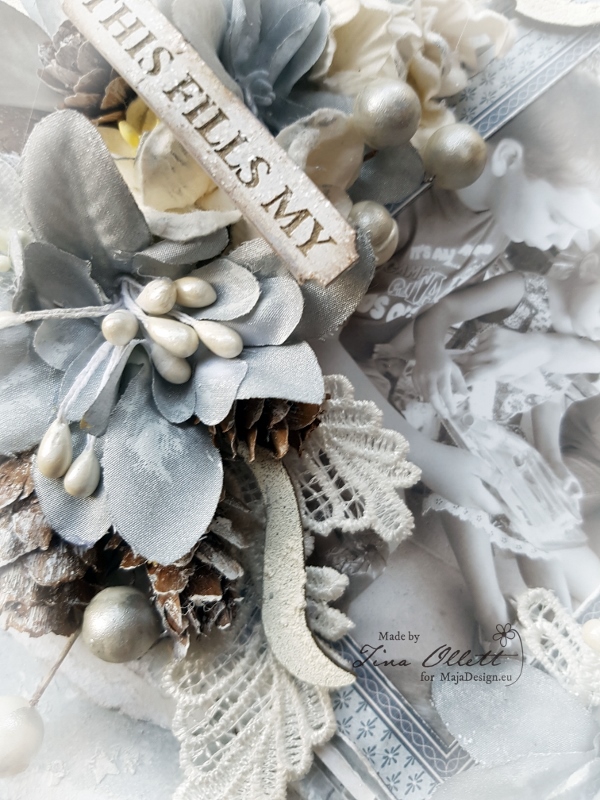
I have added in some gorgeous little pine cones along with lace leaves and beads baubles.

2017-12-05 This fills my heart 044

I have also added in some beautiful chipboards that were embossed with seafoam and inked with Walnut Stain.

2017-12-05 This fills my heart 045 (600x800)

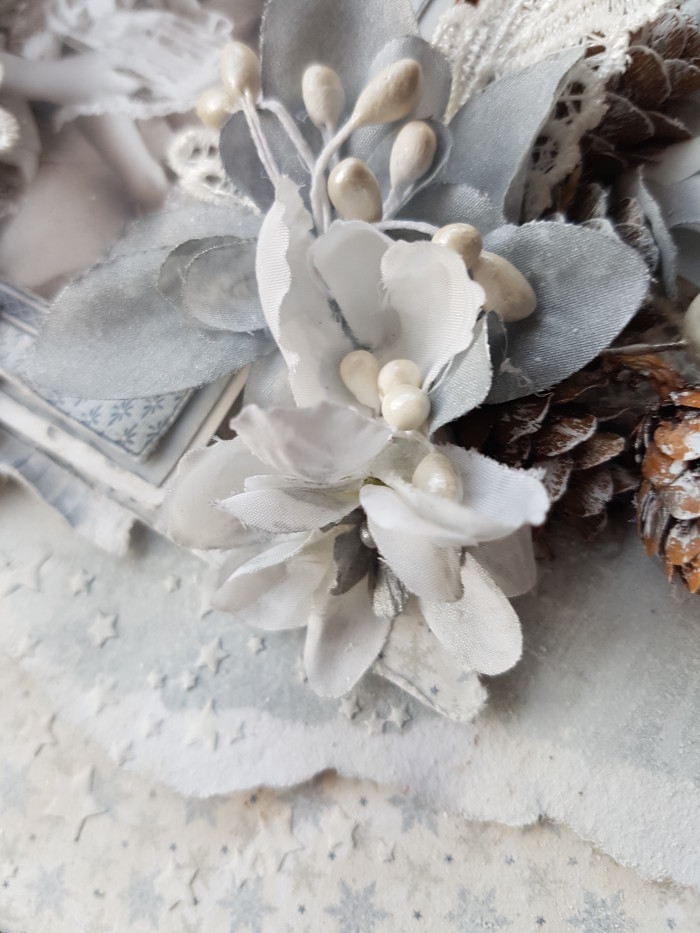
I made some flowers using materials and coloured them with Ranger Distress Stain.

2017-12-05 This fills my heart 046

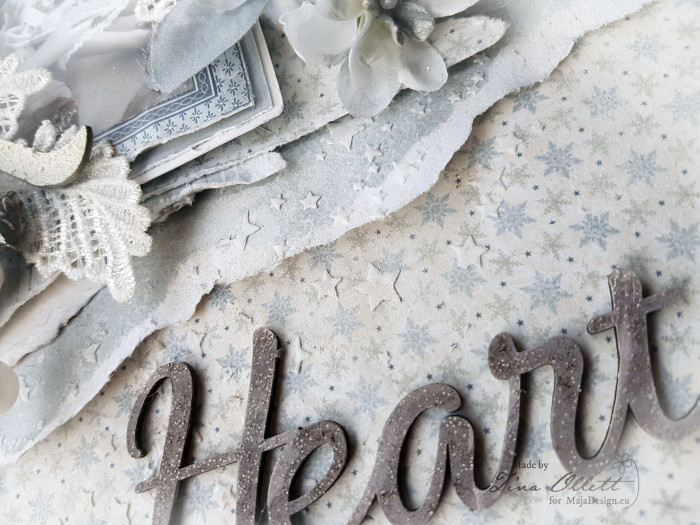
Above and below you can see the layering of papers that I used along with the textures made with the stencil and texture pastes. Unfortunately you can’t see all the sparkly effect made with the sparkling dust but rest assured it is definitely there.

2017-12-05 This fills my heart 048

Well that is all from me today with my lastest project. I do hope you enjoyed it.

Until next time take care and happy scrapping.

Tina-sign

Christmas Joyous Card

0

Posted by Evgenia Petzer

2 December, 2017 -

Write a comment

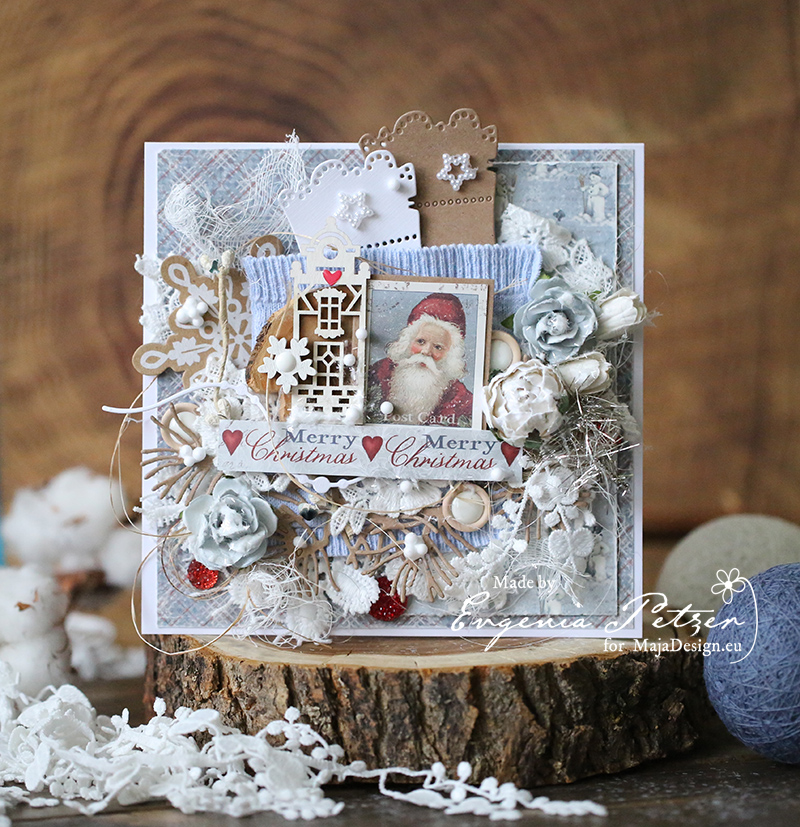
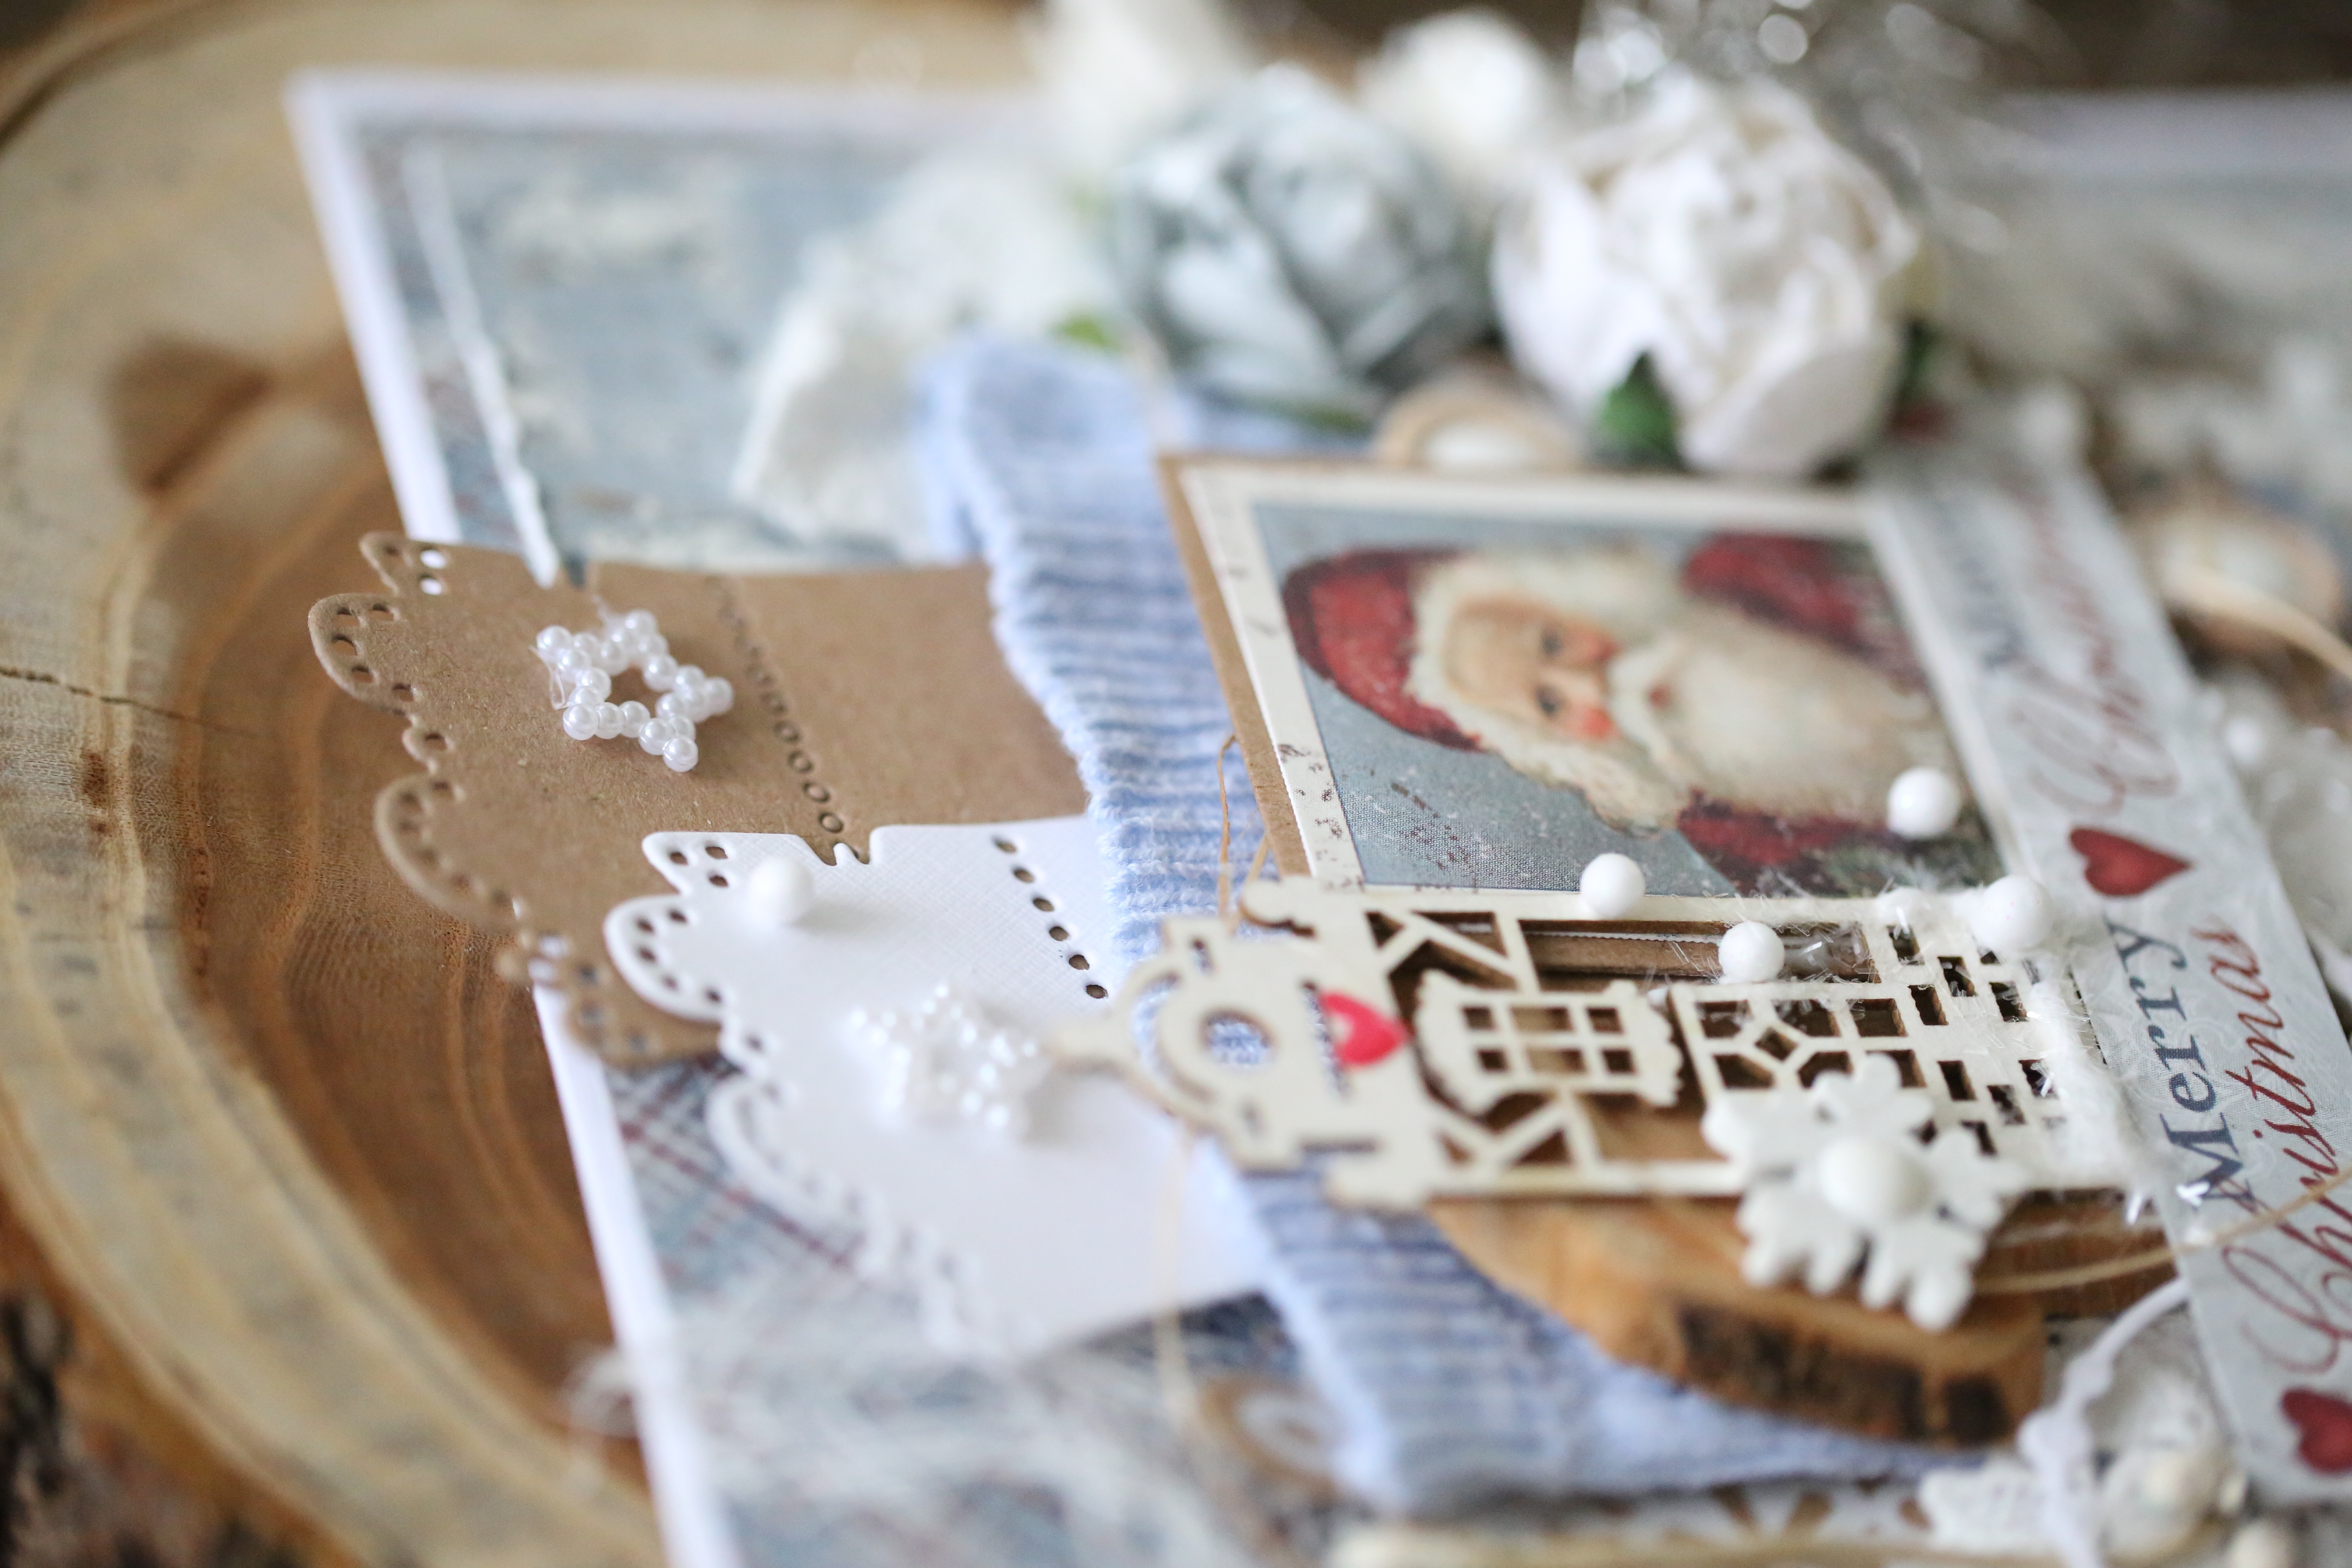
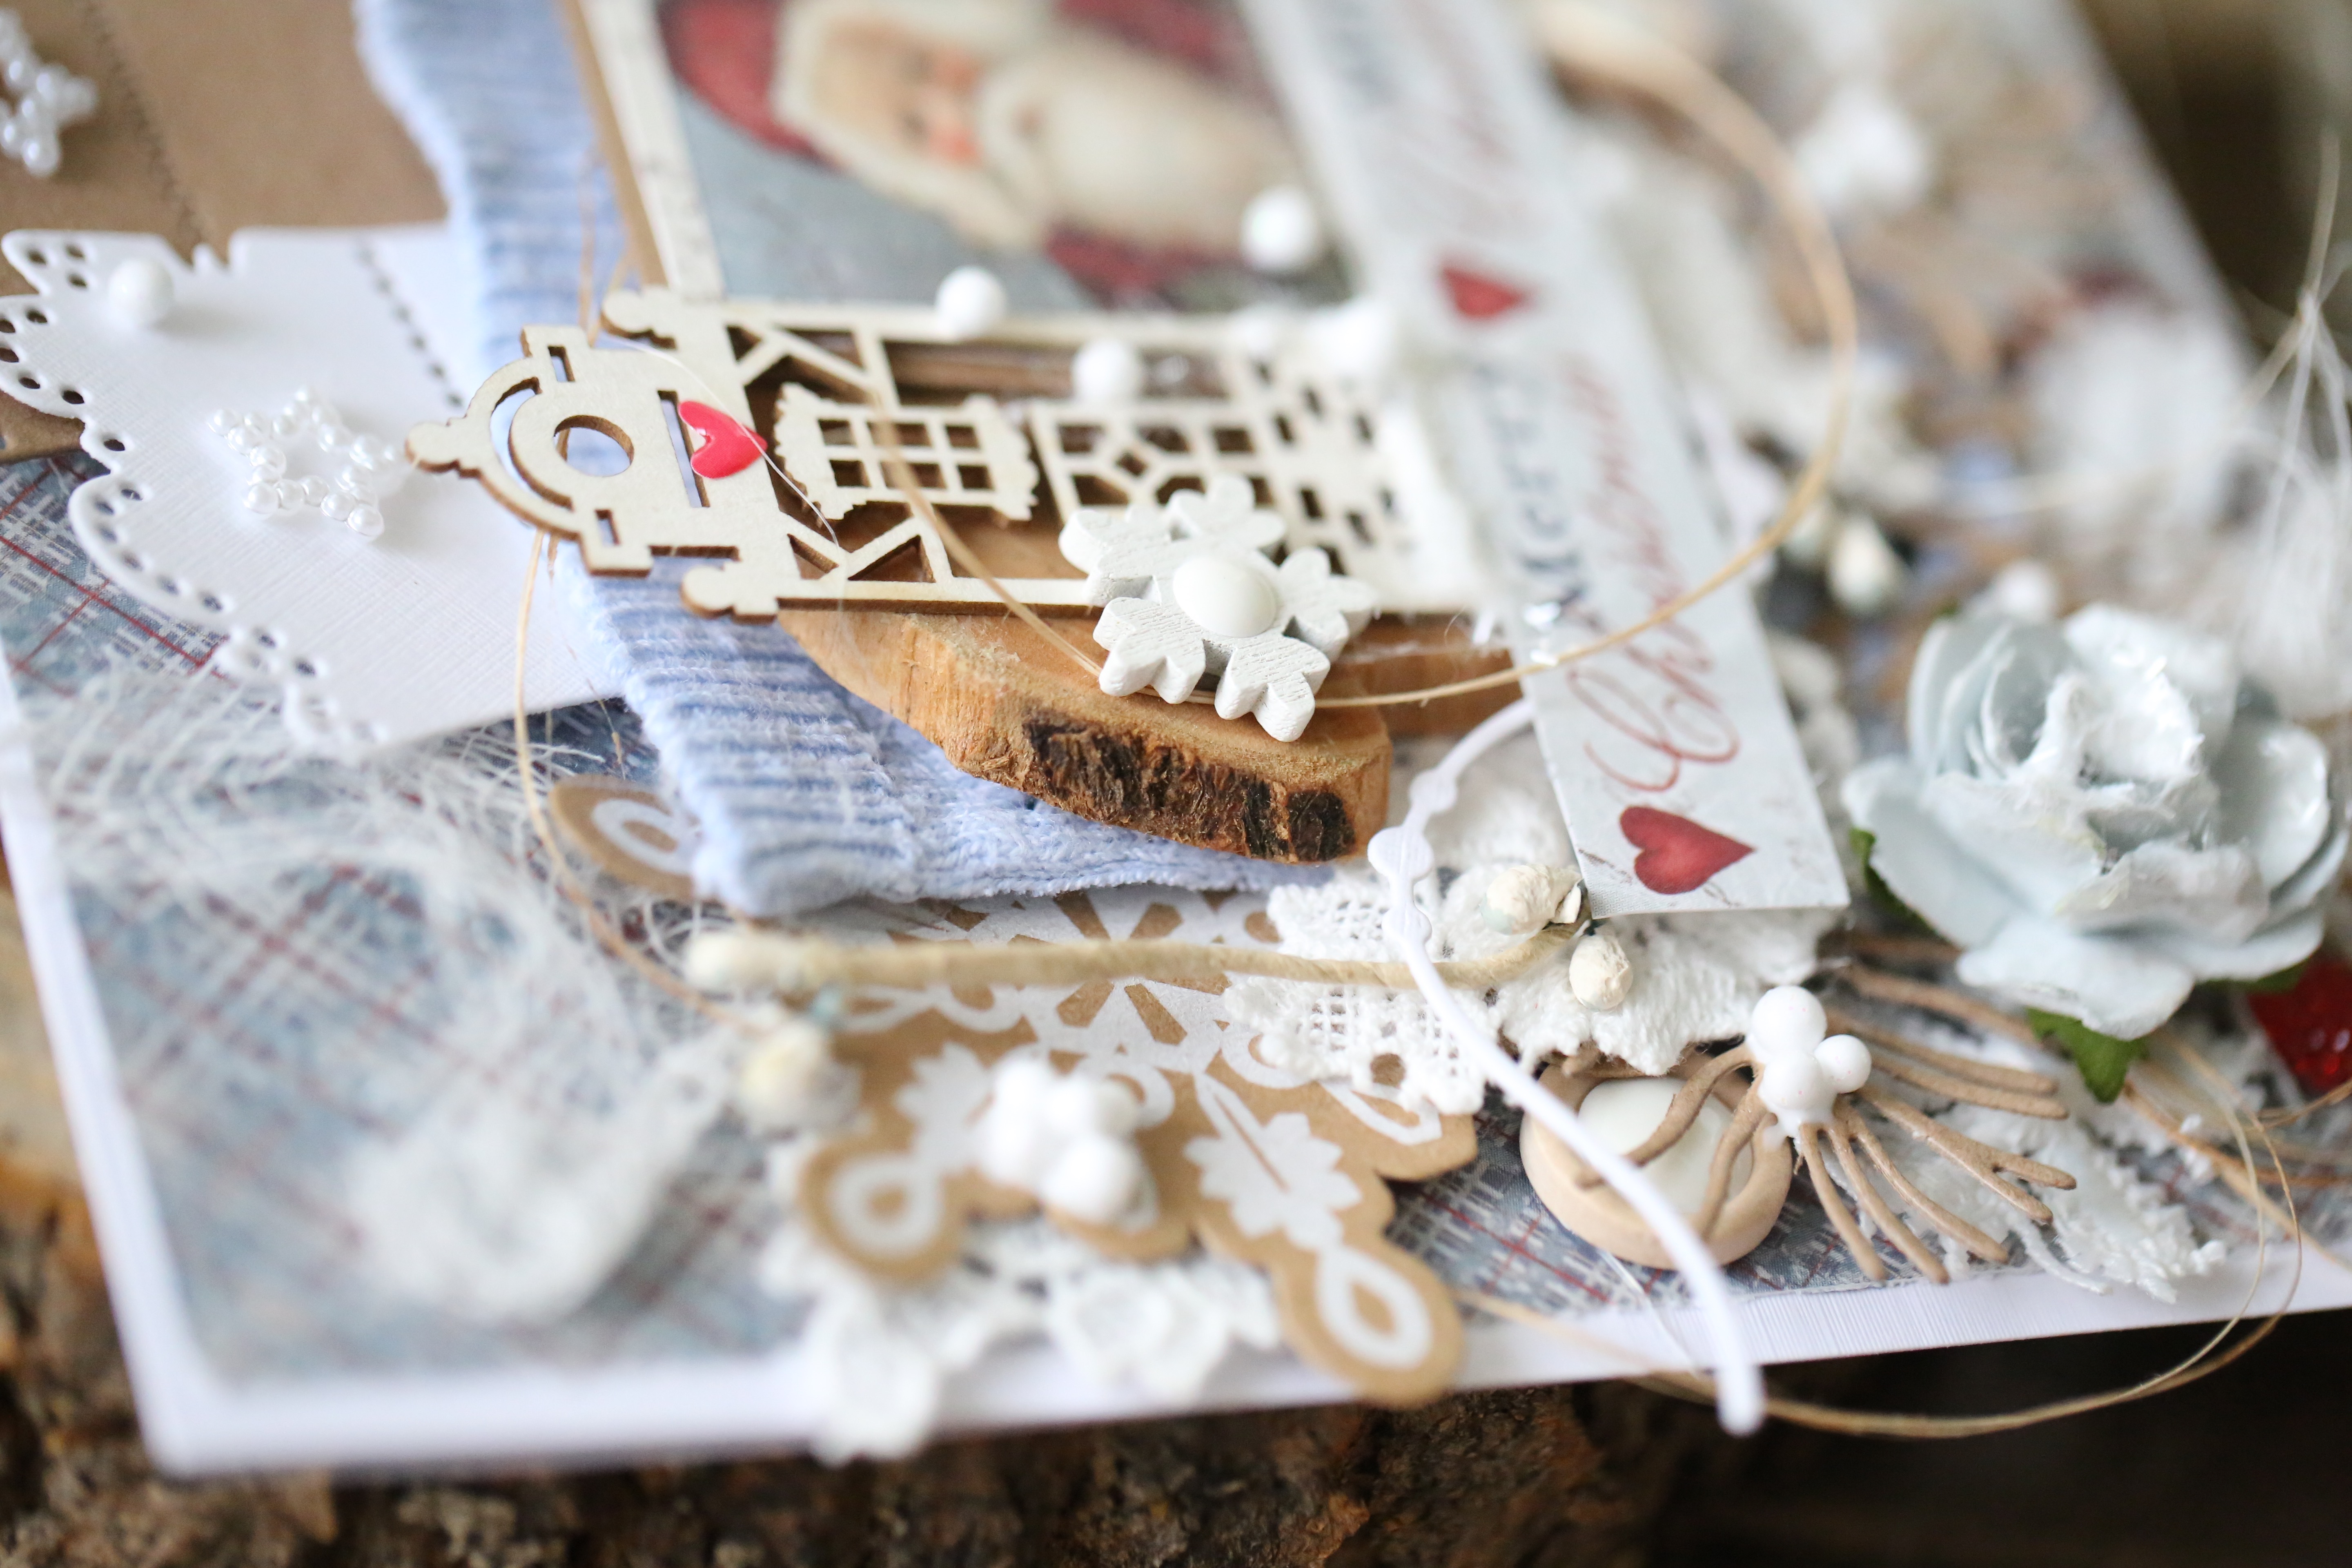
Hello dear friends, Evgenia Petzer with you today. I have prepared another Christmas card, the square format this time. those little snowmen on the background are one of my favourite patterns in this collection. The card is very layered, detailed, lets have a look?

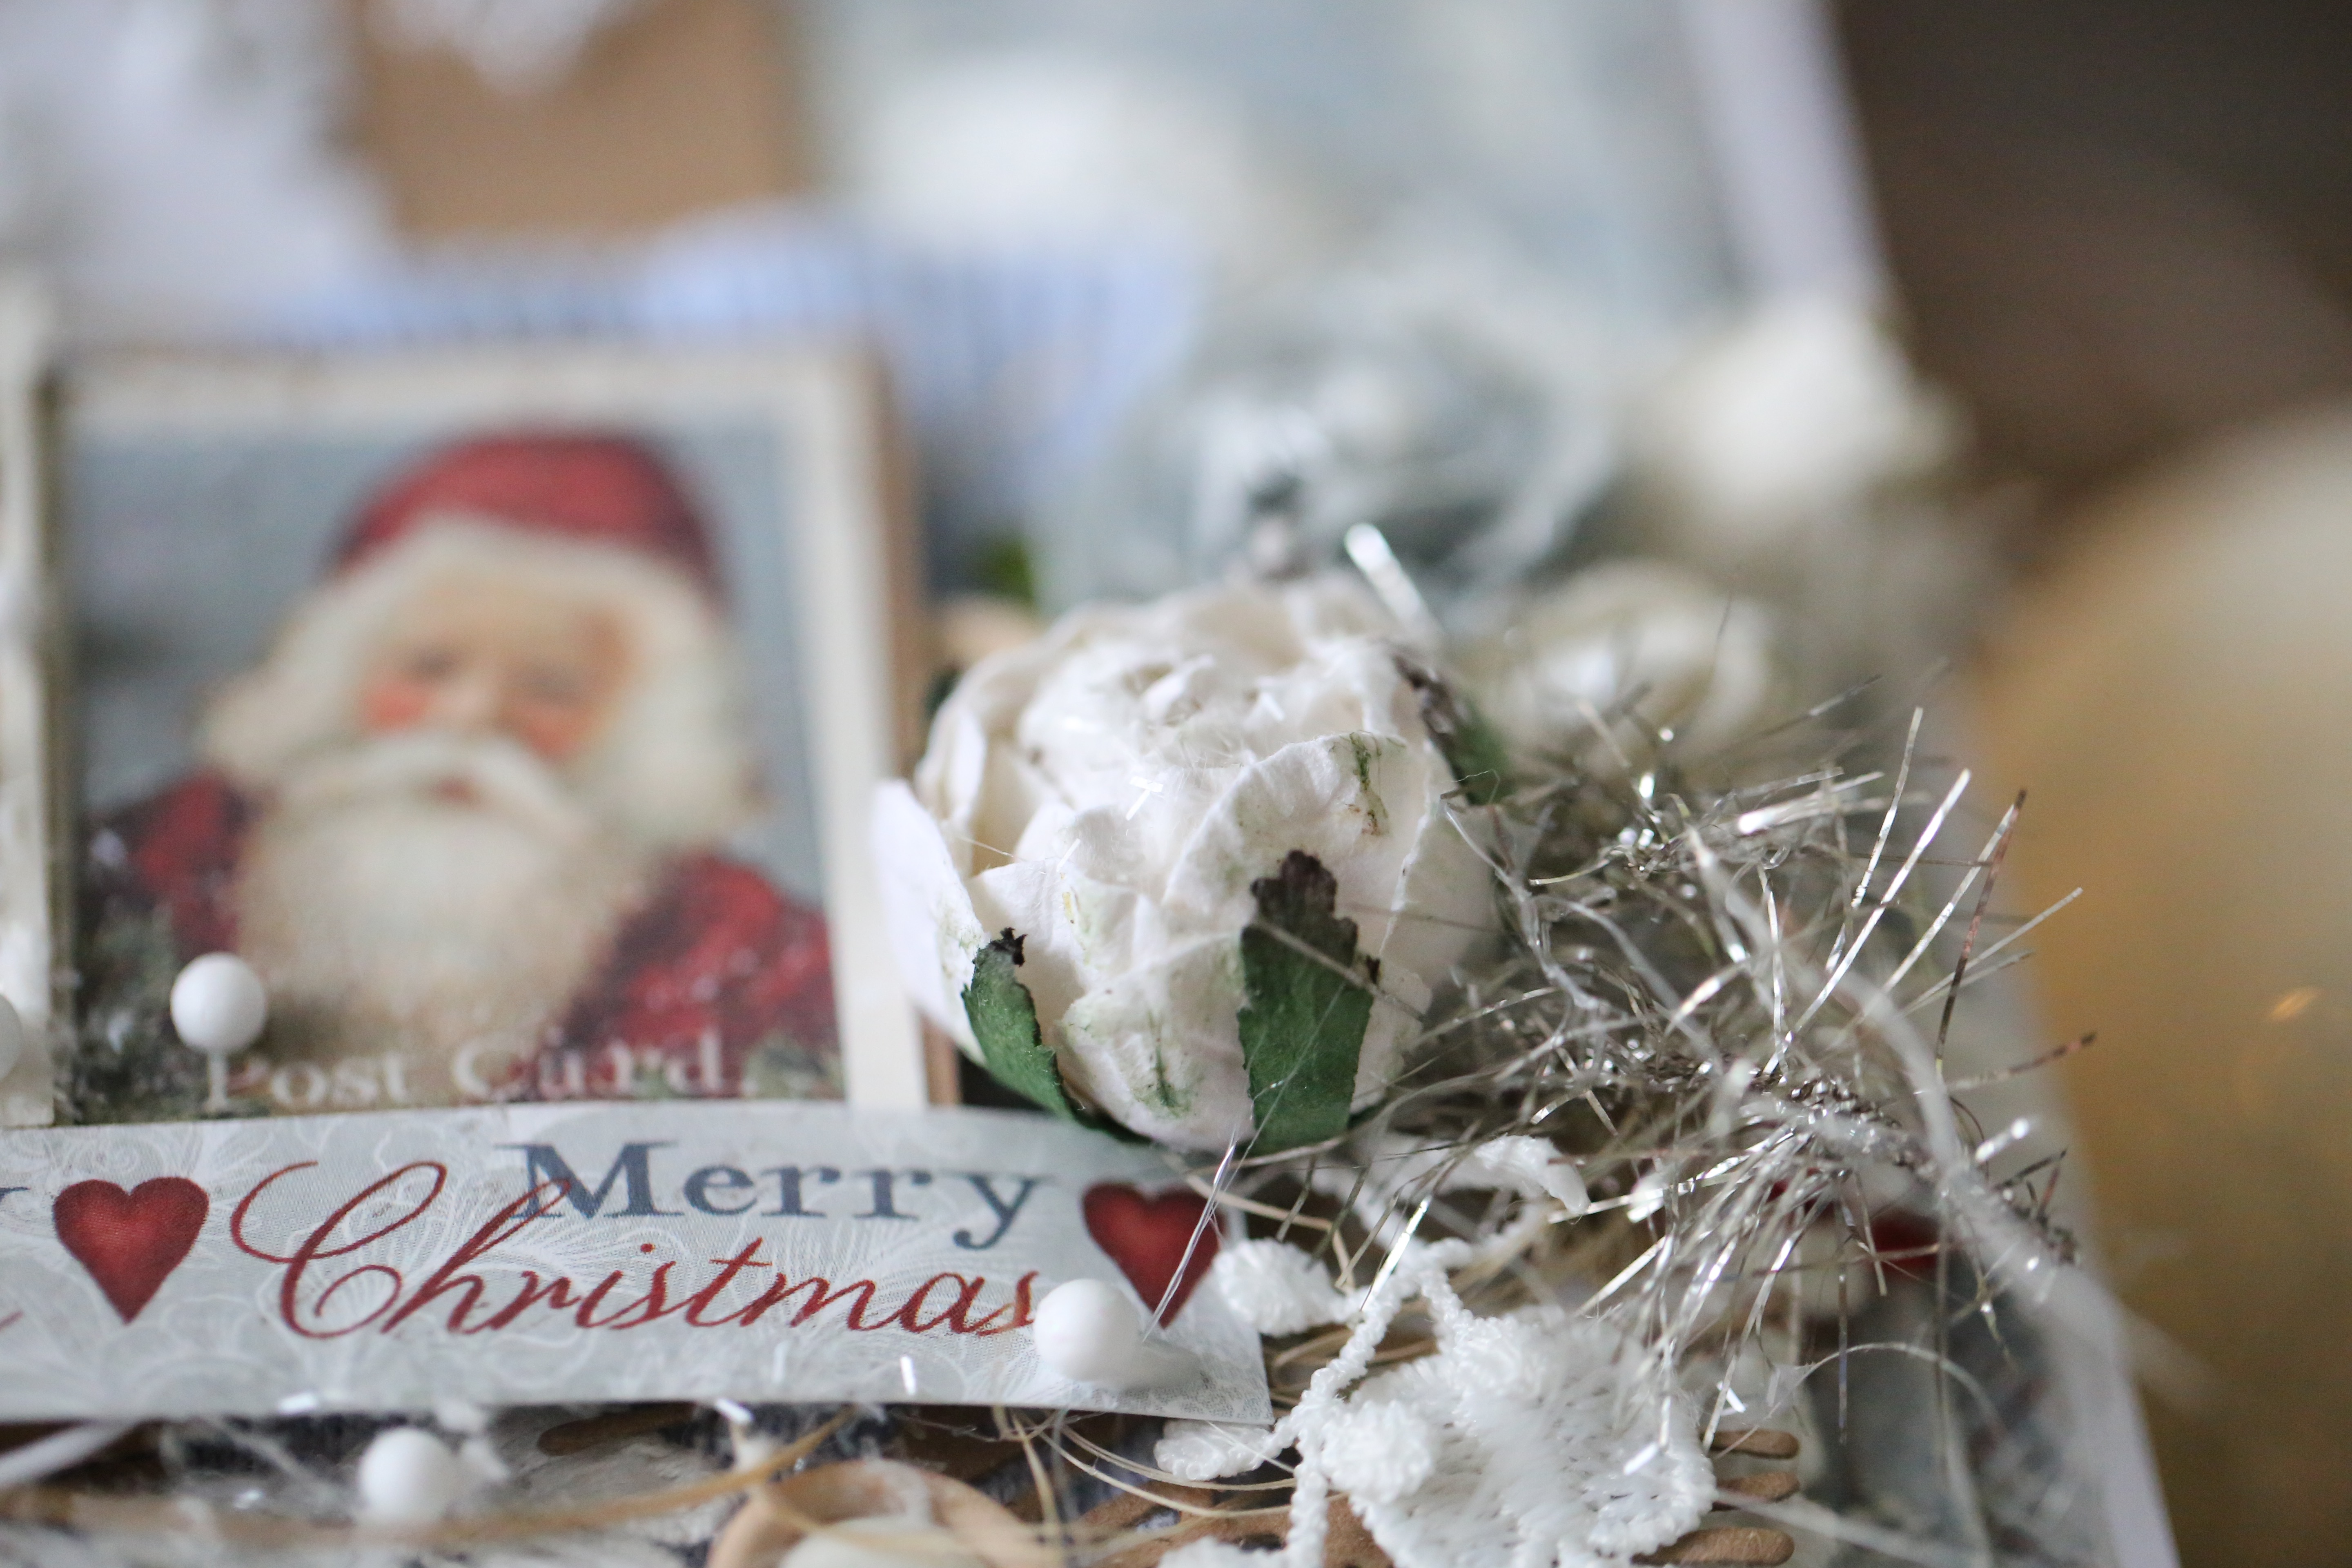
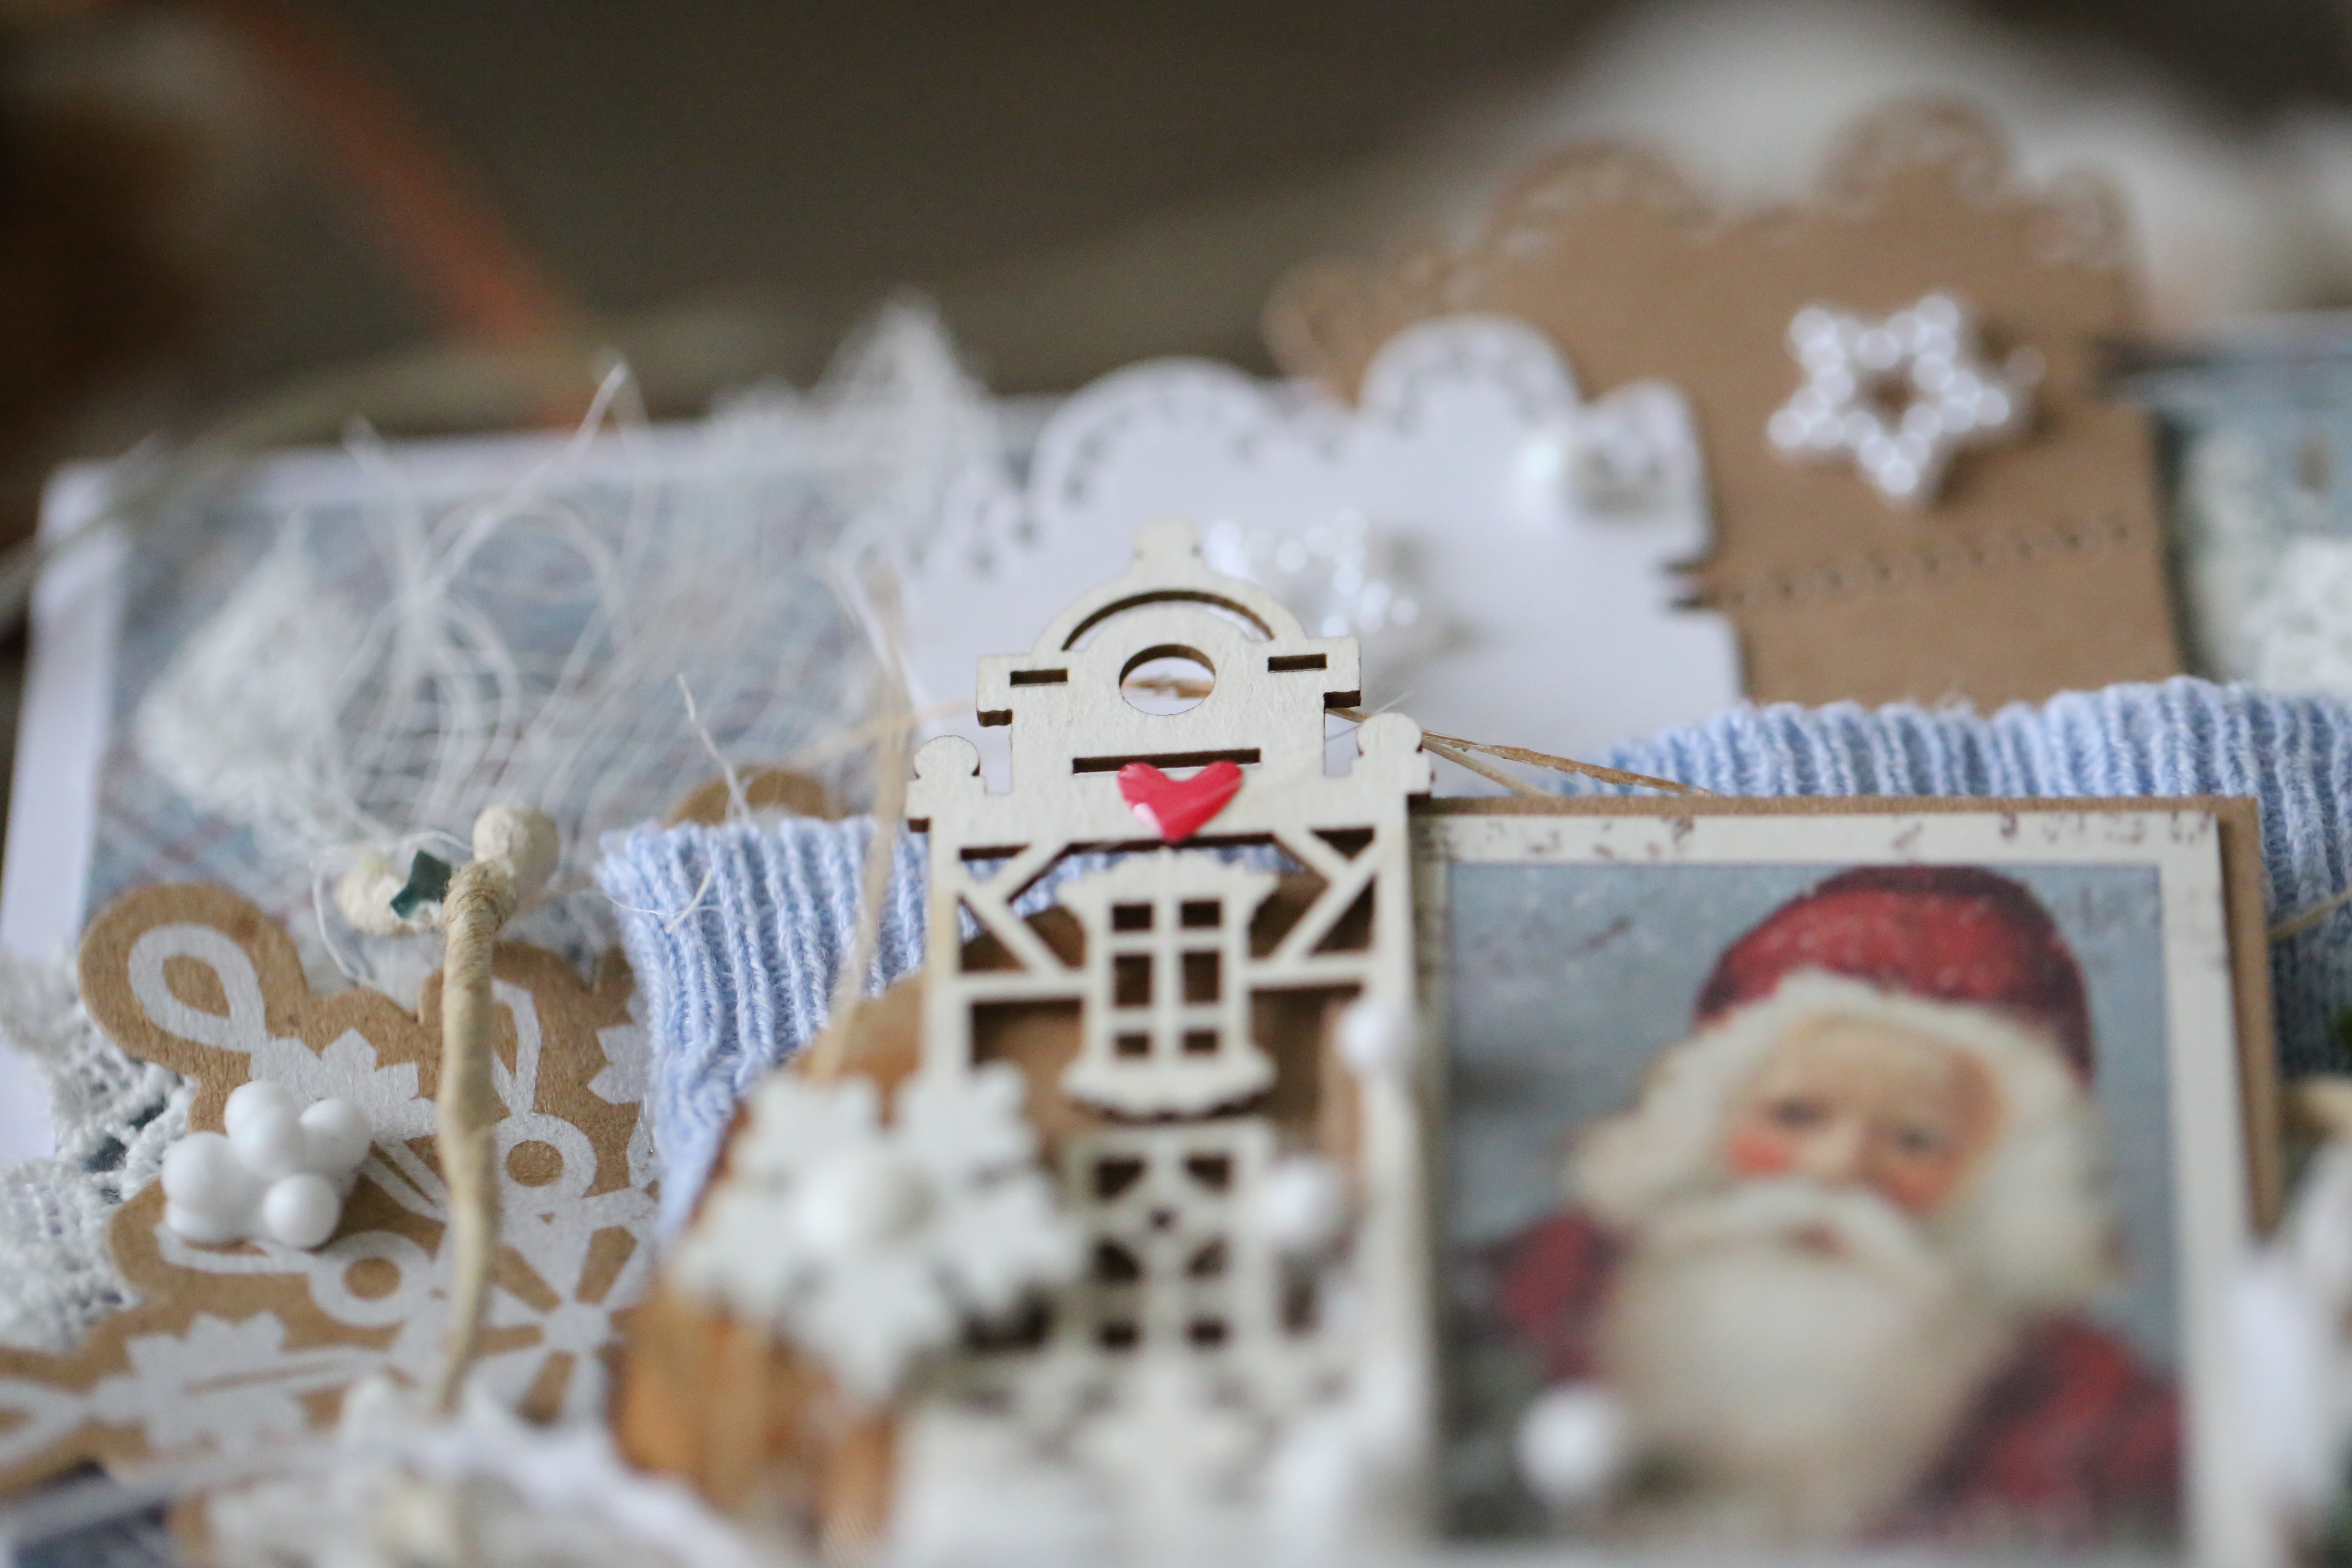
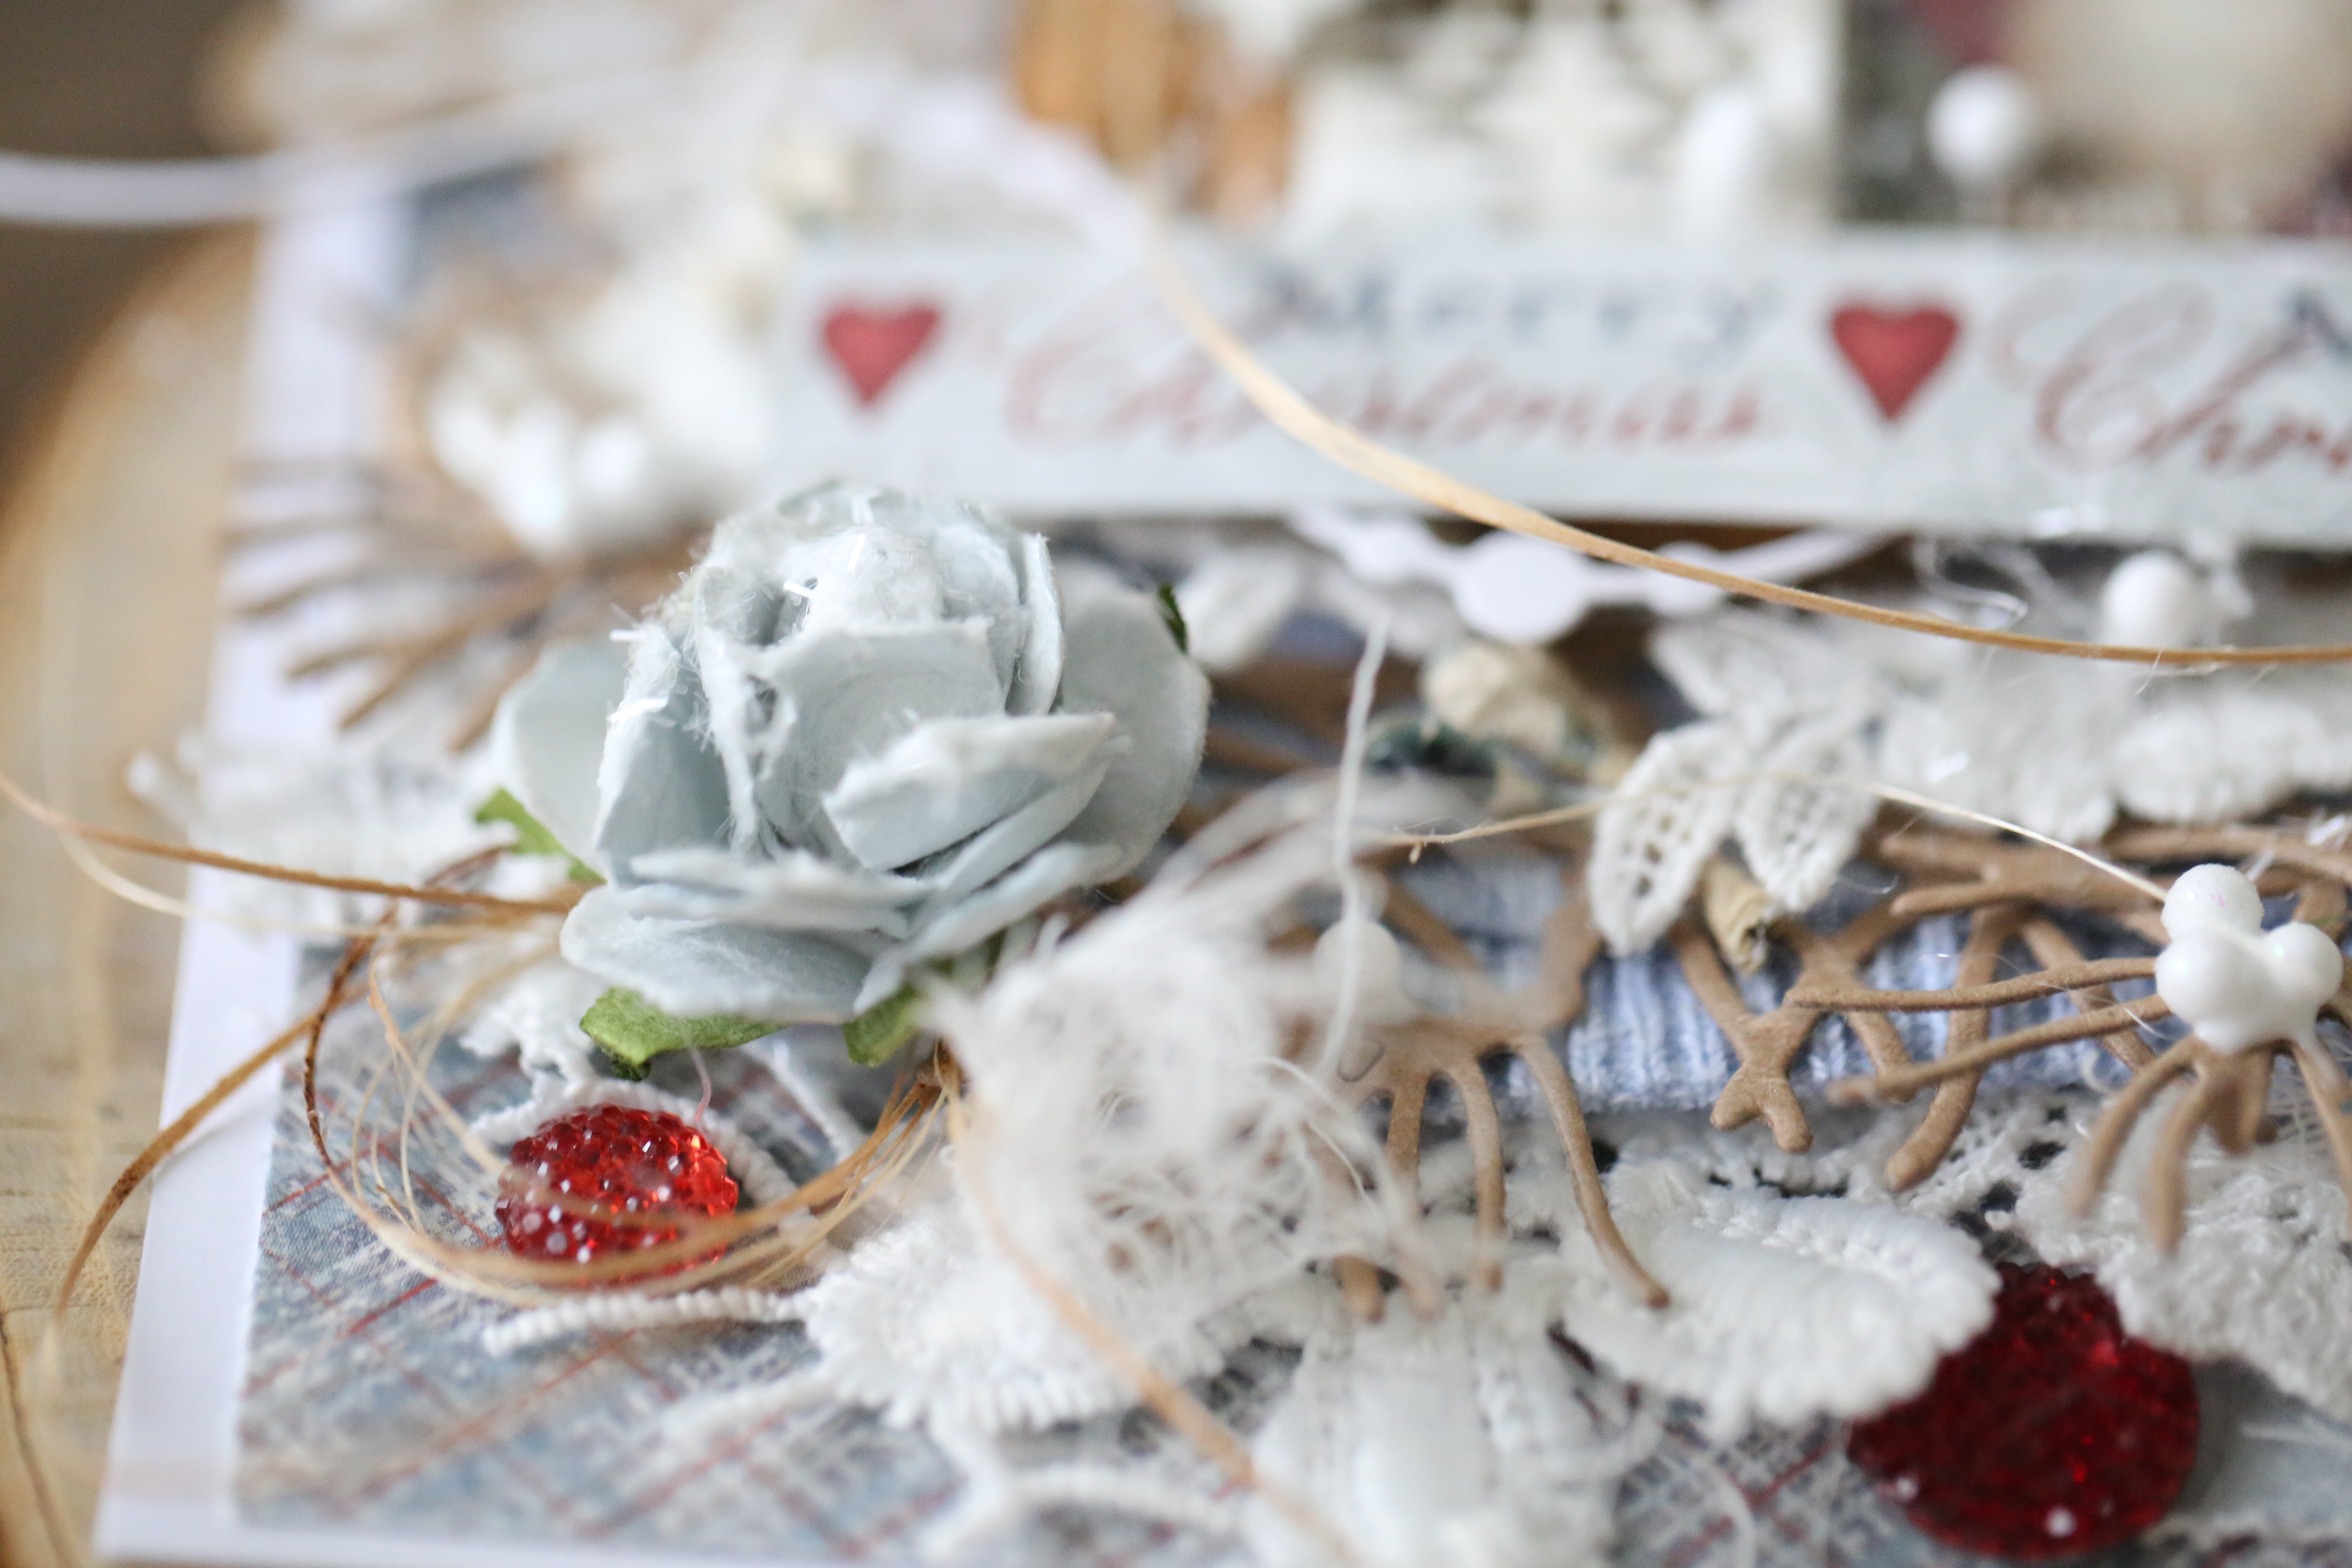
Joyous_MBI really like this card so made lots of close ups:CA2A8871 the tags you can pull out of the pocketCA2A8872 CA2A8873 CA2A8874 really love the layers and the details, I can sit for quite a while putting all the tiny pieces in their “right” places.CA2A8875 the dimension:)CA2A8876Such a great collection Joyous Winterdays is in use:

Joyous Christmas!

1

Posted by Camilla Støen Bakke

29 November, 2017 - ,

Write a comment

IMG_9180

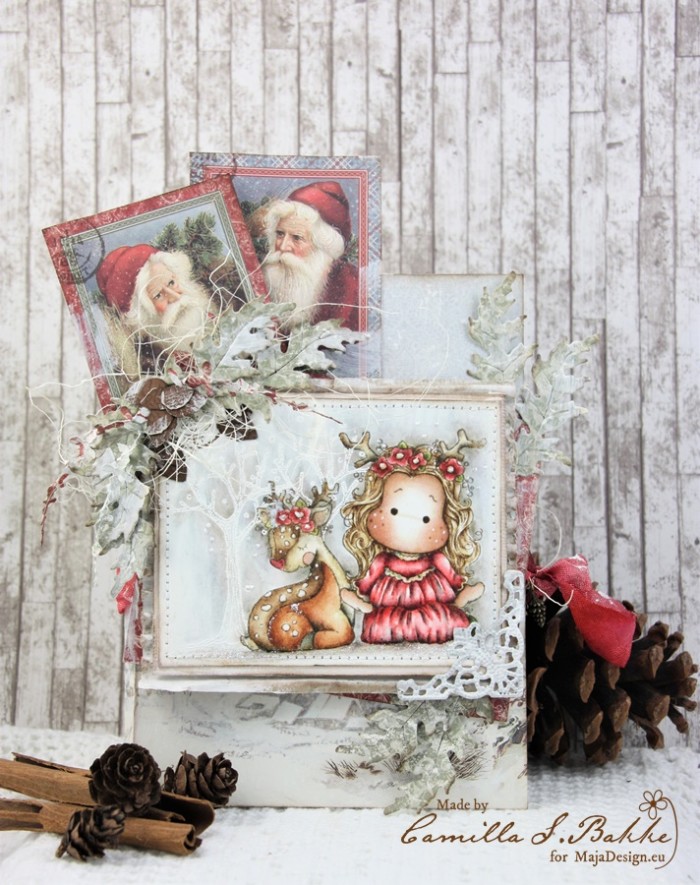
Hi everyone! Here I am back with a Christmas card. I have used some lovely papers from the Joyous Winterdays Collection.

Joyous-Winterdays-P

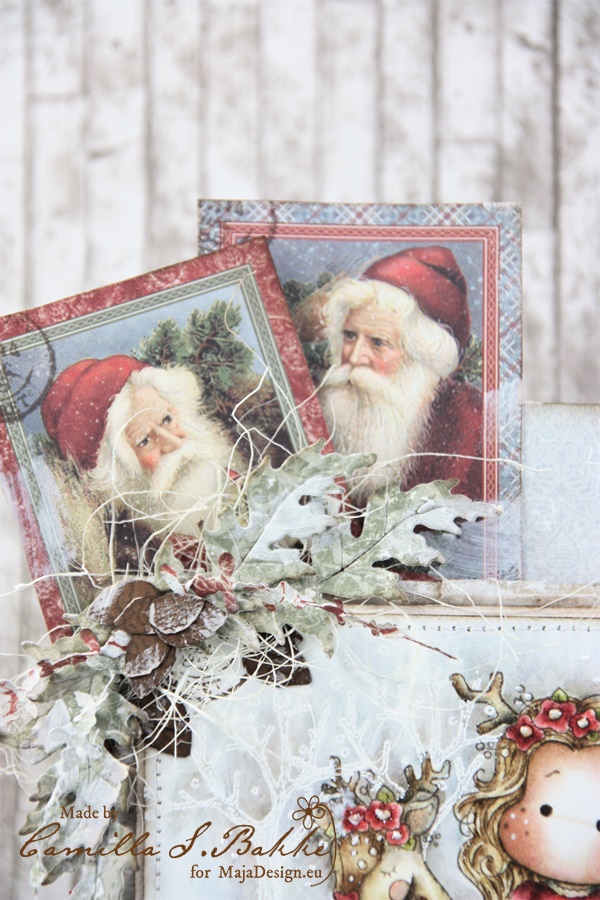
It is time for making those Christmas cards now. This time I have made a much more simpler card than I am used to. But I just had to sew around the image. I was joining an online workshop this weekend, so my card is inspired by Irene’s card. But I just had to add some Maja details;) I have used white embossing on the trees behind the image. It looks more like a Winter forest then, I think.  The image is coloured with Distress Ink, and I tried to get the red to match the red in the papers. I have used the colours Fired Brick and Aged Mahogany.

IMG_9181

The leaves are cut out from Maja papers, and I have added some white gesso on to it. Hope you like my christmassy card! Here comes the papers used (the ephemera is from the mini papers):

 With joy and love,

Camilla