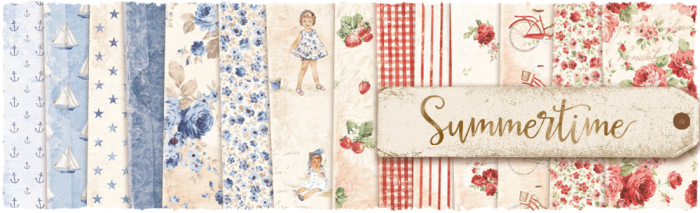
Hi there! Today I will show you how I make my lollipop cards with the beautiful Summertime papers from Maja Design. The collecion has two main colours to work with, blue and red. I have chosen the red colour scheme for my card.
Here comes my step by step:

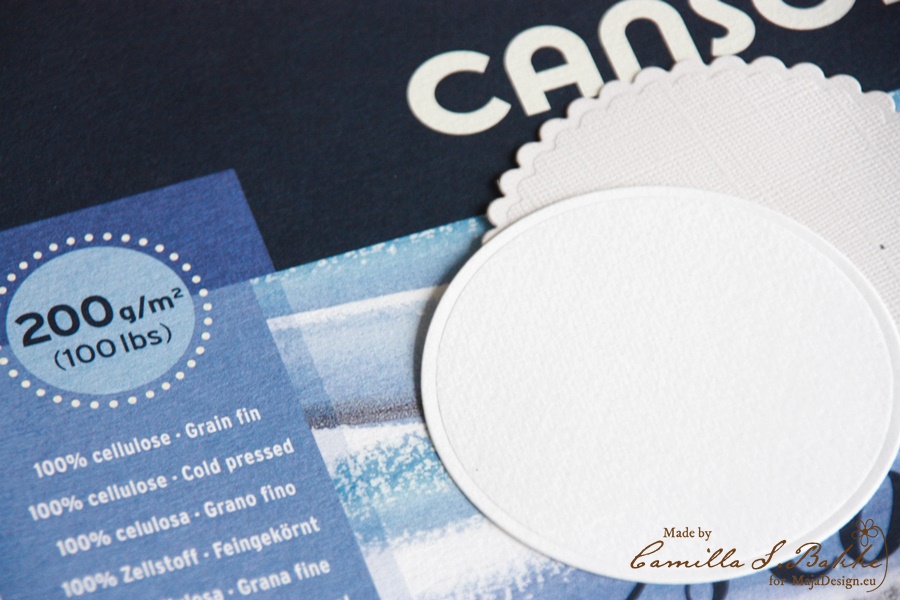
Above you see a collection of dies, papers, doilies, cheese cloth, paper straw, liquid pearls and sissal grass that I have used for my card. The dies are DooHickeys from Magnolia (mainly the club kit vol 5-the blue ones) and Spellbinders (the circles).
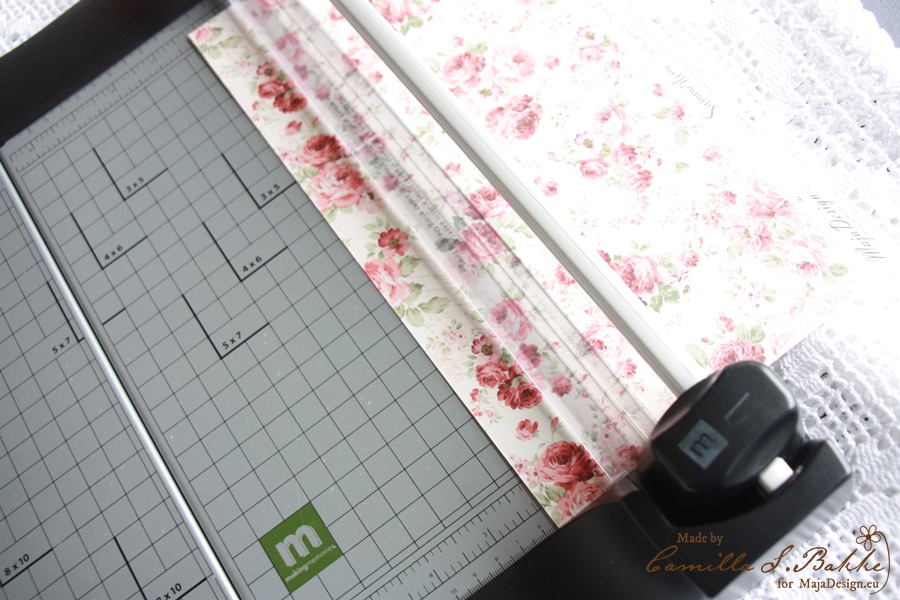
I start with making the main base in the lollipop card, the rosette 🙂 I cut a whole length (12″x 12″) measuring 5,5 cm.
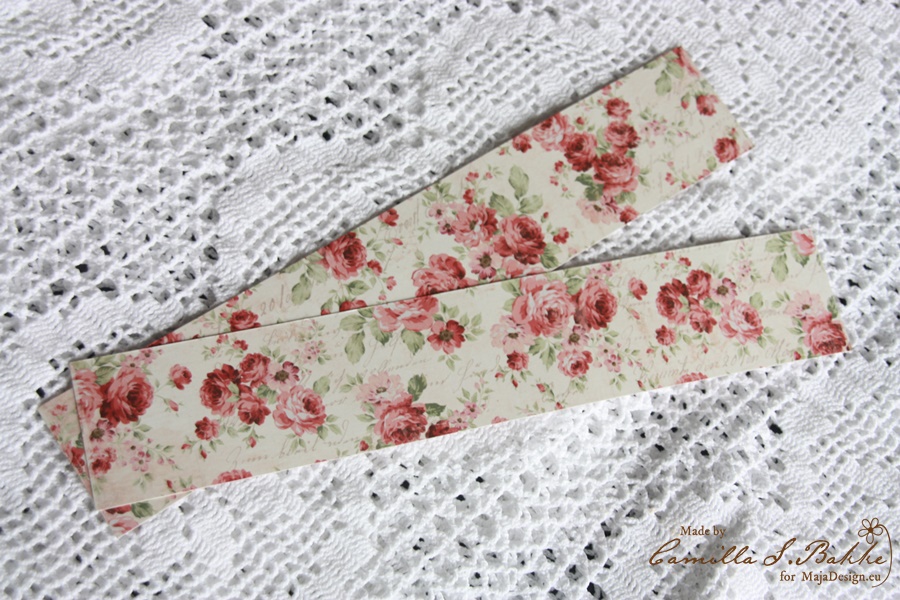
You will need two of theses.

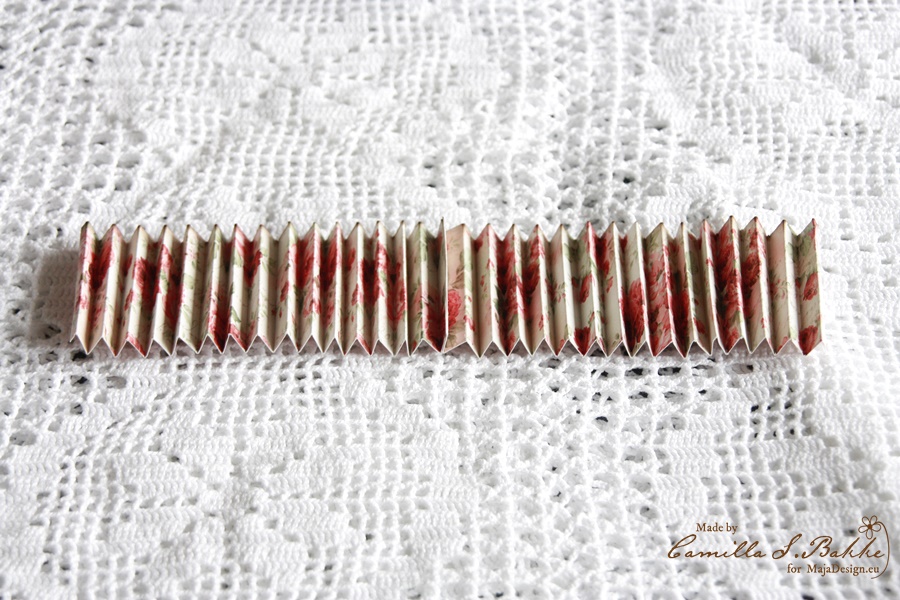
Then I fold the papers using my score pal. If you don’t have one, just fold it with your fingers. I fold every second cm (as you see at 1, 3, 5.. cm).
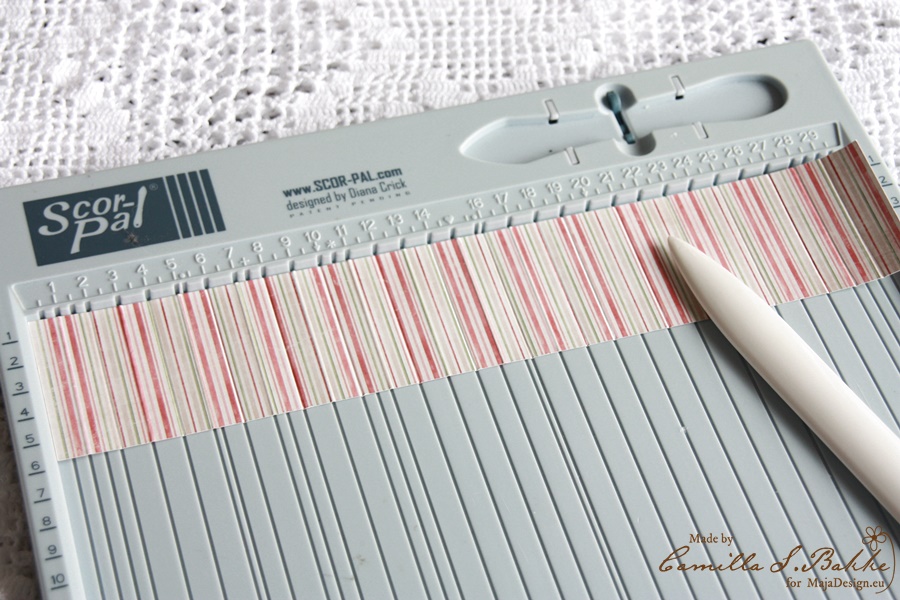
Then I turn the paper around, and fold at 2, 4, 6 … cm. Then I will fold it at every cm.
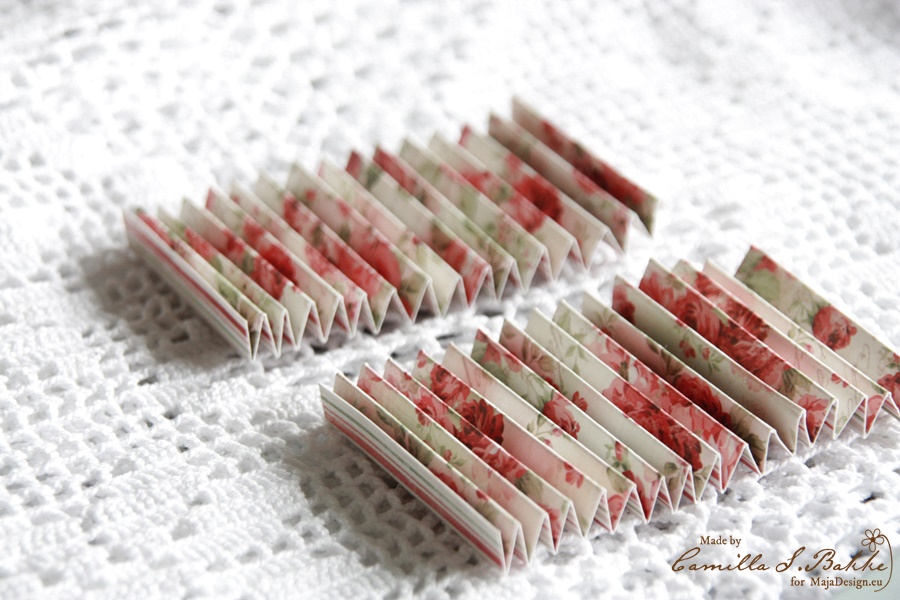
When you are finished, the papers will look like this, two accordians.
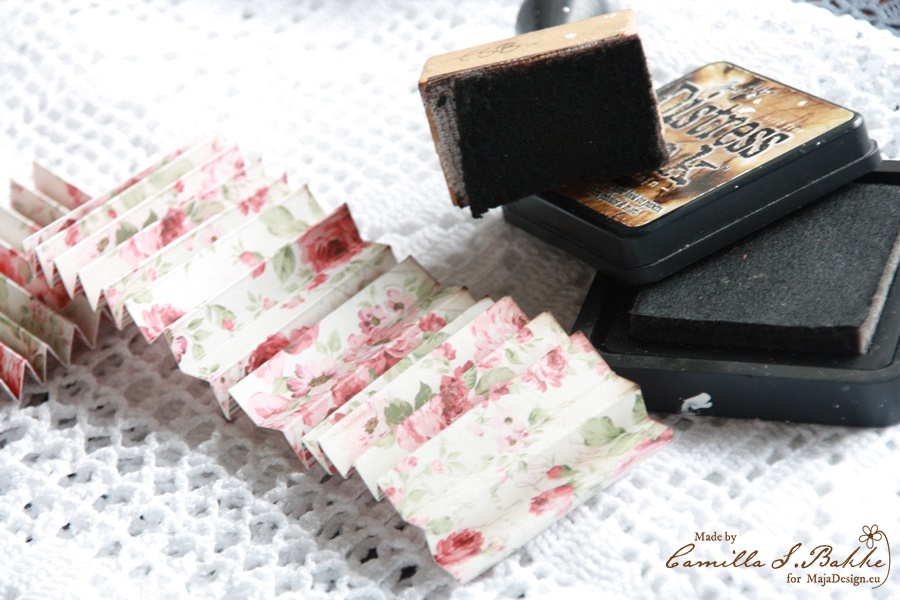
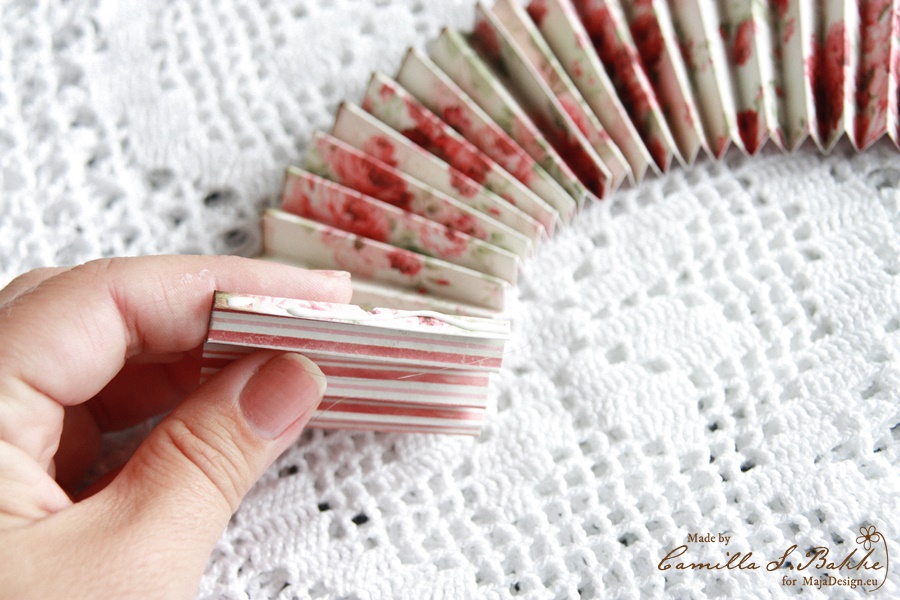
I use my inking tool to ink the edges with the colour Walnut Stain.
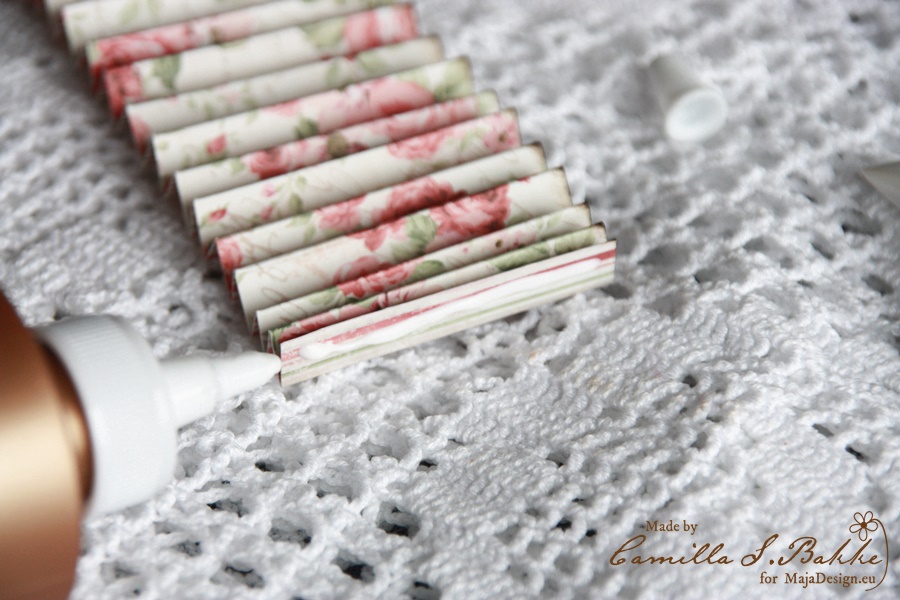
Then I glue the two parts together. I use Tacky glue.
Now it looks like this.
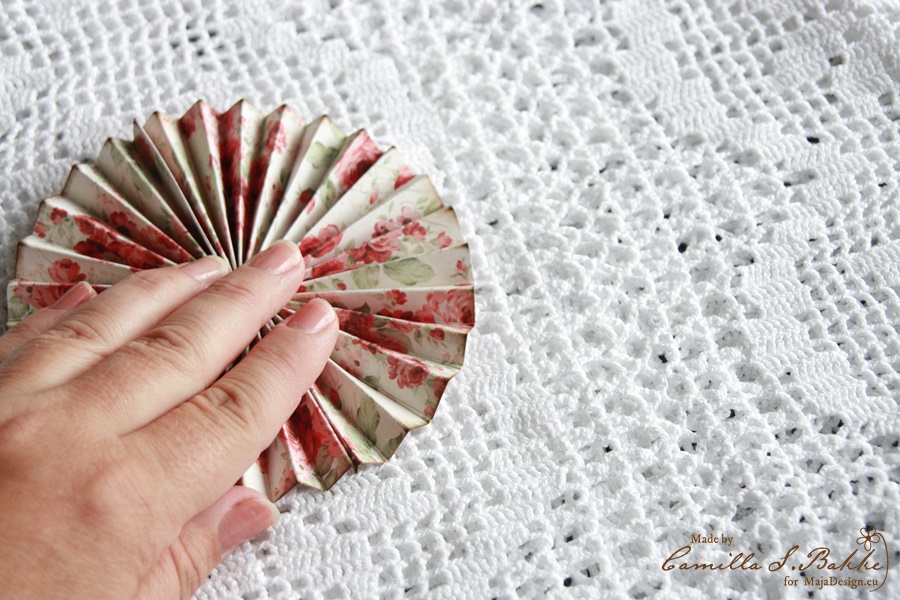
Then I glue the two outher parts together. Press it untill it is fasten together.

You will now experience that the paper rosette will not lay the way you want 😉
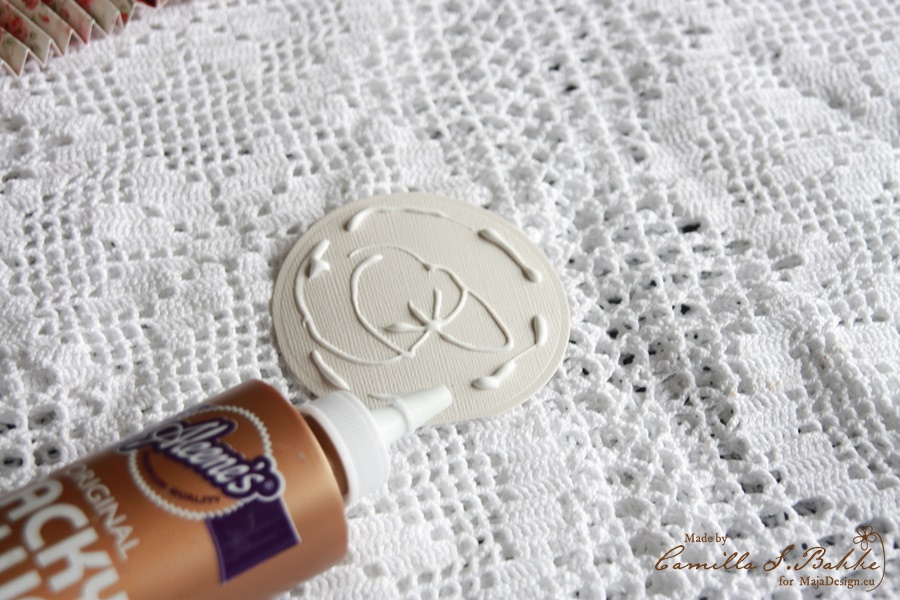
So you will need a piece of paper to attach it to. Use more glue…
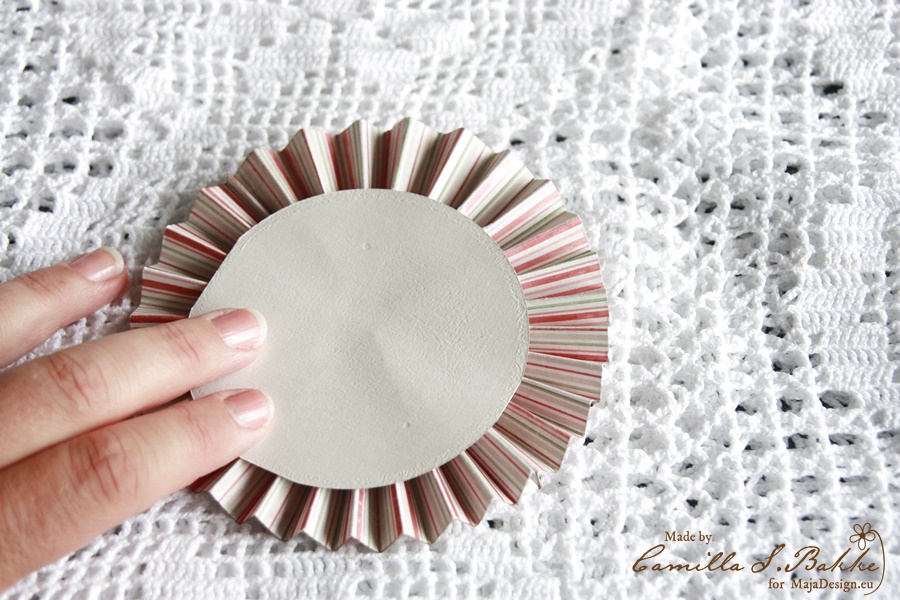
Place it on the back of the rosette. And press untill it is fasten.

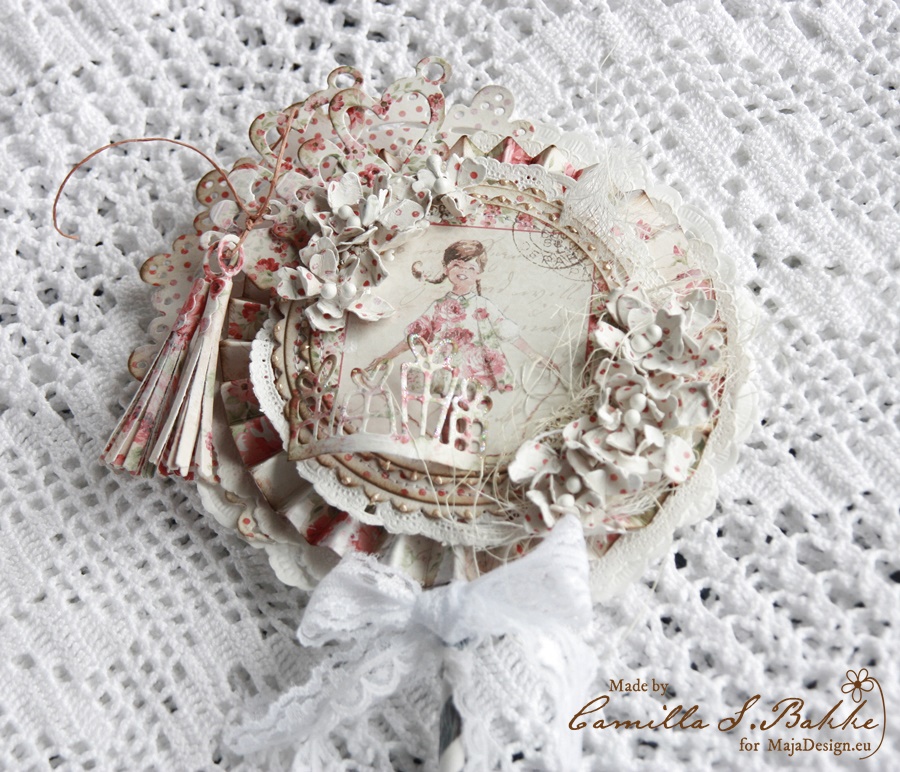
Now your rosette will look like this.

I will use this gorgeous girl as the main image.
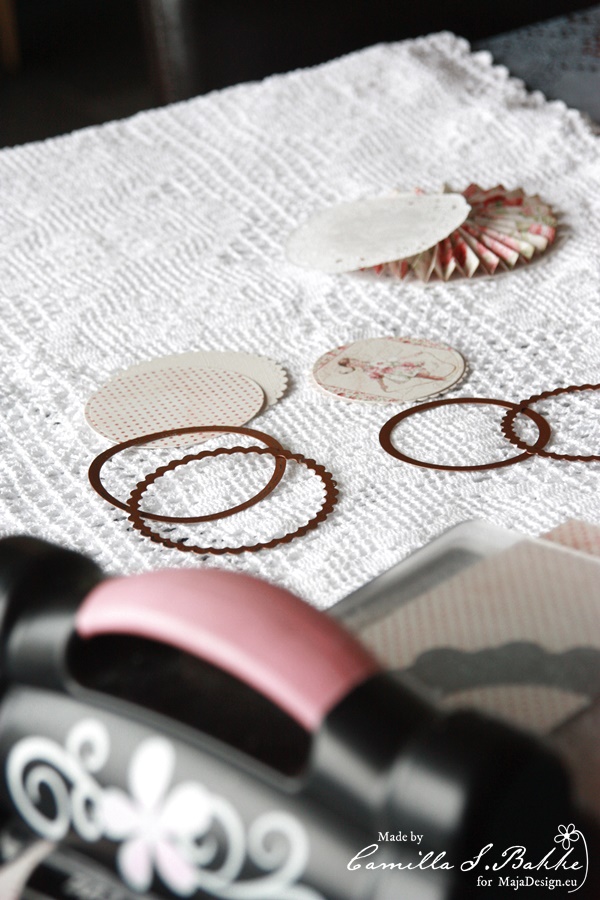
I will now cut out all the other parts.

Here they are. The papers are so beautiful! Like as all the parts are small treasures.
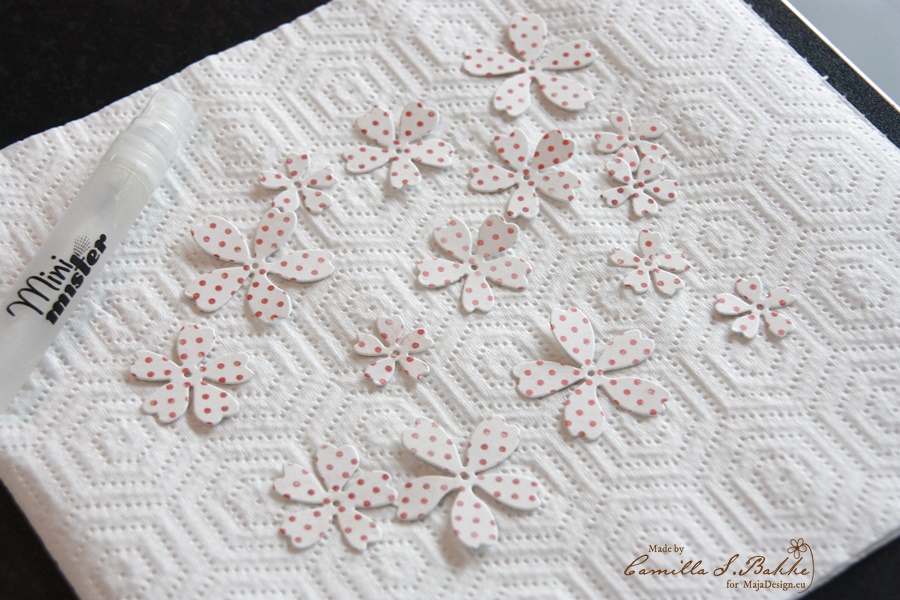
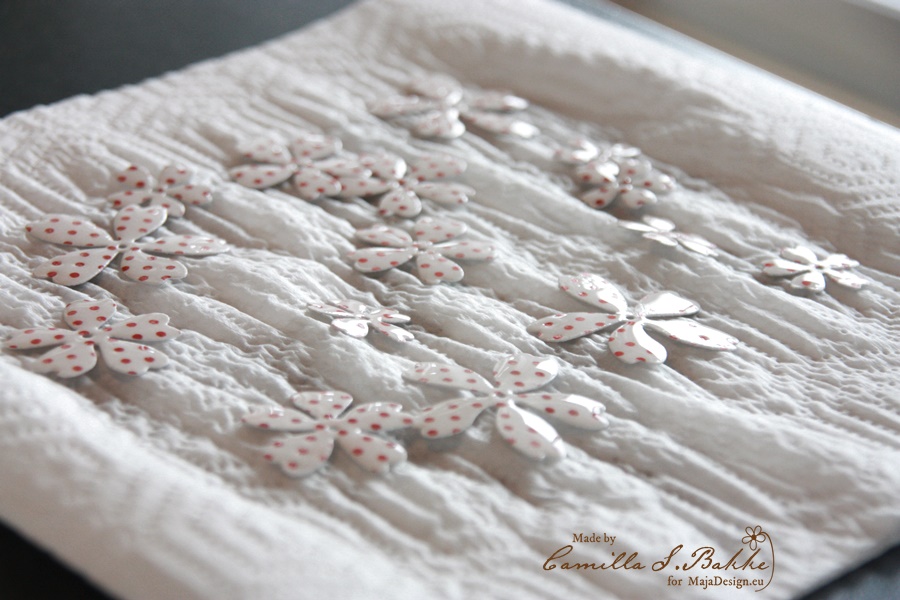
To make the flowers crumpled, I first spray them with water.

..like this 🙂
They are thick papers, so you will need some water.

Then curl them together, and let them dry.
Meanwhile I prepare the back of the card, where I will place a piece of paper to write a greeting on.
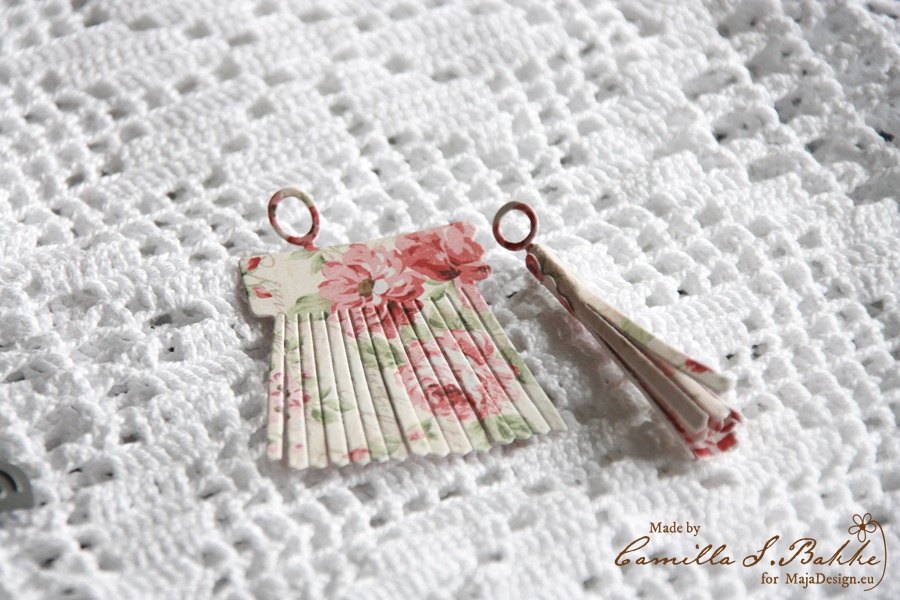
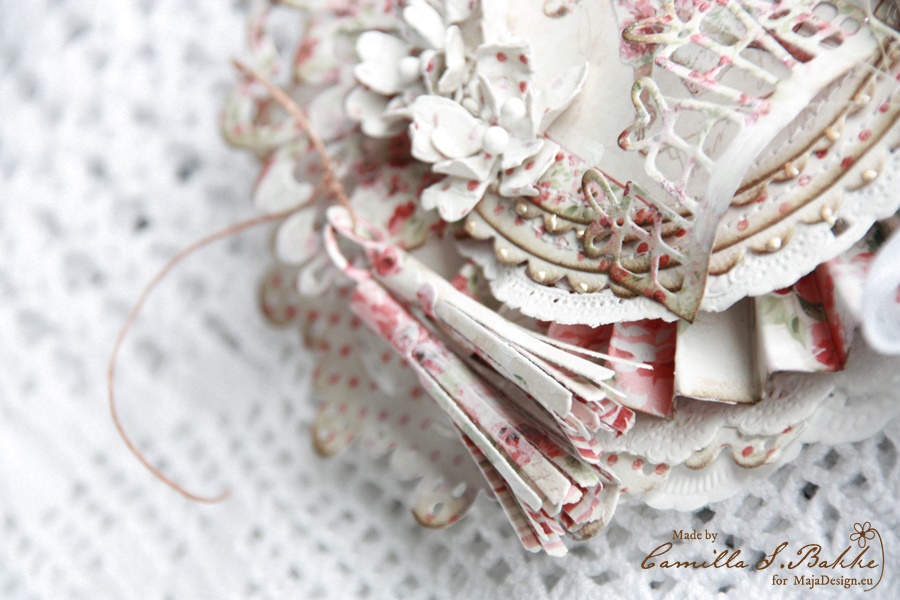
I am also making the tassels. Just love them! Too cute 🙂
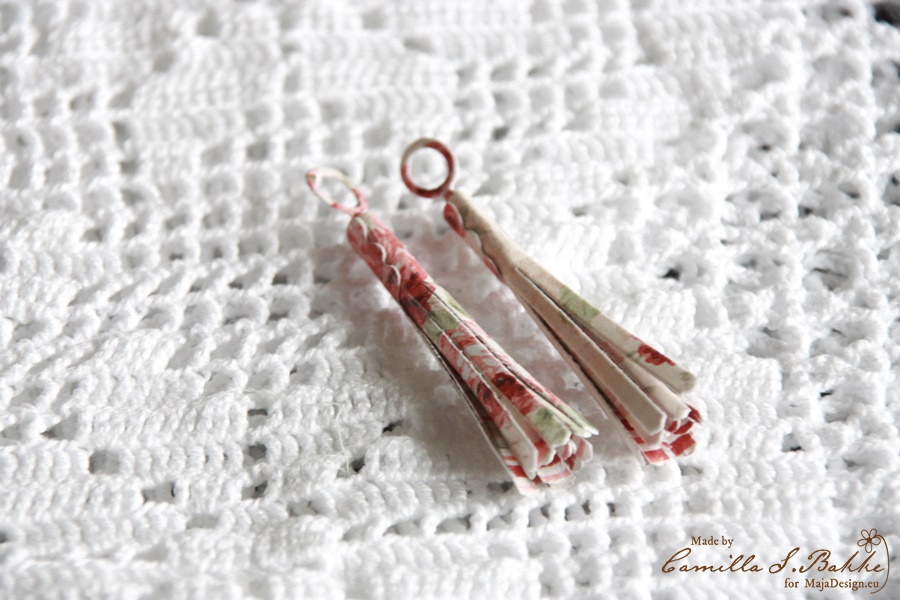
Here they are both, rolled together.
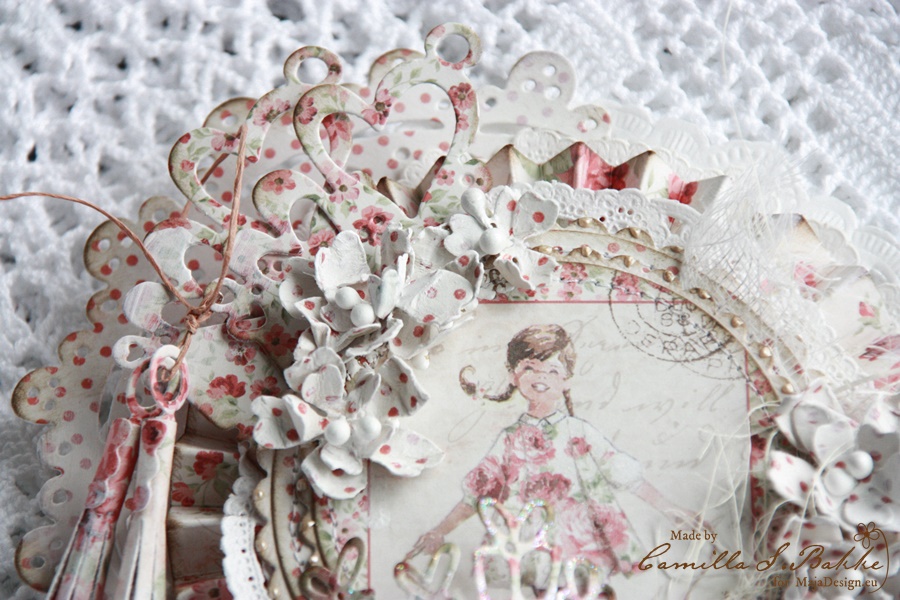
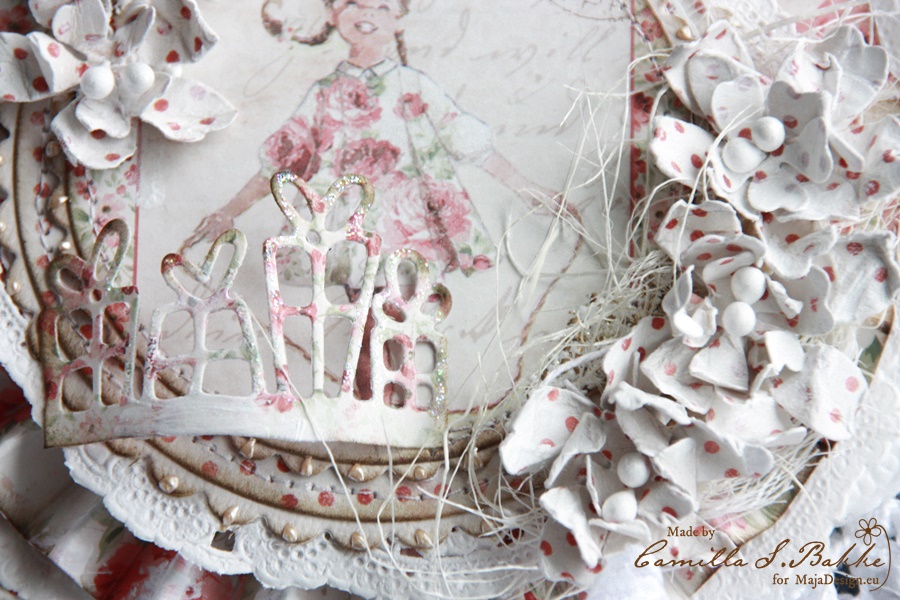
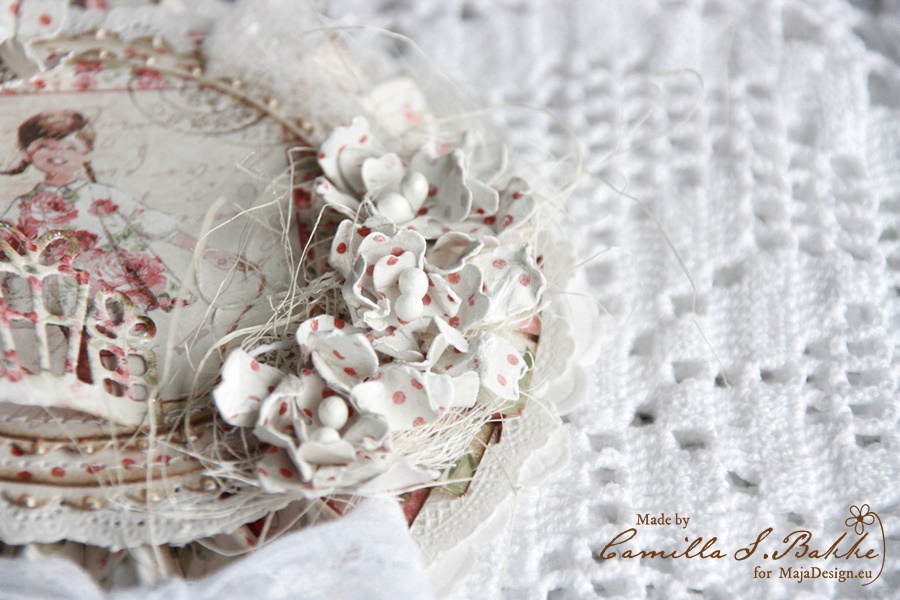
I will now show you how the lollipop card turned out:

I have also added some white gesso on the flowers and the rest of the papers. And also put stamens inside the flowers.
And under comes some detail photos:
And at last a detailed list of the paper used:
-
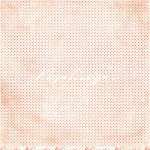
- Smell the roses
-
- Is always the best bs
-
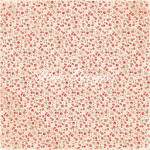
- Flowers everywhere
-
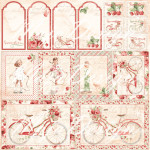
- In the garden – Diecuts
I hope you liked my card, and that you got inspired to make one or two yourselves! Thank you so much for stopping by, and I wish you a lovely day!
With love,
