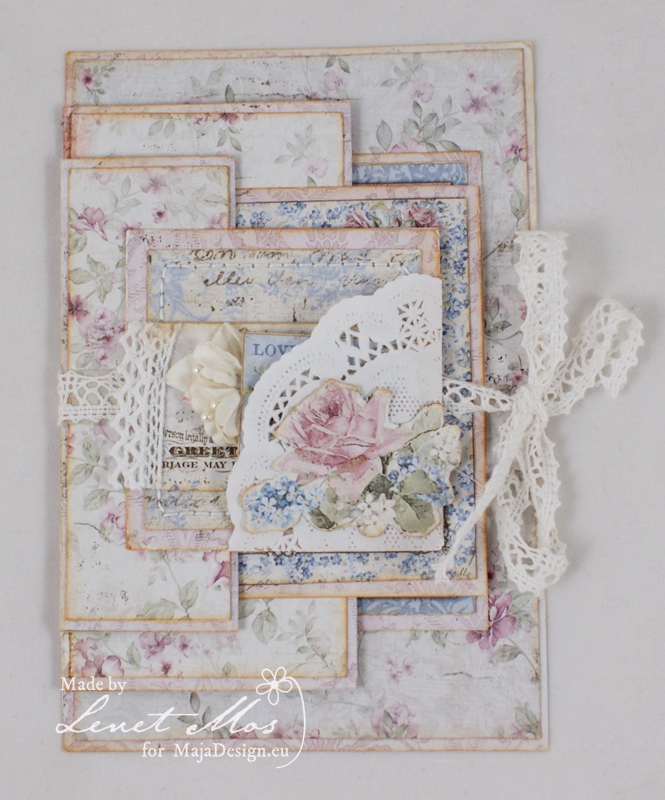
Trifold card with tutorial.

3

Posted by Lenet Mos

25 February, 2019 - ,

Write a comment

Hello Lenet here again ,

Today I bring you this card, with a little tutorial.

For this card you need a piece of paper of  6 by 12 inches.

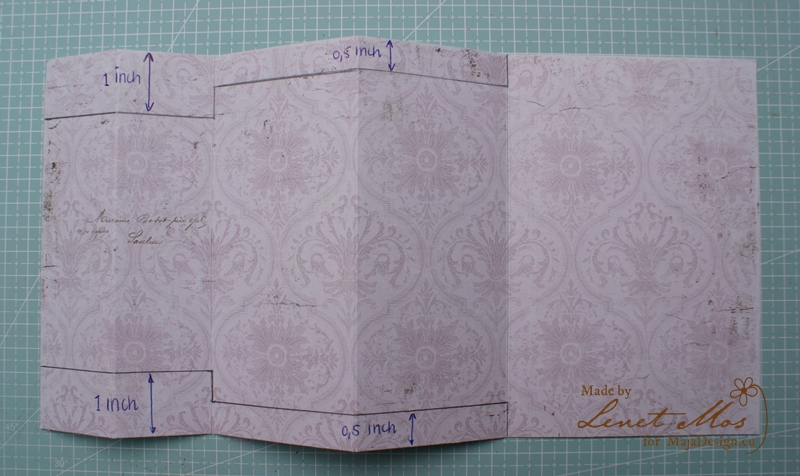
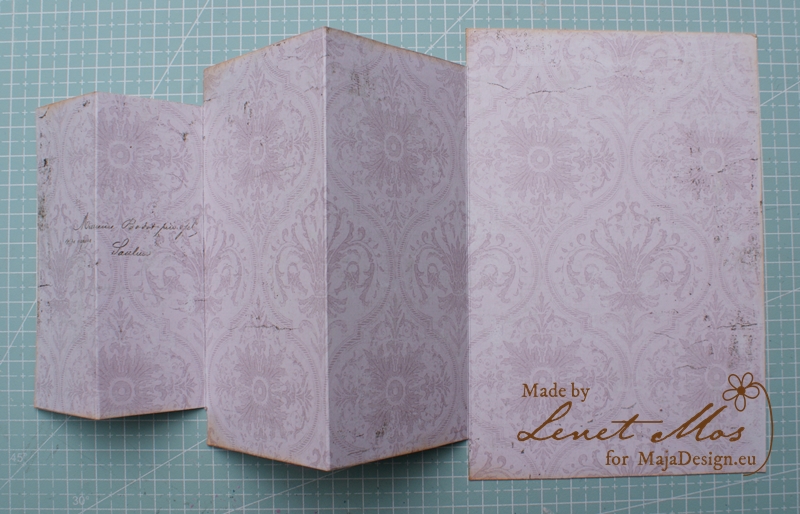
Score it at 1,5″ – 3″ – 5,5″ and 8 inch. and fold it like the picture below

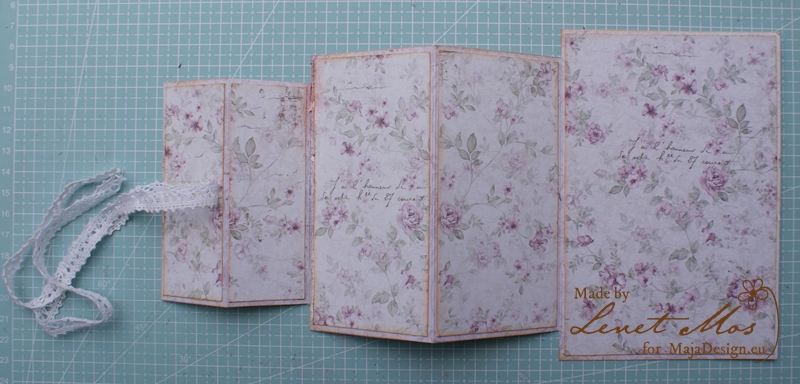
Than measure  1 inch from top and bottom of the first fold and 0,5 inch from the second like you see in the picture below.


than cut away those parts and you get  what you see on this picture.

Now we can start decorating the card.

I took 20 inch lace and glued it in the middle to the front of the first flap.  With this I’m going to close the card.


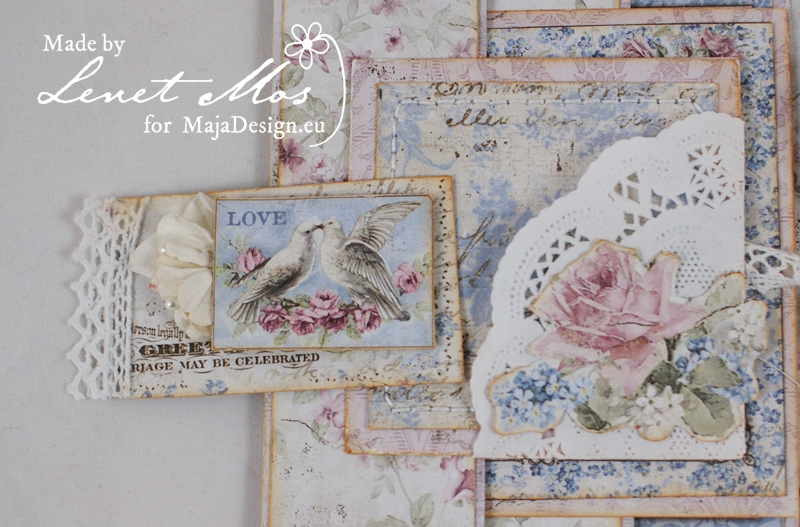
For the front I took a square piece of paper of 2.5/8 inch , and gave it a little pocket by folding a doily around one corner.

And made a little ticket to put in it.


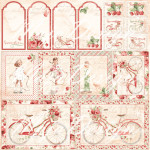
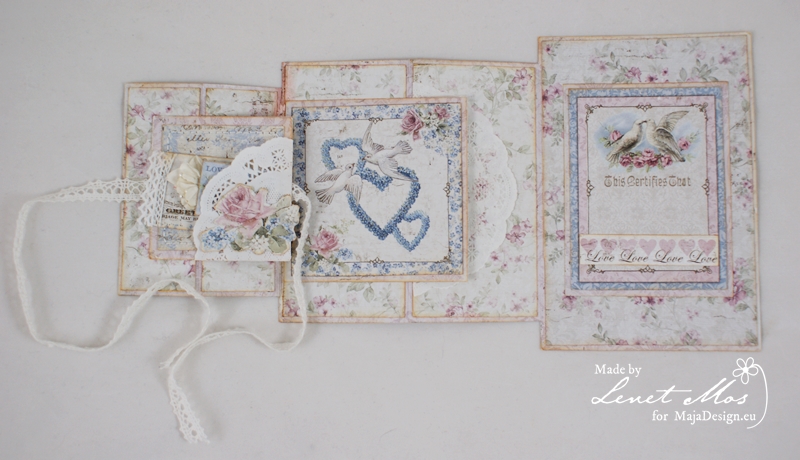
For this card I used the vintage romance collection and took two diecuts  from the diecutsheet.

The one  with the doves is glued to one half of the second flap /fold , just like the top square other wise you can’t close the card.

of course you can decorate it to your own liking but keep in mind not to use bulky embellishments .

I hope  you like my card and my tutorial , happy crafting and till next time.

Decoration of stick it note pads *Tutorial*

1

Posted by Evgenia Petzer

1 December, 2016 - , ,

Write a comment

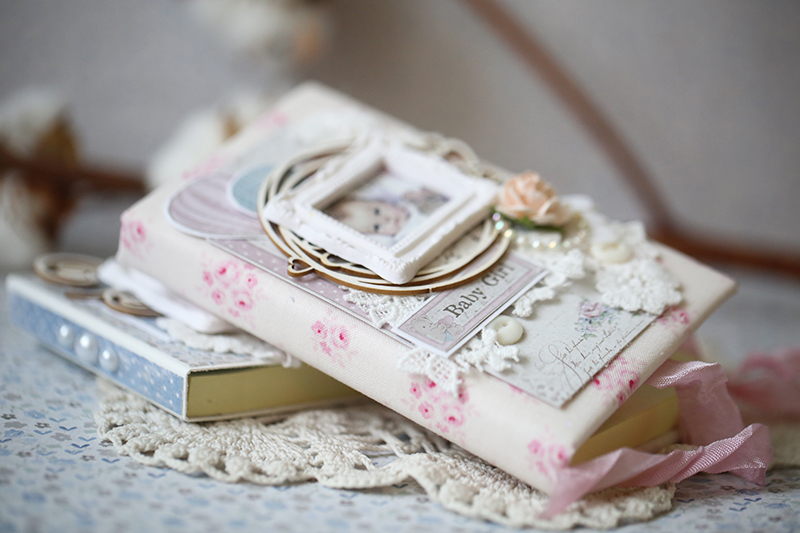
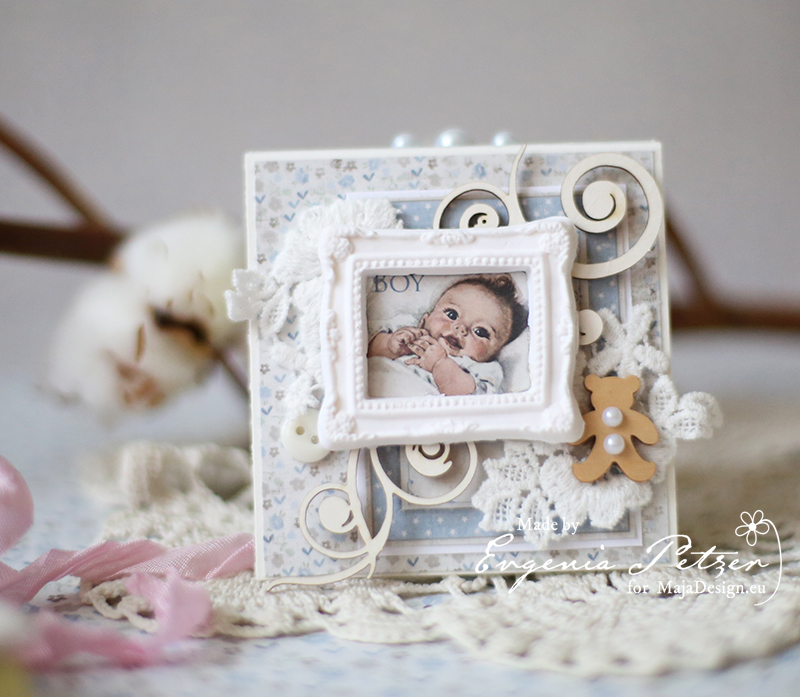
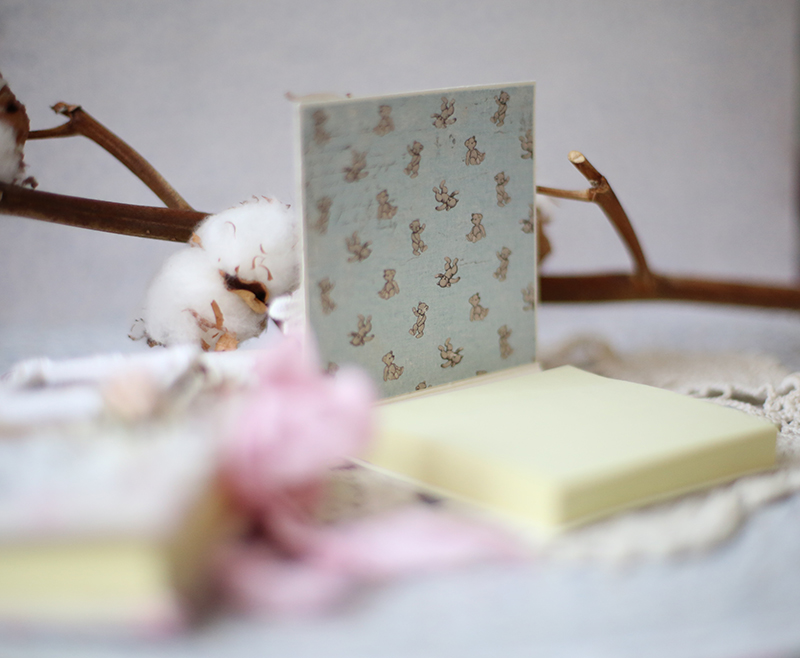
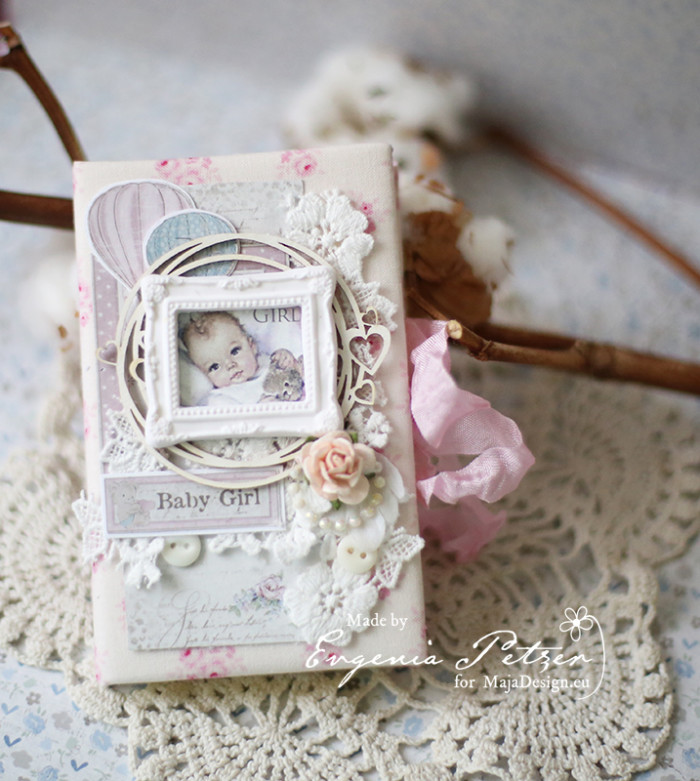
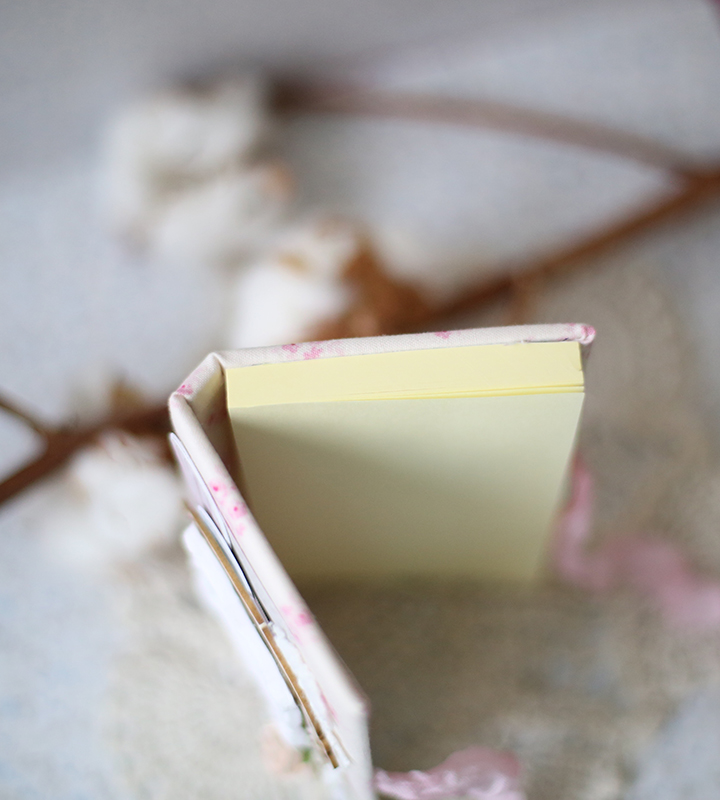
Hello dear friends! Its Evgenia Petzer with you today and I will show you how to make the covers for the sticker pad notes. The covers are long-lasting, as once the notes are finished you can simply attach the new block on the same place.

One cover I have decorated using the paper and another one is with fabric covering.

Here is the result:

stick_notes_pad_petzer_together

The one for the boy uses the paper:stick_notes_pad_boy_petzer

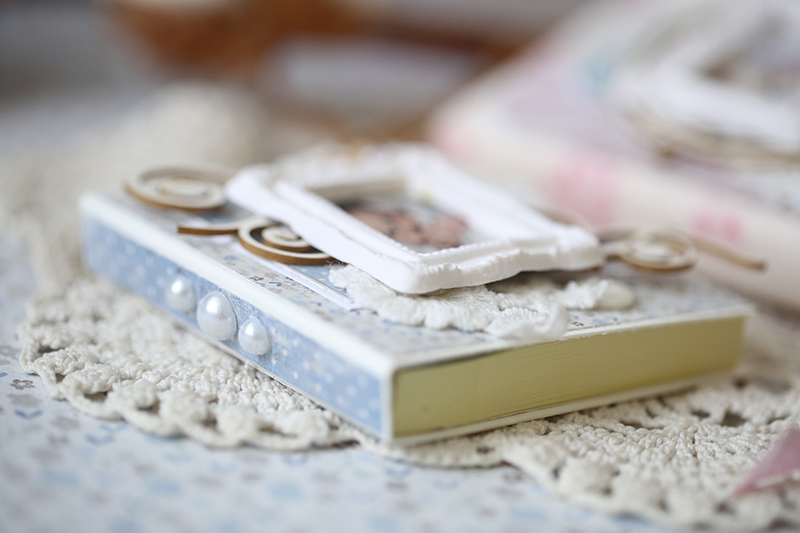
some close ups:

stick_notes_pad_boy_petzer_det1stick_notes_pad_boy_petzer_det2

and the girl’s one is made out of fabricstick_notes_pad_girl_petzer

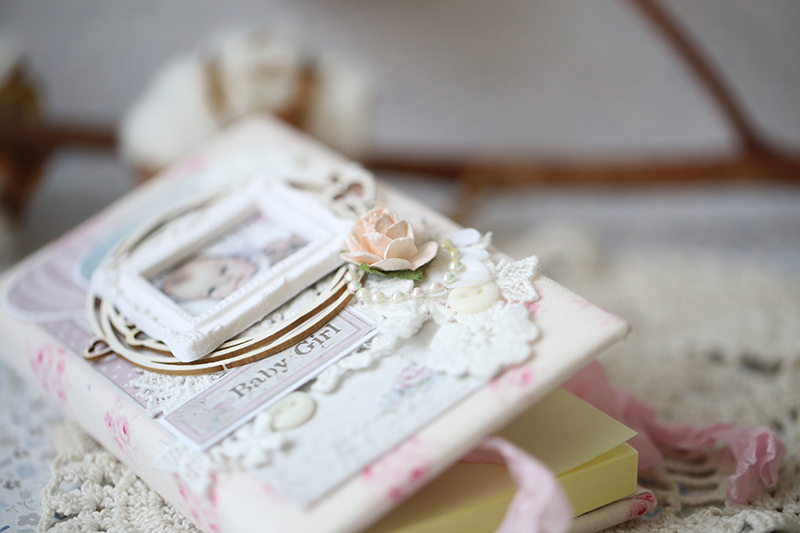
some close ups:

stick_notes_pad_girl_petzer_det1 stick_notes_pad_girl_petzer_det2

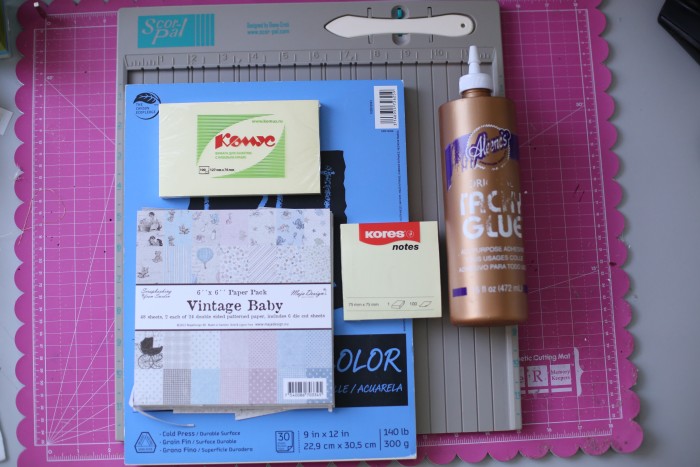
So lets start: Thats basically  what we will need (if you decide to go just with the paper decorations)

MK_pad - 1

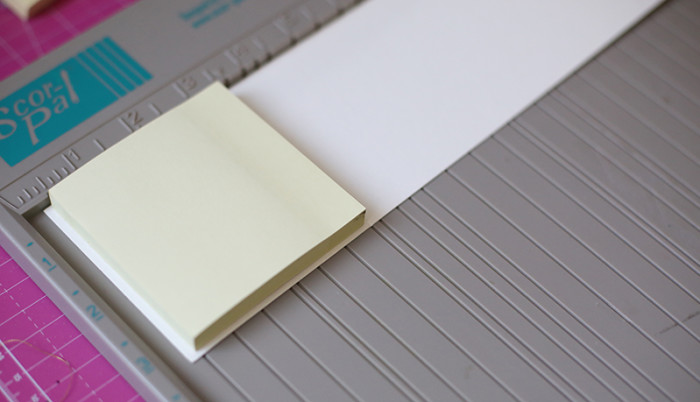
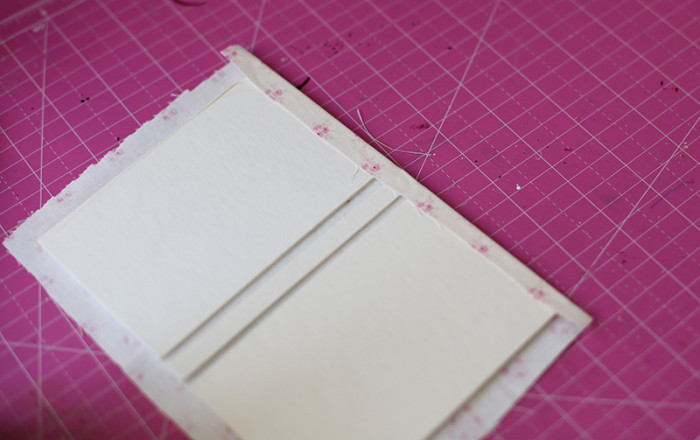
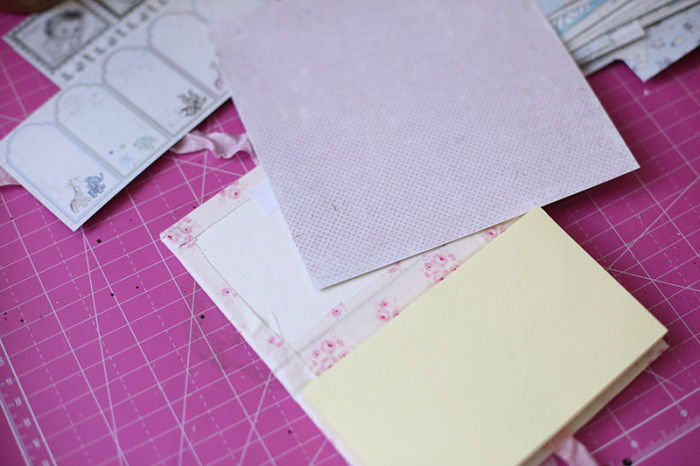
I am not providing the certain measurements here as your sticky blocks may vary… I cut the piece of the thick yardstick (or the watercolour paper as I am using here) the width is about 5 mm bigger than the block itself.

MK_pad - 4

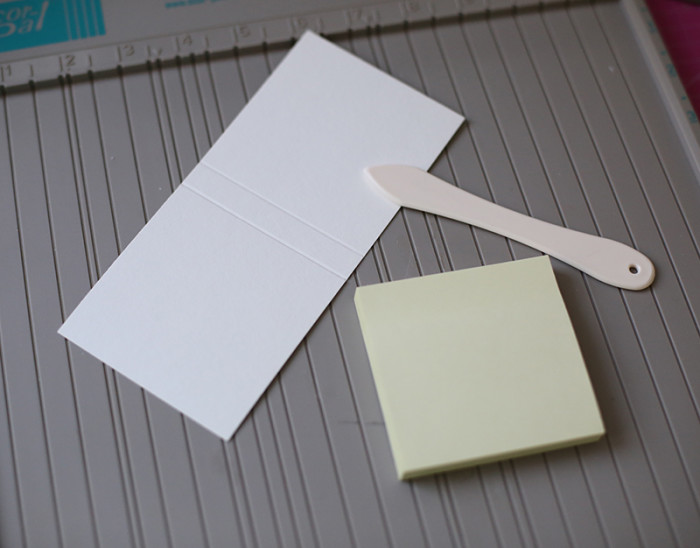
after you score it, you cut the extra length off and here is what you will need to get.

MK_pad - 5

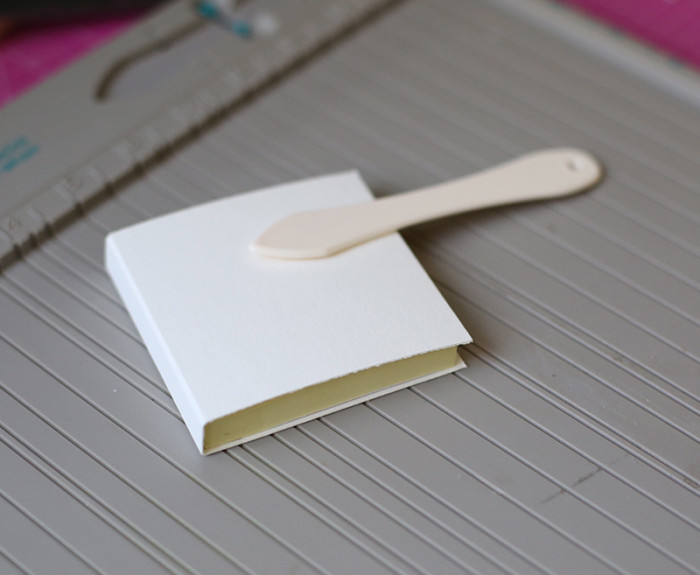
The block inside looks like this.

MK_pad - 6

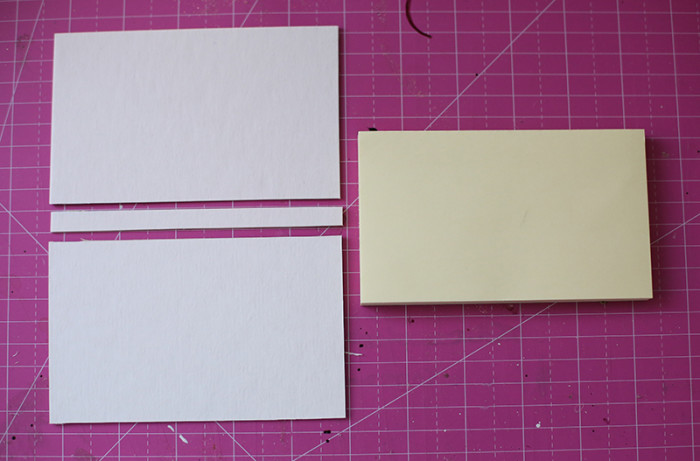
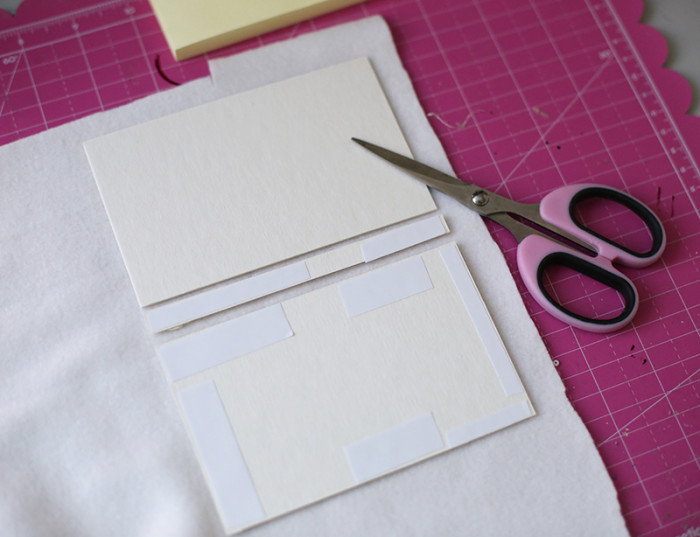
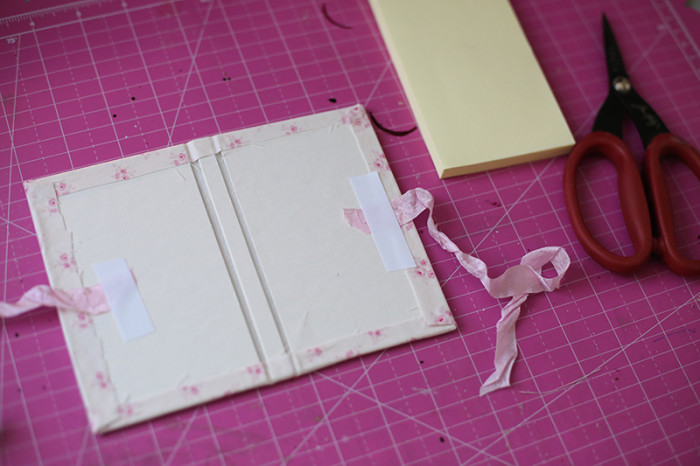
for the fabric covering, we do it slightly different, I use the cardboard for it, to make it even firmer. The larger rectangular are slightly bigger then the block itself (add about 2 mm for each!!! side), where as the inner, thin part is thinner than the block’s part (to make the cover open nicely and smoothly)

MK_pad - 7

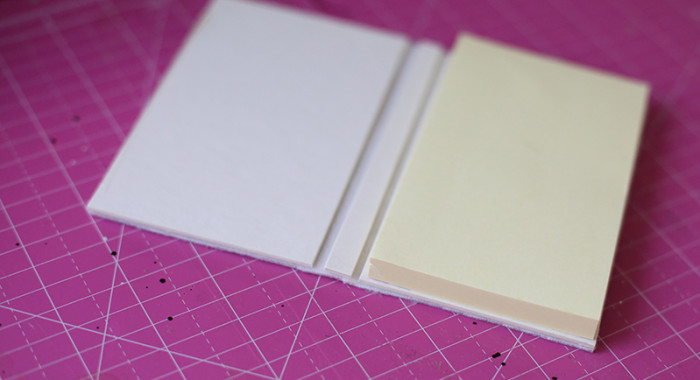
Than we need to attach these three parts to the fleece material (I actually buy the fleece throughs from the IKEA and use them for these type of things)

MK_pad - 8

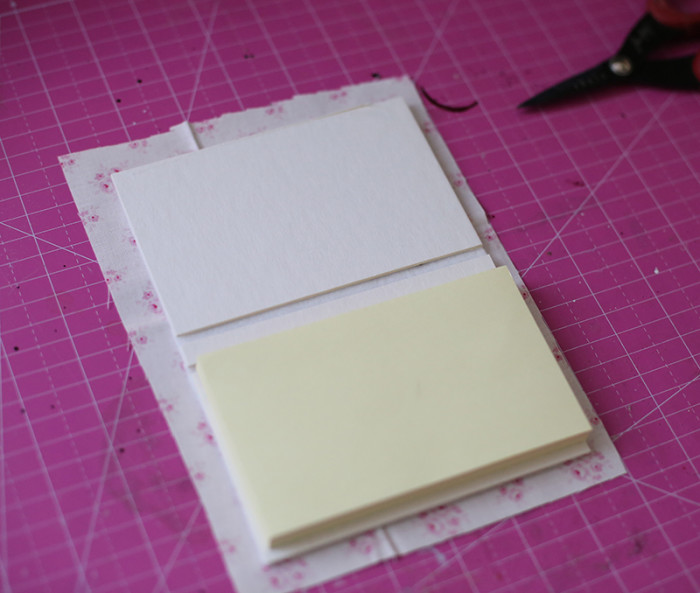
Than you cut all the extra length away and get this:

MK_pad - 9

then you need to pick the fabric, I prefer cotton one and the designs that match my papers that I will use fro the decoration,

MK_pad - 10

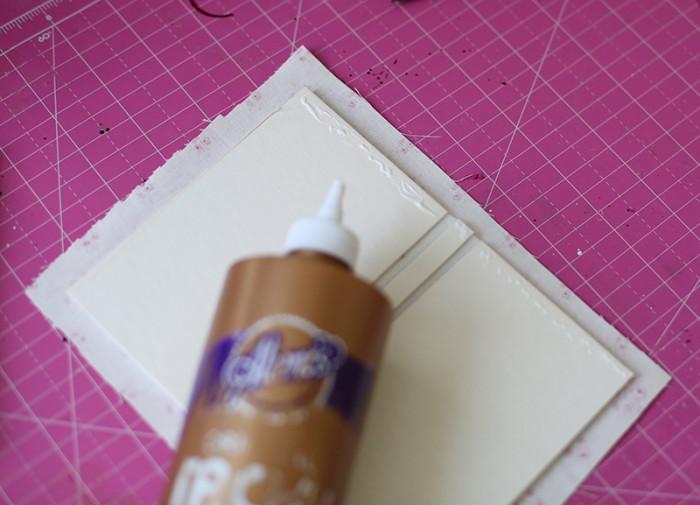
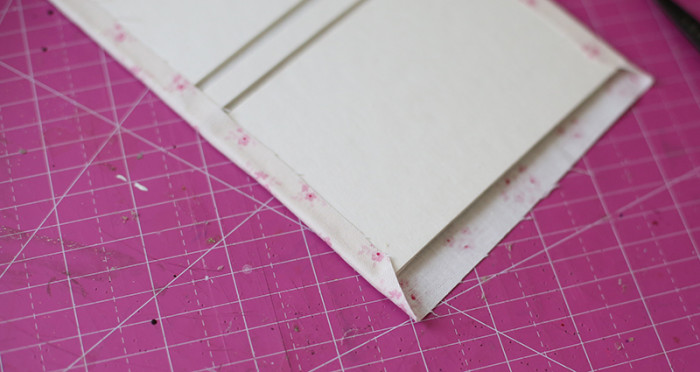
Using the glue, you adhere the fabric inside (start from two opposite sides, than another 2 opposite sides, that will make the fabric lay straight and nice)

MK_pad - 11

MK_pad - 12

the corners of the fabric you can cut as shown, that will help you to get the corners look more nicer.

MK_pad - 13


after bending the corners inside, it will look like this:

MK_pad - 14

MK_pad - 15

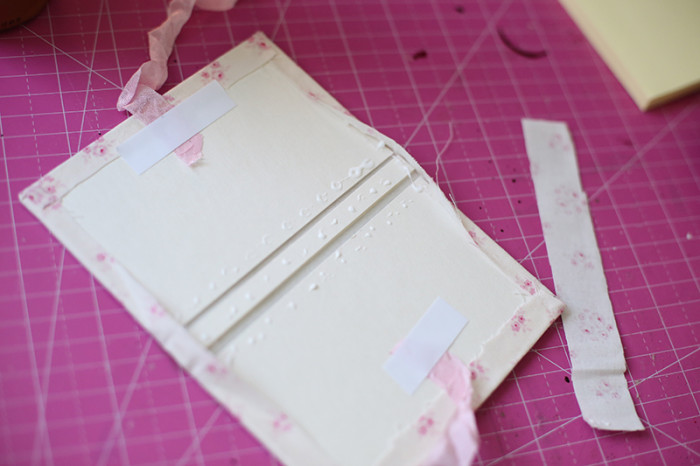
This time I also will put some ribbons to get the more appealing look, the ribbons you attach with the glue and then can also add some sticky tape.

MK_pad - 16

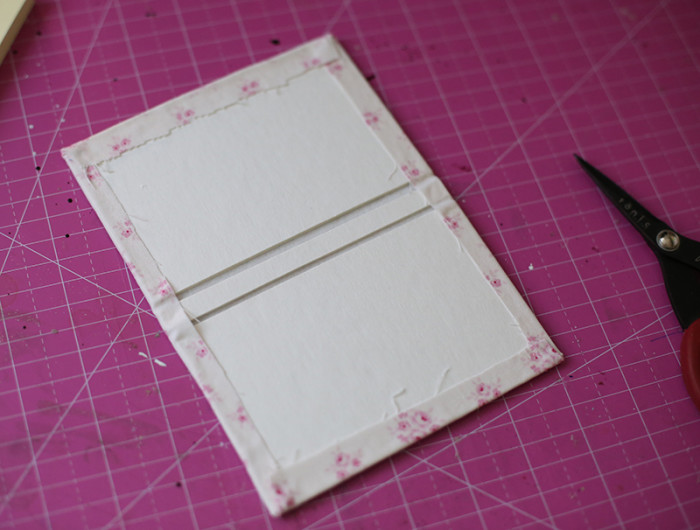
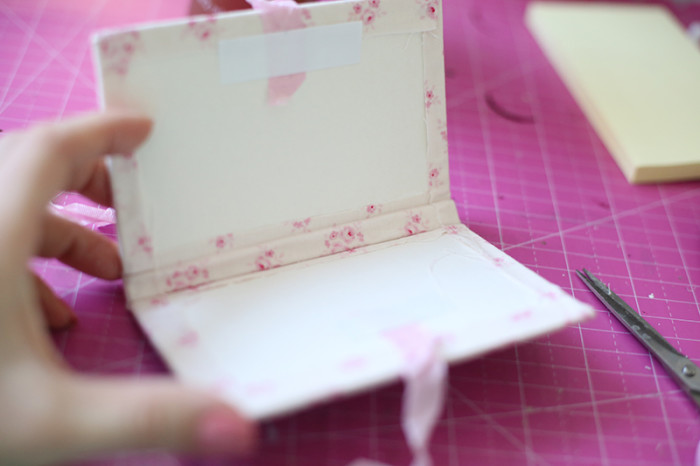
Now we will need to cover the inner part also with the same fabric

MK_pad - 17

here is what we get, you can help yourself with the scoring pen for those two lines.

MK_pad - 18

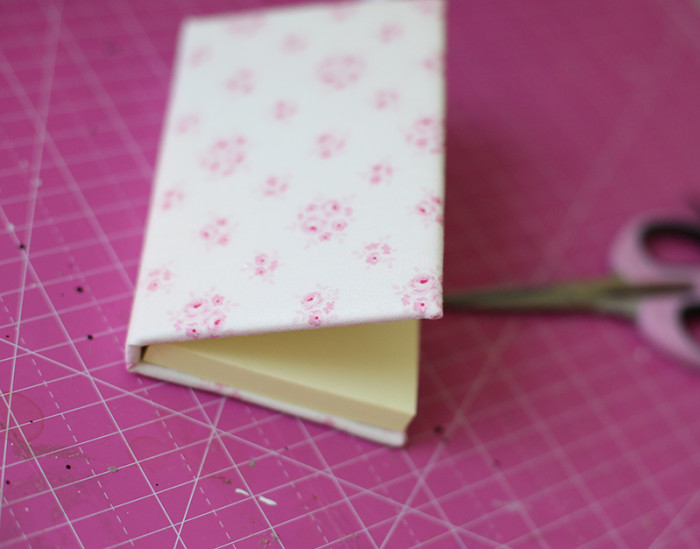
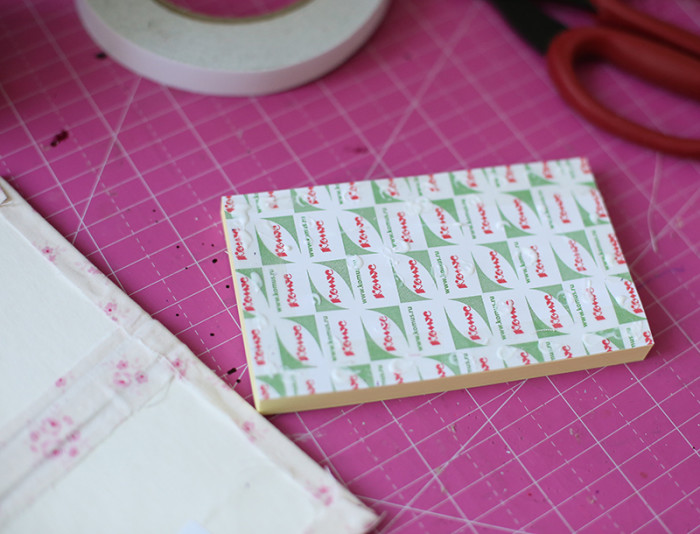
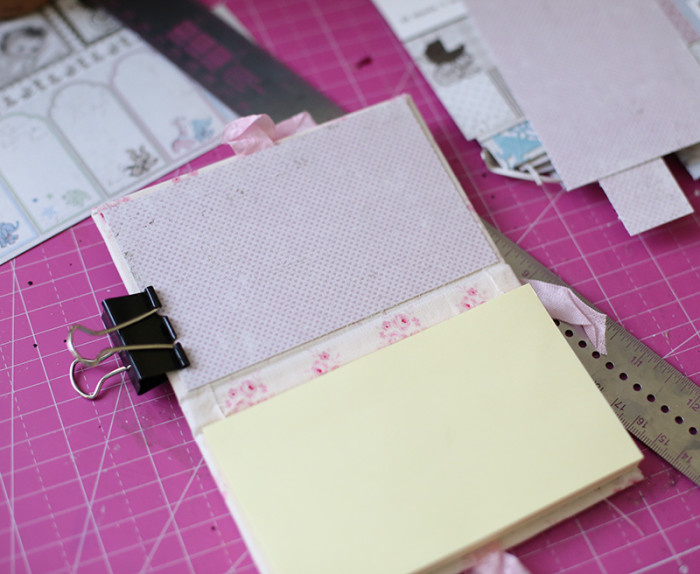
than you put some glue on the stick note pad and adhere it inside of this cover.

MK_pad - 19

Now the nicest part begins- decoration! I pick the paper for the covering.

MK_pad - 20

using the wet glue you adhere it inside.

MK_pad - 21

*****

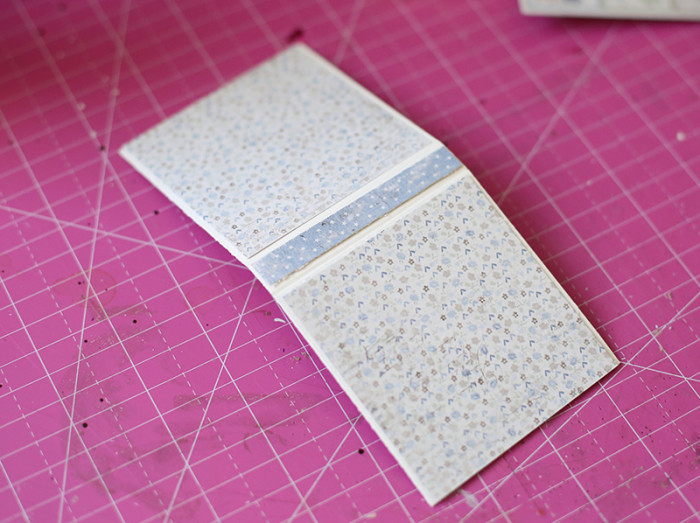
with the paper decoration for the boys’ sample its even easier… I picked two papers for the outside decor and you need to adhere it as shown.

MK_pad - 22

then you just need to decorate your projects as you wish, I always start by picking the main element.

MK_pad - 24Once again- here is the outcome result!

stick_notes_pad_petzer_together

Hope that you have enjoyed this little tutorial and these paper pads can become small nice gifts even for the teachers, if you go with more neutral decor theme.


I have used the paper pad of The Vintage Baby Collection

and the sheet with hot air baloons (New Arrival) for the fussy cutting:


Have a lovely day, 

Vintage Winter Box (Tutorial)

2

Posted by Silje Kristin Aunan

9 October, 2016 -

Write a comment

Hello Everyone 🙂

Today I am ready with a step by step made for Maja Design, I intend to show you how you can decorate various boxes in a easy way.

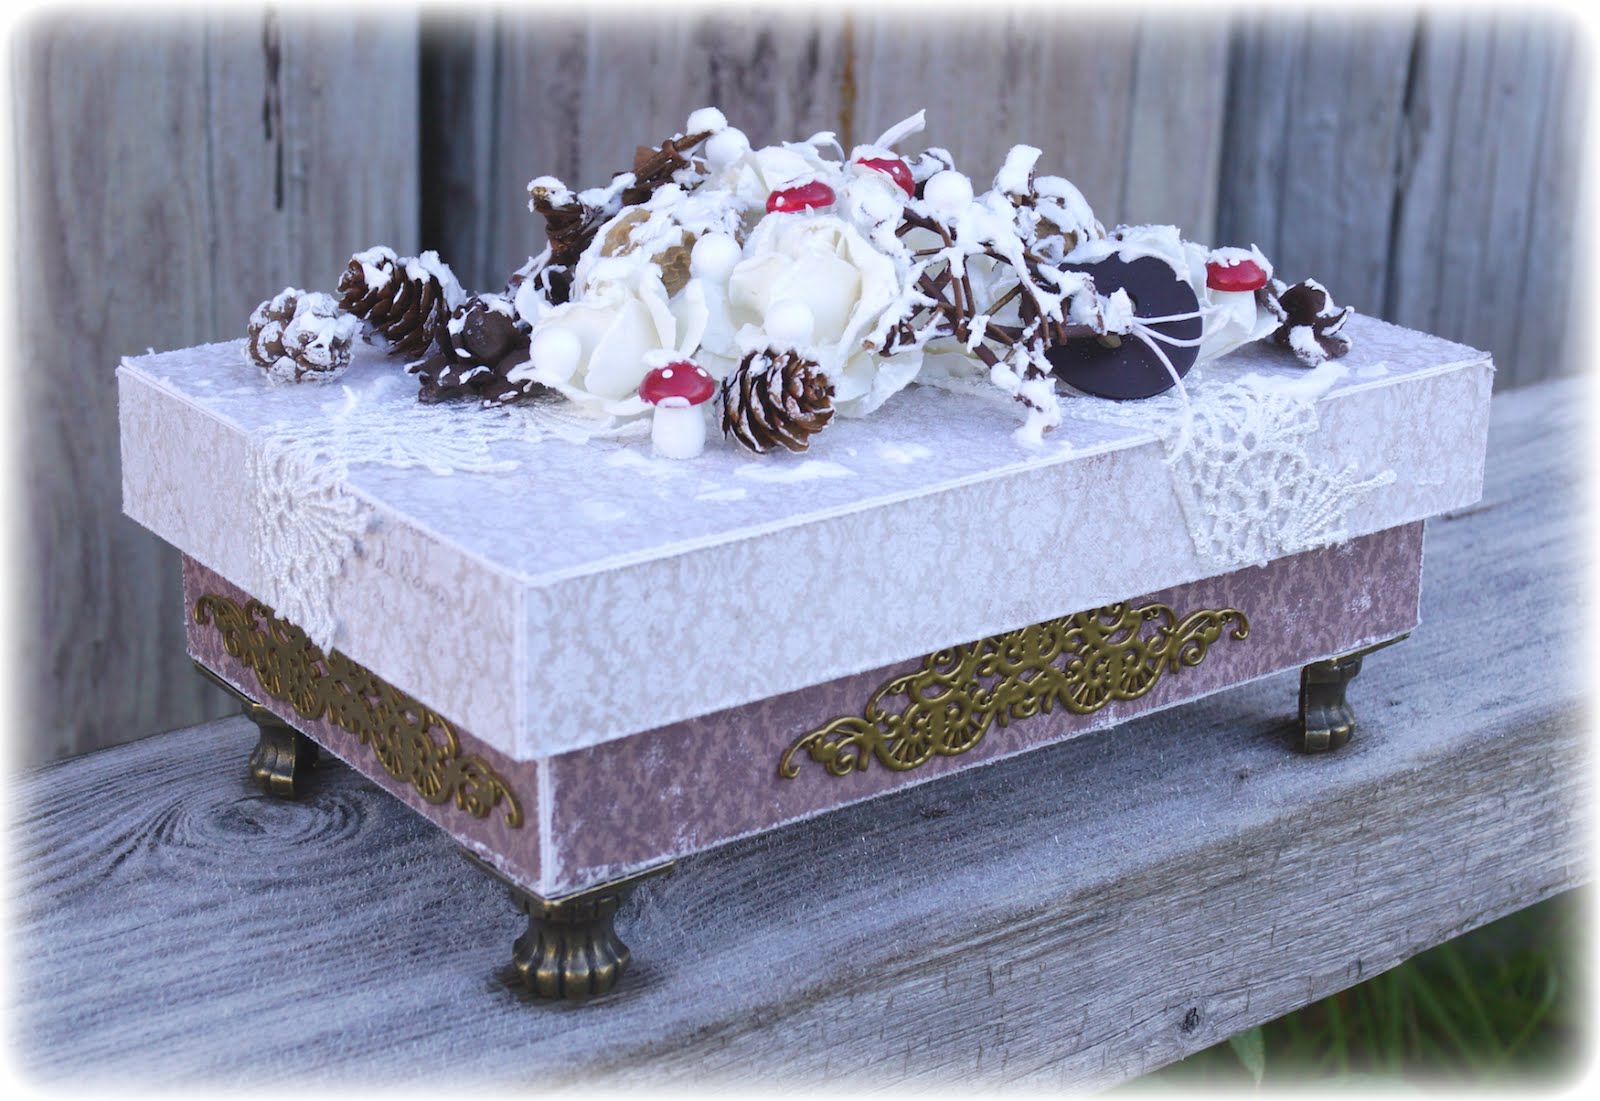
I’ve created a easy box using two papersheets from Home for the Holidays: Traditions and Together.

The explanation of how you can make this box, standing under eatch picture 🙂

STEP ONE:

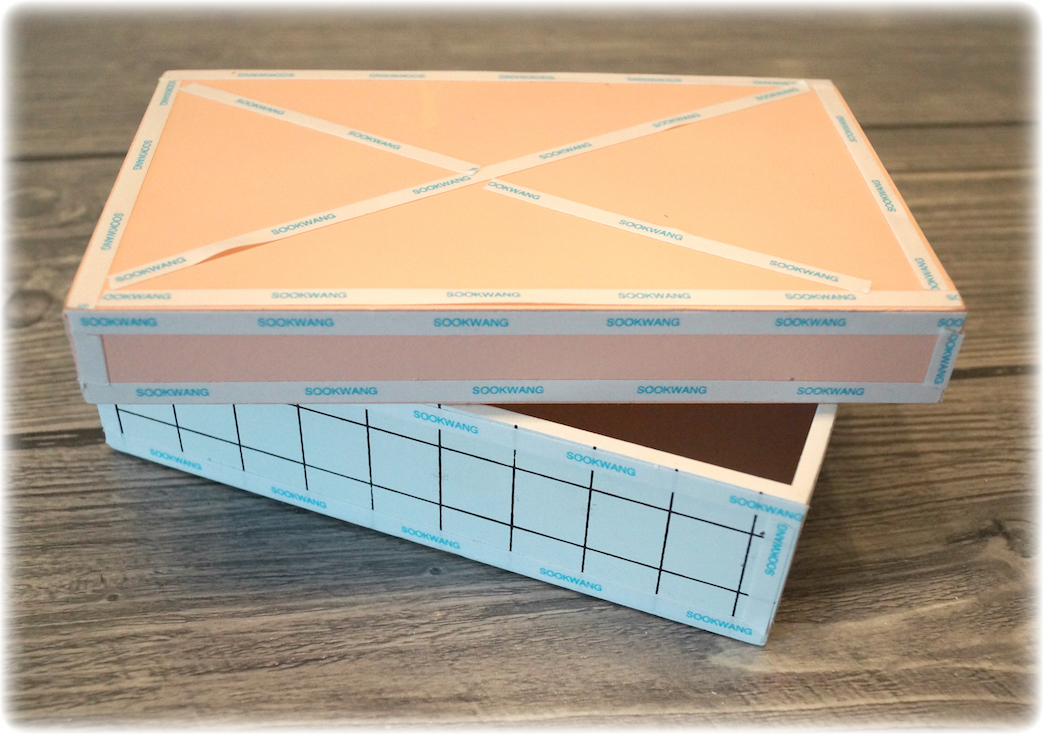
This is the wooden box I have chosen to use. I have used double sided tape on all the edges on the lid and the bottom.

STEP TWO:

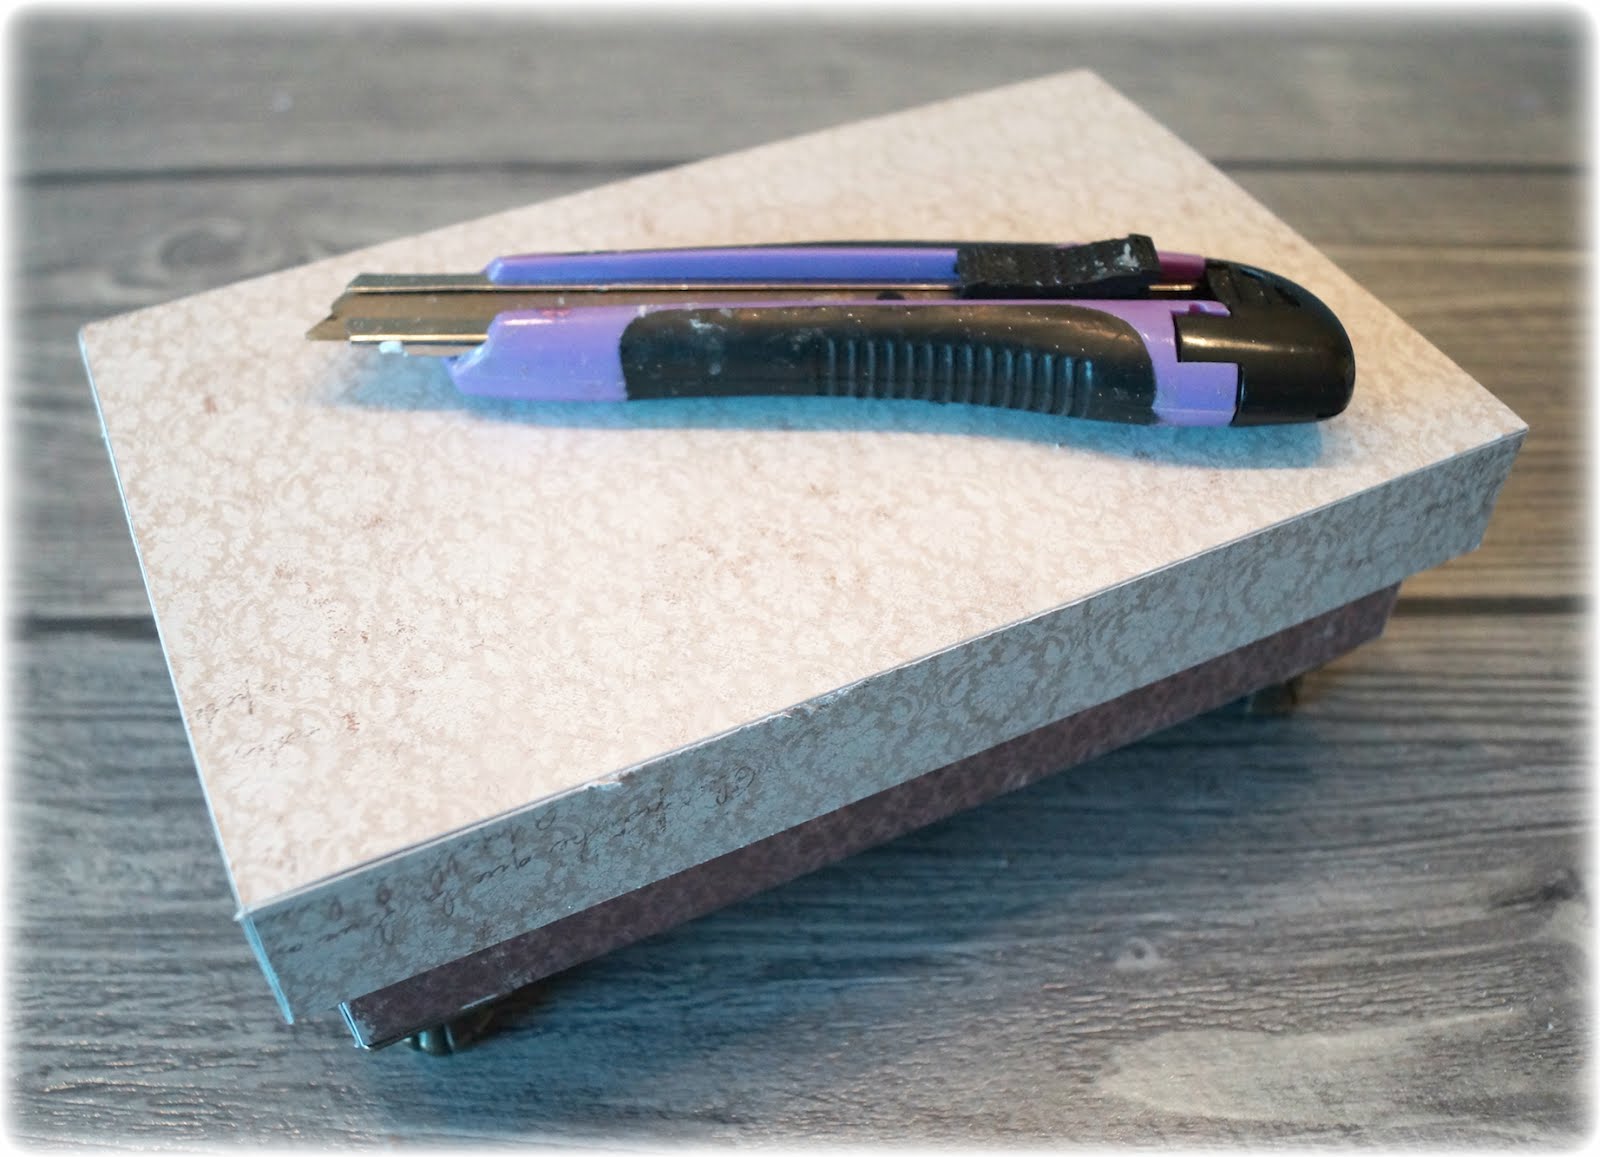
When I make these boxes, I use not a cutting board. I remove the paper off the tape, I put down the page with the tape down on the sheet and use a Knife for cutting around. I do this to the box is covered. It’s an easy way to decorate boxes on, you do not have a measuring the paper and use your cutting board.

STEP THREE:

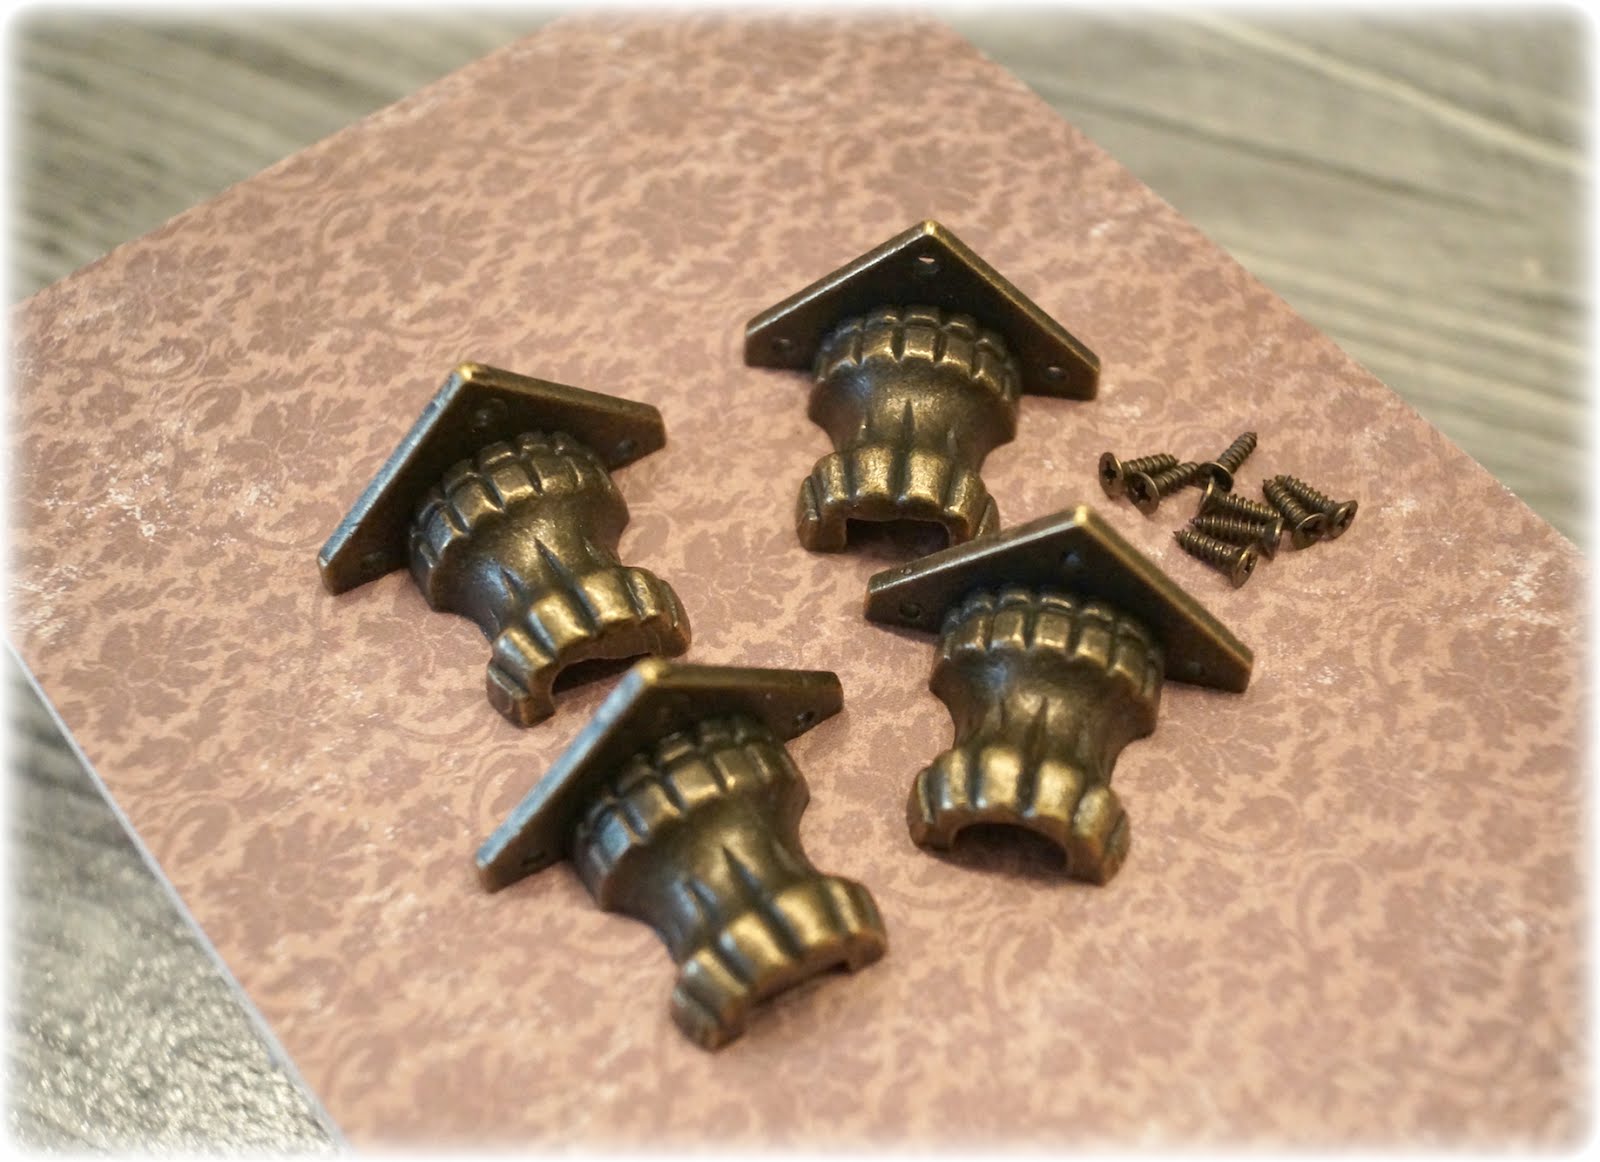
The bottom part of the box, I turn, then I attach the feet in bronze under. In this way the box have something to stand on.

STEP FOUR:

Use a knife to go over all teh edges and scratch the paper. Then you get a vintage look without using ink.

STEP FIVE:

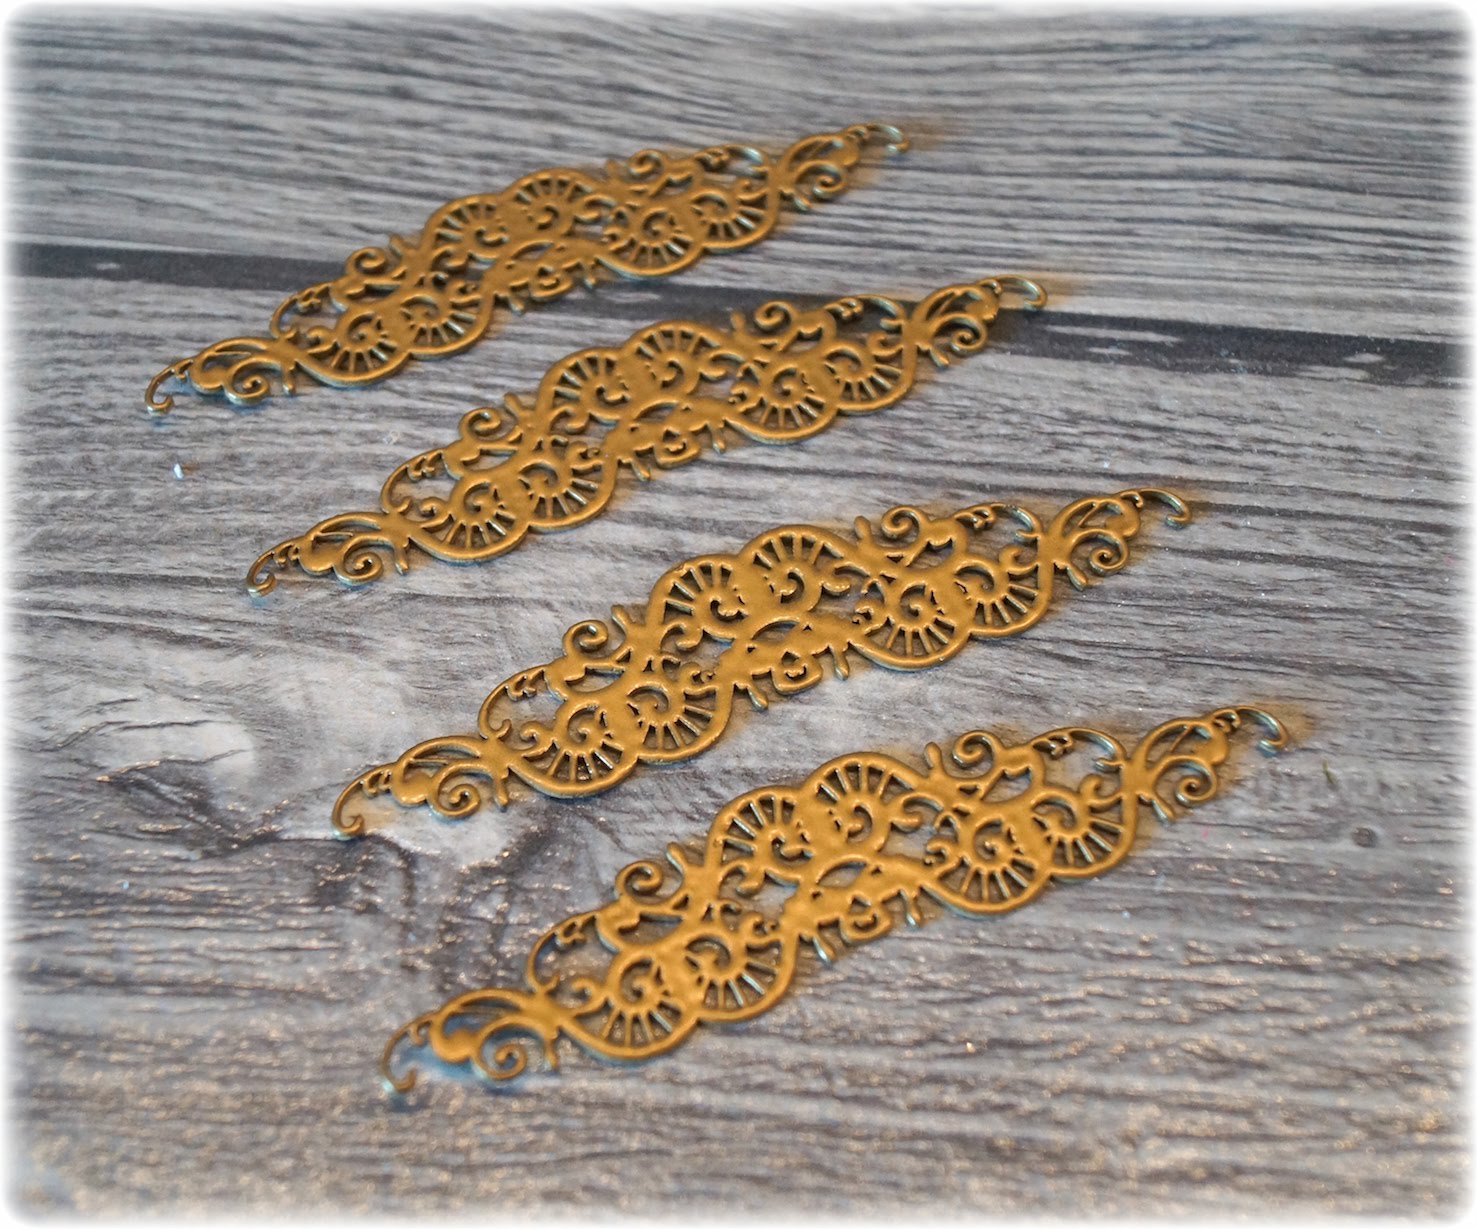
I’ve spent four shipboards from Wycinanka, I’ve embossed them with gold powder before I glue them on the sides of the box.

STEP SIX:

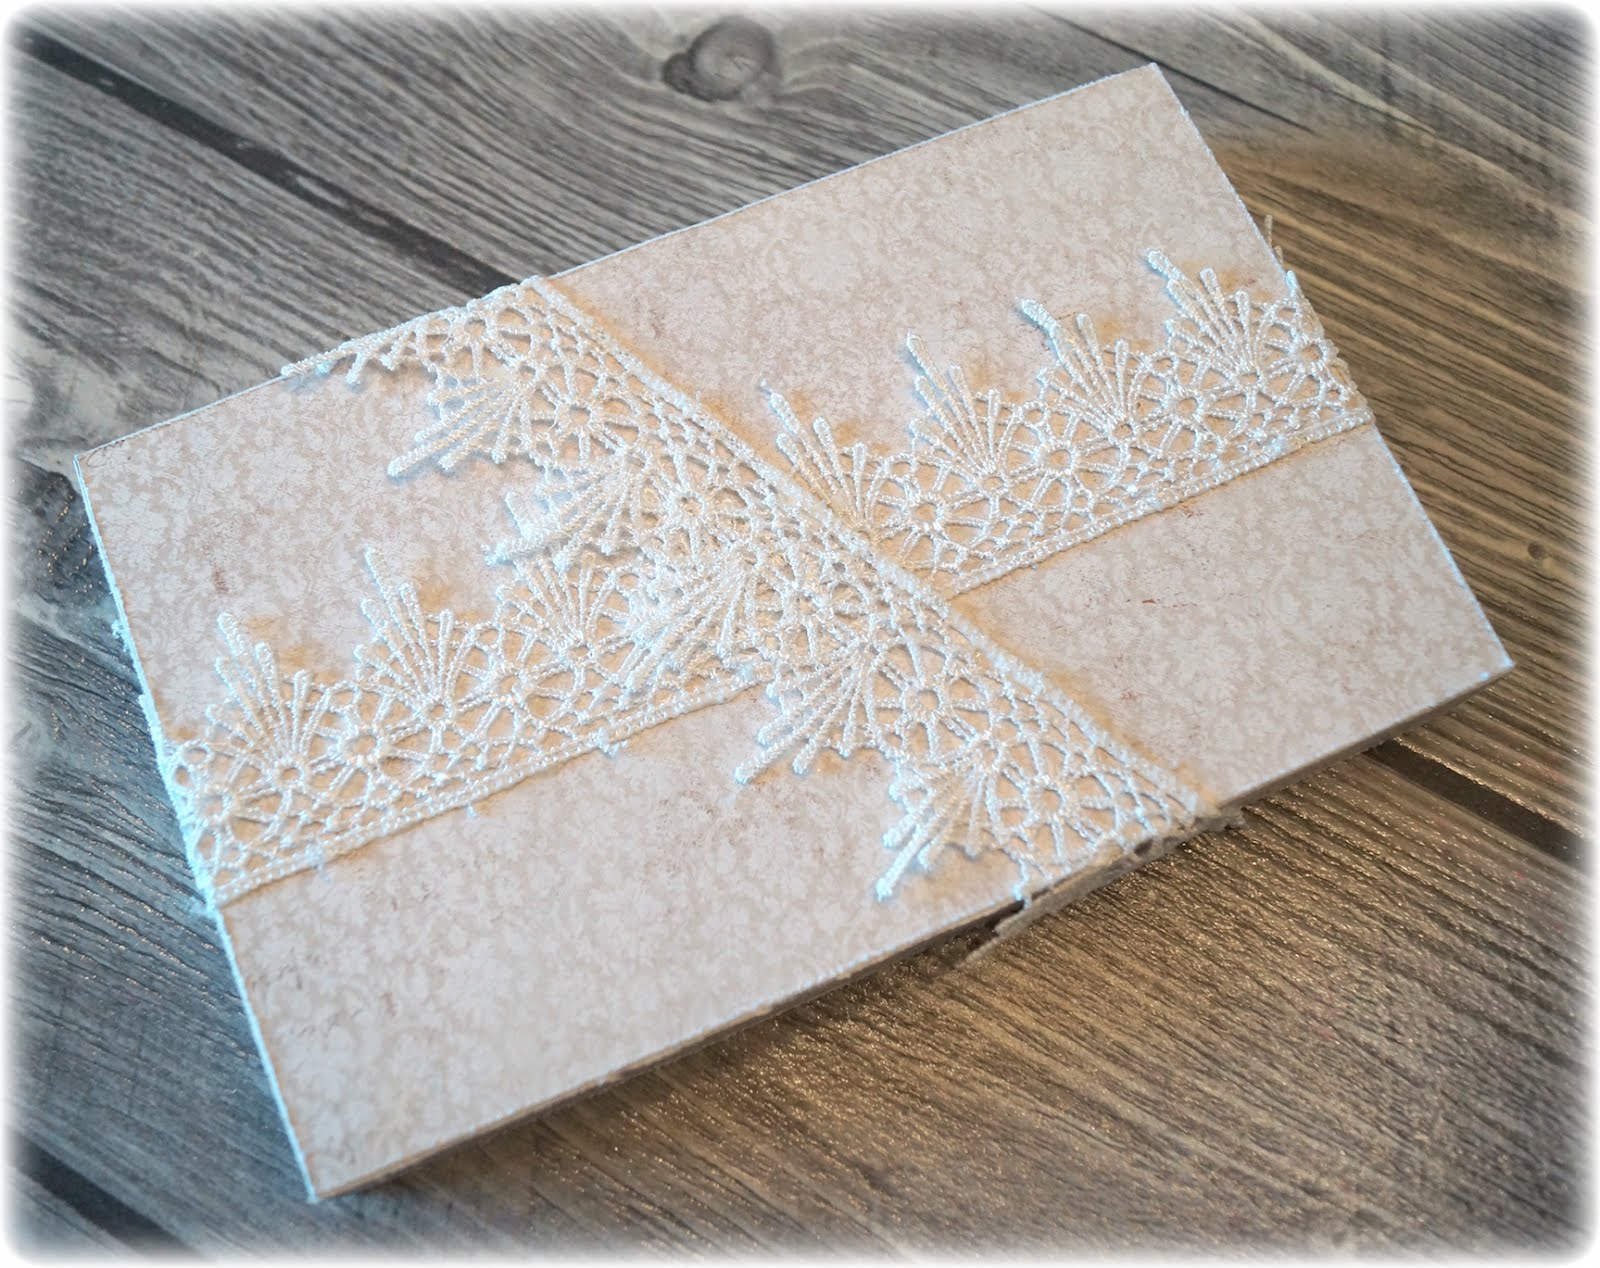
On the lid I have attached some white cotton ribbon.

STEP SEVEN:

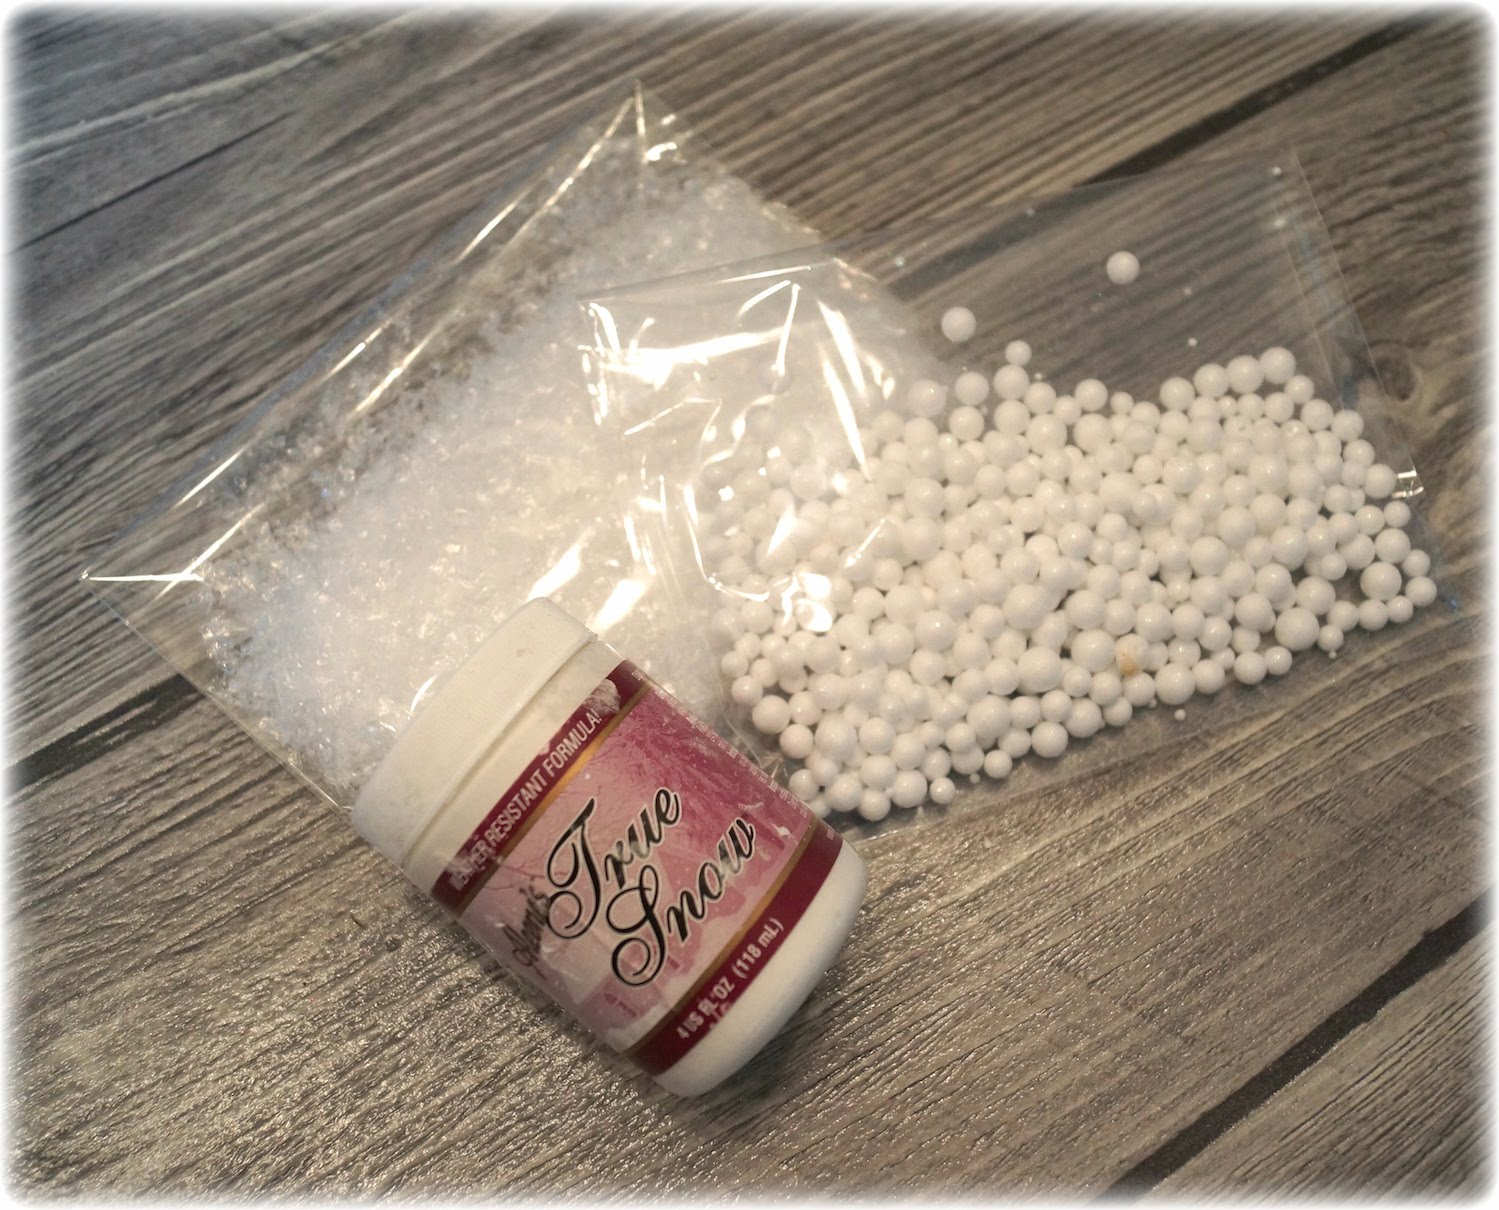
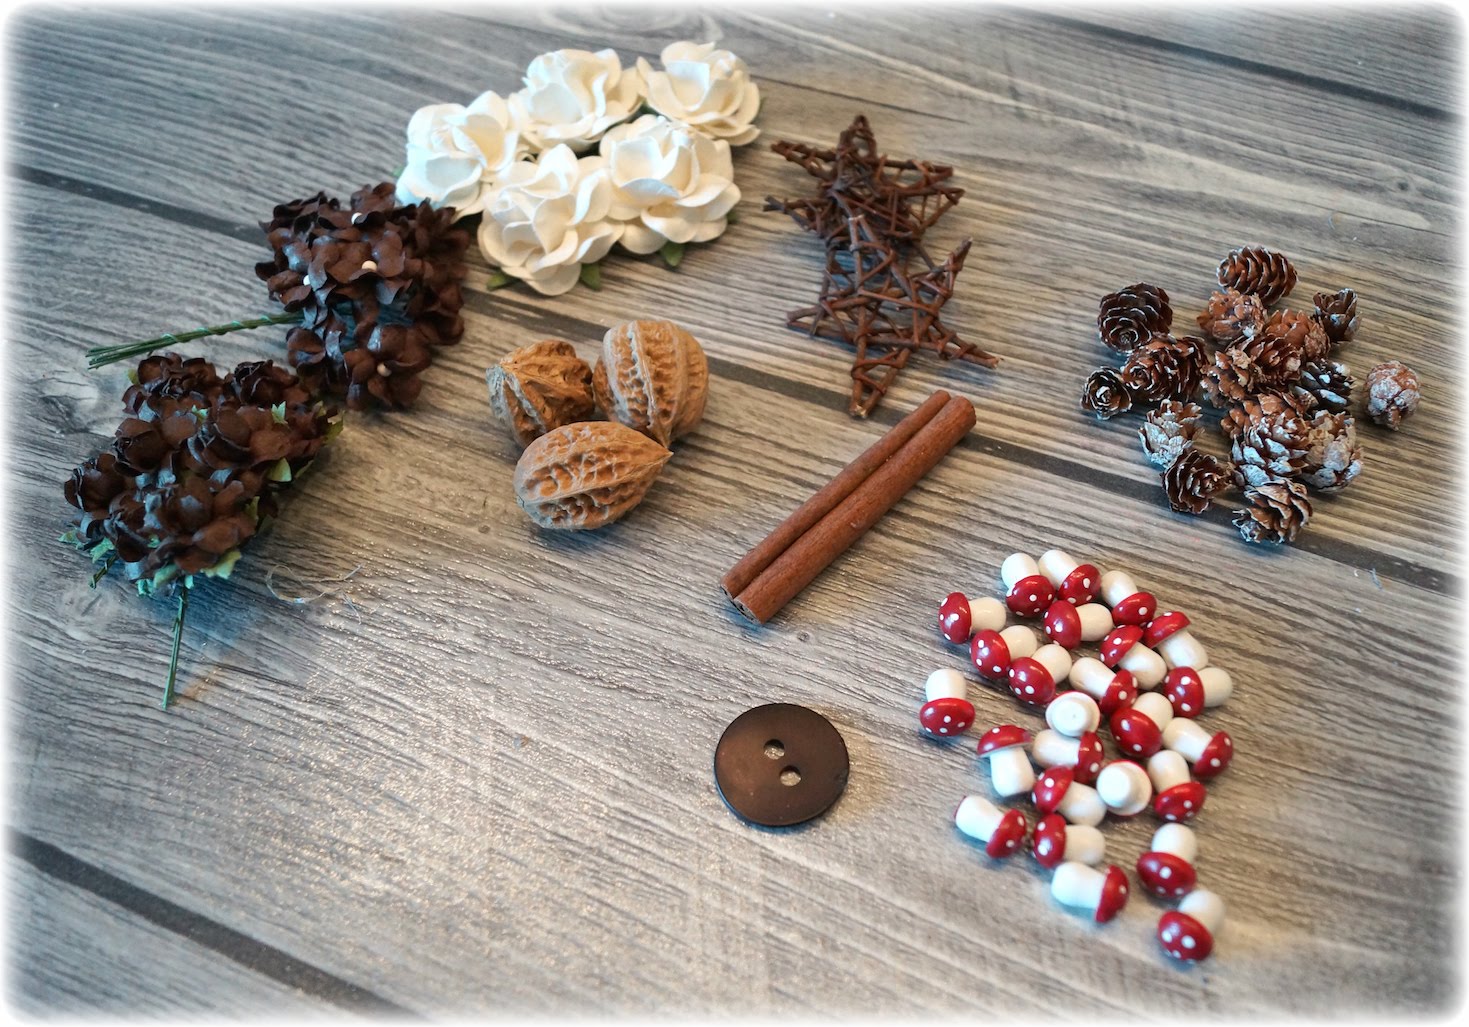
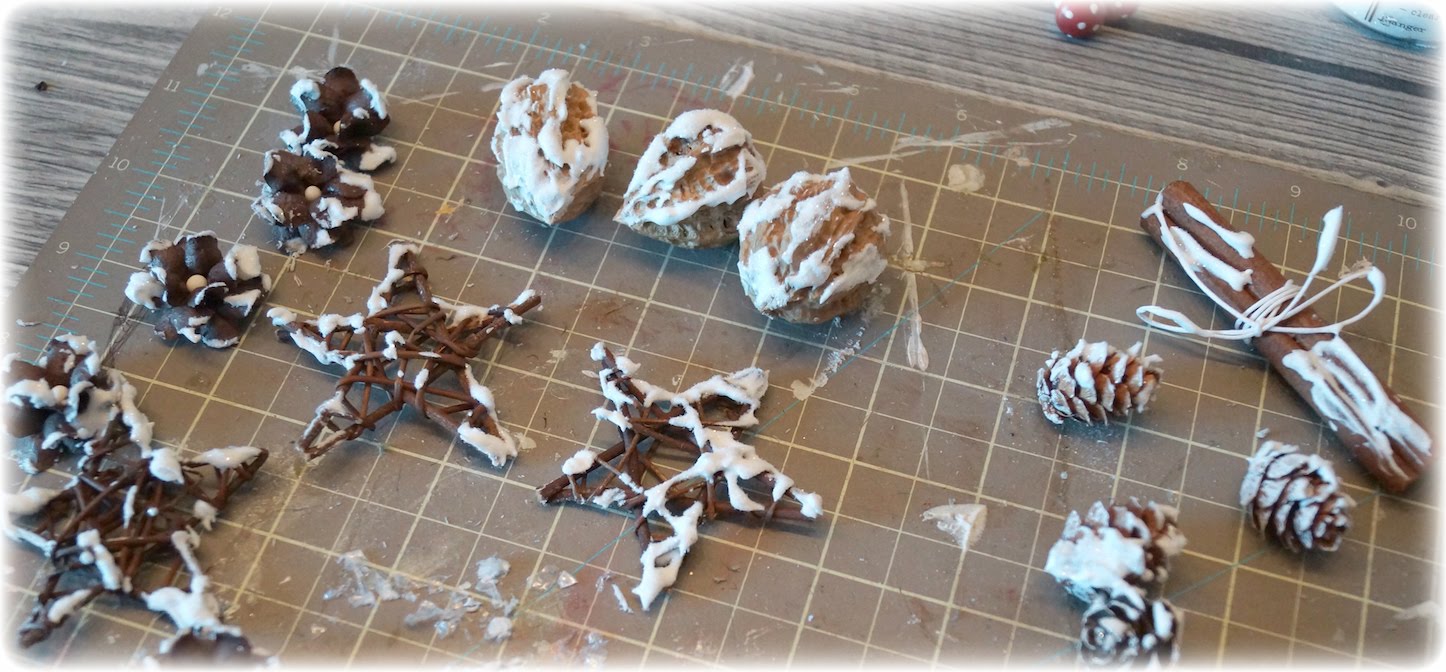
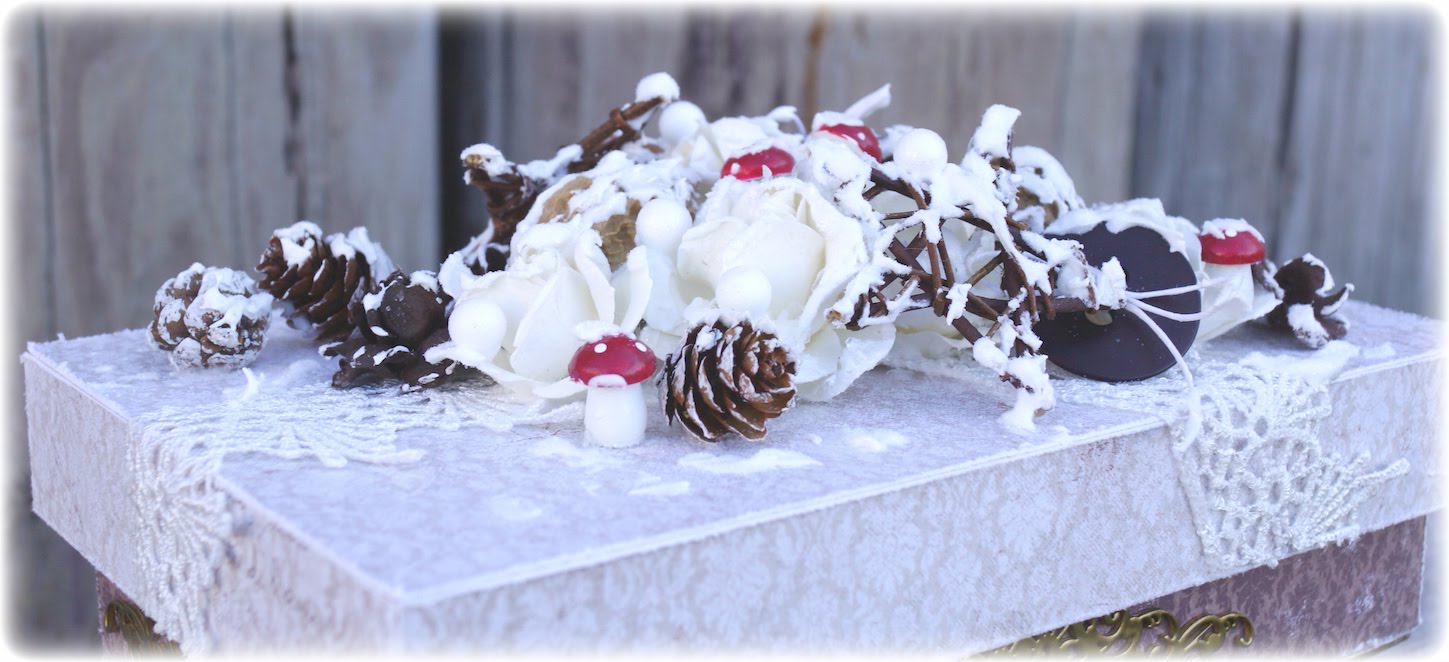
On the top of the lid I have used flowers, walnuts, mushrooms, cinnamon stick, stars and one button. These I have covered with True Snow, Plastik Snow and Glitter.

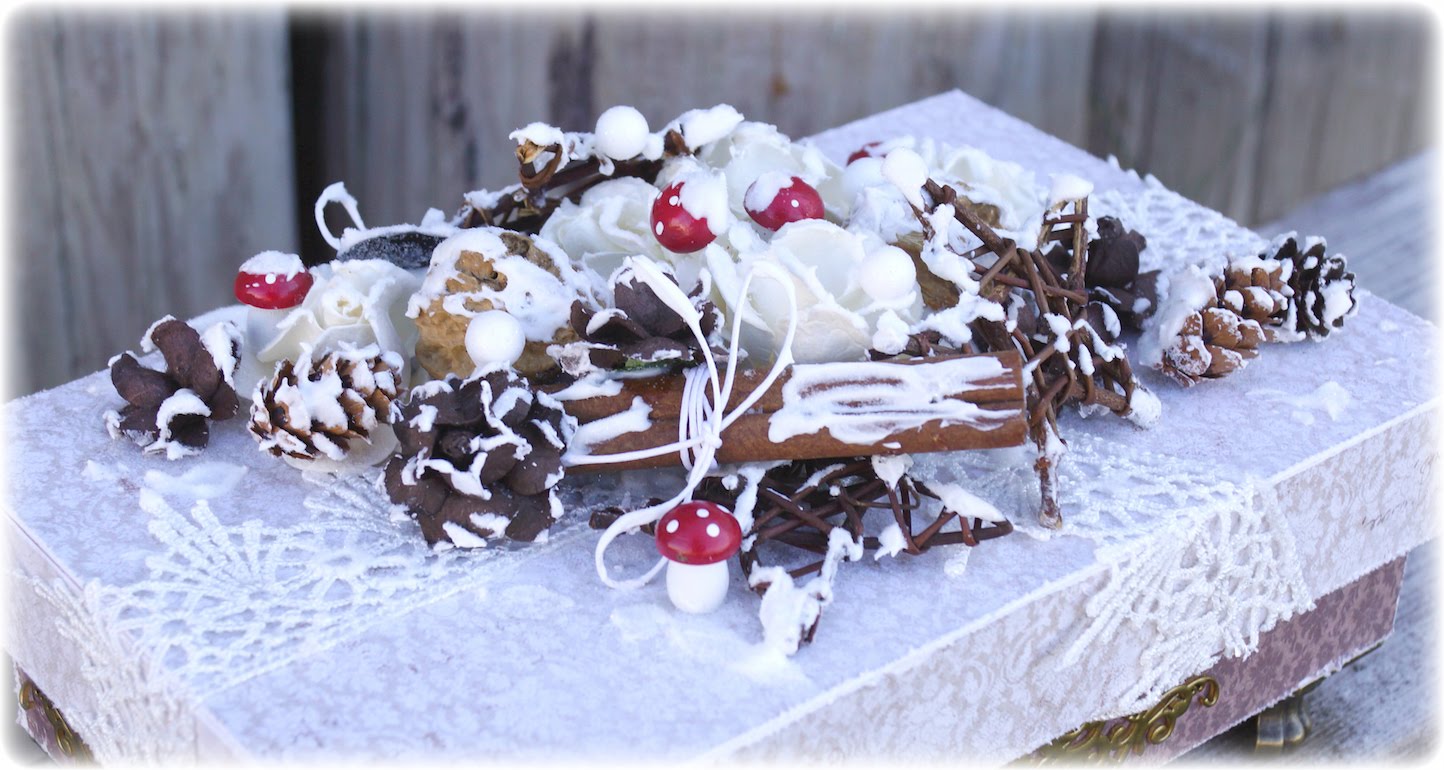
It’s really difficult to take images along the way while placing flowers and details, because I constantly had to move them around along the way. But I’ve done is I’ve just built around three large white flowers until I was happy with the lid.

Then the box is finished. A simple box, but at the same time full of lovely winter details covered with snow and Glitter <3

SiljeKristin-sign


Lollipop card with Maja Design papers {tutorial}

8

Posted by Camilla Støen Bakke

10 August, 2016 - , ,

Write a comment

IMG_4239

Hi there! Today I will show you how I make my lollipop cards with the beautiful Summertime papers from Maja Design. The collecion has two main colours to work with, blue and red. I have chosen the red colour scheme for my card.

Summertime-P

Here comes my step by step:

IMG_4077

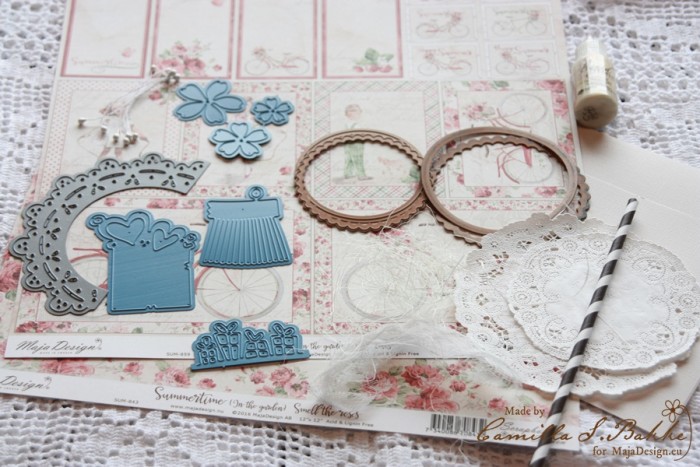
Above you see a collection of dies, papers, doilies, cheese cloth, paper straw, liquid pearls and sissal grass that I have used for my card. The dies are DooHickeys from Magnolia (mainly the club kit vol 5-the blue ones) and Spellbinders (the circles).
IMG_4091

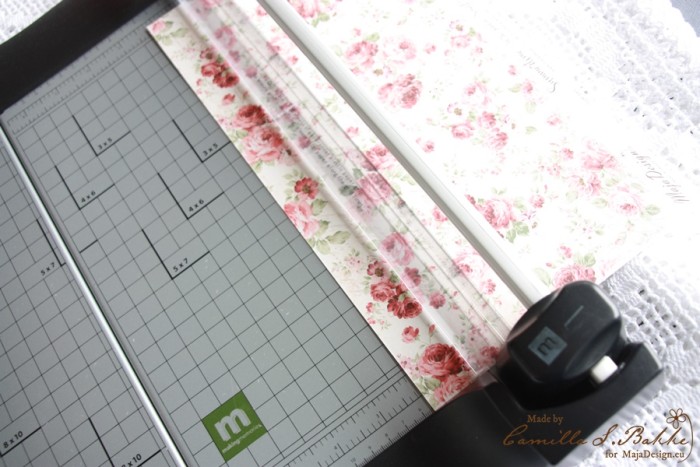
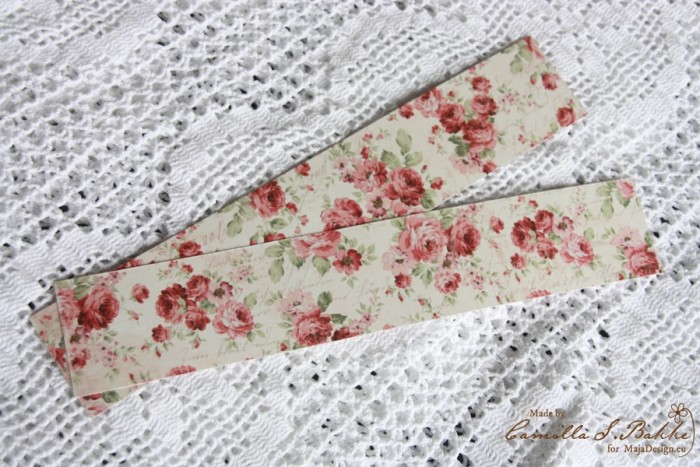
I start with making the main base in the lollipop card, the rosette 🙂 I cut a whole length (12″x 12″) measuring 5,5 cm.
IMG_4092

You will need two of theses.

IMG_4095

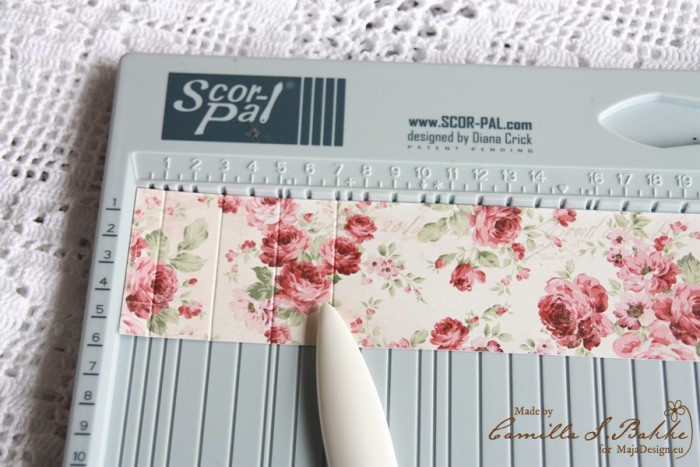
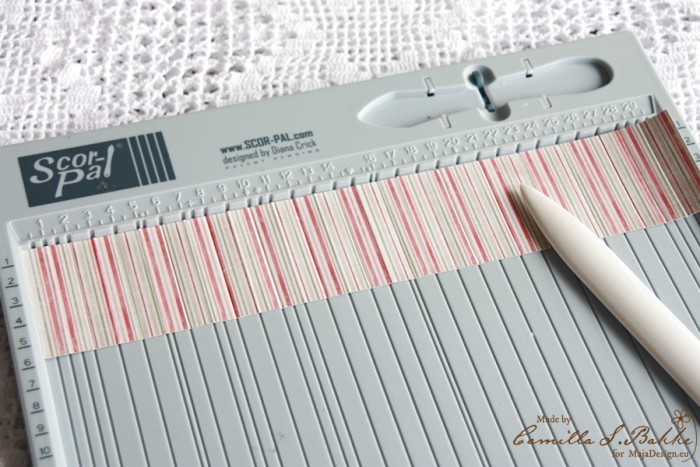
Then I fold the papers using my score pal. If you don’t have one, just fold it with your fingers. I fold every second cm (as you see at 1, 3, 5.. cm).
IMG_4097

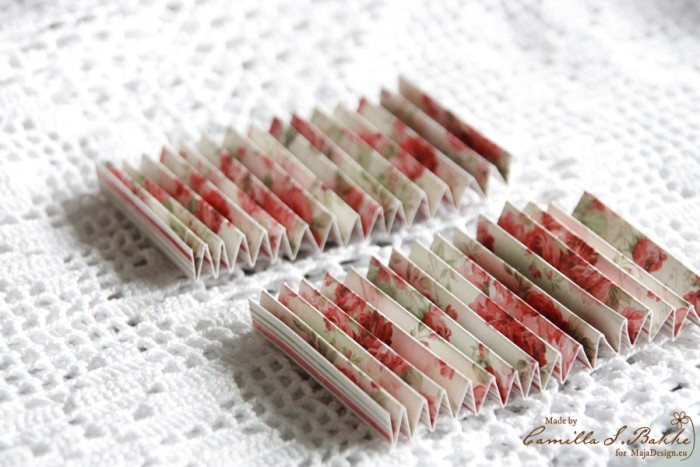
Then I turn the paper around, and fold at 2, 4, 6 … cm. Then I will fold it at every cm.
IMG_4103

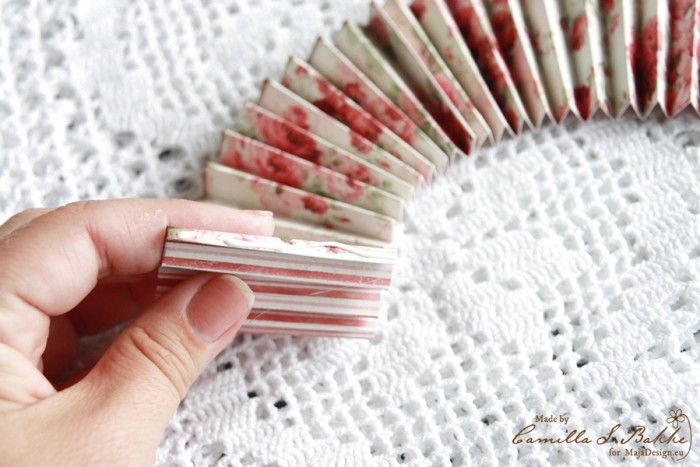
When you are finished, the papers will look like this, two accordians.
IMG_4110

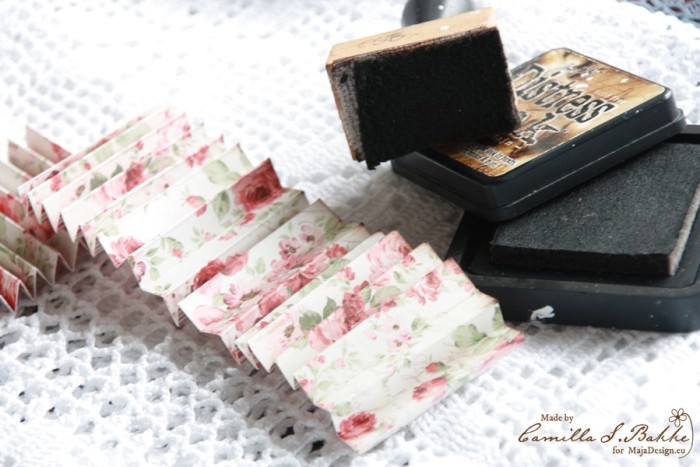
I use my inking tool to ink the edges with the colour Walnut Stain.
IMG_4113

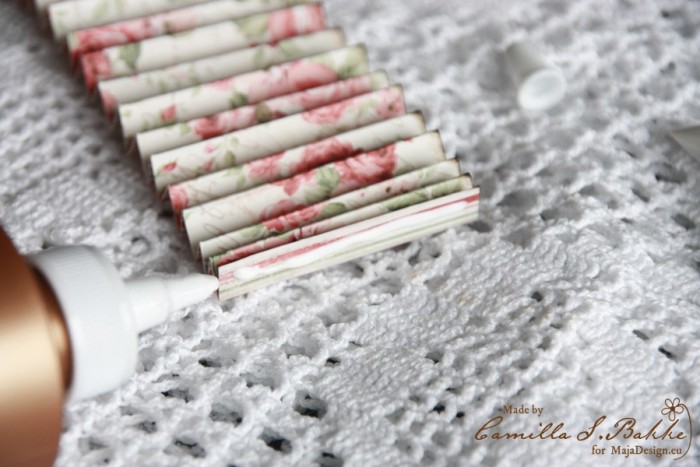
Then I glue the two parts together. I use Tacky glue.
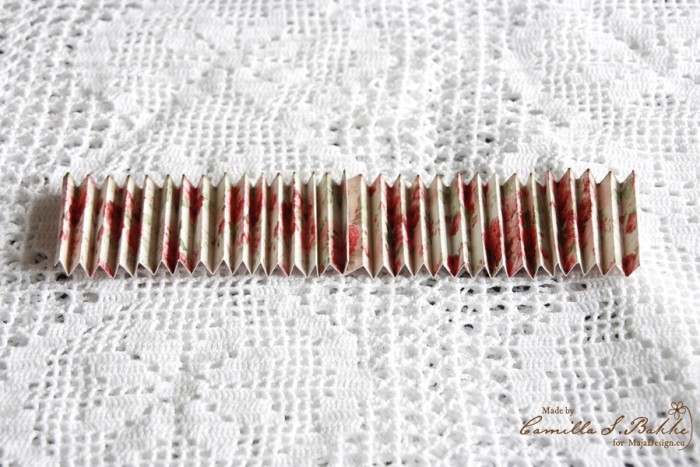
IMG_4114

Now it looks like this.

IMG_4118

Then I glue the two outher parts together. Press it untill it is fasten together.
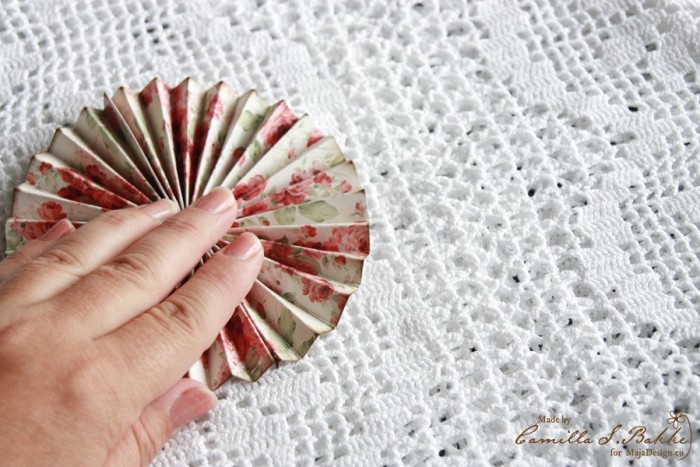
IMG_4120

You will now experience that the paper rosette will not lay the way you want 😉
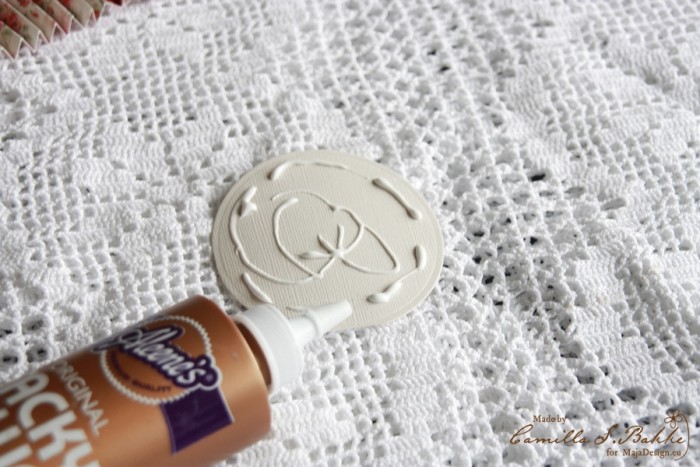
IMG_4117

So you will need a piece of paper to attach it to. Use more glue…
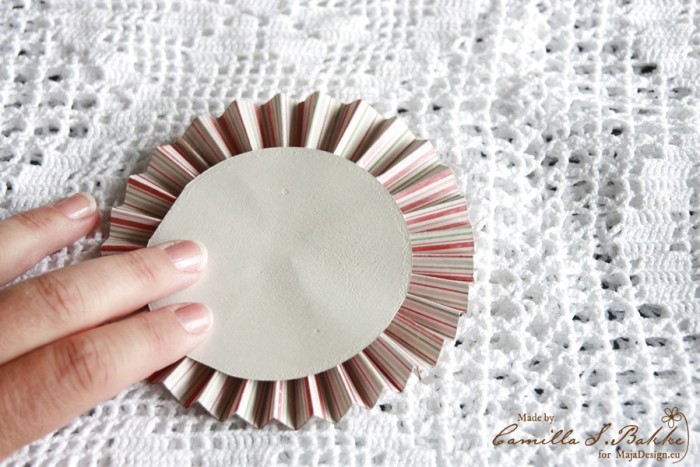

IMG_4125

Place it on the back of the rosette. And press untill it is fasten.
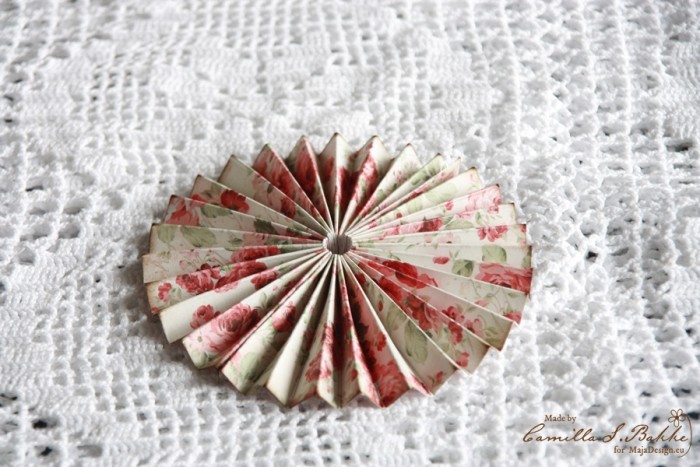
IMG_4127

Now your rosette will look like this.
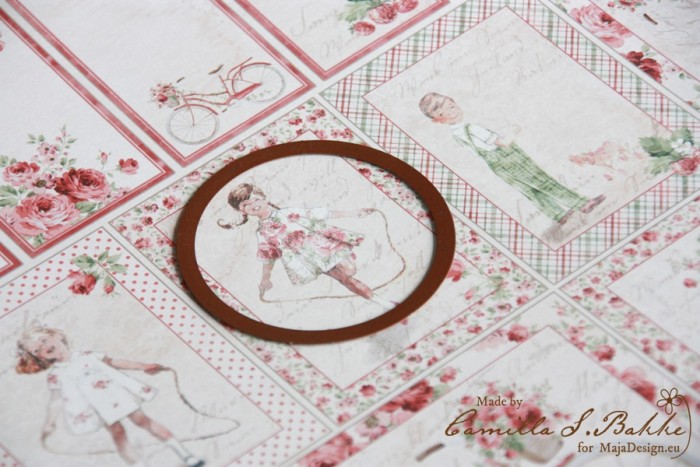
IMG_4128

I will use this gorgeous girl as the main image.
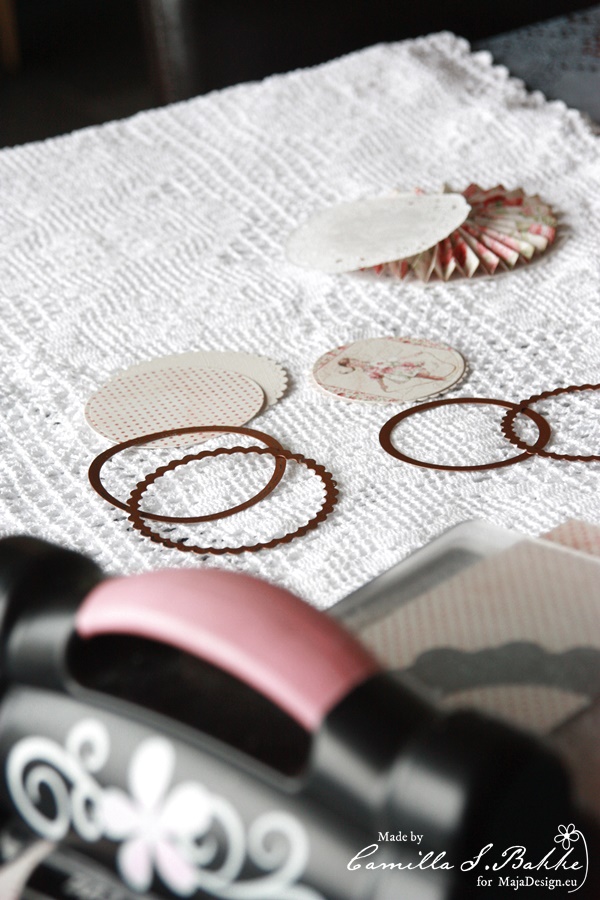
IMG_4139

I will now cut out all the other parts.
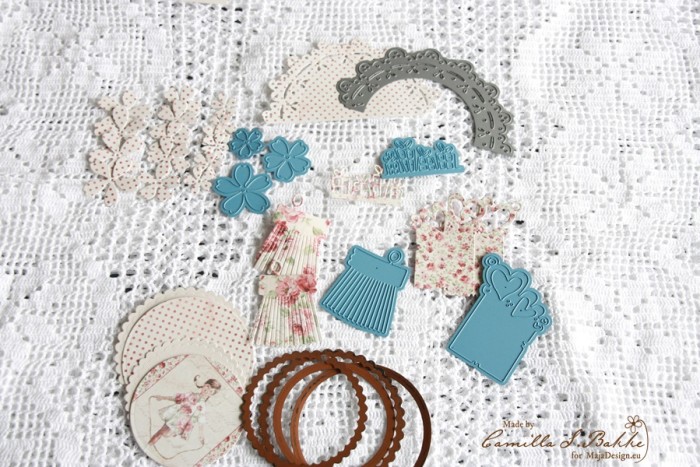
IMG_4142

Here they are. The papers are so beautiful! Like as all the parts are small treasures.
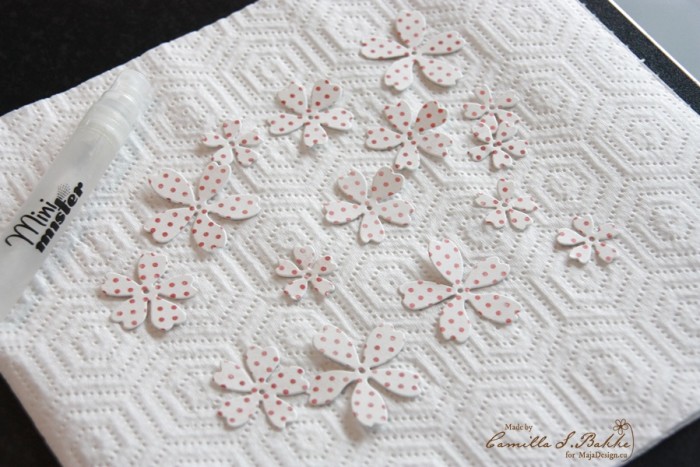
IMG_4152

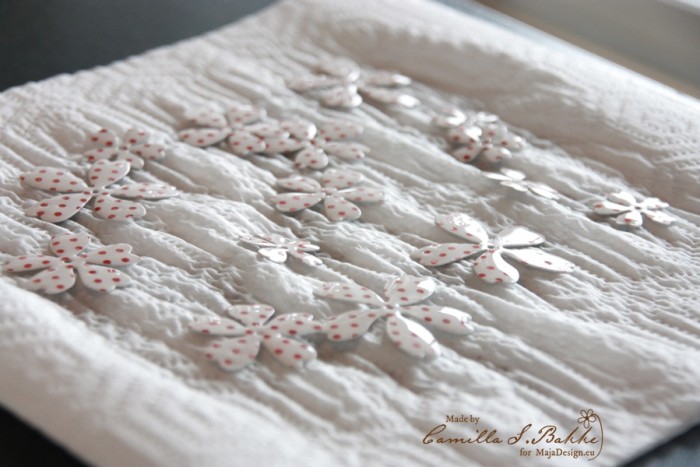
To make the flowers crumpled, I first spray them with water.
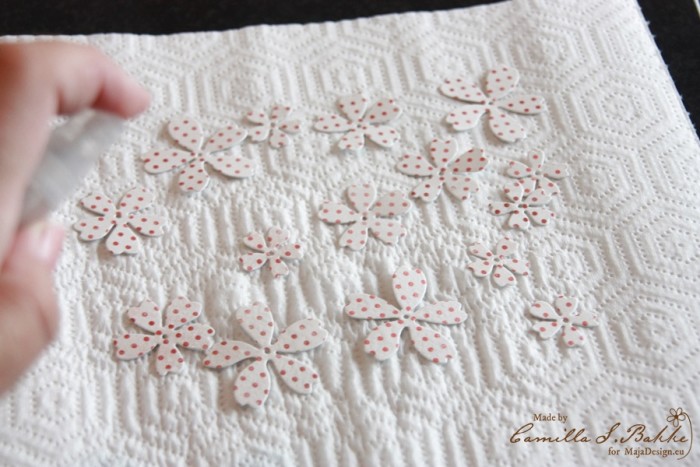
IMG_4155

..like this 🙂

IMG_4159

They are thick papers, so you will need some water.
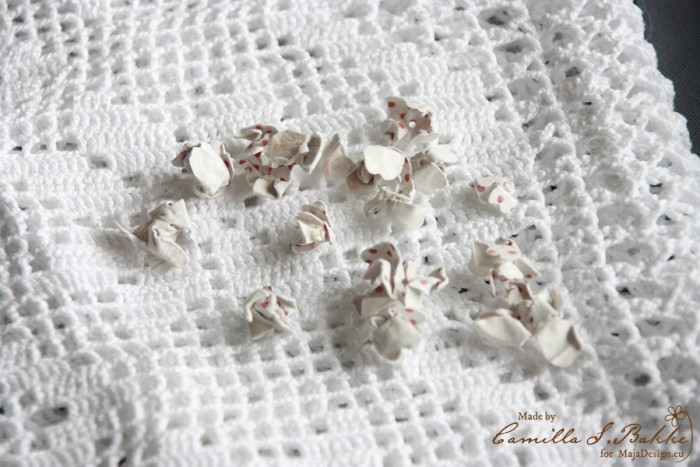
IMG_4162

Then curl them together, and let them dry.
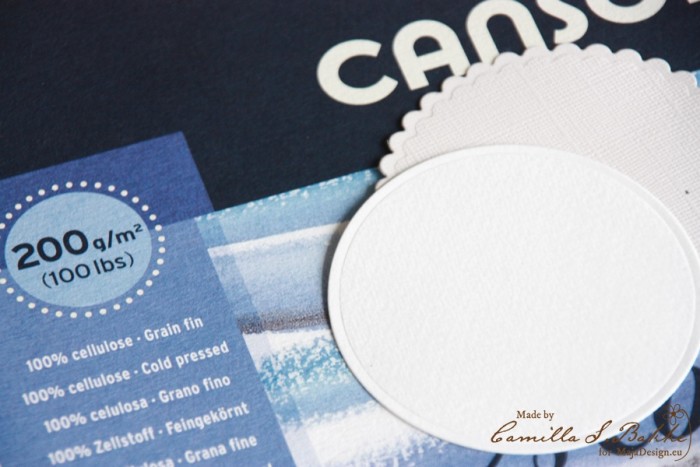
IMG_4166

Meanwhile I prepare the back of the card, where I will place a piece of paper to write a greeting on.
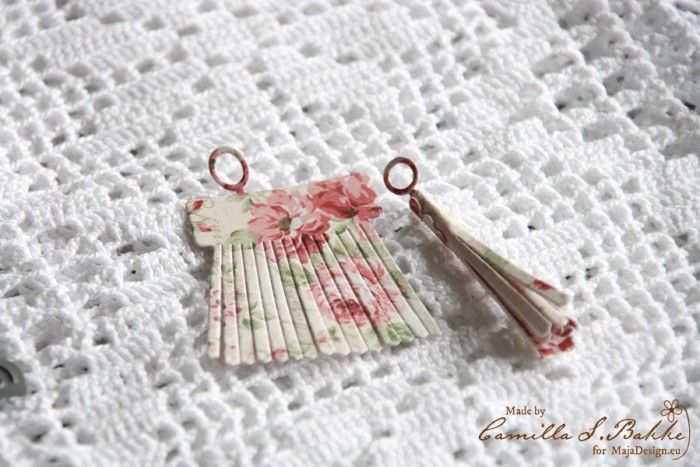
IMG_4168

I am also making the tassels. Just love them! Too cute 🙂
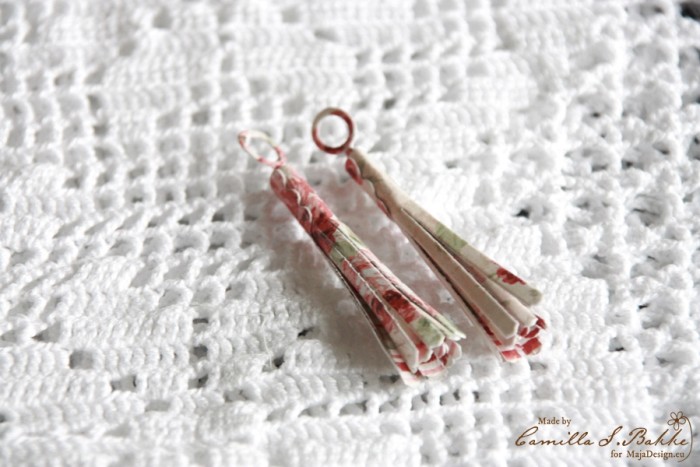
IMG_4170

Here they are both, rolled together.

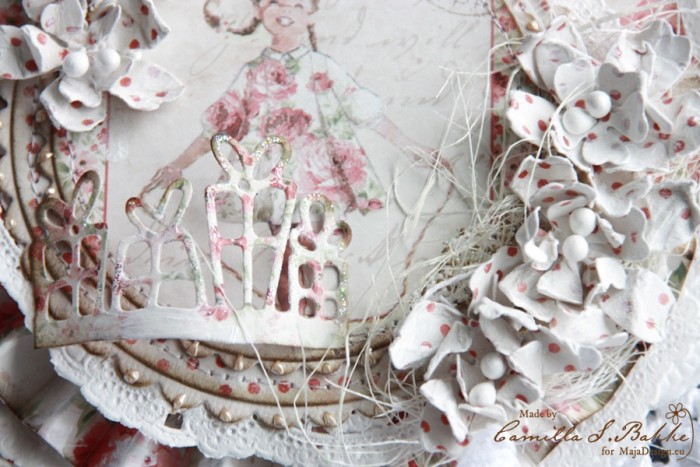
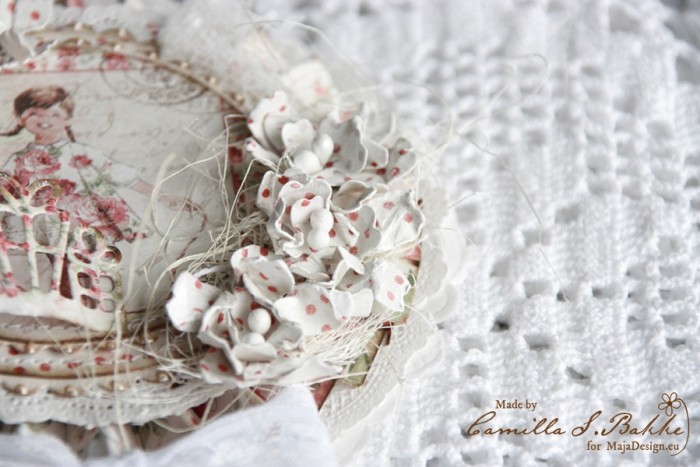
I will now show you how the lollipop card turned out:
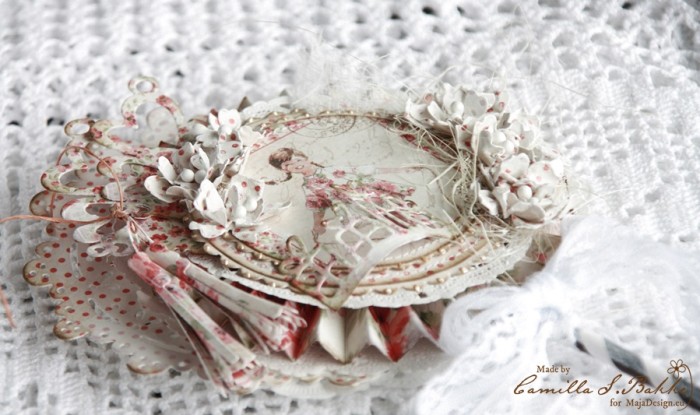
IMG_4199

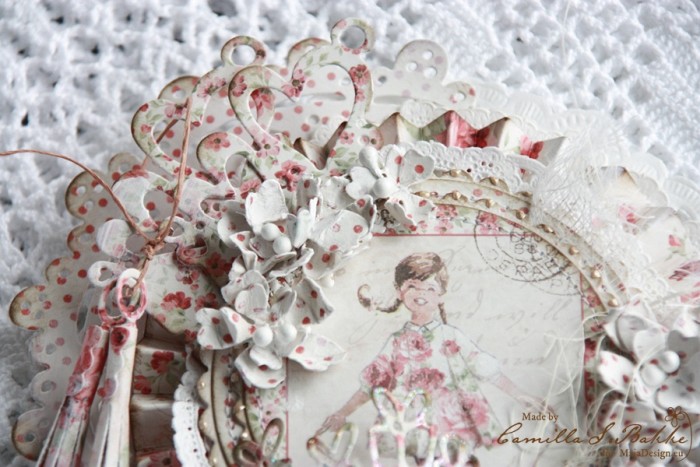
I have also added some white gesso on the flowers and the rest of the papers. And also put stamens inside the flowers.
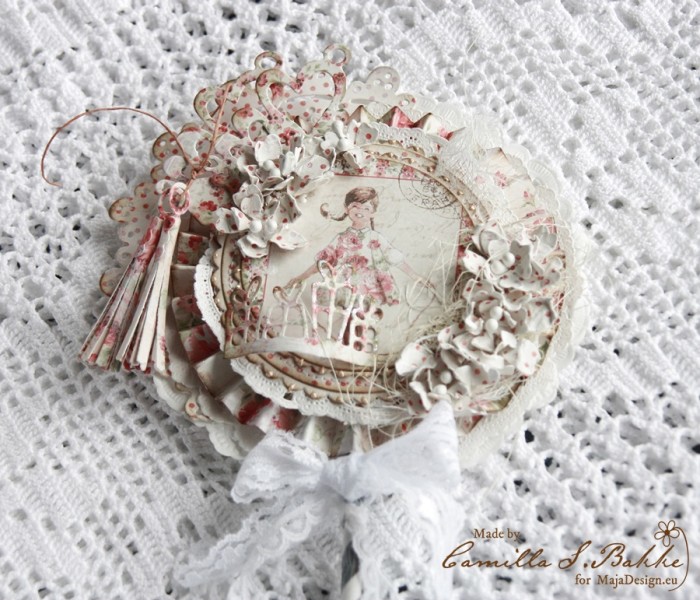
IMG_4229

And under comes some detail photos:
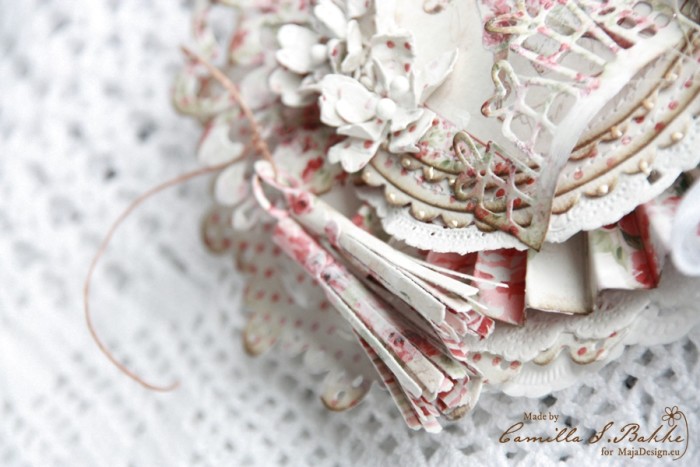
IMG_4241

IMG_4193

IMG_4195

And at last a detailed list of the paper used:

I hope you liked my card, and that you got inspired to make one or two yourselves! Thank you so much for stopping by, and I wish you a lovely day!

With love,

Camilla

Vintage Romance Layout & Video Tutorial

1

Posted by Gabrielle Pollacco

16 May, 2016 - , ,

Write a comment

Relax_main photo_withwatermark

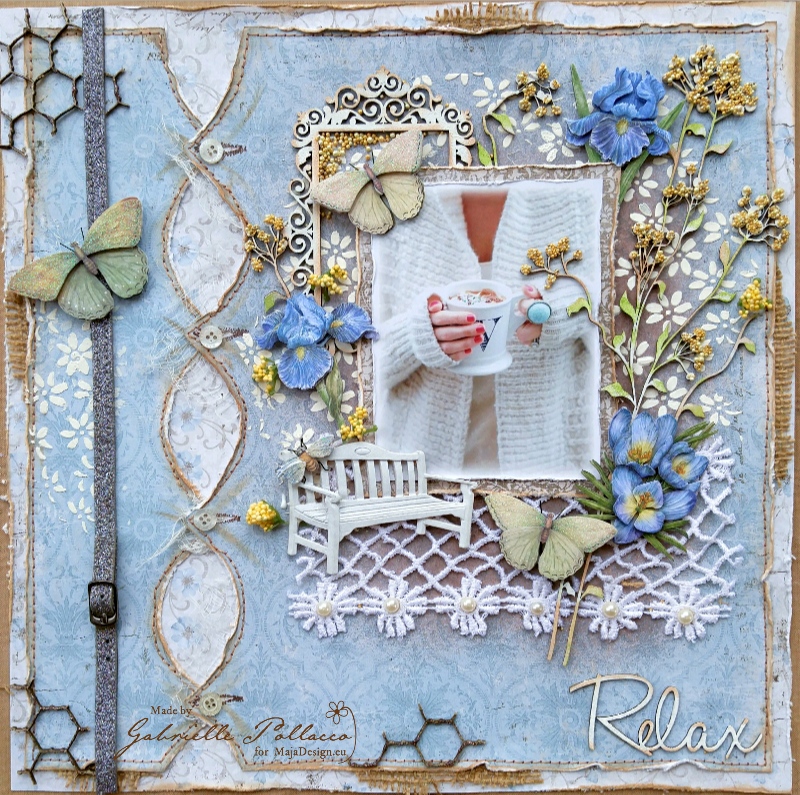
Hello everyone, Gabrielle here with you today!  Yup, I’m back for a little guest spot!  When I received the gorgeous Vintage Romance collection in the mail a couple weeks ago, I felt compelled to make up a layout & video tutorial with these stunning papers!
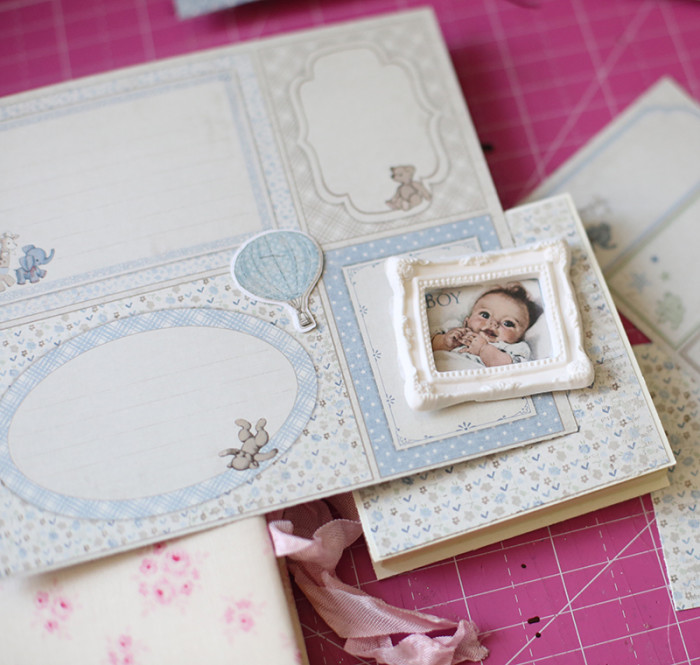
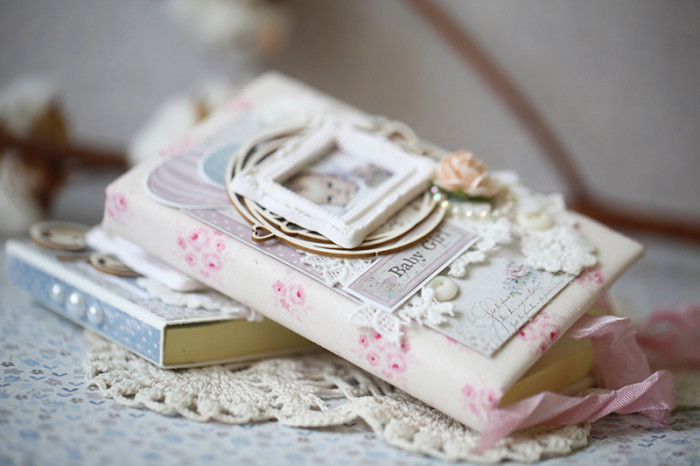
Vintage-Romance-P

I used ‘Happily Ever After’, ‘Together Forever’ and ‘Words of Love’ for my page design.  I was going for a fabricky (is that a word? LOL) look on this layout, so I added a little machine stitching on the background design, this is optional, I think it can look equally as nice if you leave that off (if you are not a sewer).

So grab your favorite beverage, take a little break and enjoy!….
[youtube http://www.youtube.com/watch?v=wU7IfCNV9LA?rel=0]

I hope you enjoyed my little tutorial!  Here are a few close-ups you all can enjoy at your leisure….

Closeup1

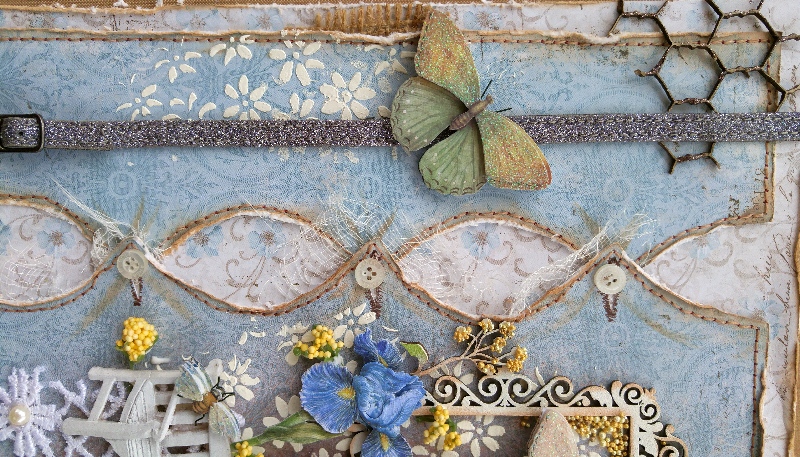
I have this close-up turned on it’s side just so you can get a more close-up and personal look at it.  I simply followed the pattern in the paper to create my button hole design…makes it easy to space out the design.

Closeup6

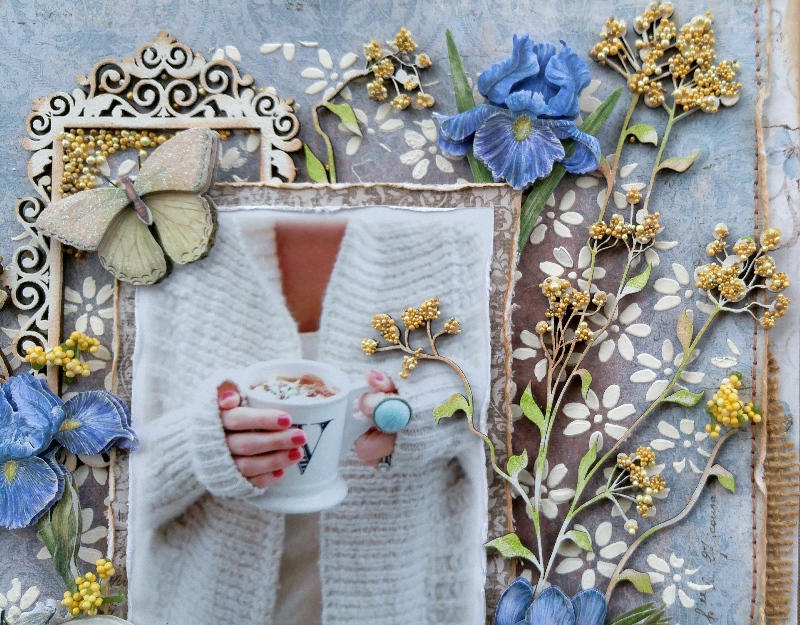
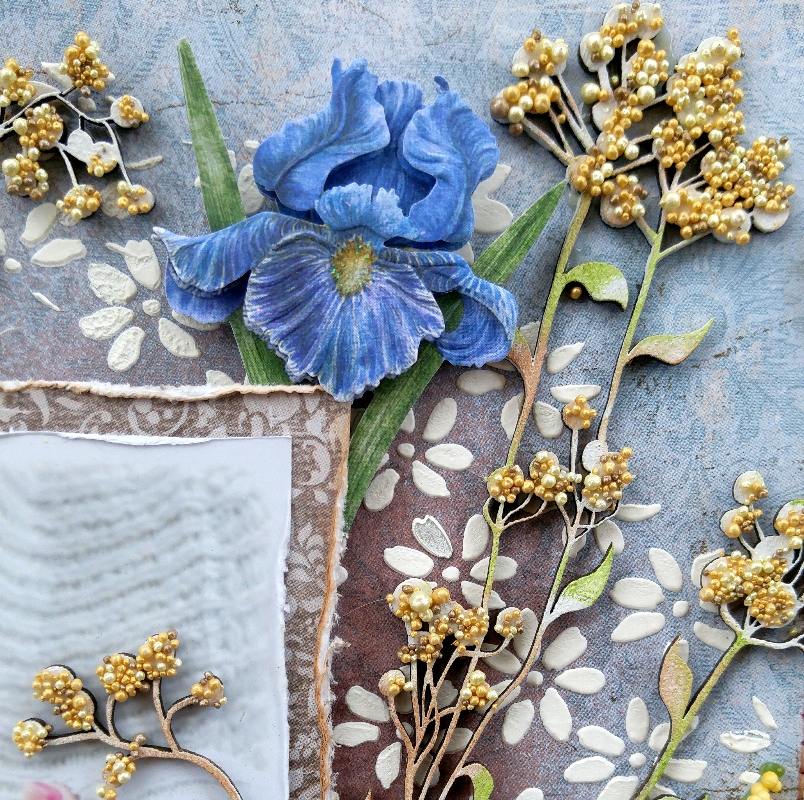
The next step was to add a little color just directly behind the photo area using some Shimmerz spray called ‘See Ya Latte’ Spritz….then I applied some home-made texture paste through a Dusty Attic stencil called Flower Power.  I was going for a kind of Bohemian-chic look and I thought this daisy design would work well with it.  I also matted my photo with the backside of the ‘Words of Love’ paper, I do love browns with blues!
Closeup5

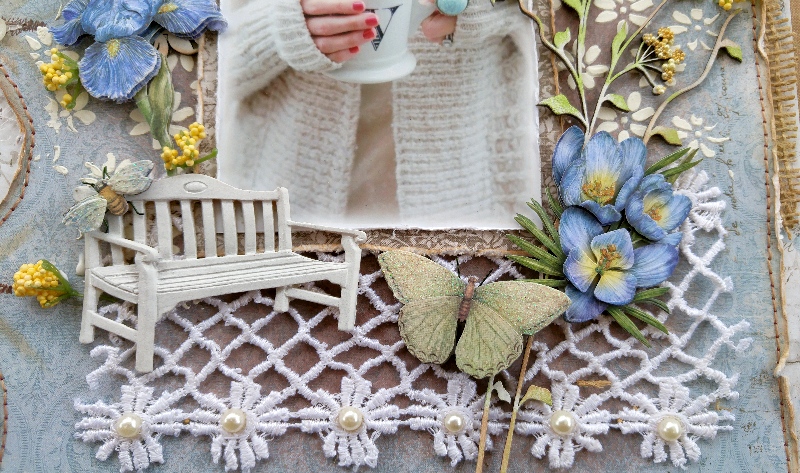
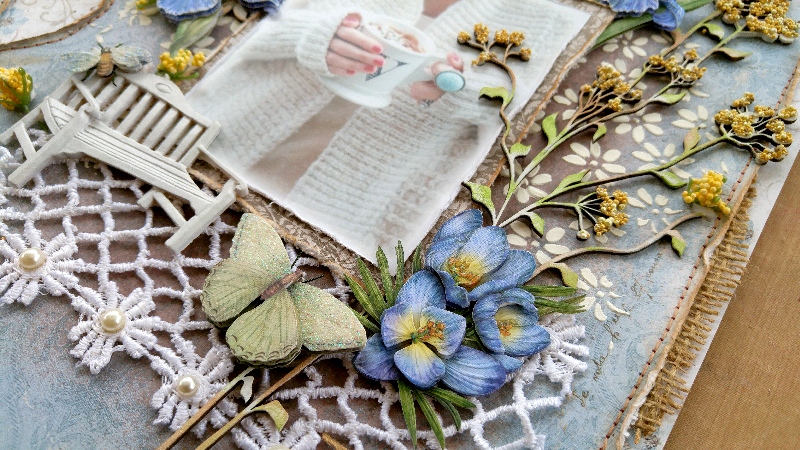
To continue the fabric idea of my page I also included a pretty strip of lace that I got from Tresor’s de Luxe, which I adhered with Tombow liquid adhesive.  I prefer this glue as it allows you to readjust your placement if need be without making a big mess on the paper (let the glue sit for a few minutes to set up before you apply your embellishment to the page.

Closeup3

I had a little fun with my embellishments on this one….I tried a new product (at least to me) called Prills, they are these little balls that come in different colors. Here I using the color called A-maized. I just applied a little glue to the tops of the blossoms of the Wild-Flowers #4 chippie by Dusty Attic and poured the little pebbles onto it…..I really love the effect!

Closeup2

I finished my design by adding some layered floral and butterfly stickers by K&Company in a few strategic areas of my photo area.  Added a small shabby-chic bench embellishment by Prima and a few adhesive pearls on the lace panel.  Done!

I hope you enjoyed my tutorial today and hope you feel inspired to try your hand with the gorgeous new Vintage Romance collection, I know I’m going to keep playing (I’ve got me some of those pretty pink papers ear-marked for another layout)!  Thanks for stopping by the Maja Design blog today, we appreciate and read all the lovely comments and feedback! xo

Gabrielle-sign