Merry Christmas everyone!!!
May your Christmas be filled with lots of happiness, peace and love!
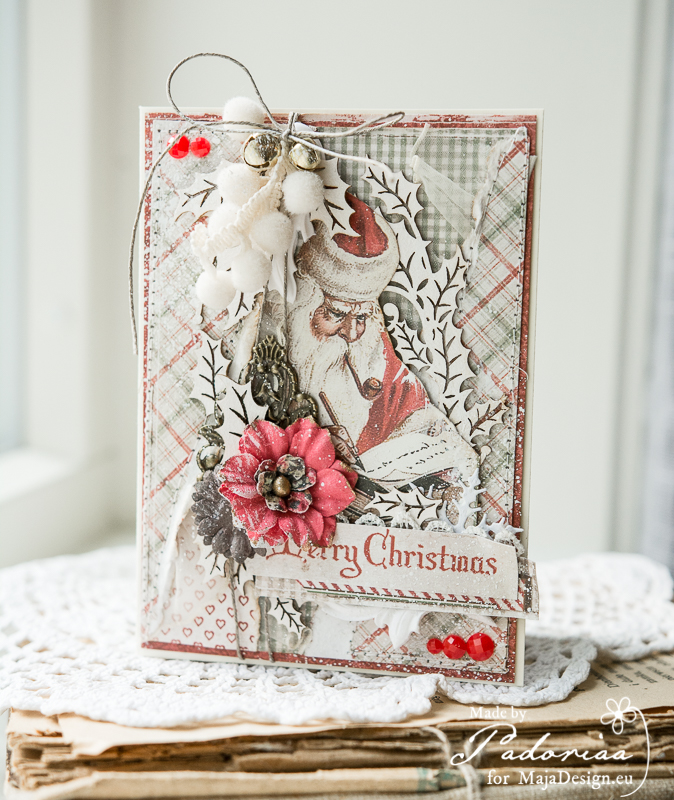
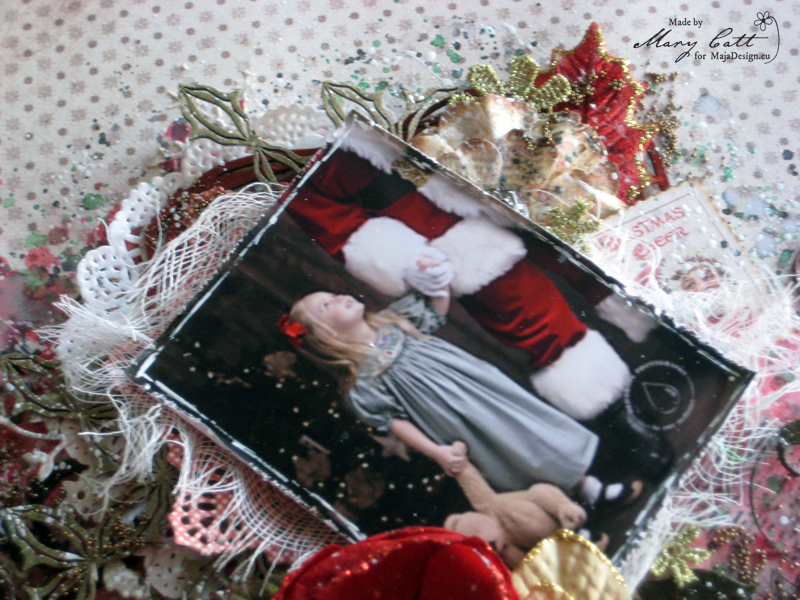
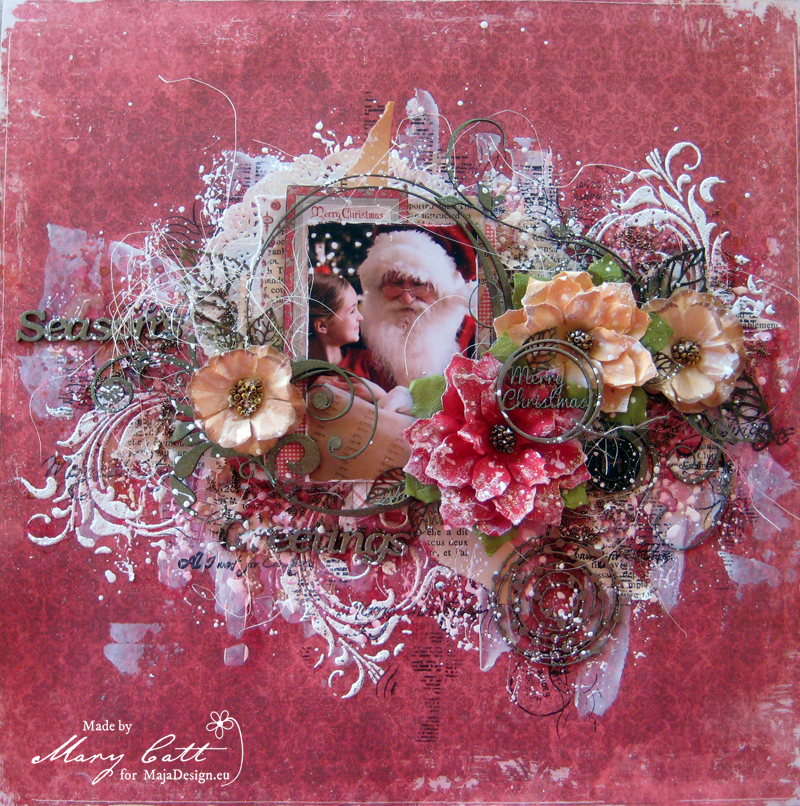
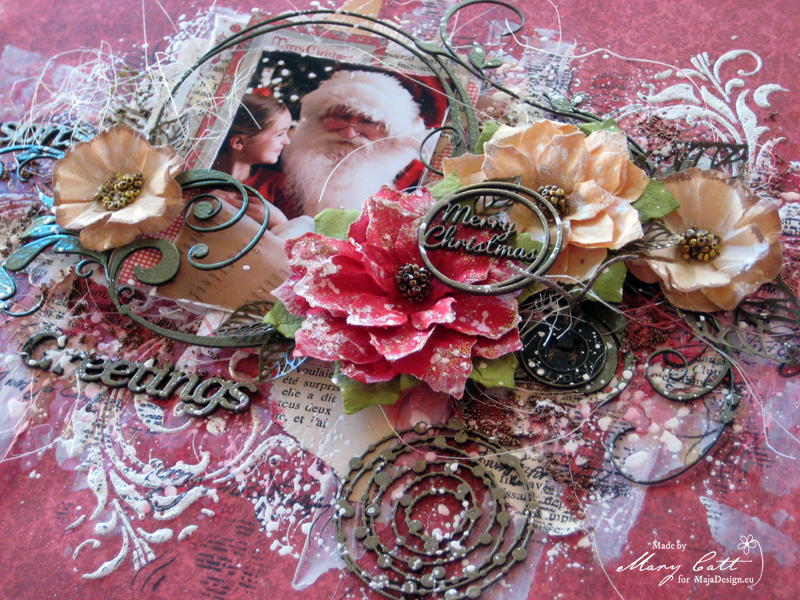
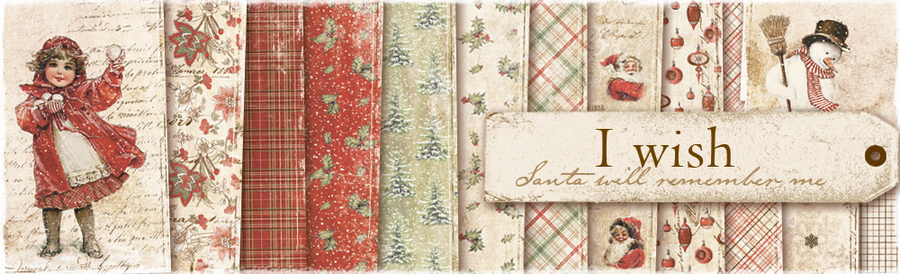
Mary here with you today and I have a layout to share with you. I used papers from the ”I Wish” collection which matched perfectly the beautiful photo I found on Pinterest. Is there anyone who doesn’t believe on Santa? I still believe… and this photo was just perfect for a Christmasy post. But, before I continue I want to give all the proper credits to the photographer.

For my background, I used the ”I wish you a Happy Holiday” paper and I made the layers behide my photo with torn papers from the ”I wish we will deck the halls”, the ”I wish for a holly jolly Christmas”. I also placed some pieces from an old book and two photos from the ”I wish – Ephemera”.
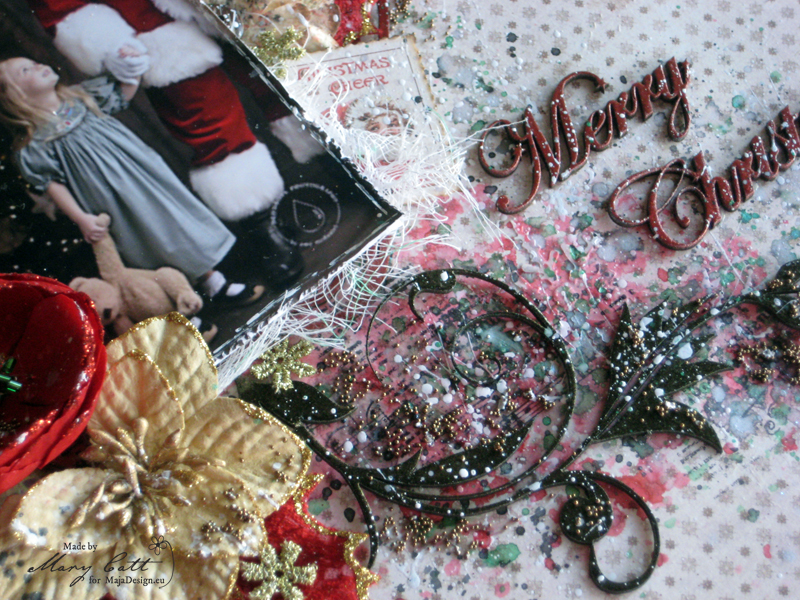
I applied on the center of my paper white gesso and then I added some texture with modeling paste and a stencil. Before it gets dried I heat embossed it with ”Purely White” embossing powder. Then, I used Lindy’s Stamp Gang mists, ”Rudolph’s Nose Red” and ”Bayou Boogie Gold” with some water to make a watercolor effect. I also added some splatters with 13arts white splash ink.
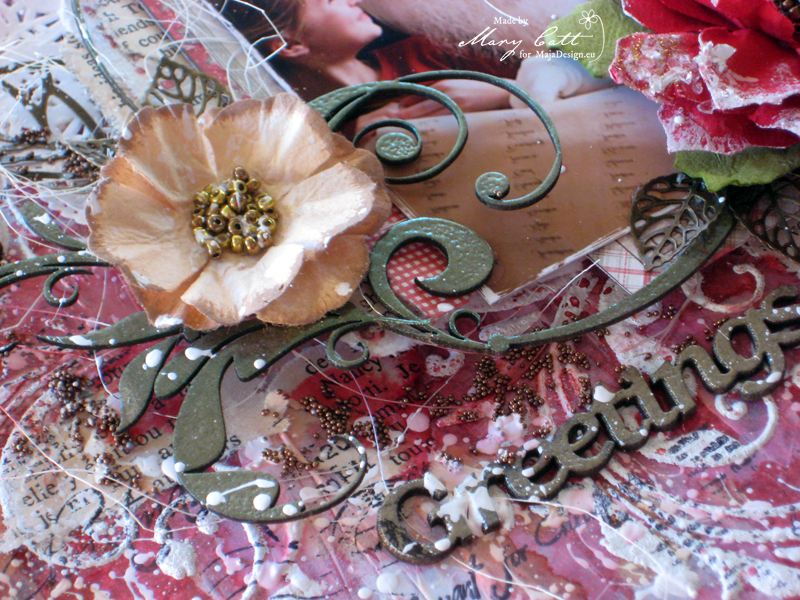
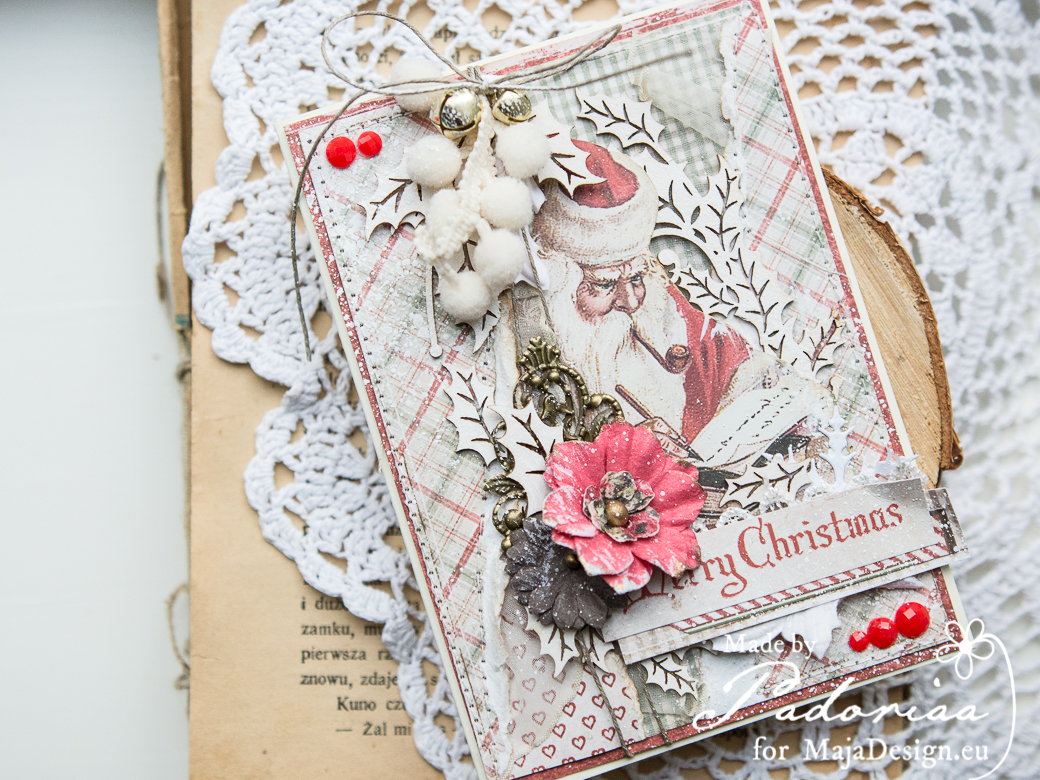
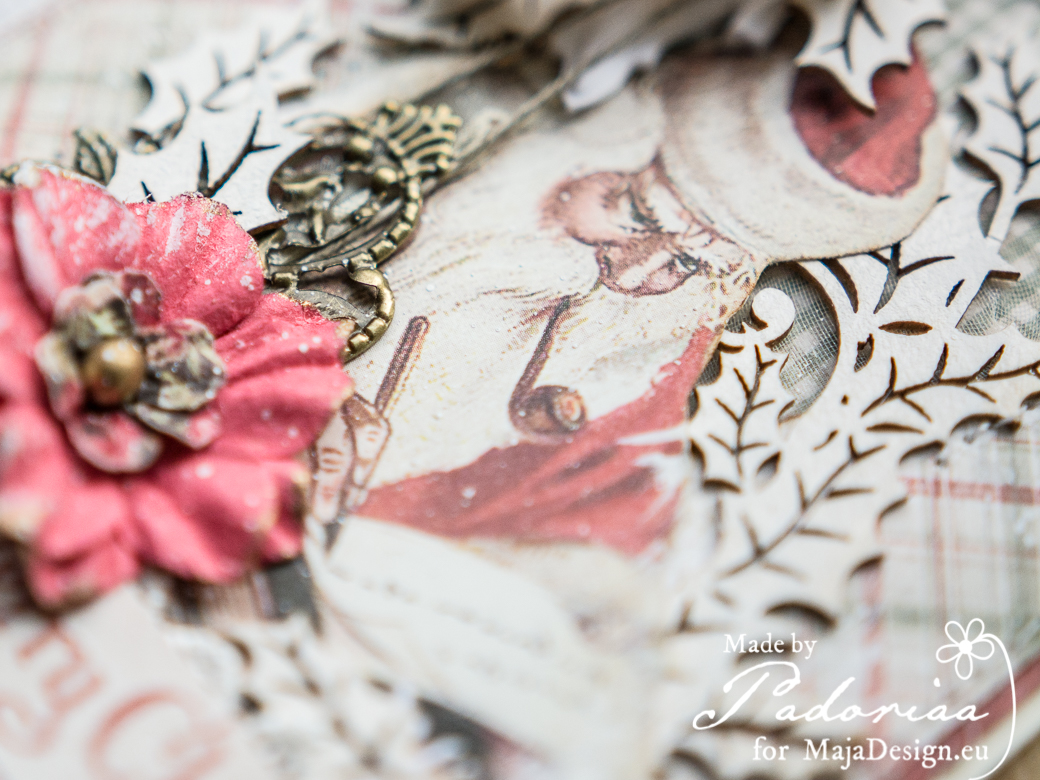
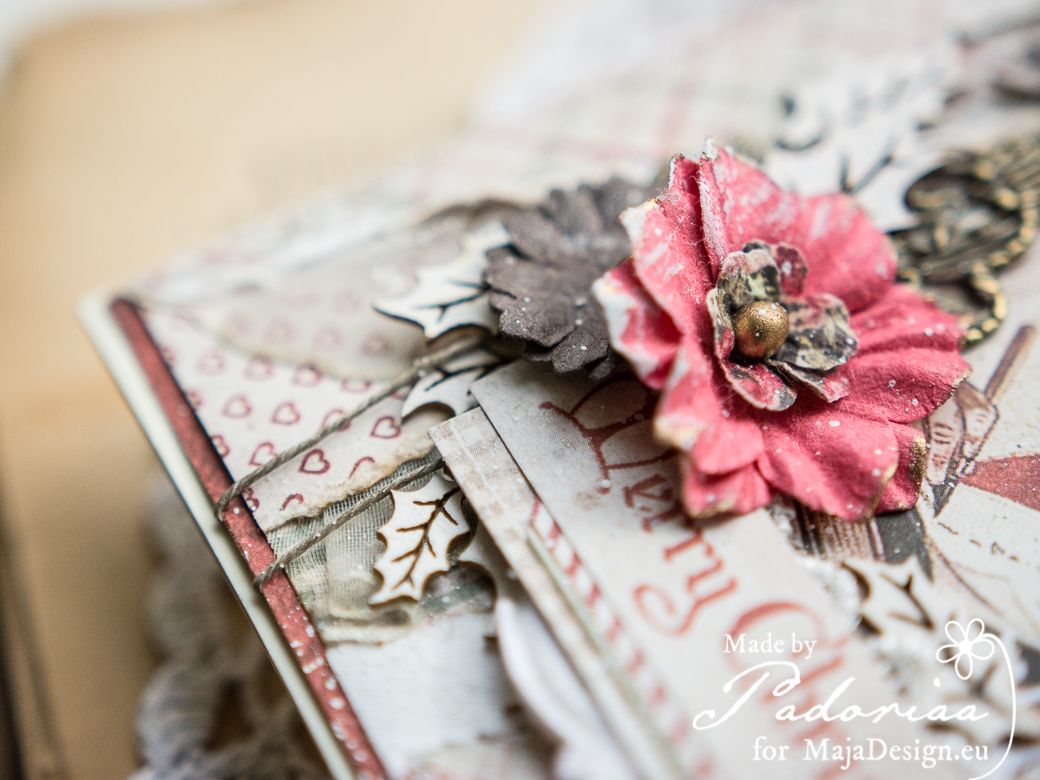
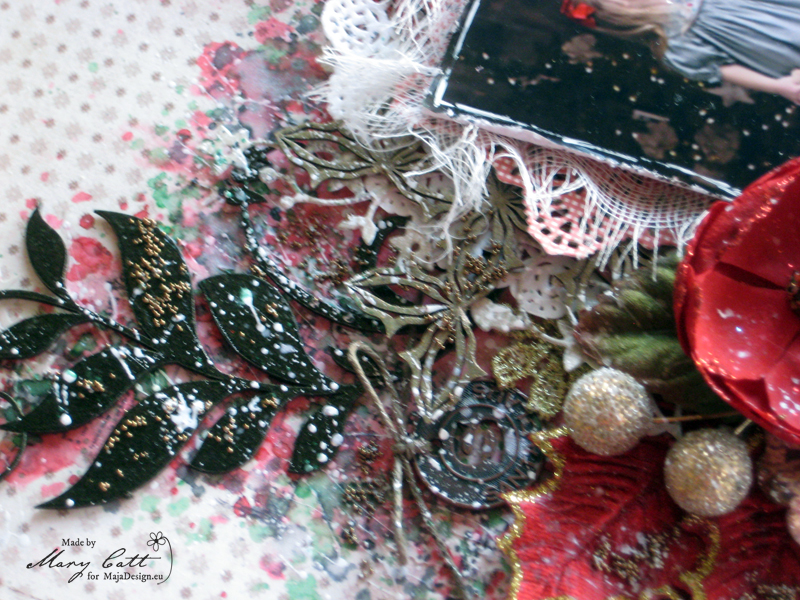
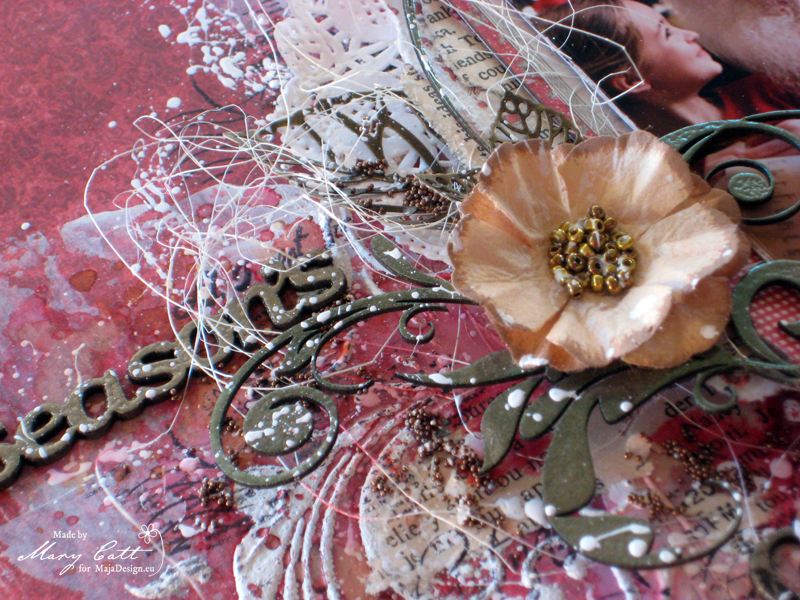
I heat embossed the frame and the floral chipboards with ”Desert Moon Copper Pine”, the words and the dotted baubble chippies with ”King Midas Gold” Lindy’s embossing powders. All the chipboards I used are 2crafty and the flowers are Prima Marketing. The metal embellishments are ”Scrap Unlimited”.
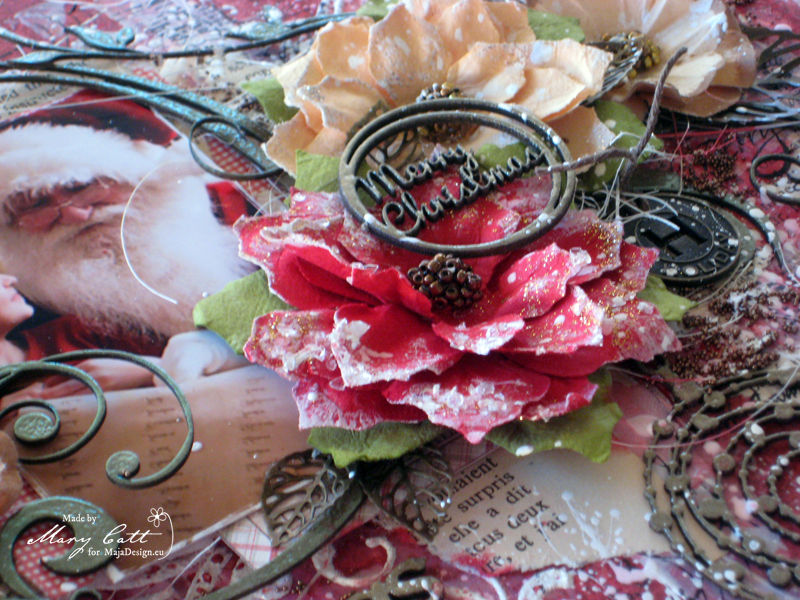
As a final touch, I made some splatters with white splash ink and when dried I added some bronze microbeads.
Papers used:
-

-
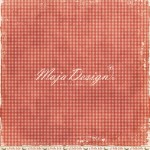
I wish you a Happy Holiday bs
-
-
I wish we will deck the halls
-
-
I wish for a holly jolly Christmas bs
-

-
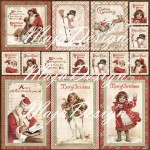
I wish – Ephemera
Well, that’s all for today, my friends!
Wishing you a very Merry Christmas and a wonderful Happy New year!!!
See you again in two weeks!

Κράτα το