“Merry Christmas” by Tina Ollett

1

Posted by Tina Ollett

20 December, 2016 -

Write a comment

Hello once again. Tina O with you here today with a little Christmas cheer.

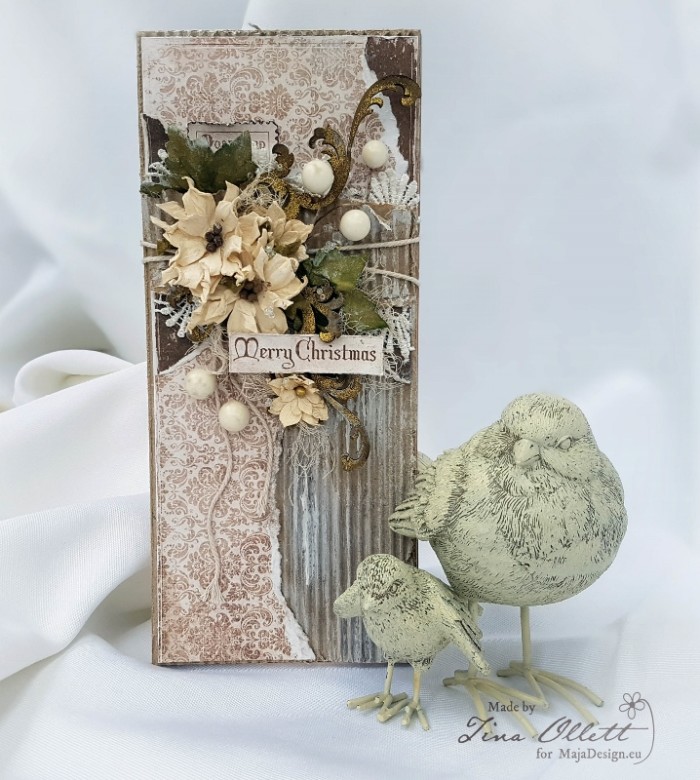
I, as a rule do not do cards, but I felt as I should as we a coming into Christmas in only a few days time. With this in mind and the fact that it has been a long time since I have created a card, I have kept it pretty simple. I wanted to do something a little vintage with a shabby touch.

2016-12-20 maja card 008 (718x800)

To create this card I started with a Kraft Cardstock base and cut a 23 x 10cm card base. The top of this was then layered with some Dusty Attic corrugated board. And on top of the corrugated I have used the new “I Wish” collection. Because I wanted a vintage feel I stayed with the rustic brown colours with the addition of cream and green. I tore section of both “Those memories will last” bs and also “You a happy New Year” bs. These would have to be my favourites pieces from the collection as you will remember I used them in a previous layout using the I Wish Collection.

2016-12-20 maja card 011 (600x800)

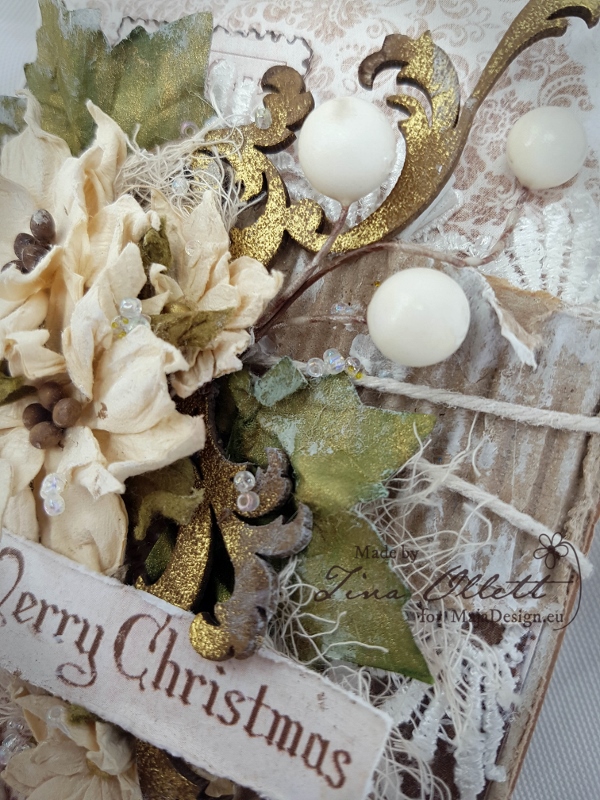
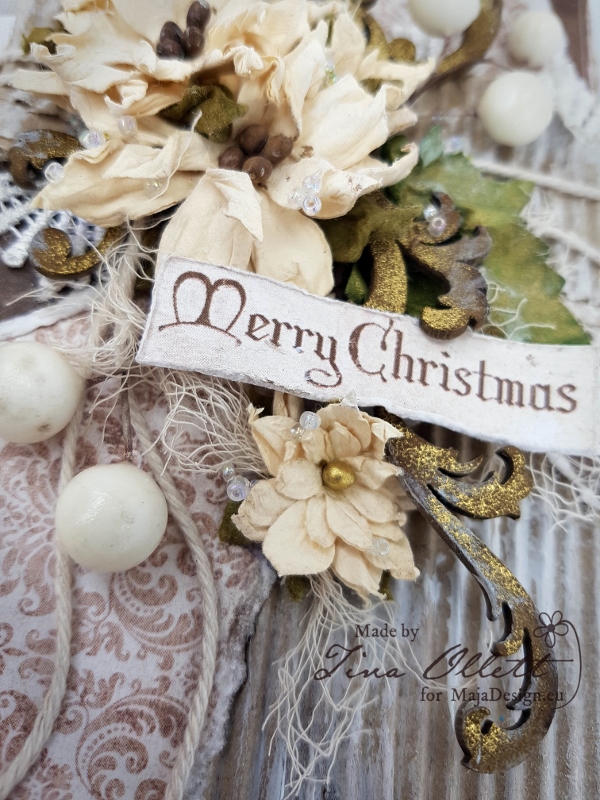
The christmas leaves I have used for this project were dressed with some Walnut Gold glimmermist to take away the darkness of the green but also to add in a touch of gold.

2016-12-20 Maja 005 (600x800)

I wrapped the corrugation with a large piece of twine and left it hanging to the side. Over the top of the twine I added in some Dusty Attic Baroque Chipboard to cover my knot which was embossed and sanded.

2016-12-20 Maja 010 (600x800)

I have cut the postage stamp from the Ephemera Sheet and added it tucked above the cluster just peeping out.

2016-12-20 Maja 006_edited-1 (600x800)

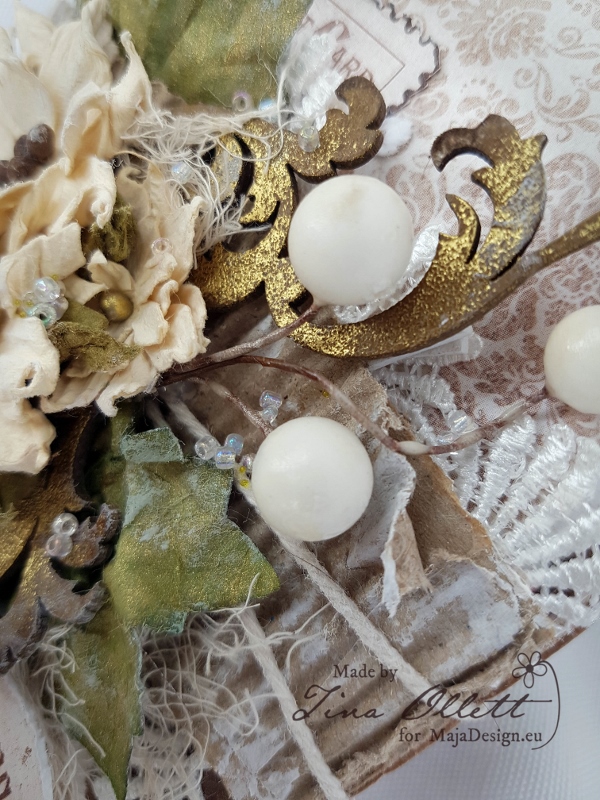
I dry brushed my embellishments with white gesso to tone the card colours down a little and to keep within the shabby/ vintage style.

2016-12-20 Maja 003 (600x800)

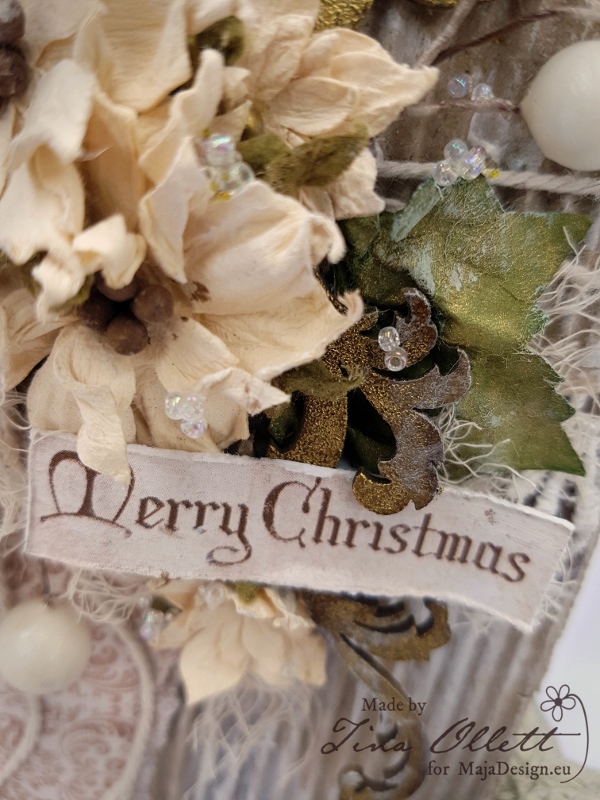
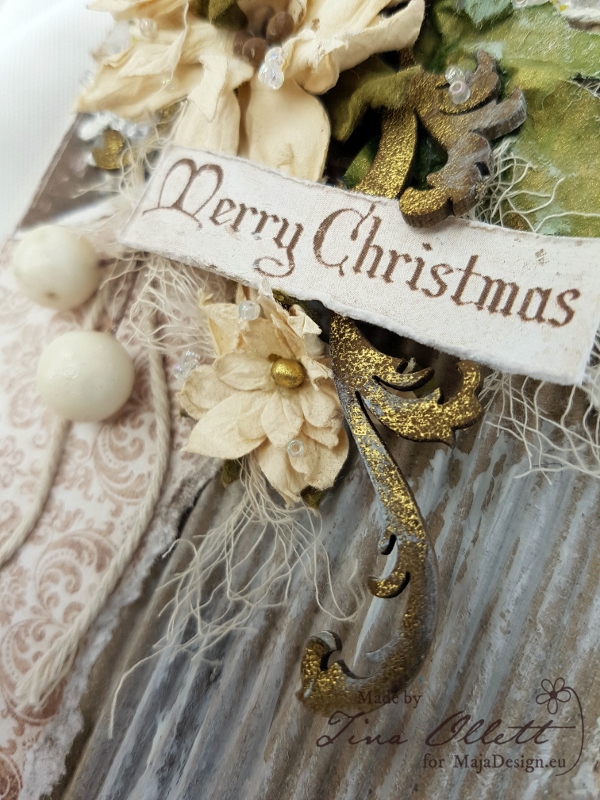
My title “Merry Christmas” was cut from the base strip of “I wish those memories would last”. These are always perfect for that little added addition to any card or layout. So don’t throw them away!!

Maja Design Products Used

I-wish-P

Maja Design – I wish  – Ephemera

Maja Design – I wish  – “Those memories will last” bs

Maja Design – I wish – “You a happy New Year” bs

Other Products Used

Dusty Attic Baroque Corner Large

Dusty Attic Corrugated Board

Large Lace Trim

Ultimate Crafts Large “Seasons Greetings” Mixed Poinsettias ULT157663

Ultimate Crafts Large “Seasons Greetings” Small Mixed Poinsettias ULT157665

Miscellaneous Christmas Deco (White)

Liquitex Gesso (White)

Glimmermist Walnut Gold

Stamp It – Superfine Detail Embossing Powder

Versa Mark Ink

Clear Seed Beads

Tea Stained Muslin

Twine

Well I hope you have a very Merry Christmas and a most 

fabulous wonderful and safe New Year.

Until next time…..Tina-sign


”Merry Christmas”

2

Posted by Mary Tzalla

11 December, 2016 - ,

Write a comment

Layout

Hello my friends and happy Sunday to all!!!

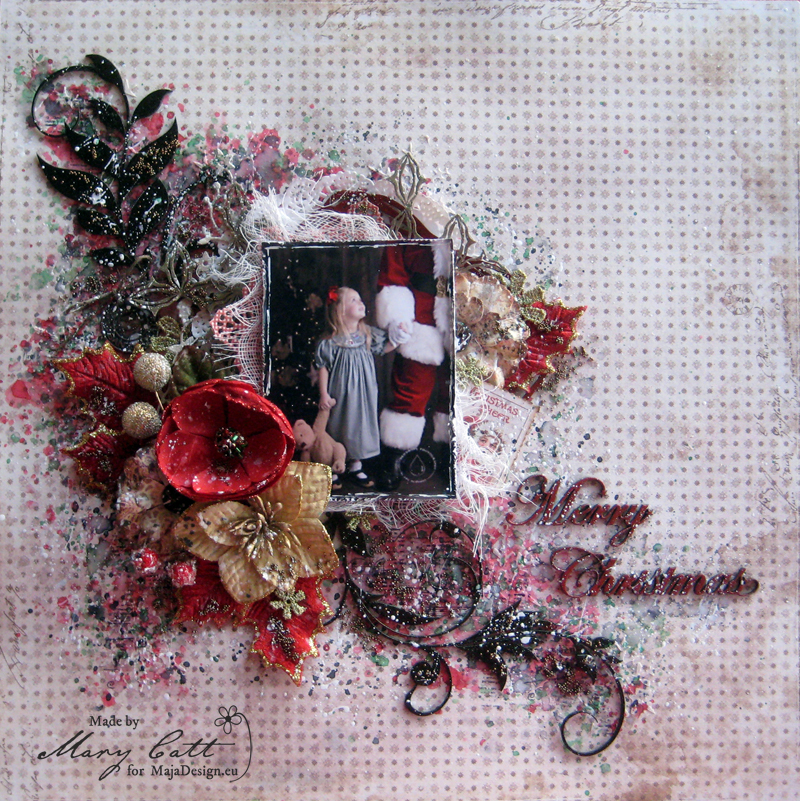
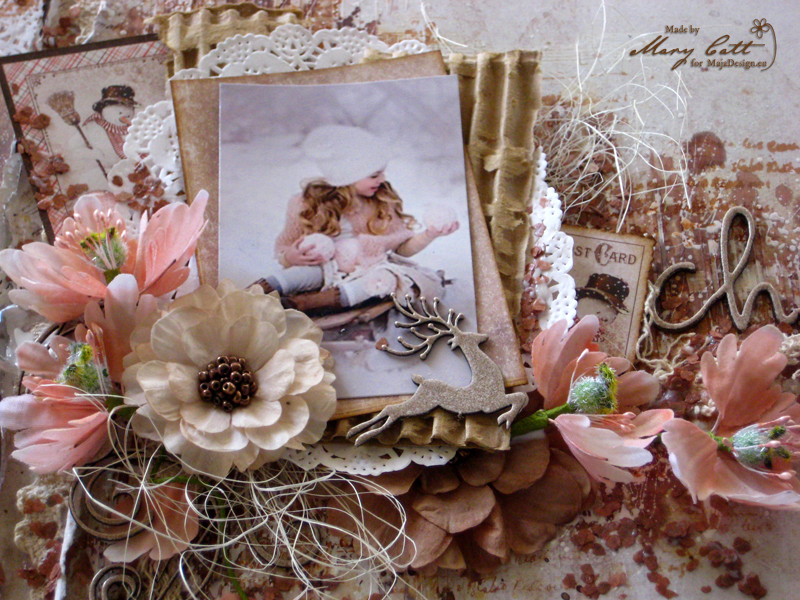
Mary here with you today to share my latest layout featuring the beautiful Christmasy ”I Wish” collection.

When I found that beautiful photo on Pinterest, I though it is time to design a Christmas layout. After all it’s that time of year, right?

But, before I continue I want to give all the proper credits to the photographer.

Photo 1

For my background, I used the ”I wish you a Merry Christmas” paper and behind my photo I placed a die cut doily made from the ”I wish for a holly jolly Christmas” paper.

Photo 2

First, I gave my paper a coat of clear gesso and then I added some texture with modeling paste and a stencil. Then, I used Lindy’s Stamp Gang mists, ”Rudolph’s Nose Red” and ”Silent Night Silver” with some water to make a watercolor effect. I also added some splatters with ”Lucky Shamrock Green” and ”Midnight Randezvous Raven”.

Photo 3

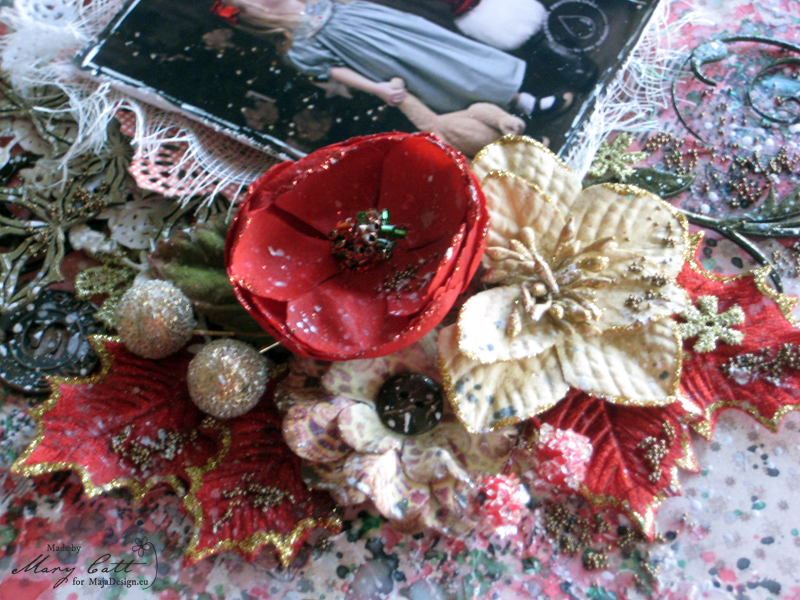
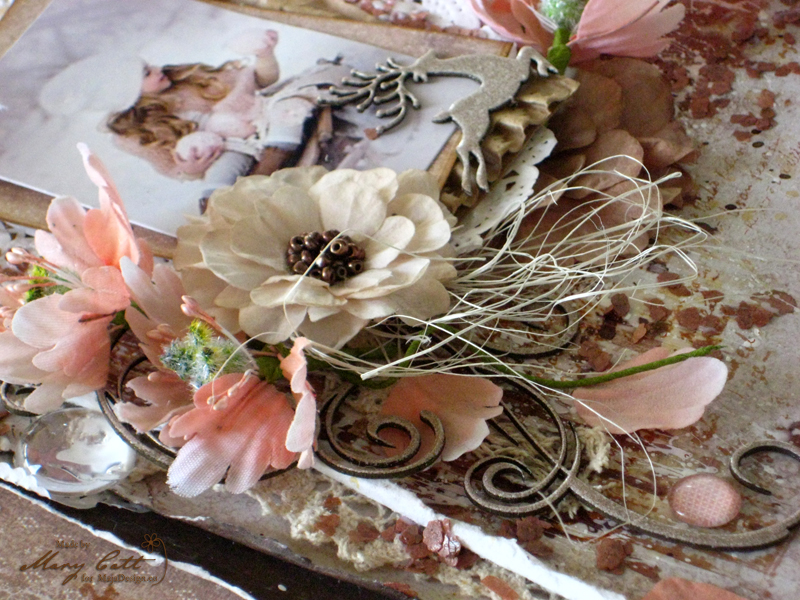
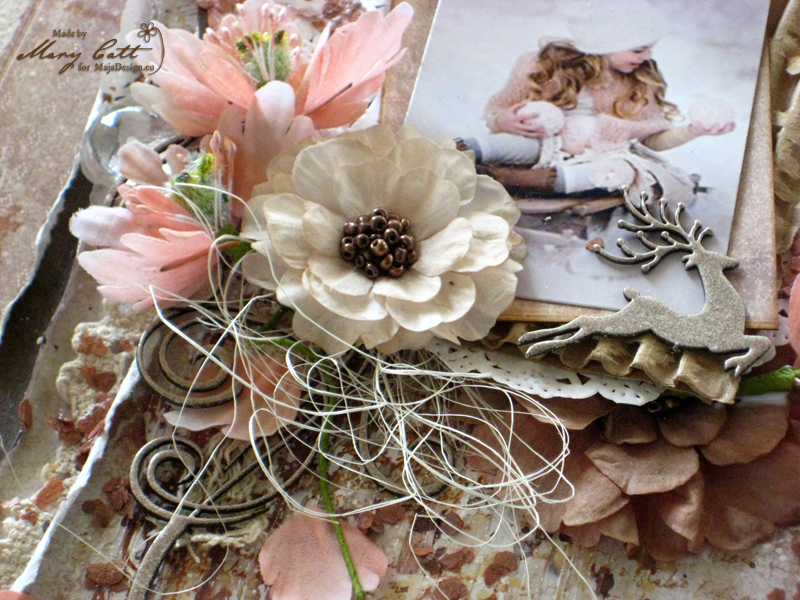
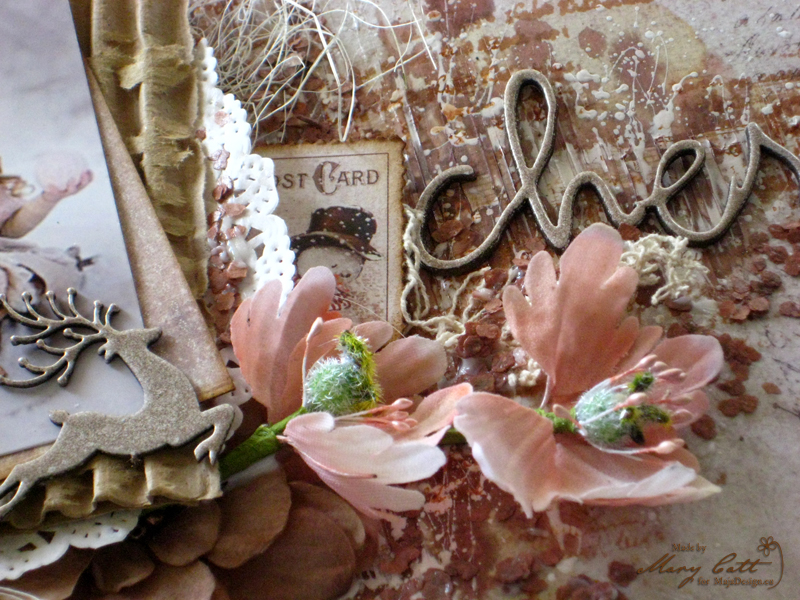
I heat embossed the floral chipboards with ”Midnight Gold”, the square frame and the title with ”Terra Cotta Rust” Lindy’s embossing powders. The little pieces of the circle lace panel were also heat embossed with ”Scotch Broom Yellow”. All the chipboards I used are 2crafty and the flowers are Prima Marketing.

Photo 4

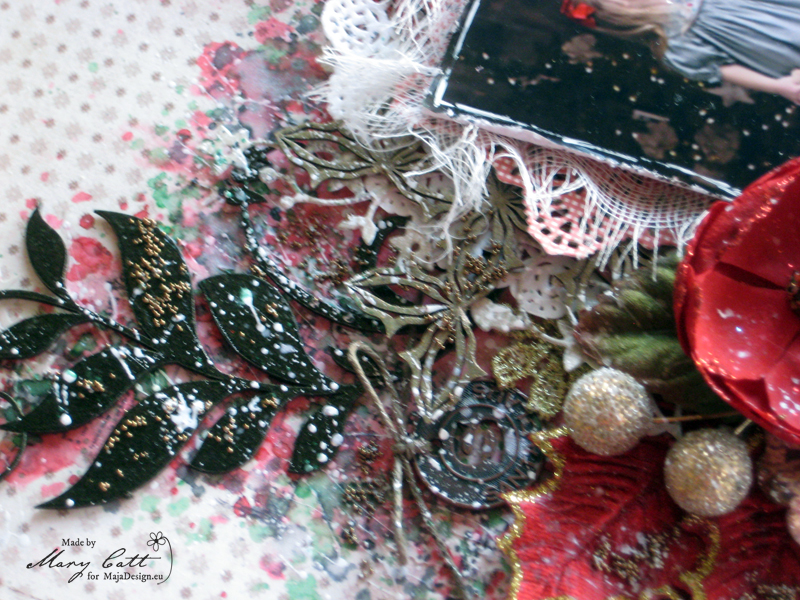
As a final touch, I made some splatters with white splash ink and when dried I added some bronze microbeads.

Papers used:

I-wish-P

Well, that’s all for today, my friends!

See you again in two weeks!

Mary-sign (2)

Κράτα το

”Cherish”

2

Posted by Mary Tzalla

13 November, 2016 - ,

Write a comment

Layout

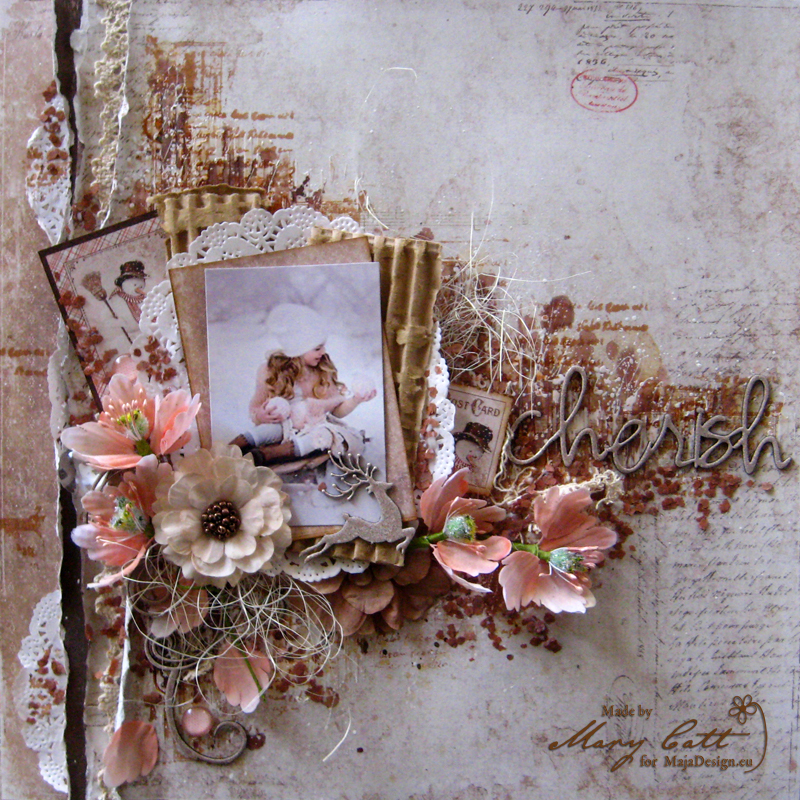
Hello Maja fans and welcome to the blog today!

This my second christmasy project using the ”I wish” collection and this time I made a layout. I can’t believe that we are already so close to Christmas… I love that season and I’m full with the Christmas spirit! And, that beautiful photo from pinterest was just perfect for the layout I had in my mind… of course, I want to give all the proper credits to the photographer.

Close up 1

I used the ”I wish those memories will last” as my main paper and I torn it vertical on the left side. I placed under it, three layers of two papers, one from the same paper, one from the backside of the same paper and lastly one of the ”I wish for frosty mornings”.  Among the papers Ι added some lace and a few pieces of doilies.

Close up 4

I designed my background with modeling paste and a stencil over a coat of clear gesso.  I colored it with ”Dark Chocolate Truffle” and ”Clam Bake Beige” Lindy’s Stamp Gang mists.  I also made splatters with white 13arts Splash ink to highlight it a little bit. When dried I made some random stamping and the background was ready to glue everything down.

I heat embossed the chipboards with two powders, first with the ”Desert Moon Copper Pine” and then with the ”Cafe au Lait”.  All the chipboards I used are 2crafty and the flowers are Prima Marketing.

As a final touch, I added some mica flakes in ”Henna” and some ”Melange Art Pebbles”.

Papers used:

I-wish-P

Thank you so much for stopping by!!!

Mary-sign (2)