Dream Sweet Princess LO…

1

Posted by Delaina Burns

25 February, 2016 - ,

Write a comment

Hey Hey Everyone! Welcome!

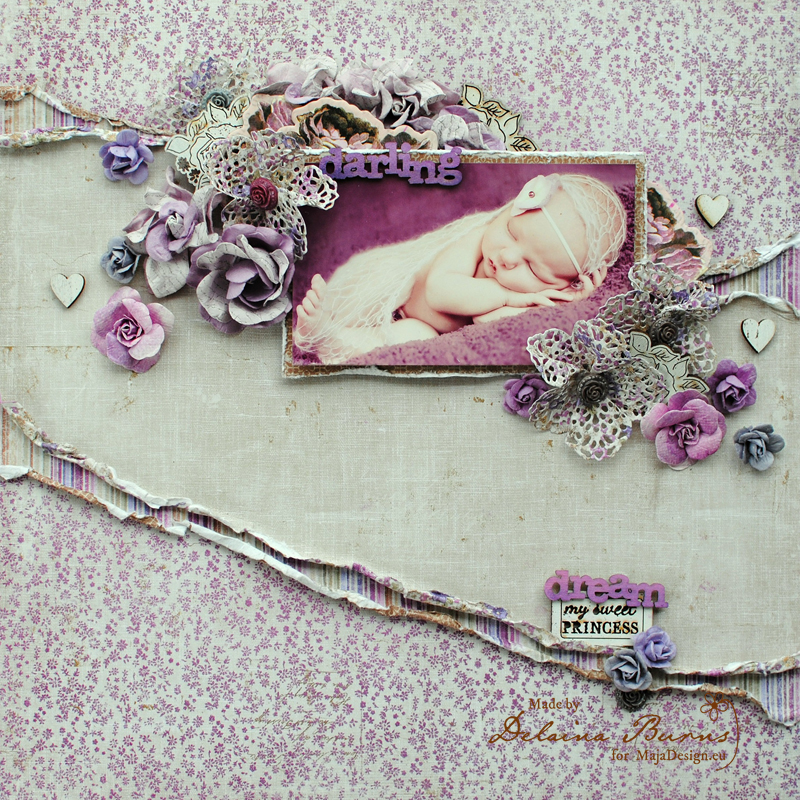
I created this page with a sweet photo of my grand baby when she was 9 days old.

She will soon be 3… time flies by, for sure.

I used Enjoying Outdoors Collection and I adore the delicate pattern in the floral paper here.

I am hooked on paper taring lately. I like the vintage feel it gives and the shapes that can be created.

I adore this soft floral pattern and it pairs perfectly with the distressed solid and beautiful striped papers.

Darling LO- Delaina Burns (1)sized

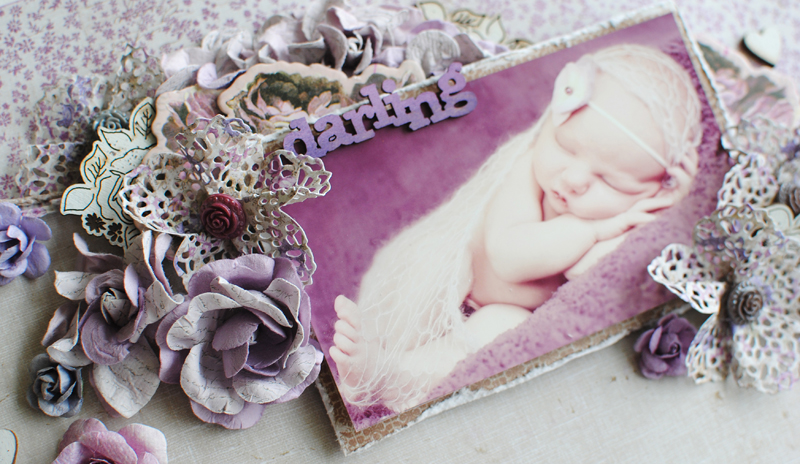
I added beautiful floral clusters, mixing in die cut doilies with resin and wood accents.

Darling LO- Delaina Burns (4)sized

The detailed doilie flowers were created using a punch and pinching them at the center…

I added the resin flower for sweet detail.

Darling LO- Delaina Burns (3)sized

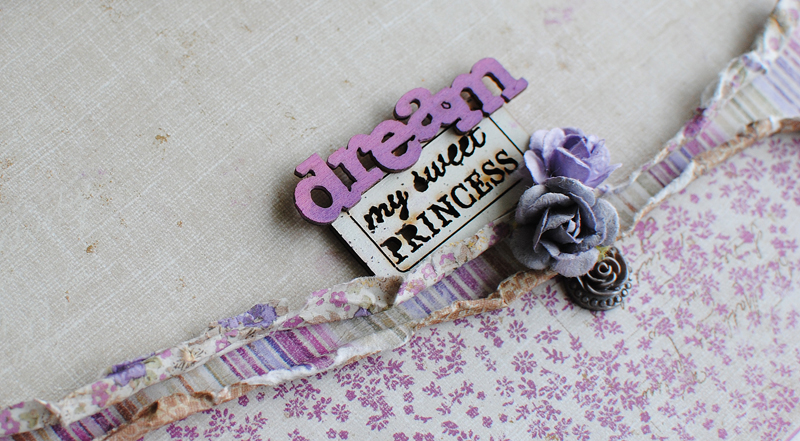
I just love the torn, rolled edges …

Darling LO- Delaina Burns (2)sized

Products Used:

Enjoying Outdoors- Picking FLowers

Enjoying Outdoors- Flourishing bs

Enjoying Outdoors- Harvest Time bs

Enjoying-Outdoors-KL

Flowers- Prima

Wood Icons- Prima

Resin- Prima
Delaina-sign

Window Easel Card {Maja Baby}

4

Posted by Gabrielle Pollacco

24 February, 2016 - , , , ,

Write a comment

Baby card photo4

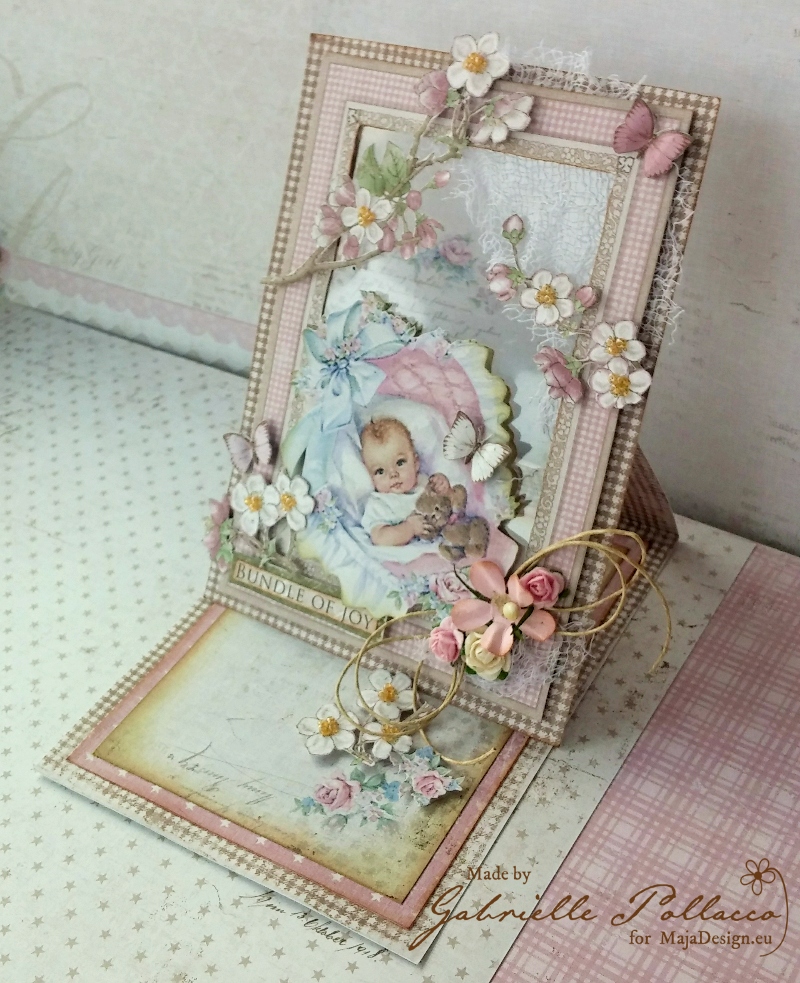
Hello Maja fans! Gabrielle here with you today to share this uniquely shaped baby card I recently made.  I tend to be a bit frugal with scrap supplies, I save everything!  Those plastic/transparent pieces that many of your embellishments come on (blooms etc.), I don’t throw them out, just in case I can use them later.  I recently found a fun use for them….making easel cards with a peek-a-boo window.  The Maja Design ‘Vintage Baby Collection’ had all the perfect elements to create the card I envisioned.

Vintage-Baby-P

I used a variety of papers from the Vintage Baby collection (Die Cuts, Die Cuts-bs, Ephemera, Expecting, Our Little Miracle and Flowers for Mom), I also did a little fussy cutting from Vintage Spring Basics (5th of May) and Coffee In the Arbour (Butterflies are Free).
Baby card photo2

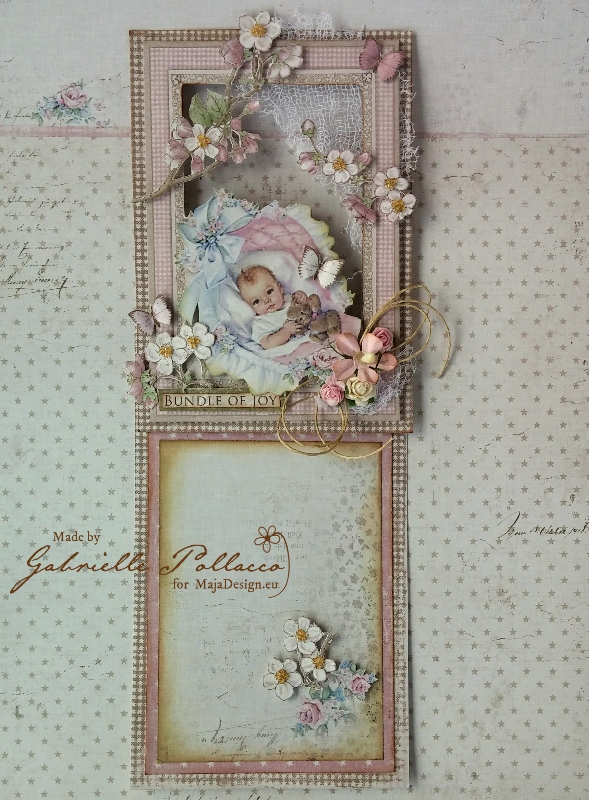
The bottom part of the card has an area for you to write in your own personal thoughts.  I added some fussy cut blossoms attached with foam adhesive dots so that the window part of the card has something to prop against.
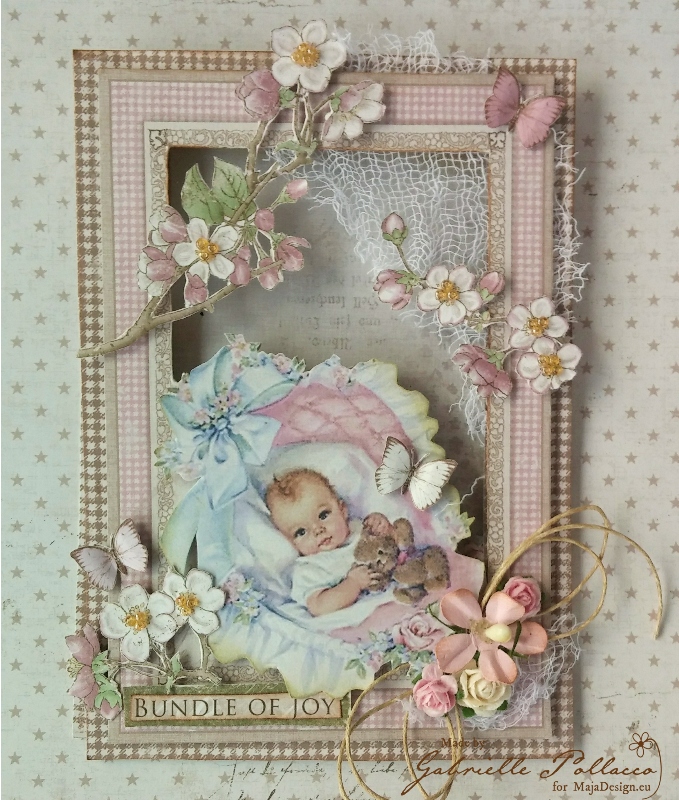
Baby card photo1

Here is a picture of the card with it’s folded shut.  To make the card I cut out the framed baby design from the Vintage Baby Ephemera paper, also cutting out the area behind the baby inside the frame with an exacto-knife. I then laid the card cut out on the brown gingham paper (backside of the Die Cuts paper) and cut a piece slightly larger in wide to the frame piece…and kept the length of the strip the full 12 inches.  I then cut a second piece of the gingham paper to frame the baby frame piece, making sure there is about a 1/4 inch edge.  I then made a fold crease in the long strip at the 6″ mark and at the 3″ mark.  I cut out the center of the upper part of the 6″ rectangle and also out of the matting piece I cut for behind the baby frame.
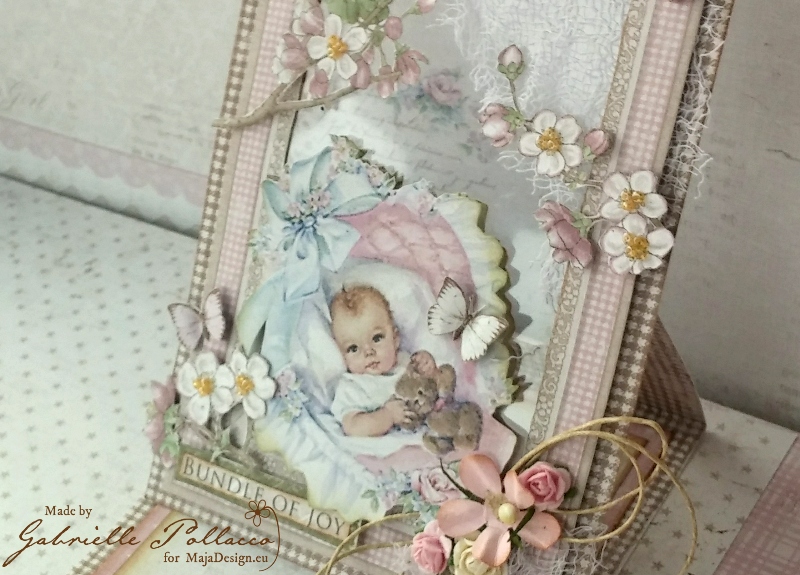
Baby card photo5

I then put the card together by attaching the gingham matting paper to the upper 3″ of the long card strip and then sandwiching the transparent plastic piece between the matting and the actual baby frame piece.  Now you have a cute peek-a-boo window on your easel card.  The last steps are just adding a few decorations.  I cut out a second baby image from another piece of the Ephemera paper and added it with foam pop dots, I thought it gave the card that extra pop.  I also fussy cut some flowers from the Vintage Spring Basics paper and butterflies from the Coffee In the Garden collection and added them as decorations to my card front.  A few seed beads for my flower centers and bingo, your unique baby card is done!  The cool thing?  Maja also has a beautiful baby boy framed image in this collection so you can make the card for either sex.
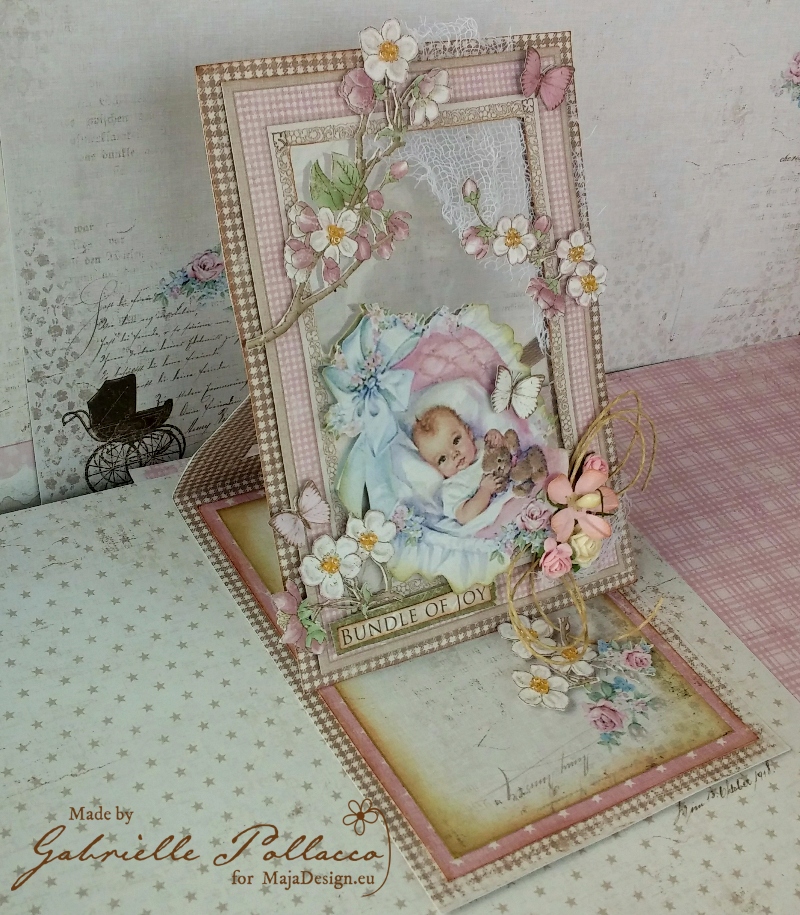
Baby card photo3

It’s hard to show in a photo the effect of the see through window so I thought I’d post an extra pic from the other angle, but believe me, in real life the effect is quite striking.  I had a lot of fun creating this special baby card and think you’d enjoy it too!  Thanks so much for taking the time to stop by the Maja blog today….as always we enjoy hearing your comments and feedback on our projects! xoGabrielle-sign

Bridge

1

Posted by Pascale B

21 February, 2016 - , , ,

Write a comment

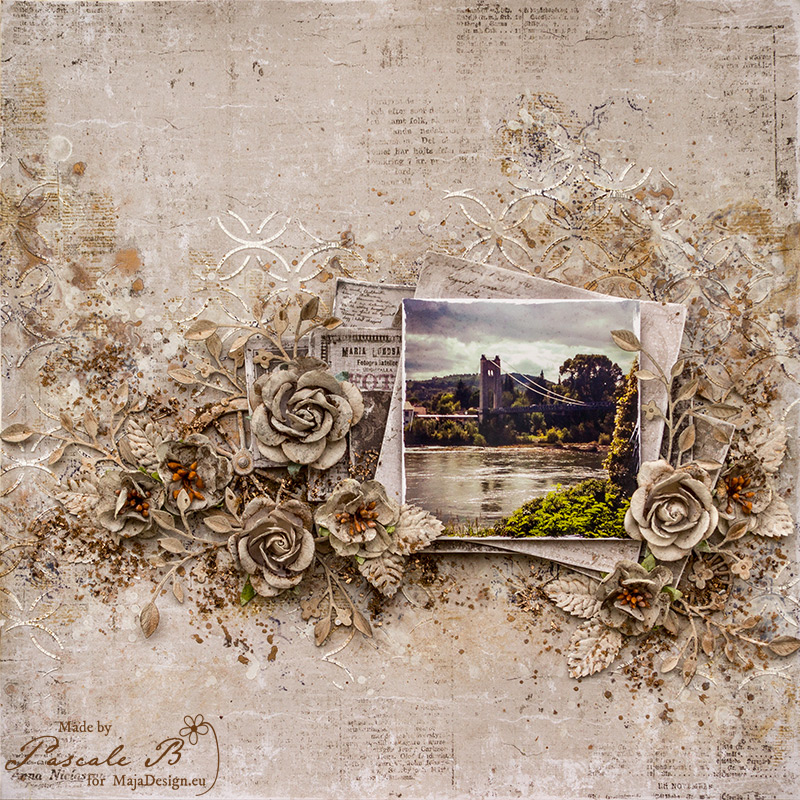
Hello SweetiesToday I’m up on Maja Design blog with a monochromatic layout. I chose to work with a beige shading to highlight these photo of the Saint-Martin-d’Ardéche’s bridge (France).

Bridge by Pascale B

I started with a layer of clear gesso to protect the background. When dry, I added a design with a stencil and white crackle paste.

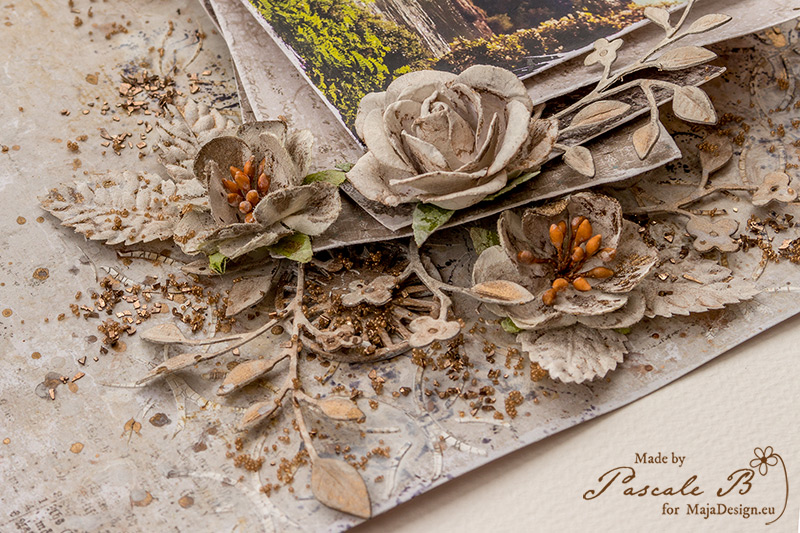
Bridge2 by Pascale B

While the crackle paste was drying, I chose different papers to go under my photo and distress them with a distress tool.

Bridge2_detail2 by Pascale B

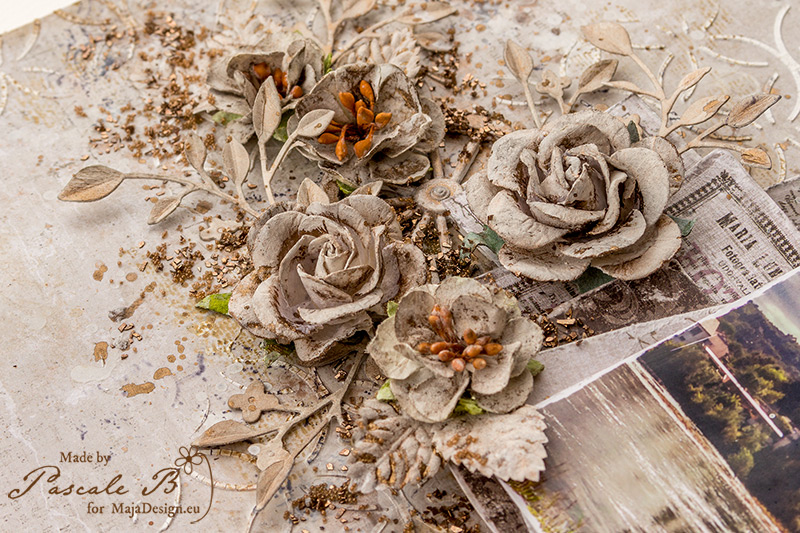
When the design was dry, I splattered some watered gesso on the background, then I added some Rust mica powder mixed in water and I let everything dry.

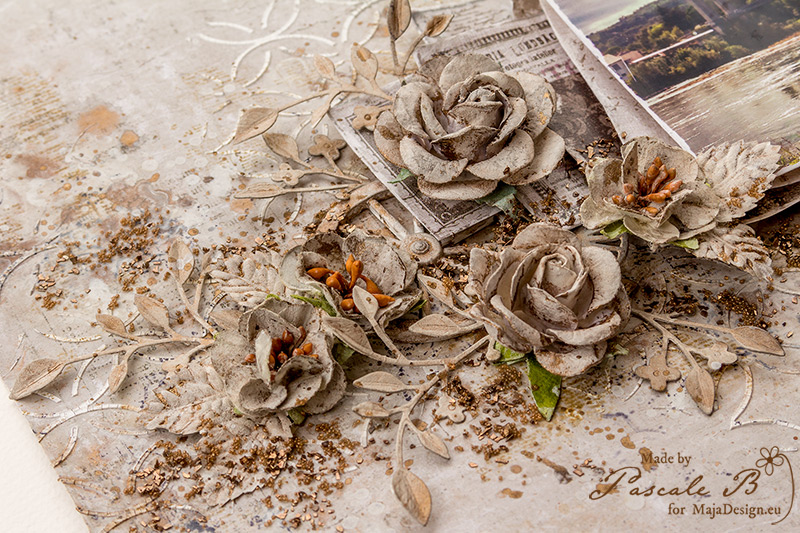
Bridge2_detail3 by Pascale B

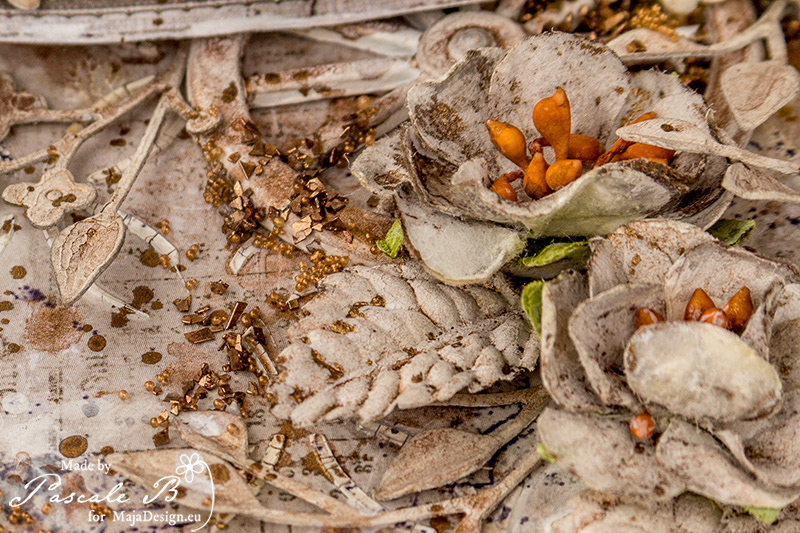
I covered all the embellishments (flowers, leaves, die-cut and metallic embellishments) with gesso and dry them. Then I colored everything with some Rust mica powder.

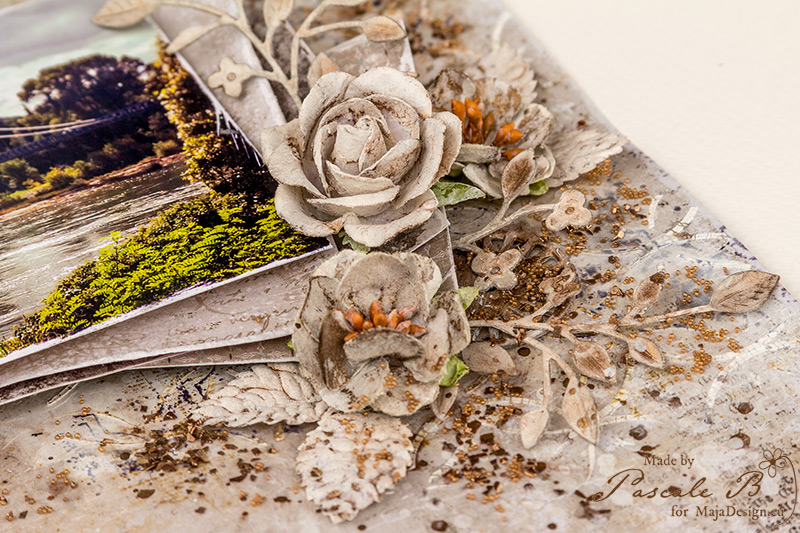
Bridge2_detail4 by Pascale B

I added some some random stamping and glued all the embellishments.

Bridge2_detail5 by Pascale B

To finish the layout, I added some glass glitter and micro beads.

Maja Design papers used:

1946 1891 Minnen 6th of December 21th of December BS
Vintage Summer Basics Vintage Frost Basics
1946 1891 Minnen 6th of December 21st of December bs

Dazzling

0

Posted by Bec Genet

16 February, 2016 - ,

Write a comment
Hi everyone, today I have a layout to share with you. For this layout I used the Home For The Holidays collection. Even though this is a Christmas collection the papers are very versatile and can be used on any layout. I love the brown tones in this collection.
My background paper is Together, I started by priming the paper with clear gesso before I added light modeling paste through three different stencils. Most of this was covered up but just enough peaks out from underneath.
 I added colour with mists in brown, peach and deep red, then a put on some random stamping to add another layer of depth to my layout.
I made a photo mat for my photo with layers of paper in Traditions and Christmas Chorus. I lightly distressed the edges and layered in a couple of doilies.
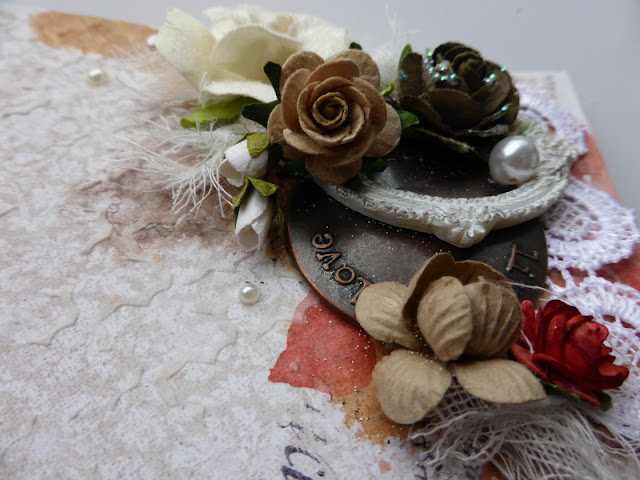
I embellished this layout with lots of flowers, metal trinkets, a resin frame, lightbulb, twine, lace, pearls, cheesecloth, and a cute little bird.
The title is Blue Fern Studios Chipboard covered with white embossing powder.
Maja Design Paper used:
Home for the Holidays Collection – Together, Traditions  and Christmas Chorus
 
Together  Christmas chorus  Traditions
 
Home-for-the-holidays-P
Thanks for Visiting
 

Bec-sign

Simply Me LO

1

Posted by Delaina Burns

11 February, 2016 - , ,

Write a comment

Hey Hey! and Happy February!

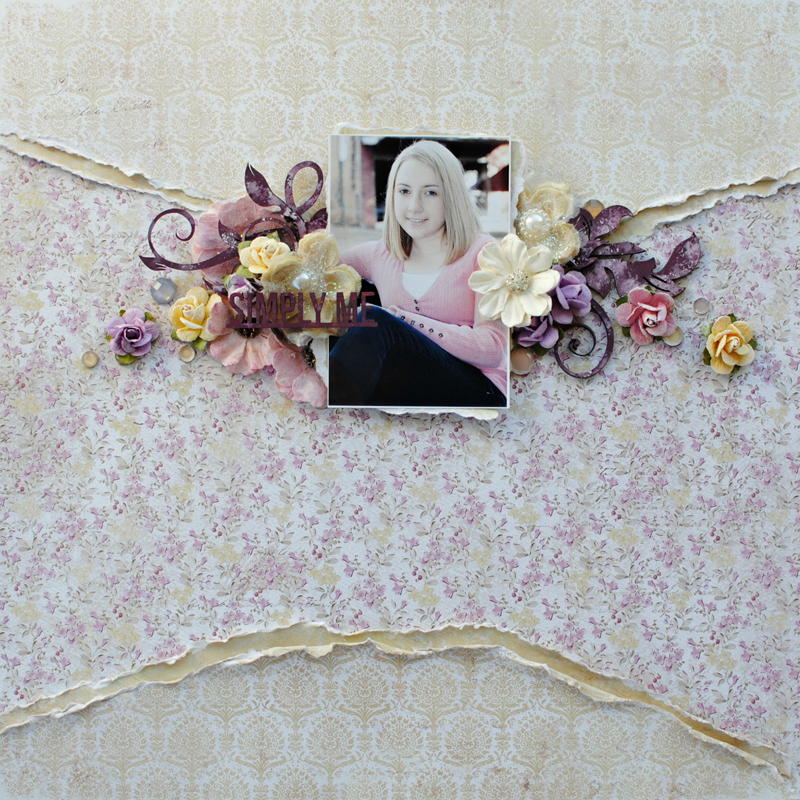
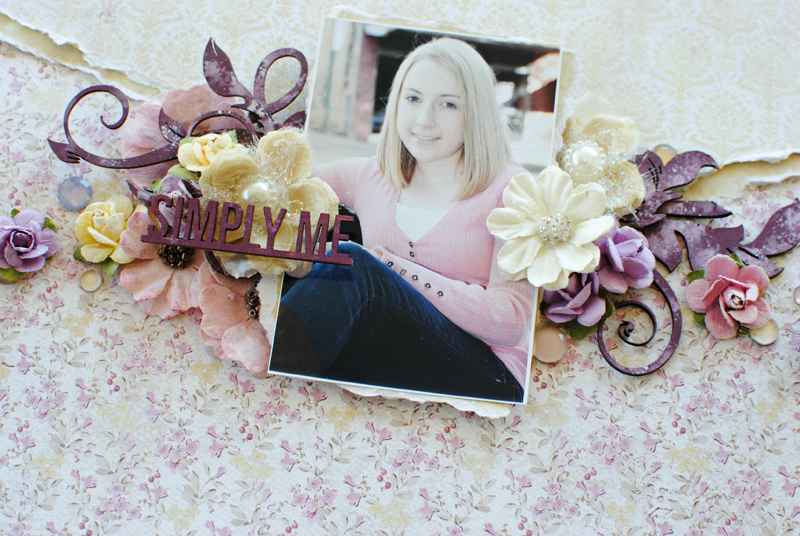
I have a sweet page to share with you today that I created using a photo of my pretty niece from a few years ago.

I chose from Coffee in the Arbour Collection because I adore the mix of soft yellows, cream, and plum.

I kept the page open, clean and a bit simple in design to show off the wonderful pattern in

the papers that I completely love.

DSC_0560ed2sz

Torn papers with inked chipboard, sweet flower clusters and a sprinkling of

sparkly crystals make this page complete.

DSC_0567edsz

Coffee in the Arbour- Flourishing Garden

Coffee in the Arbour- Homemade Lemoncurd

Flowers (Prima)

Chipboard Flourish (Dusty Attic)

Crystals (Prima)

Coffee-in-the-Arbour

Delaina-sign