Cherish Layout with Video Tutorial

1

Posted by Mary Tzalla

30 October, 2018 - ,

Write a comment


Hello Maja fans!

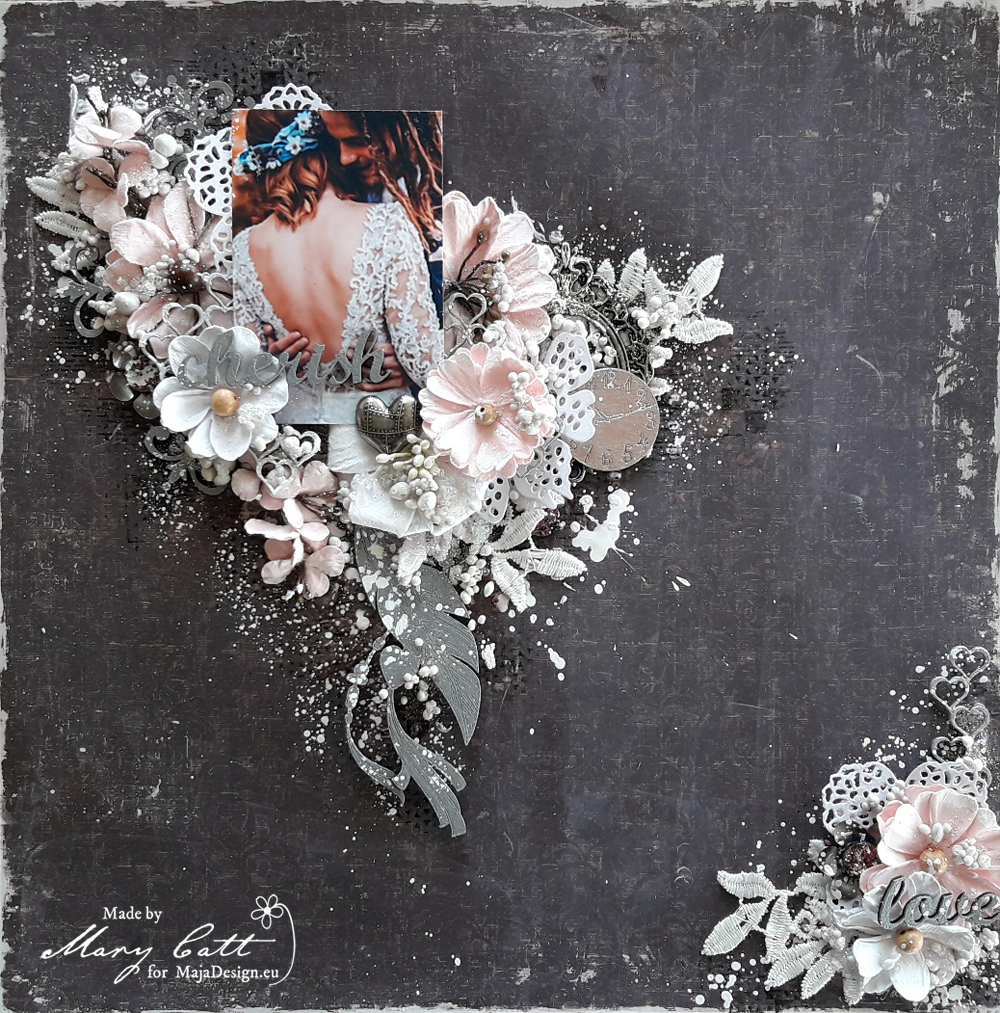
It’s Mary here today and I have a new layout to share made for my October inspiration. I have also prepared a VIDEO TUTORIAL so you can watch all the details.


As you may already know, I love searching on Pinterest to find photos to scrap and this time I came across with that amazing photo. I choose some papers from the gorgeous ”Enjoying Outdoors” collection that was just perfect for it. But, before I continue more I want to give all the proper credits to the ”unknown” photographer.

For my background I used the back side of the ”Spending Time” paper. To start, I gave my background a coat of clear gesso. When it was dried, I added some texture with modeling paste and a stencil.

Next I colored my page with some Lindy’s Gang sprays and made some stamping here and there.

The Dusty Attic chipboards I used were painted with several Finnabair acrylic paints.

When everything was glued down, I added some art stones and I made the final touch with some splatters with white gesso.


Paper used:


That’s all for today, my friends!

Thank you for stopping by!


When the leaves are falling.

2

Posted by Lenet Mos

25 October, 2018 - ,

Write a comment

Hello sweet Maja fans,

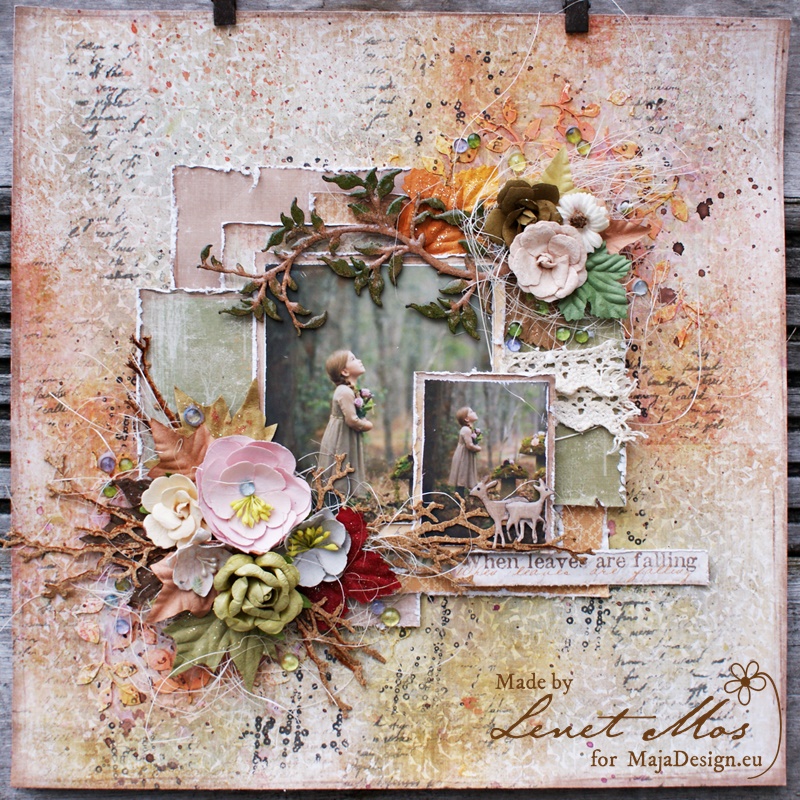
Lenet here and today I bring you this autumn layout.

I”m very lucky to live close to the forest and the shore of the  North Sea

I love being outdoors and taking long walks especially in the forest  .

The colors are so beautiful this time of the year and I love the earthy smell, and a hot mug of coco with whipped cream when I get home to warm up.

There is so much to see while nature is preparing it self for winter.

I tried to bring you that feeling in todays layout.

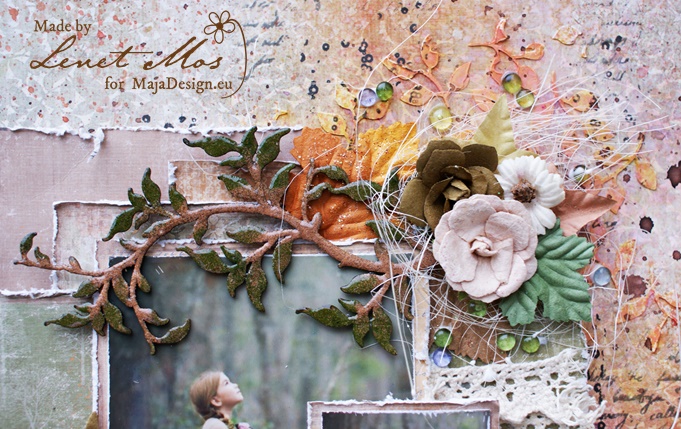
I used the walk in the forest Collection for this one, love the warm colors and cosy patterns of this collection.

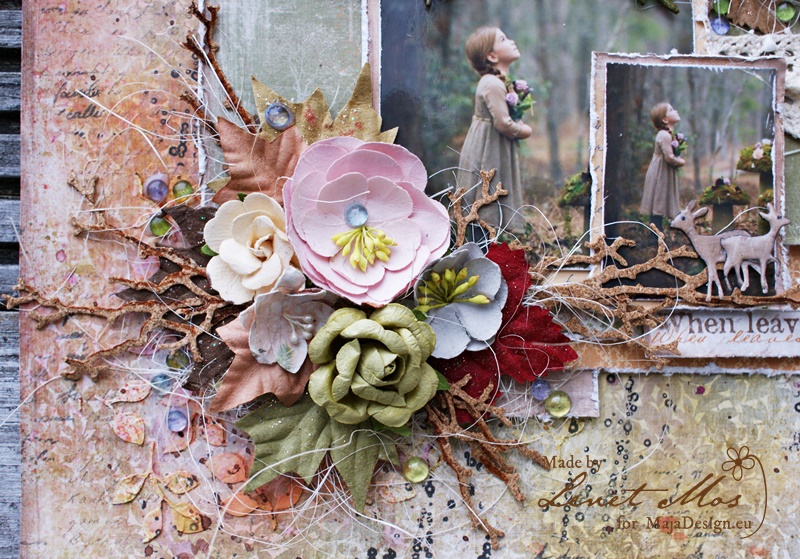
The little girl is holding a bouquet of flowers and I made it come back in this corner, the branches are cut out of a sheet of cork with a branch die from sizzix .

The fawns are made using the playful fawns die from memory box.

This branch comes from my stash and I have no idea what brand it is, but I used distress embossing powders to color it and gave it more dept with a layer of clear embossing powder on top of it.

Added some dewdrops for a finishing touch.

Hope I gave you some autumn inspiration to make your own layout, tag, card or anything.

Happy Fall to you all, enjoy it.


Autumn Wedding

1

Posted by Maja Nowak

26 September, 2018 - ,

Write a comment

Good morning, dear visitors to the Maja Design blog!

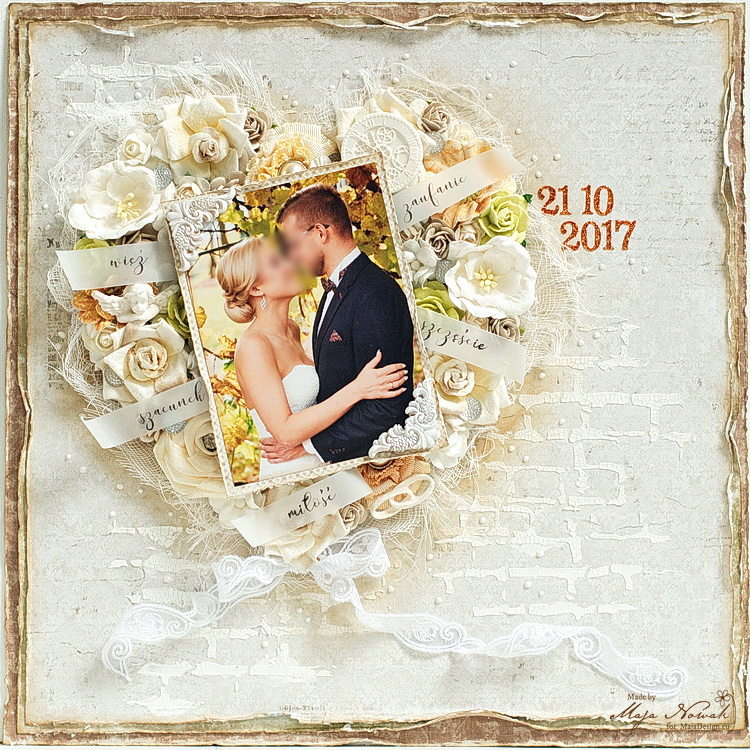
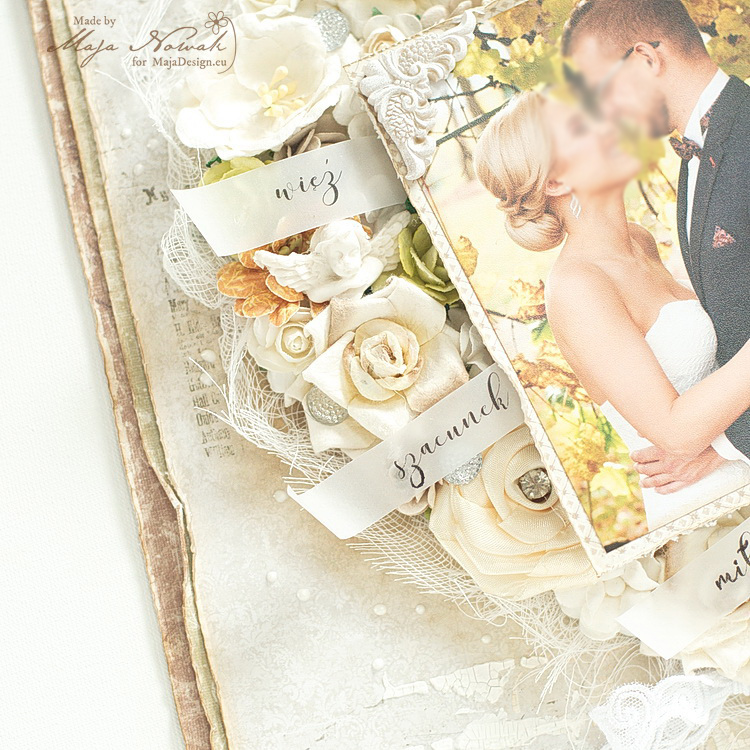
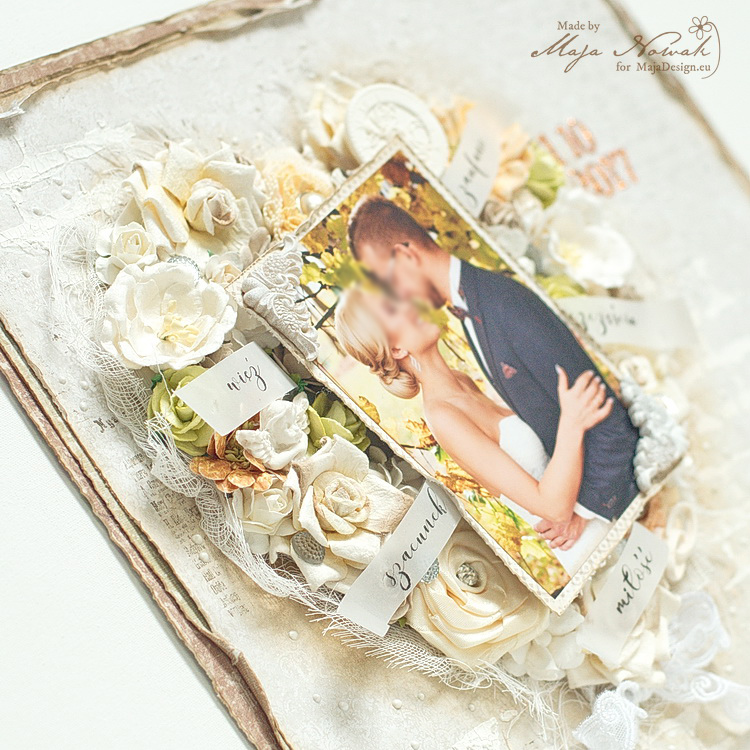
Autumn has just begun and although we can still enjoy some warmer days, nights become colder and colder and leaves turn yellow and orange, a sure sign of the autumn season. And so for today I have an autumn wedding layout to share:

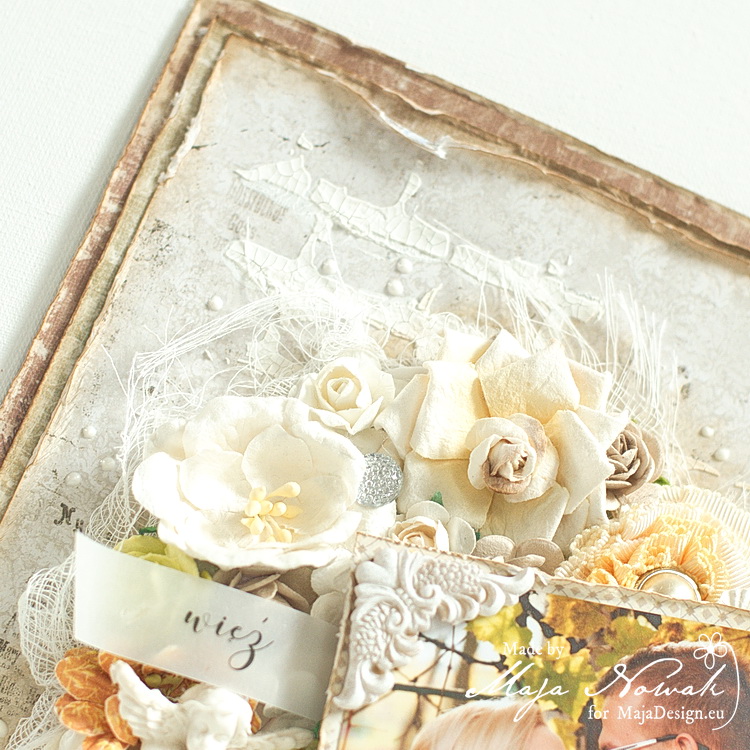
For this page I decided to keep the colour palette of the photo: yellow, pale orange, delicate green and pastel brown. This is perhaps not my frequent choice of colours, but it was surprisingly nice to work with. First I built the background using papers from the Enjoying Outdoors and Vintage Summer Basics collections. The I added some brick pattern onto the top sheet using a Prima stencil and crackle paste:

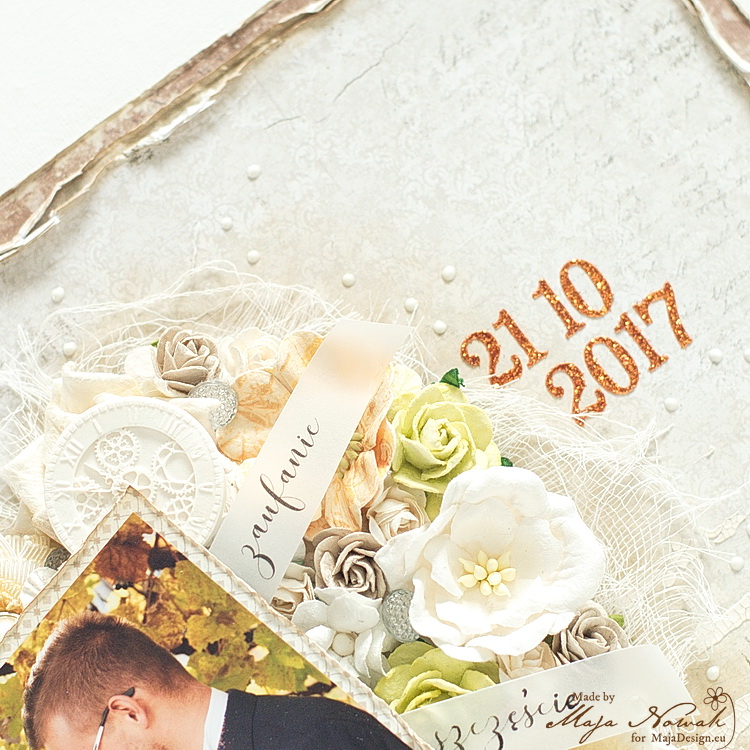
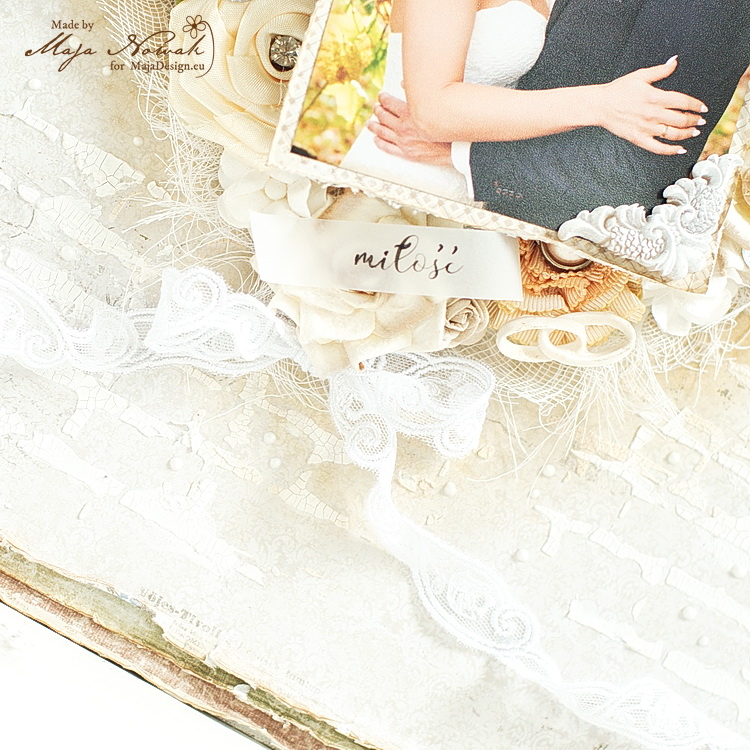
I kept the design rather simple, with a flowery heart matting the photo as the only decorative element. I added some white resin embellishments among the flowers and some theme words describing marriage features around the photo. Under the heart I attached a delicate lace bow. The heart is also matted with frayed cheesecloth.

The layout is quite dimensional and perfect to go into a shadowbox-like frame.

I really like the way it turned out, light and delicate with some touches of bright colours, with the photo still in focus. What do you think?

And here’s the list of my supplies:

Maja Design papers:

Other: flowers, stencil, crackle paste – Prima; resin embellishments: handmade with Prosvet moulds; cheesecloth, bling, lace – my stash.


Thank you for visiting and see you later!

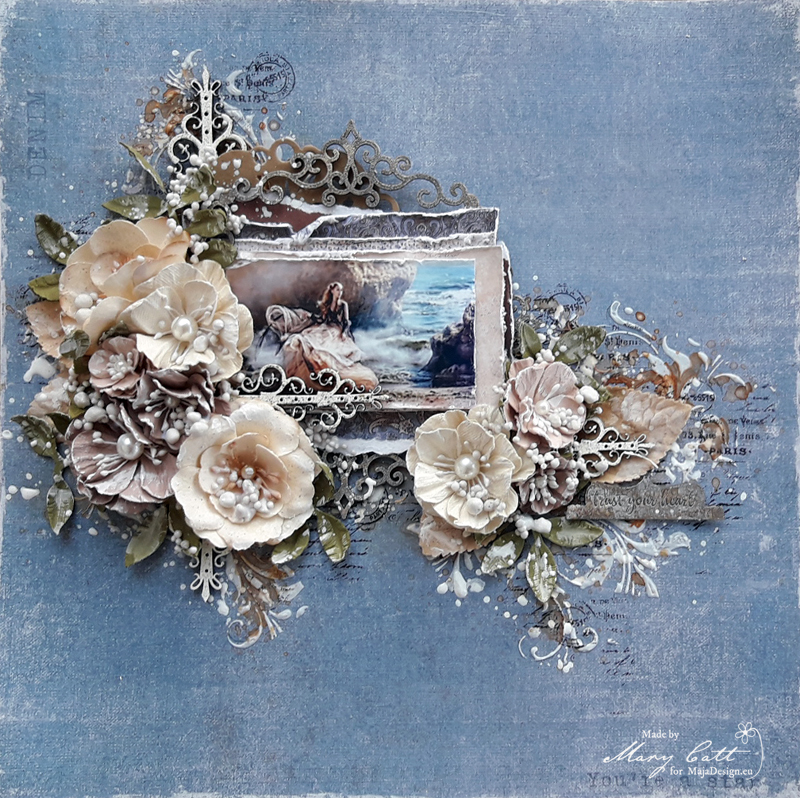
Trust Your Heart

3

Posted by Mary Tzalla

17 September, 2018 - ,

Write a comment

Hello Maja fans!

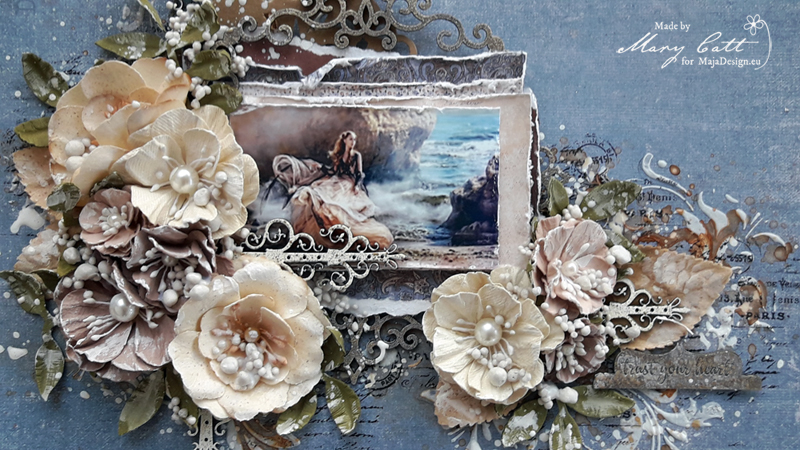
It’s Mary here with you today and I have a new layout to share made for my September inspiration.

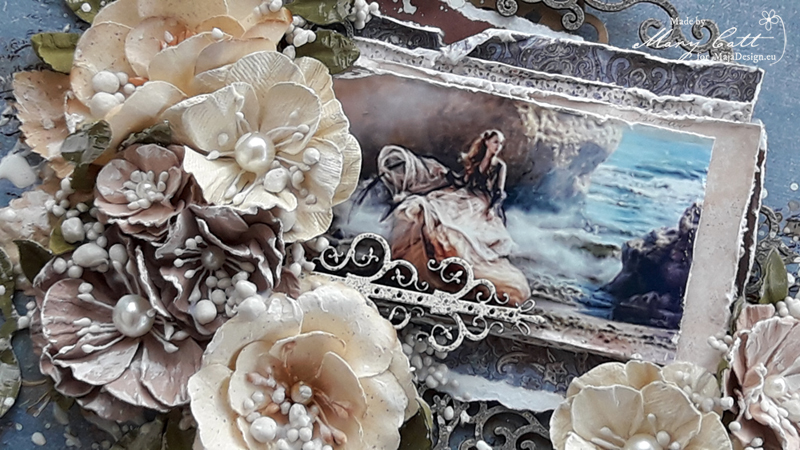
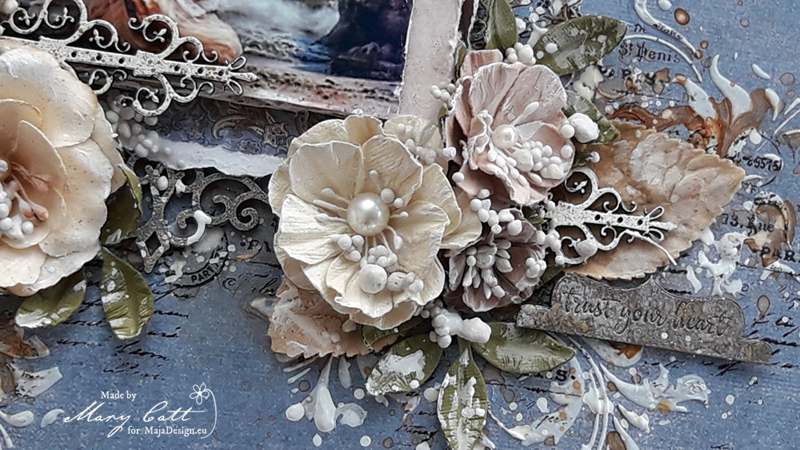
As you may already know, I love searching on Pinterest to find photos to scrap and this time I came across with that amazing photo. I choose some papers from the gorgeous ”Denim & Friends” collection that was just perfect for it. But, before I continue more I want to give all the proper credits to the ”unknown” photographer.

As my main paper I used the ”Stonewashed” and I made some layers behide my photo with the ”Paisley”, the ”Leather” and both sides of the ”Summer Shirt” papers. To start, I gave my background a coat of clear gesso. When it was dried, I added some texture with modeling paste and a stencil.

Then  I used Lindy’s Gang spray to color my page and made some stamping here and there.

I heat embossed the Dusty Attic chipboards with Stampendous embossing enamels and then I randomly rubbed some wax to highlight them a little bit more.

When everything was glued down, I added some art stones and I made the final touch with some splatters with white gesso.


Papers used:


That’s all for today, my friends!

Thank you for stopping by!


Hello Baby Girl

2

Posted by Maja Nowak

29 August, 2018 - , , ,

Write a comment

Good morning, dear Maja Friends, welcome to the blog today!

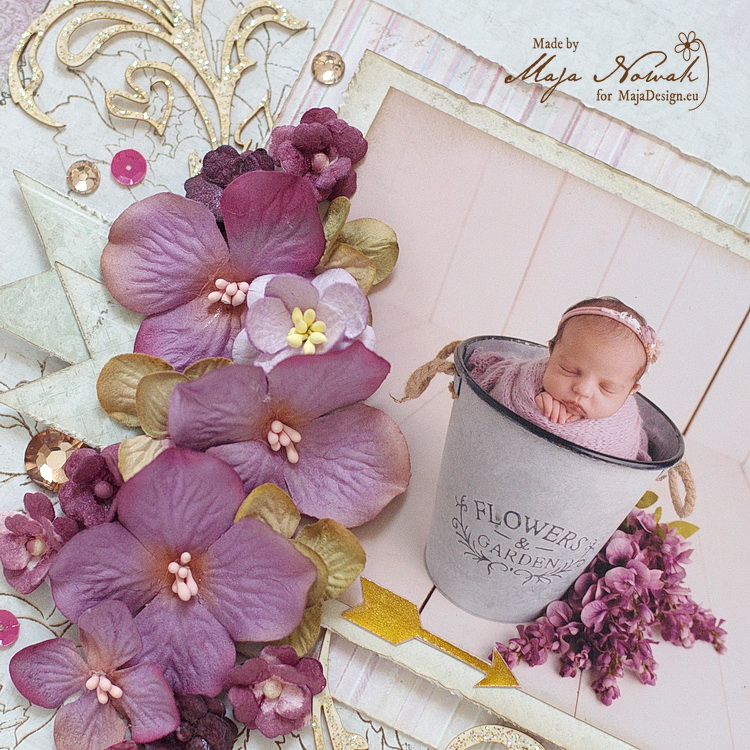
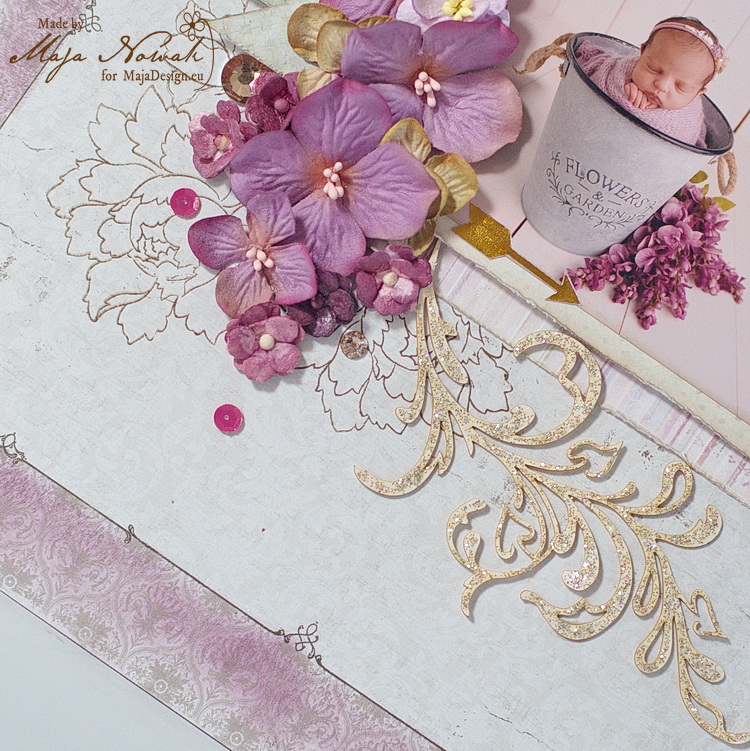
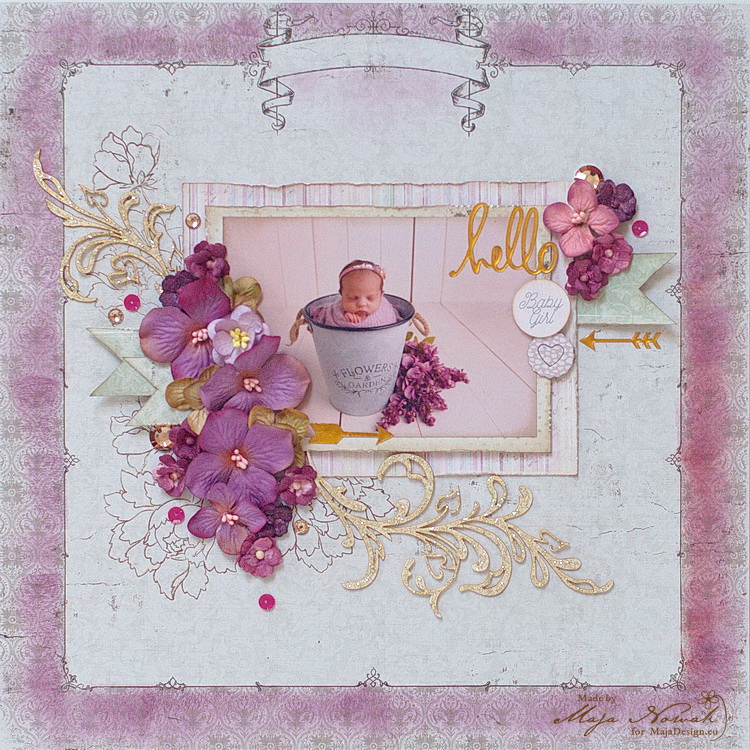
Recently I got some cutest photos of my cousin’s precious baby girl and of course I couldn’t resist making layouts with some of them 😉 And for my today’s post I’m sharing one of those pages:

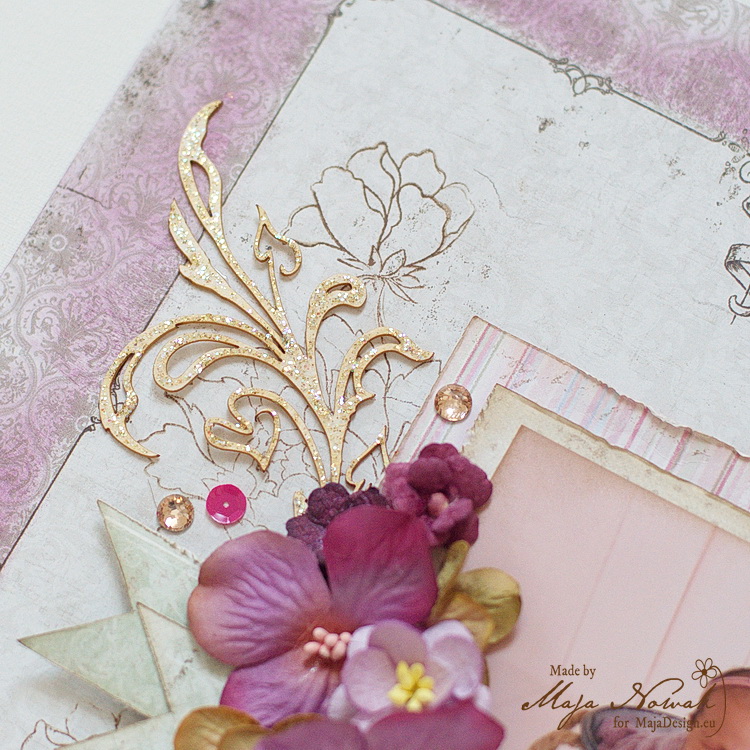
I chose the beautiful Marriage Proposal paper from the Vintage Romance collection for my background. I added some colour along the border with Distress ink and then stamped peony silhouettes:

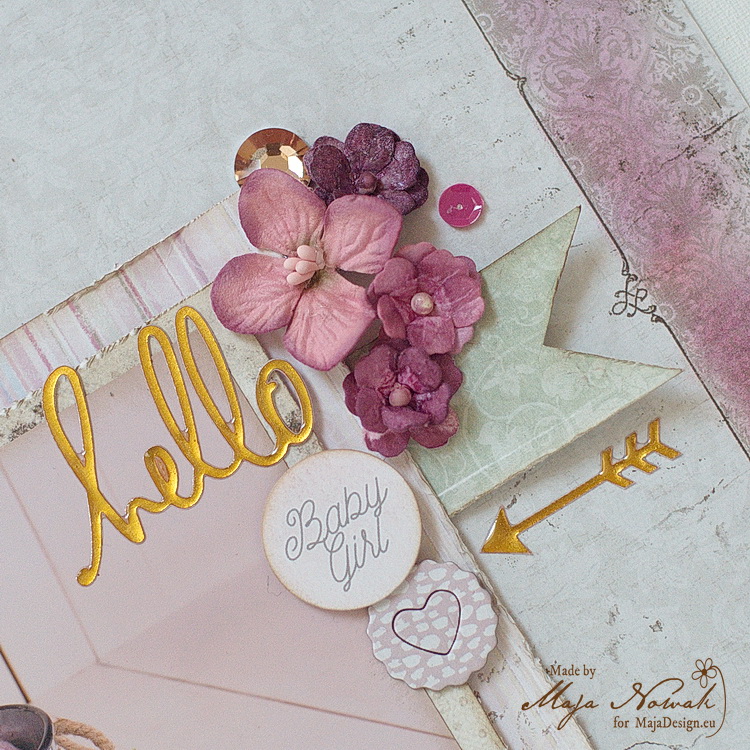
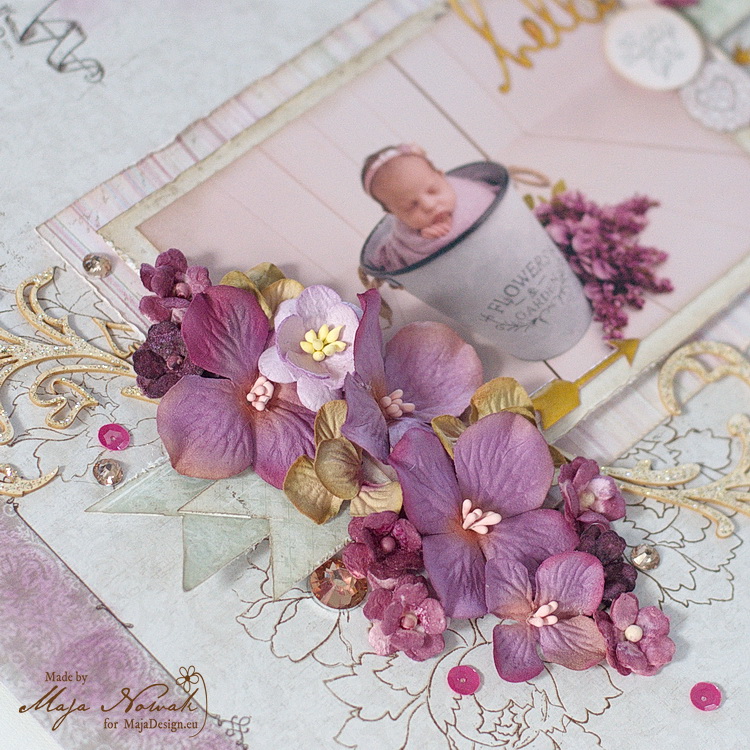
I matted the photo with pieces from the Sofiero and Denim&Friends collections that matched the photo colour scheme. Then I added my floewr cluster mimicking the one in the picture:

I extended it into a cascade blending into the stamped pattern and glitter-covered chipboard flourishes:

I composed the title using epoxy and paper stickers. Then I added some sequins and gemstones as the finishing touch:

I mounted the layers of papers on pieces of cardboard (great way to use up delivery boxes 😉 ) so they don’t look flat against the flowers. And I really love the dimension it gives!
What do you think?

And here’s what I used:

Maja Design papers:

Other: stamps: Altenew; flowers: Prima, Wild Orchid Crafts; stickers: American Crafts, Piątek Trzynastego; chipboard: Miszmasz Papierowy; Distress inks, glitter: Ranger; sequins, bling: my stash.

That’s all for today, thank you for visiting and keep dropping by for more inspiration every day!