Love That Smile Mom

2

Posted by Amy Voorthuis

13 June, 2022 - ,

Write a comment

Hello lovely Maja Design friends,

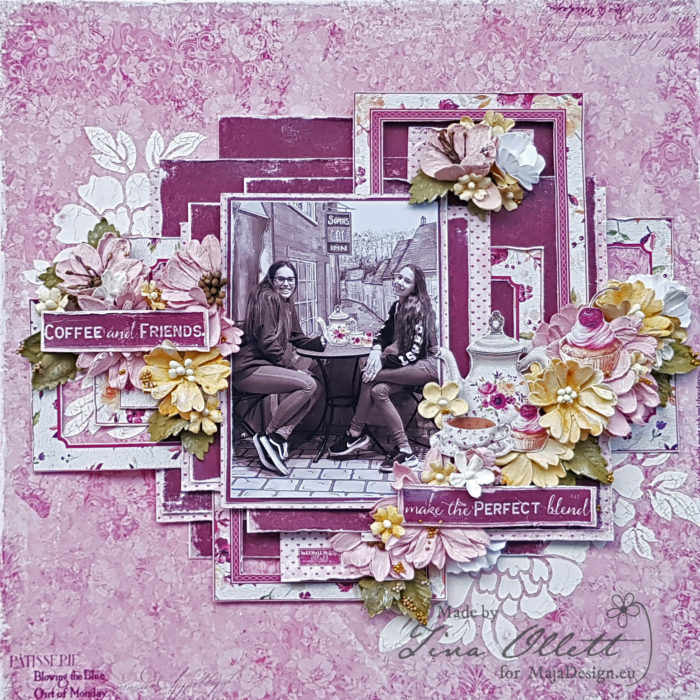
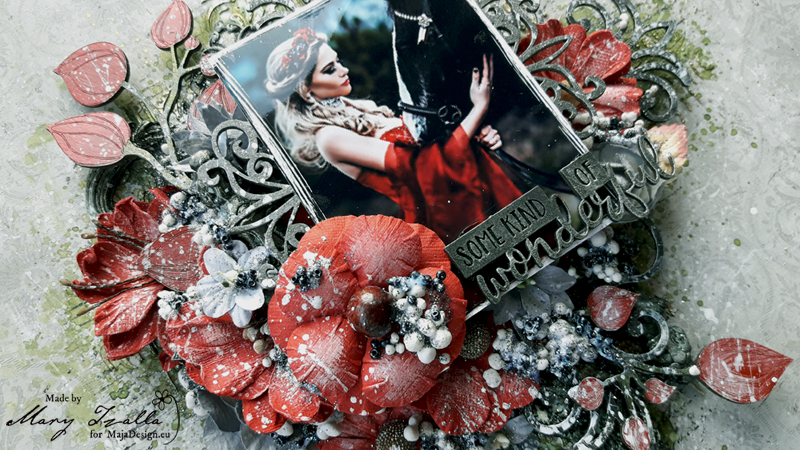
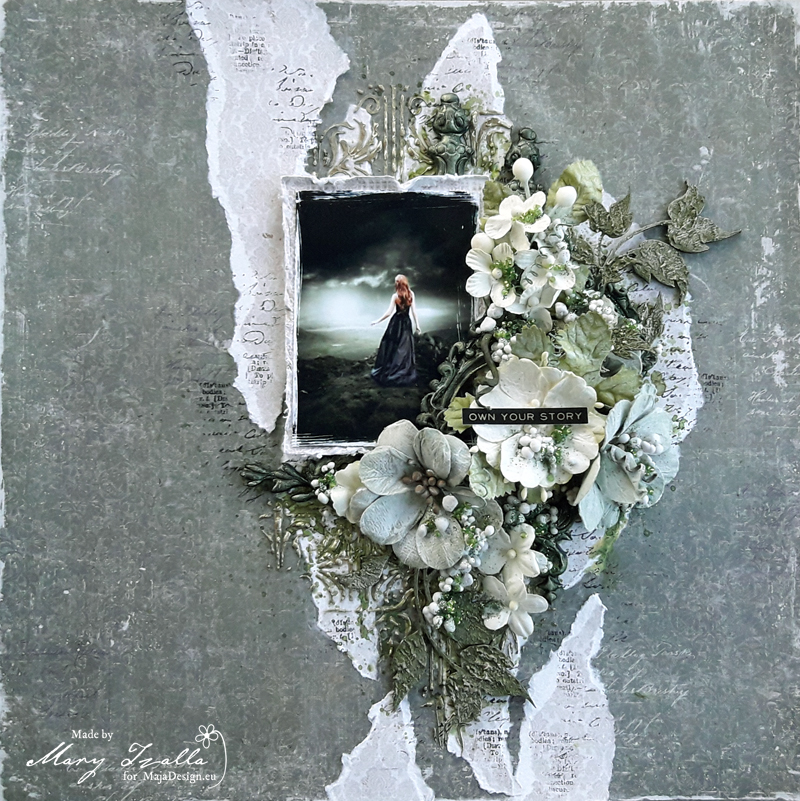
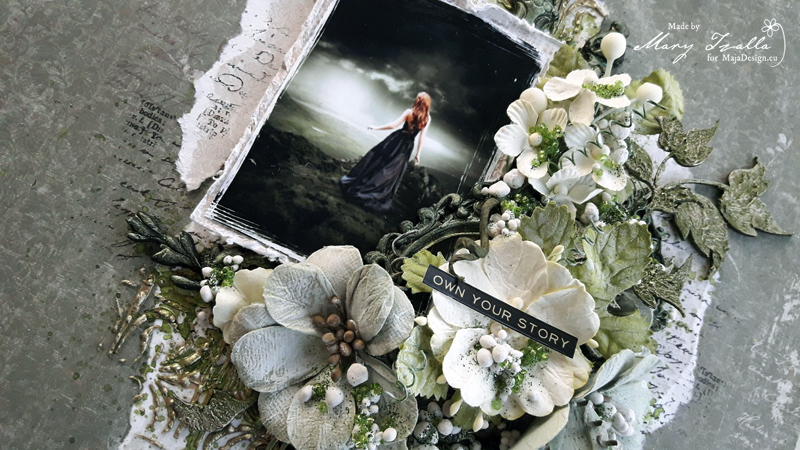
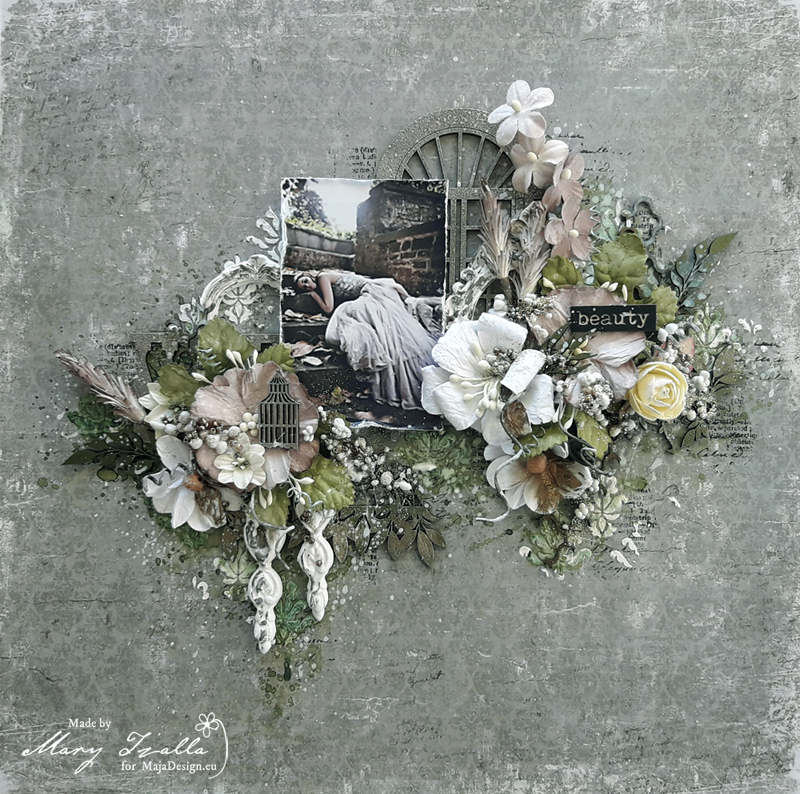
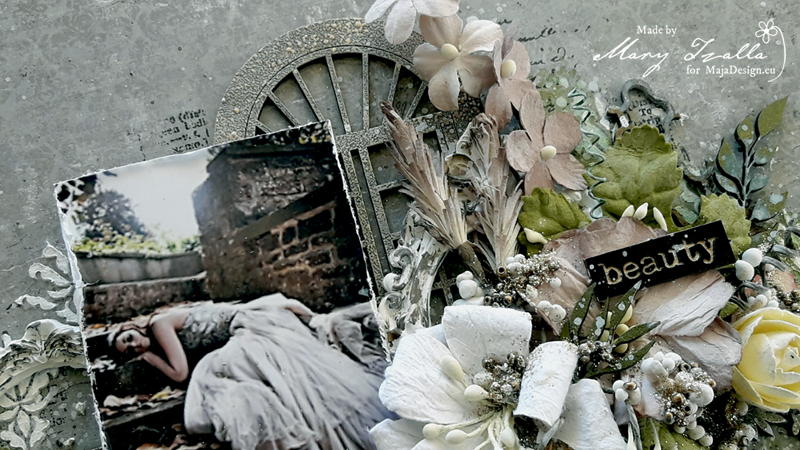
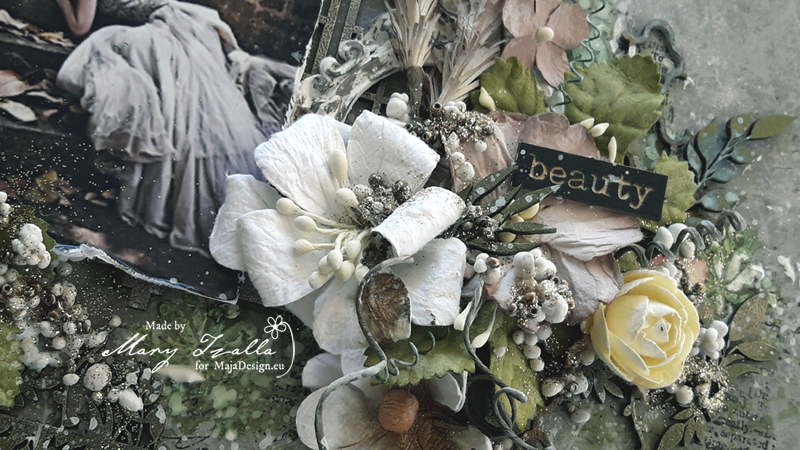
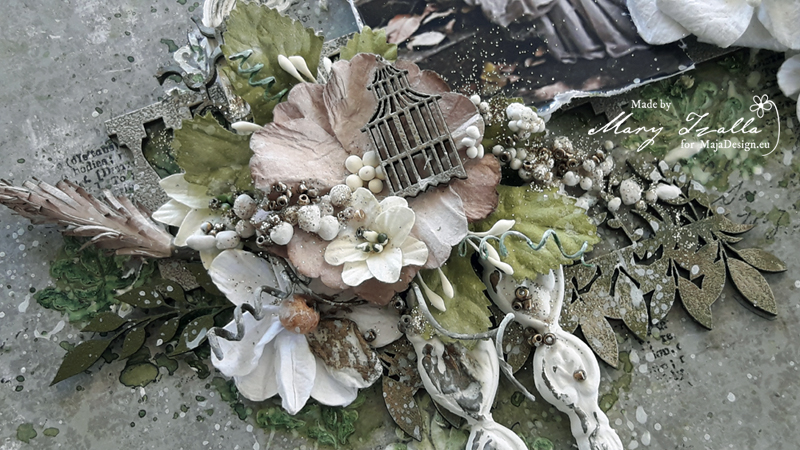
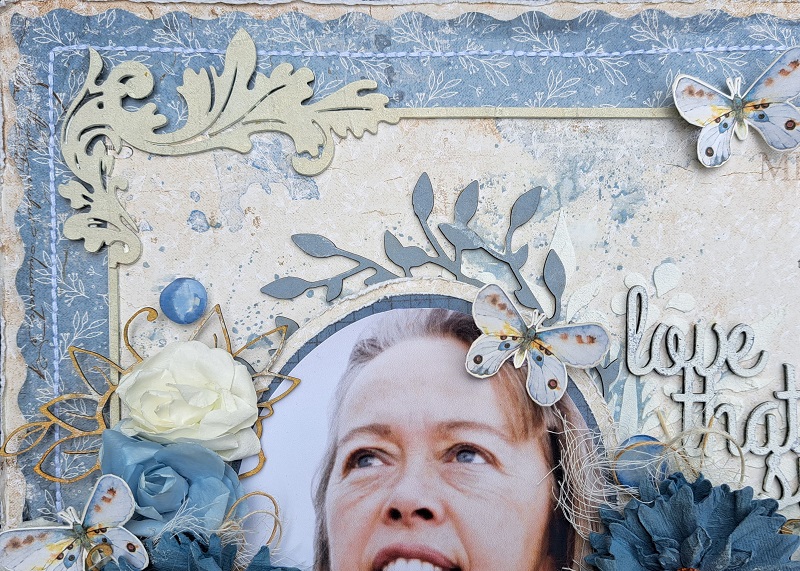
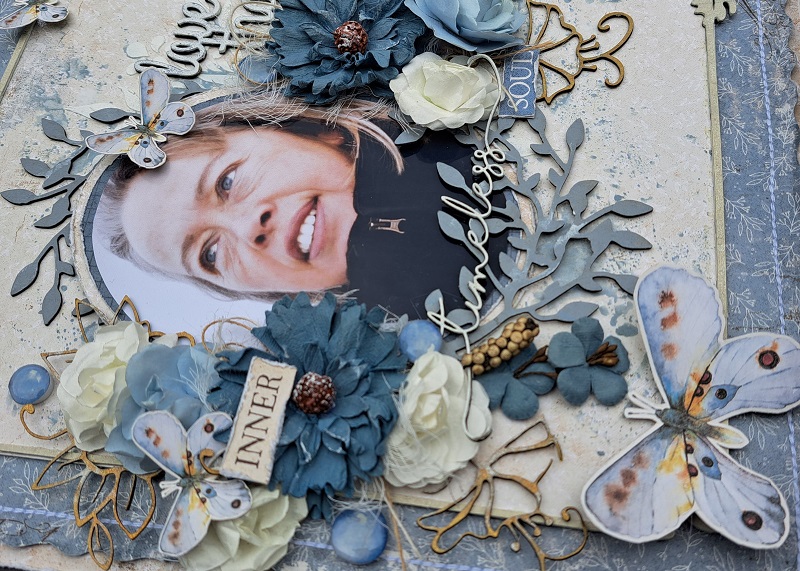
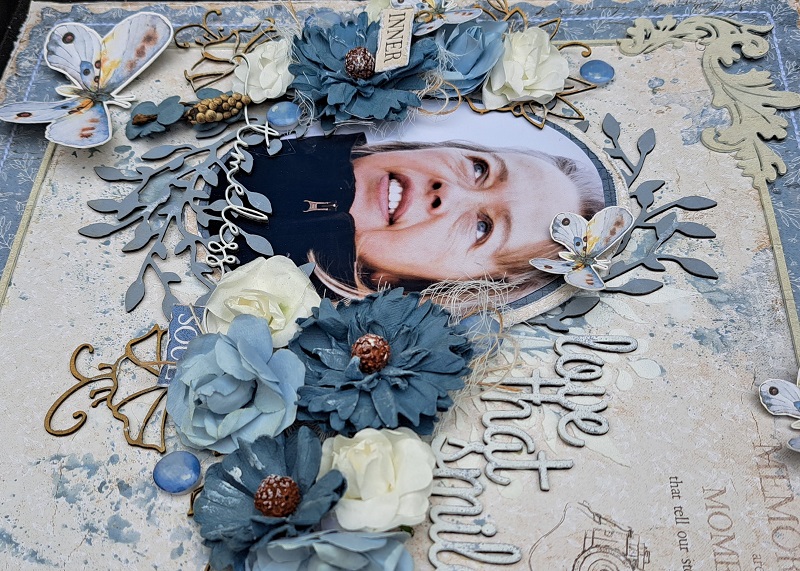
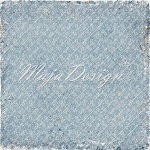
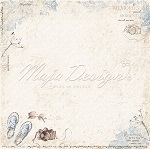
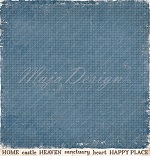
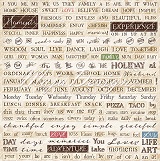
Welcome to the blog today I am such a big fan of gorgeous new collection “Everyday Life”! I think it’s because it’s so versatile it has a bunch of different colors and styles of designs. This time I used the blue & cream tones with a lovely picture of my mom. I have used two sheets of the collection to create this layout. First I cut out the middle of my cream sheet that one I added on the blue sheet that I alsi cut the middle out of. Then to make it ferm again I used a monochrome sheet I also matted the picture with the same sheets.

Love That Smile Mom:

The chipboard pieces are all by 2Crafty. The frame I inked with some cream ink after I gessod it. Then I added some white & clear wax. The beautiful 11″Fine Floral Frame Set I sprayed with some lovely lindy’s and added some blue ink randomly to make fit my layout. The phrase & word are treated with white gesso and I added some blue ink. On the Swaying Branches I did the opposite I inked it with blue and used some white wax on it. 

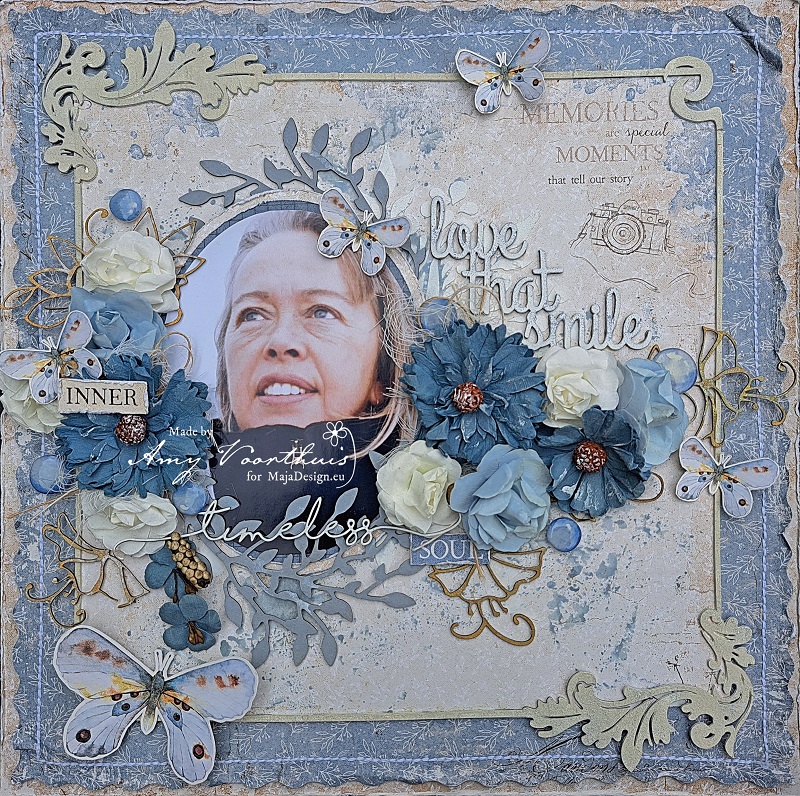
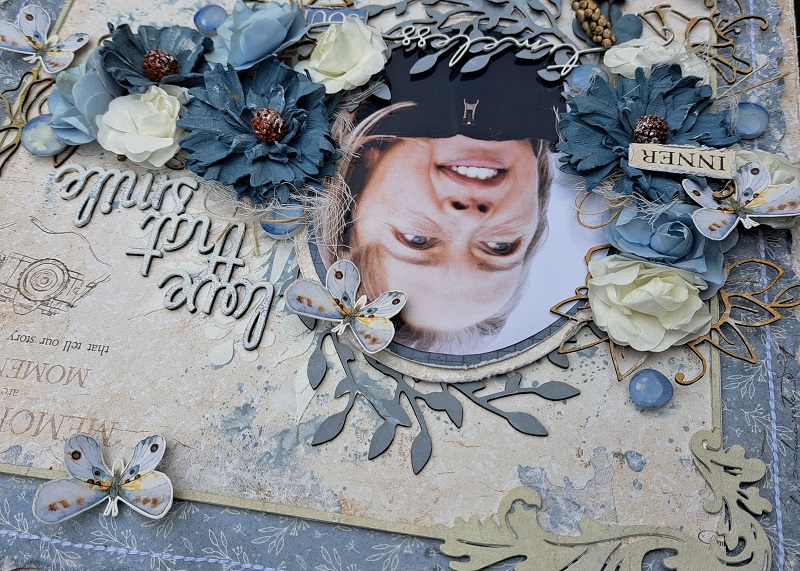
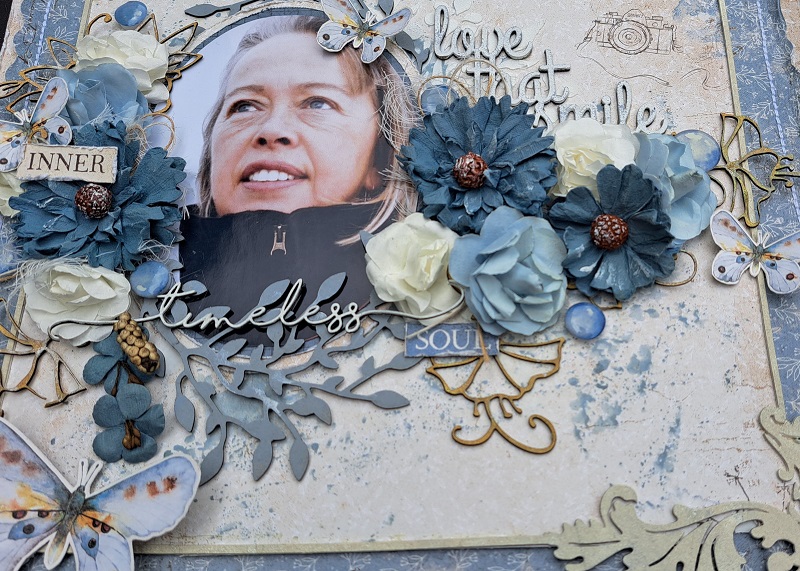
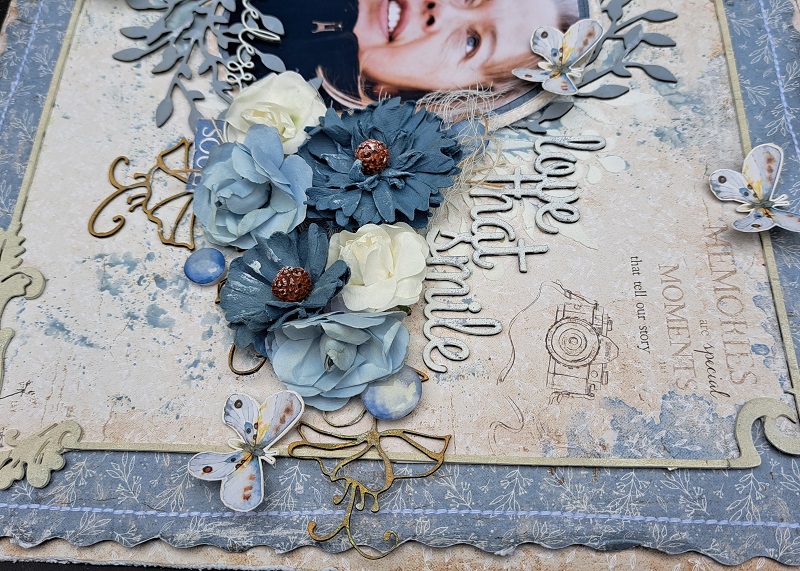
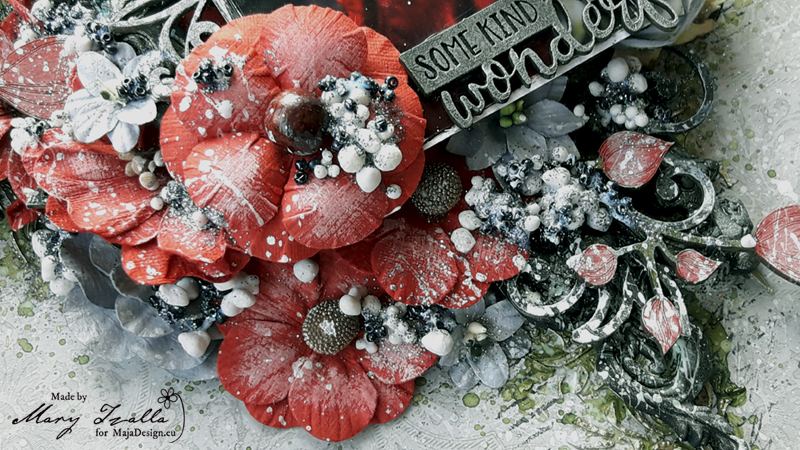
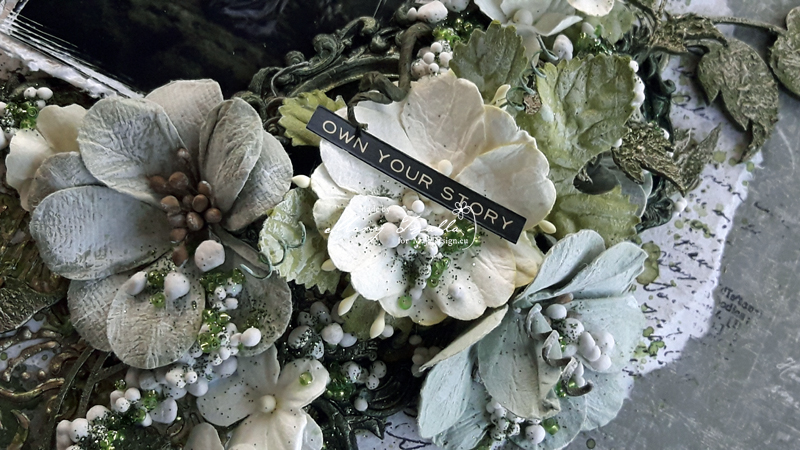
For this layout I used a older technique on my background sheet I took a plastic bag and wrinkled it and added some spray on it to then add it to my sheet. I aslo used a pretty stencil only it’s almost all underneath the pretty pieces of chipboards & my picture. I also did some stitching and wrinkled my papers a bit.

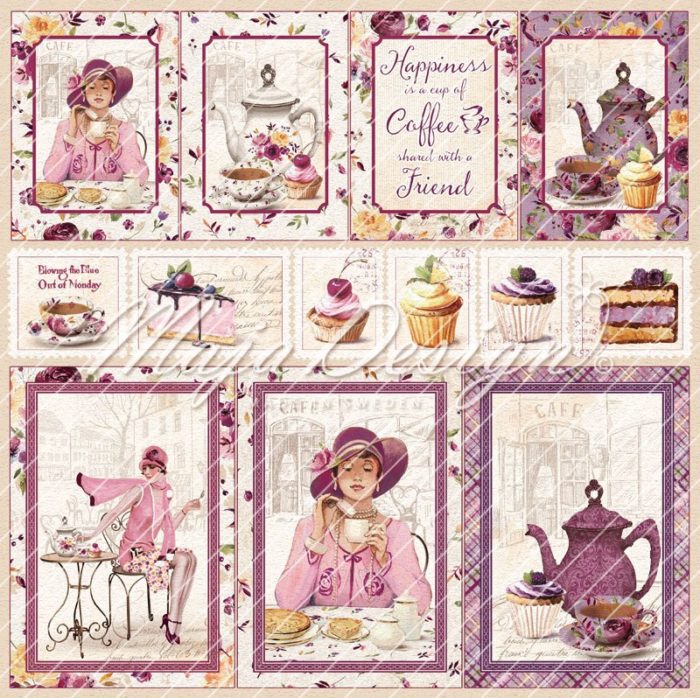
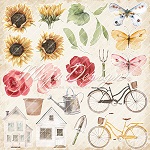
Maja Design papers used: Everyday Life 6×6 paper pad


Thank you so much for your visit today. And I sure hope that I have inspired you to take out your lovely Maja Design papers and create and have fun while doing so. Have a blessed & sunny week!

Hugs

“Coffee and Friends make the perfect blend” by Tina Ollett

0

Posted by Tina Ollett

4 March, 2020 -

Write a comment

Welcome and a warm welcome Maja Design friends. Tina Ollett with you here today to share a project created with the gorgeous new release “Little street Cafe'”. This is titled “Coffee and Friends”.

The cute little sentiment that I used to title my project I found on the tear off strips of the patterned papers. This was actually my starting point When I saw this I knew exactly what photo I wanted to use. Our trip to New Zealand a couple of years ago found my girls posing for photos in lots of different settings. This of course was just a backdrop but a perfect setting for a photo. When I looked closely at the Die Cut sheet from this collection I saw that some of the cards had a similar background work. What a great coincidence don’t you think.

You can see oh so beautiful Die Cut sheet below.

 I cut the die cut sheet using the frames from each card. I also cut a cute cupcake and also the mini mini teapot with cup and sat it on the table in the middle of the girls. You can see it below. Soooo cute! I also cut the larger tea set and popped it up on 3D foam.

I have used the patterned sheet “Something Sweet” as my background piece. I used a Dusty Attic stencil with some Crackle paste to add texture and some added detail to the background. I wanted to keep the page fairly clean so I decided to use a lot of  layering using the papers. I have also used papers from the 6 x 6 pack so there was very little trimming needed for the page. These pieces were distressed sanded and layered alternatively.


Something Sweet


                                                                                         Meeting Friends

I also add in some pretty 49andMarket flowers and some flower pearls to help embellish my layout amongst the fussy cut pieces from the Die Cut sheet that you can see below.

That is all that I really did. Quite a simple yet pretty layout full of layers and gorgeous colour.

I hope you enjoyed this post. Let me know what you think. Until next time happy crafting.

Some Kind of Wonderful

1

Posted by Mary Tzalla

26 November, 2019 - ,

Write a comment

Hello Maja fans!

Mary with you today and I have a new layout to share made for my November inspiration using gorgeous Maja Design papers, Dusty Attic chipboard and 49 and Market flowers.

And again I found on Pinterest a photo that inspired me to create that romantic layout in red and green tones. But, before I continue more I want to give all the proper credits to the ”unknown” photographer.

The paper I used is the ”Walk With Me” from the Vintage Romance collection and I started by applying a coat of clear gesso. Then, I created texture with Finnabair icing paste in White Gold and a stencil. When the paste dried, I randomly stamped using 49 and Market stamp sets. I added color with the Lindy’s Gang ”Edelweiss Moss Green” and ”Greased Lightnin’ Green” sprays.

Next, I painted the ”Flower Buds #2” with Finnabair Royal Red and Golden Moss acrylic paints. Continued with the ”Ornate Motifs #2” and the title which were also painted with the Golden Moss paint and then some wax in Green Brocade was randomly rubbed on them. And lastly, I used the Finnabair Sparks paint in Raven Black to color the ”Fancy Label” chipboard.

I layered all the gorgeous elements around my photo and added in some 49 and Market  flowers from the ”Blossom Blends, Country & Cottage Blooms” sets.

At last, I added art stones, glass beads and glitter and made splatters with white gesso diluted with water.

Paper used:

I hope you enjoyed my project!

Thank you for stopping by! 

Own Your Story

1

Posted by Mary Tzalla

26 September, 2019 - ,

Write a comment

Hello Maja fans!

Today, I would like to share a new layout made for my September inspiration using papers from the gorgeous ”Enjoying Outdoors” collection. As usual, I’ve also used 49 and Market flowers, Dusty Attic chipboard and Finnabair moulds to embellish my page and achieve a romantic and elegant feeling.

As always, I found my photo on Pinterest and before I continue more I want to give all the proper credits to the ”unknown” photographer.

I used the back side of the ”Beautiful Trees” paper and made several layers with torn pieces of the ”Having Tea in the Sun” paper on the background. I also used the back side of the same paper to mat my photo. To start, I applied a coat of clear gesso and then, I created texture with the Finnabair White Gold icing paste and a stencil. When the paste dried, I used the Lindy’s Stamp Gang Edelweiss Moss Green and Greased Lightnin’ Green sprays to add color.

Next, I applied paper paste on the chipboards to make them textured and painted them with the Finnabair Golden Moss acrylic paint.

Then, I layered all the gorgeous elements around my photo and added in some 49 and Market flowers.

Papers used:

I hope you enjoyed my project!

Until next time happy crafting!


Beauty Layout with Video Tutorial

2

Posted by Mary Tzalla

26 August, 2019 - , ,

Write a comment


Hello Maja fans!

Mary with you today and I have a new layout with a video tutorial to share with you. As always I found my photo on Pinterest and this one inspired me to create a soft romantic page in green, white and brown tones.

But, before I continue more I want to give all the proper credits to the ”unknown” photographer. To create my page I used Maja Design papers from the gorgeous ”Vintage Summer Basics” collection along with some gorgeous Dusty Attic chipboards and beautiful 49 and Market flowers.


You can watch all the procedure here…


The paper I used is the ”1921” and I started by applying a coat of clear gesso. Then, I created texture with Finnabair paper texture paste and the Dusty Attic Damask #2 Stencil. When the paste dried, I randomly stamped using 49 and Market stamp sets. I added color with the Lindy’s Gang ”Greased Lightnin’ Green” spray.

Next, I used different mixed media techniques to treat the Dusty Attic chipboards which you can watch on the video tutorial.

Then, I layered all the gorgeous elements around my photo and added in some 49 and Market flowers. At last, I added the Dusty Attic title word and finished it up with art stones, glass beads and glitter.


Paper used:


I hope you enjoyed my project!

Until next time happy crafting!