Let It Snow

0

Posted by Lenet Mos

4 January, 2018 - ,

Write a comment

Hello dear Maja Fans,  Lenet  here today.

First of all I want to wish you all a wonderful and creative 2018.

I’m so happy to be a part of this wonderful team and hope I will give you lots of inspiration.

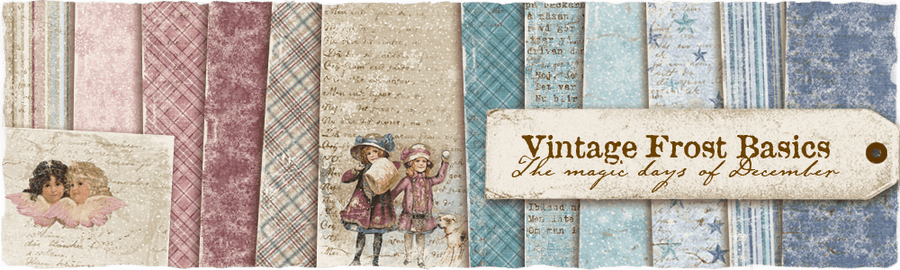
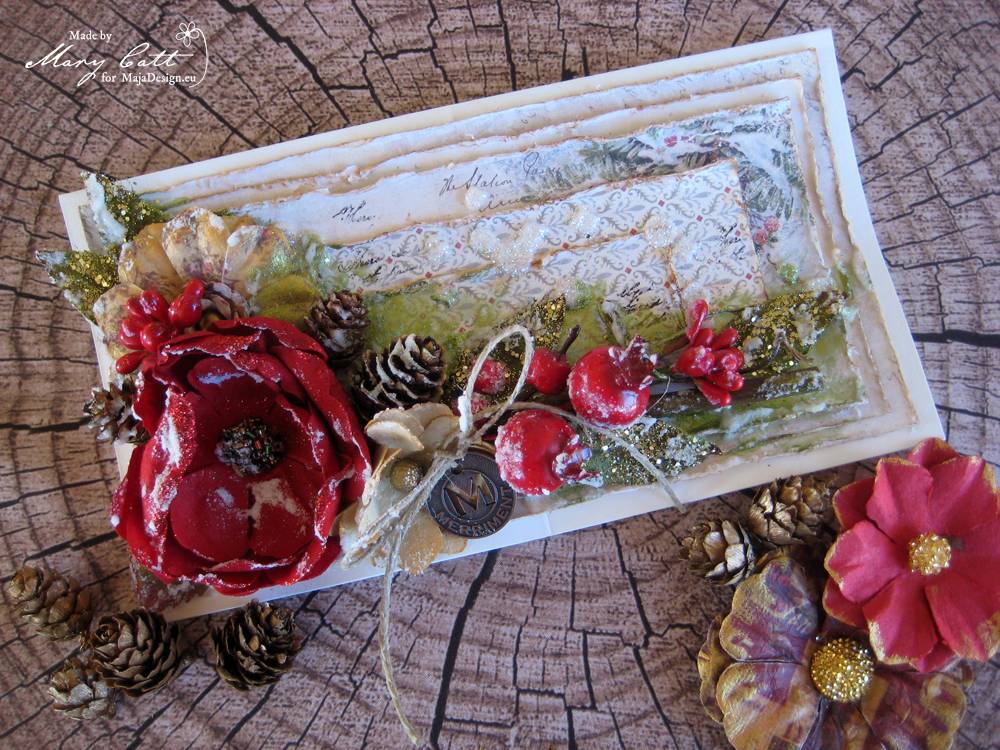
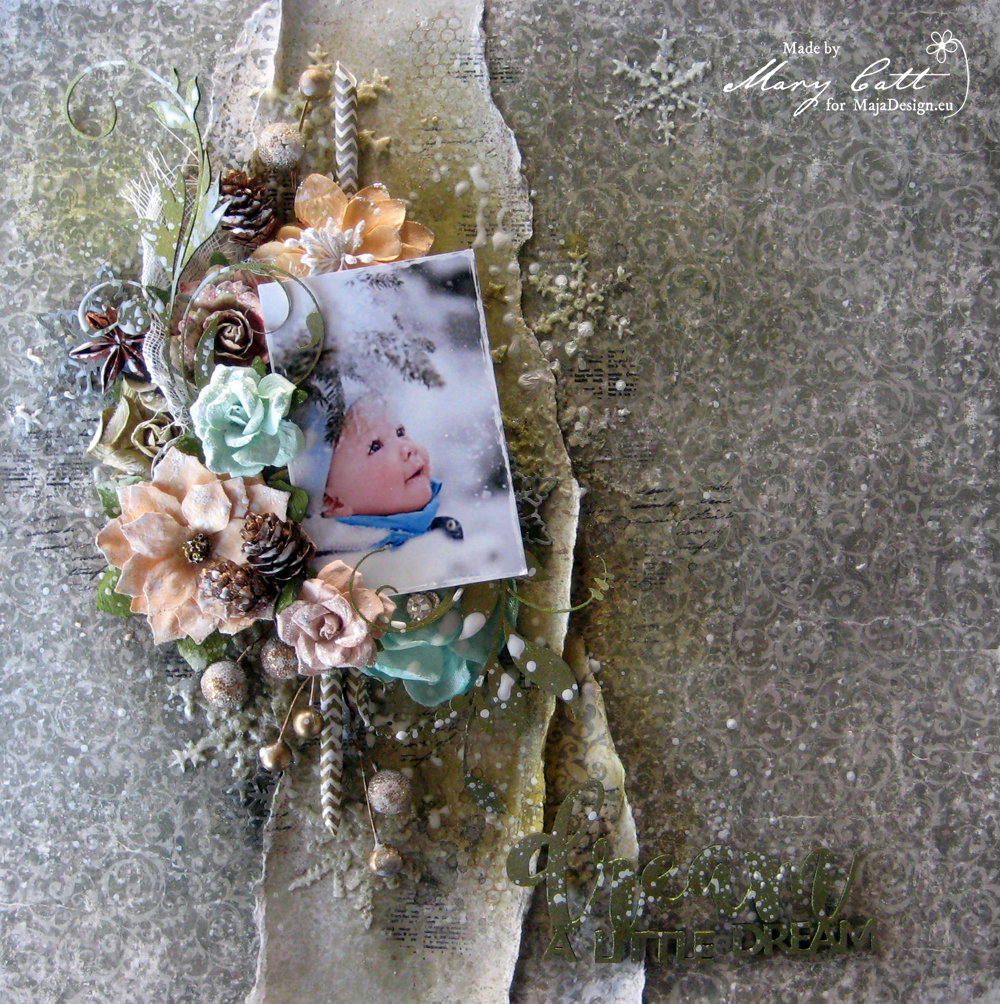
For my first post on this blog I made this layout using the Vintage Frost Basics.

Frost-Basics-P

SONY DSC

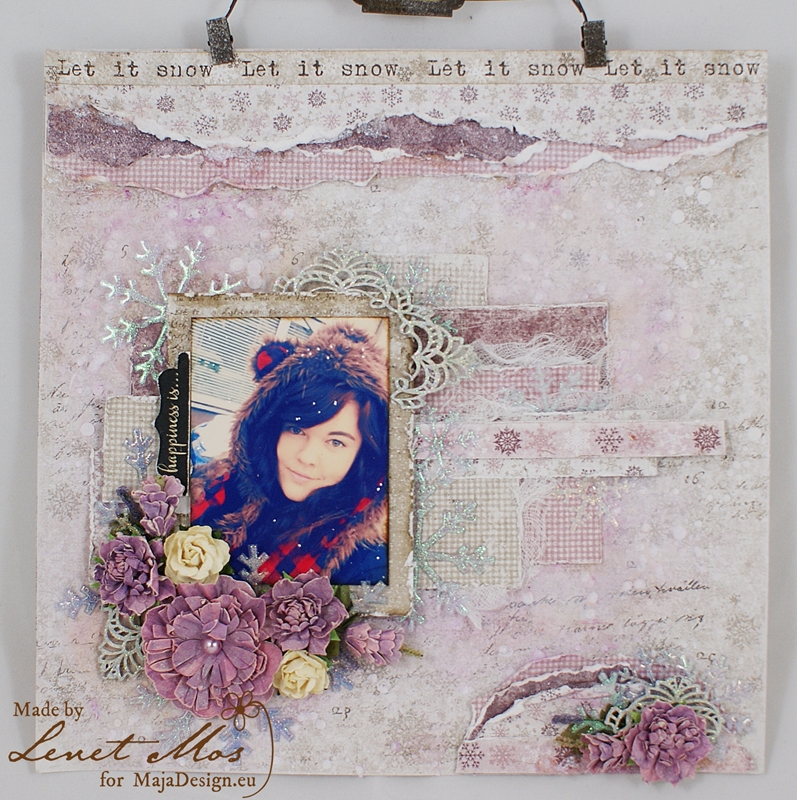
Because this picture is taken when we had the first snow this year I decided to give it a real snowy theme.

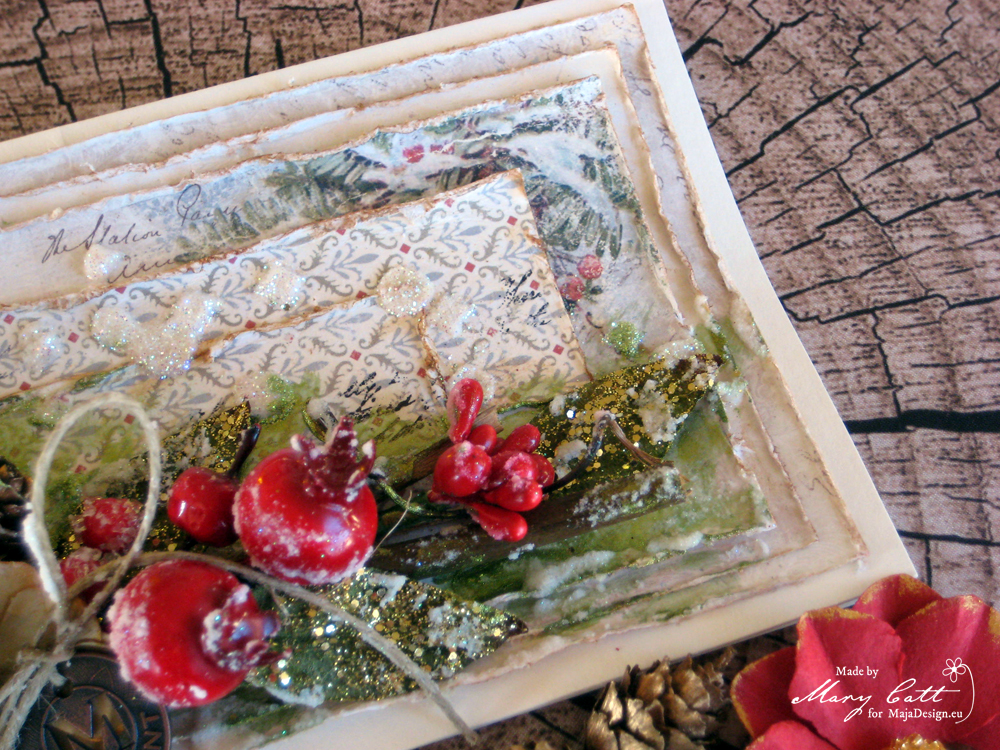
First thing I did was making a snowy effect on the background paper using embossing paste and the Confetti#2 stencil from dusty attic.

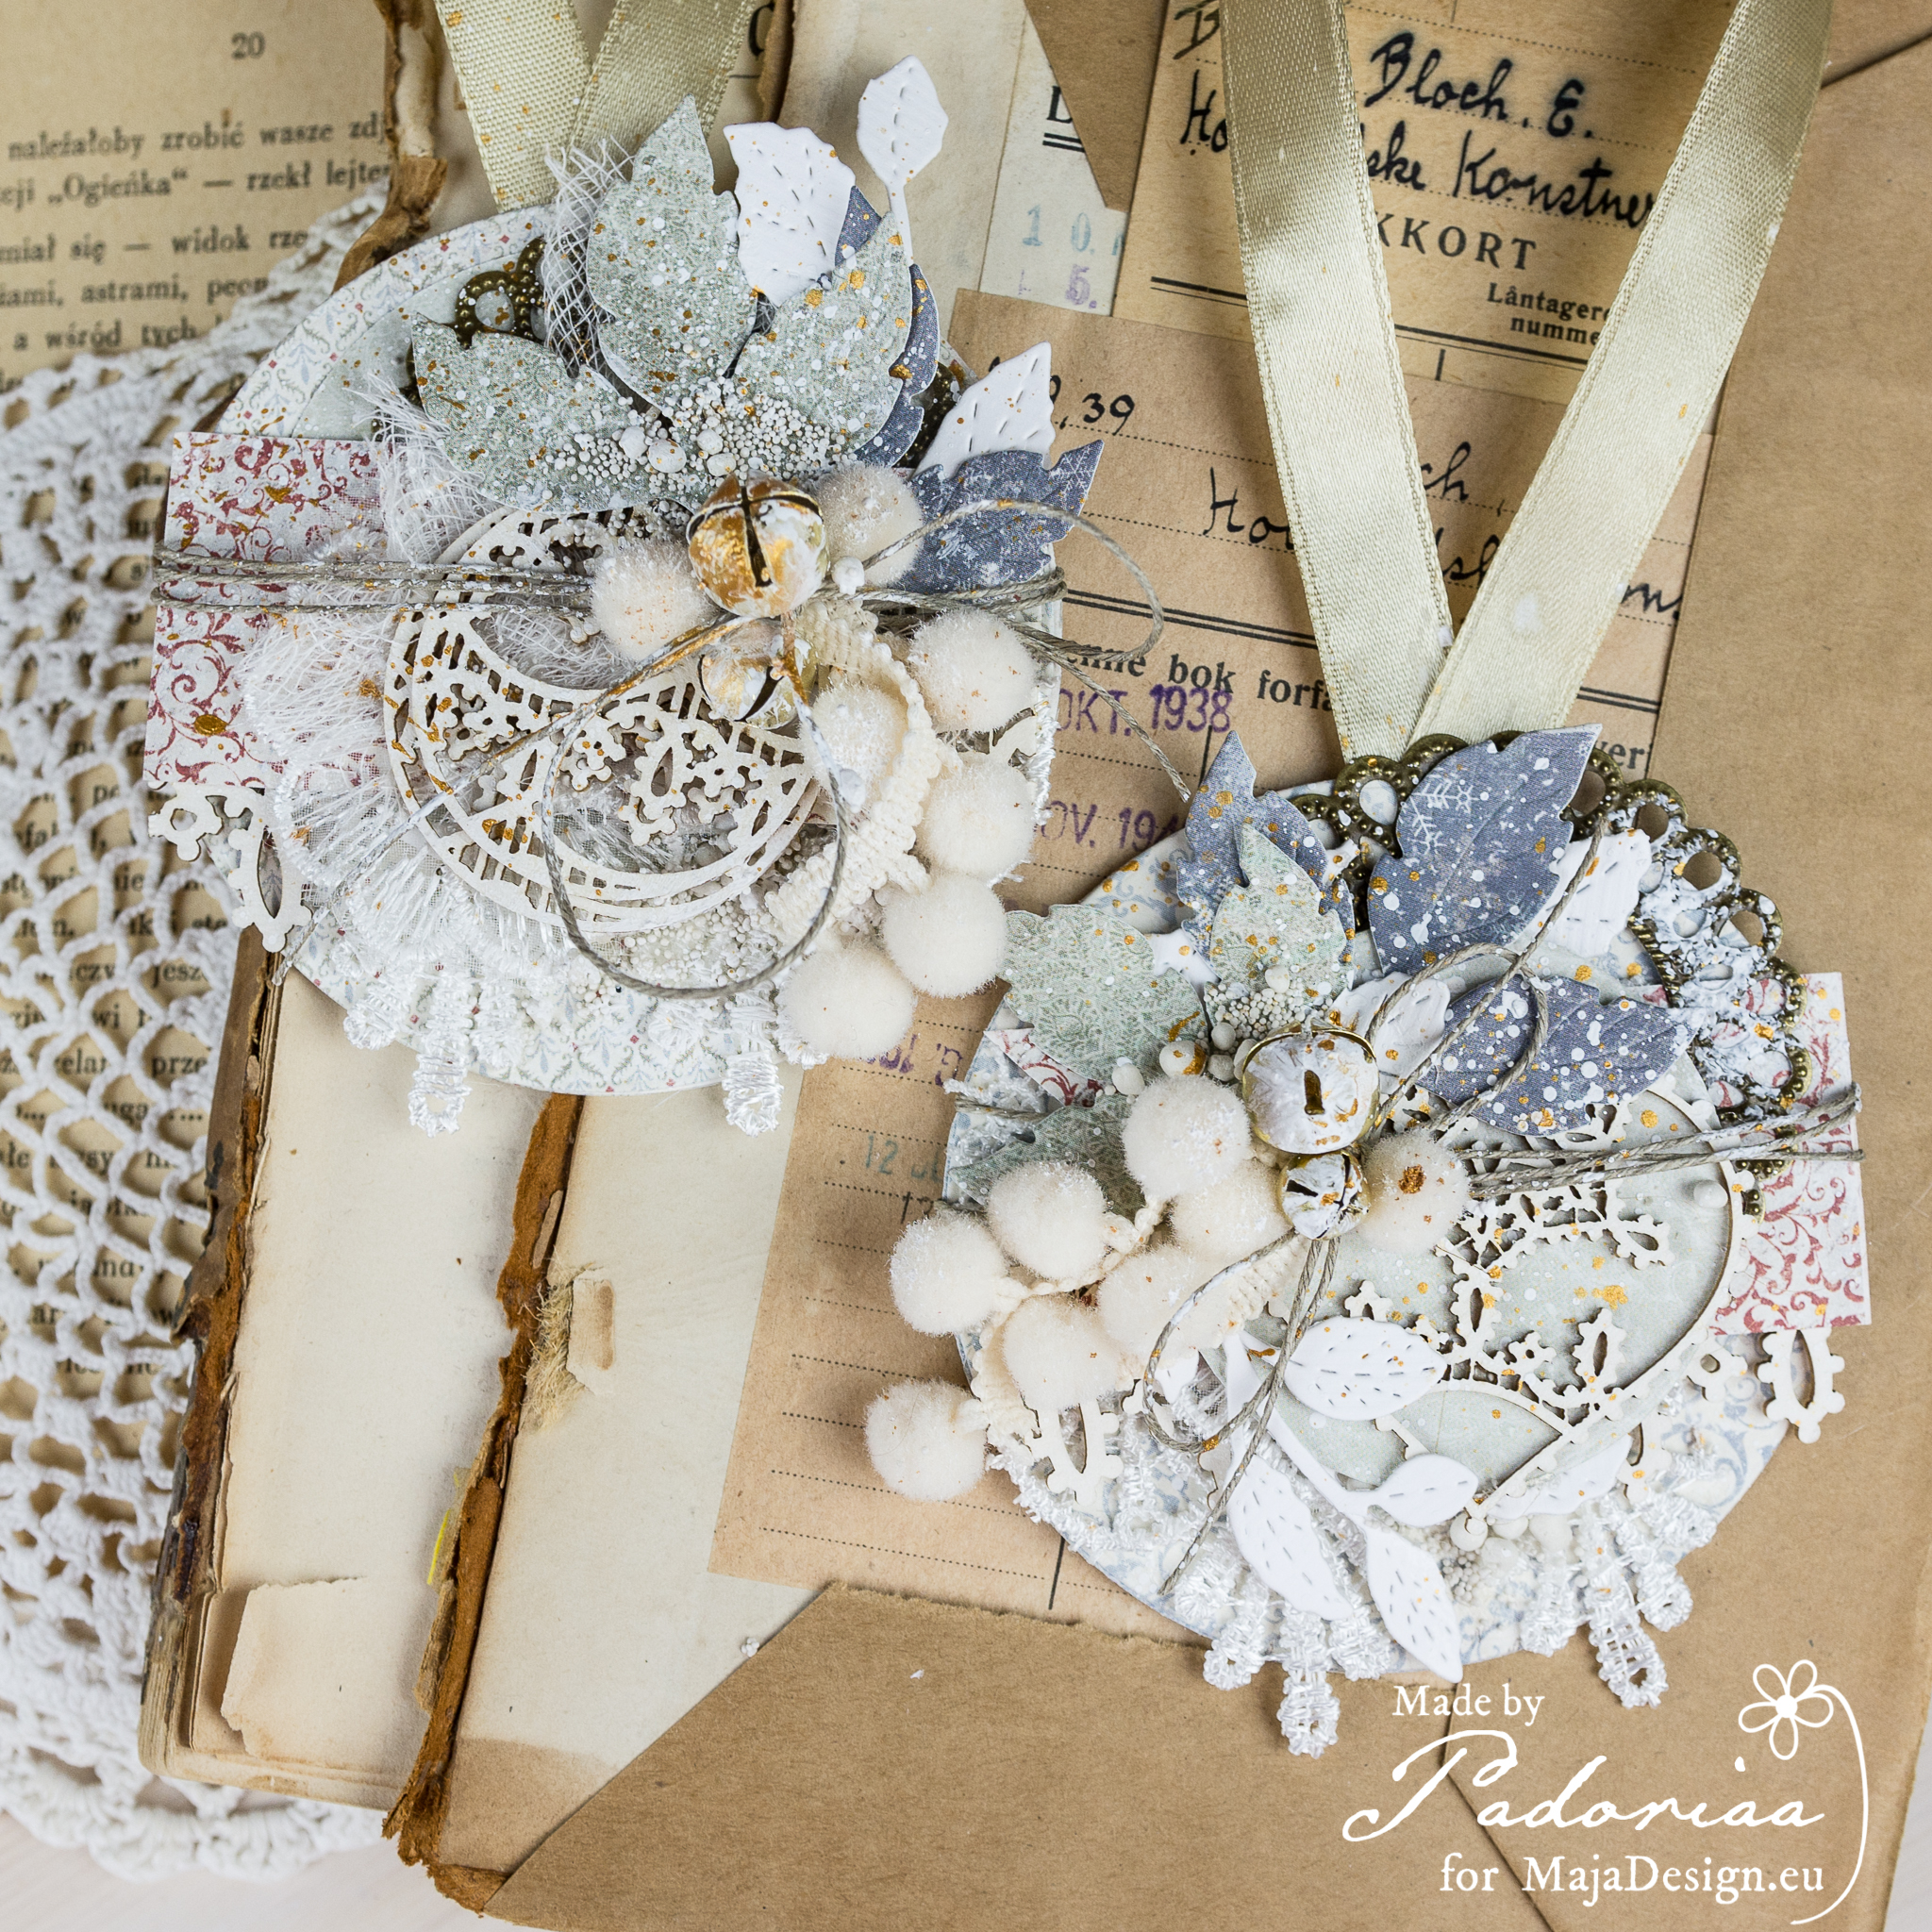
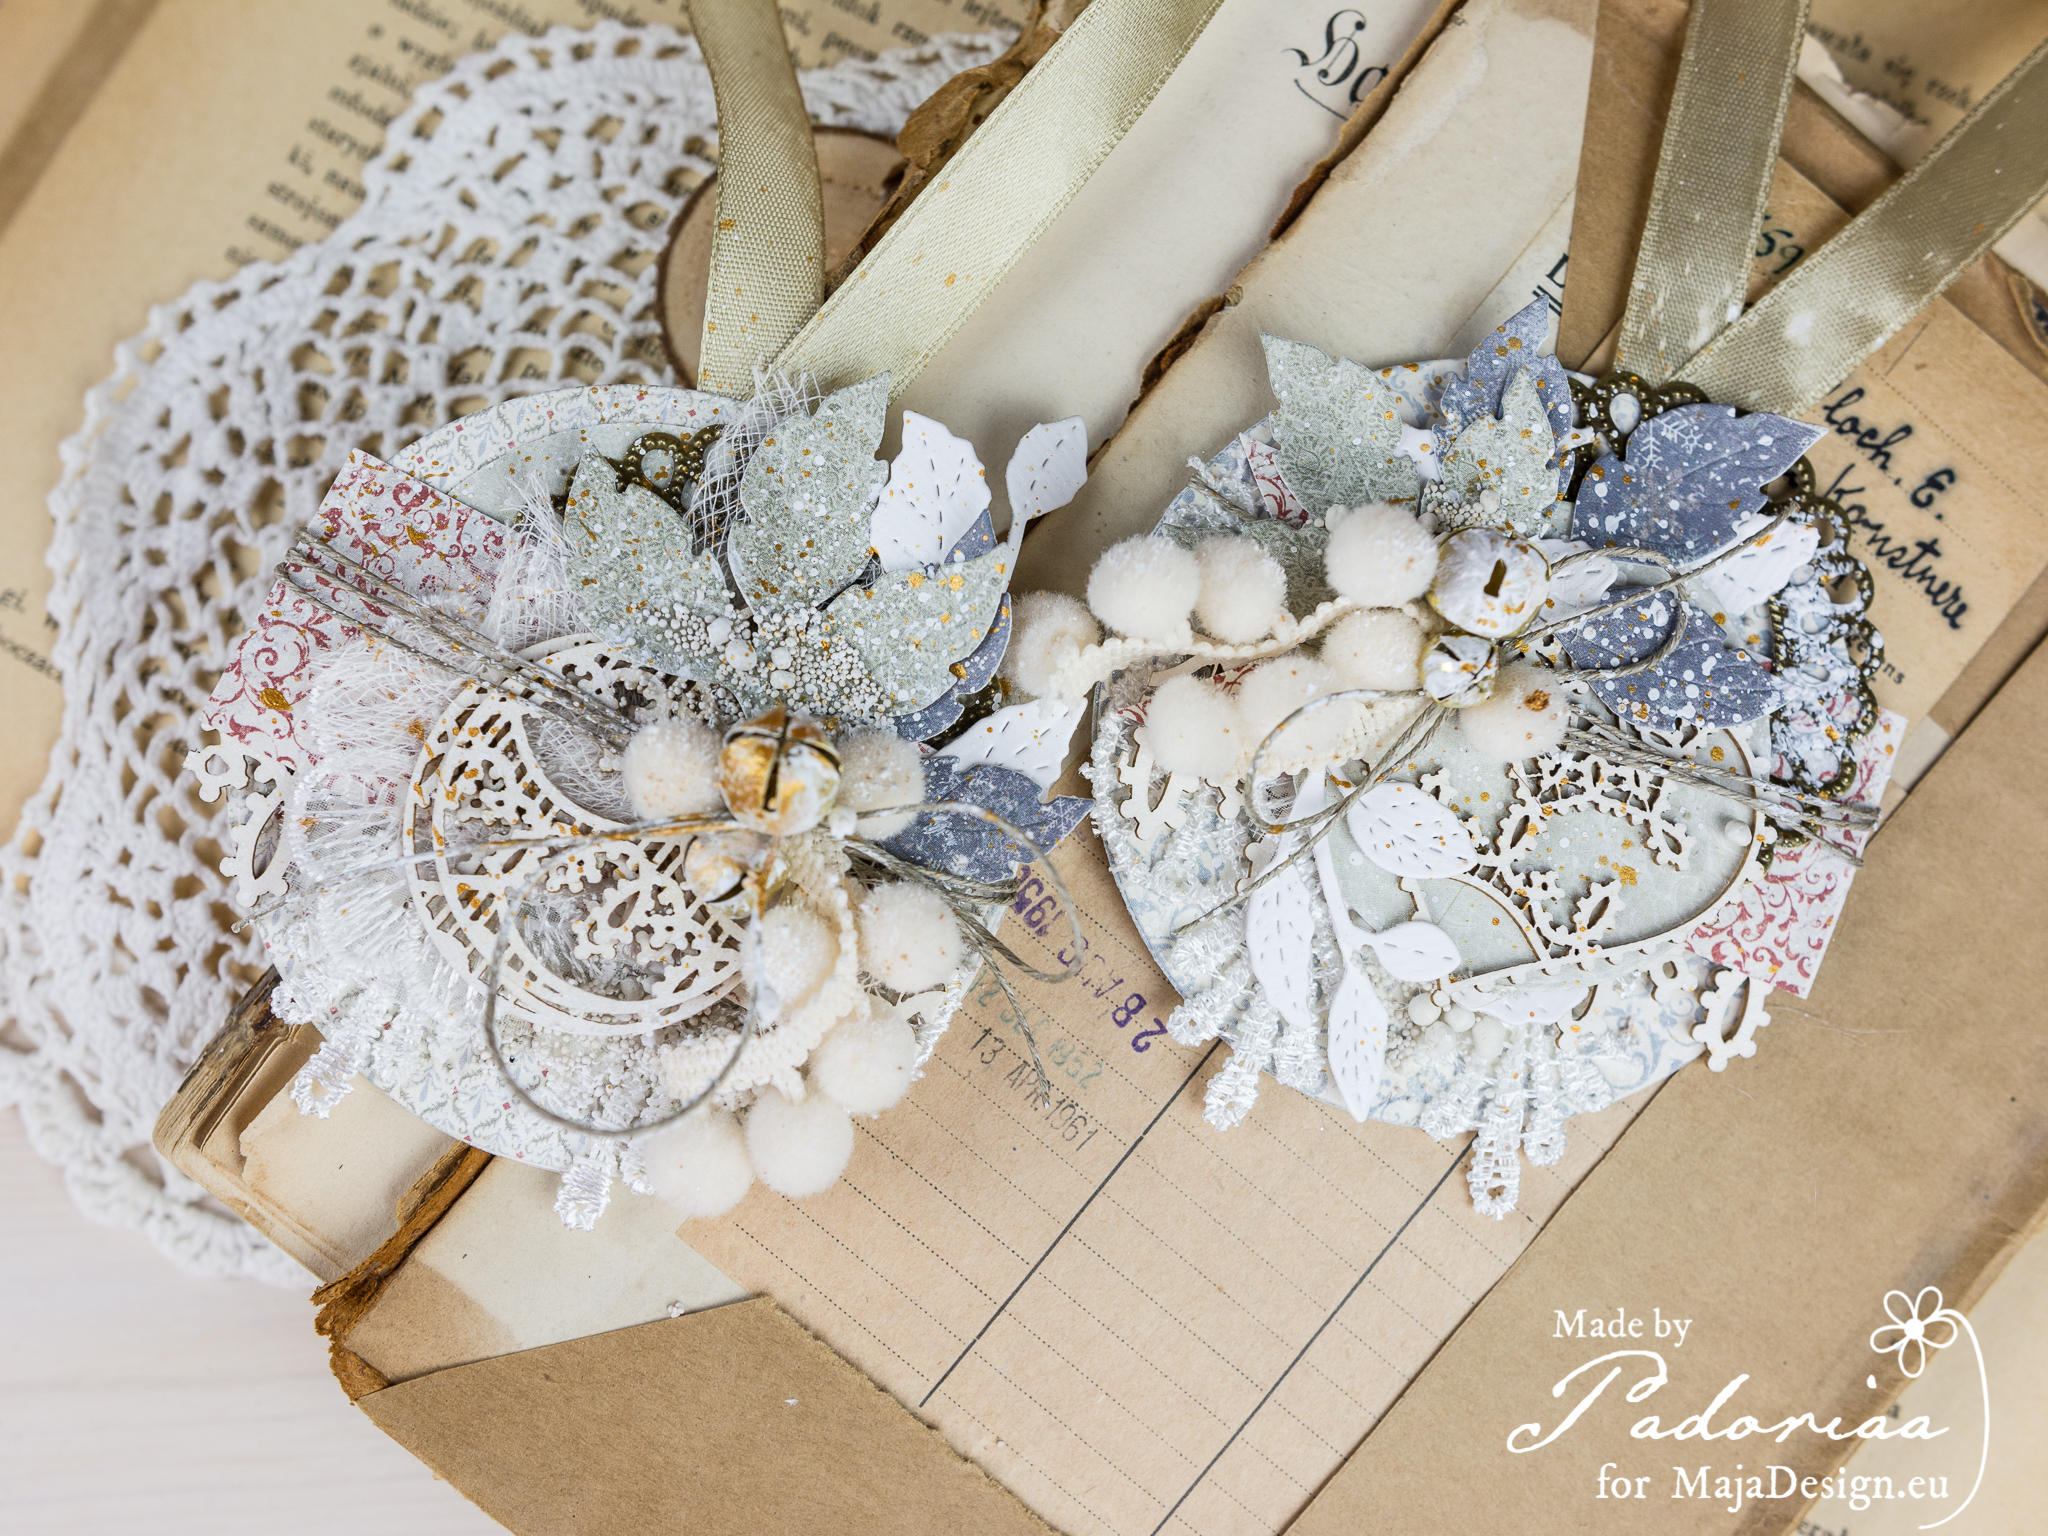
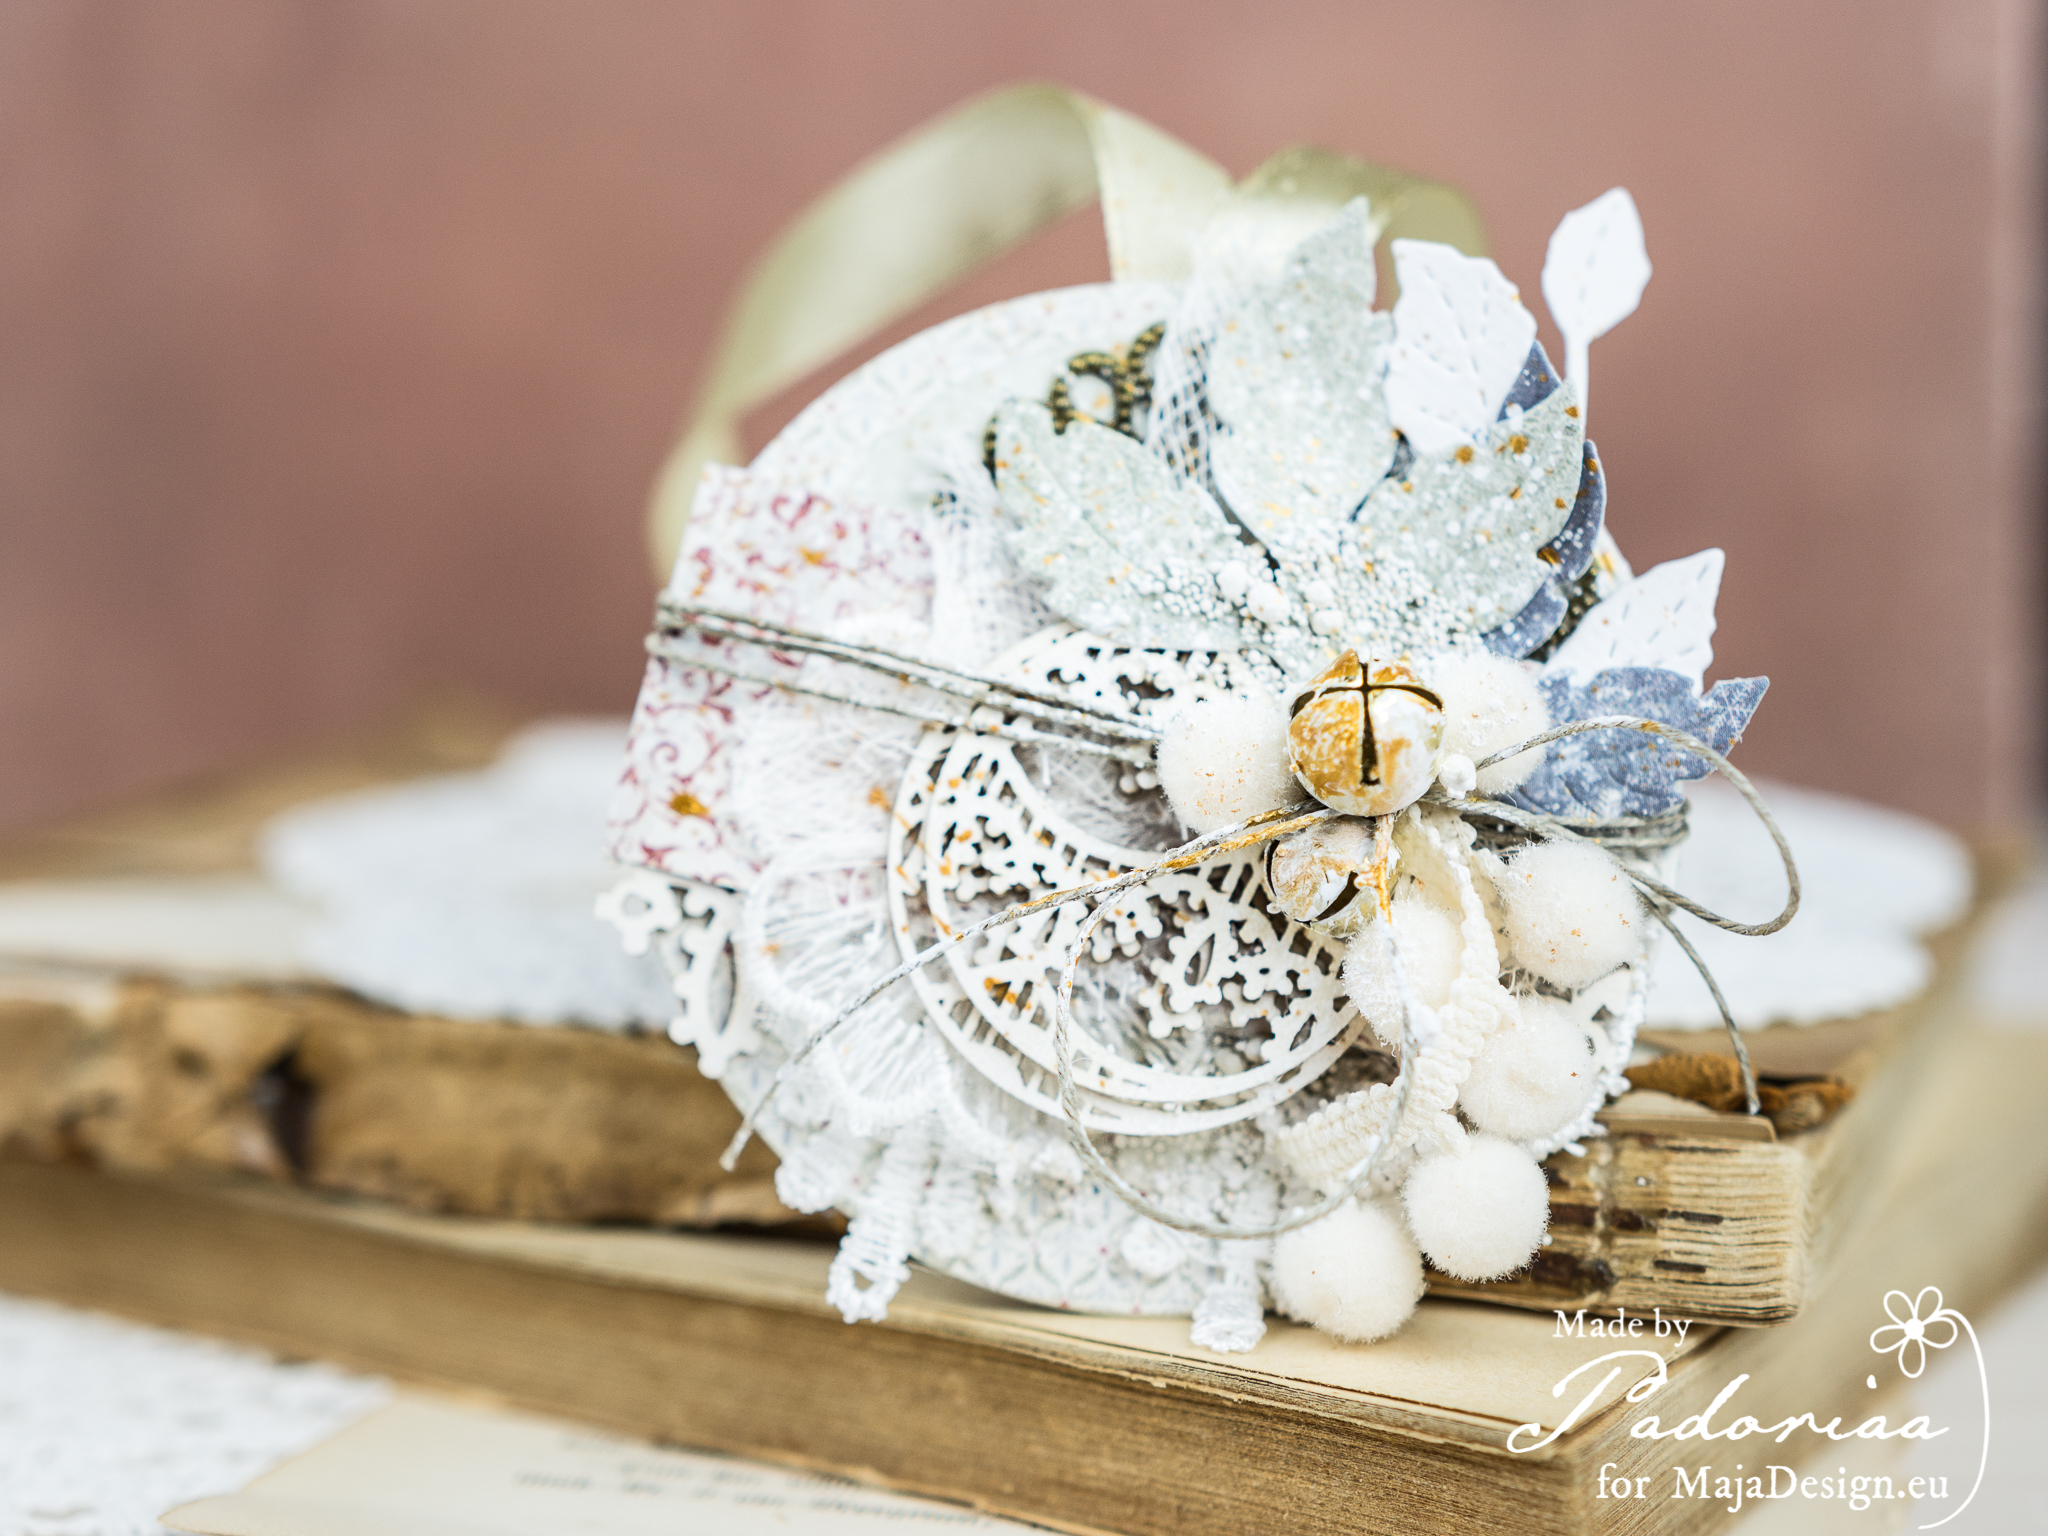
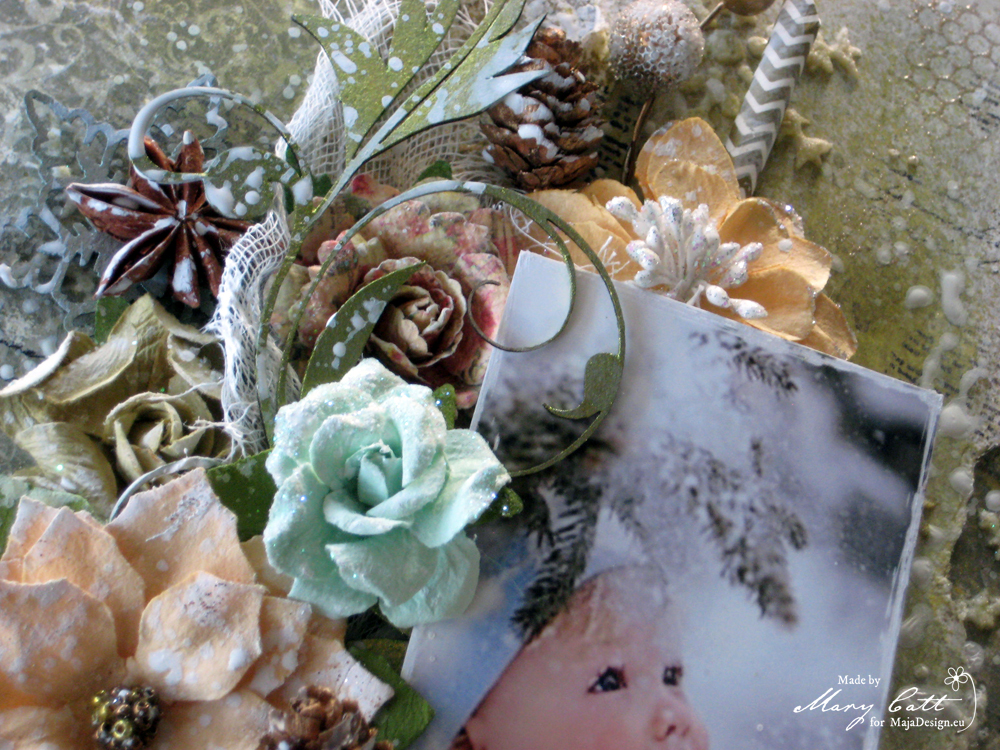
I used a lot of sparkly snowflakes, they  are clear flakes from Maja Road where I put ranger diamondstickles on.

SONY DSC

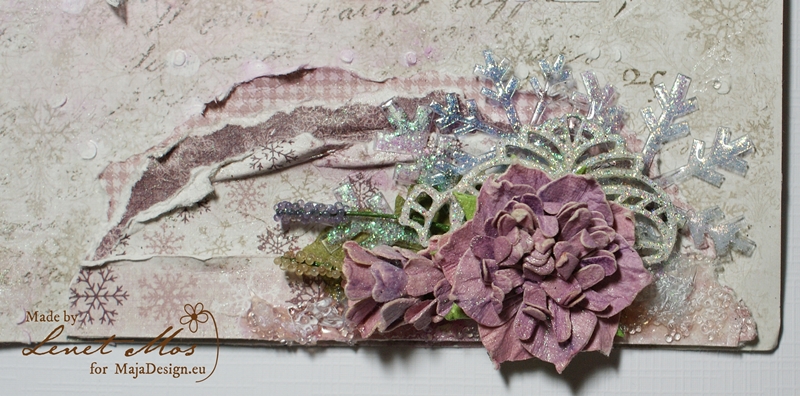
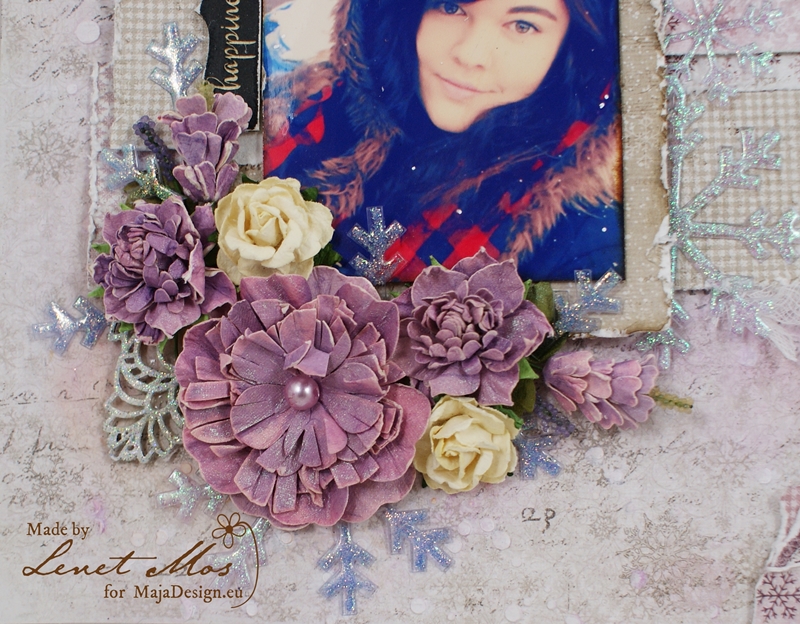
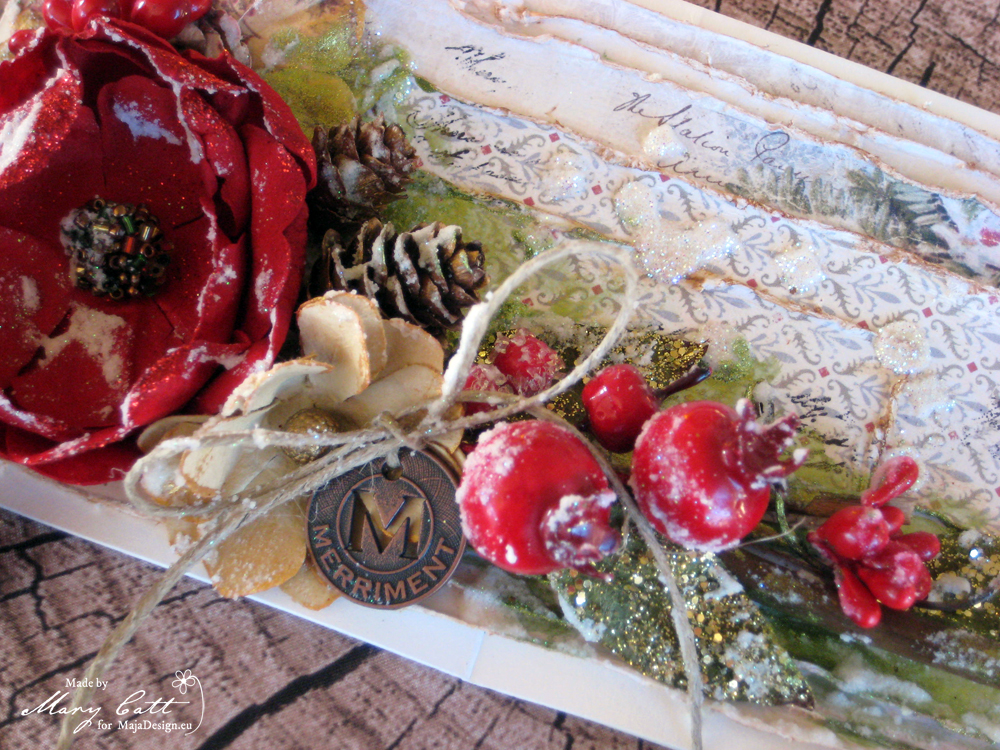
Some of the flakes I cut in pieces and sticked  them behind the flowers instead of leaves.

SONY DSC

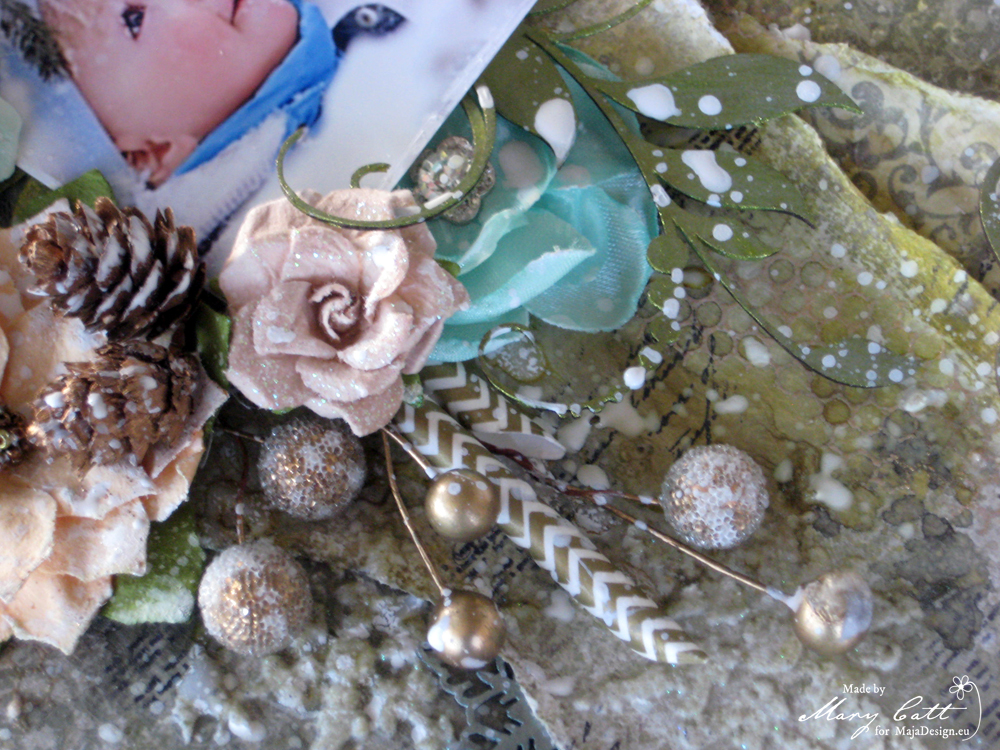
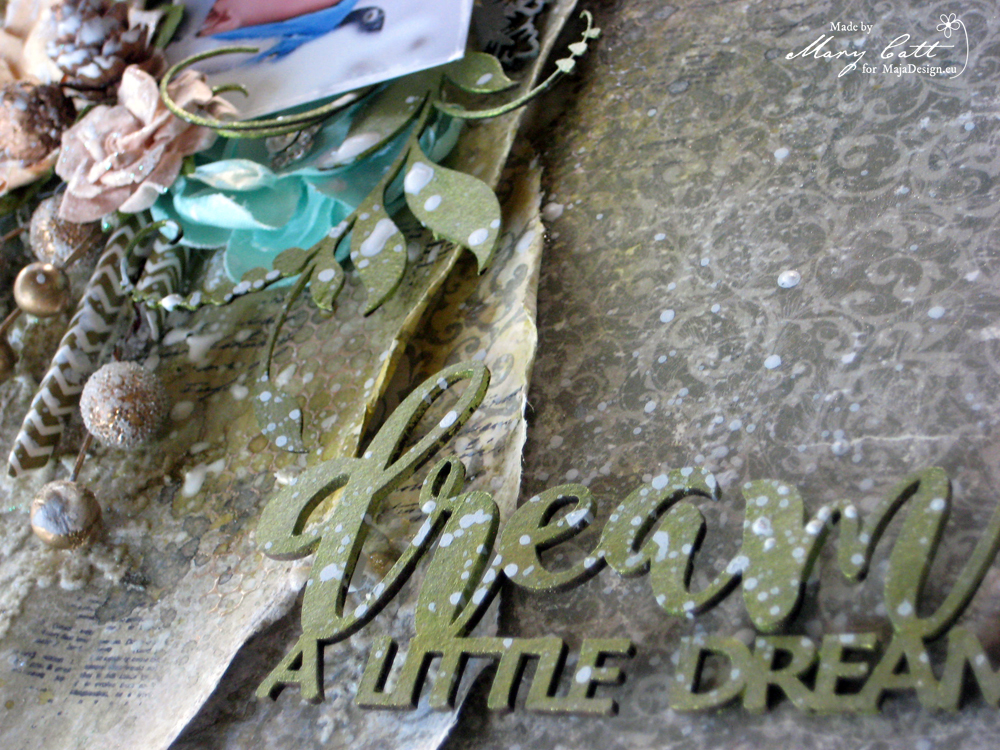
I don’t know the brand of the chipboard frame I used, but I glittered it with a mixture of clear embossing powder and fine glitter , cut it in pieces and glued it at different place on the layout.

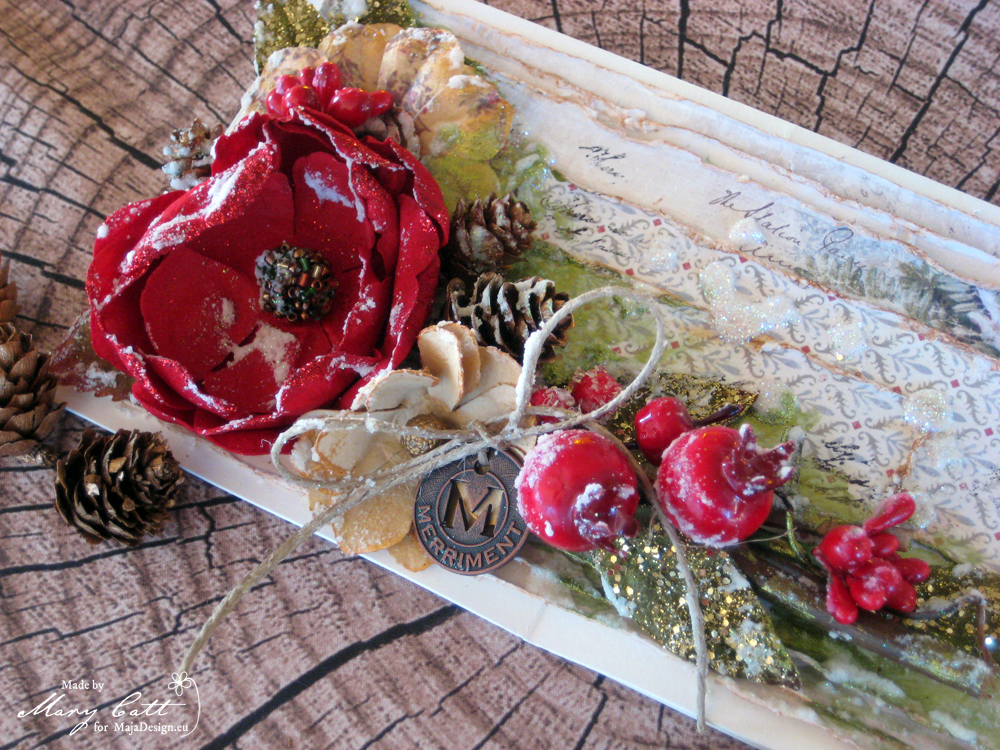
The flowers are from 49 market and wild orchid.

Thank you for stopping by , I hope I gave you some inspiration with this layout


Lenet-sign-site

A Christmas Card

0

Posted by Mary Tzalla

24 December, 2017 - ,

Write a comment

Card

Hello Maja Fans!

It’s Christmas eve my dear friends and I’ve already wrapped all of my presents. I’ve made several cards to accompany them and I though I should share one of them with you.

close 1

I choose to use the ”Playful” paper from the ”Joyous Winterdays” collection.

close 2
I made a few layers from the same paper using both sides of it to give dimension to my card.

close 3

close 4

Paper used:

Joyous-Winterdays-P

I wish you all a Merry Christmas and a Happy New Year.

Mary-sign (2)

Christmas Ornaments by Padoriaa

1

Posted by Paulina Monasterska-Tronina

14 December, 2017 - , ,

Write a comment

Hello our blog friends. Today I would like to show you something special. This time I created some of the Christmas ornaments. Crystal balls – handmade, made from paper. I thinks it’s gonna look awesome on the Christmas tree. Take a look, please :

Christmas Ornaments Christmas Ornaments Christmas Ornaments Christmas Ornaments Christmas Ornaments Christmas Ornaments Christmas Ornaments Christmas OrnamentsI really hope some you will find time to create some ornaments, home decor. I’m looking forward to visit blogs and take a look what have you created this year.  Have a wonderful day, Paulina :*

Joyous-Winterdays-PPadoriaa-sign

Dream a Little Dream

0

Posted by Mary Tzalla

10 December, 2017 - ,

Write a comment

Layout


Hello dear friends!

It’s Mary here with you today and I have a new layout to share with you. A Christmas page made with the new collection ”Joyous Winterdays”.

Photo 1

As usual, I found that photo on Pinterest and combined it with two papers of that gorgeous collection, lots of beautiful flowers, some chipboards and several Christmas embellishments. But, before I continue more I want to give all the proper credits to the ”unknown” photographer.

Photo 2

For my background, I used the ”Pick a Tree” paper on the back side and made two layers on it with torn pieces from the ”Outdoors” paper  using both sides of it. First, I gave my background a coat of clear gesso. When it was dried, I added some texture with snowflake paste and a stencil. I continued by coloring my page with Lindy’s sprays ”Sea Grass Green” and ”Rusty Lantern Lime”.

Photo 3

I painted the snowflake chipboards with the opal magic ”Aqua-Rose” acrylic paint. The flourish chipboards and the title was also painted with the ”Fairy Wings” acrylic paint sparks. As usual all the chipboards I used are 2crafty.

Photo 4

When everything was glued down, I made some splatters with white gesso diluted with some water.

Photo 5

Papers used:

Joyous-Winterdays-P

That’s all for today, my friends!

Thank you for stopping by!

Mary-sign (2)

Year 2018 Calendar

0

Posted by Paulina Monasterska-Tronina

30 November, 2017 - , ,

Write a comment

Hello our blog friends. Today I would like to show you my first calendar for 2018. This one will be use mostly at home, that’s why I could add a little bit more of volume. Here it is :

Year 2018 Calendar
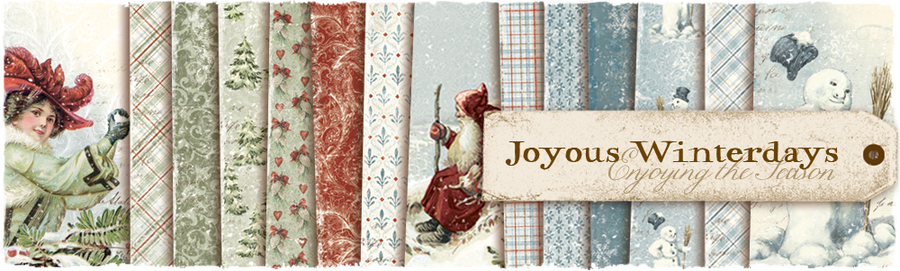
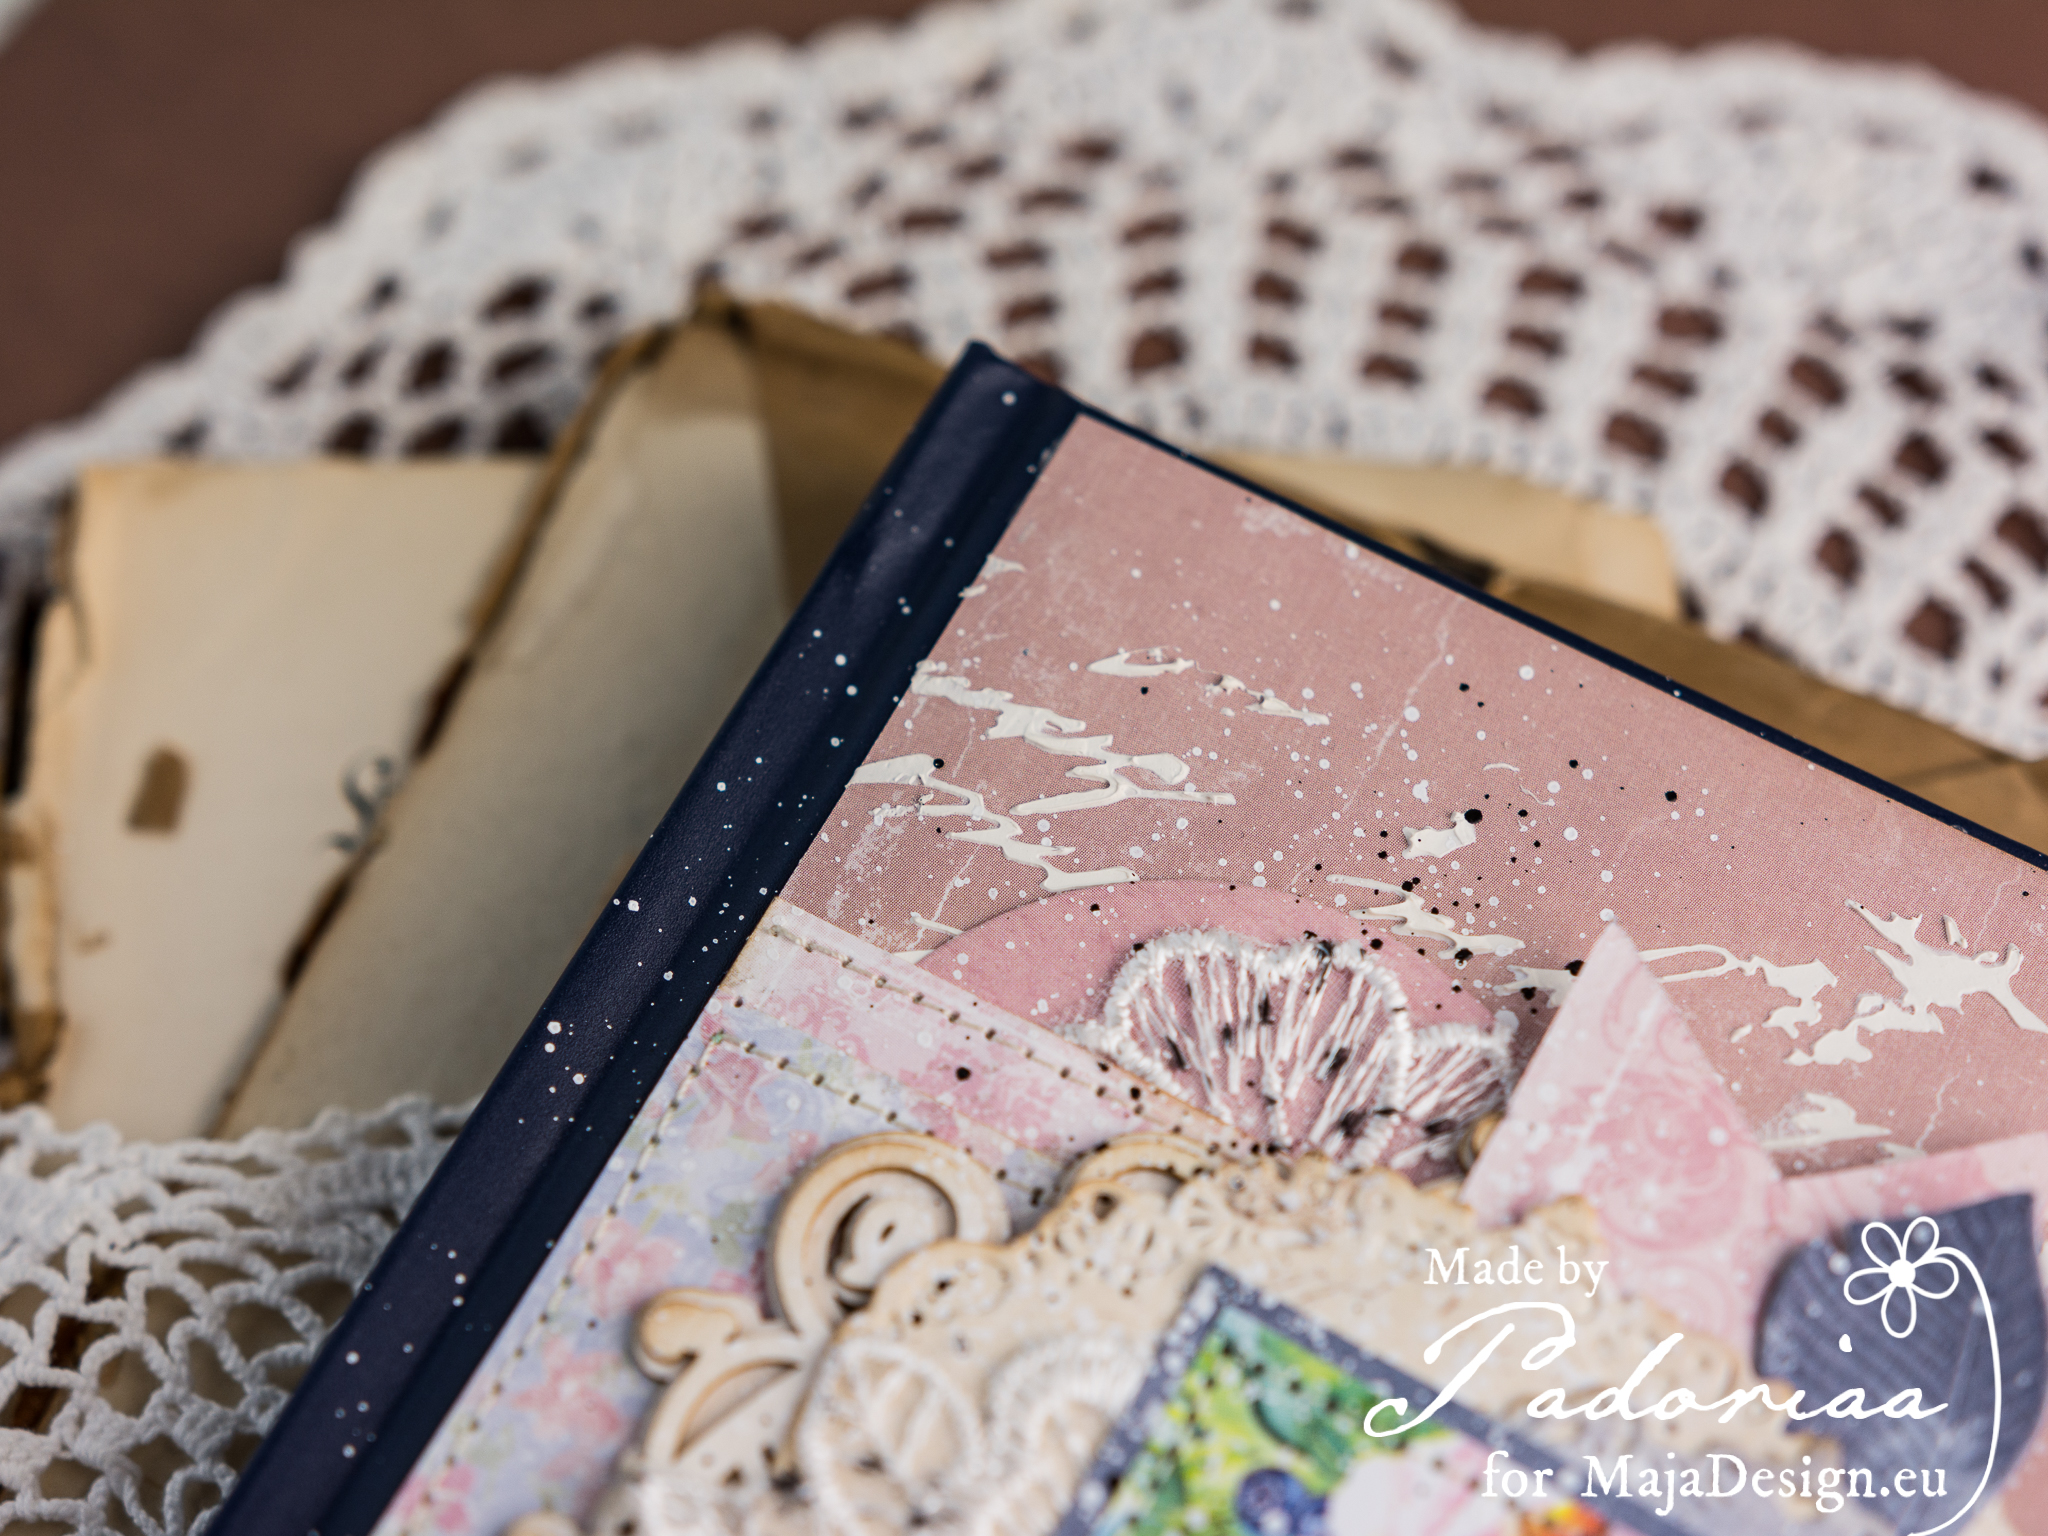
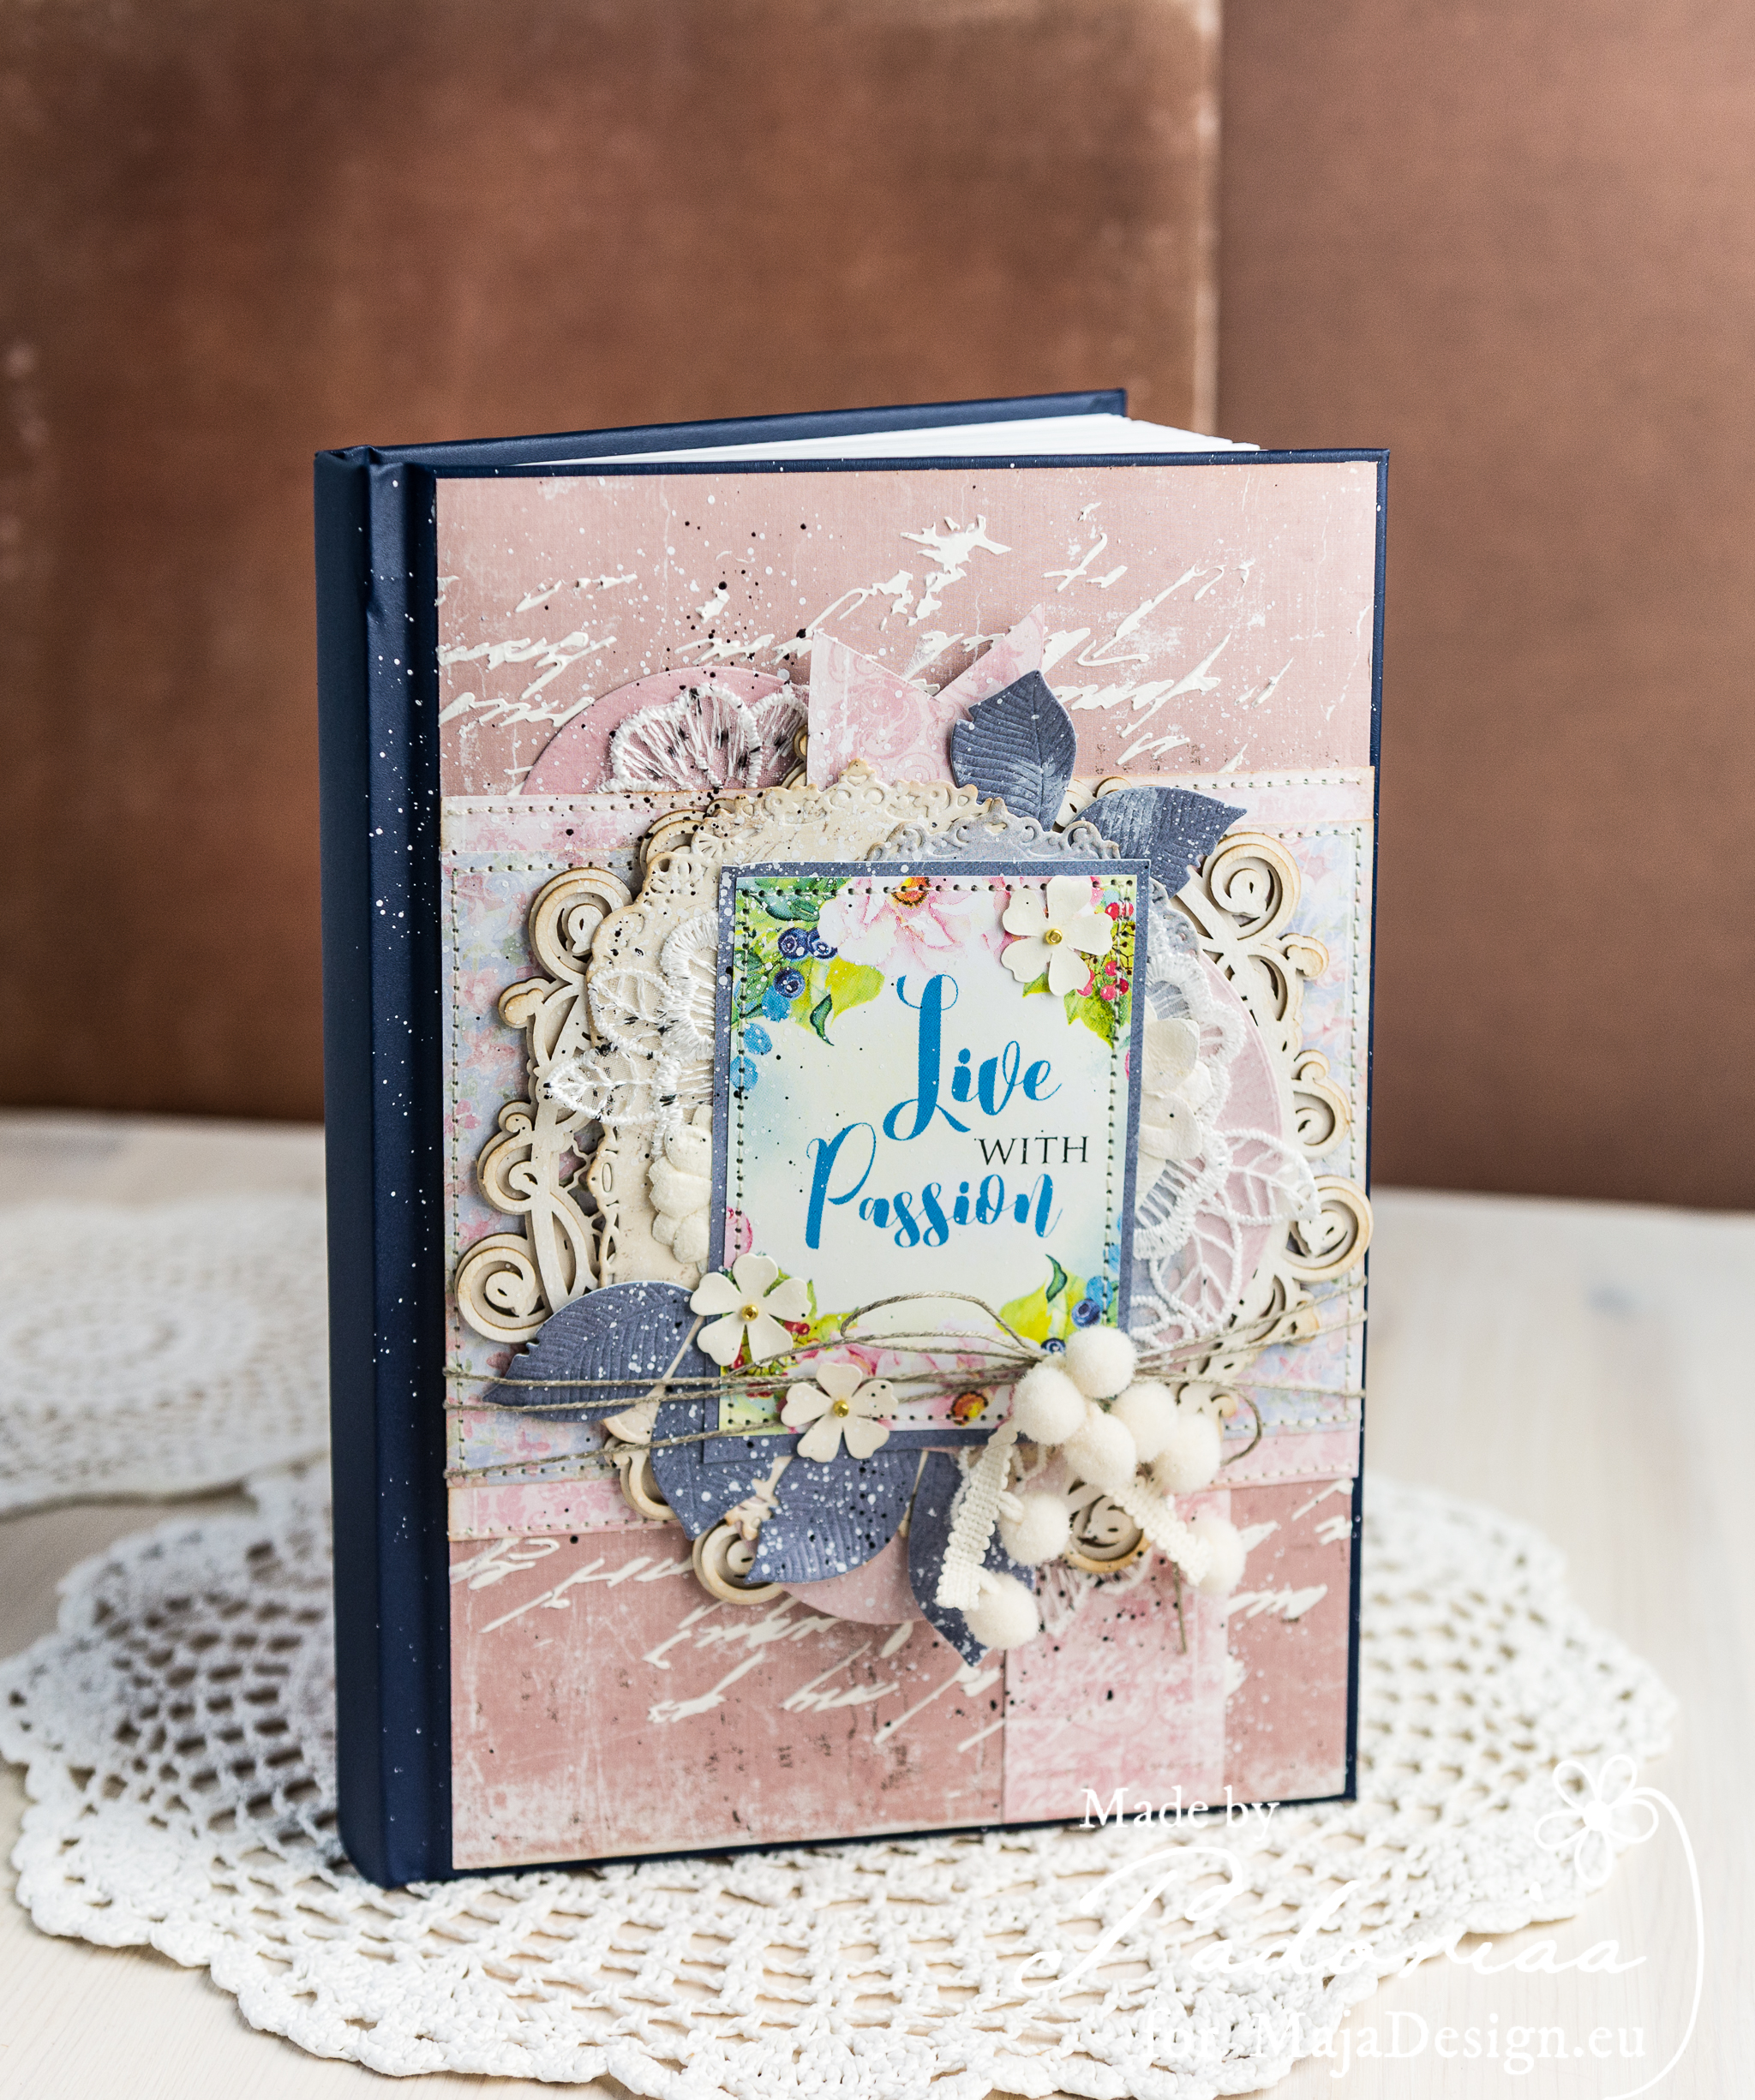
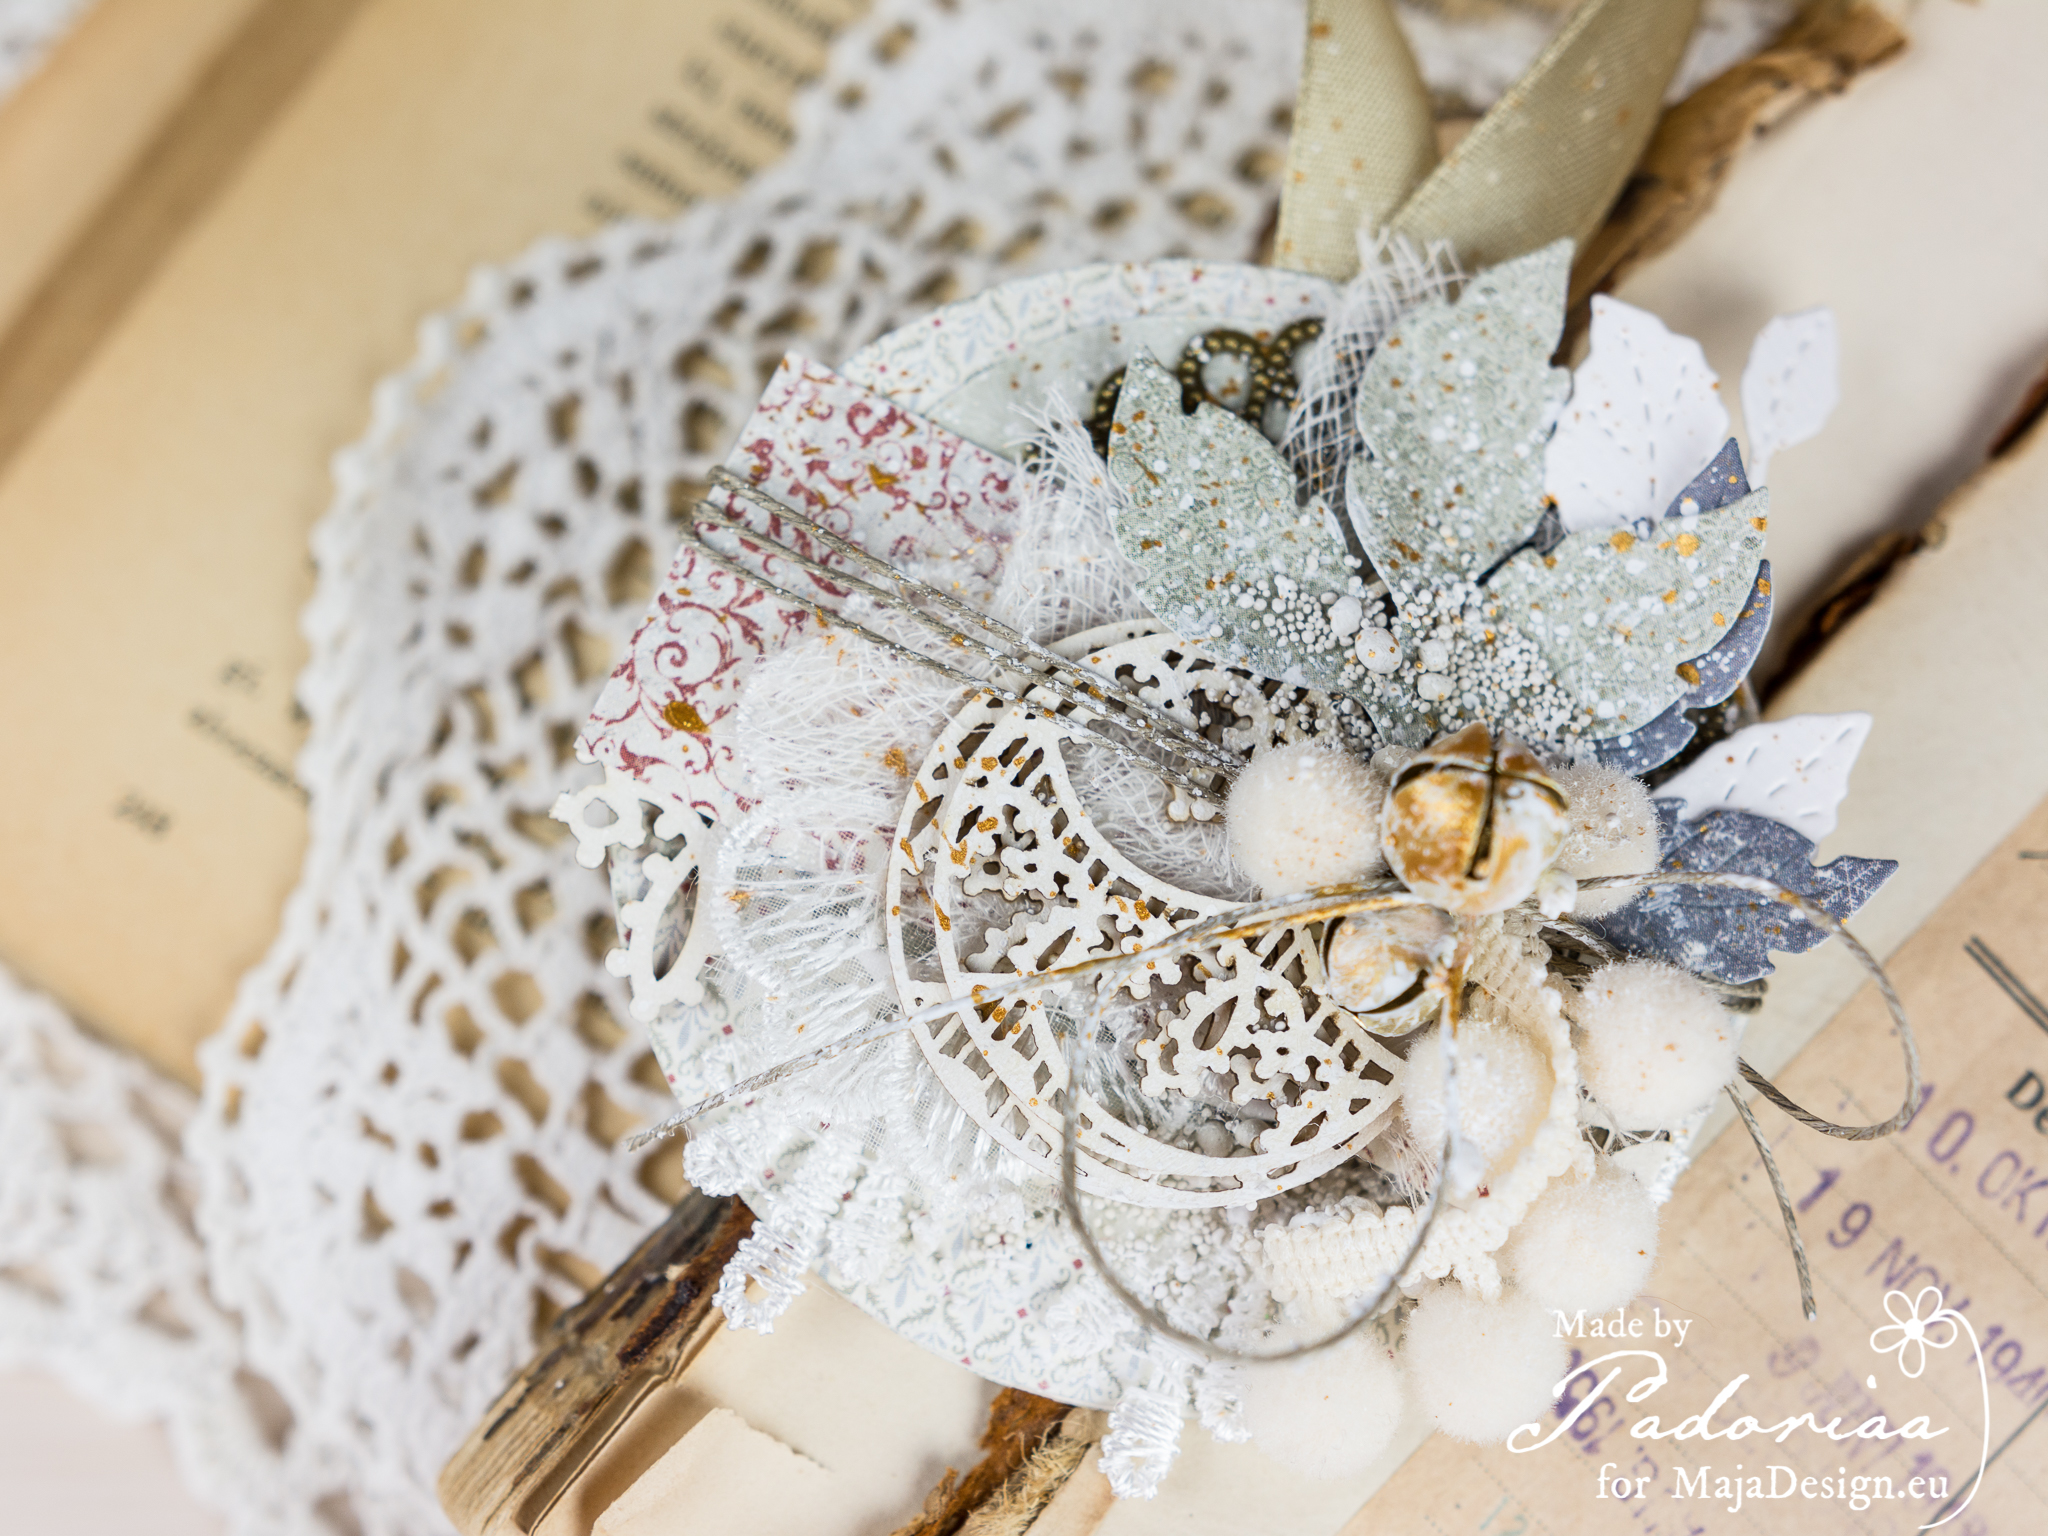
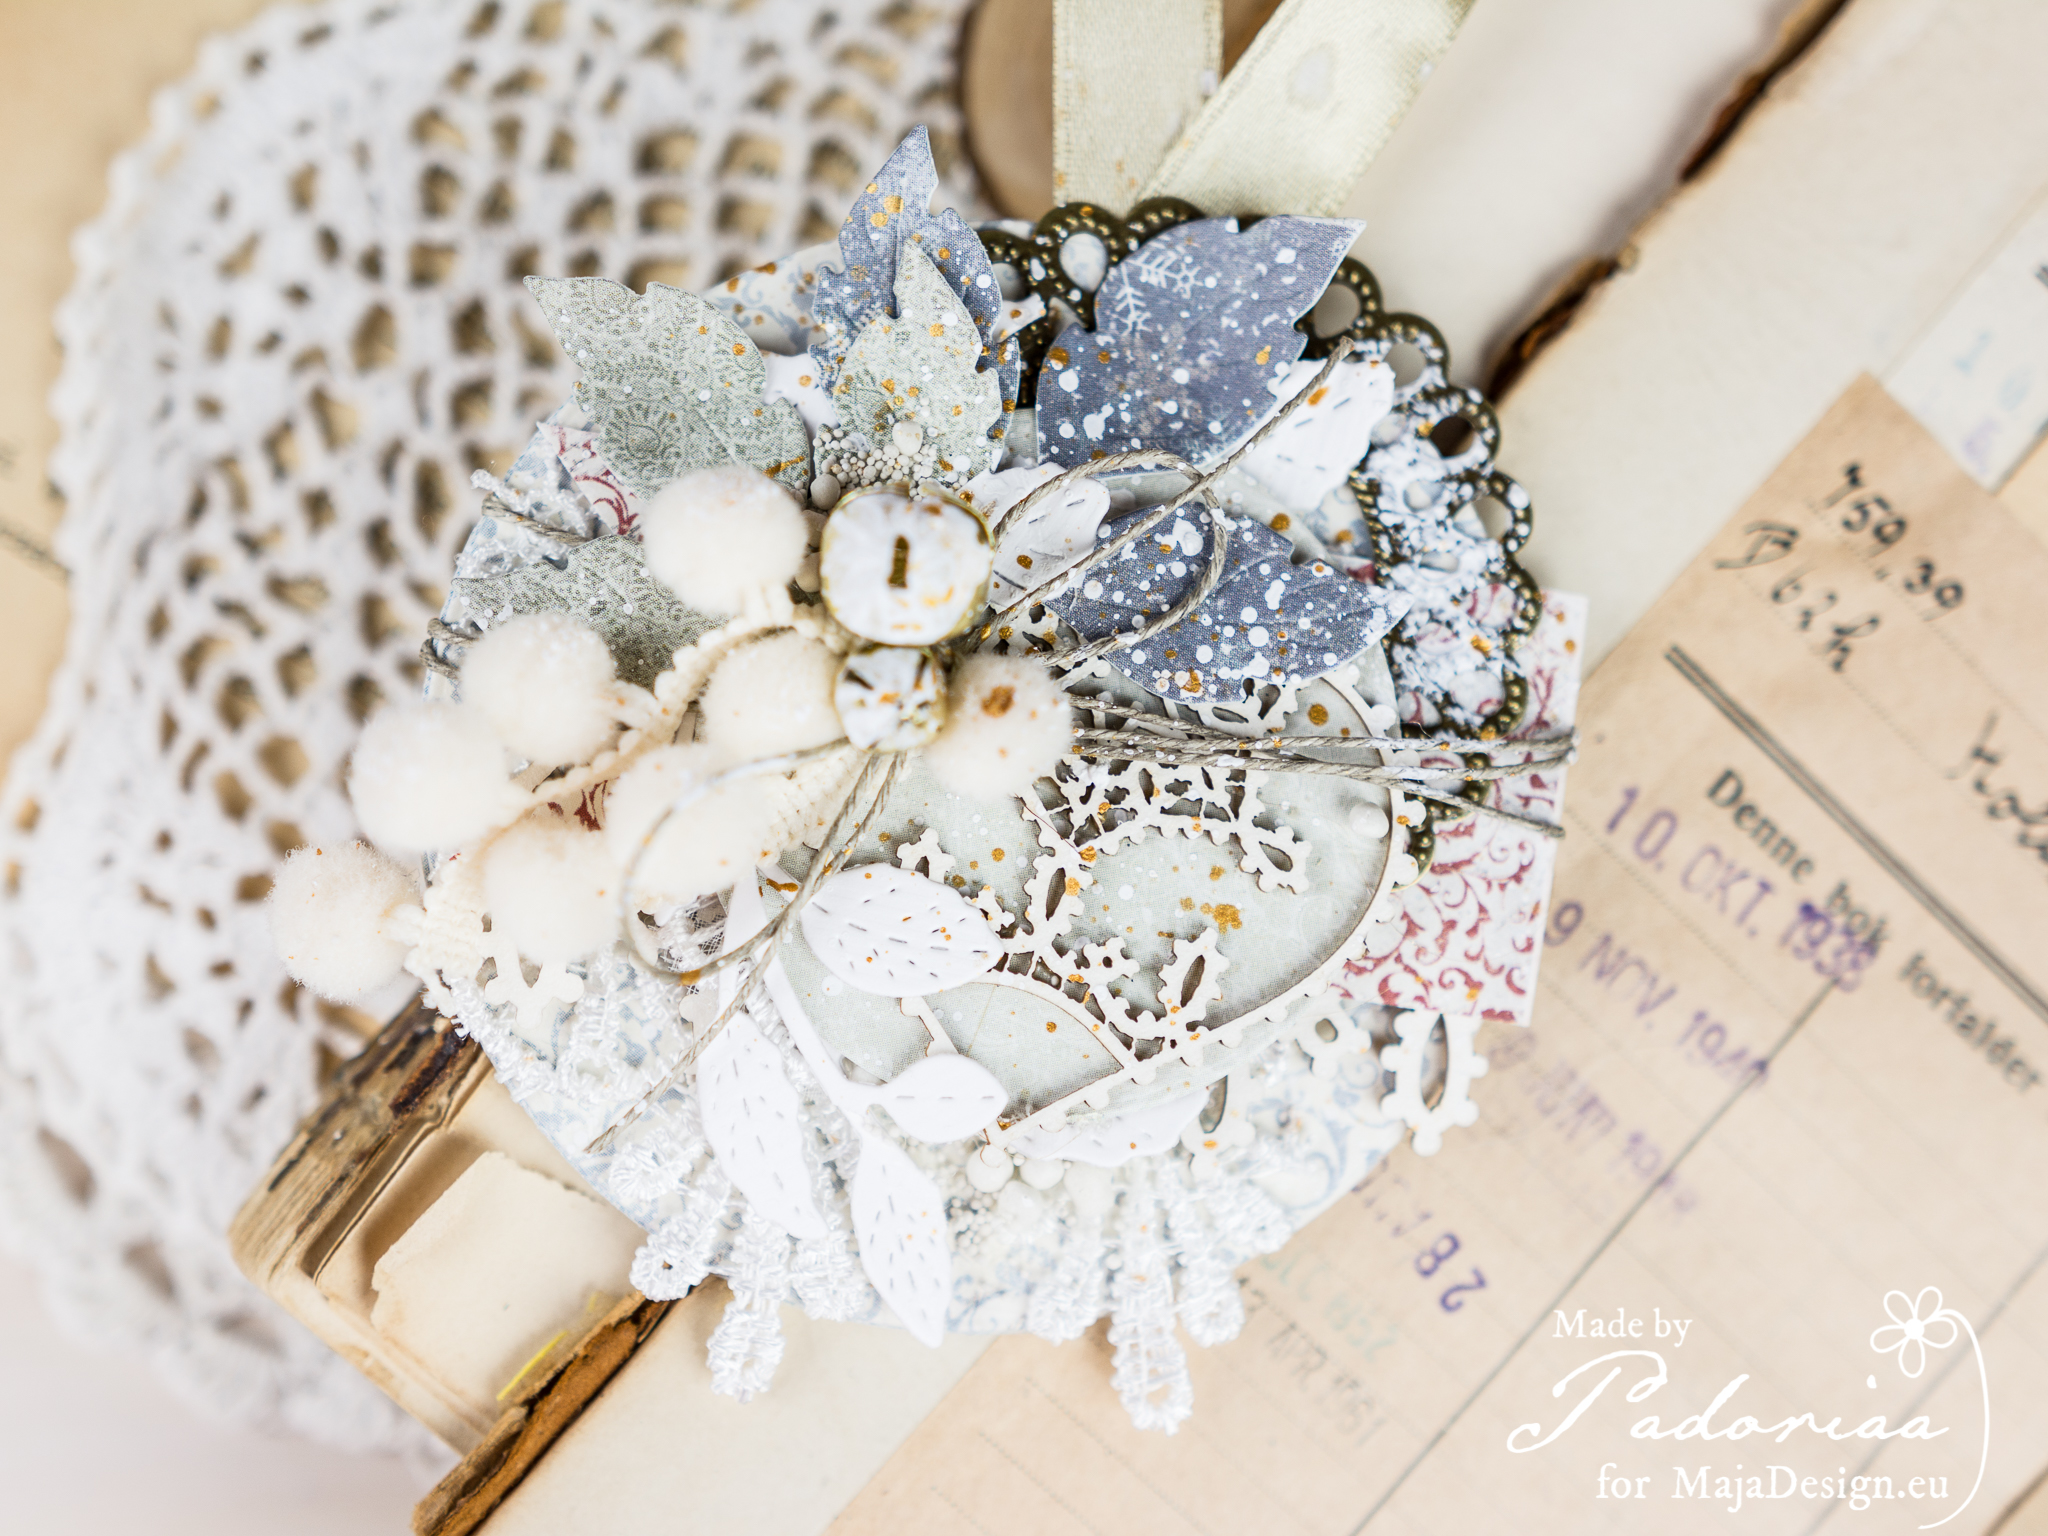
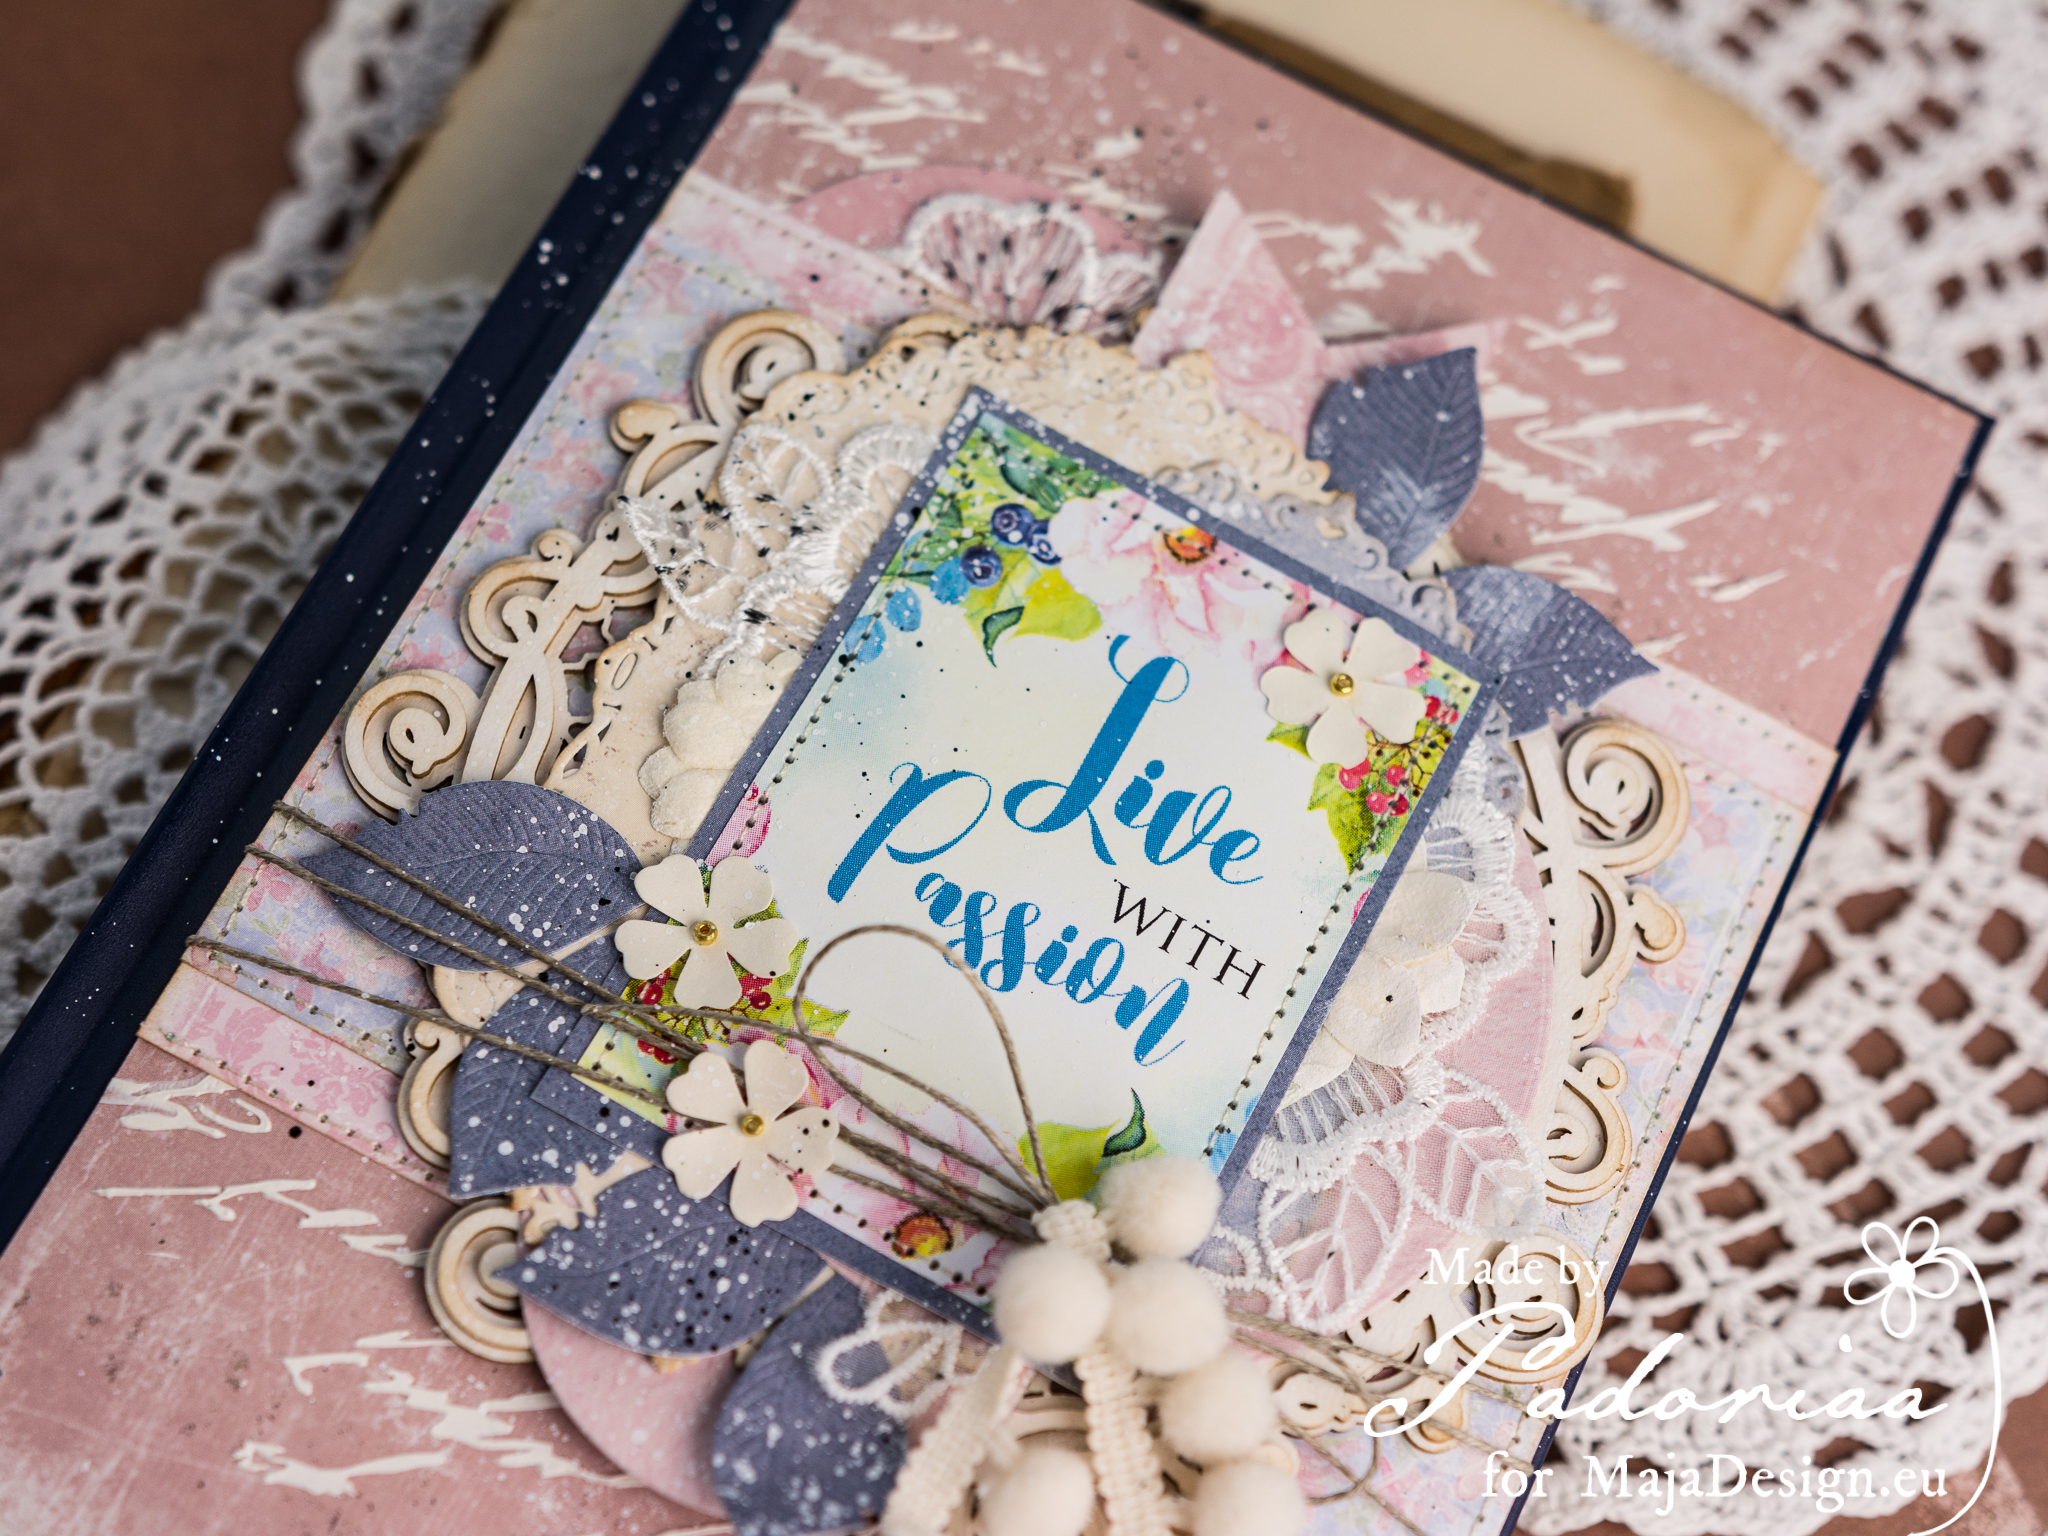
I decorated only the cover – it is the easiest way for changing the boring version of calendar.

Year 2018 CalendarFirst I created the cover and then glued it.  Used some mixed media products, chipboards and my favourites add-ons.

Year 2018 CalendarYear 2018 CalendarYear 2018 Calendar

Hope you will like my inspiration. Have a lovely day, Paulina

Sofiero-P1Vintage-Summer-Basics-PPadoriaa-sign