Hello Maja fans!
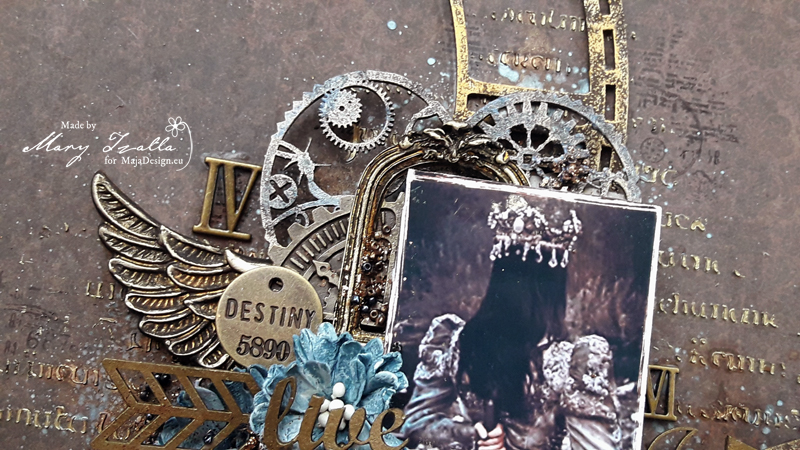
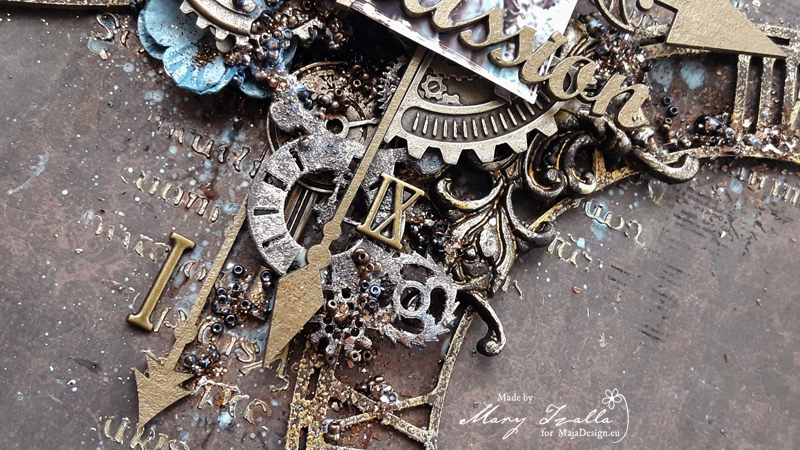
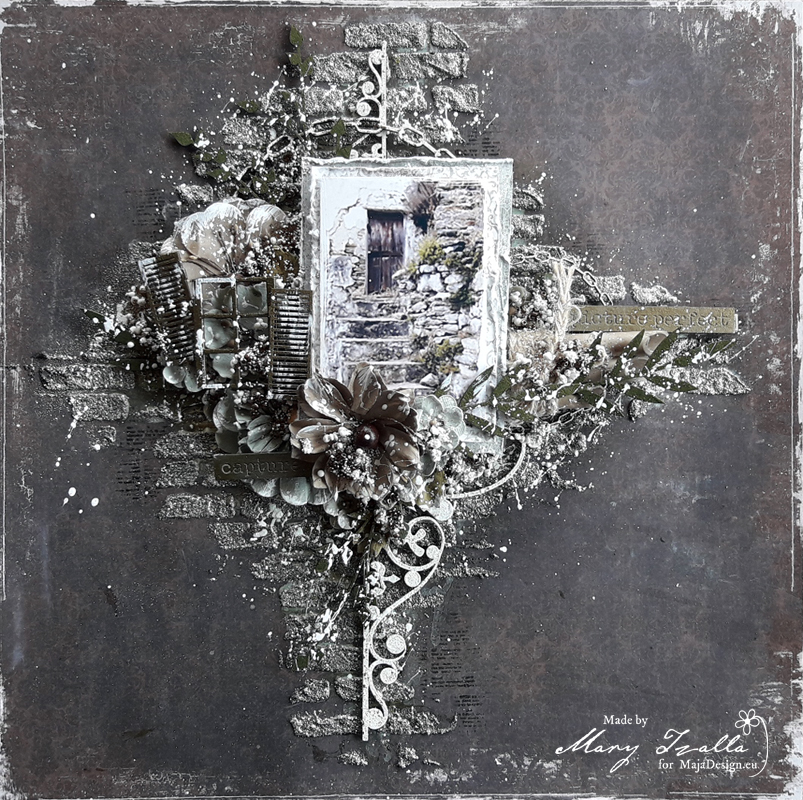
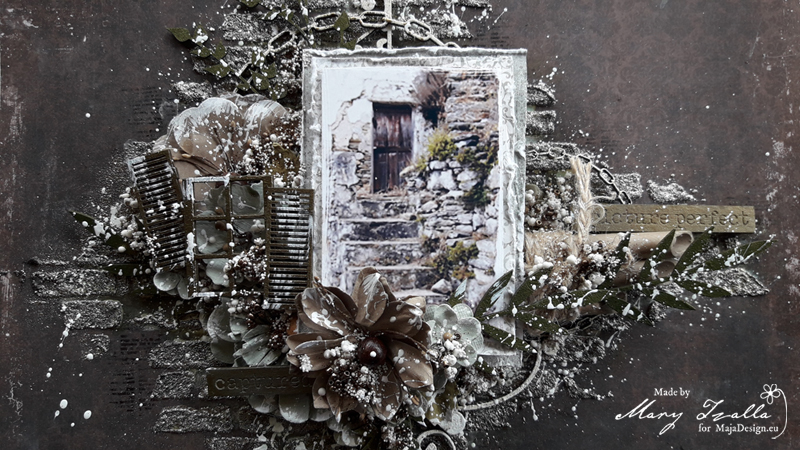
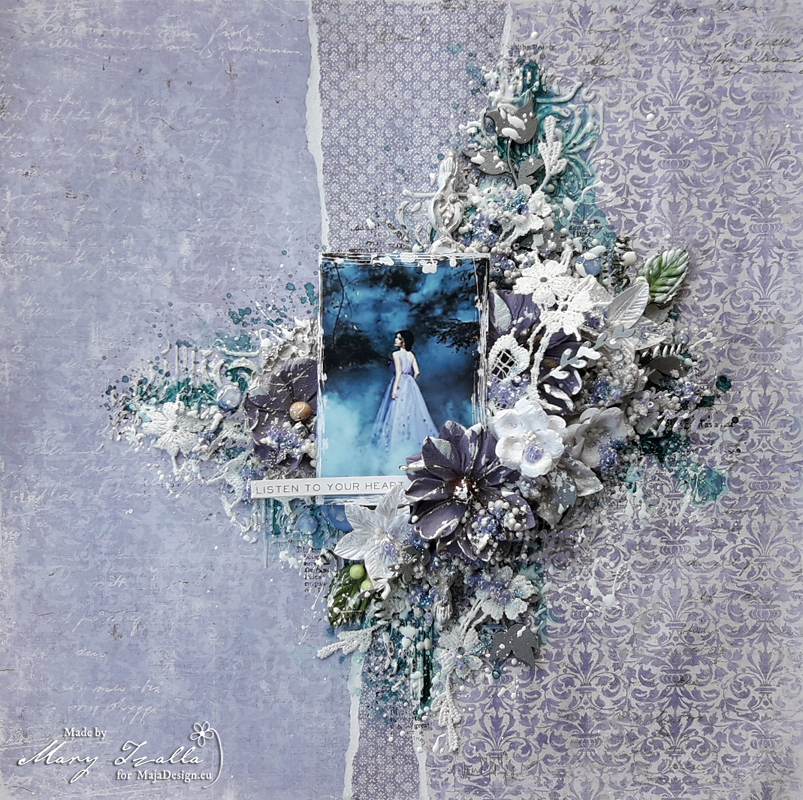
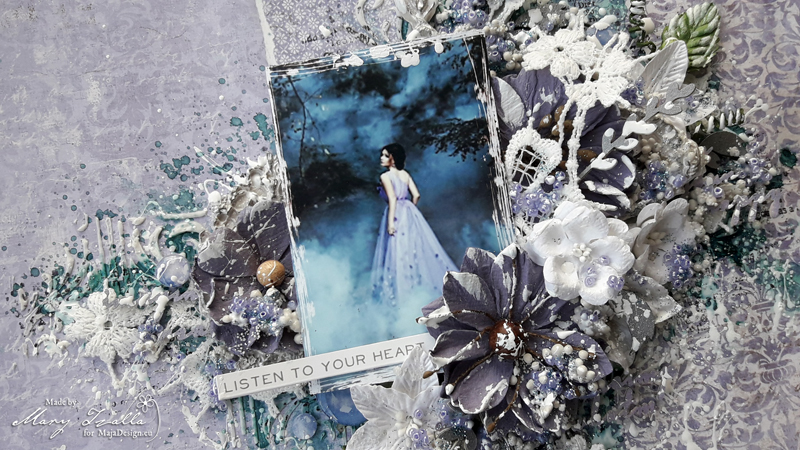
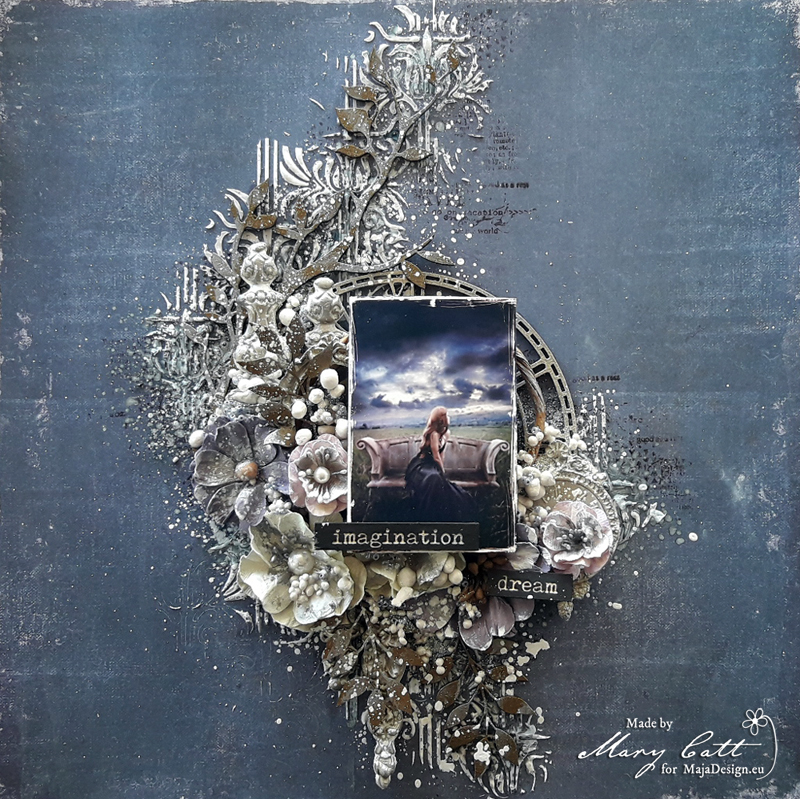
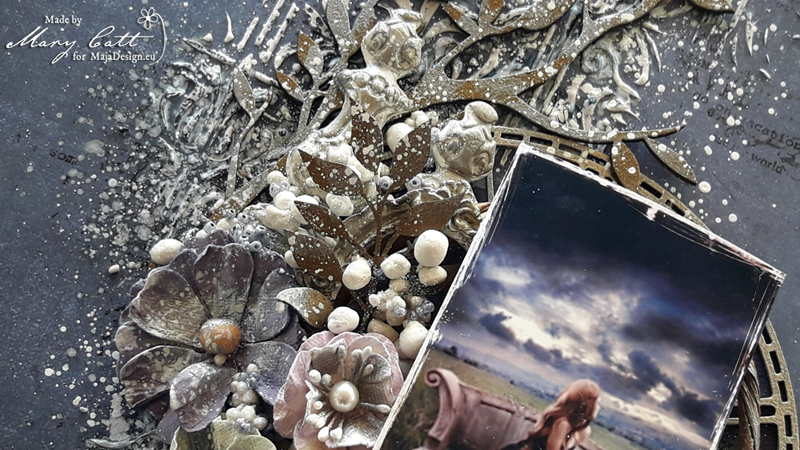
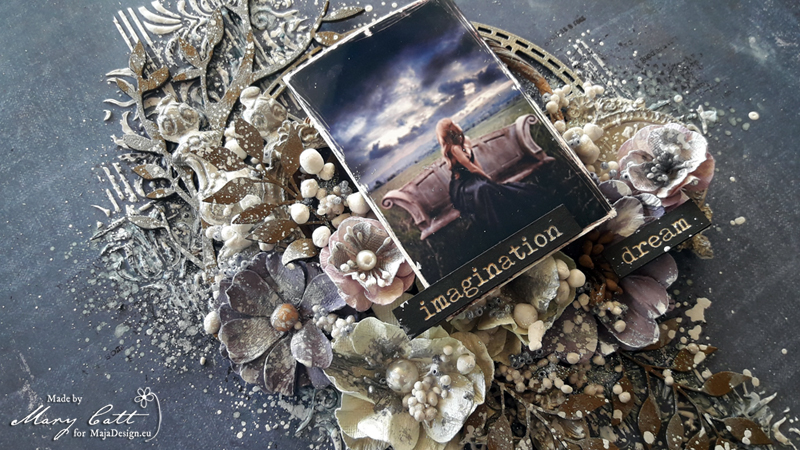
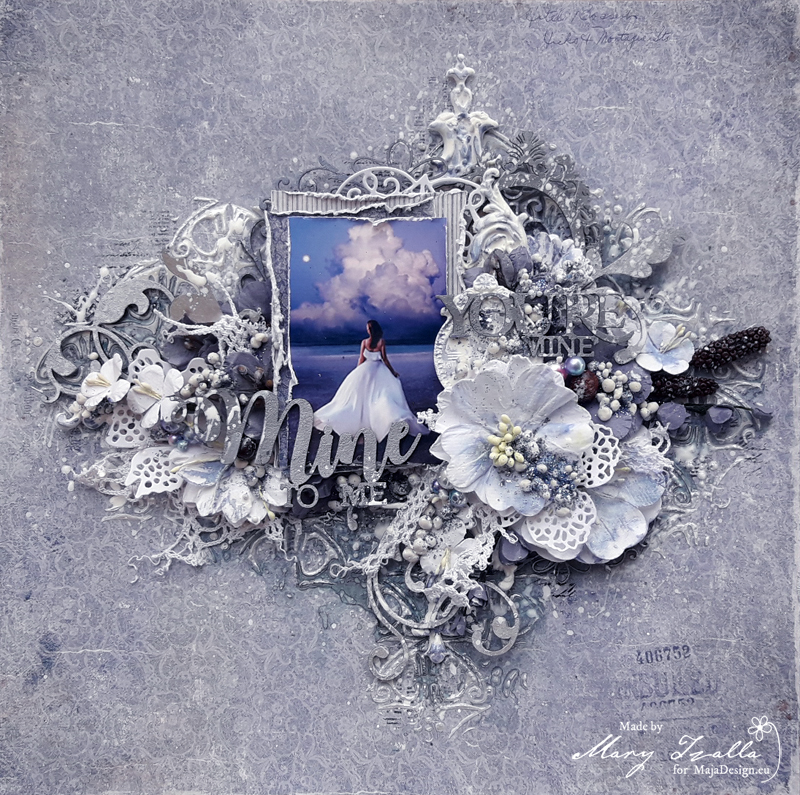
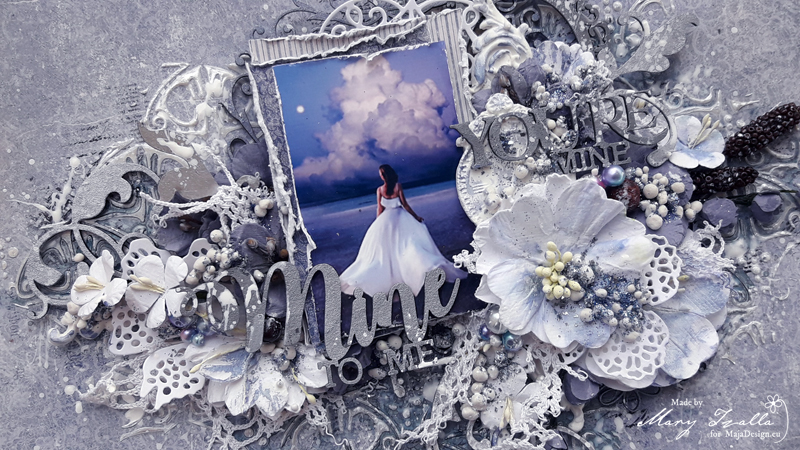
Today, I would like to share a new layout with a video tutorial made for my May inspiration. As always I found my photo on Pinterest and this one inspired me to create a soft romantic page in white and blue tones. But, before I continue more I want to give all the proper credits to the ”unknown” photographer.
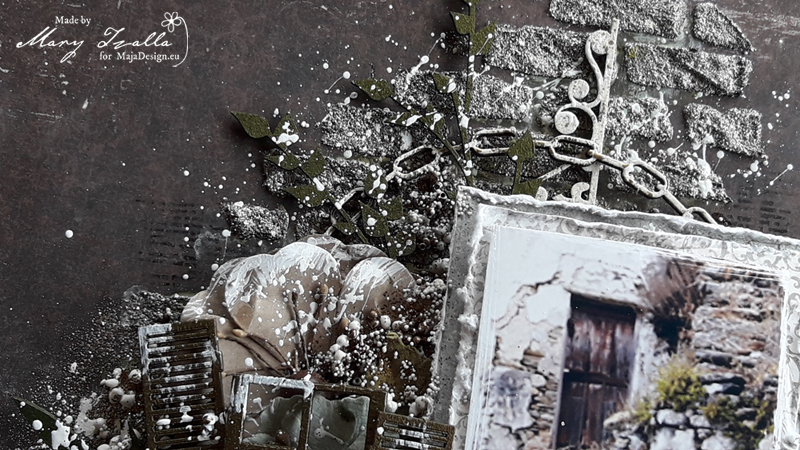
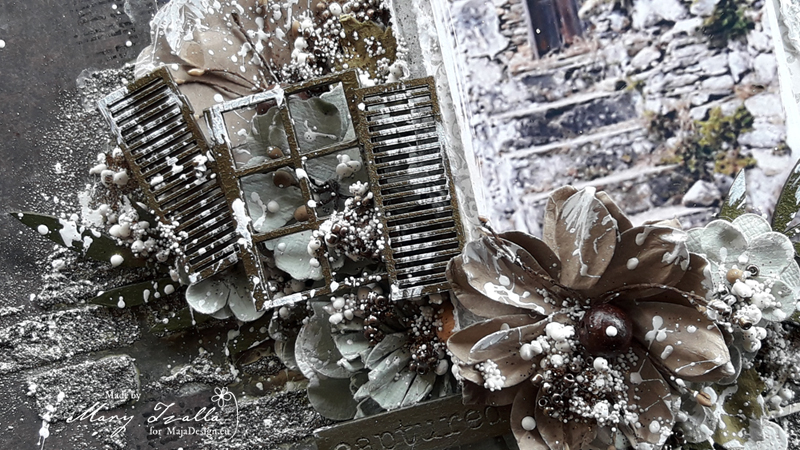
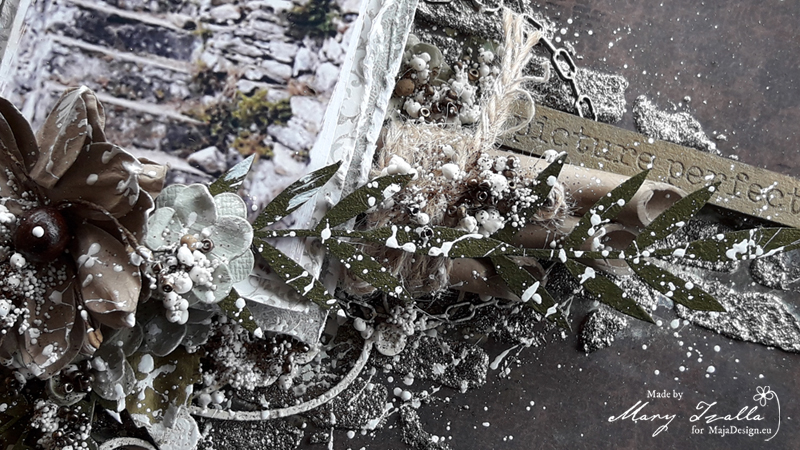
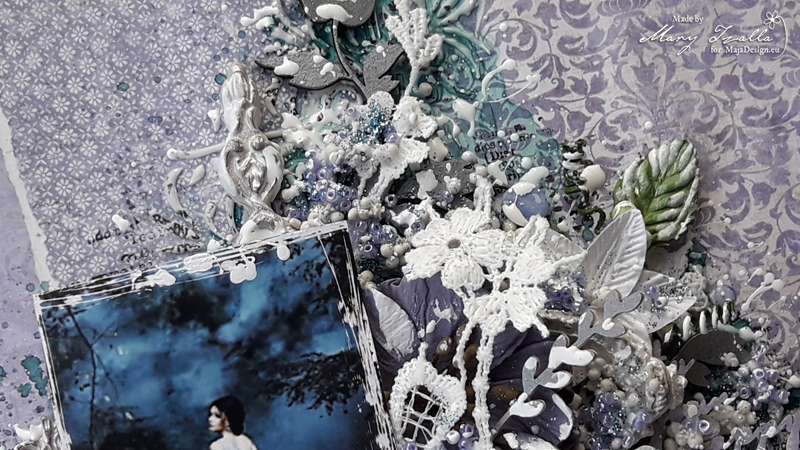
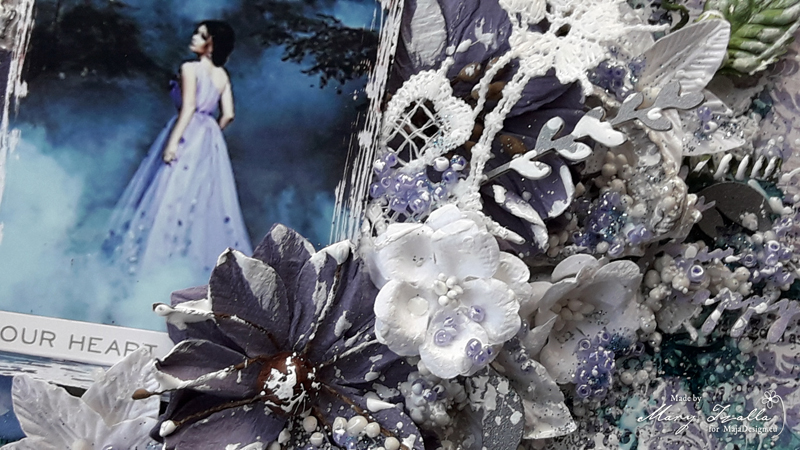
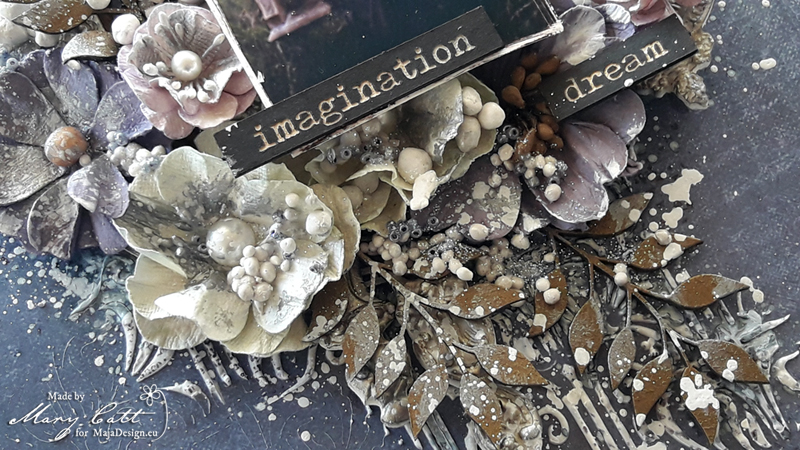
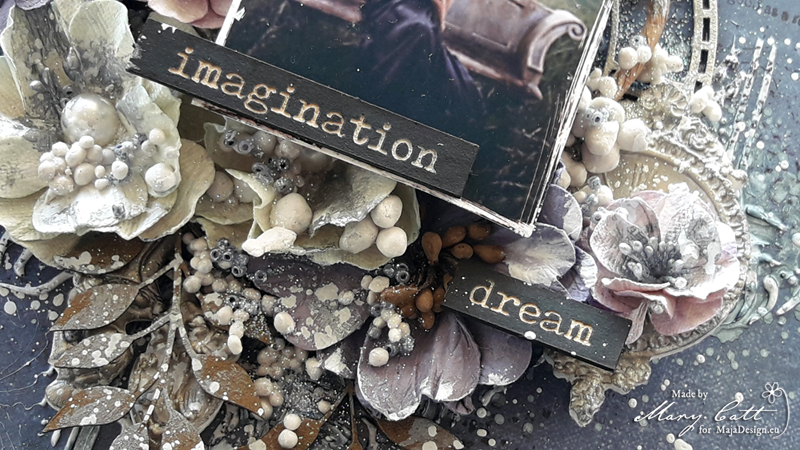
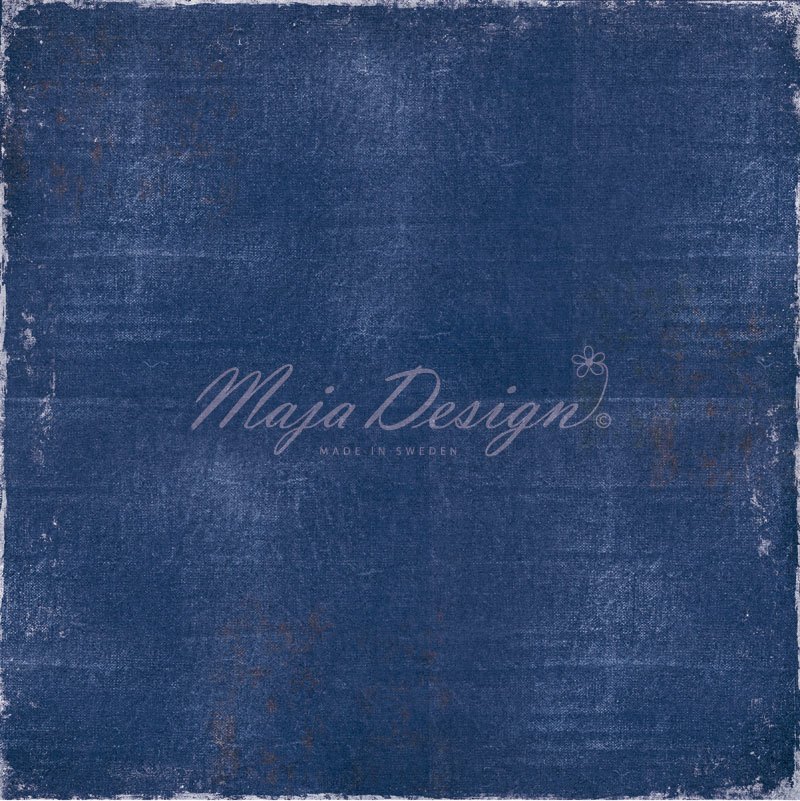
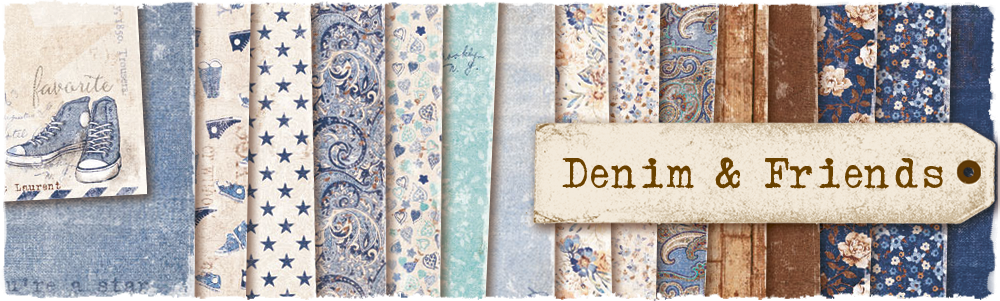
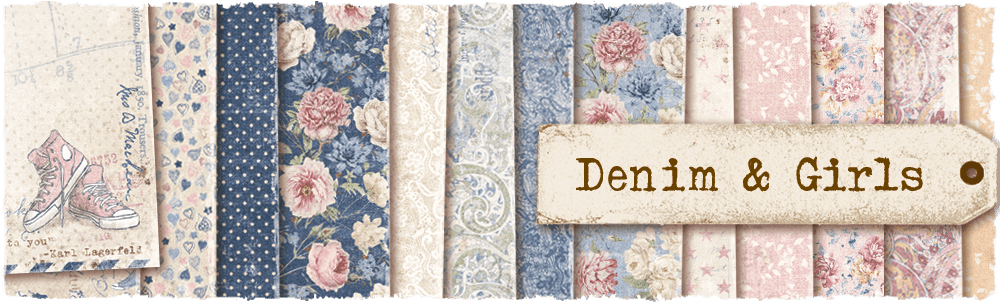
To create my page I used papers from the new gorgeous ”Denim & Girls” collection along with some Dusty Attic chipboards and 49 and Market flowers.
You can watch all the procedure here…
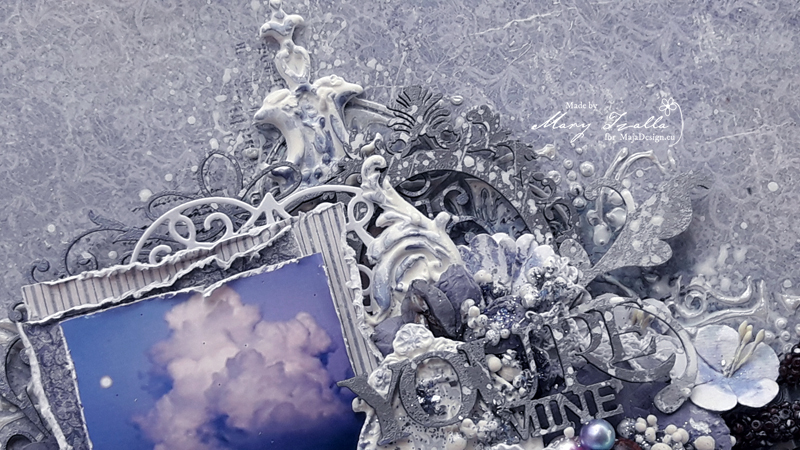
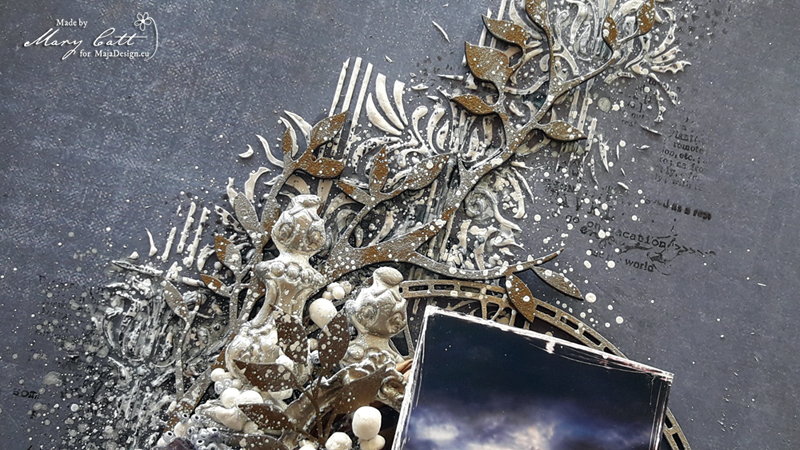
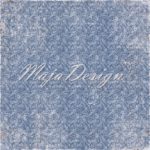
The paper I used is the ”Tough but sweet” and made some layers behide my photo with the ”You’re beautiful” and ”Loose fit” papers. To start, I applied a coat of clear gesso and then, I created texture with an icing paste and a stencil. When the paste dried, I randomly stamped and used a Lindy’s Gang spray to add color.
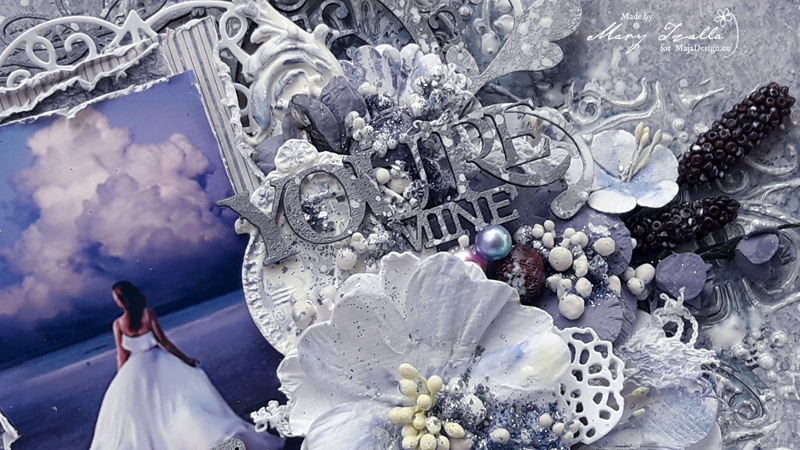
Next, I painted all the Dusty Attic chipboards with Finnabair acrylic paints.
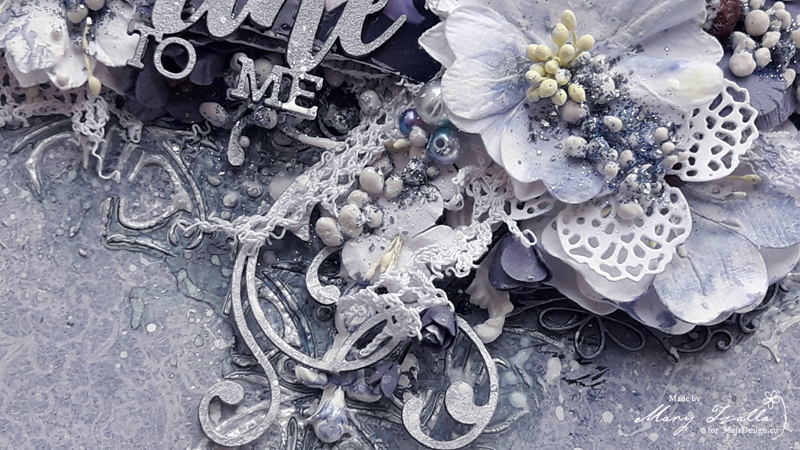
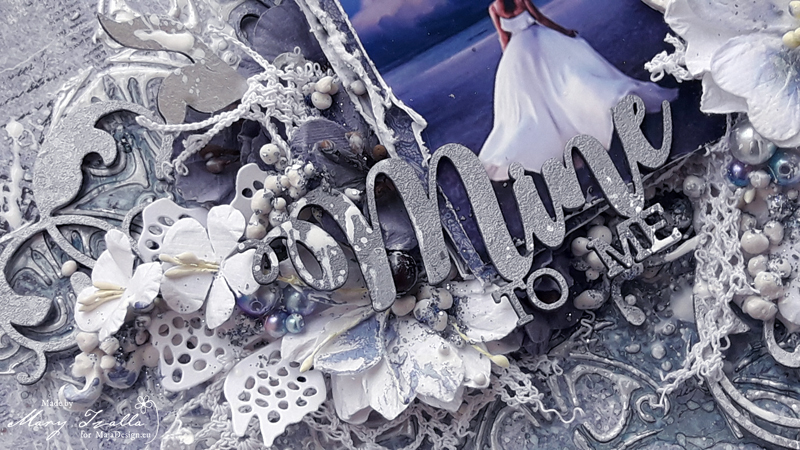
Then, I layered all the gorgeous elements around my photo and added in some 49 and Market flowers from the ”Blossom Blends, Garden Seeds & Cottage Blooms” sets.
Papers used:
-
- Tough but sweet-bs
-

- You’re beautiful-bs
-
- Loose fit
I hope you enjoyed my project!
Until next time happy crafting!