Hello dear friends!
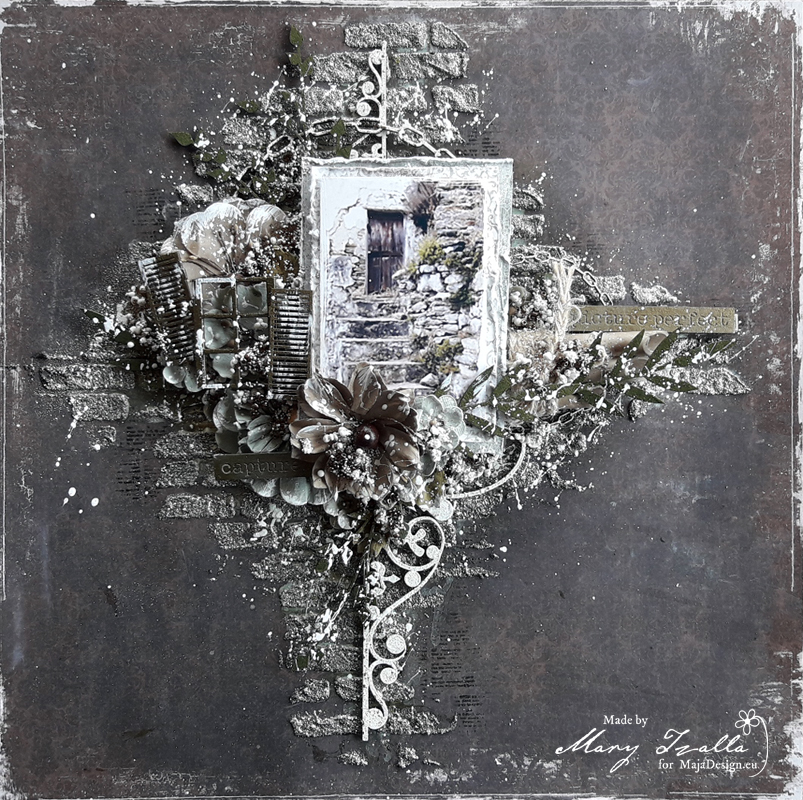
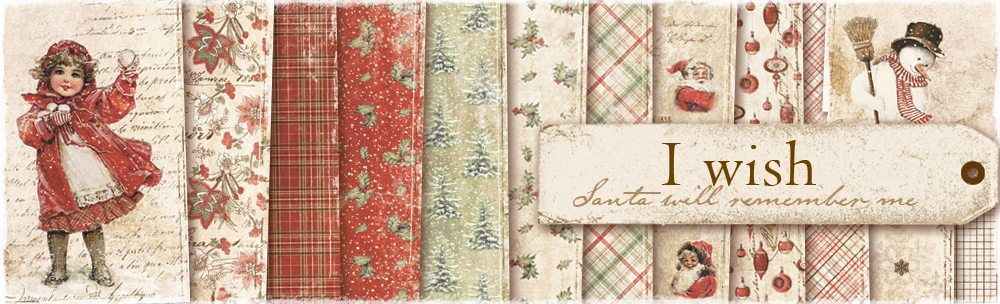
Mary with you today and I have a new layout with a video tutorial to share with you. To create my page I used papers from the gorgeous ”I Wish” collection along with some beautiful Dusty Attic chipboards which was placed around a photo I found on Pinterest. But, before I continue more I want to give all the proper credits to the ”unknown” photographer.
You can watch all the procedure here…
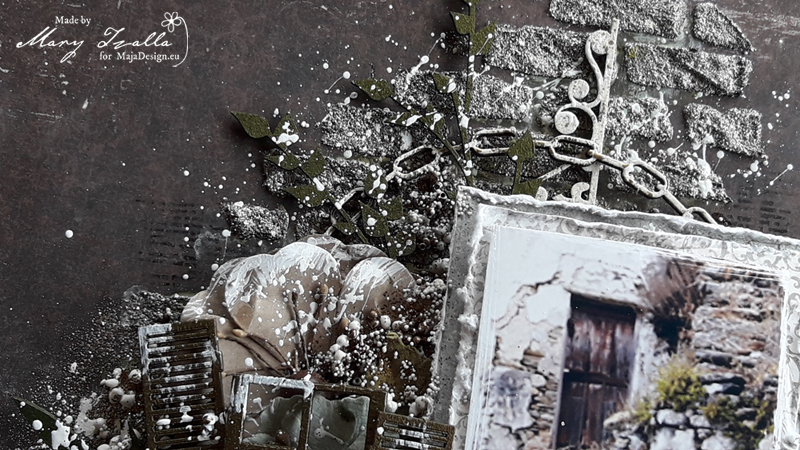
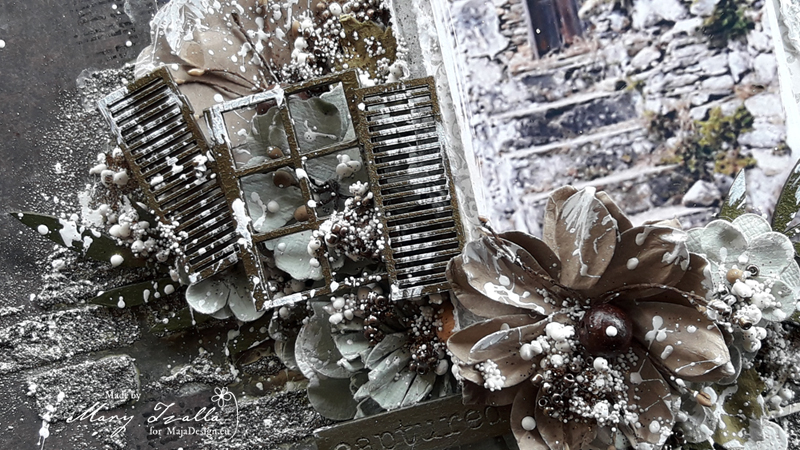
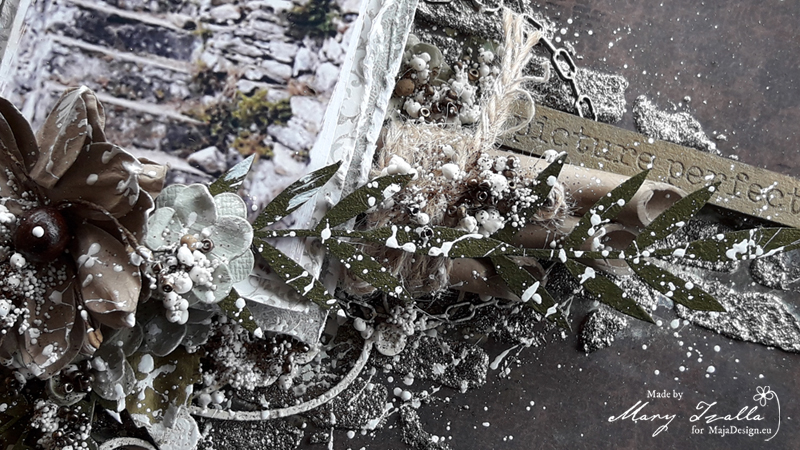
And here are some close ups…
I used the ”I wish those memories will last” paper from the ”I Wish” collection and I made some layers behind my photo with the ”Evergreen” and the ”Outdoors” papers from the ”Joyous Winterdays” collection.
To start, I applied a coat of clear gesso on the background. Then, I created texture with graphite paste and a stencil and heat emboss the pattern with the Wow metallic Platinum Sparkle embossing powder. Made some stamping here and there and used Lindy’s Gang sprays to add color.

 Continued with the ”Foliage #8” & ”Foliage #9” chippies which were painted with the Finnabair Golden Moss acrylic paint. The ”Window & Shutters #2” and the ”Wordpl@y3” pieces were also painted with the Finnabair Rustic Brown paint.
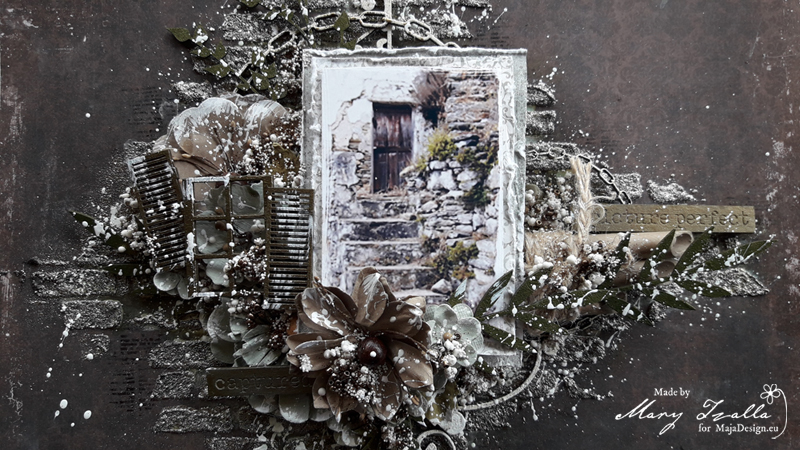
When everything was glued down I added some art stones and glass beads. The final touch was made with some splatters with white acrylic ink.
Paper used:
-

- Outdoors
-

- Evergreen

I hope you enjoyed my project!
Thank you for stopping by!

1 Comment
A very beautiful layout here Mary. Rerally great work, soo well done as always, and I love how you´ve used this collection for an everyday ælayout, to show how all papers can be used for almost anything, and still look just as amazing, and this really do. Stunning work, well done.