Live With Passion Layout with Video Tutorial

1

Posted by Mary Tzalla

26 April, 2019 - , ,

Write a comment

Hello Maja fans!

Today, I would like to share a new layout with a video tutorial made for my April inspiration. To create my page I used Maja Design papers from the gorgeous I Wish” collection along with several gorgeous Dusty Attic chipboards and beautiful 49 and Market flowers.

As always I found my photo on Pinterest and this one inspired me to create a steampunk page with a romantic and mysterious feeling. But, before I continue more I want to give all the proper credits to the ”unknown” photographer.


You can watch all the procedure here…


For my project, I chose the ”I Wish – those memories will last” paper from the ”I Wish” collection. To start, I applied a coat of clear gesso and then, I created texture with a Finnabair icing paste and a stencil. Then, I randomly stamped and used Lindy’s Gang sprays to add color.

Next, I used different mixed media techniques to treat the Dusty Attic chipboards which you can watch on the video tutorial.

Then, I layered all the gorgeous elements around my photo and added in some 49 and Market flowers from the ”Botanical Blends & Potpourri – Marina” sets.


Paper used:


I hope you enjoyed my project!

Until next time happy crafting!


Captured Layout with Video Tutorial

1

Posted by Mary Tzalla

26 March, 2019 - , ,

Write a comment

Hello dear friends!

Mary with you today and I have a new layout with a video tutorial to share with you. To create my page I used papers from the gorgeous ”I Wish” collection along with some beautiful Dusty Attic chipboards which was placed around a photo I found on Pinterest. But, before I continue more I want to give all the proper credits to the ”unknown” photographer.


You can watch all the procedure here…

And here are some close ups…

I used the ”I wish those memories will last” paper from the ”I Wish” collection and I made some layers behind my photo with the ”Evergreen” and the ”Outdoors” papers from the ”Joyous Winterdays” collection.

To start, I applied a coat of clear gesso on the background. Then, I created texture with graphite paste and a stencil and heat emboss the pattern with the Wow metallic Platinum Sparkle embossing powder. Made some stamping here and there and used Lindy’s Gang sprays to add color.

Next, I embossed the ”Chain Circles” & the ”Ornate Corner #13” chipboard pieces with the Aged Ivory Stampendous embossing powder.
Continued with the ”Foliage #8” & ”Foliage #9” chippies which were painted with the Finnabair Golden Moss acrylic paint. The ”Window & Shutters #2” and the ”Wordpl@y3” pieces were also painted with the Finnabair Rustic Brown paint.

When everything was glued down I added some art stones and glass beads. The final touch was made with some splatters with white acrylic ink.

Paper used:

I hope you enjoyed my project!

Thank you for stopping by!


“Merry Christmas” by Tina Ollett

1

Posted by Tina Ollett

20 December, 2016 -

Write a comment

Hello once again. Tina O with you here today with a little Christmas cheer.

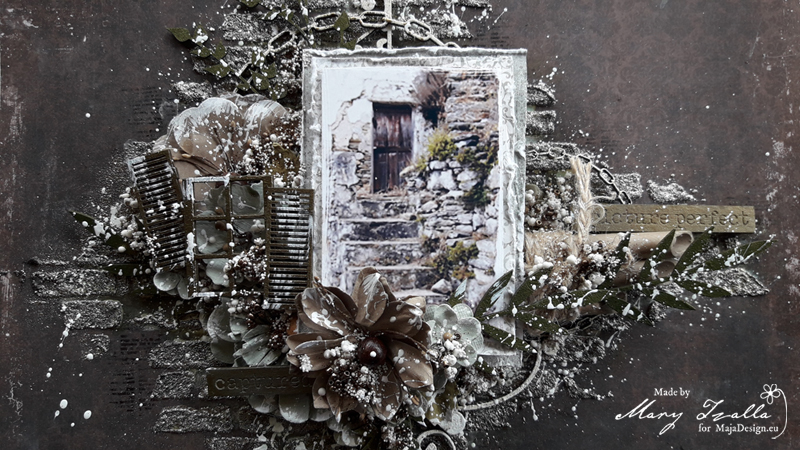
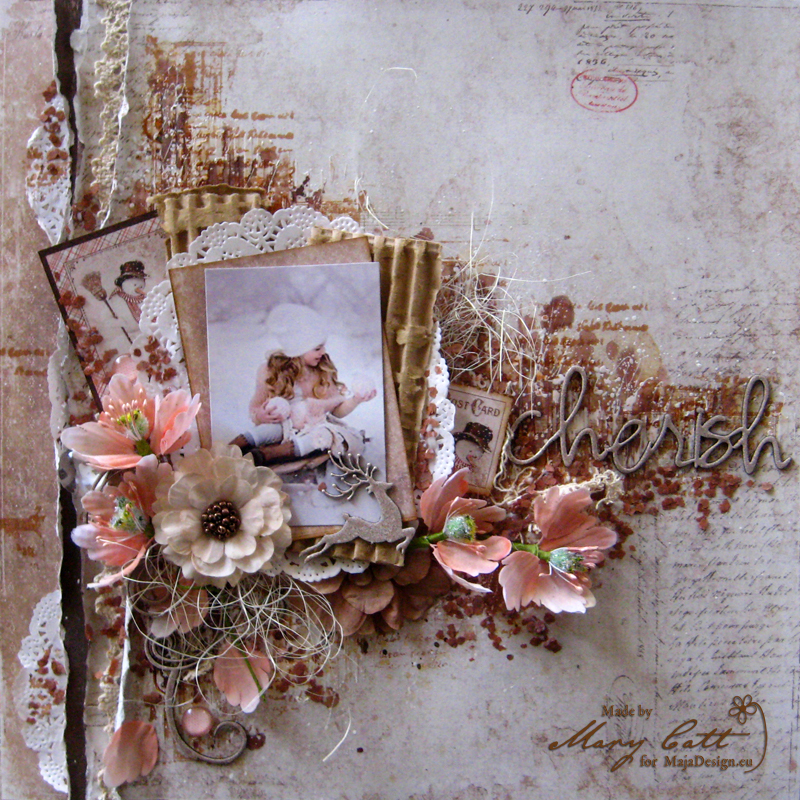
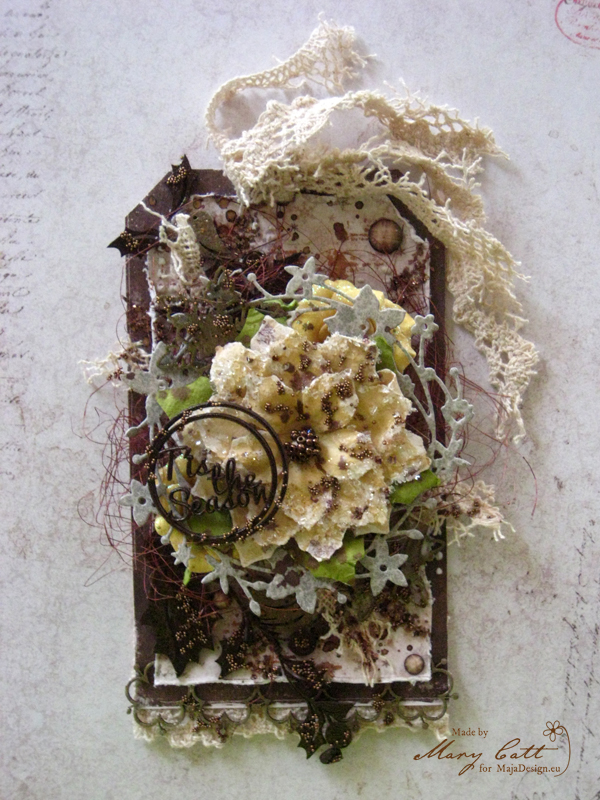
I, as a rule do not do cards, but I felt as I should as we a coming into Christmas in only a few days time. With this in mind and the fact that it has been a long time since I have created a card, I have kept it pretty simple. I wanted to do something a little vintage with a shabby touch.

2016-12-20 maja card 008 (718x800)

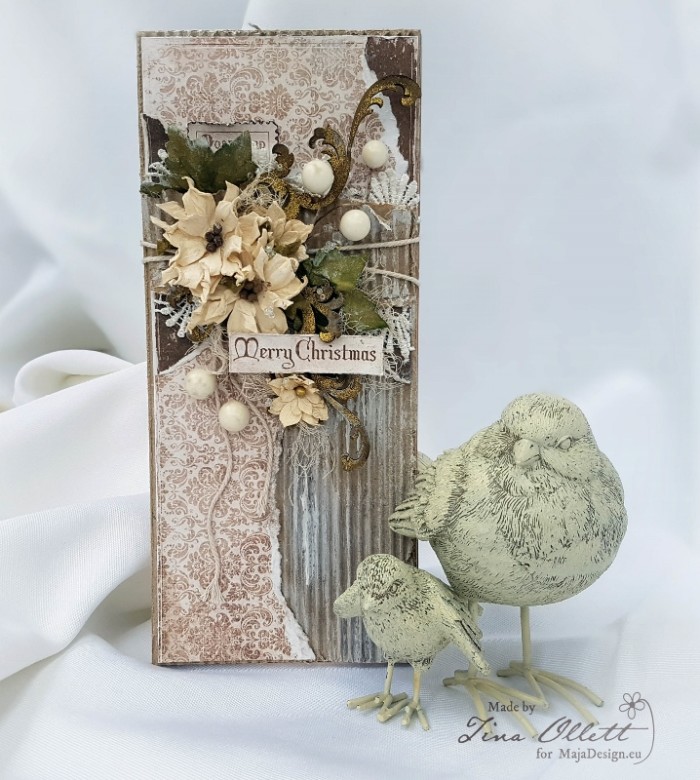
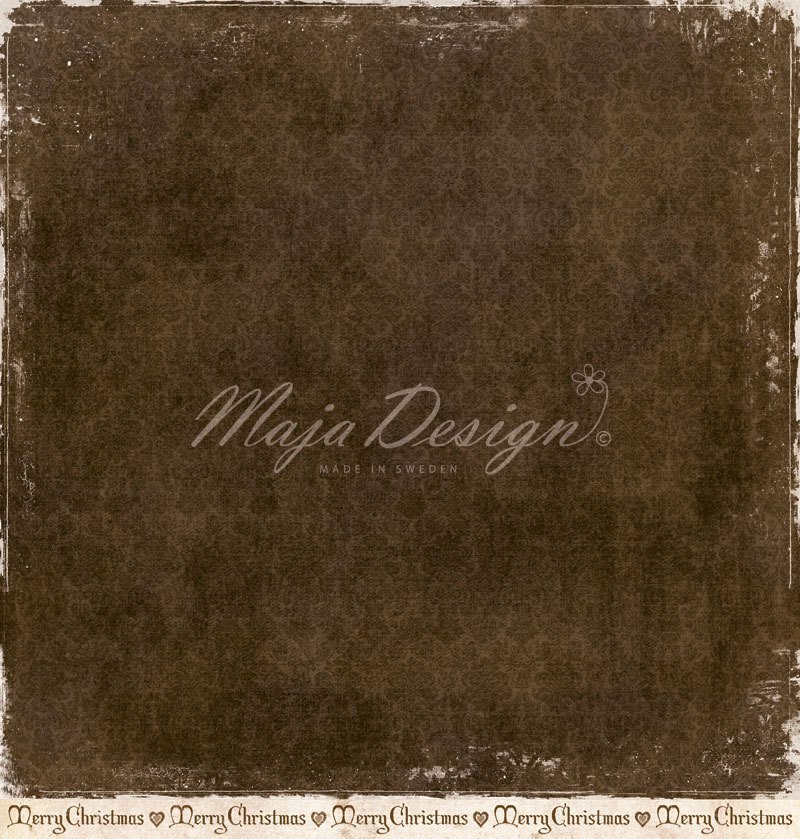
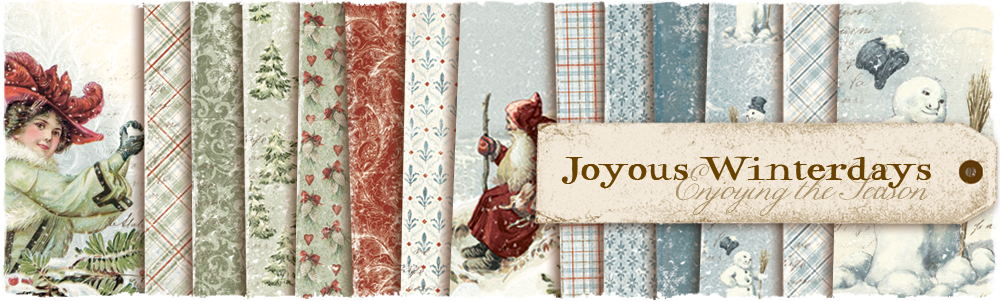
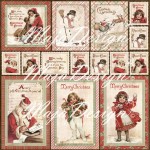
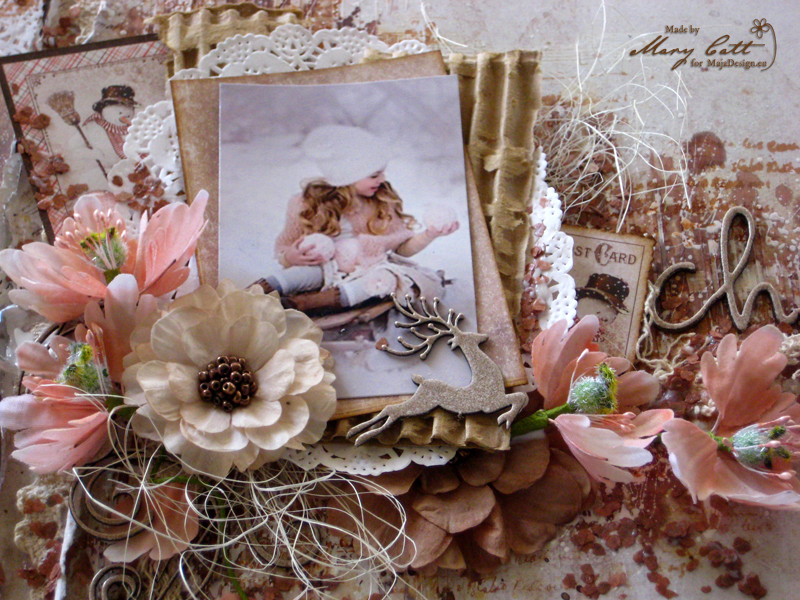
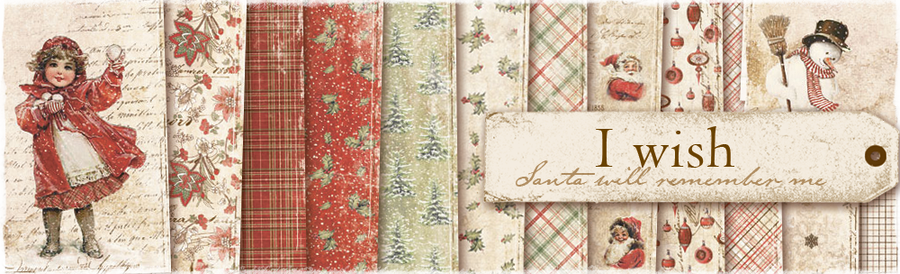
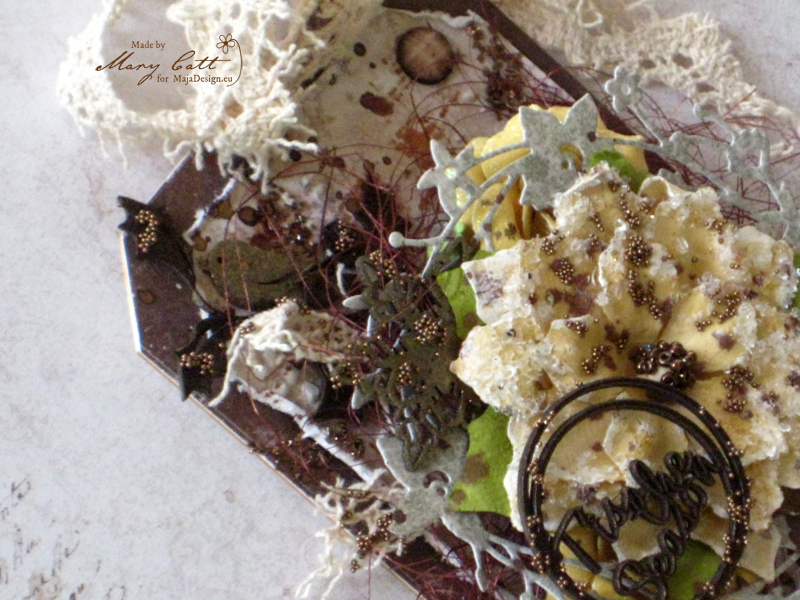
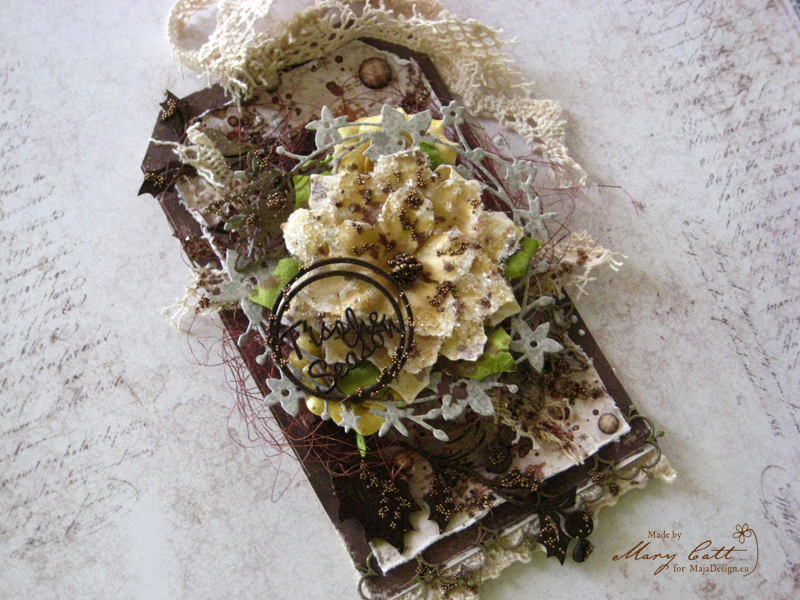
To create this card I started with a Kraft Cardstock base and cut a 23 x 10cm card base. The top of this was then layered with some Dusty Attic corrugated board. And on top of the corrugated I have used the new “I Wish” collection. Because I wanted a vintage feel I stayed with the rustic brown colours with the addition of cream and green. I tore section of both “Those memories will last” bs and also “You a happy New Year” bs. These would have to be my favourites pieces from the collection as you will remember I used them in a previous layout using the I Wish Collection.

2016-12-20 maja card 011 (600x800)

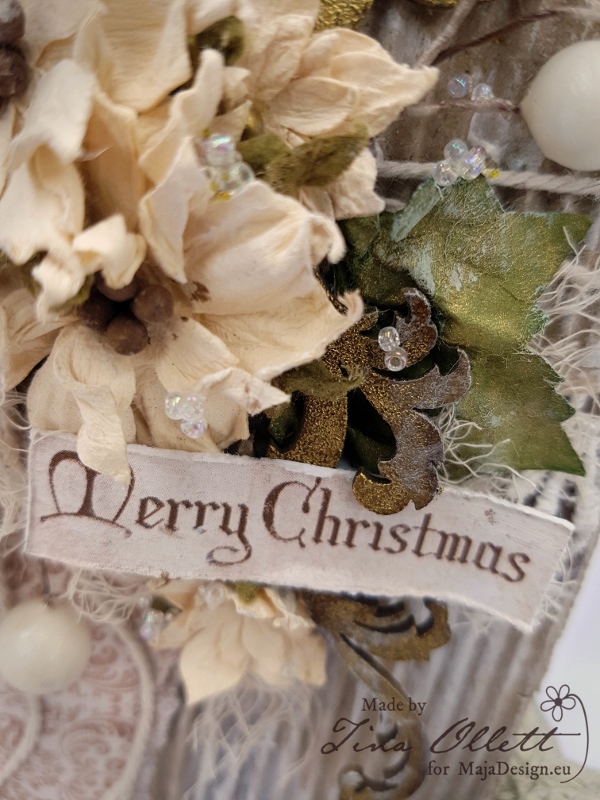
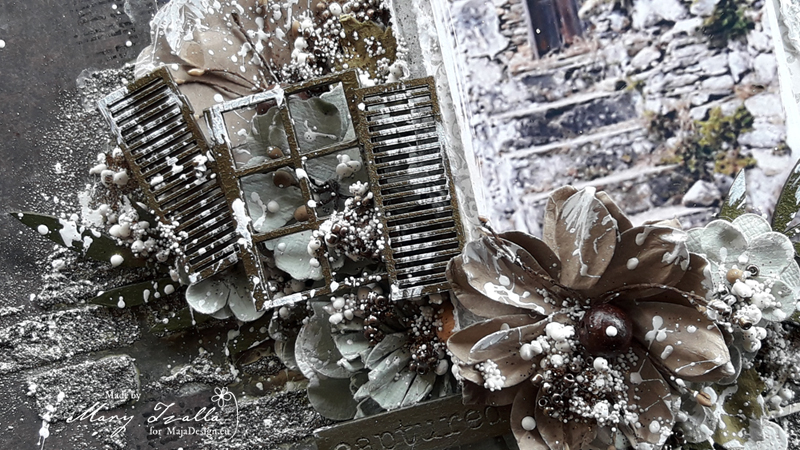
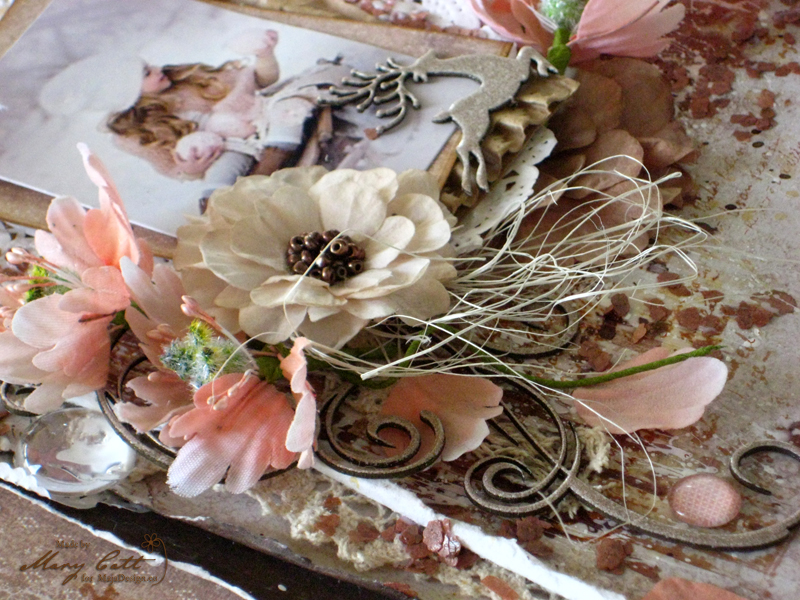
The christmas leaves I have used for this project were dressed with some Walnut Gold glimmermist to take away the darkness of the green but also to add in a touch of gold.

2016-12-20 Maja 005 (600x800)

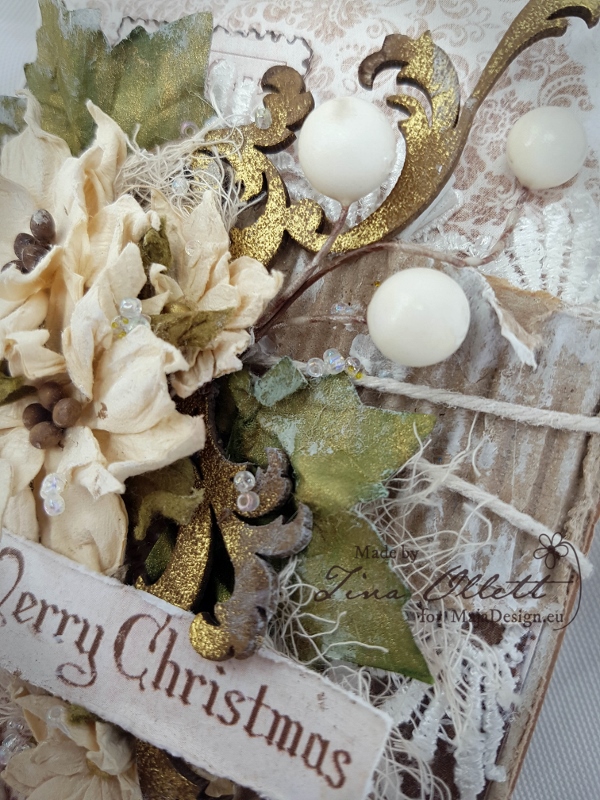
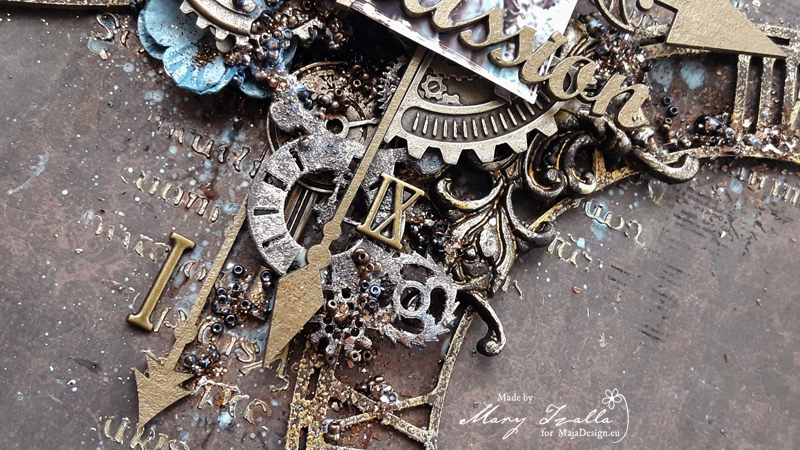
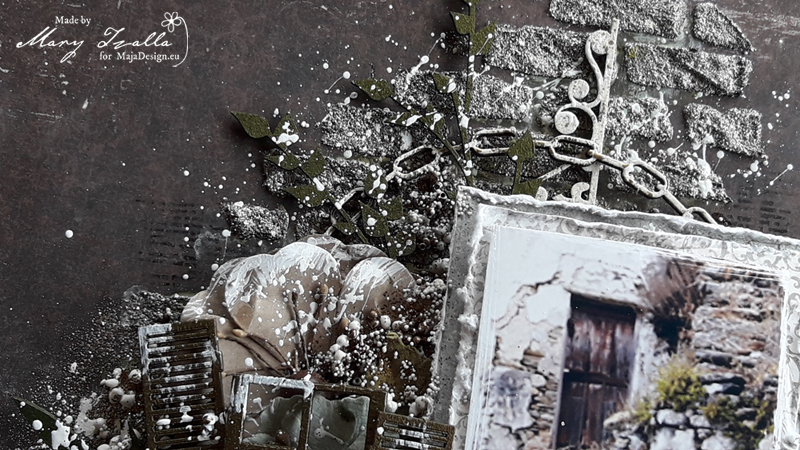
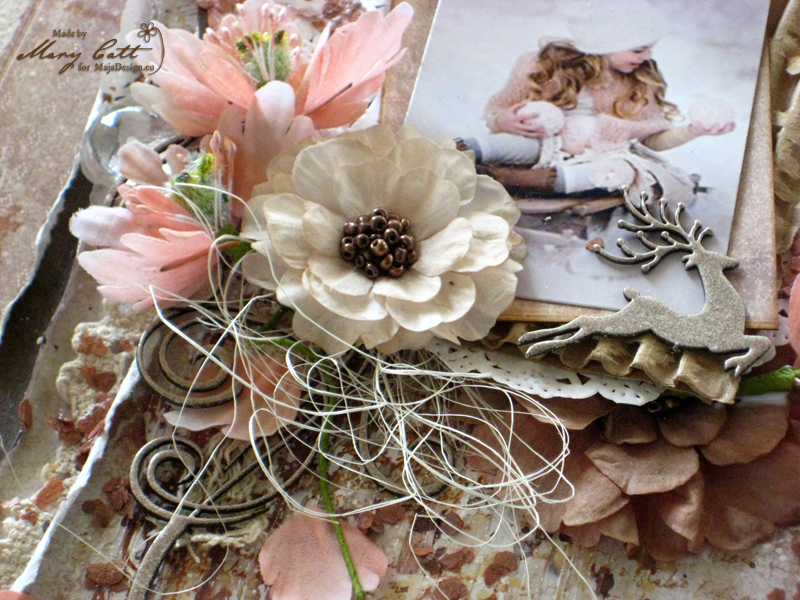
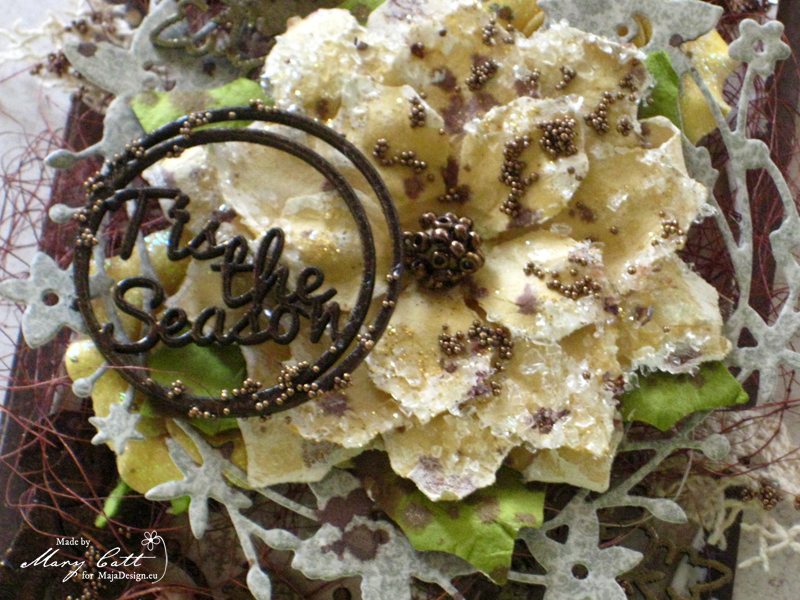
I wrapped the corrugation with a large piece of twine and left it hanging to the side. Over the top of the twine I added in some Dusty Attic Baroque Chipboard to cover my knot which was embossed and sanded.

2016-12-20 Maja 010 (600x800)

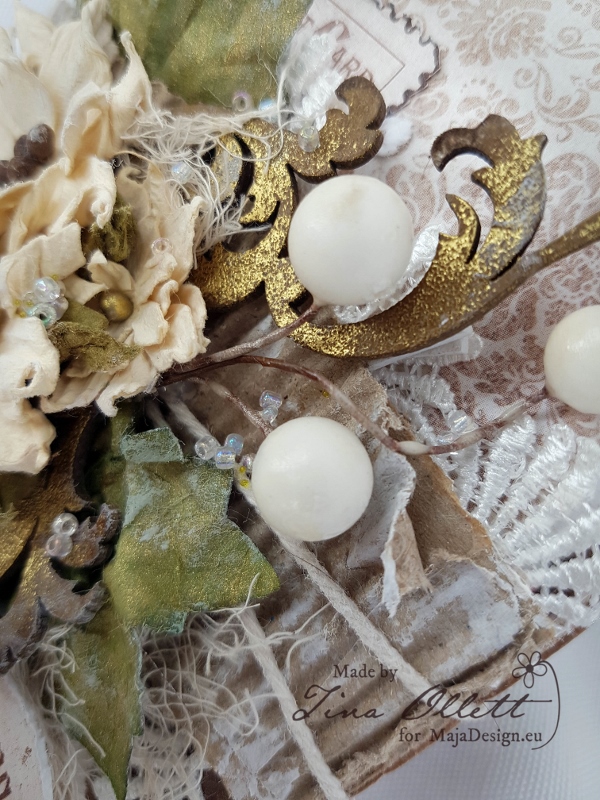
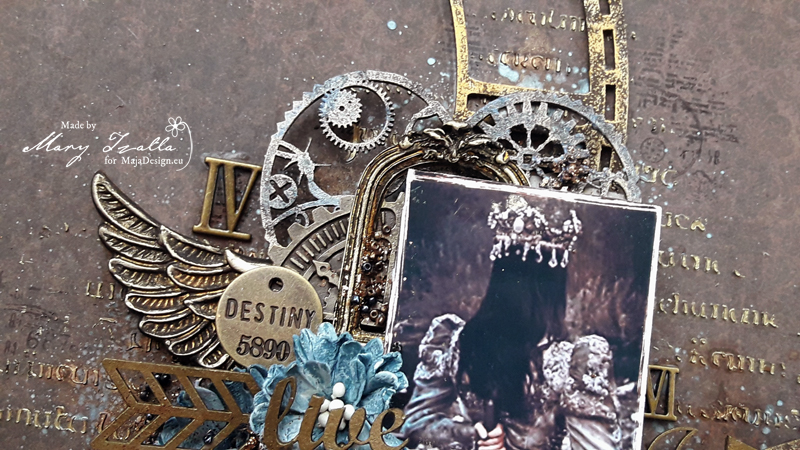
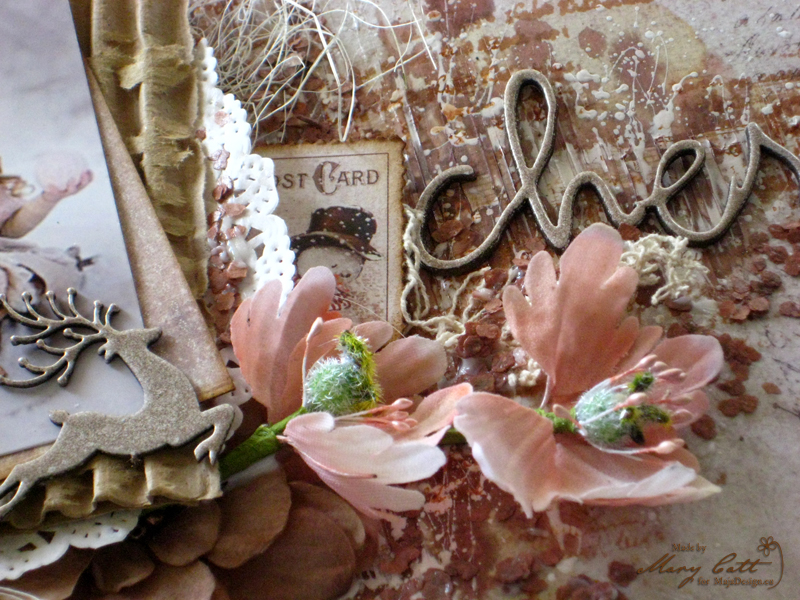
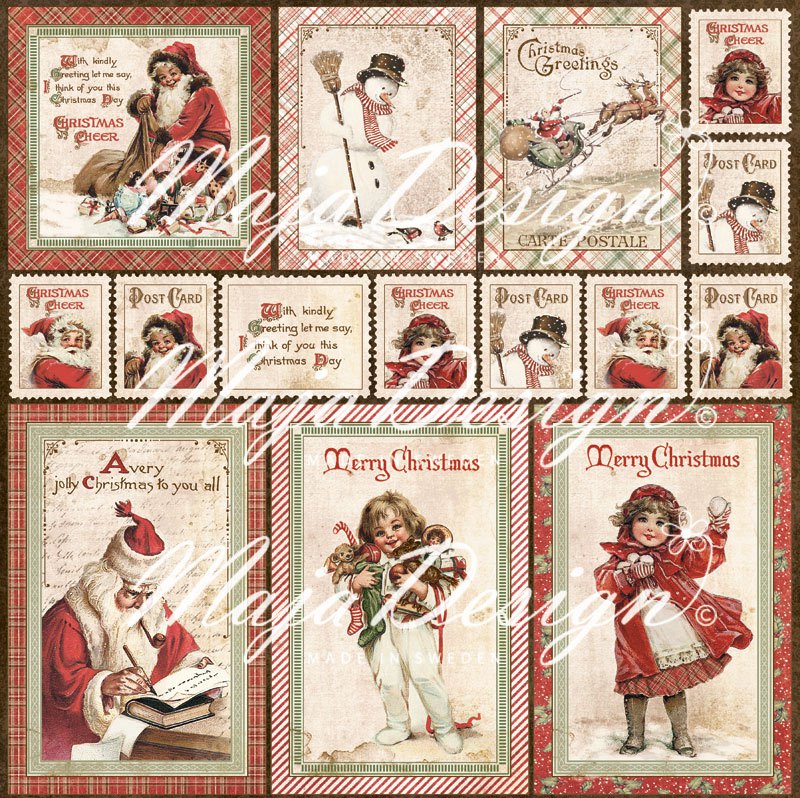
I have cut the postage stamp from the Ephemera Sheet and added it tucked above the cluster just peeping out.

2016-12-20 Maja 006_edited-1 (600x800)

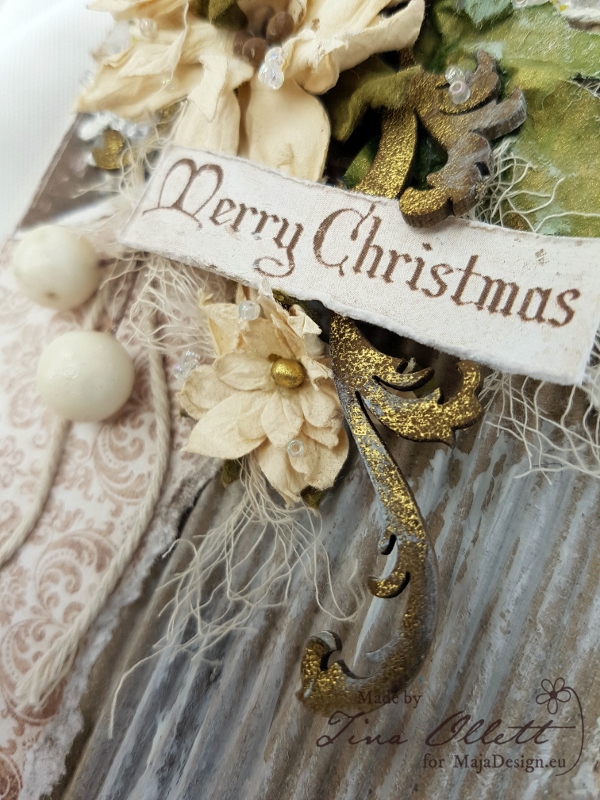
I dry brushed my embellishments with white gesso to tone the card colours down a little and to keep within the shabby/ vintage style.

2016-12-20 Maja 003 (600x800)

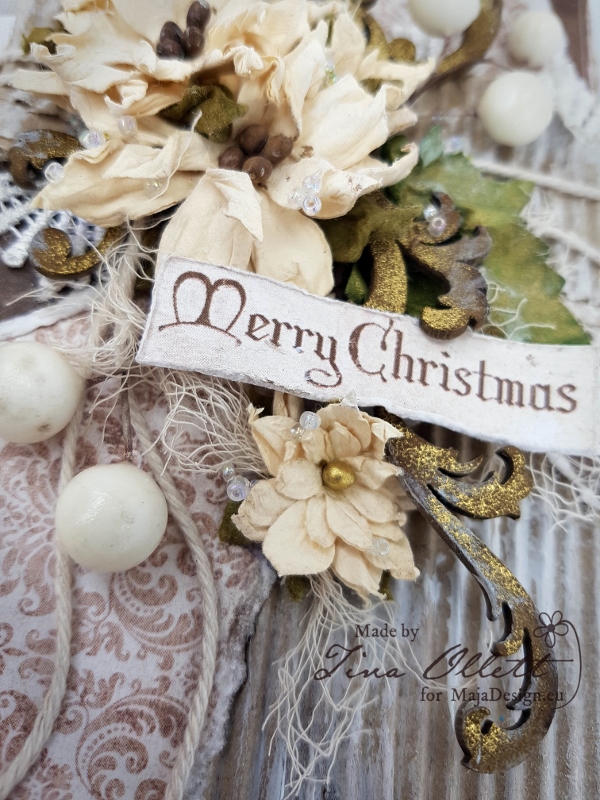
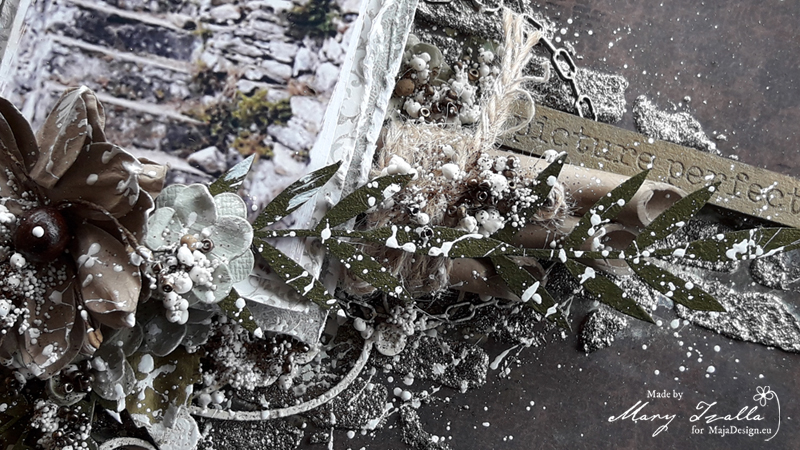
My title “Merry Christmas” was cut from the base strip of “I wish those memories would last”. These are always perfect for that little added addition to any card or layout. So don’t throw them away!!

Maja Design Products Used

I-wish-P

Maja Design – I wish  – Ephemera

Maja Design – I wish  – “Those memories will last” bs

Maja Design – I wish – “You a happy New Year” bs

Other Products Used

Dusty Attic Baroque Corner Large

Dusty Attic Corrugated Board

Large Lace Trim

Ultimate Crafts Large “Seasons Greetings” Mixed Poinsettias ULT157663

Ultimate Crafts Large “Seasons Greetings” Small Mixed Poinsettias ULT157665

Miscellaneous Christmas Deco (White)

Liquitex Gesso (White)

Glimmermist Walnut Gold

Stamp It – Superfine Detail Embossing Powder

Versa Mark Ink

Clear Seed Beads

Tea Stained Muslin

Twine

Well I hope you have a very Merry Christmas and a most 

fabulous wonderful and safe New Year.

Until next time…..Tina-sign


”Cherish”

2

Posted by Mary Tzalla

13 November, 2016 - ,

Write a comment

Layout

Hello Maja fans and welcome to the blog today!

This my second christmasy project using the ”I wish” collection and this time I made a layout. I can’t believe that we are already so close to Christmas… I love that season and I’m full with the Christmas spirit! And, that beautiful photo from pinterest was just perfect for the layout I had in my mind… of course, I want to give all the proper credits to the photographer.

Close up 1

I used the ”I wish those memories will last” as my main paper and I torn it vertical on the left side. I placed under it, three layers of two papers, one from the same paper, one from the backside of the same paper and lastly one of the ”I wish for frosty mornings”.  Among the papers Ι added some lace and a few pieces of doilies.

Close up 4

I designed my background with modeling paste and a stencil over a coat of clear gesso.  I colored it with ”Dark Chocolate Truffle” and ”Clam Bake Beige” Lindy’s Stamp Gang mists.  I also made splatters with white 13arts Splash ink to highlight it a little bit. When dried I made some random stamping and the background was ready to glue everything down.

I heat embossed the chipboards with two powders, first with the ”Desert Moon Copper Pine” and then with the ”Cafe au Lait”.  All the chipboards I used are 2crafty and the flowers are Prima Marketing.

As a final touch, I added some mica flakes in ”Henna” and some ”Melange Art Pebbles”.

Papers used:

I-wish-P

Thank you so much for stopping by!!!

Mary-sign (2)

T’is the Season

0

Posted by Mary Tzalla

30 October, 2016 - ,

Write a comment

Tag

Hello Maja fans!!!

Mary is up on the blog today and I have a Christmas tag to share with you. This is my first project made with the brand new ”I Wiss” collection and I have to say that I really loved it!!! These papers are simply amazing!!!

Close up 1

I used two papers for my background, the ”I wish those memories will last” and for the second layer the ”I wish for frosty mornings”. I applied modeling paste with a stencil to create some texture. Then, I made some splatters with ”Dark Chocolate Truffle” Lindy’s Stamp Gang mist and some random stamping with a script stamp and ”Coffee” Archival ink .

Close up 2

I heat embossed the title and the ”Corner Sweet Holly” chipboard, which I cut in two pieces, with ”Midnight Bronze” embossing powder and the little birds on it with ”King Midas Gold”. With the same powder I also embossed the ”Flower Chain” chippie. The snowflakes were embossed with two powders, first with ”Silver Moon Turquoise” and then with ”Golder Angel Wings”.

Close up 3

  I made a floral frame with a die and the ”I wish for peace and joy” paper and placed it on my cluster under my main flower. A little sisal, colored with the same mist I used before, completed my cluster. Some microbeads and glass glitter and my christmas tag was ready.

Close up 4

All the chipboards used were 2Crafty and the flowers were Prima Marketing.

Papers used:

I-wish-P

Well, that’s all for today, my friends!

See you again in two weeks!

Mary-sign