What Can I Say? I Love My Buttons

1

Posted by Silje Kristin Aunan

27 March, 2016 - ,

Write a comment

Hello again everyone.

It’s Sunday, and it is my turn, Silje Kristin which will inspire you with a new project for Maja Design <3

I feel so rich, not rich on money but rich on what I have and the opportunities I have and the opportunities I have in the future. I have a lovely man that I will soon move in with, I get to be a step mom for a wonderful little boy and this Easter I get the chance to share out 96 Easter Egg to the elderly in my home town and the kids at the Hospital. All these nice things make me feel rich and it is amazing <3

But the day today is all about todays project I whant to inspire you with. This time I have a box made in Vintage style full of details that I love so much, Buttons <3

The truth is that I have worke with this box for a while, several weeks, but I’ve never quite figured out how to decorate it after I put on the pattern sheets. But then a few days ago I decided that it should represent what is on the inside of the box and me. Not to decorate it with buttons, but using flowers in my favorite color, the pattern sheets with the furniture and a vintage images of a lady. If you use your imagination, cud this lady easily be a seamstress.

The sheets that you see on this box were two kinds of collections from Maja Design. One is called The Vintage Summer Basics and THe Vintage Autumn Basics.

The sheets I have chosen to use are in brown tones, with different patterns that fit together. The sheets I have used is:

no.XVIII – Heritage – 1909 – 1905

Vintage-Summer-Basics-P

Autumn-Basics-P

I have built up the sheets with 3D foam pads in the corners and double sided tape on the middle of the layers. This is a way to build up layer by layer, to create a special effect, as you can see in the picture.

The box stands on four large feet in bronze, around the edge I fastened a silver chain with ligth brown diamonds and on the front of the box there is a special lock. All these details are there to create a special contrast between what is old and modern.

On the back of the box are the details very neutral, since the hinges on the box on the inside and the only thing you mostly see is the inking. All the pattern sheets are inked with Distress Ink Ground Espresso.

Atop of the lid on the box I have a lady who is taken from a patterned paper called Heritage and around her I have used several different flowers in several shades.

The flowers I have used, I have taken from Wild Orchids and Papirdesign. The white flowers are inked with Ground Espresso, the same color as the paper in the box and under the flowers you will find smal straw which is also inked in the same color.

Also the images on the box is build up with several layers, like the pattern sheets below.

If you open up the box you will find my buttons in all sizes and colors <3

The reason why I decided to put all my buttons in this box, was because I love buttons and when I came across this box here, it was just absolutely perfect for my buttons <3

And in this way all of my buttons are easily accessible, hide in a lovely box 🙂

SiljeKristin-sign


The Man I Love

2

Posted by Silje Kristin Aunan

26 February, 2016 -

Write a comment

Hello Everyone <3

What a week this have bean, a verry bissy one. You see I have just moved to a new place, in this gorgeous City I live in, here in Bodø. Bodø is a town in the north of Norway. I have the last four days spent my time to unpack on box after another and now I have a Normal room I can enjoy my self. All of my scrapbooking stuff is in place and today I gonna enjoy mysself with paper and new ideas. I can tot wait 😉

Today I visiting the Maja Blog with a new project, and this time I’m going to show you my Valentines Prosject to my Boyfriend. My man, Henning is a wonderful man, he sees me, i can be myself and we whant the same thing for the future. I can safely tell you that I am MADLY in LOVE with this beautiful man, and to be honest, it feels like I’ve won the lottery. So when Valentines Day approaching, I just had to make a box to the gift, to show him how much I love him. And way not do this with my passion <3

The box I’ve have used, is the packaging to a handsfree that I bought myself  afther Christmas, which I have given new life to. The pattern sheets I have used is take from the Vintage Autumn Basics collection.

Autumn-Basics-P

The idea for the box cam when I and my Boyfriend looked through a box of old things. Up in one of the boxes, we found many old and rusty nails, screws, small light bulbs and  other rusty details. Some of it, you can see in the pictures below. I was so lucky that I could take the things I wanted and that was when the idea came.

I had one great desire that the box I made for him, would be full of rough and stylish details. Meanwhile, I would bring in the romance to.

Since it’s Valentine’s Day, I have used some letters on the front og of the box and written LOVE. These letters have the right color by using Wink of Stella. In the picture you can also see some of the rough details that I have used.

When you open the lid of the box, you will see how it looks on the inside. Here are more of the same details that I have used on the outside of the box.

On the one side, I have used the same lettes as the one on the outside, onli this time I have written Forever. And this part is a bit funny, you see on the Valentines card I got from him, it says on the front Love and Forever. I think it is cute 😉

On the other side of the box, you can see more details, as glass bottles and words written on metal plates.

I have glued several small glass bottles. Up in these bottles you can fiend several things that have a symbol for me and Henning. The film roll represents our first date, the cinema. The brown powder are coffee, becuse Henning is totally dependent on it 😉 the nails I got from him, becuse he know how important this hobby is for me. And the string, symbolizes how strong we are together.

The words over the bottles is a gift from Henning, this is one set of 7 different words from Prima. I think it was entirely appropriate to use some of these words, to make this gift more meaningful <3

And this is the box, before I started with it.

So before I finish my blog post, I’m going to tell you what Henning received as a gift, except from this box. Henning has a son named Henrik, and I wanted to do something special aboute that. I know how much Henning LOVE his son, and Henning have a necklace around his neck, so I bought a silver plate , which I got engraved with Henrik’s name. Now he have a little pice with Henrik with him all time <3 And I can tell you that my man, was very happy for the gift <3

I wish you all a wonderful and a creative weekend.

SiljeKristin-sign

“Cute” by Di Garling

2

Posted by Di Garling

4 February, 2016 - ,

Write a comment

CUTE..-001

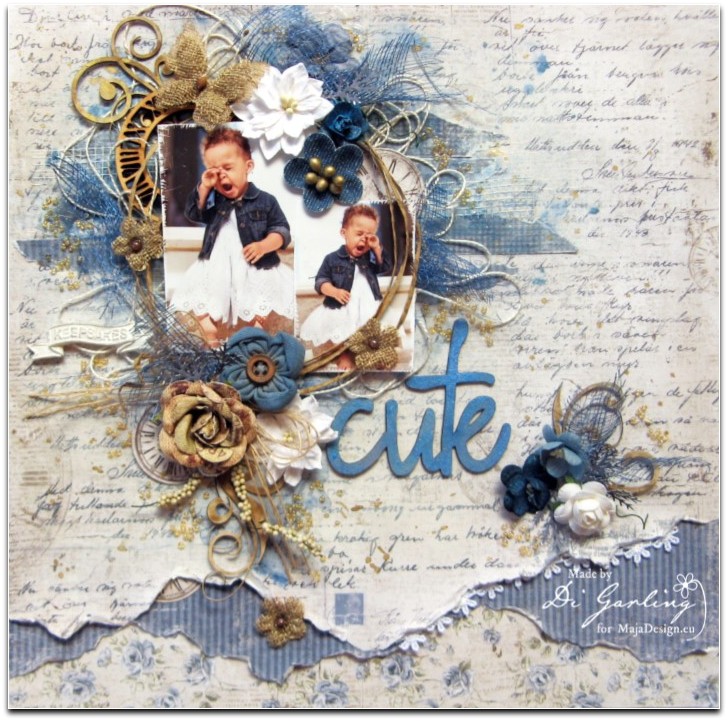
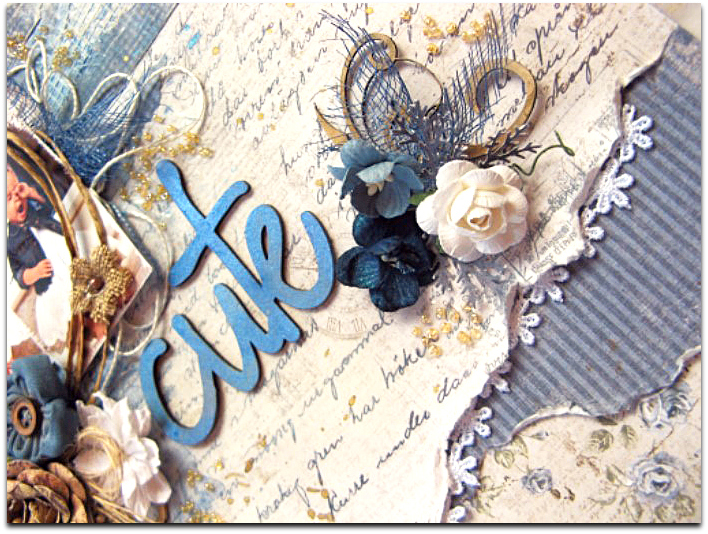
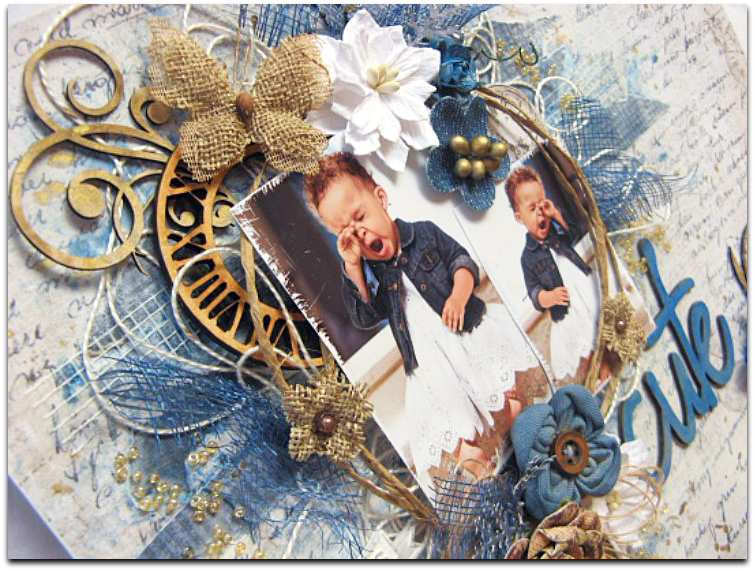
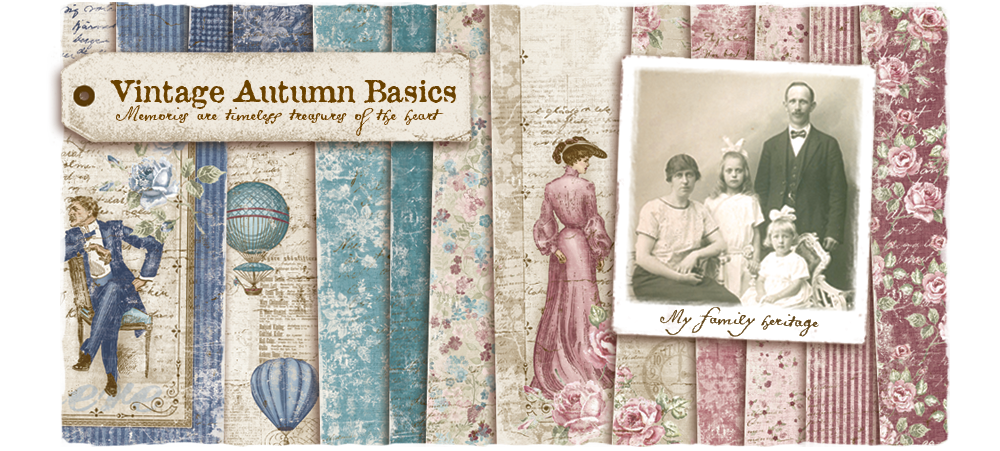
Hello & welcome to the blog. Today I have another layout to share with you that I created using the “Vintage Autumn Basics” collection. I have used four papers in all from the collection, the  XX1, XX11 & XX111 & I also cut a few clock faces from the XV1. I really love this collection. It is funny because I NEVER scrap with blue, aqua yes, but never blue but I found this collection so easy to work with & I am really happy how it turned out.

cute 2-001

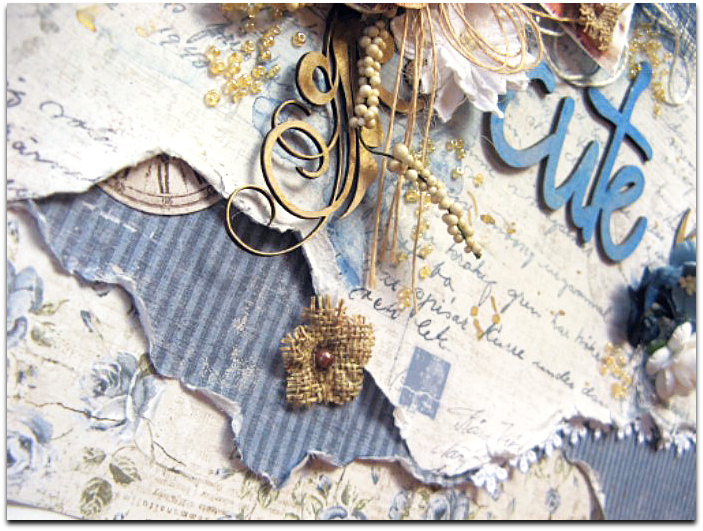
I started this layout off by tearing the three different papers to layer up & the pieces I tore off the bottom I then stuck down underneath my photo to create an extra  splash of colour. I have also added some twine for added texture too.

cute 3-001

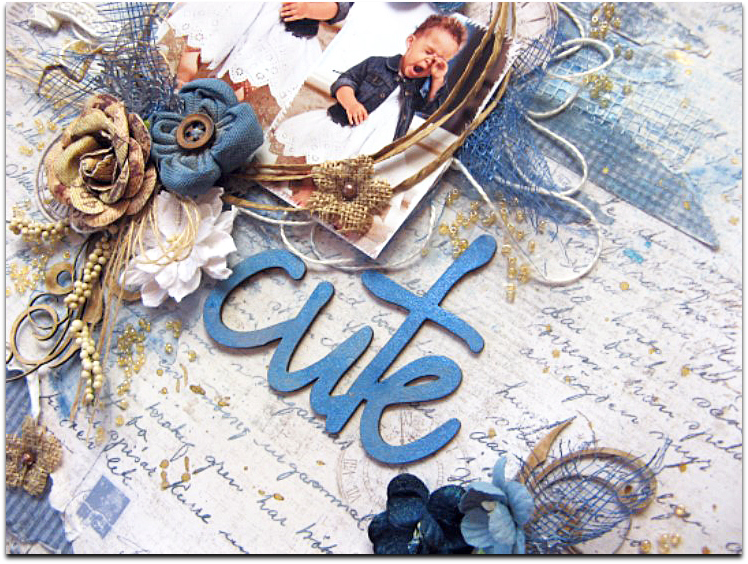
I have brushed on some watered down blue mist to add even more colour. I cut out a few clocks from the “XV1” paper & placed them around the layout. I also created a frame for my photos from some natural coloured raffia.

cute 6-001

I think these three papers look so lovely teamed together.

cute 7-001

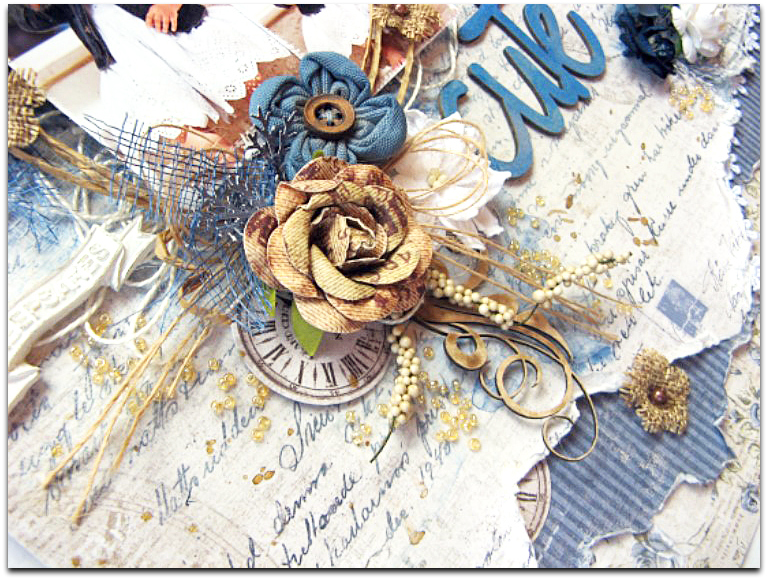
I have also tucked some lace in between the layers for added texture.  Lots of flowers,  I just cannot create without using flowers. 🙂
cute 6-001

I have also added some nice chipboard pieces from 2Crafty Chipboard which I brushed over with a little “Kraft” coloured mist to give them a warm & natural feel.

cute 5-001

To finish off I added some small pieces of blue mesh to add to the textural feel of my layout. I just adore lots of texture in my work.

Well thats all from me today,  see you back here in a couple of weeks time with another project.

Vintage-Autumn-Basics

Until then.

Di-sign

Di Garling

Hi my name is Di Garling. I am married to a very patient man, I have two grown up sons, two grandchildren & a little dog. I owned & operated a Scrapbook shop for eight years here in Australia until I recently sold it & retired. I think retirement is the best kept secret. I love it, it gives me lots of time to enjoy my craft. I still teach scrapbooking & cardmaking once or twice a week, so all in all I am as busy as ever & wouldn't have it any other way.

A Perfect Moment

0

Posted by Bec Genet

19 January, 2016 - ,

Write a comment

Hi Maja fans.

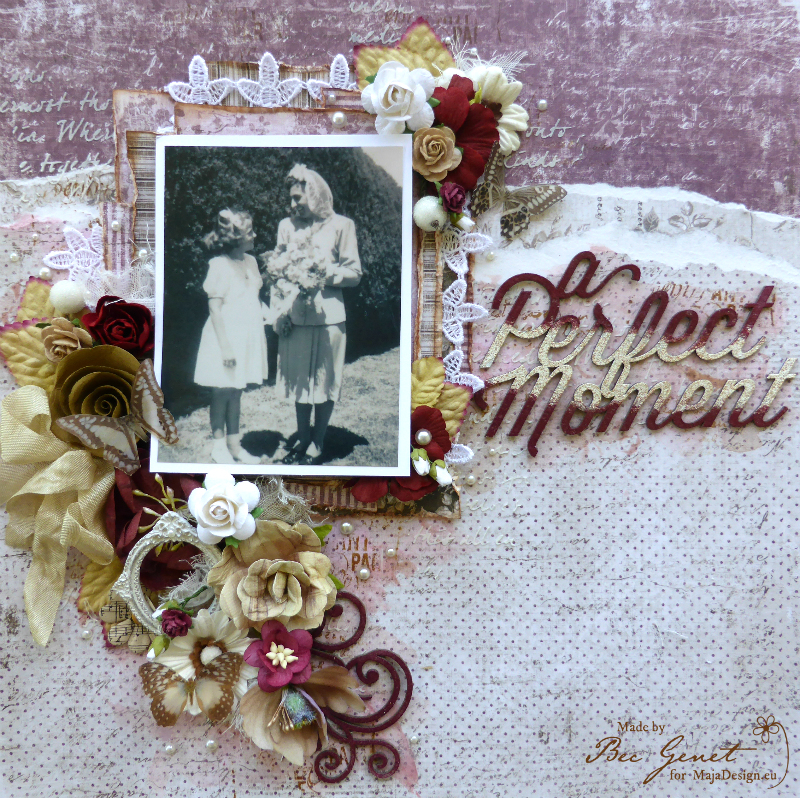
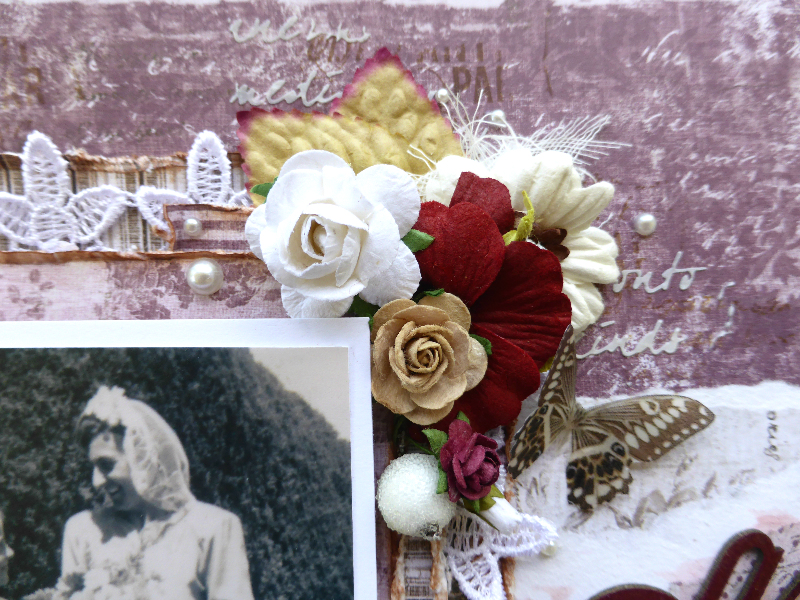
Today I have a layout to share with you that I made with the Vintage Autumn Basics Collection. I love these vintage collections for scrapping my vintage photos

Maja - Perfect Moment 1

For the Background I used the Vintage Autumn Basics papers No V and No X.  I ripped the top from the No X paper, then layered the other side of the No X paper underneath. Next I glued these onto the No V paper before I added some texture with Modeling paste and a stencil.

Maja - Perfect Moment 2

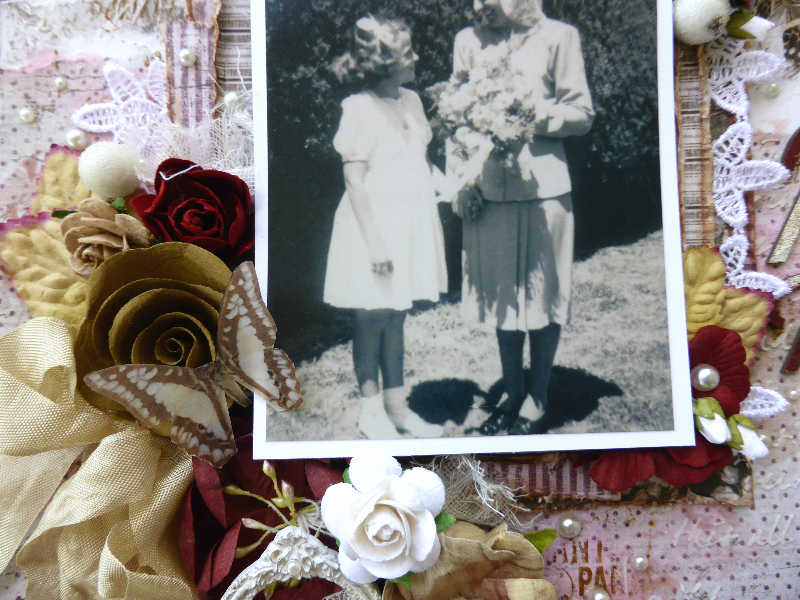
I cut the papers No IV and No XVII into pieces to layer under my photo, I distressed all the edges and inked them with Distress ink in Vintage Photo. This is a photo of my Great Grandmother on her wedding day with my Grandmother as a girl.

Maja - Perfect Moment 3

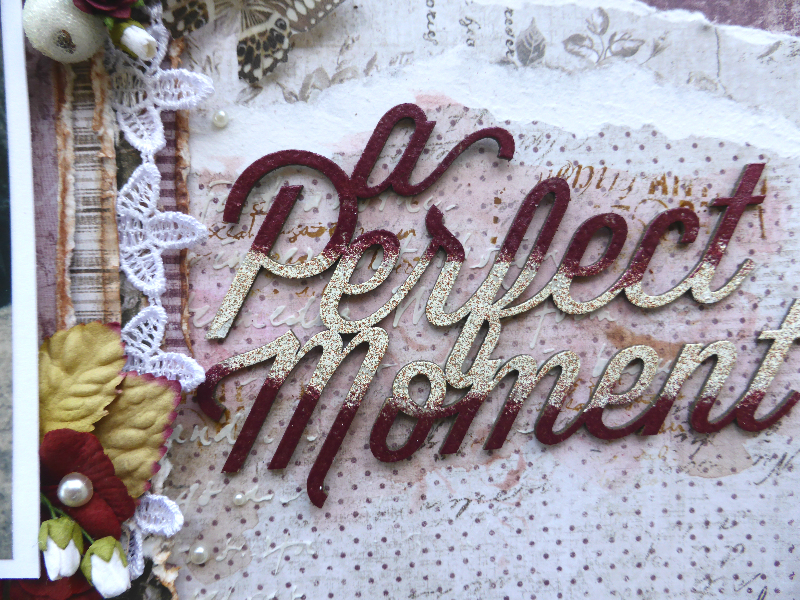
I added a little colour to the papers using Gelatos in pink, peach and brown. For my title I used a chipboard title that I coloured with two colours of embossing powder.

Maja - Perfect Moment 4

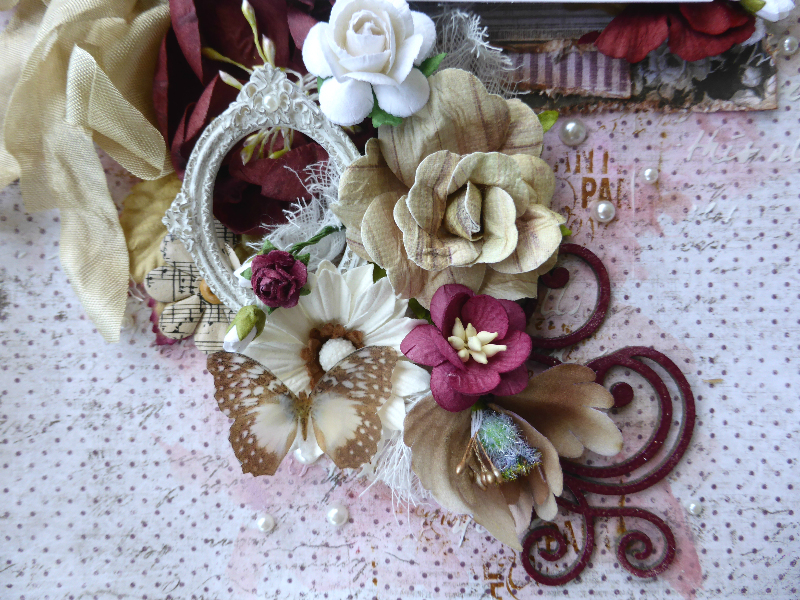
Next I added some random stamping, then I finished the layout off by adding a generous amount of flowers and embellishments

Maja - Perfect Moment 5

Autumn-Basics-P

no.X BS no.IV BS no.XVII BSno.V

 Vintage Autumn Basics Papers Used: No X, No IV, No XVII, and No V

Thanks for joining me today, see you next time

Bec-sign

Time Flies Card

10

Posted by Nancy Dynes

12 January, 2016 - ,

Write a comment


A Time Flies 1 (794x800) (2)


Hello, my crafty friends! I hope you’re staying warm and cozy as we settle in for the cold months of winter. This is the time of year I like to have a pot of soup or stew simmering on the stove top while curled up with a good book and a hot cup of tea.

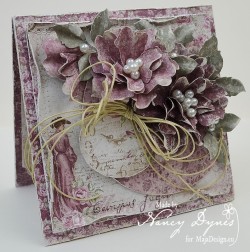
Today is an exciting one for me as I am sharing my first project here on the Maja Blog! I was a little nervous, and put a great deal of thought in to what I would create. I decided on this ‘Time Flies’ all occasion card featuring Maja Design’s stunning Vintage Autumn Basics collection. You’ll find the color palette in this collection is also splendid for your Valentine’s Day creations!

A Time Flies Layers (800x418)

I began by distressing, layering, and stitching the papers to form a base. The large circle was cut using a Spellbinders die and attached to the base using foam adhesive.

A Time Flies Flowers 4 (800x507)

A Time Flies Flower 7 (800x670)

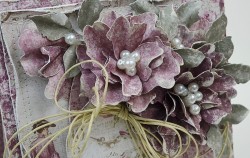
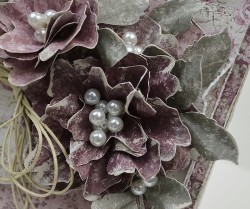
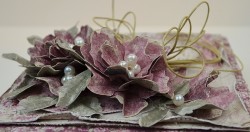
The flowers are handcrafted from the paper collection using a Susan’s Garden Peony die. The leaves are die cut from the paper collection with a Magnolia Rose Leaf die. A dusting of gesso and clusters of small glass pearls add a soft, romantic feel.

A Time Flies Layers 2 (800x423)

A Time Flies Vintage Lady 1 (690x800)

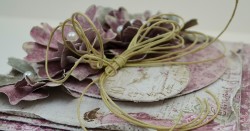
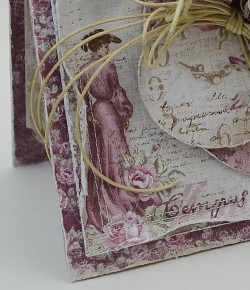
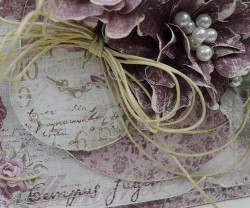
The left side of the card features the image of this lovely vintage woman. The clock is fussy cut from the paper collection and popped up with foam adhesive dots. The finishing touch ~ a twine bow for a bit of rustic elegance.

A Time Flies Clock (800x665)

Maja Design Papers Used:

Vintage-Autumn-Basics

Additional Supplies: Susan’s Garden Peony Die, Magnolia Rose Leaf Die, Spellbinders Circles Die Set, Natural Twine, Small Glass Pearls, Gesso, Foam Tape, Susan’s Garden Tool Kit, Tim Holtz Distressing Tool, Sewing Machine.

I had so much fun putting this card together. Now it’s your turn to reach for your favorite Maja Design papers and let your imagination carry you away! Thank you so much for visiting. I send wishes for a joyful day filled with crafty endeavors!

Hugs,

Nancy-sign