Triangle Harmonica mini album.

1

Posted by Lenet Mos

26 February, 2022 - ,

Write a comment

Hello  Lenet here, and today I bring you this mini album made using the Vintage Autumn Basics collection.

It’s a triangle arcordion Minialbum. Big word for a little album.

The front cover has  a shakerwindow’. The album is closed with a sheerribbon


When you open the album  It looks like this . It has a lot of pockets where  I tucked  some pretty things.

It has two sides , one feminine side and one masculine side.

Here you see the feminine side of the album with pinks and roses.

In the  pockets are 3 big labels en 3 smaller labels , A mini album with four pages  and a little envelope for a small maybe love letter  .

And here you see the masculine side of the album

And just like the  feminine side this side has 3 big and 3 smaller labels , a mini album with for pages and a little envelope for keepsakes.

I hope you  like this minialbum an that it gives you some inspiration.

Thank you for visiting and hope you come back.

“The journey of a thousand miles” by Tina Ollett

1

Posted by Tina Ollett

20 March, 2021 -

Write a comment

A very warm welcome back Maja Design friends. I am back with you today to share my next project which I have created by combining a mix of Maja Designs beautiful papers. I had a very special photo to start off with of my son down at the creek in the school holidays netting for yabbies. Something that we loved to do when we had spare time.

So because it showcases my son, I decided to create with the blue and brown tones with additional highlights of grey and black. I started out by tearing Miles Apart’s “Stay Home”. It was the base of this that was torn. I wanted to keep those cute balloons to complete the scene. To the base of this I added in an older piece but a huge favourite for me from the Autumn Basics collection, No.XXI. I adhered these two together and then added over some textures using the Brick stencil from Dusty Attic. Over the stenciled texture I coloured in the edges of the bricks using Distress Inks in the colours of Walnut Stain and Black Soot. I also did a little random stamping using a numbers stamp and Archival Ink in the colour of Watering Can. Once this was dried I then added in some rub-ons in a navy colour to match my papers and photo.

I then moved on to adding in my photo. For this project I used a 4 x 6 inch colour portrait photo. The edges of the photo were sanded and behind the photo I added in lots of layers of my leftover papers and I also added in an additional piece of Denim and Friends “Stonewashed” paper. All of these layers were distressed heavily and layered behind my photo.

Once all the base pieces were adhered down I moved on to embellishing my layout. To it I added in some , well lots of Dusty Attic chipboards and 49andMarket flowers. I also made some extra acetate embellishments using a stamp and embossing powders. These were fussy cut and layered amongst the chipboards.

I also added in a little birds nest in the left corner of the layout. I made this using wood wool, a fabulous fibre that comes in handy quite often. I moulded the birds nest and glued it using gel medium. I added in a couple of cute eggs and a little ephemera bird from my stash. I also added in some art stones in differing sizes.

Finishing off my project I cut some more of those cute hot air balloons from the Miles Away paper of “Dream Away”. Some of these were adhered flat and some were popped up on tapes.

Well that is all I have for you today. I hope you enjoyed my project. Until next time take care and happy crafting.

“Time Passes” by Tina Ollett

2

Posted by Tina Ollett

28 October, 2020 -

Write a comment

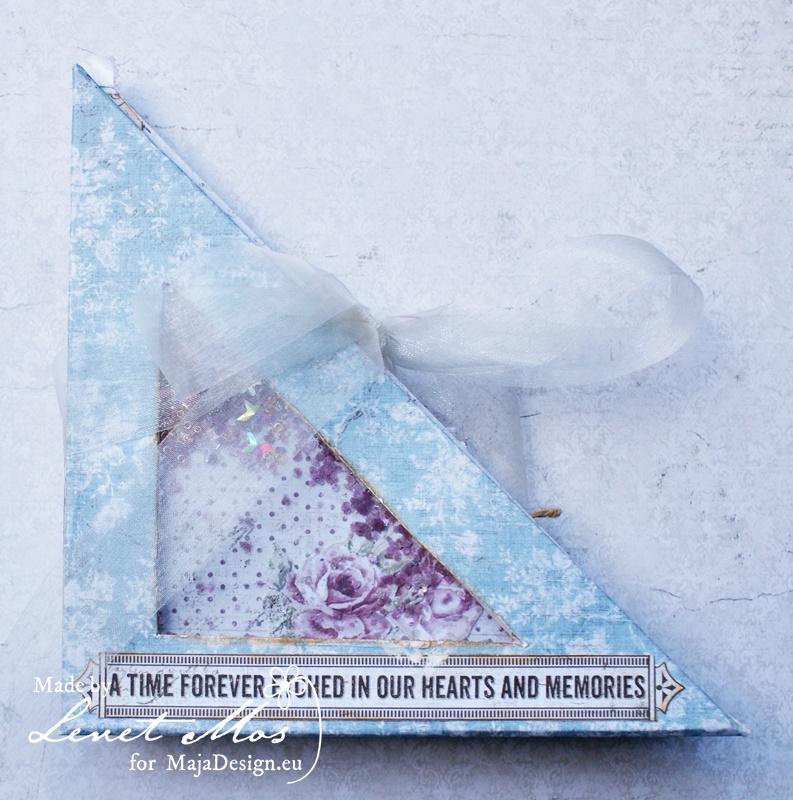
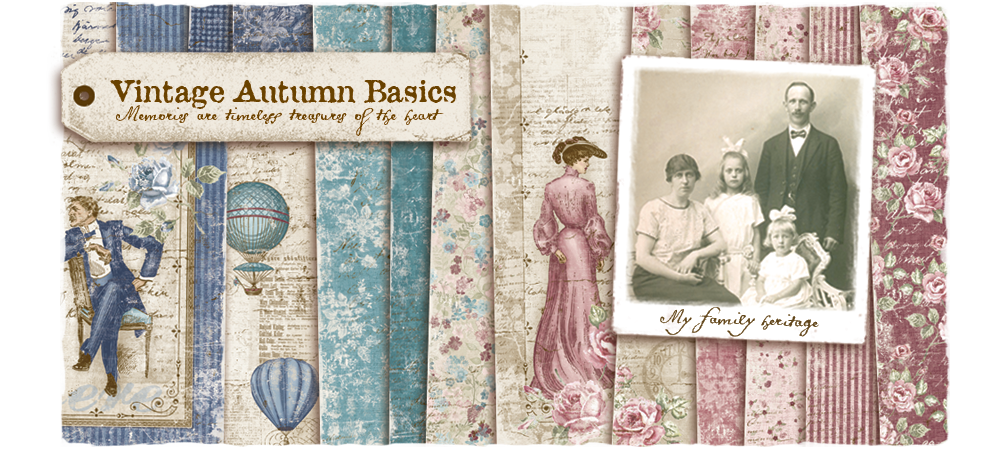
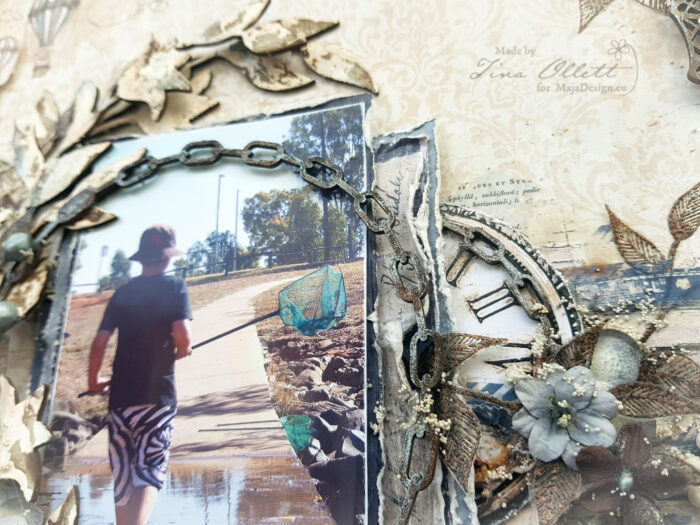
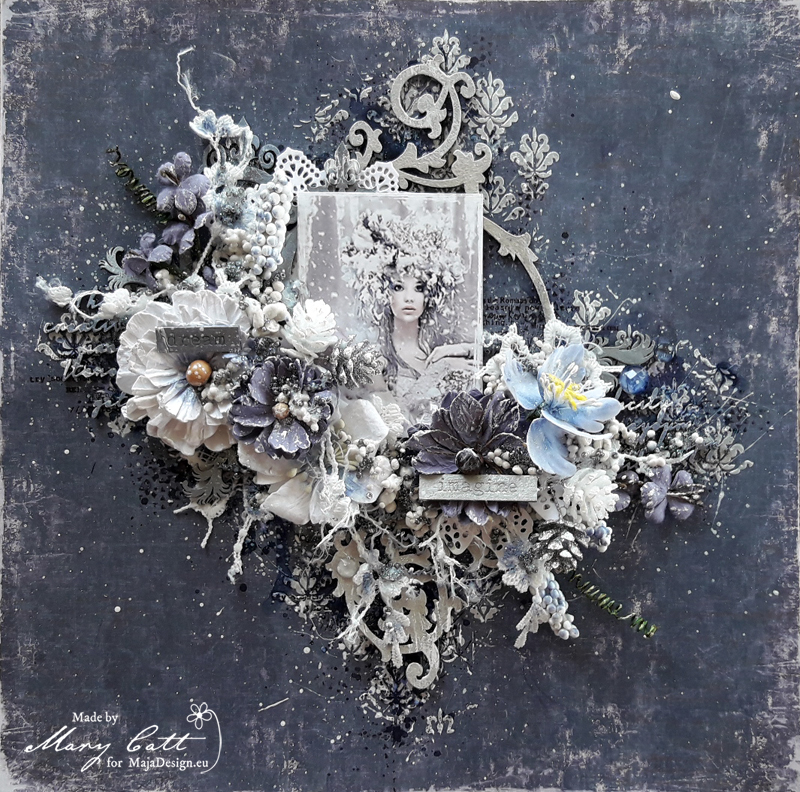
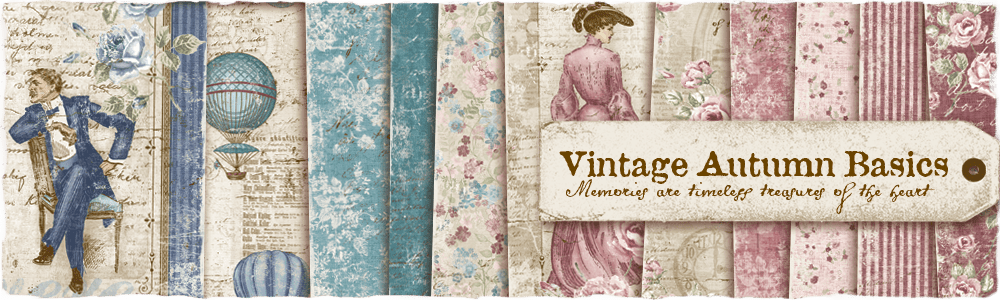
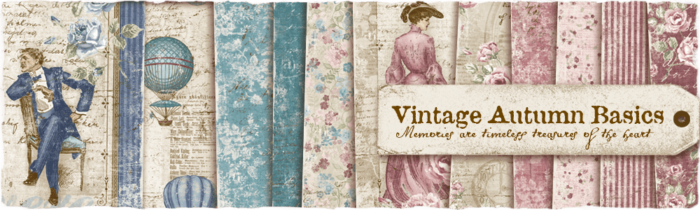
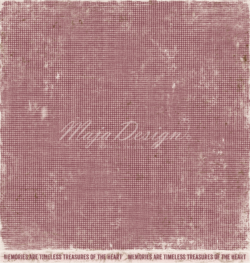
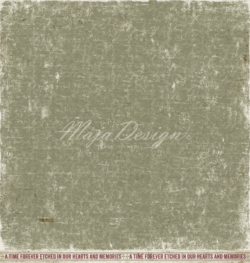
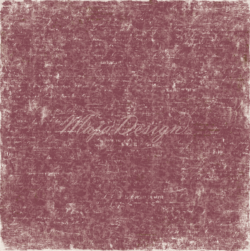
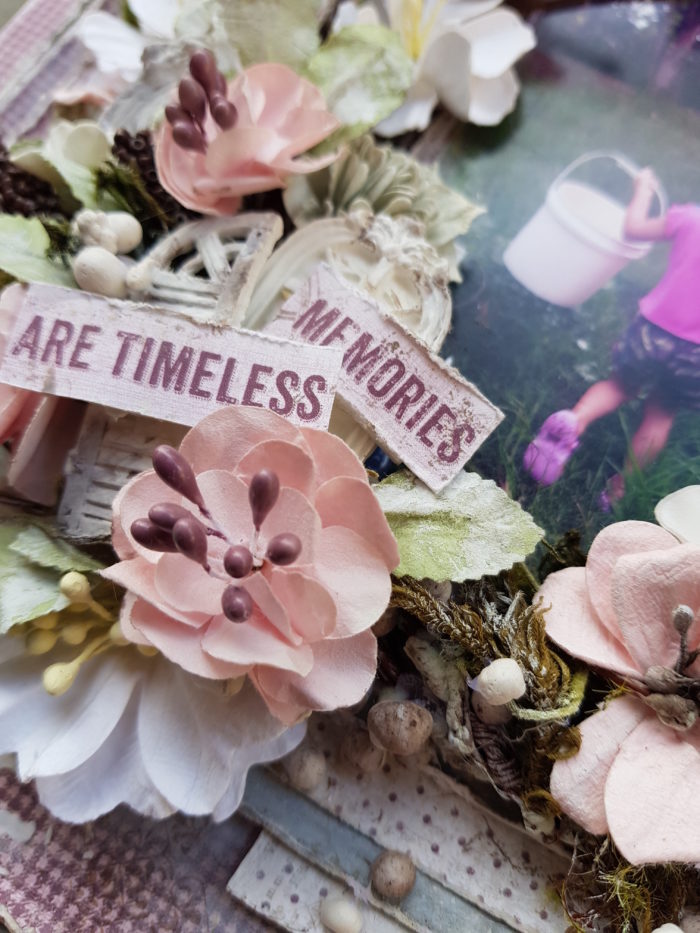
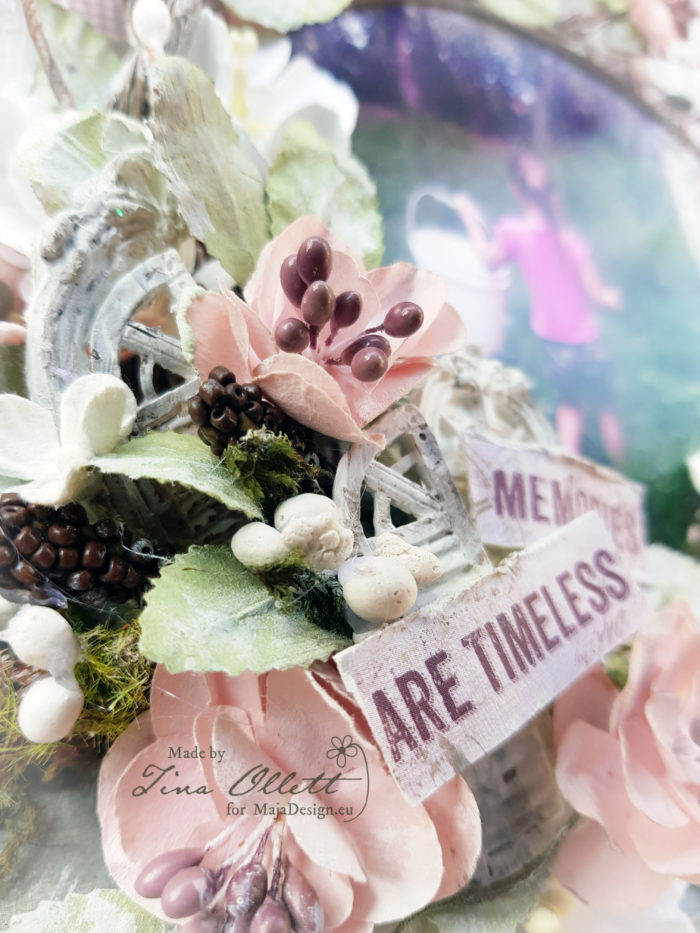
Hello and welcome today Maja Design friends. Tina with you here today to share my next Design Team post with you. It has been some time since I created for Maja and I so miss playing with the gorgeous papers. Today’s project was created using inspiration from one of my favourite Vintage Basics collections – Autumn. It was only when I was trimming the barcode from the base of this gorgeous patterned paper that I decided to add shades of purple as the barcode had the title ” A time forever etched in our hearts and memories”. Such a beautiful quote and I had intended to use it until I looked closely at the paper and saw in the bottom left the “Time Passes” in brown text. I decided to leave it as my title, nice and simple.

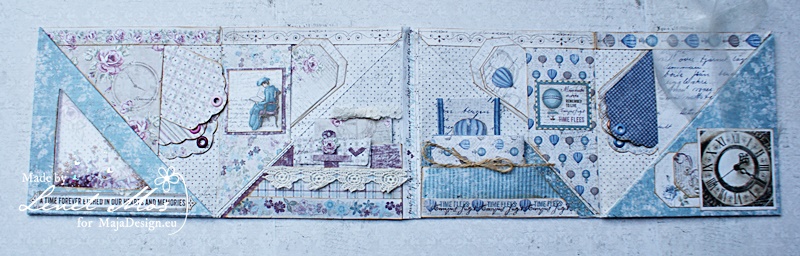
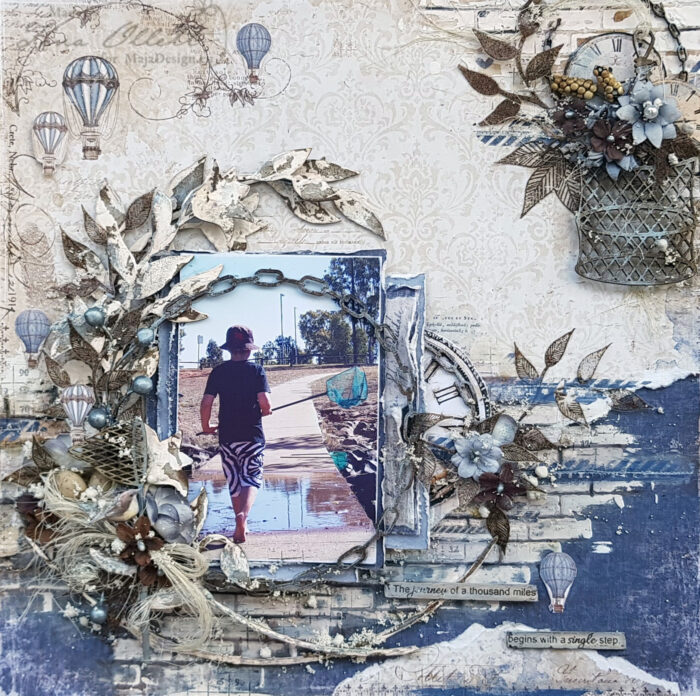
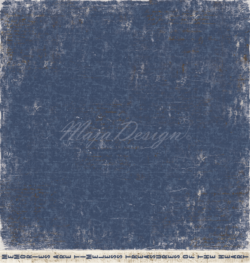
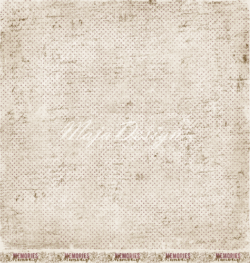
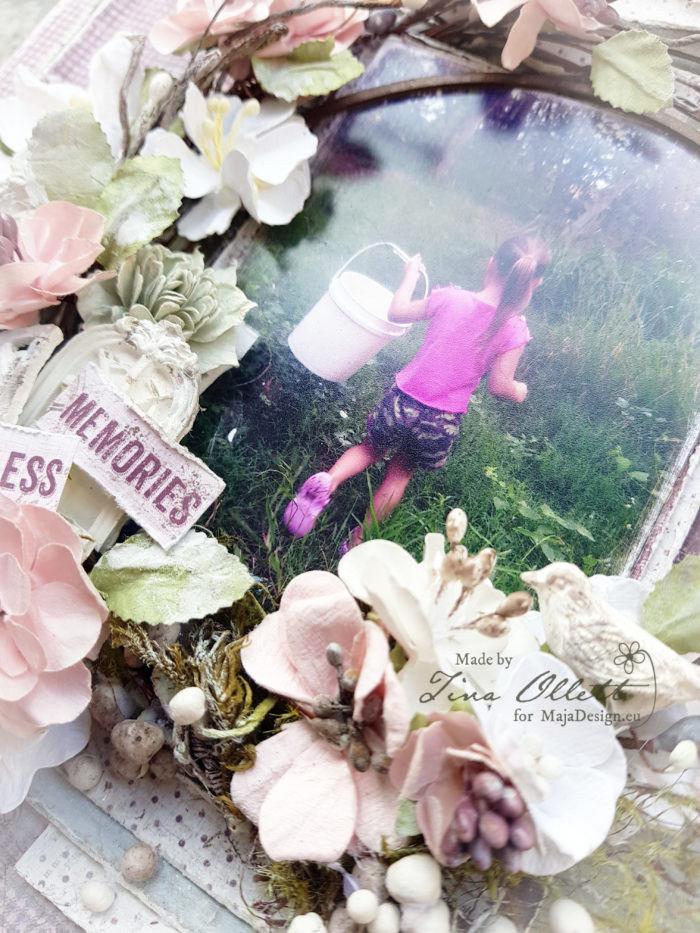
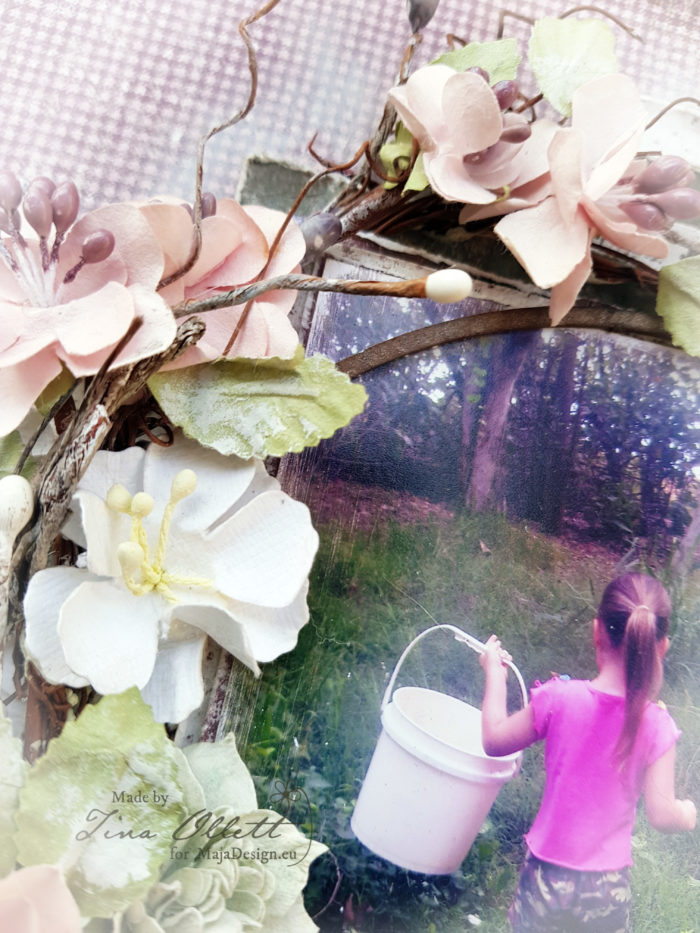
I used two sheets of the Vintage Autumn Basics No VII so that I could use both sides of the papers. And I also incorporated the purple sheet of Vintage Autumn Basics No VI BS. I love this combination of colours and I just couldn’t go past using them without a sepia coloured photo. I used a photo of my youngest from a trip to our Centenary Lakes around the goosepond. This was some years back but I do remember it well.

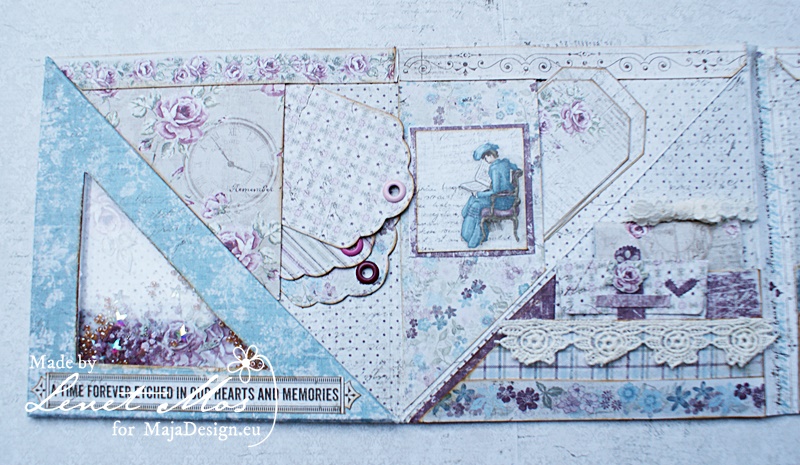
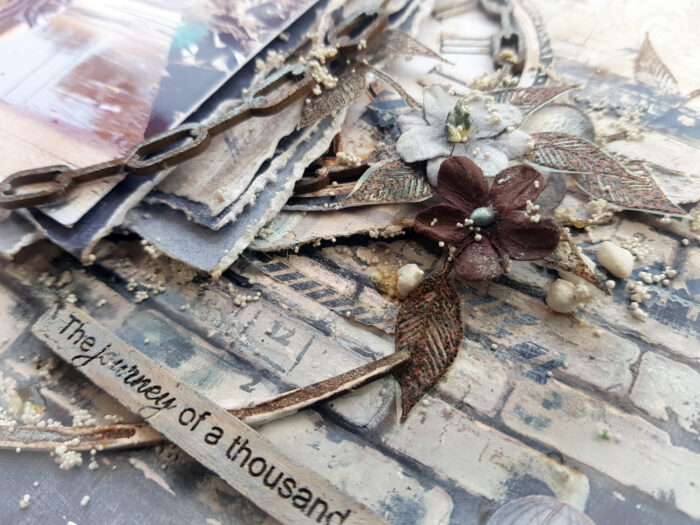
I dressed the first of the No VII paper using the B side firstly. I made a mix of pigment powder in Black Silver with some crackle paste through a Dusty Attic brick stencil. Once the crackle was dried I coloured over the stenciling with some Chalk Paint in Roman Pines. I also did some embossing of a script stamp in Antiquities Weathered White. I also did some stamping with Walnut Stain Distress Ink.

I cut some of the leftover papers in differing sizes to mount behind my photo. They were distressed sanded and inked with the Walnut Distress Ink.

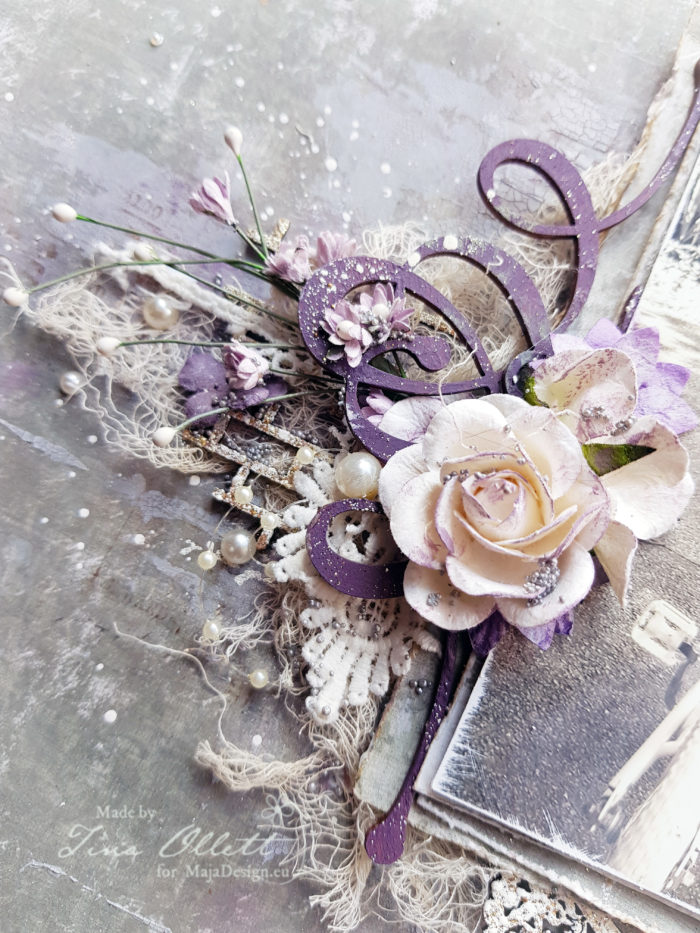
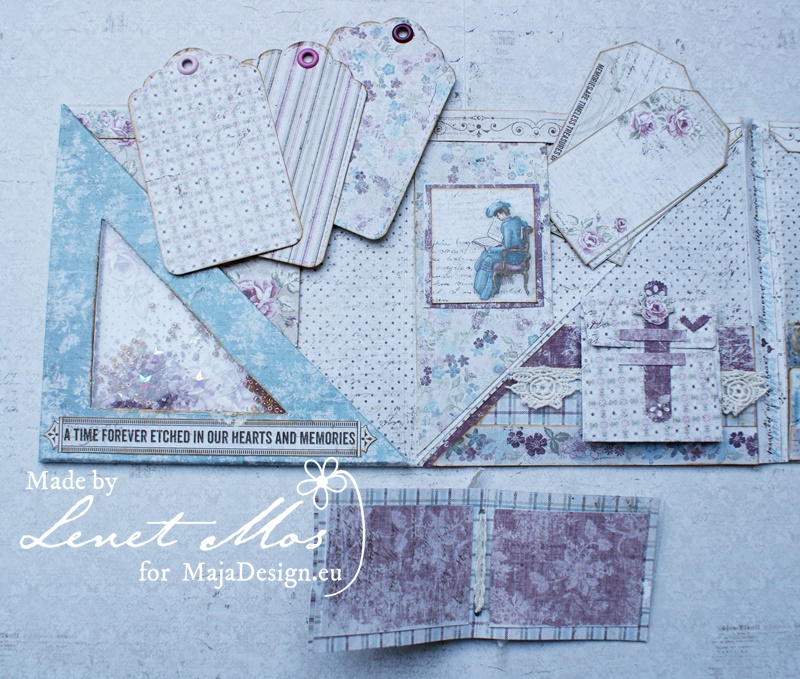
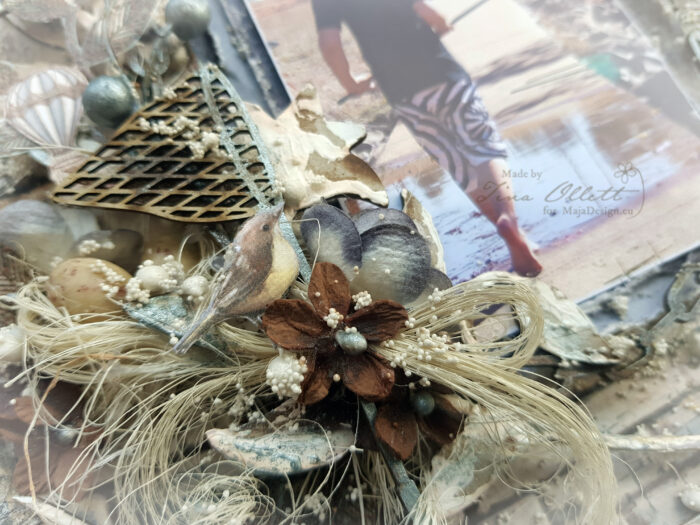
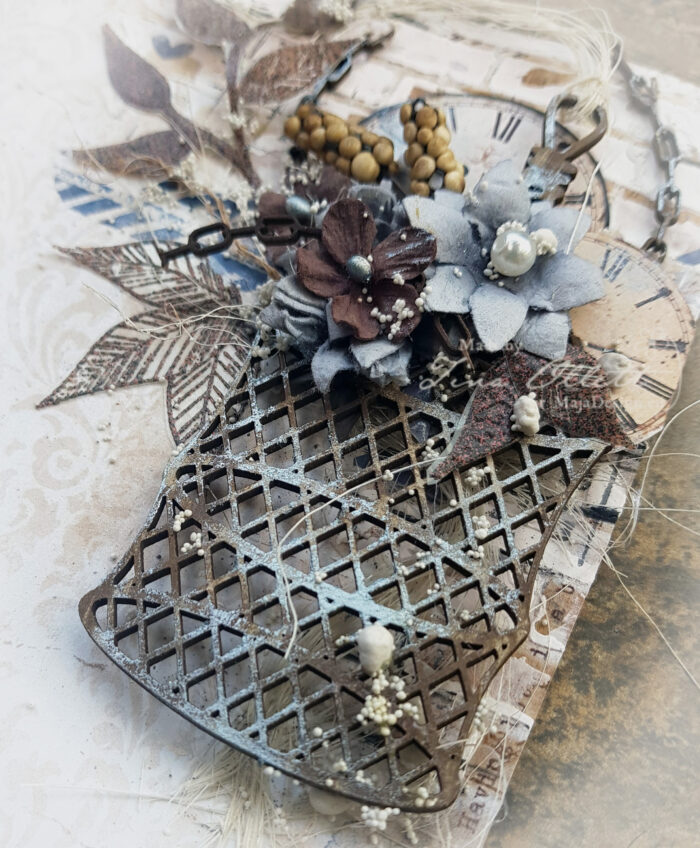
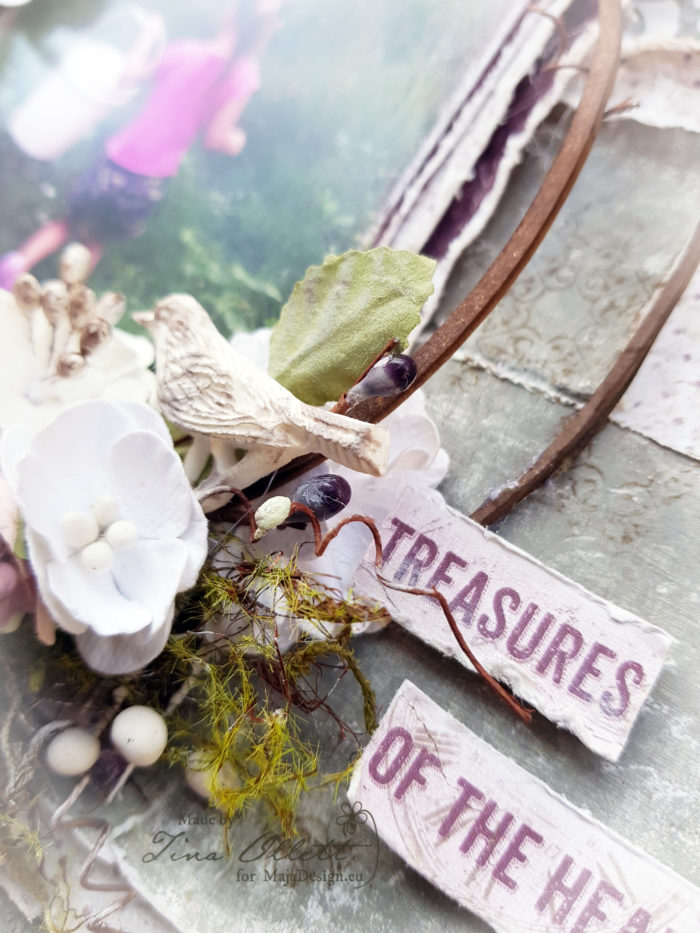
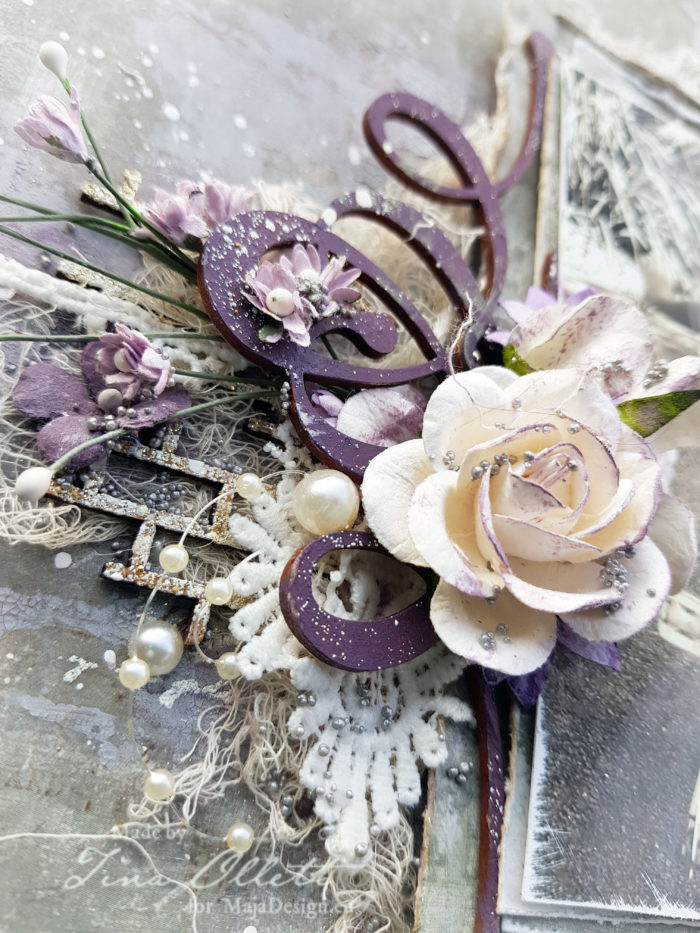
I embellished with lots of mdf’s from i.craft Designs. Some were embossed and some were painted in chalk paints.

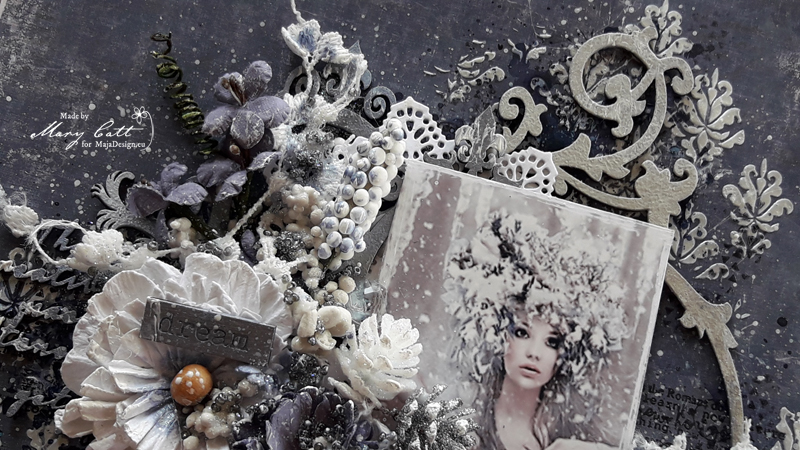
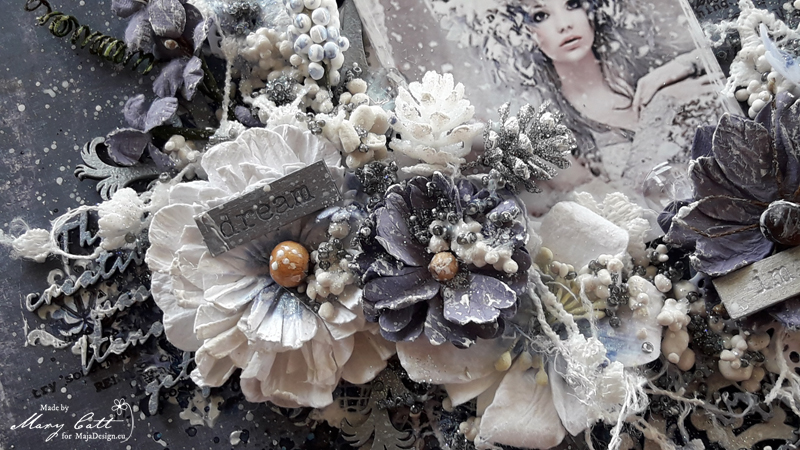
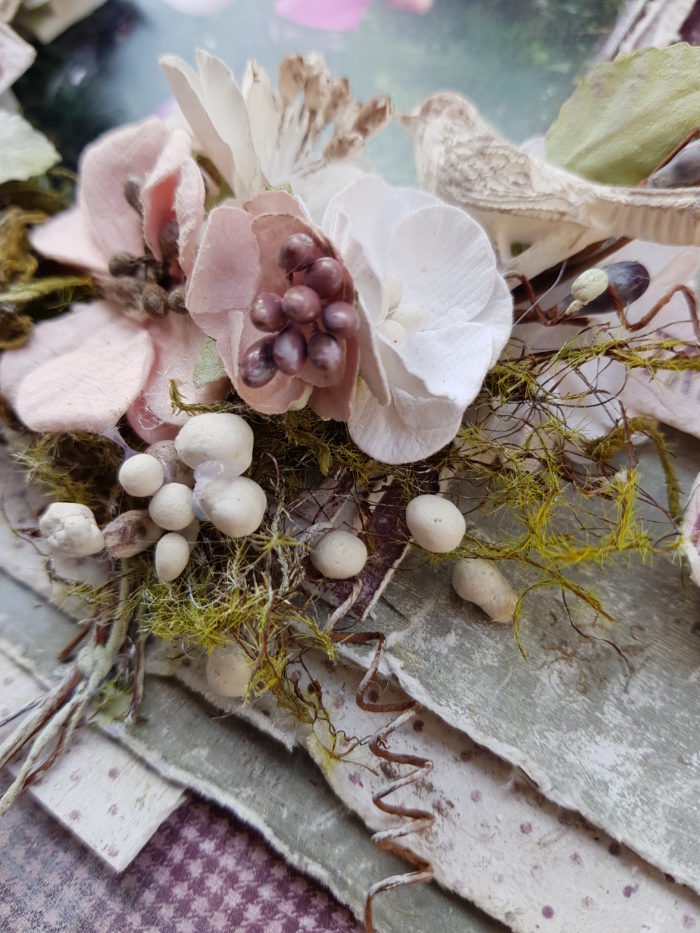
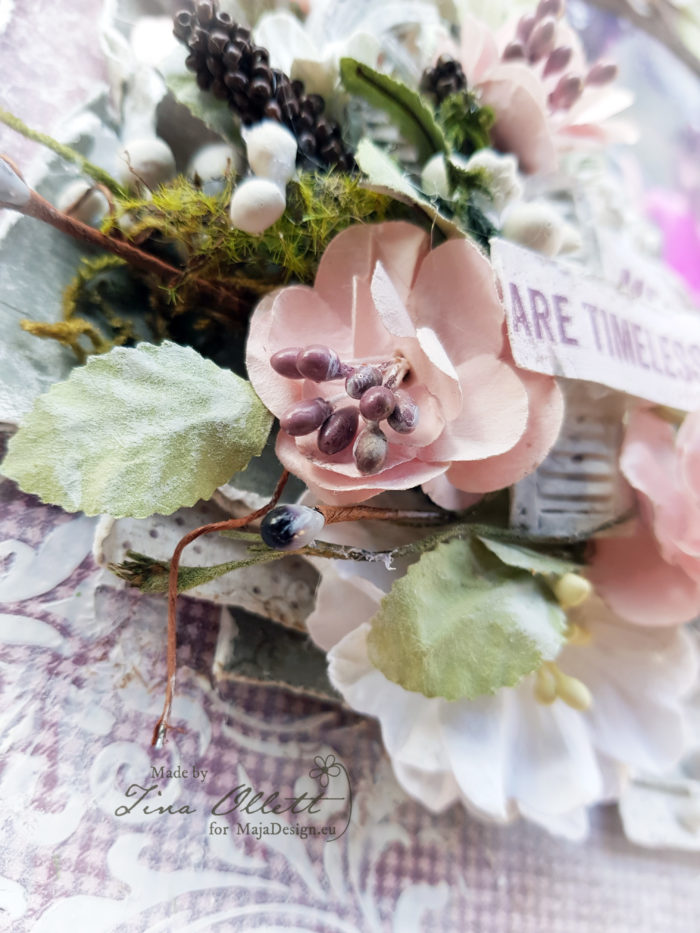
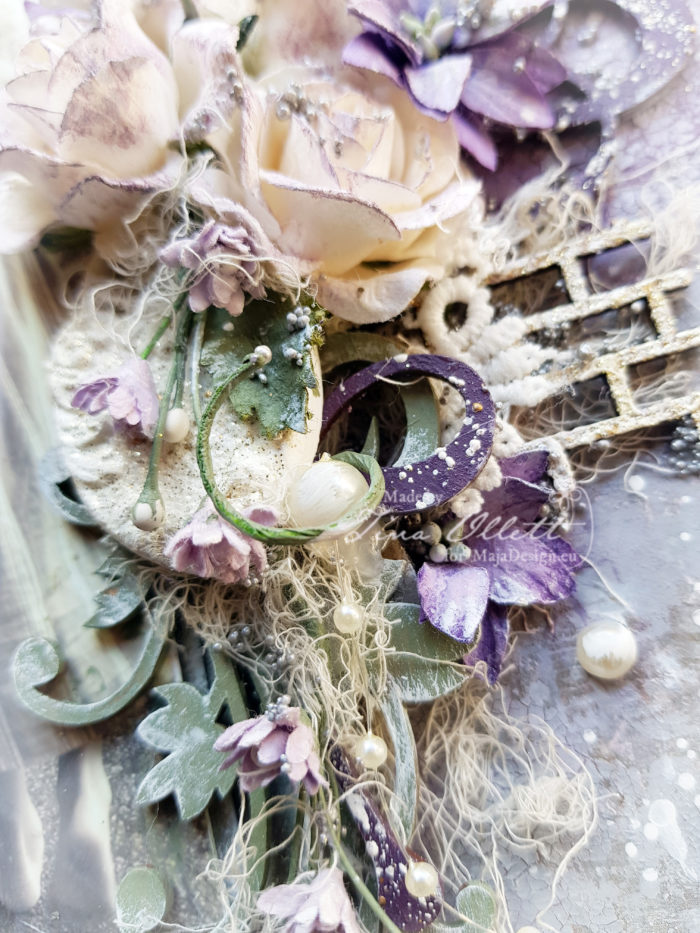
I hand dyed some muslin with a parisian rinse. This gives a gorgeous beige colour which contrasted beautifully with my Vintage Autumn papers. I also used a locket mould and beautiful florals from 49andMarket and icraft Designs. Also I added some pearls from Dusty Attic and finally some pretty mini prills in silver and some splashes of watered down white gesso.

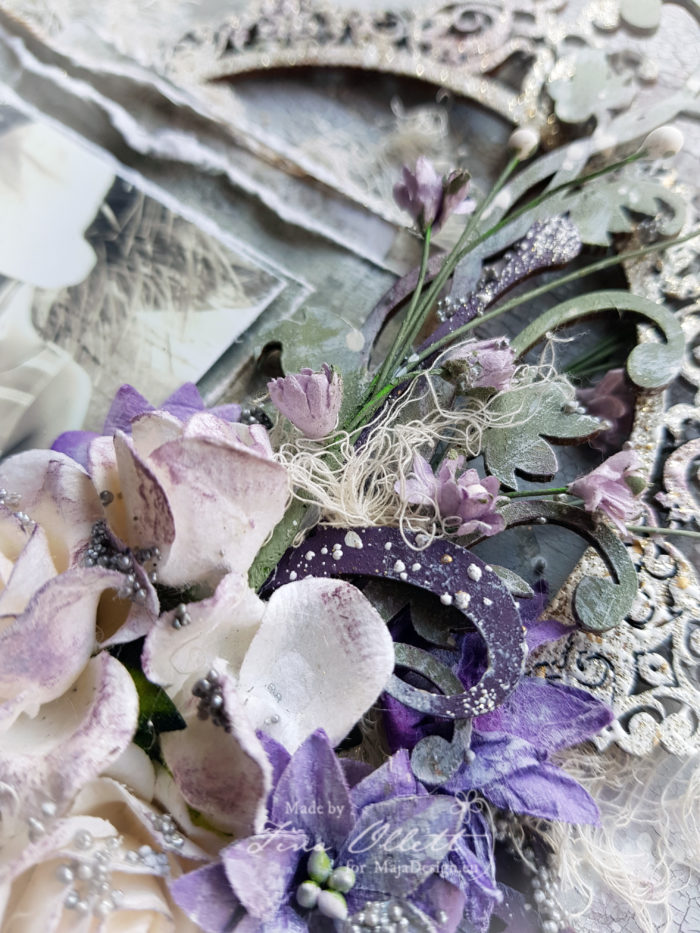
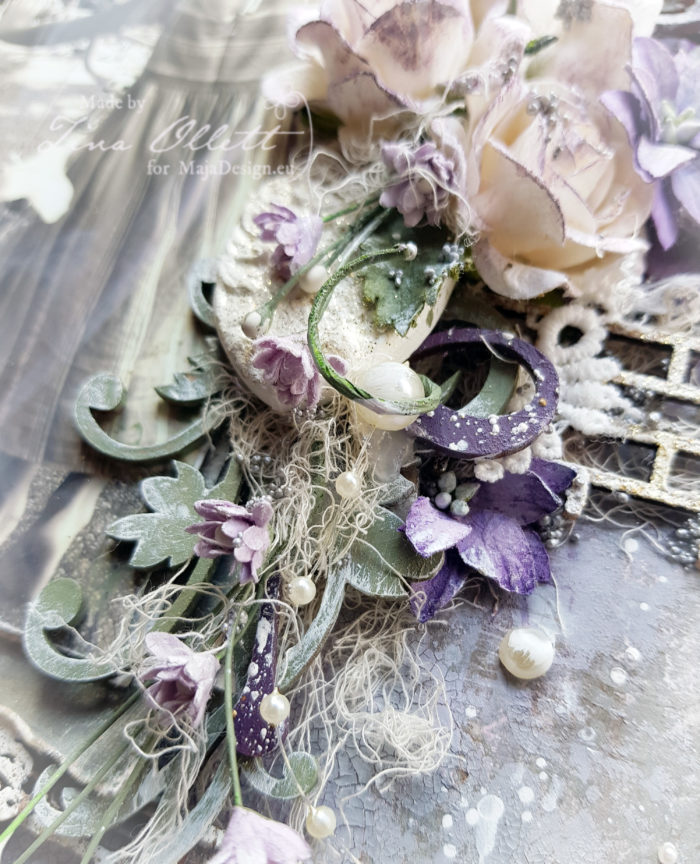
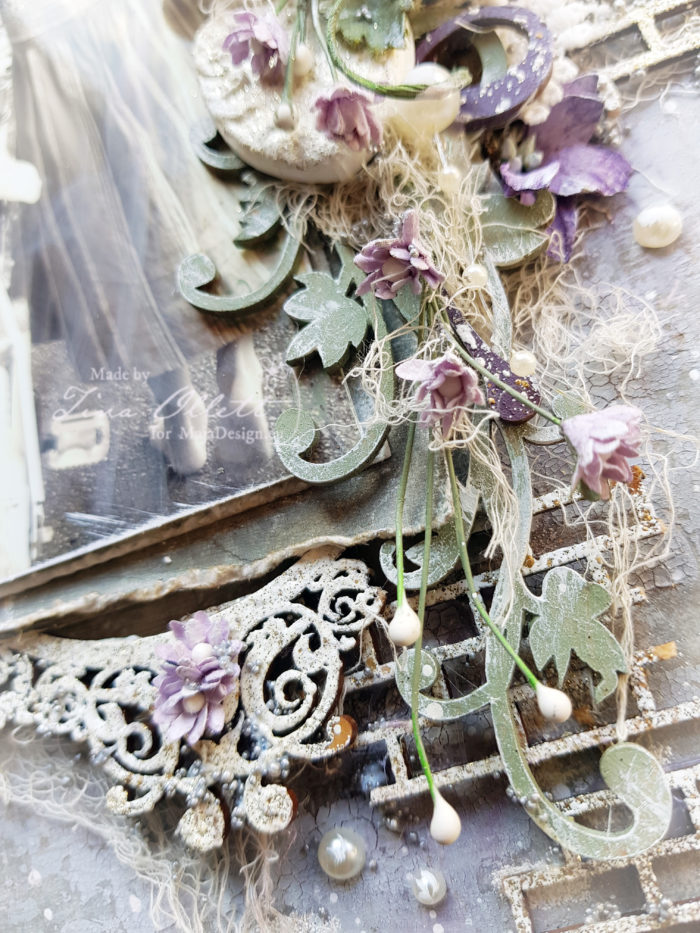
And some more close-up pics for you .

Well that is all from me today. Thankyou so much for taking the time to pop by. I hope you have found some small piece of inspiration from my project today to help with your next crafting project.

Until next time take care and happy crafting.

Hugs


Dream

1

Posted by Mary Tzalla

26 November, 2018 - ,

Write a comment

Hello Maja fans!

It’s Mary with you today and I have a new layout to share made for my November inspiration.

As you may already know, I love searching on Pinterest to find photos to scrap and this time I came across with that amazing photo. I picked a paper from the gorgeous ”Vintage Autumn Basics” collection that was just perfect for it. But, before I continue more I want to give all the proper credits to the ”unknown” photographer.

I choose to use the back side of the ”No XXI” paper. I started by applying a coat of clear gesso on the background and then I created texture with an icing paste and a Stencil.

Made some stamping here and there and used a Lindy’s Gang spray to add color.

Next step was to paint all the Dusty Attic chipboards with the Finnabair acrylic paints.

When everything was glued down I added some art stones and glass glitter and beads. The final touch was made with some splatters with white gesso.


Paper used:


I hope you enjoyed my project!

Thank you for stopping by!


“Memories are timeless treasures of the heart” by Tina Ollett

1

Posted by Tina Ollett

20 November, 2018 -

Write a comment

Hello and welcome Maja fans. Tina Ollett with you today to share a project created using the gorgeous collection of Vintage Autumn Basics. I hope you enjoy this layout which I have titled

“Memories are timeless treasures of the heart”.

I decided to go with the colours of the clothes my little girl was wearing in the photo. She had camoflague shorts on so the greens in this were quite dark. To highlight this green I decided to lighten the papers by distressing and sanding all of the layers that I used for this project. I have listed the papers that I have used to do this project below.

No IV

no.VII BS

No. X bs

No. V

The addition of Dusty Attic chipboards were added in to help frame the photo. And adding this to the photo prompted me to wrap some garden vines and frames around the chipboards.

I have added in some moss and art stones. Here you can see the lovely distressed layers.

 I have also made some resin moulds of the bird and Window and Shutters. They are so cute. The bird above and the windows and shutters below.

Some more close-ups for you.


Thanks for popping by today. I will see you back here next month. Until then take care and happy scrapping.