Christmas Gift Idea

4

Posted by Elena Olinevich

30 November, 2019 -

Write a comment


Hello Maja Friends,

1 day left and we will meet Winter and the most busy month of the year December.

It is never too early to start your Christmas preparations


Since I make some sweet gift for my friends and put the chocolate inside the cards, I decided to create simple boxes to hold the chocolate bars

I cut out the images of the lady from the brand new Holiday in the Alpes collection

I like this silver – blue – white palette I chose , it’s more traditional for me since my childhood and reminds me the heavy snow we had many many years ago in Belarus

So I used mostly white embellishments – crochet, flowers and and some silver accents.

and I love the quote

Products used:


Winter wonderland.

1

Posted by Lenet Mos

27 November, 2019 - ,

Write a comment

Hello again sweet Maja fans ,

today I bring you this little  winter scenery I made in a jar.

I used the Holiday in the Alps collection for it.

The back ground is made with the Winter night from the 6″x 6″ papers and the snowman and little deer are cut out of the Winter ephemera sheet of the 12″x12″papers.

I added some fake snow and there you have a winter wonderland in a jar. Isn’t it super cute?.

I really love how this turned out and want to enjoy it day and night or evening  so I added a little light in it as well.

I hope you like what I made for you this time.

Thank you for visiting , hope to see you back next time.


Some Kind of Wonderful

1

Posted by Mary Tzalla

26 November, 2019 - ,

Write a comment

Hello Maja fans!

Mary with you today and I have a new layout to share made for my November inspiration using gorgeous Maja Design papers, Dusty Attic chipboard and 49 and Market flowers.

And again I found on Pinterest a photo that inspired me to create that romantic layout in red and green tones. But, before I continue more I want to give all the proper credits to the ”unknown” photographer.

The paper I used is the ”Walk With Me” from the Vintage Romance collection and I started by applying a coat of clear gesso. Then, I created texture with Finnabair icing paste in White Gold and a stencil. When the paste dried, I randomly stamped using 49 and Market stamp sets. I added color with the Lindy’s Gang ”Edelweiss Moss Green” and ”Greased Lightnin’ Green” sprays.

Next, I painted the ”Flower Buds #2” with Finnabair Royal Red and Golden Moss acrylic paints. Continued with the ”Ornate Motifs #2” and the title which were also painted with the Golden Moss paint and then some wax in Green Brocade was randomly rubbed on them. And lastly, I used the Finnabair Sparks paint in Raven Black to color the ”Fancy Label” chipboard.

I layered all the gorgeous elements around my photo and added in some 49 and Market  flowers from the ”Blossom Blends, Country & Cottage Blooms” sets.

At last, I added art stones, glass beads and glitter and made splatters with white gesso diluted with water.

Paper used:

I hope you enjoyed my project!

Thank you for stopping by! 

Wedding In The Alps

2

Posted by Maja Nowak

24 November, 2019 -

Write a comment

Good morning, dear Maja friends, welcome to the blog today 🙂

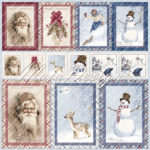
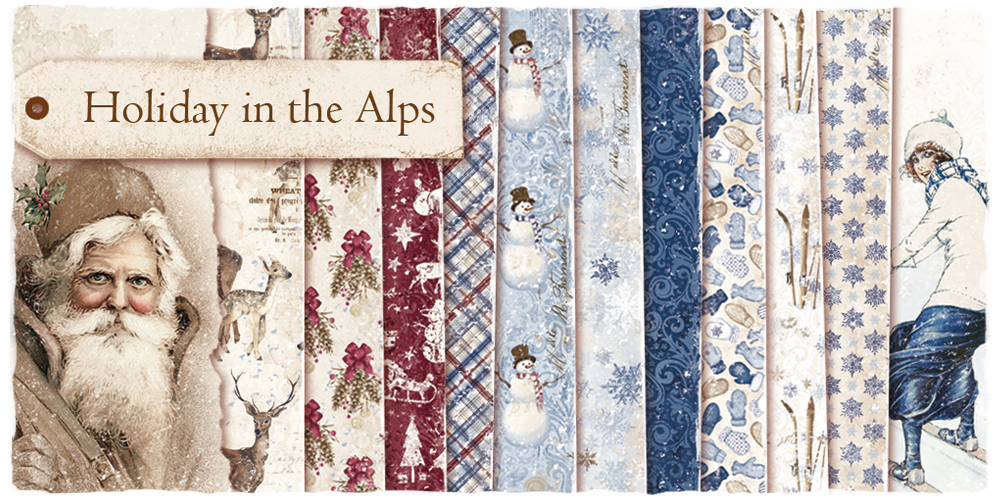
With November ending, the holiday season is really close and I’m very happy about it, but while it’s still autumn, I wanted to make some non-winter and non-Christmas projects 🙂 However, that doesn’t mean I won’t be using wintery papers! Especially when the latest release, Holiday In The Alps, is so beautiful! And like all Maja collections, it’s versatile enough to be used for other themes than winter and Christmas.

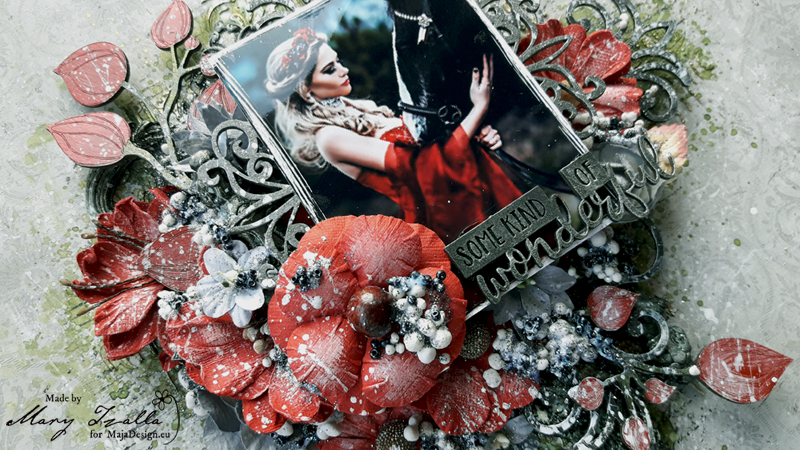
And so I made a… wedding card 🙂

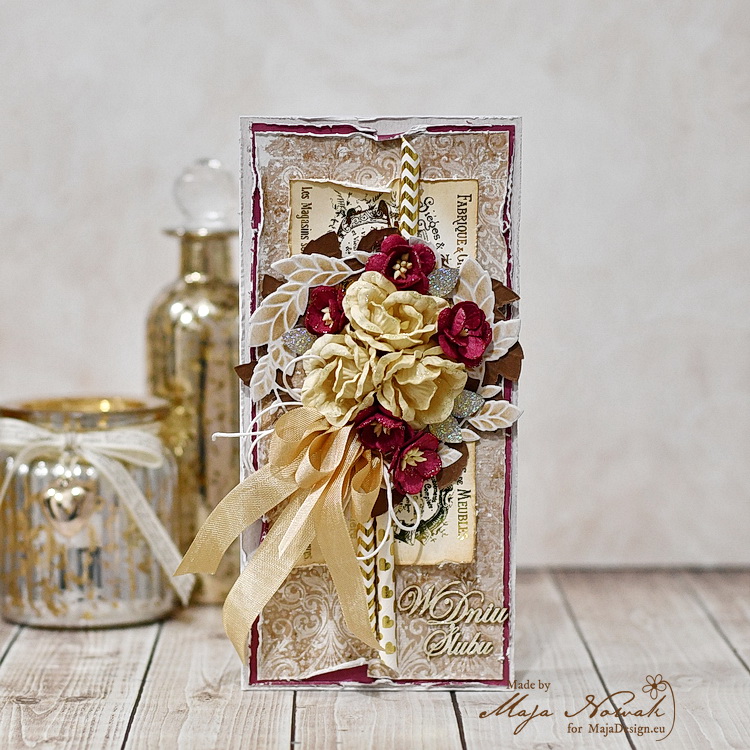
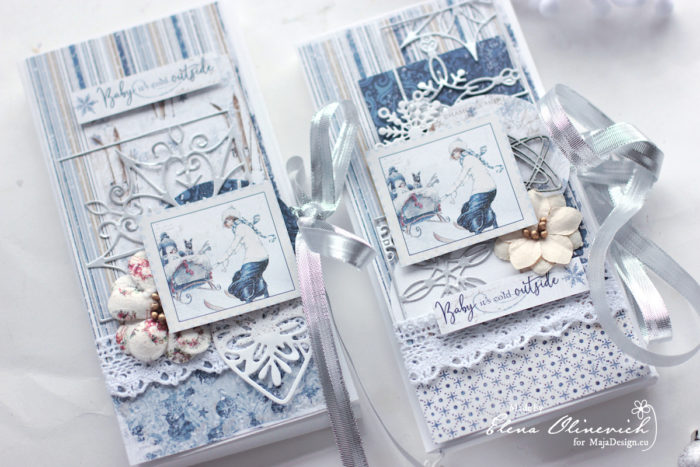
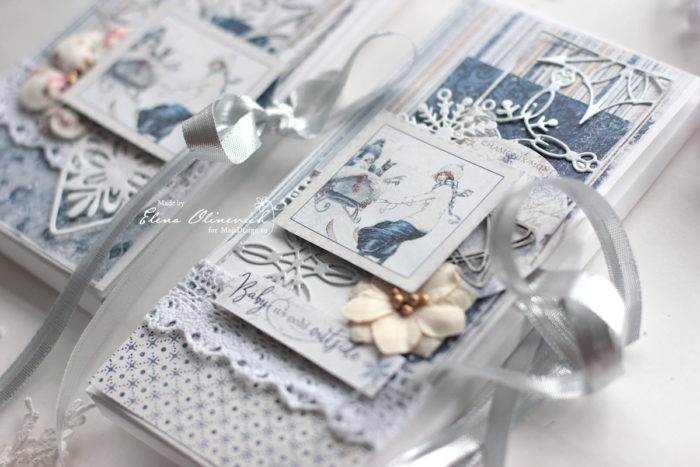
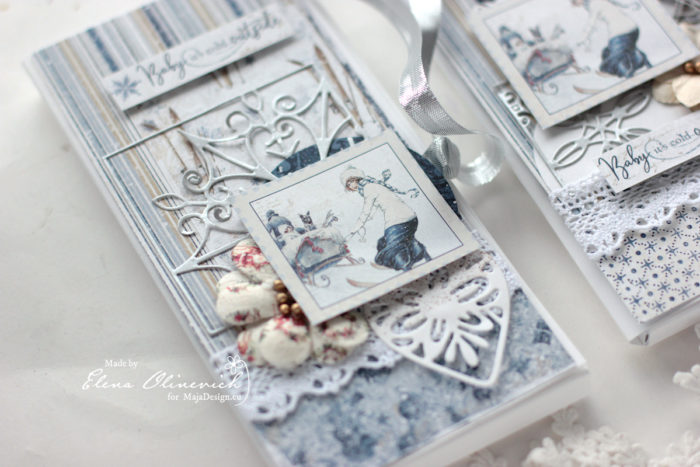
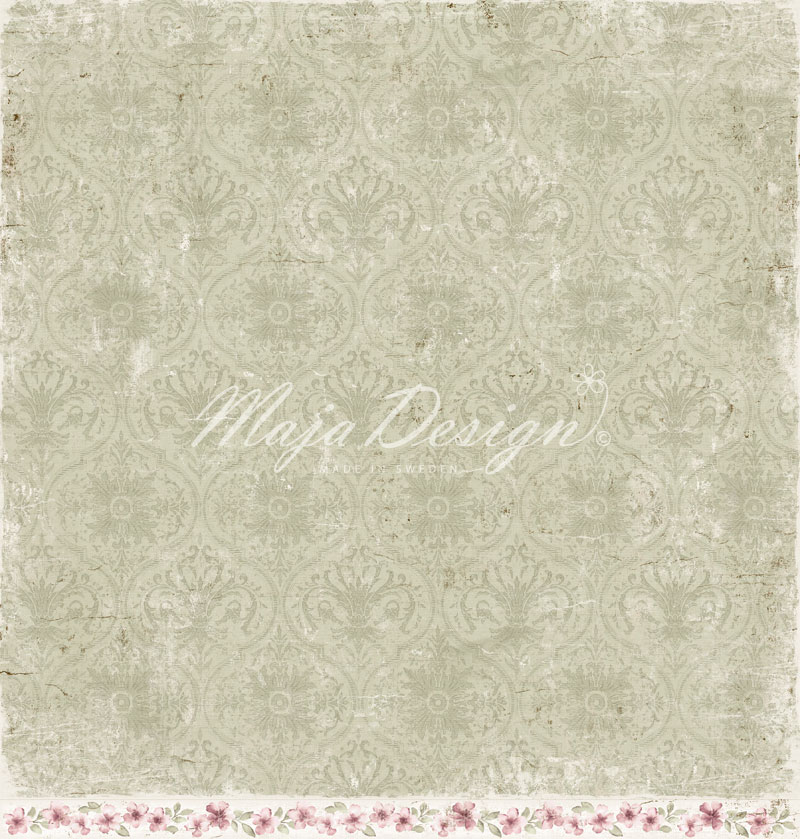
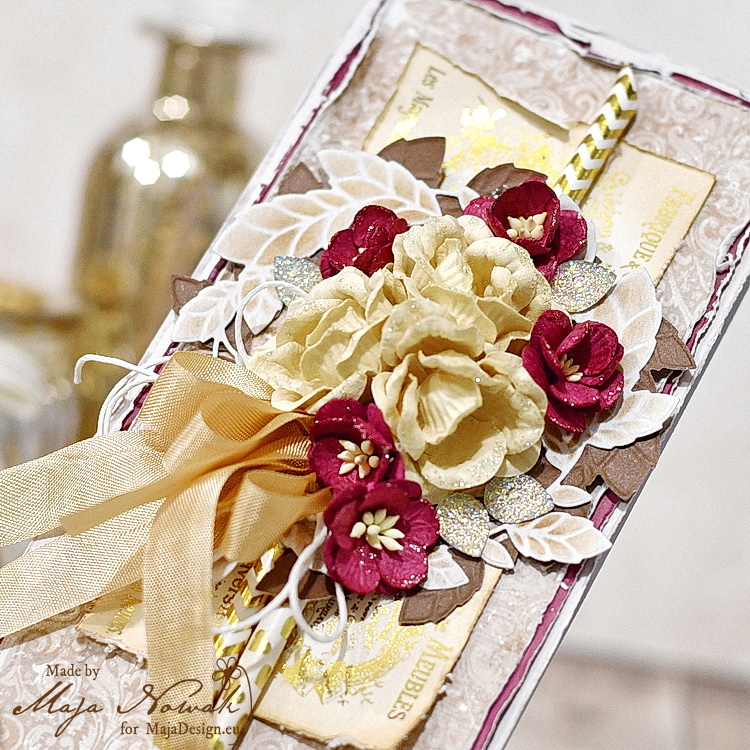
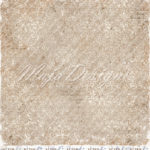
For my card I chose the sand and burgundy colours to make it festively rich. I layered Monochrome sheets beneath the beautiful damask of the top paper. I distressed all the edges for more texture. I also added a vintage label with metallic foil:

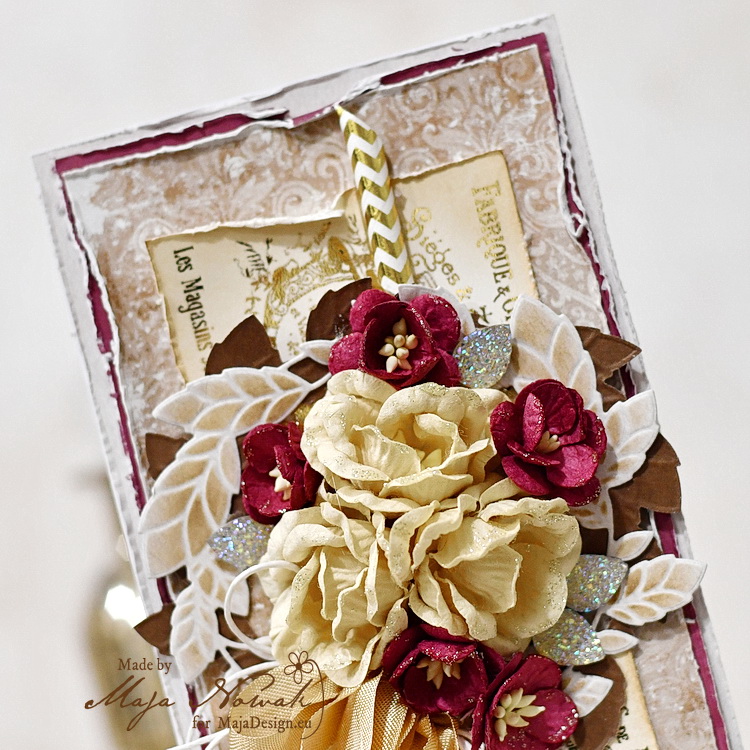
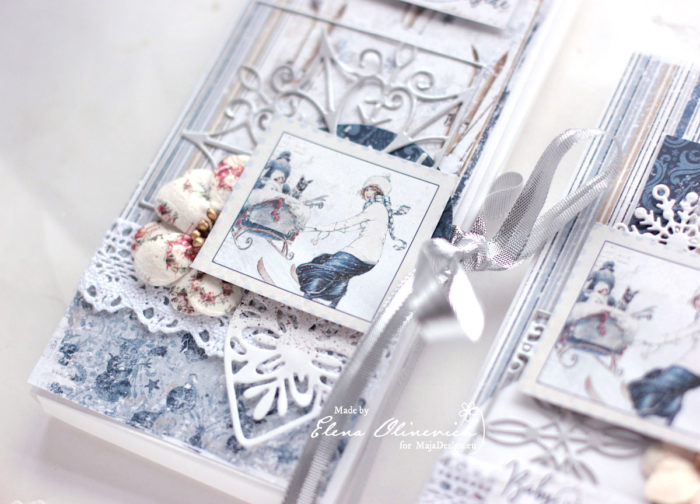
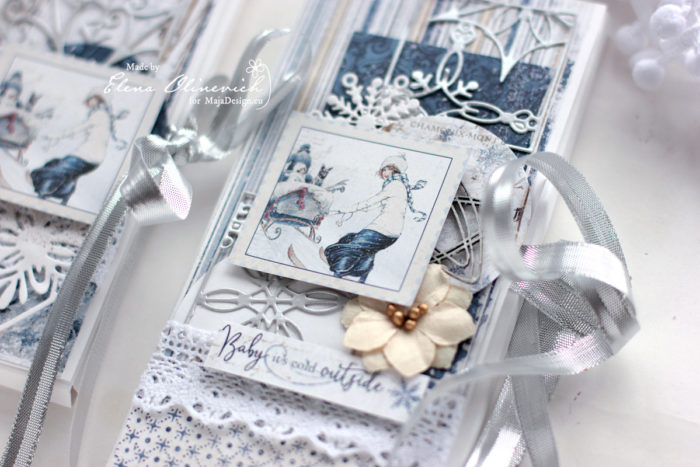
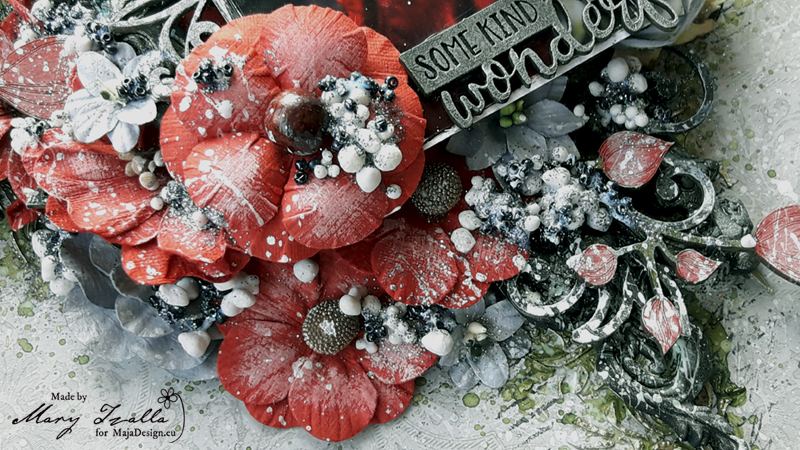
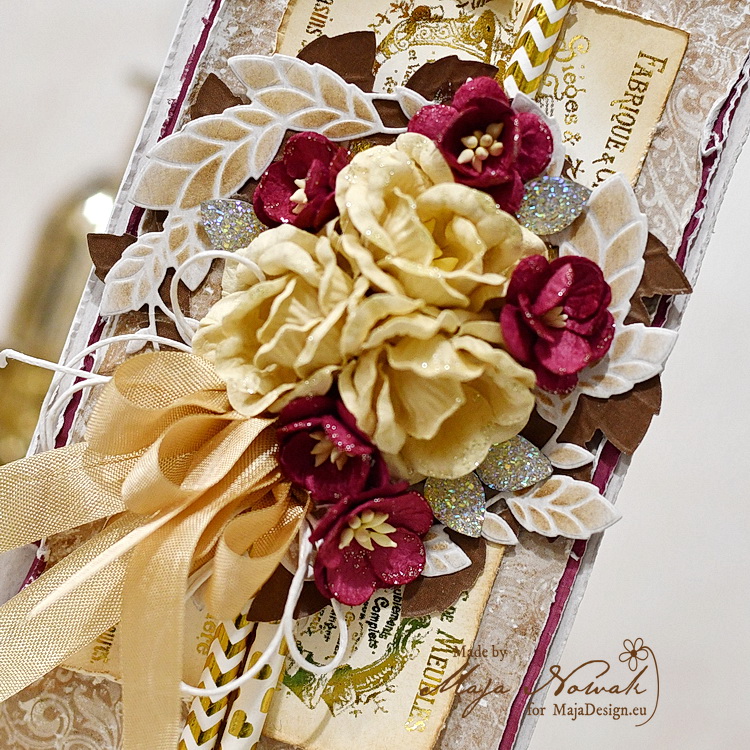
Upon such background I placed a layered die-cut wreatch of leaves and filled the centre with sand and burgundy flowers, completed with paper foil straws, vintage ribbon and acrylic crystals:

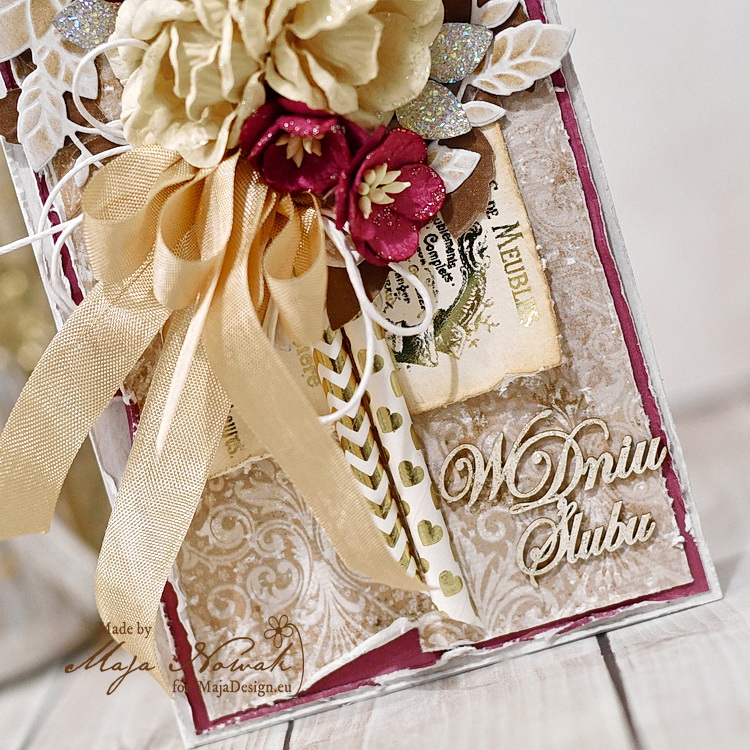
I also added a chipboard sentiment in the lower corner of the card and covered it with glitter to match the glamour style of the card:

I think the card turned out really nice, the rich damask background and shiny features of foiled and glitter elements. I also like the dimension, of course 🙂

What do you think?

And here’s what I used:

Maja Design papers:

Other: flowers, vintage ribbon: Wild Orchid Crafts; die: Joy!Crafts; straws, vintage label, crystals: my stash.


This is my last autumn post, so for the next one I promise to make something more wintery 🙂

See you soon!


Winter Home Decor Shaker Box

2

Posted by Jennifer Snyder

24 November, 2019 -

Write a comment
Jennifer Snyder here to share a project I made using the new Holiday in the Alps collection.  This is such a gorgeous collection to see up close, with amazing patterns, rich reds and frosty blues.
I created a home decor decorated box to fill with candy or a small gift.  This box is unique because the lid has a beautiful shaker finishing the top of the box.  The coordinating patterns in the Maja Design collections are always perfect for fabulous layered projects.
Here are the papers used on this decorated box:
Let it Snow ( A and B side of paper)
Snowmen

 The box has been decorated using a combination of chipboard snowflakes from Creative Embellishments, and 3D Buttons from Buttons Galore and More.

I’ve added a vintage shaped snowflake shaker from Creative Embellishments to the top of the box that completes the frosty winter theme of the box.
If you look at the bottom of the image below, you’ll see a strip of paper around the edge of the box lid.  This is one of those wonderful  decorative edges that Maja places on the bottom of all sheets of  paper. One side of the strip has the paper collection name and bar code.  The other side always has a delightful pattern.  I try and save the strips because they are perfect for finishing touches on projects and cards.
Thanks for stopping here.  I wish you a wonderful holiday Christmas season and happy crafting.