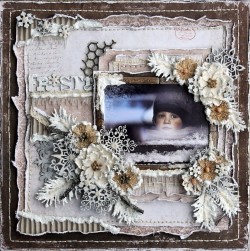
Squishy Hugs & Kisses

2

Posted by Rachelle Sigurdson

18 February, 2017 - , , ,

Write a comment

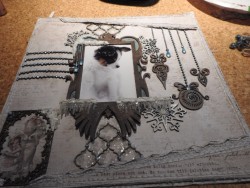
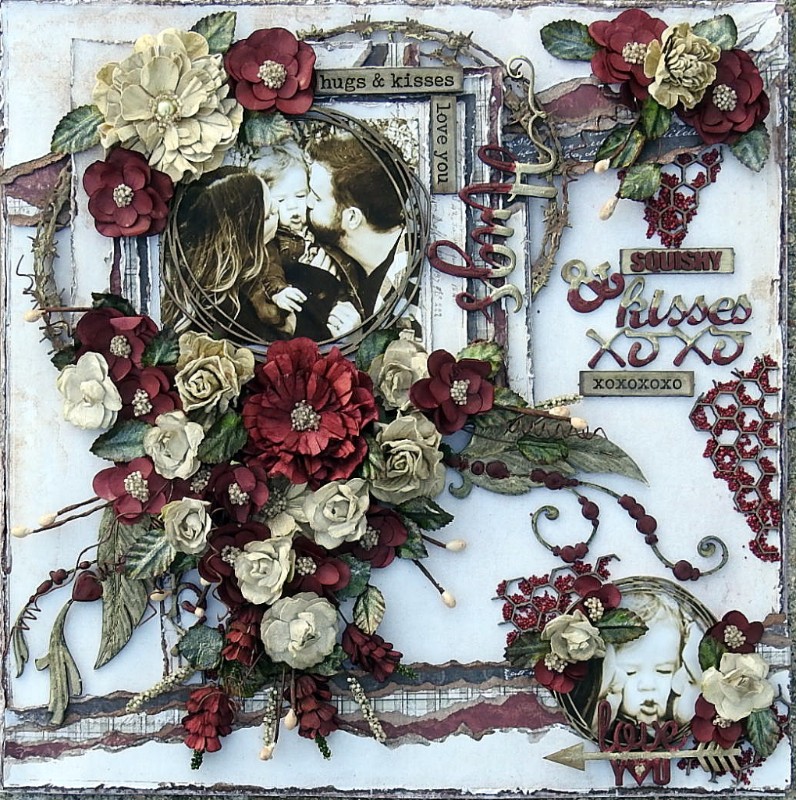
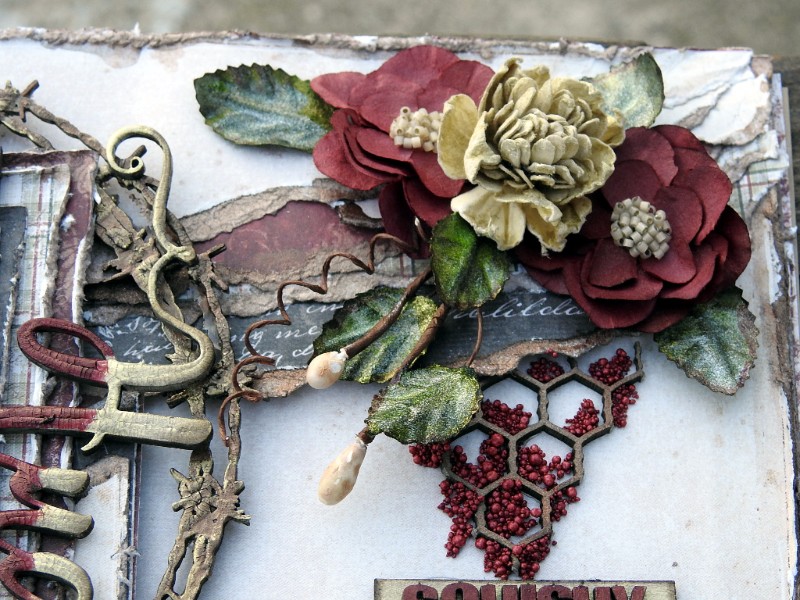
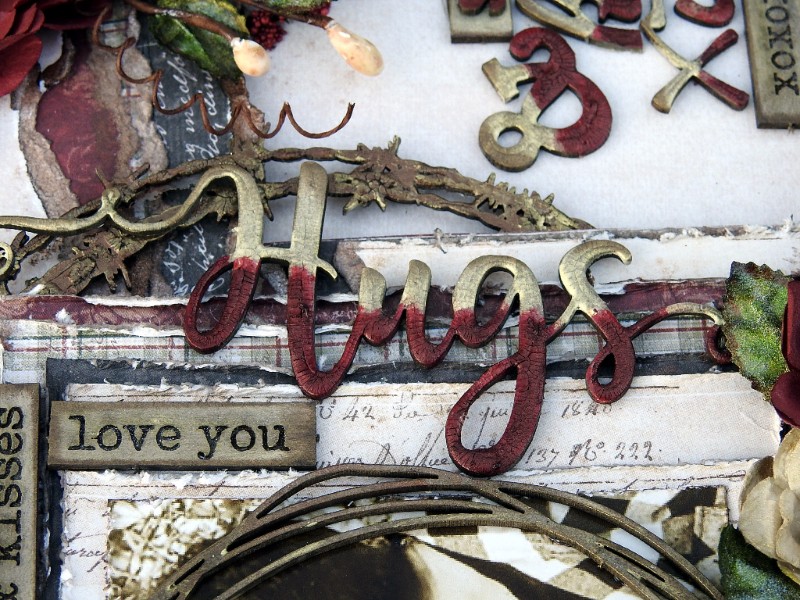
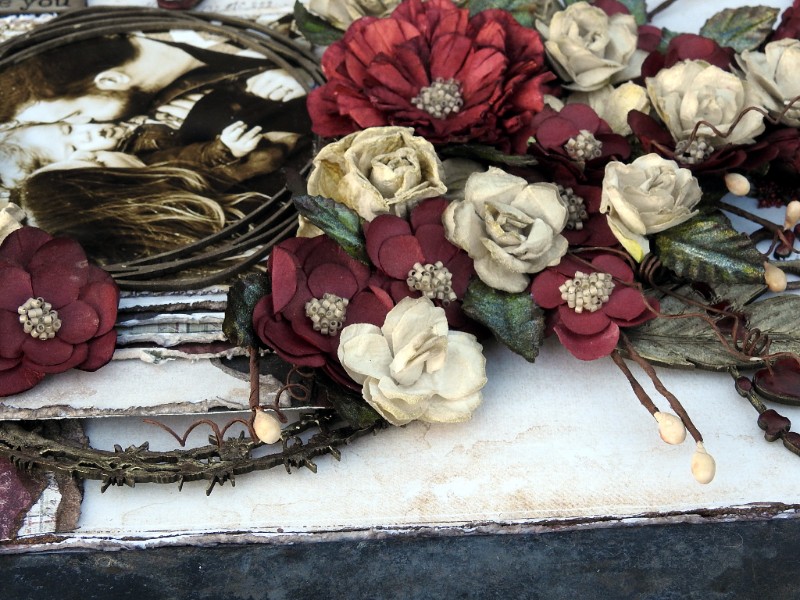
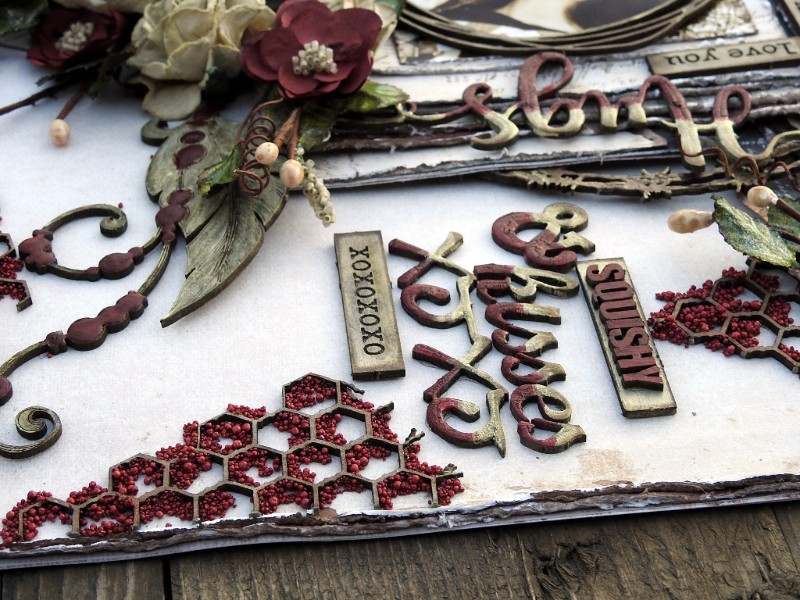
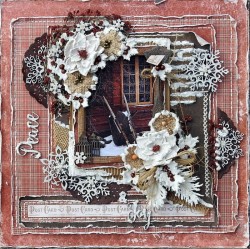
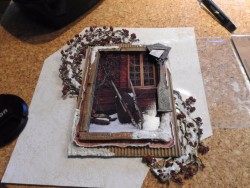
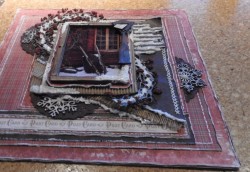
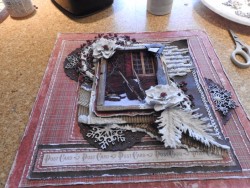
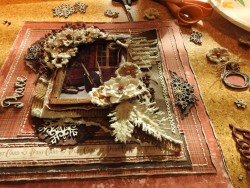
Hello, Rachelle here with a Valentines LO I did, using lots of flowers & love……

07405f9f4e054c679c71fa61aeaf0ba0

The Maja Design used:

Other elements used: 49 and Market Flowers: Vintage Shades-Ecru, Vintage Shades-Cherise Bouquet, Garden Bloom-Saffron, Garden Vine-Saffron…..Dusty Attic Chipboard: Barb Wire Frames, String Frames small, Feather charms, mini chicken wire, Hugs, Love You Arrows, XOXO, Wordpl@y #4, Mini Script ABC, Teeny Tiny ABC…….Roses,  Prills, Stop wining, Beads, Clear Crackle paint, LuminArt-Silk-Jasper Red, Olive Vine, iridescent gold, Shimmerz-Chocolate & Diamonds, glossy accents

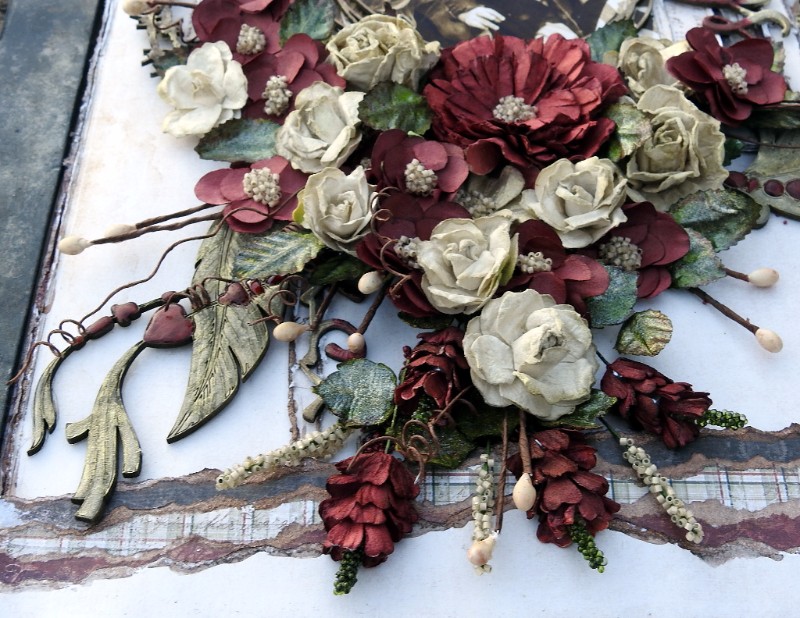
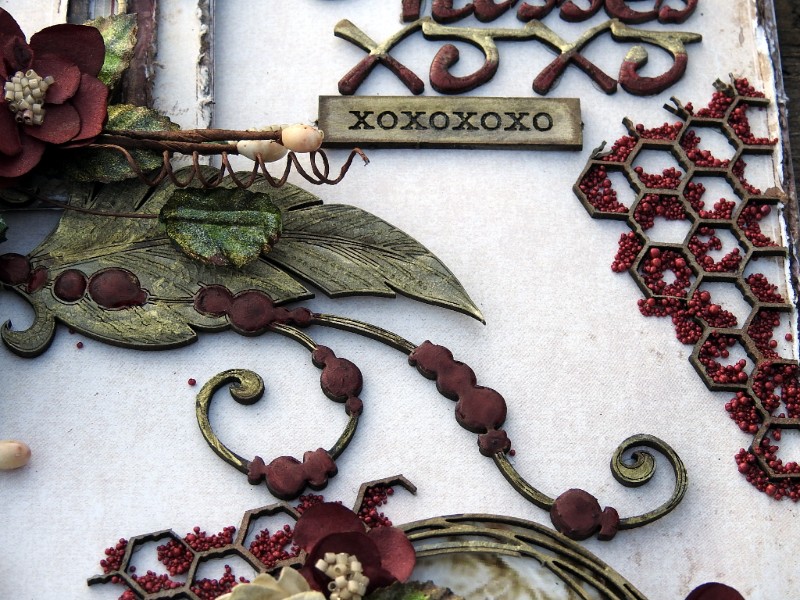
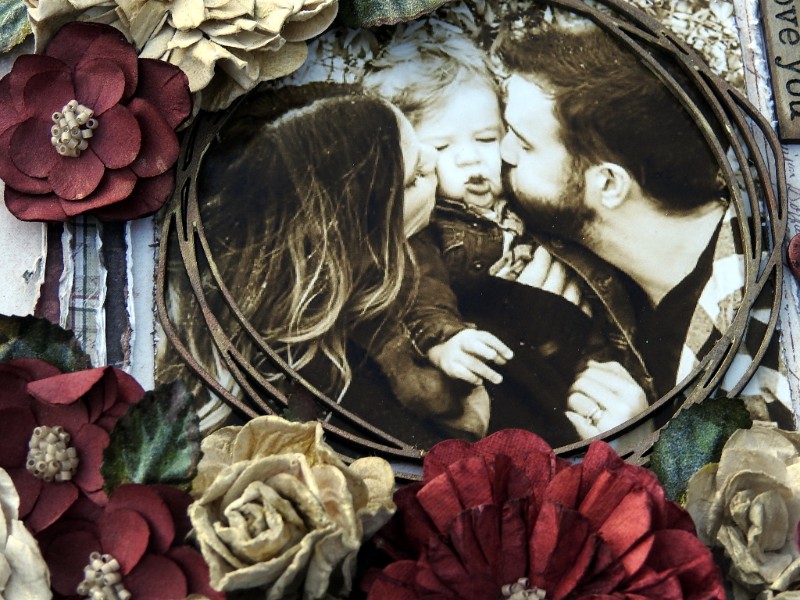
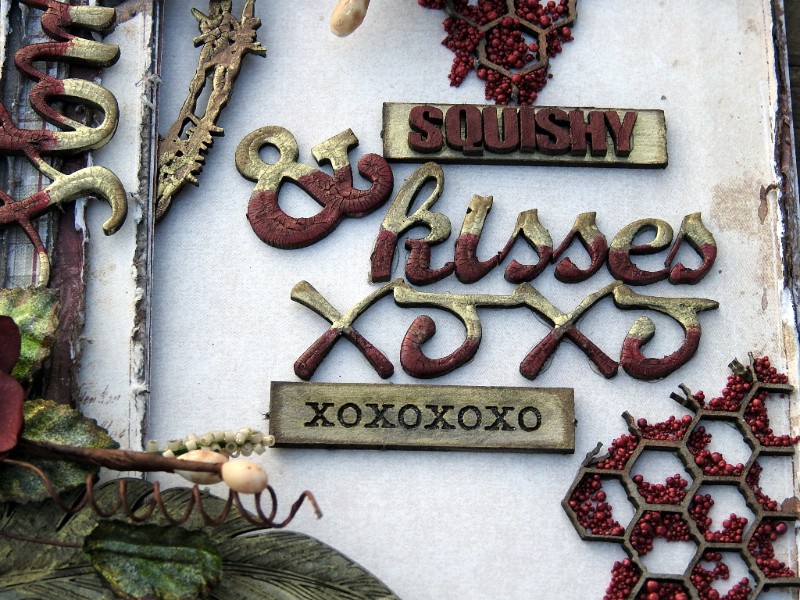
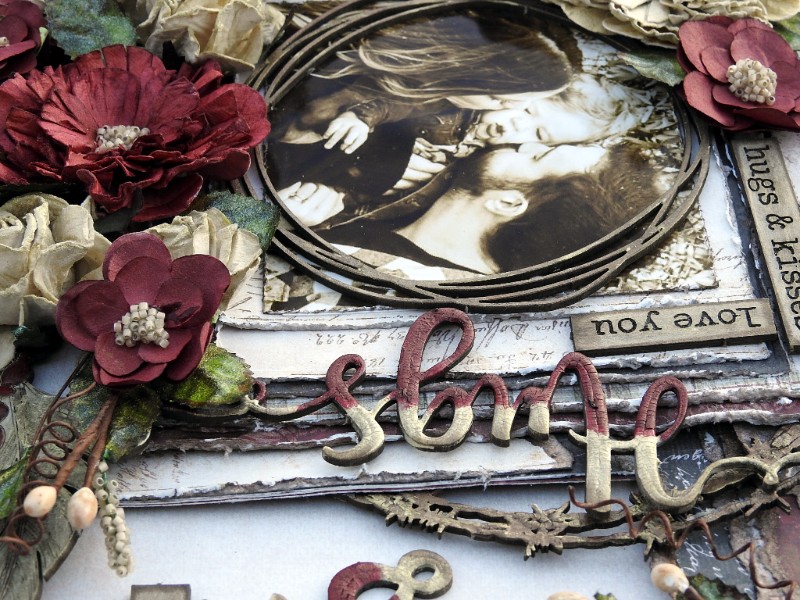
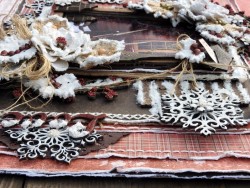
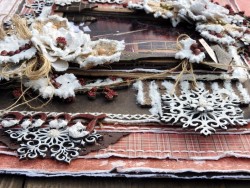
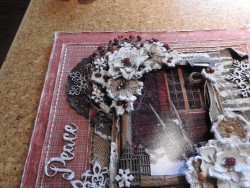
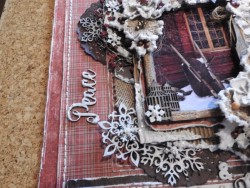
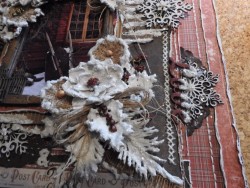
Here are some close ups….

294544357d95402caea3c2bf177e5fcd

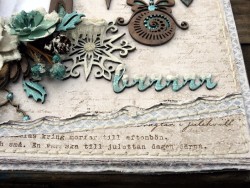
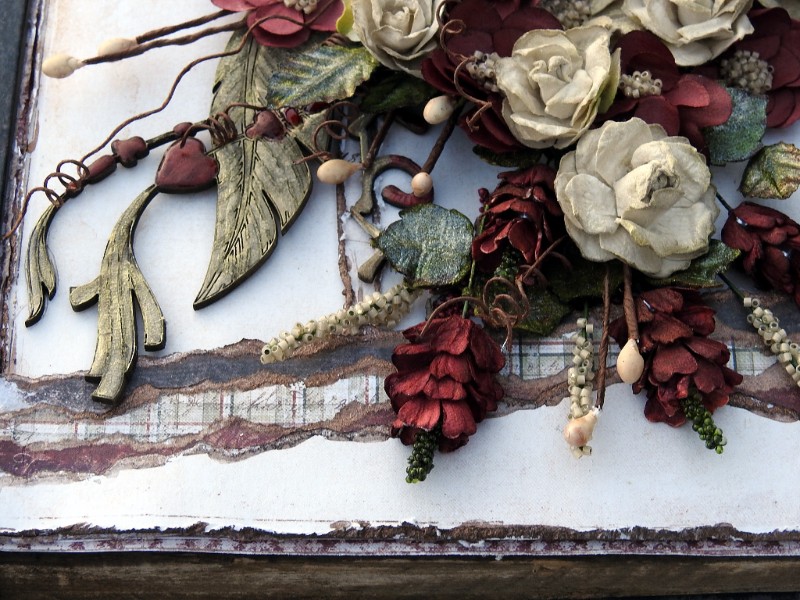
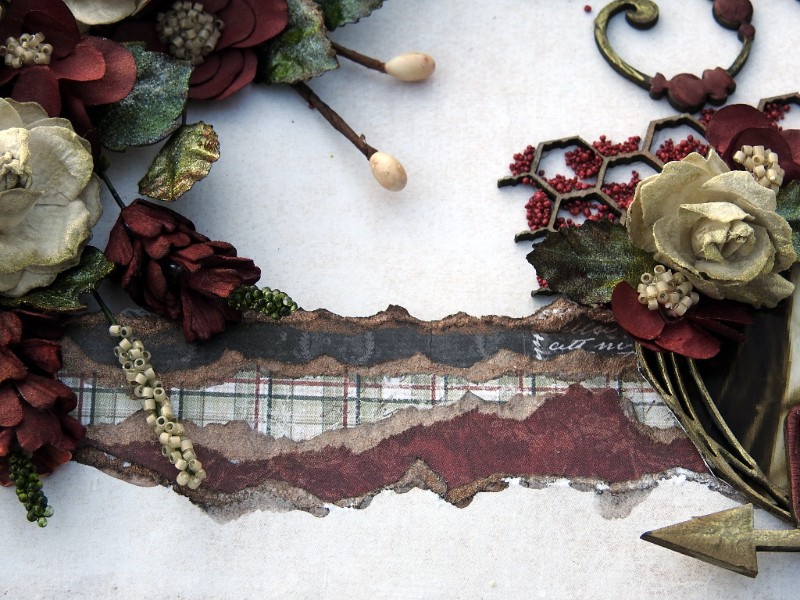
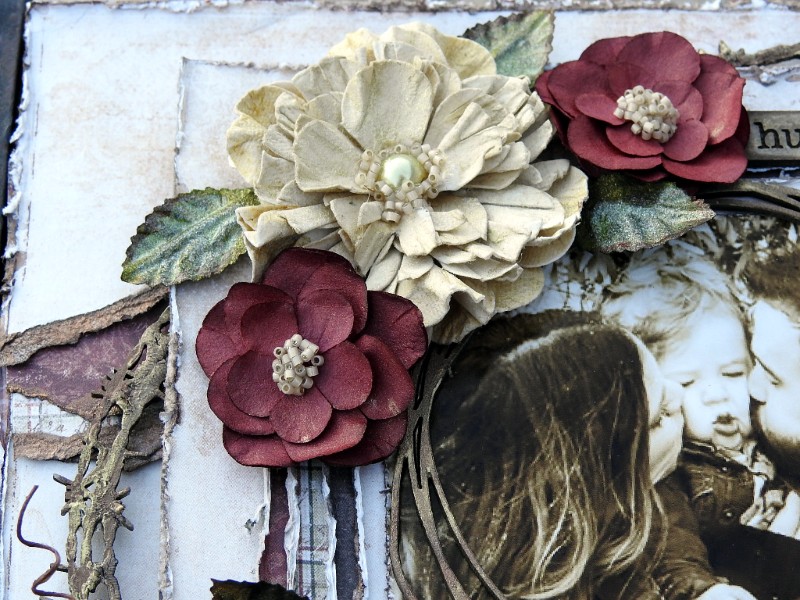
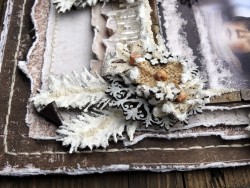
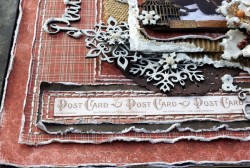
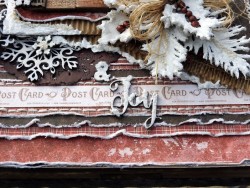
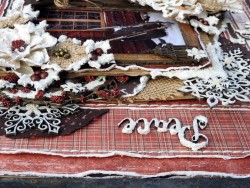
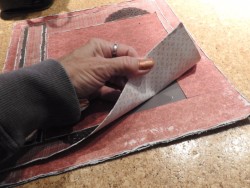
For the paper layers I tore the paper & Distressed the edges, then inked the edges using the Shimmerz-Chocolate & Diamonds..04971a3296b94ac49c6f8af1928bda7d

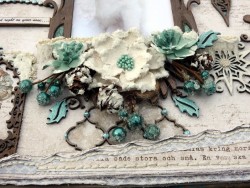
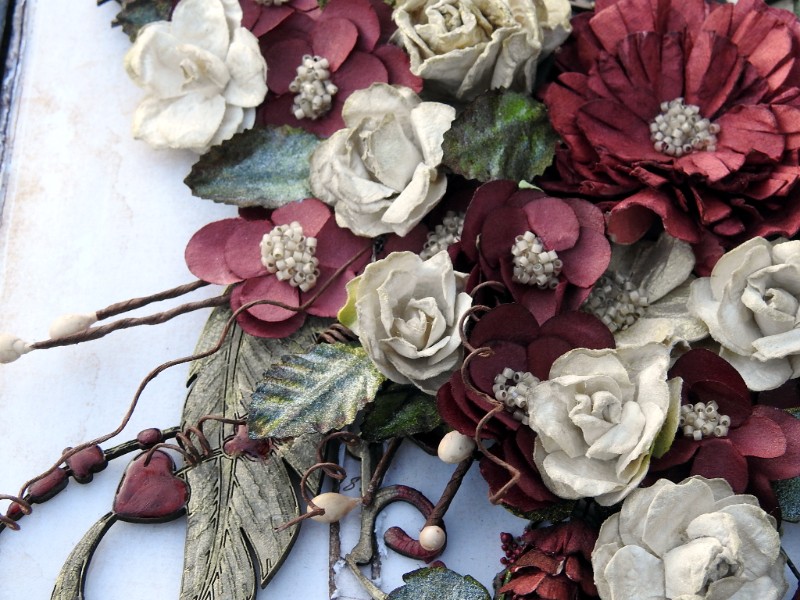
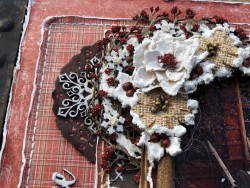
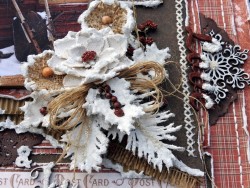
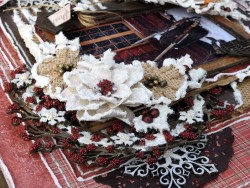
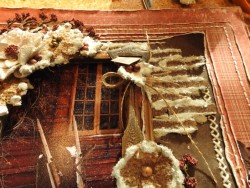
Shows a flower cluster using the DA feather charms, 49 and Market Flowers that I altered using beads as the flower centers….

332c6bf3c1d443838cb45fa51587ac29

ad09c9a0c804423cb2c3053ab4661ce1

23a8b9c08b9546a29b64630549064e0c

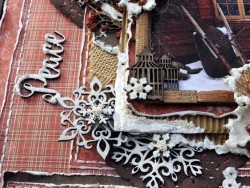
I primed all of the Chipboard with clear gesso, then applied clear crackle on to some of the pieces. Once the crackle dried I painted the pieces with LuminArt Silk, Jasper red, olive vine, iridescent gold & Shimmerz inklings Chocolate & Diamonds …..I applied drops of glossy accents on the beads of the feather charm….

ffe34878efb044638a9ef51f34c20b78

So cute!!!!

5ece59f9b35a4f44ba73fb26744a73e6

82e7923622514f338ae9b68f5e176e7c

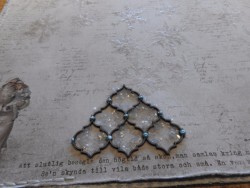
I love Prills, glued some into the chicken wire….

e9c9d1ff91aa4859aaefcb4057345a7d

b4e58225c27a4bb7a57b302f6c97e546

c1f8fd5500fb47d99ef74ea296dc6fcc

5709527f2a0543b38daf381933b6c395

1dac9d1731634687b0201948a4abd8de

Thank you so much for taking the time to look…..Rachelle

Rachelle-sign

Baby You…..

4

Posted by Rachelle Sigurdson

4 February, 2017 - ,

Write a comment

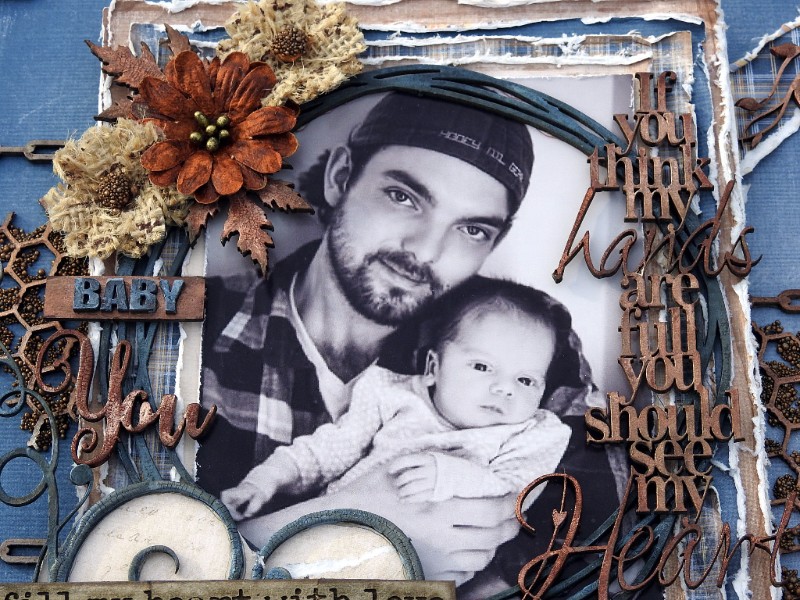
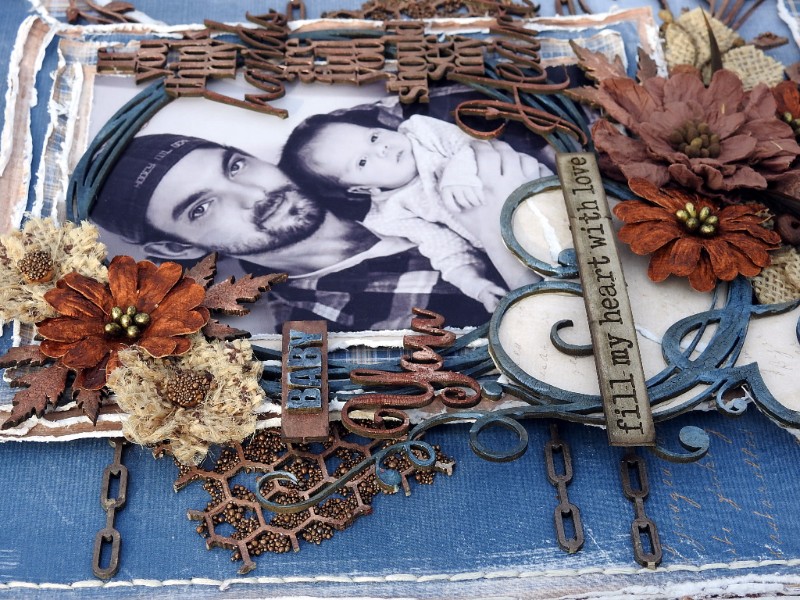
Hello, we are into the month of February, so I decided to do “Love” themed LO’s. This is a LO I did using Maja Design’s Walking in the Forrest Collection, Dusty Attic Chipboard & 49 and Market’s Rustic Blooms.

671e59bd4aee44ea8f99364104e09e57

The Maja Design used:

Walking-in-the-forest-P

The Dusty Attic Chipboard used: String Frame Set Small, Chains, Zippers, Love Heart Corners, Swirly Vine #5, Lavender, Leaves, Seagrass #2, mini Chicken Wire, If you think…, Love Completely, You, Wordpl@y #4, Teeny Tiny ABC set

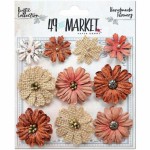
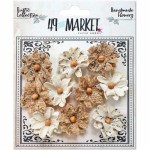
The 49 and Market used: Rustic Melon and Burlap Bloom Mix, Rustic Canvas and Burlap Medium Blooms, Rustic Barn Med Blooms

Other Elements used: clear crackle paint, Prills express yourself, glimmer mist-bell bottom jeans, Lindys Stamp Gang-Magical-cowabunga copper, brown ink pad

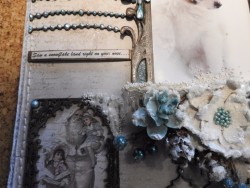
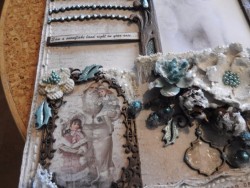
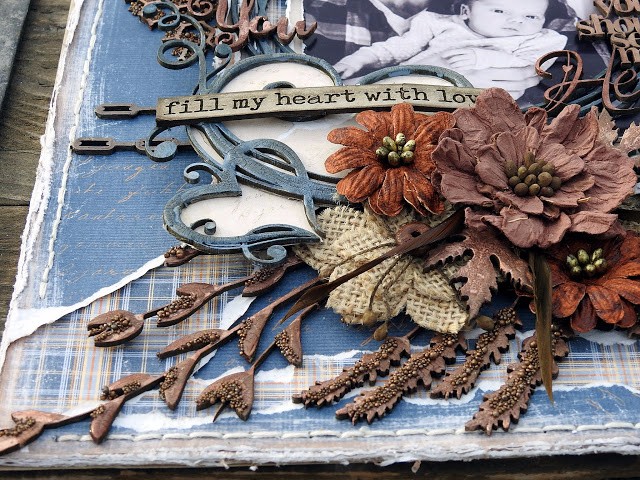
Here are some close ups….

a01e30980f8142afaef08d62b6bdab3f

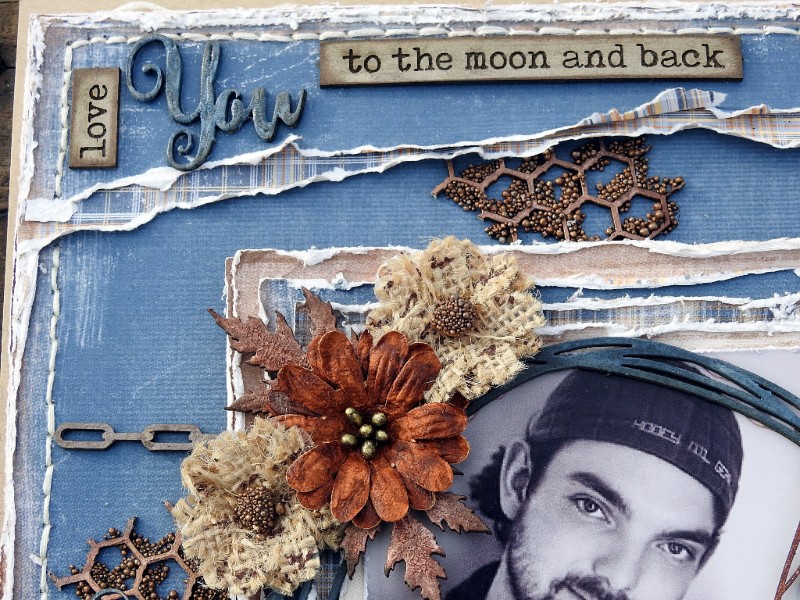
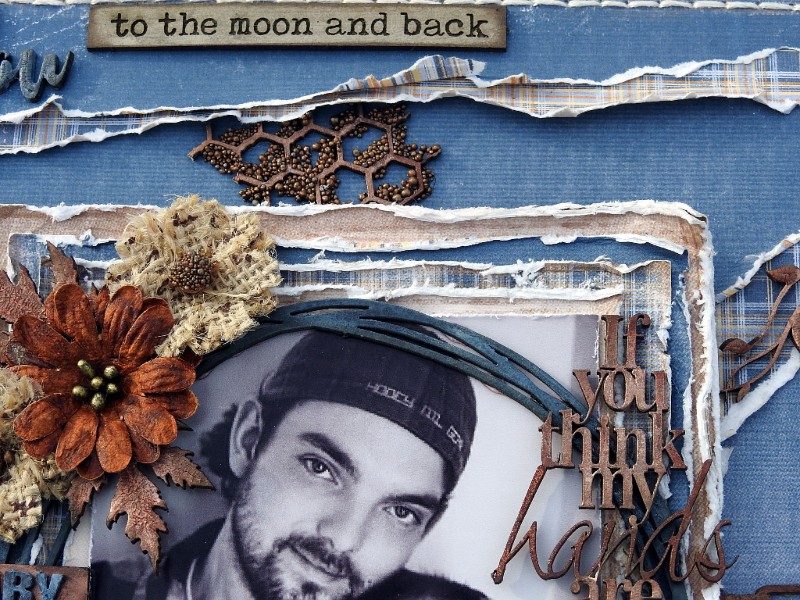
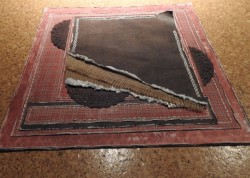
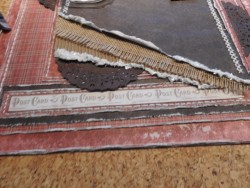
If you are a paper layer, you will love to work with the Maja Collections, they blend & distress beautifully! I always distress the edges & on this LO I did some ripping….

44e04299aa2f4354bceb4ae5b45e52e2

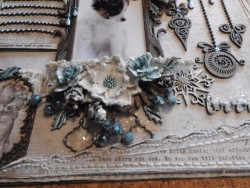
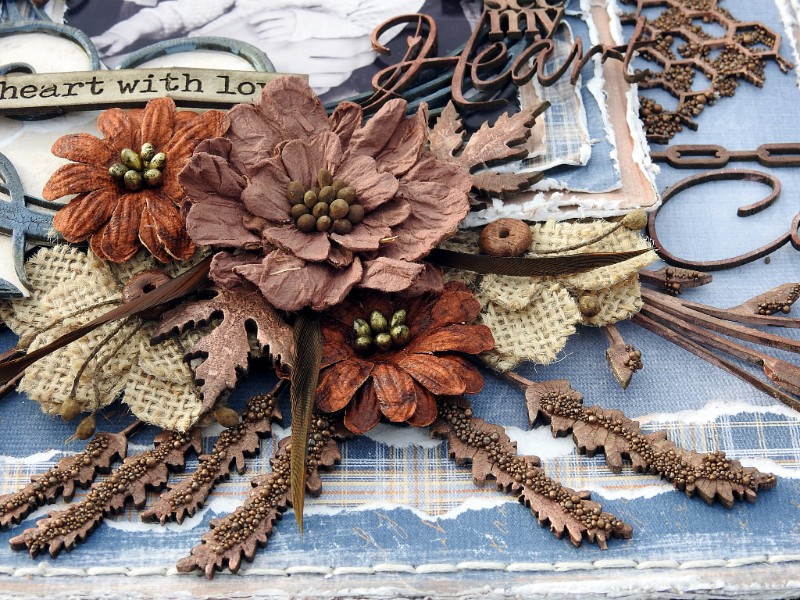
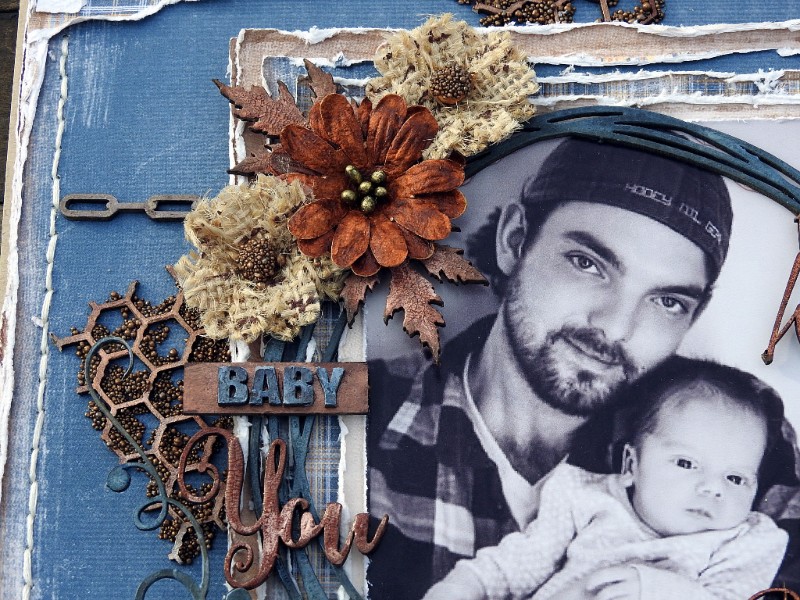
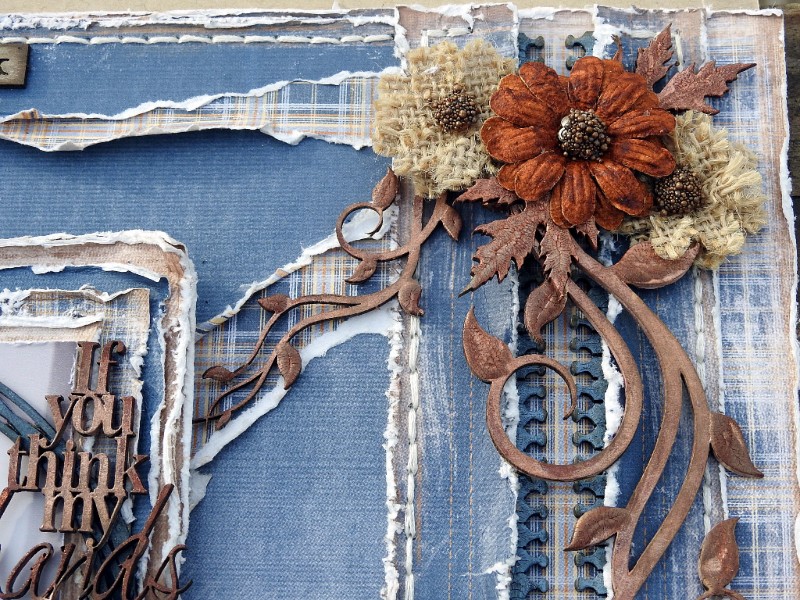
Shows a flower cluster using Dusty Attic Chipboard (lavender,seagrass & leaves) & 49 and Market Rustic Blooms….

bb1fa34e2baf44a0bde200a16f56040d

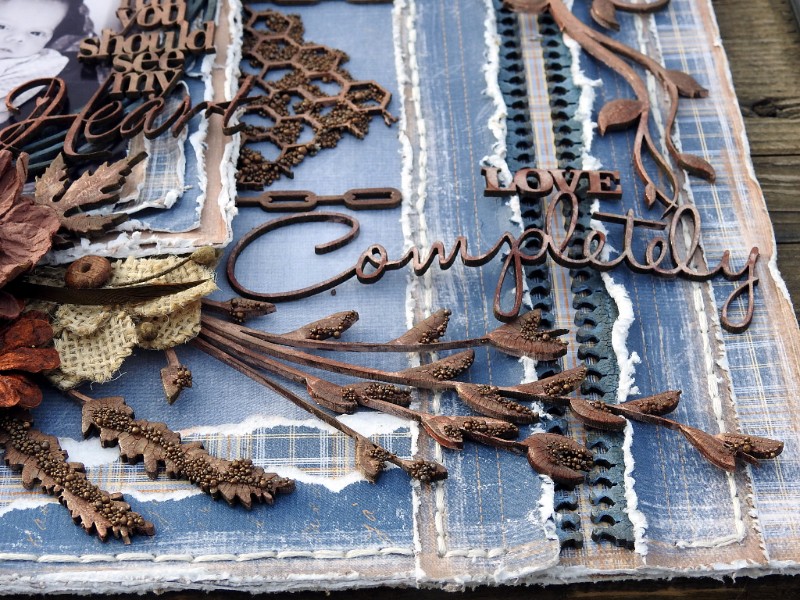
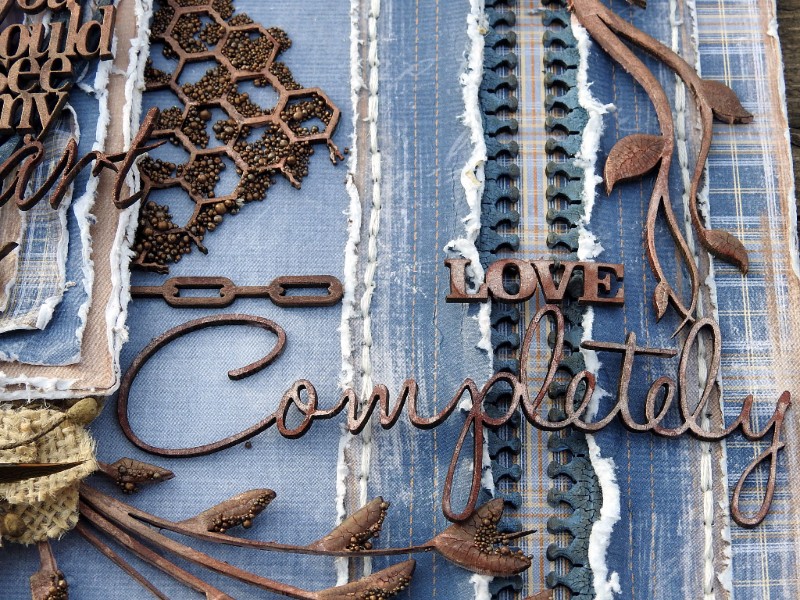
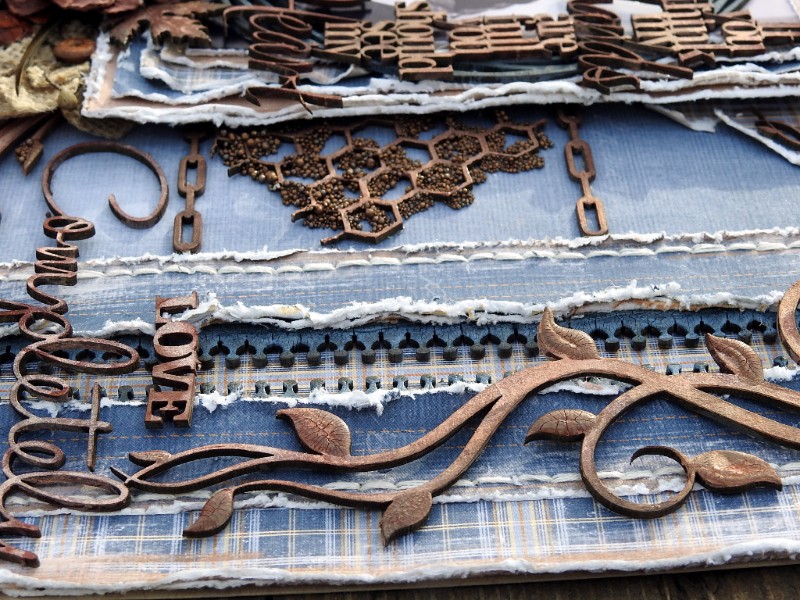
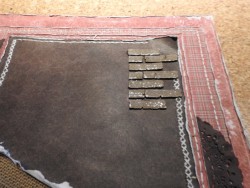
I hand stitched the paper layers, & on the right side I glued zippers under the paper layers….

8607f7d4475d4226b75adcc1a147c610

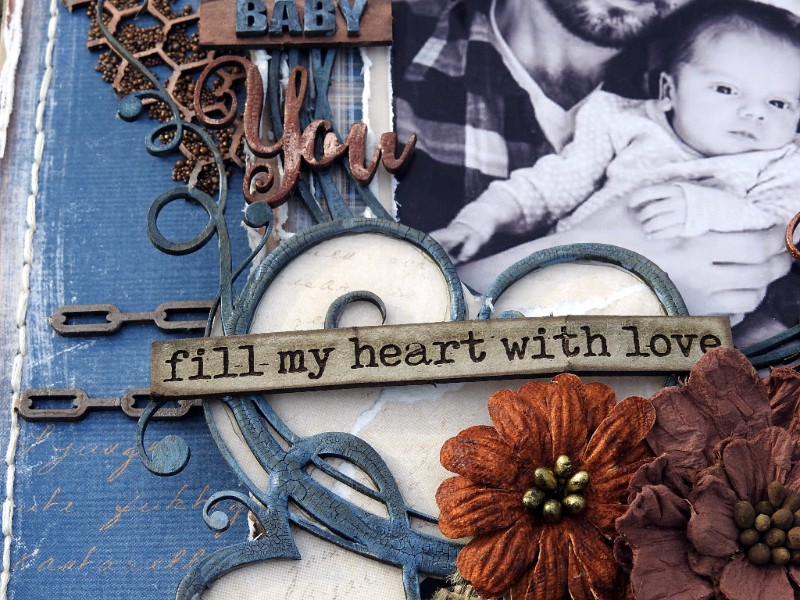
I primed all the chipboard with clear gesso, then applied the clear crackle onto some of the pieces. Once the crackle was completely dry, I painted on the cowabunga copper (for the cooper color), bell bottom jeans (for the blue used). I also used a brown ink pad to ink the edges…

45b96bc33d1c4c20930536b547dbdbf6

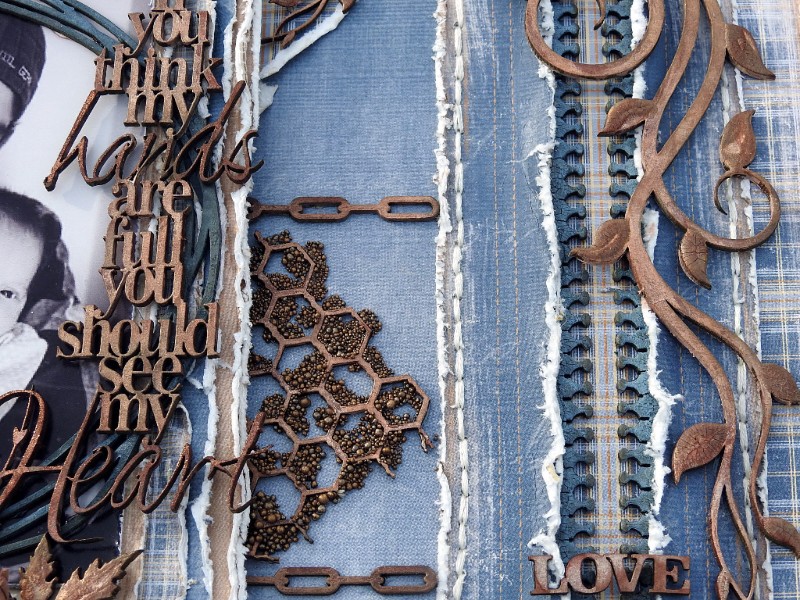
I love the texture the prills give….Here are some more close ups….

c38c3d6fc90a4031b3ef1a22c02056e8

7e5e084374fb40d9a157911c07053c82

886135f312b1406f9b7f9e1c5bc68693

22432816dea943768616e97a632c17b9

8db7fce0fe674c0c921230b600db2429

e1591ca6a7214a9a8c9492a7769200e3

a1de7ac2910543ff80a96080186be7e7

d5c9cee41c804a76889130a8577c67b1

Thank you so much for taking the time to look….Rachelle

Rachelle-sign

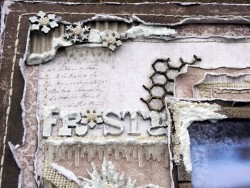
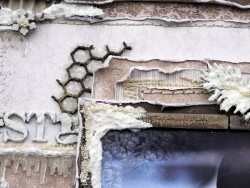
Frosty

0

Posted by Rachelle Sigurdson

7 January, 2017 - ,

Write a comment

Hello, today I am here to share with you, a winter LO I did, using the Beautiful “I Wish” Collection…

59e8778a50014550ad0430b9b2bbf482

The Maja Design used:

I-wish-P

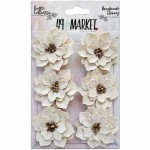
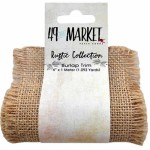
Other elements used: Dusty Attic Chipboard: Doily #5, Snowflakes, Pine Sprigs, mini chicken wire, Old Wooden Fence….49 and Market: Rustic Bloom Poinsettia Canvas, Rustic Blooms Burlap & Canvas, Rustic Blooms Canvas and Burlap small, Burlap Trim…..Prima: snowflake texture, glass glitter pearl….Tim Holtz clear crackle, icicles, corrugated paper & prills mini pearls

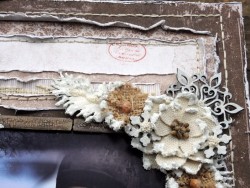
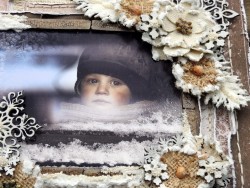
Here are some close ups…….

cc8fea7d7933400f99a164ac0a0fbb4a

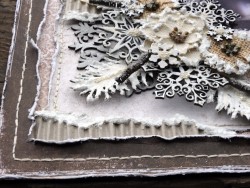
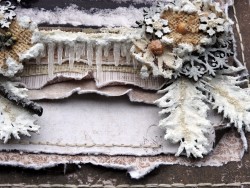
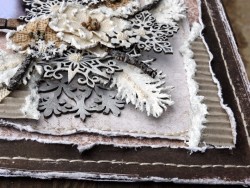
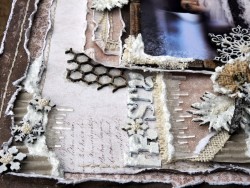
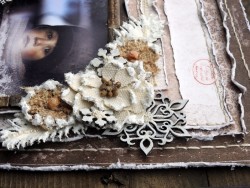
I love working with  Maja Design Paper, it is the softest paper I have ever worked with, so it distresses beautifully. Being a paper layer, I find the Collections easy to work with, plus you can combine Collections, as they also blend beautifully…. This corner shows distressed, hand stitched, paper layers using corrugated paper in the layers…

c9d4d4b97c0a491a9518cf51559736fa

I primed the TH icicle, old wooden fence & chicken wire with clear gesso, the rest of the chipboard was primed with white gesso. I then painted all the chipboard,& the TH icicle, except for the chicken wire with clear crackle paint. Once the crackle dried I painted the white pieces with LuminArt-Heavenly White H20, & for the brown I used Shimmerz -Chocolate & Diamonds…

f075448c0f4f43bdae9fbbfc2b937fa9

I applied Prima Snowflake Texture & sprinkled on Prima glass glitter pearl, on to the wet texture paste, on to the flowers & some of the chipboard pieces…

a7c6757eeb2e443698baecafc4d031cf

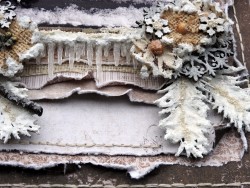
I also glued on some Prills on to the snow flakes & snow texture.

6da6e64bed5d4d41b1983e041531a5df (1)

Glued some glass glitter into the chicken wire..

405597aaf1b349d99529546af8c13b63

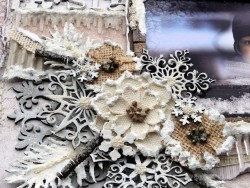
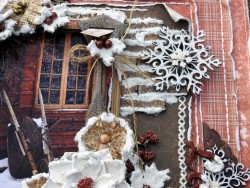
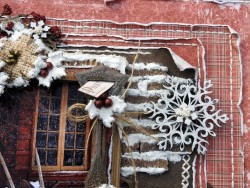
For the clusters I used 49 and Market Rustic Blooms, & Dusty Attic Chipboard (Snow Flakes & Pine Sprigs)…

Here are a few more close ups…

4360d980a5354beb94eb0c9fc5b540dc

c9d4d4b97c0a491a9518cf51559736fa

78411227eeca4e1b818830b56e51295b

f85eff2e0c93487898a95be46546c1cb (1)

ddec9c09859a400eb66dbfb5db086aef

64e6626da809416b9e37dfc6cffb7314

Thank you so much for taking the time to look…..Rachelle

Rachelle-sign

Peace Love and Joy (With Photo Tut)

0

Posted by Rachelle Sigurdson

24 December, 2016 - ,

Write a comment

Hello, today I am here to share with you, a Winter/Christmas Lo I did, using the Beautiful, I Wish Collection, 49 and Market Rustic Blooms, & Dusty Attic Chipboard…

eb3086ac6b15480cbb14e39bbc6a571e

I-wish-P

I used:

& a BS of a label

The 49 and Market used:

The Dusty Attic used:

& Snowflakes

Other Elements used: Clear gesso, white gesso, clear crackle paint, white crackle paint, Prima Snowflake Paste, Prima Glass Glitter Pearl, Prills- Stop Winning, Prills-Mini Pearls, LuminArt-H20-Jasper Red, LuminArt-H20 -Heavenly White, LuminArt- Silk-Golden Monarch, Pearls, Shimmerz -Inklings -Chocolate & Diamonds,  Corrugated Paper, Doilys

Closeups….

7ce8c16d1b5f4c30836de5bdfb3f72f2

7e0be4650626489bb17efeea9ae2936a

68cb3fa7f39341b89ae5591405c7d3d3 (1)

47b136e45bf047c9b9c5df4cf7bb0a63

03fcb31795354f1986583bb5f032af00

8f800591af0446fb981cd4267c080181

f74cae87d96d489cabc94c4d0e93a44f

73437b9b513d4e0385dcc99e1813b5b7

92de8b2d10874c6083ffa5d3513095d2

92de8b2d10874c6083ffa5d3513095d2

010b2696d8eb470fa76558e3afdc9be2 (1)

Tut

80d905f81f004ceeb36f61294bb8cfa1

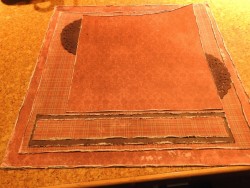
I decided to do a tut, after I got this far. I cut out the center, of  the “I wish you a Happy Holiday”, & glued it on to brown cardstock.

0eac72718626476684ce0718ae4170ab

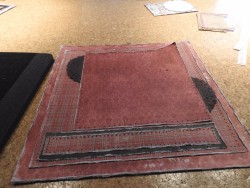
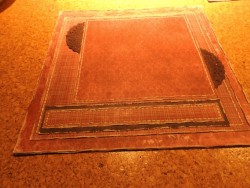
Shows the next layers, using “I wish Christmas was today”, “I wish you a Happy Holiday-BS”, & “I wish those memories will last”, I also used doily’s in the layers…

1c7629822e264983b393a35ef5998a66

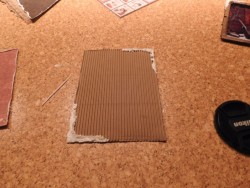
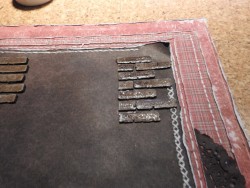
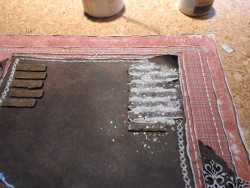
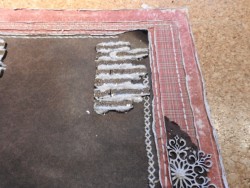
I cut this piece of Corrugated paper & applied the snow texture, sprinkling on the glass glitter, on to the wet texture. Once the texture dried I glued on, some Prills-Mini pearls..

9f8c92568b9e4303b0aa10b85fc1c4d8

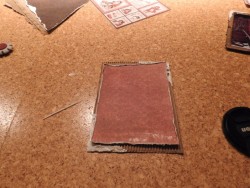
I then glued on this piece, that I cut from the Happy Holidays Sheet, I distressed the edges…

60f3cf5c3f7a479f86794dfba050314d

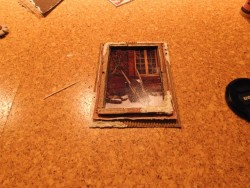
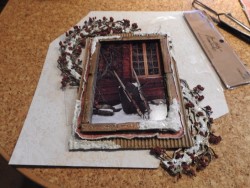
I glued the framed photo on. When I trimmed the photo, I left excess paper, I then glued on the pieces from the DA-old wooden fence. I primed the fence pieces, with clear gesso, then painted them with the clear crackle paint.Once the crackle dried, I painted them with the LuminArt-Golden Monarch. I then applied snow texture, glitter & the prills to the opposite corners, that I did on the corrugated paper

78a9a8b52bf34229a2280e71cff2c72a

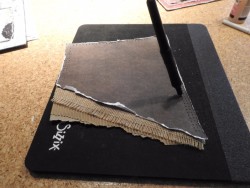
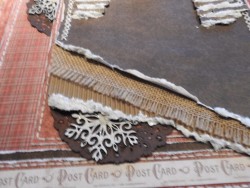
Using a ruler, I ripped the “I wish those memories would last sheet”, then glued burlap & corrugated paper under. I used a paper pierce & mat to poke in holes, for hand stitching…

330372f8d640403294f9424d61262650

Poked in holes

88967c8587da43d6945e5a5c79910861

Hand stitched

9ae902bfee274aa1b0fc6bcc3646ebff

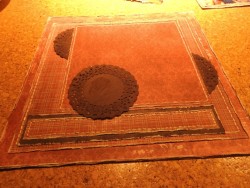
Added another doily

e7a678b8830249dbad8dc8025f6dd3ec (1)

Glued on this piece & applied snow texture & glitter

e2a4322022c5411bb457d9d44882d31c

Glued on some pieces of brick, that were primed & painted with clear crackle

e0ec6f1dde7f4d85b80f914f8ea8d78f

Glued on the BS of the label

bb60af00773044c8baebda297b742e30

I primed the wreath with clear gesso, then painted it with clear crackle. Once the crackle dried, I painted it with the Shimmerz- Chocholate & Diamonds. I cut the wreath, then applied snow texture, glitter & the prills-Stop Winning

cbc96aa2d0dd4d2ca56cd83118604edd

Added more brick, they are also painted with the Chocolate & Diamonds

a4f3005c188540d7b9f3ddb135eccf6b

Applied snow texture & glitter between the bricks

150dca55a5cc4c229d33e08a610cd824

added snowflakes

d57c00563fa941e1a8bdb21fac2cbe7b

& here

5eb4b6b392ba4f01bb2fa2ded7c82c54

Glued on the mail box, it was primed, painted with the crackle & chocolate & diamonds

9f15917290bf4ce691ca270b54c92751

Glued the framed photo piece down

4e1ef1f222584123a47b365caf7b6cba

Started clusters, using pine sprigs & Rustic Blooms…

f0a6a9a40d4745749b3626918d19b965 (1)

added more Rustic Blooms, I altered the Blooms, some of them I changed the centers, using Prills-stop winning. I applied snow texture & glass glitter to the outside edges

3ee9c64e0e2d4bc782328c943c3c7efe

added part of the title & more Rustic Blooms

fae2eff0aab242f78fdf905055a255b7

added mini holly & mini snowflakes into the clusters

8b030f82c38646e495dcd148877cbac9

Added another snowflake & the birdcage…

d3ee7ed0b28f4096acaae9b3262fc6c1

Added the mini holly, & more of the title

b364a67900644eadb3989e80085214d3

Added the rest of the title…..

This is my last post for the year 2016, looking forward to seeing you, in the year 2017!

Wishing you a beautiful holiday season, and a New Year, of Peace, Love & Joy!….Rachelle

Rachelle-sign


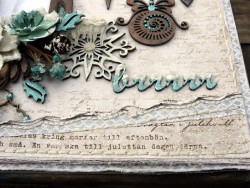
Burrrr***Tut/Mood Board****

3

Posted by Rachelle Sigurdson

10 December, 2016 - , ,

Write a comment

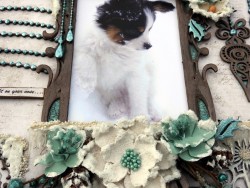
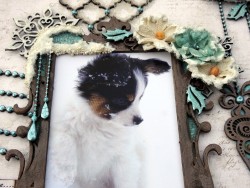
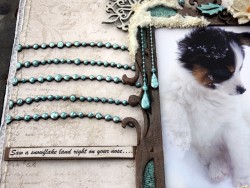
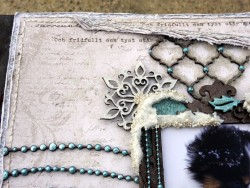
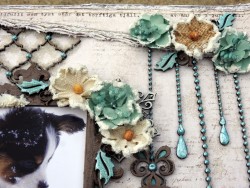
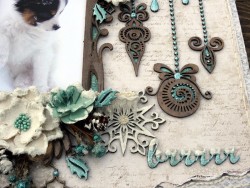
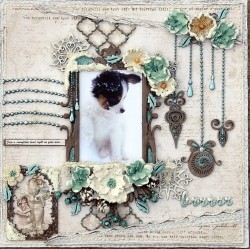
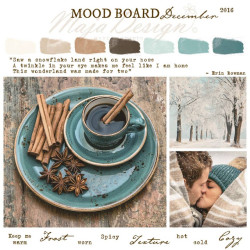
Hello, this is a winter  LO I did using Maja Design’s Mood Board for December. I took this photo of one of our Paps “Jona” I also did a step by step photo tut…..
d2e18d0a433840098fd69b0a7eb4c863

14937237_10157700025070603_5636974936068657296_n

http://majadesign.nu/december-mood-board/
Vintage-Frost-BasicsKL

6th of December

6th of Dec

8th of December BS

8th of Dec

The 49 and Market used:

The Dusty Attic used:

Plus: Dusty Attic Snowflakes

Other elements used: Prills Sage Advice, Prills Mini Pearls, Tim Holtz Snowflake Stencil, Dreamweaver Translucent Embossing Paste, Nuvo Crystal Drops-White Blizzard, Prima Snowflake Paste, Prima Glass Glitter-Pearl, Tim Holtz Clear Crackle, Shimmerz Inklings-Chocolate & Diamonds,Dusty Attic Paint Oceana,Clear gesso, Liquid Pearls-Robin’s Egg, Petaloo Berrie picks & pinecones, Tim Holtz-icicle

Here are some Close Ups:
c6004b9ac8434b43b78dac413fa42f45 (1)

7e36e7fa6b374e13ba2d7a57c108dec6

4bd522ed92854ac2b321293f5ebd4954

678977cd949441f09c1a52dd4c89aad5

a41ecd30771c4580b2525589ab8aeae6

149770f4852841ad864328ce2c27e604

50866439a91b4e4fbacfe5d973296c33

91d825cfd2424dfcbd555466ab42ab65

f7060fbd9d9849acad9027c6b17e7720

4bd522ed92854ac2b321293f5ebd4954

306cd14fde0e4c7ebb5146348a20f361

9d0befd4500a454a91c9d0b7992e4bfc

8eca9cfa632a455fa97ce55a88f5dcc2

Tutorial

Where I live, we get WINTER, snow & cold. Our days are short, & I spend much more time inside our home, so I do more Scrapbooking, in the winter months, to pass the winter away. I love to work on winter LO’s because of the Snow Texture. You may find my tuts confusing, because I do them in the order that I have taken the photos. I have so much on the go, when I am working on a project, plus I have to allow pieces to dry. I do not use a heat gun, I let the pieces dry naturally, either in my front south window, when the sun is out, or my bedroom closest, the smallest warmest room in our home. It has a floor heater, so a placed a rack over top it, & will place pieces of the projects, on that to allow quicker drying…..
36e9fd651db44df2a40713d95e53bf32

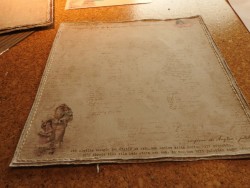
I trimmed the outside edges of the 6th of December sheet, (about 1/8 of a inch),distressed the edges & glued it onto the 8th of December sheet.. I then hand stitched these pieces together…
ade3c8dcd2c24534b6644de54cc206fd

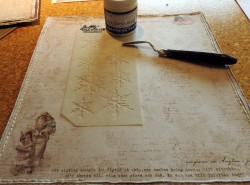
I did some stencil work using Tim Holtz snowflake stencil & Dreamweaver Translucent Embossing Paste
20cd3abe4d07409697fa19898d07b0fc

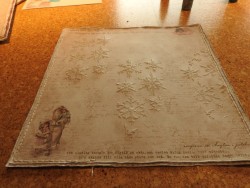
Shows stencil work…

762e179ae5714f70a2e1c26f663fb029

Once the embossing paste dried, I brushed on some Nuvo Crystal Glitter Drops-Blizzard,  I love the Translucent paste, you don’t loose the detail in the paper…
09ace51539e940f2b8913b6c538b2969

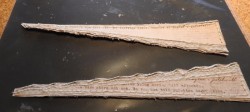
I cut out these 2 pieces from the Dec 8th sheet, did some punch work using Martha Stewart Cherish punch, glued on the Dec 6th sheet, hand stitched & distressed the edges….
edb6ff2af55c4cf8873b613629cd0edf

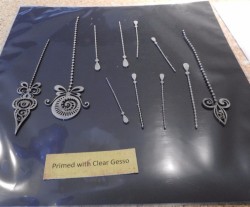
I primed all the chipboard with clear gesso…I do this to make sure the crackle sticks to the chipboard…
9b37194997c2415fa743ab91048320f2 (1)

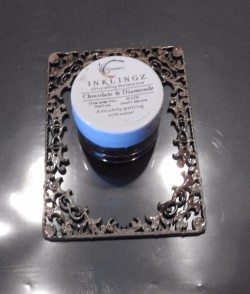
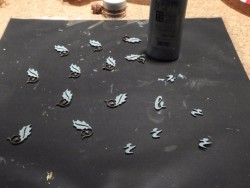
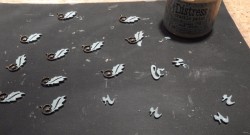
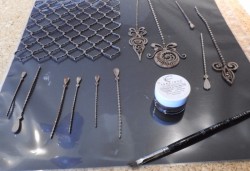
I then pained these pieces with Shimmerz Inklings Chocolate & Diamonds..
6a0cc5d20ad1479ba950430efc803c0a

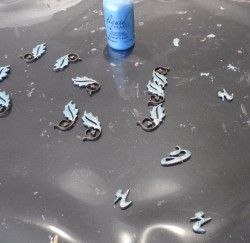
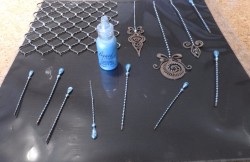
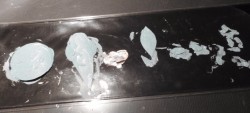
Applied drops of  liquid pearls-Robins Egg
6854953c54794b5091732f9b6a86e524

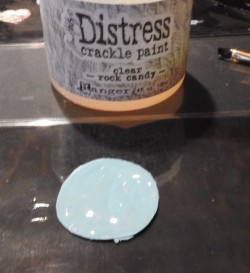
I painted these pieces with DA paint Oceania, then clear gesso…
b364565e149a461282ab4144a2b69fba

I then applied a thick coat of clear crackle
2e18b75c2b4348339536f7a735213e90

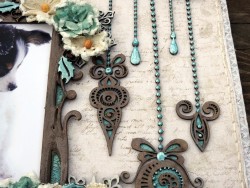
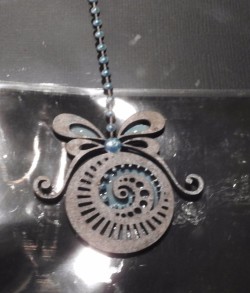
& placed the Ornate Pendants over top the wet crackle
46365ff05fa14a6c94fe5e78d5699a32

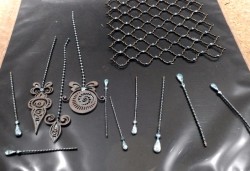
Dry & completed Chipboard pieces…

1ab944efa29b41b8b7010155e60de875

Primed with clear gesso, then painted with Inklings Chocolate & Diamonds
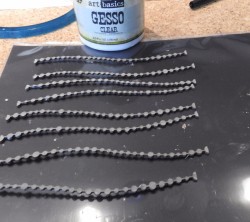
954e225f3cdb4744a560fd1e8a4ebfa2

Primed with clear gesso

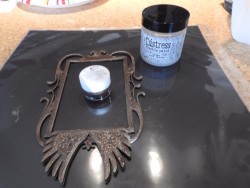
a347e9a5fb1e4a1782e9a07ba641a833

Painted with Inklings Chocolate & Diamonds
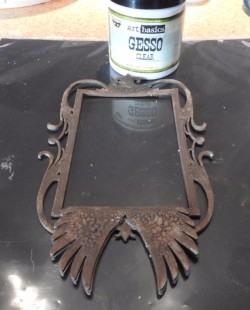
b24b0560979e402dbc4a1ef5928050f0

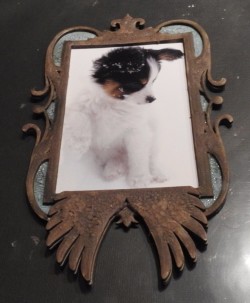
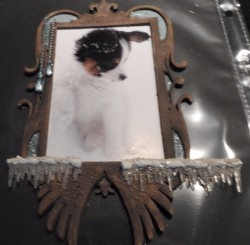
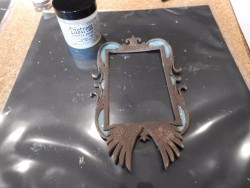
Primed with clear gesso, applied a thick coat of the clear crackle, then once the crackle dried I painted the Winged Frame with the Inklings Chocolate & Diamonds
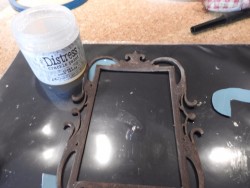
27853cac3f744c668ecdf7ca37d89f8f

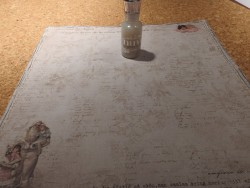
I applied 2 coats of clear gesso, to seal the color, so it does not bleed through the snow texture….
e6d68a06cdbf4fec8e3492cf30801fd0

I did the same to the frame, as I did with the Ornate Pendants…
e3aee5478f304978a9215bde759fb897

b6a6c01dfb444d4bbe1827731787f5b8

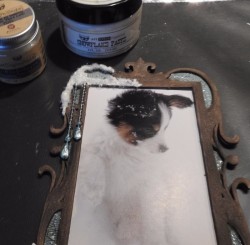
Glued the Photo under the frame…

4322ef54f87b4ae9a650b0c88445c185

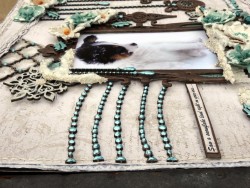
Glued on the pearl dangles & Tim Holtz icicle
8558927357b445839e999b6e6e63e894

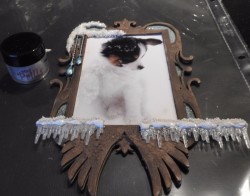
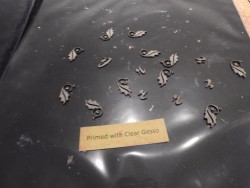
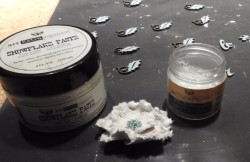
Using a brush I applied Prima Snowflake paste, sprinkling on Prima glass glitter while the paste was still wet. I do not like the snowflake paste by its self, it comes to life with the glitter….
16b5481777b449af8192d5ecc19ed21c

9d718f067166463896b0a426f5c87e6b (1)

Primed

0e7f3e56a2744f7e92c67bdb879daa50

Painted with the DA Oceania

f5b4fc9f8ac148d894033cb392382162

Applied clear crackle

0fa15c4ba9034d3e860fc74fc7e558f5

Once the crackle dried, I painted these pieces, with the Robins Egg, Liquid Pearls…
3de75ab245384644af3ad6789333c1c0

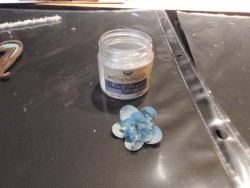
I painted the flowers with LuminArt H20 Heavenly White, to give them shimmer. I also glued on some of the glass glitter on to the flower centers…
549957261f6142dab55c31958658bd4c (1)

I changed the flower centers on all the canvas, burlap blooms, using Prills Sage Advice. I then applied snow texture & glass glitter to the outside edges of all the flowers….
1c7f6330eb6440e9b1c0721c21c17a94 (1)

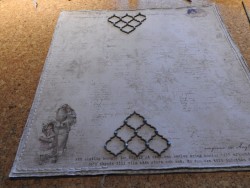
I glued down the Marrakesh Trellis…

0eea1f10685b4165a15508bc736cb372

Placed drops of glue, I use Ranger Glossy Accents, it dries fast & holds…Sprinkled on some glass glitter…
59e87889a3624056ace7e23ba55f0353

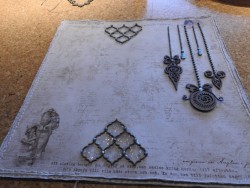
Glued on the Ornate Pendants…

4ff9a6ba66b34baeaa956d17520f5316

Glued on the frame…

7f66236d66c94a0aa734382f00d637f2 (1)

Glued on the beaded tinsel…& the top part of the LO…
dd277714c9b54bc8ad757345c054fe0f

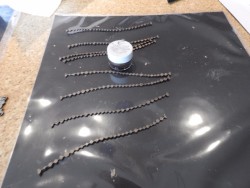
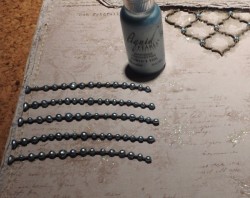
Applied drops, of the Robins Egg Pearls, to the Beaded Tinsel….
887759b3362d4e8dadd2f2d6c5fede08

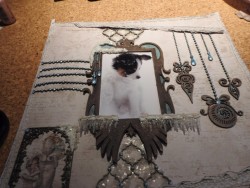
Glued on the framed photo…

cff2de5311694d9d968c26c03f675659

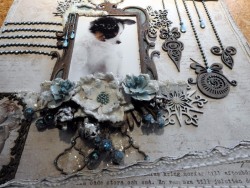
Glued on Bottom part of LO & Snow flakes… I primed the snowflakes with white gesso, then painted them with the clear crackle, & once the crackle dried I painted them with the LuminArt, heavenly white for the shimmer…
17e2e1f132f24d97b151751778b42563

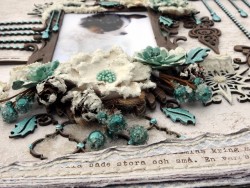
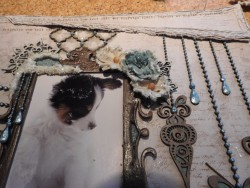
Started this cluster using 49 and Market Rustic Pointsettia Canvas Blooms, Garden Blooms, Petaloo Berry Picks & pinecones. I picked the small pine cones, cut off the bottoms to make them smaller, then sprayed them with a acrylic sealer. I also applied the snow texture & glass glitter on to the pine cones…
a14715749b864623a1695b2f02015ccd

I painted on another coat of the Inklings Chocolate & Diamonds on the frame, for the Shimmer & Started a cluster here…
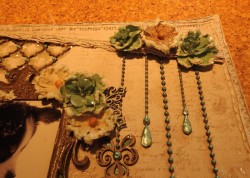
08cc44c24b304ee29b3197682b222928

& here, top right corner…

eba70e581bcf4c11b25c52cea1112536

Added this printed piece that I took from the Mood Board…Also glued on some Prills-Mini Pearls onto the snow texture…
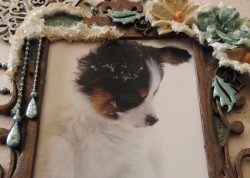
016a6c43af5d49ba9398a7c90915fe68 (1)

Shows the droplet on Jona’s nose…

67ac645e9b10456e9f58f603aff62bc7

Added a flower cluster over the Santa Frame…
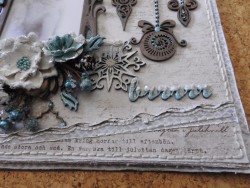
7461aaa1b8dc4fd4a54693f92f06effa

Added the title….

f828277808cd48fd99b7697c1ba5e4a8

added the mini holly into the cluster…
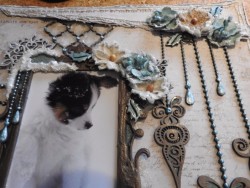
f3b9ed1807684e48aa1f27944e336352

& into these clusters….

I have also done another photo tut, for my next post on Dec 24.

Thank you so much for taking the time to look….Rachelle

Rachelle-sign