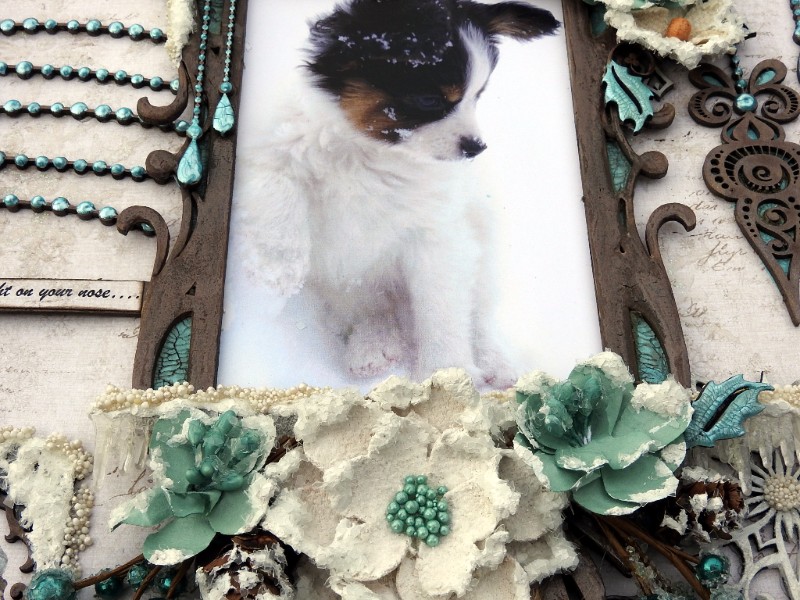
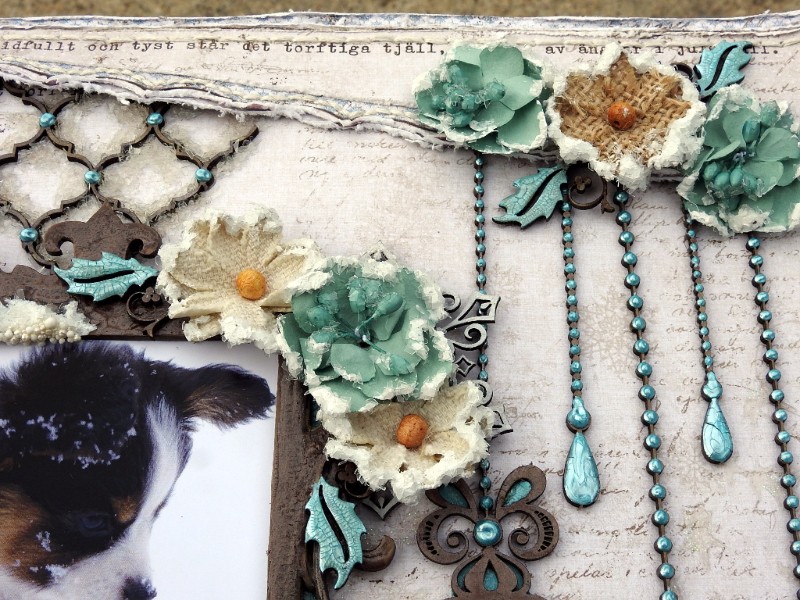
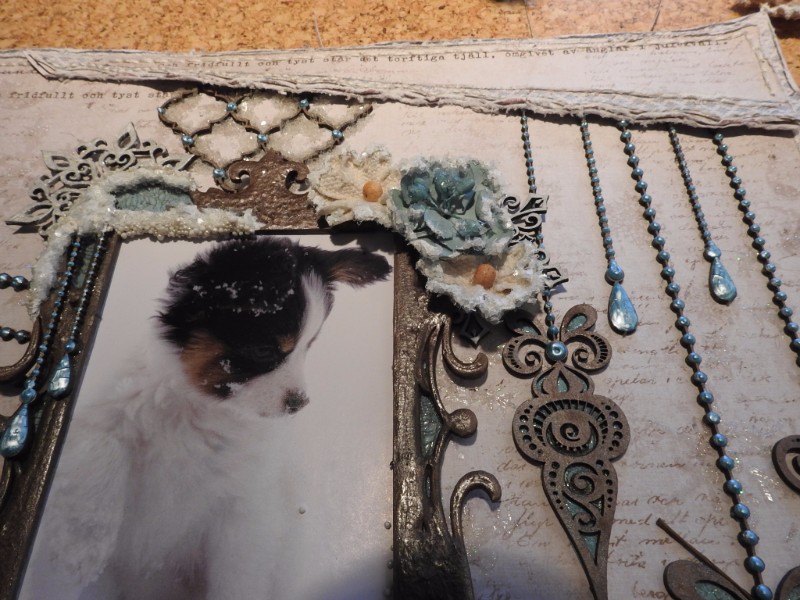
Hello, this is a winter LO I did using Maja Design’s Mood Board for December. I took this photo of one of our Paps “Jona” I also did a step by step photo tut…..

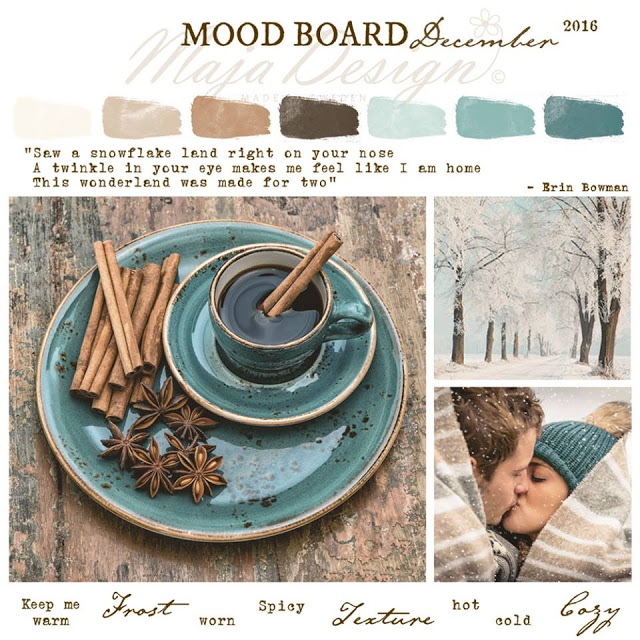
http://majadesign.nu/december-mood-board/
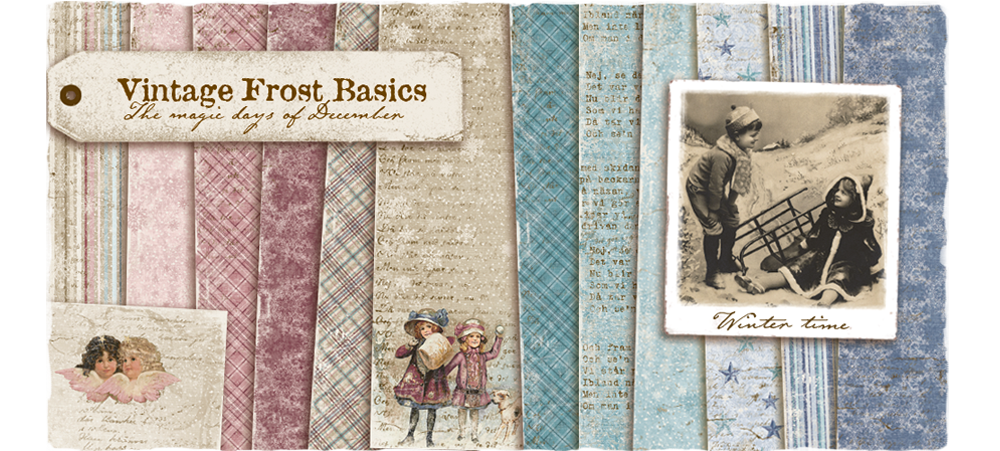

6th of Dec

8th of Dec
The 49 and Market used:
-
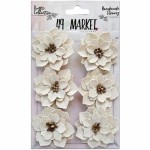
- Rustic Poinsettia Blooms
-
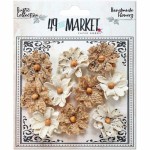
- Rustic Canvas & Burlap Small Blooms
-
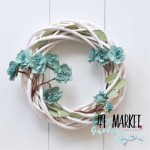
- Garden Blooms-Dusty Shale
The Dusty Attic used:
-
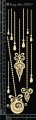
- Ornate Pendants
-

- Beaded Tinsel
-
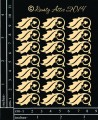
- Mini Holly
-

- ATC Frame #4
-
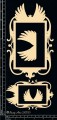
- Winged Frame set
-
- Marrakesh Trellis Small
-
- Mini Script ABC
-
- Dusty in Colour-Oceania
Plus: Dusty Attic Snowflakes
Other elements used: Prills Sage Advice, Prills Mini Pearls, Tim Holtz Snowflake Stencil, Dreamweaver Translucent Embossing Paste, Nuvo Crystal Drops-White Blizzard, Prima Snowflake Paste, Prima Glass Glitter-Pearl, Tim Holtz Clear Crackle, Shimmerz Inklings-Chocolate & Diamonds,Dusty Attic Paint Oceana,Clear gesso, Liquid Pearls-Robin’s Egg, Petaloo Berrie picks & pinecones, Tim Holtz-icicle
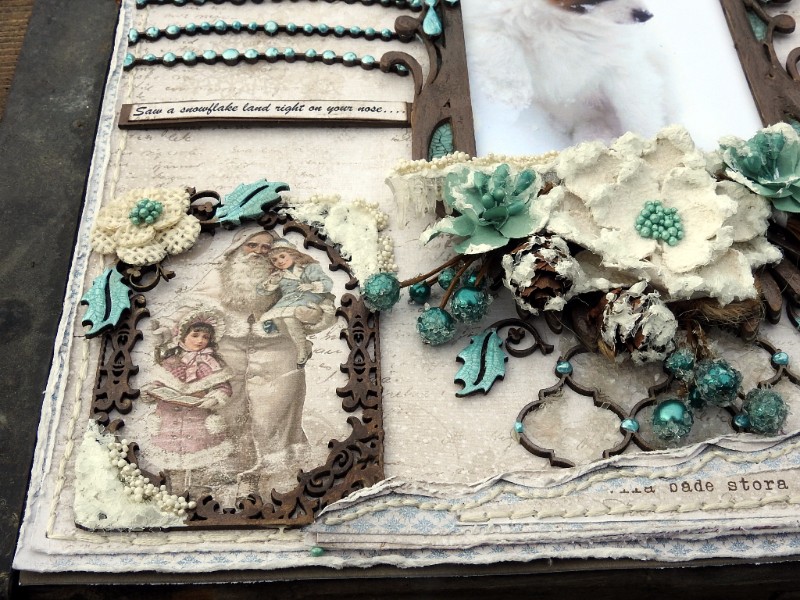
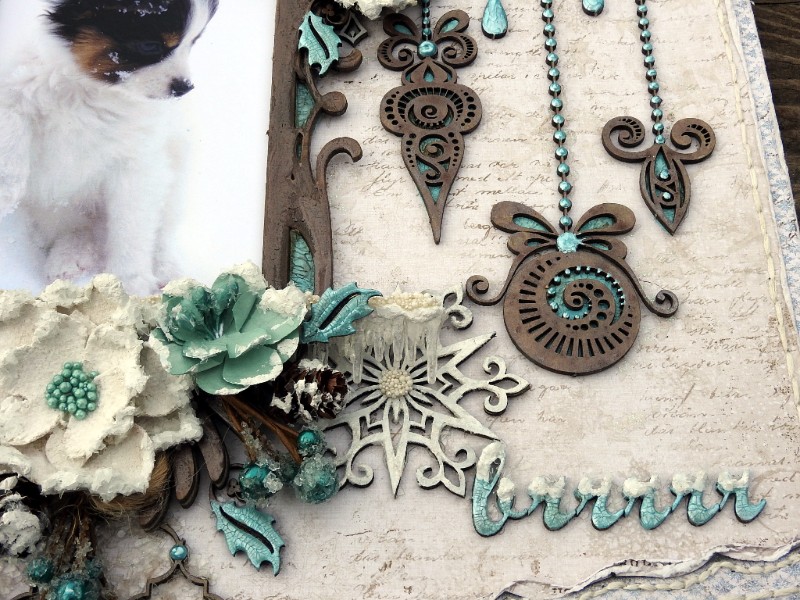
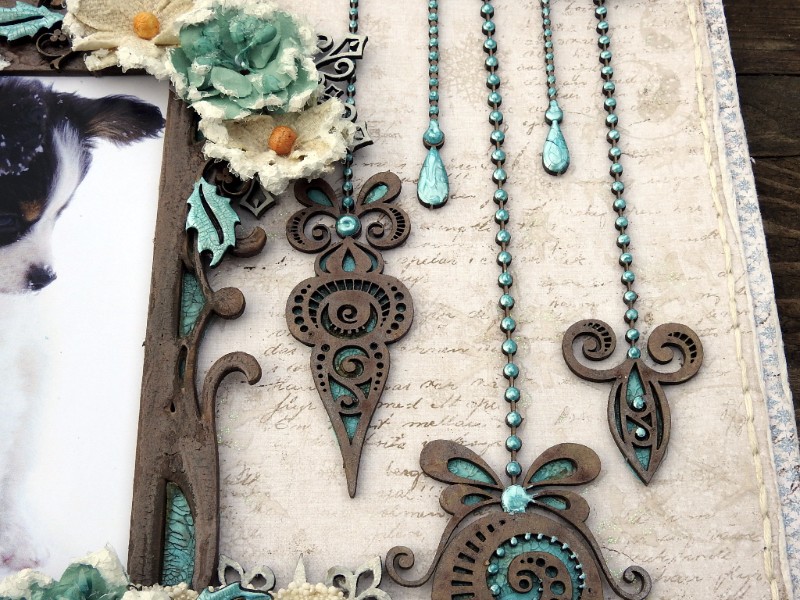
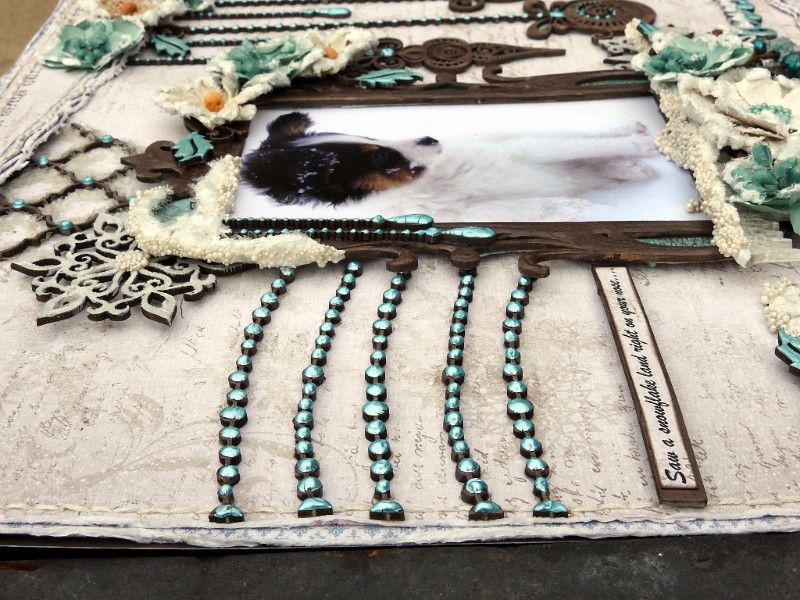
Here are some Close Ups:


Tutorial
Where I live, we get WINTER, snow & cold. Our days are short, & I spend much more time inside our home, so I do more Scrapbooking, in the winter months, to pass the winter away. I love to work on winter LO’s because of the Snow Texture. You may find my tuts confusing, because I do them in the order that I have taken the photos. I have so much on the go, when I am working on a project, plus I have to allow pieces to dry. I do not use a heat gun, I let the pieces dry naturally, either in my front south window, when the sun is out, or my bedroom closest, the smallest warmest room in our home. It has a floor heater, so a placed a rack over top it, & will place pieces of the projects, on that to allow quicker drying…..

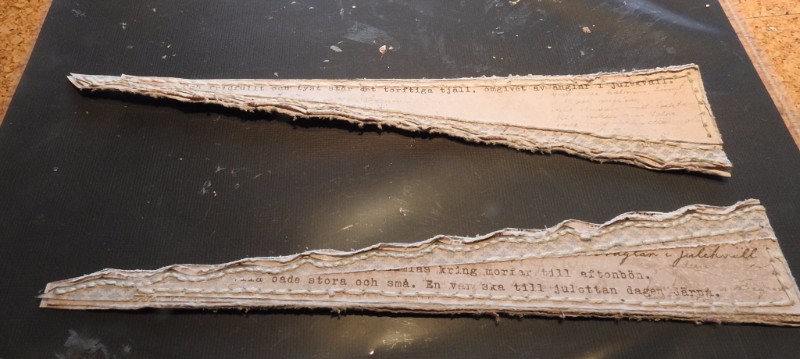
I trimmed the outside edges of the 6th of December sheet, (about 1/8 of a inch),distressed the edges & glued it onto the 8th of December sheet.. I then hand stitched these pieces together…
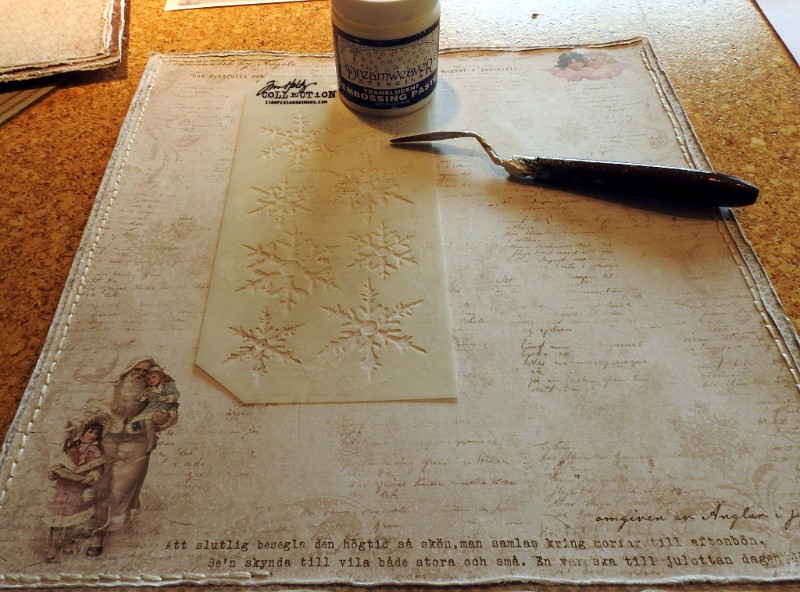
I did some stencil work using Tim Holtz snowflake stencil & Dreamweaver Translucent Embossing Paste
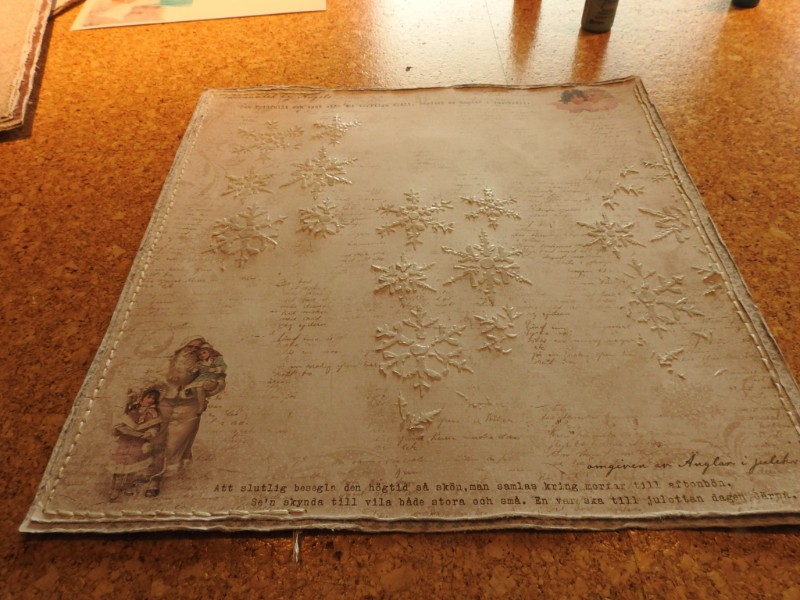
Shows stencil work…
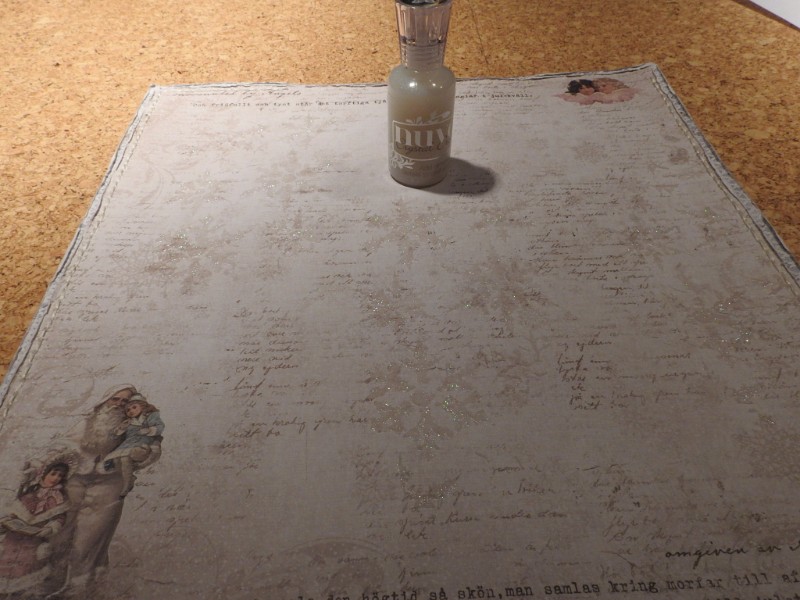
Once the embossing paste dried, I brushed on some Nuvo Crystal Glitter Drops-Blizzard, I love the Translucent paste, you don’t loose the detail in the paper…
I cut out these 2 pieces from the Dec 8th sheet, did some punch work using Martha Stewart Cherish punch, glued on the Dec 6th sheet, hand stitched & distressed the edges….
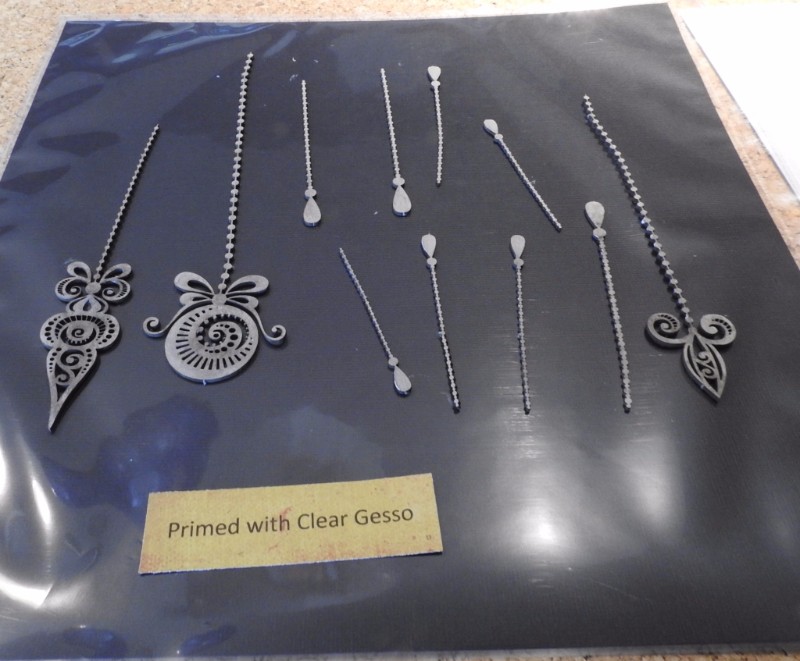
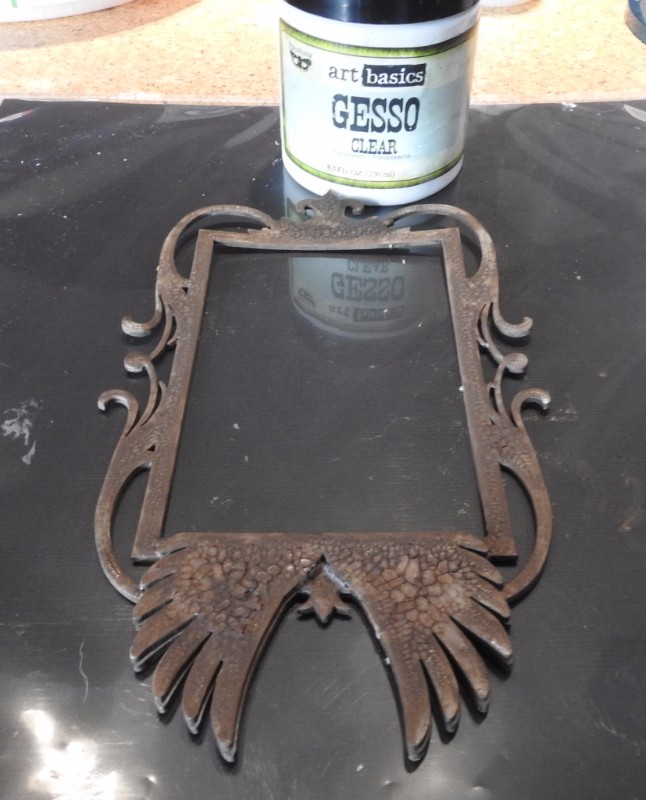
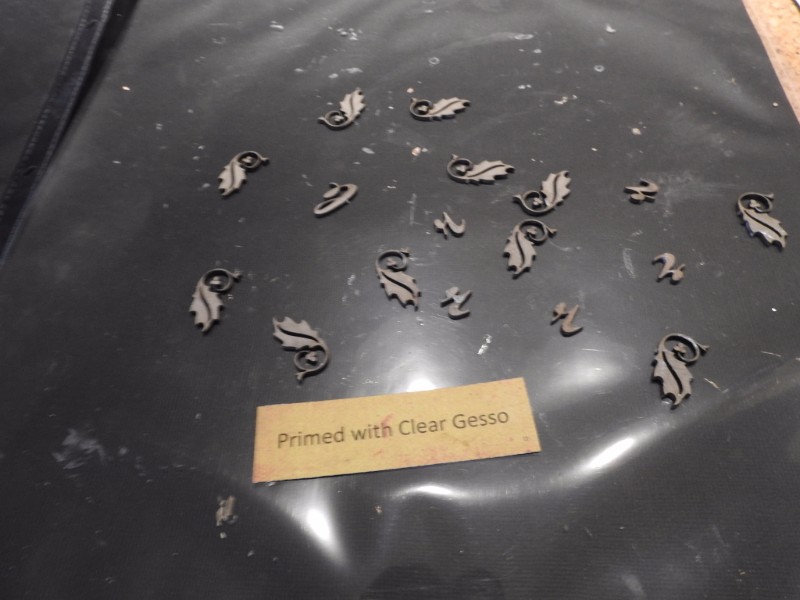
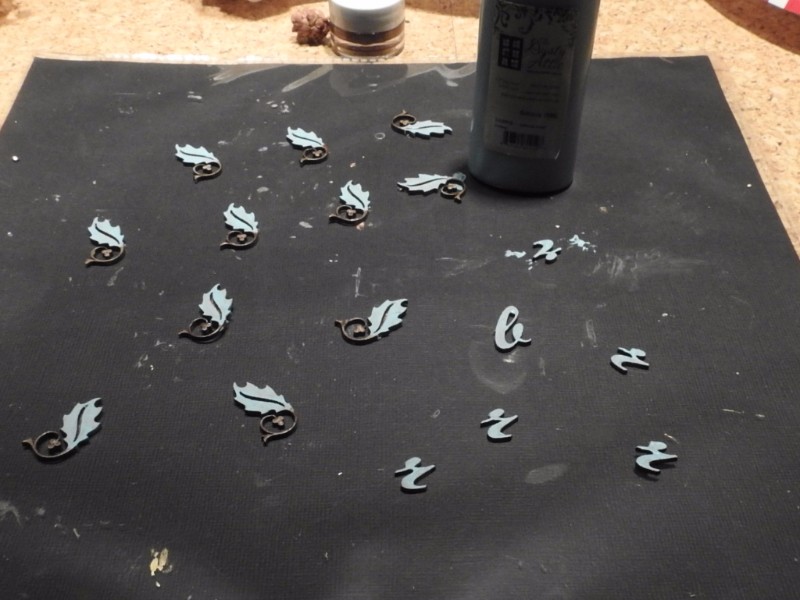
I primed all the chipboard with clear gesso…I do this to make sure the crackle sticks to the chipboard…
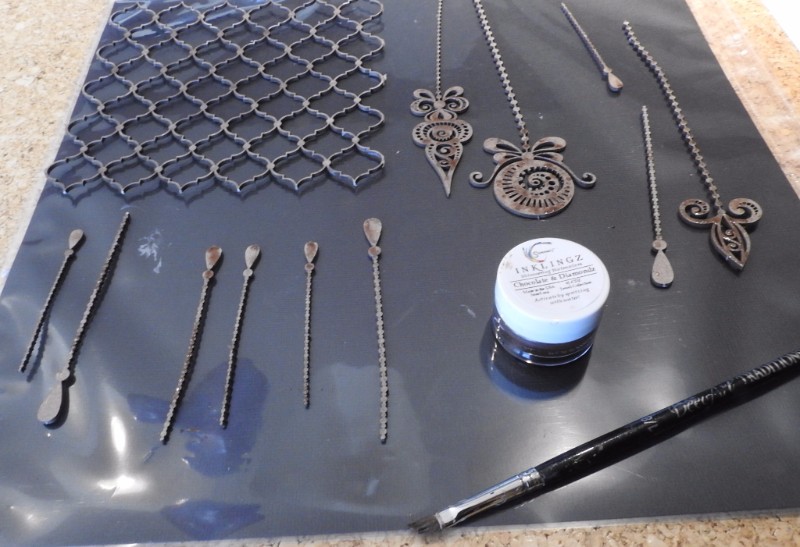
I then pained these pieces with Shimmerz Inklings Chocolate & Diamonds..

Applied drops of liquid pearls-Robins Egg
I painted these pieces with DA paint Oceania, then clear gesso…
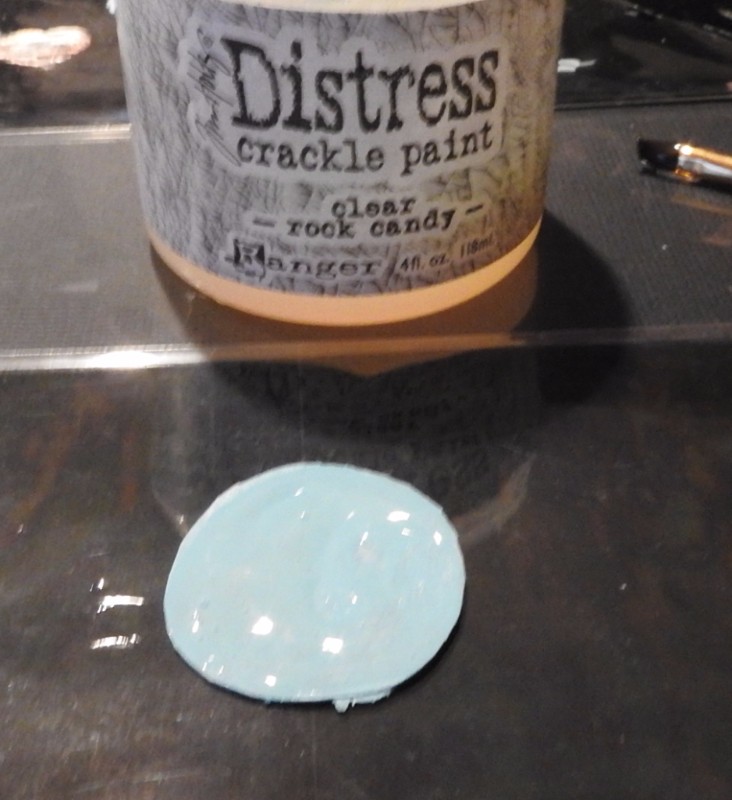
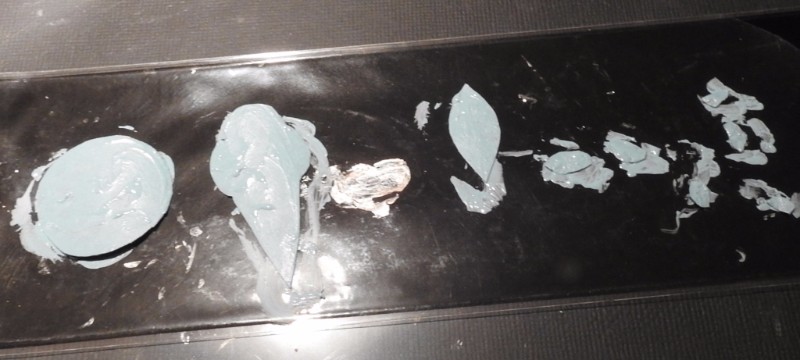
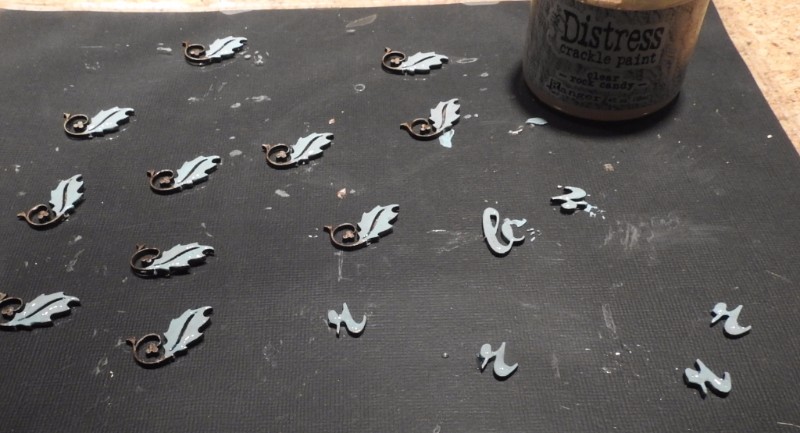
I then applied a thick coat of clear crackle
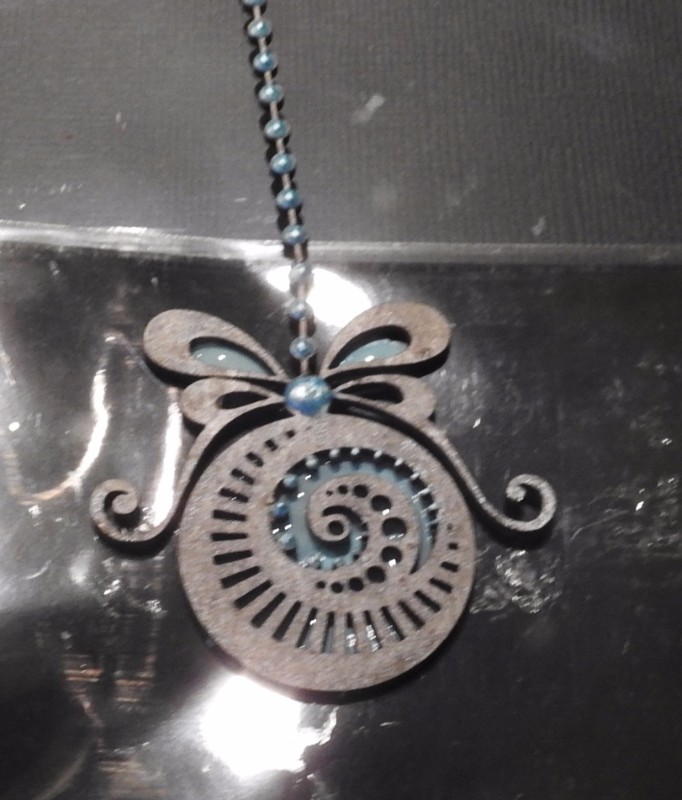
& placed the Ornate Pendants over top the wet crackle
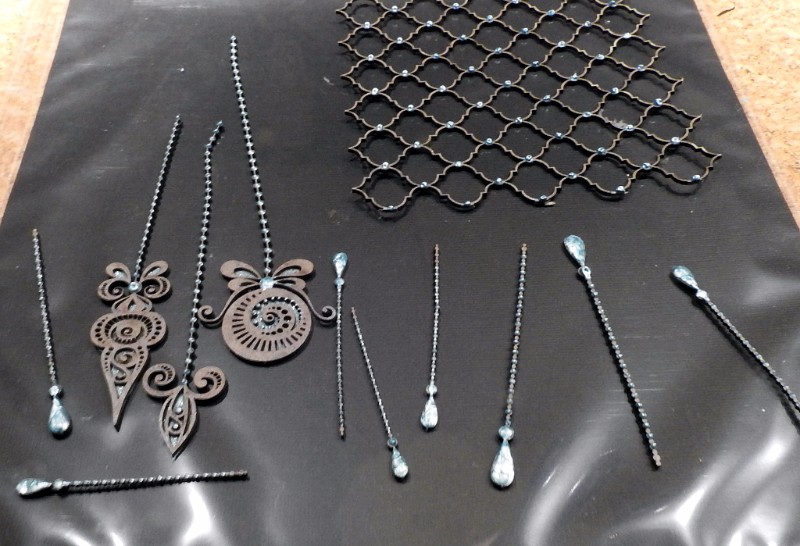
Dry & completed Chipboard pieces…
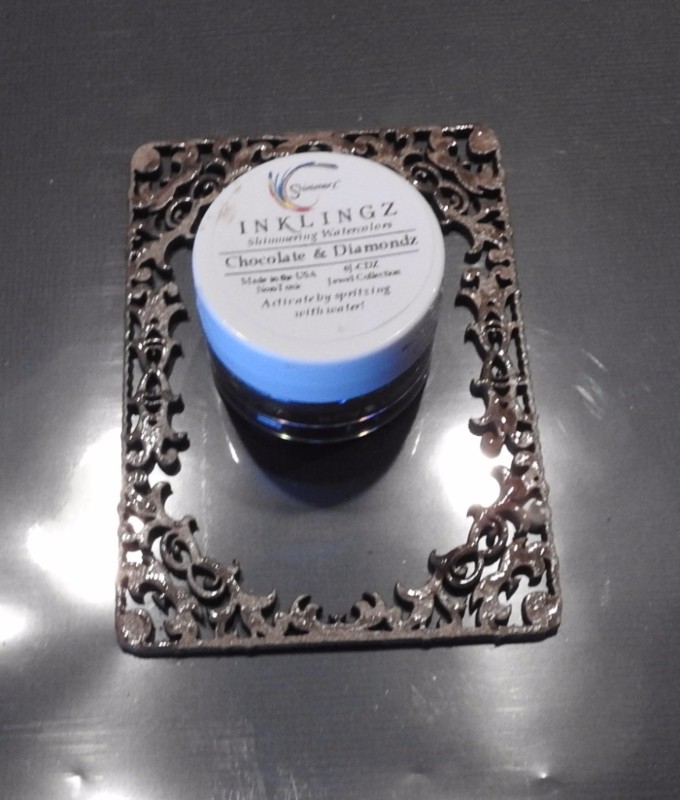
Primed with clear gesso, then painted with Inklings Chocolate & Diamonds
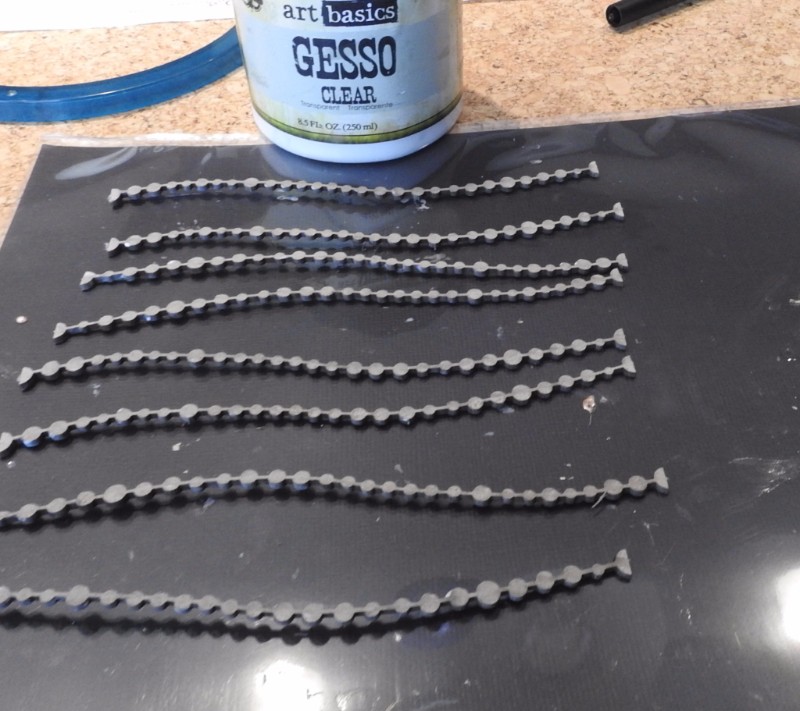
Primed with clear gesso
Painted with Inklings Chocolate & Diamonds
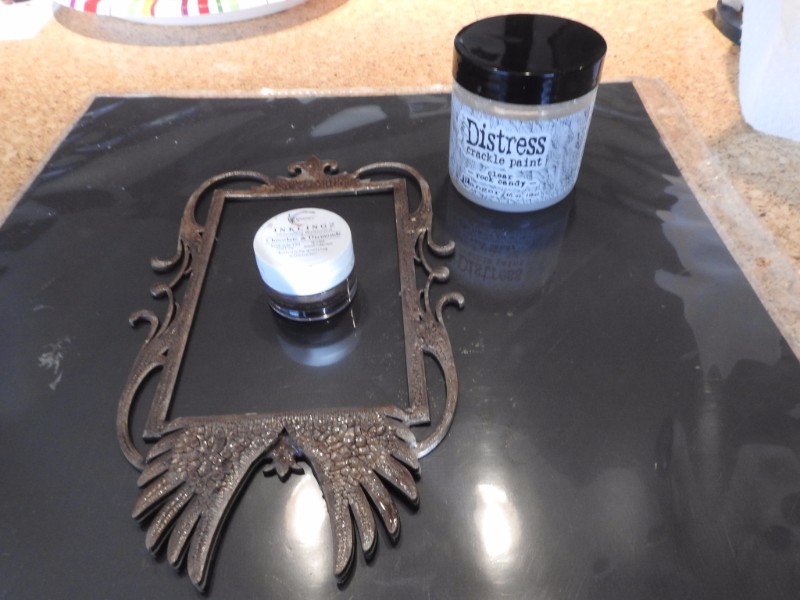
Primed with clear gesso, applied a thick coat of the clear crackle, then once the crackle dried I painted the Winged Frame with the Inklings Chocolate & Diamonds
I applied 2 coats of clear gesso, to seal the color, so it does not bleed through the snow texture….
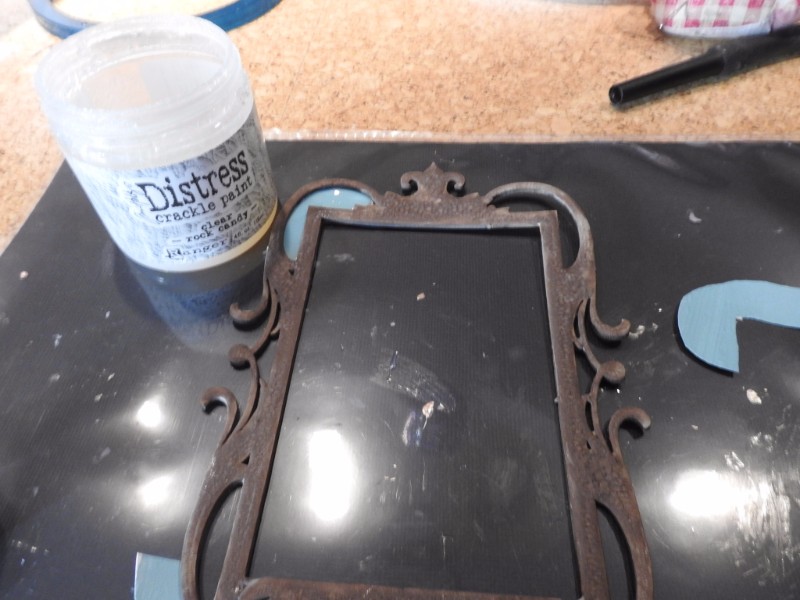
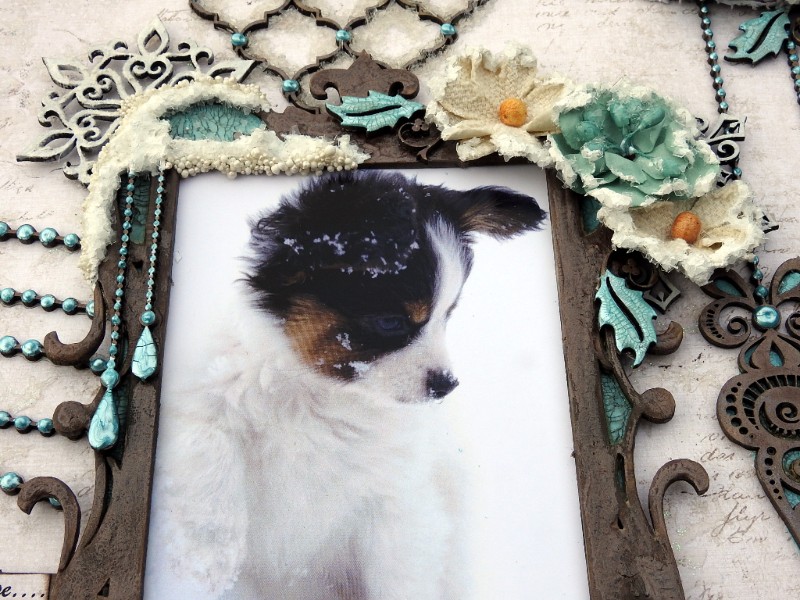
I did the same to the frame, as I did with the Ornate Pendants…

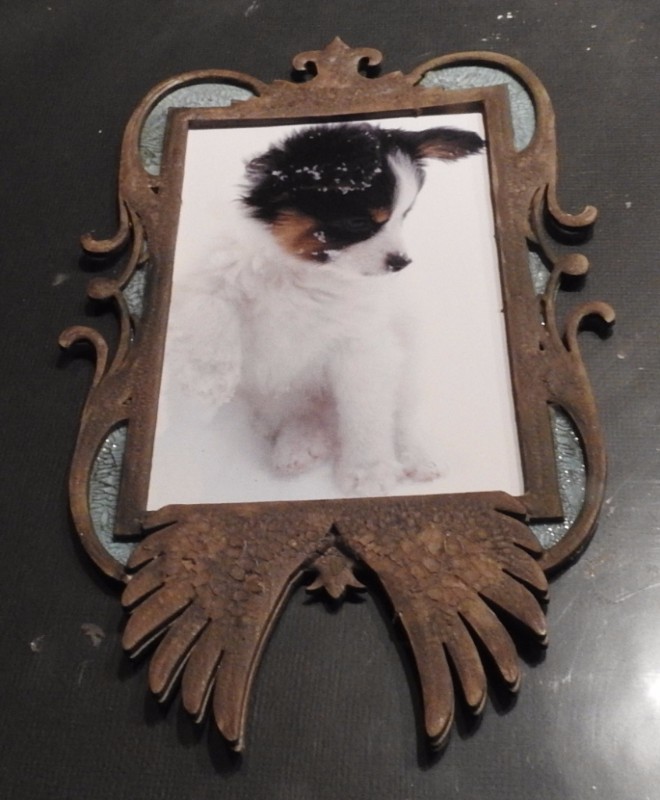
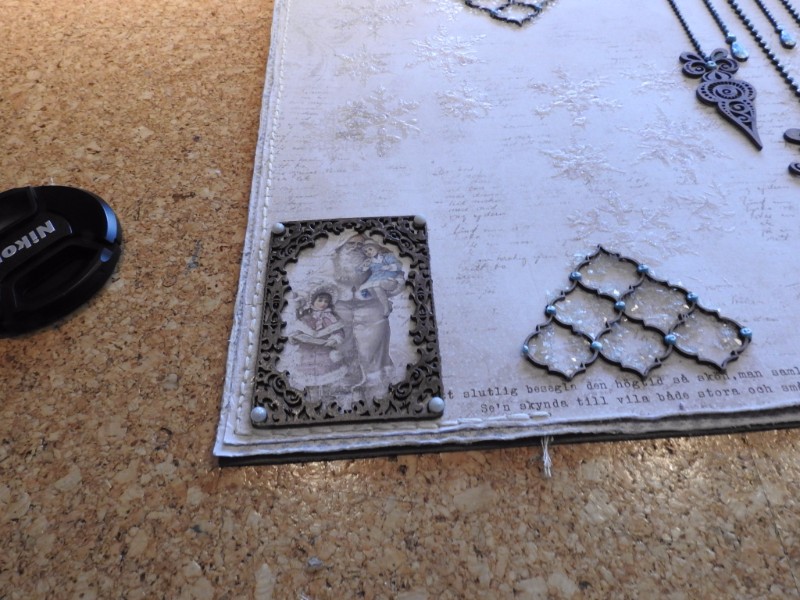
Glued the Photo under the frame…

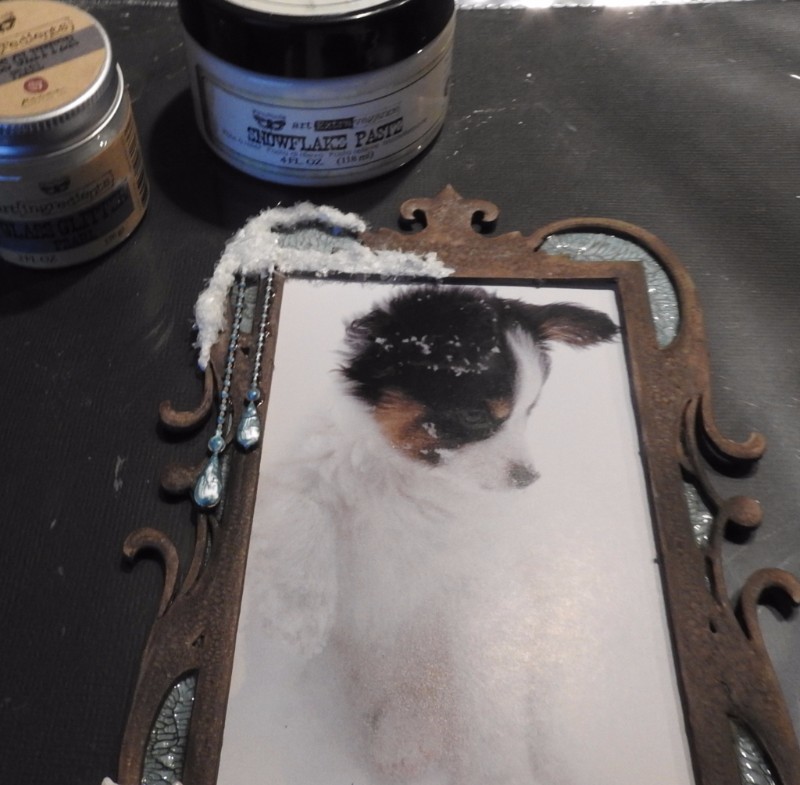
Glued on the pearl dangles & Tim Holtz icicle
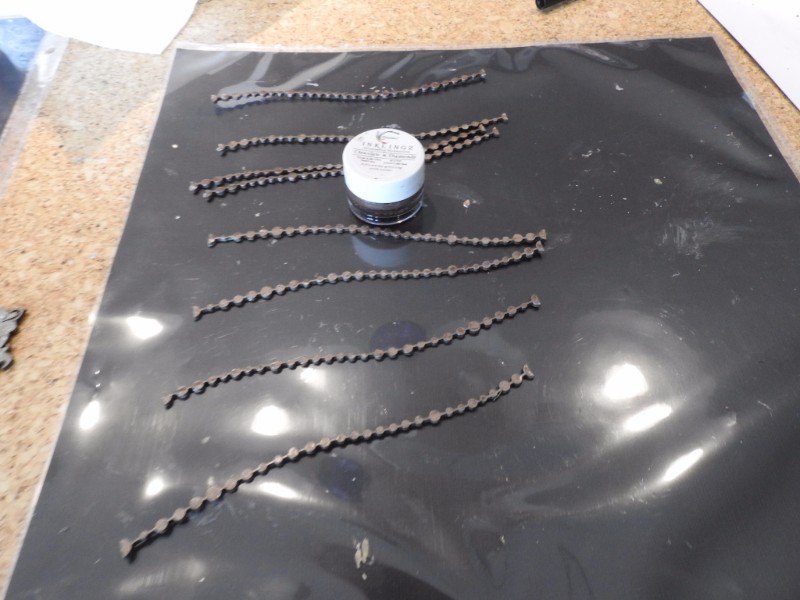
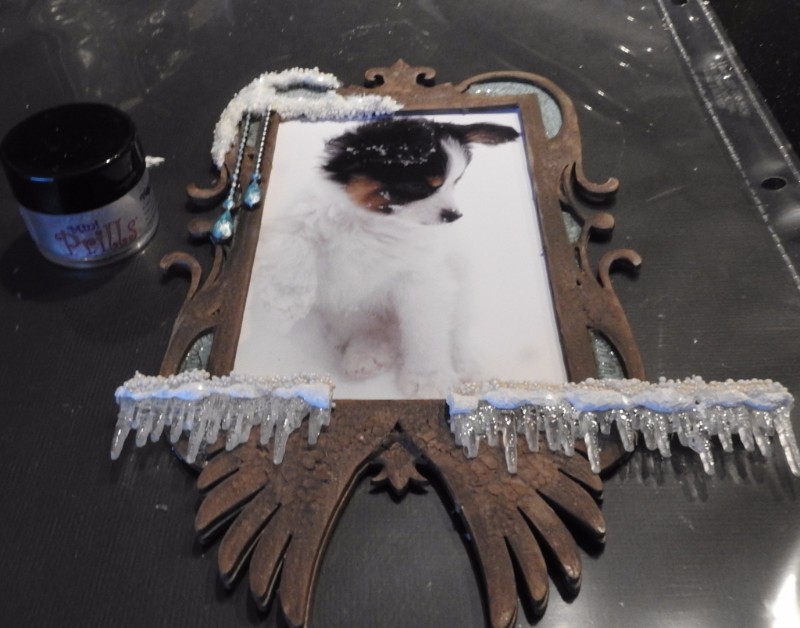
Using a brush I applied Prima Snowflake paste, sprinkling on Prima glass glitter while the paste was still wet. I do not like the snowflake paste by its self, it comes to life with the glitter….
Primed
Painted with the DA Oceania
Applied clear crackle

Once the crackle dried, I painted these pieces, with the Robins Egg, Liquid Pearls…
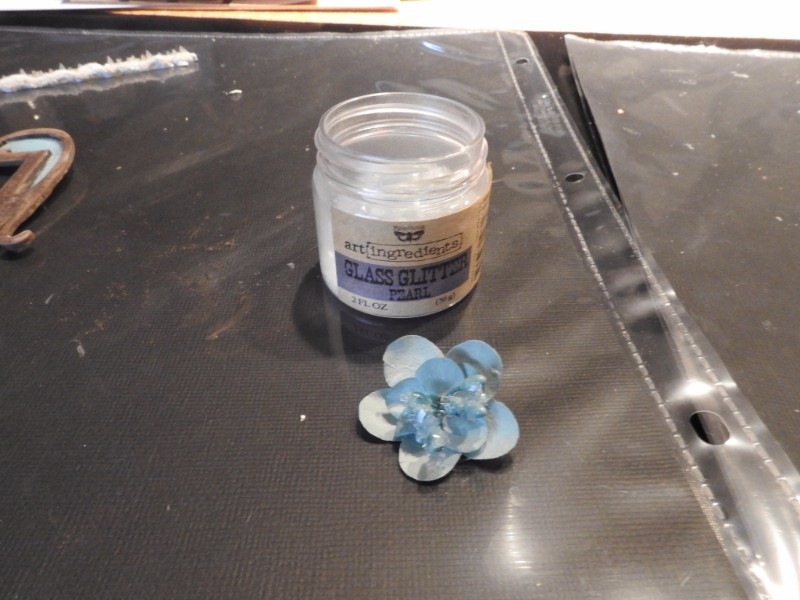
I painted the flowers with LuminArt H20 Heavenly White, to give them shimmer. I also glued on some of the glass glitter on to the flower centers…

I changed the flower centers on all the canvas, burlap blooms, using Prills Sage Advice. I then applied snow texture & glass glitter to the outside edges of all the flowers….
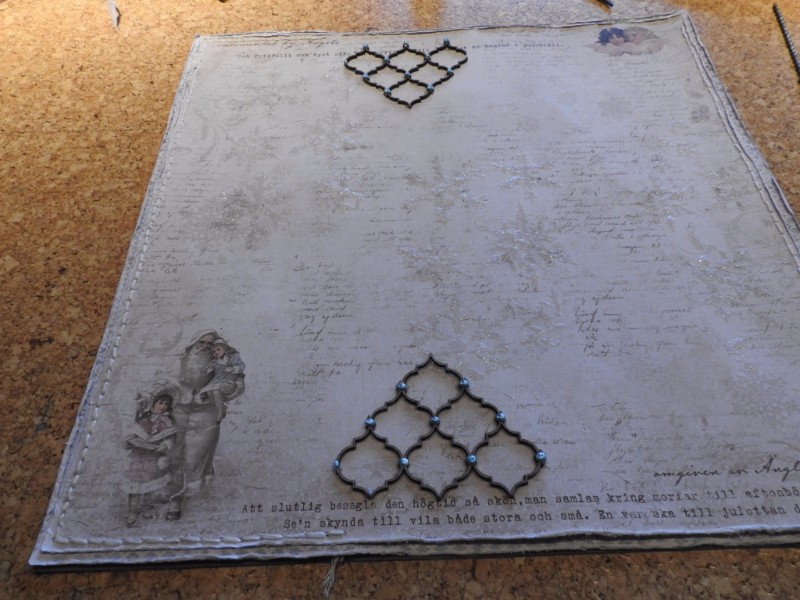
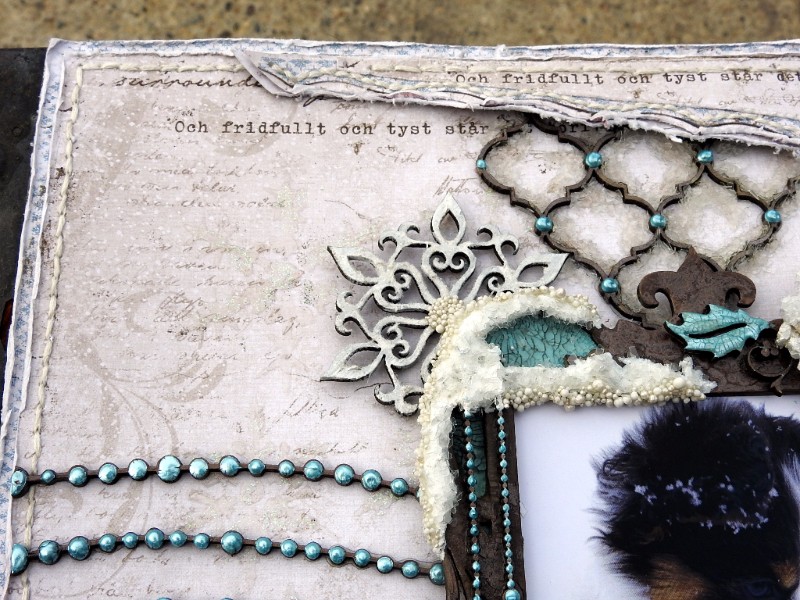
I glued down the Marrakesh Trellis…
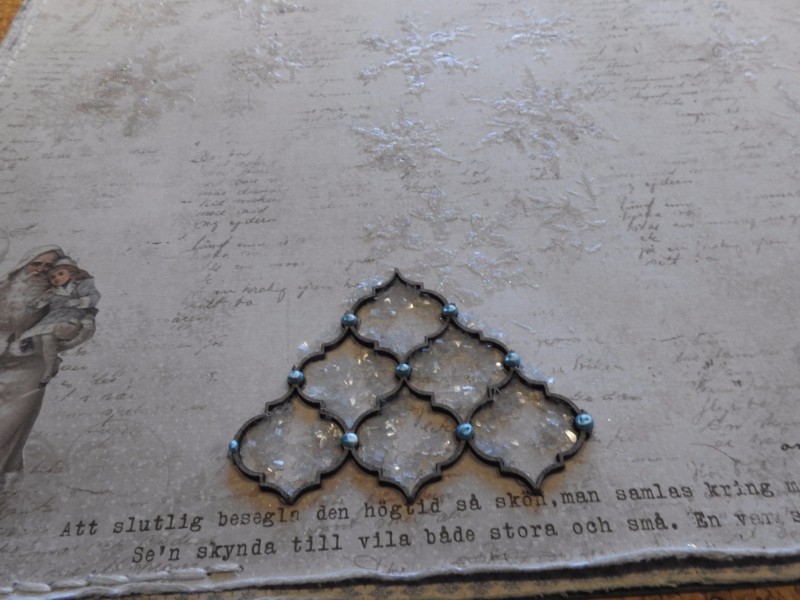
Placed drops of glue, I use Ranger Glossy Accents, it dries fast & holds…Sprinkled on some glass glitter…
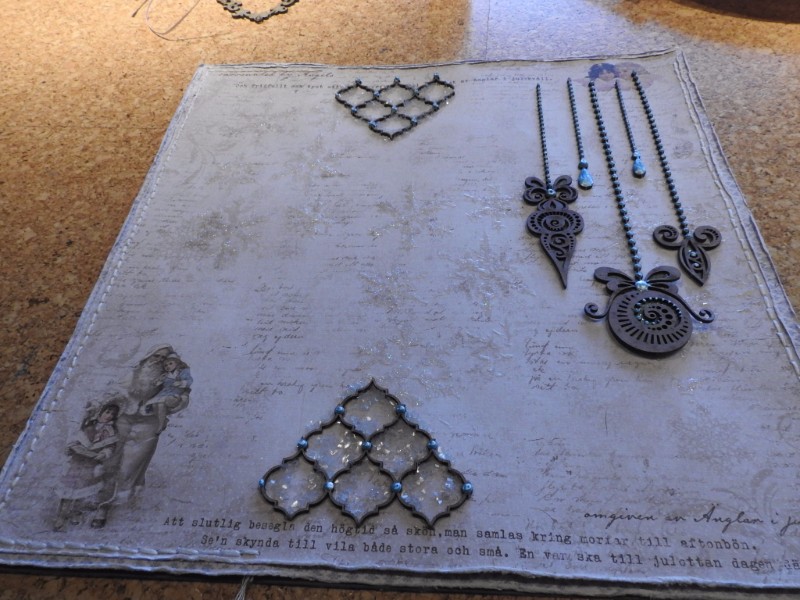
Glued on the Ornate Pendants…
Glued on the frame…
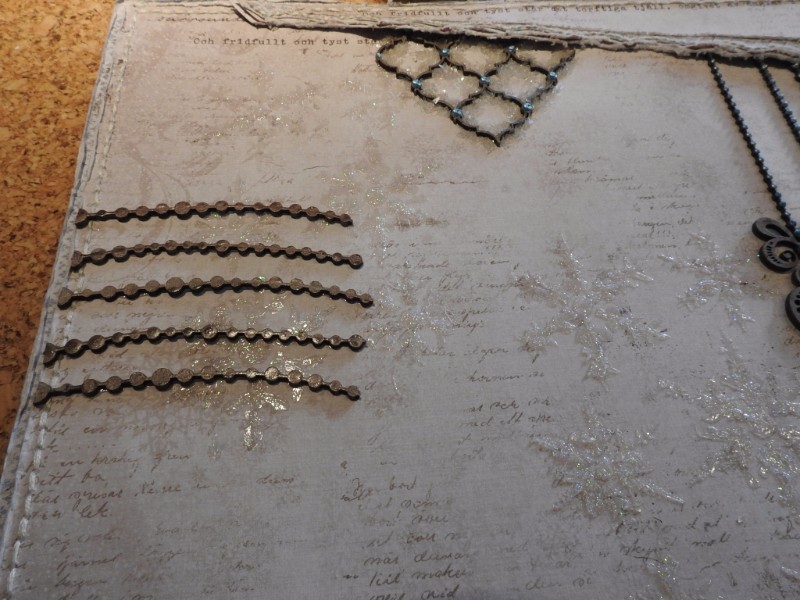
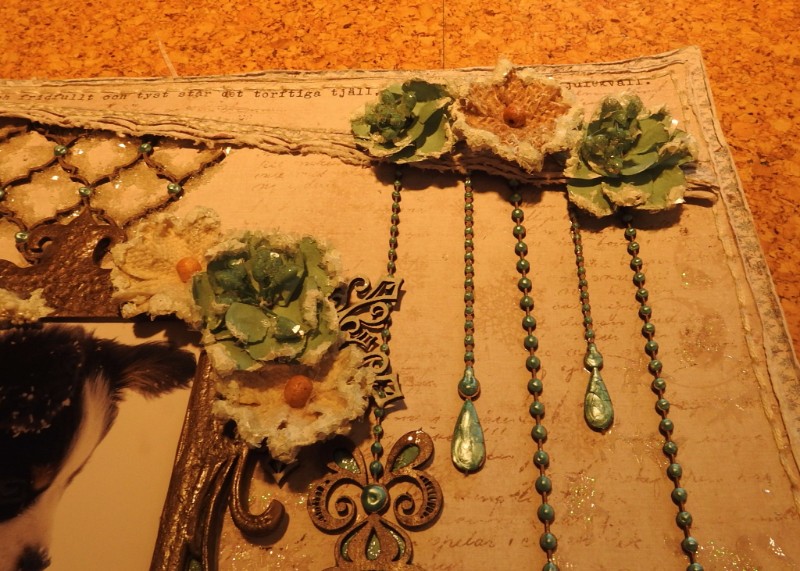
Glued on the beaded tinsel…& the top part of the LO…
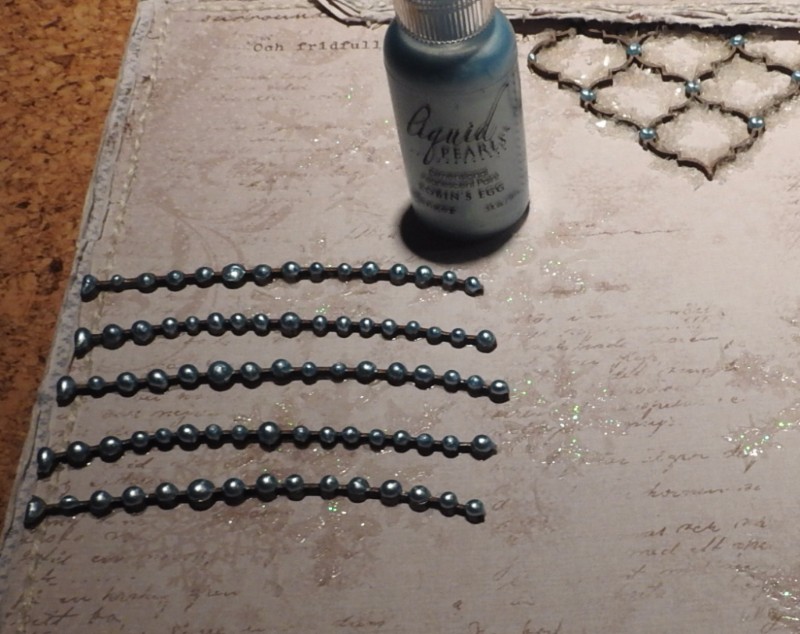
Applied drops, of the Robins Egg Pearls, to the Beaded Tinsel….
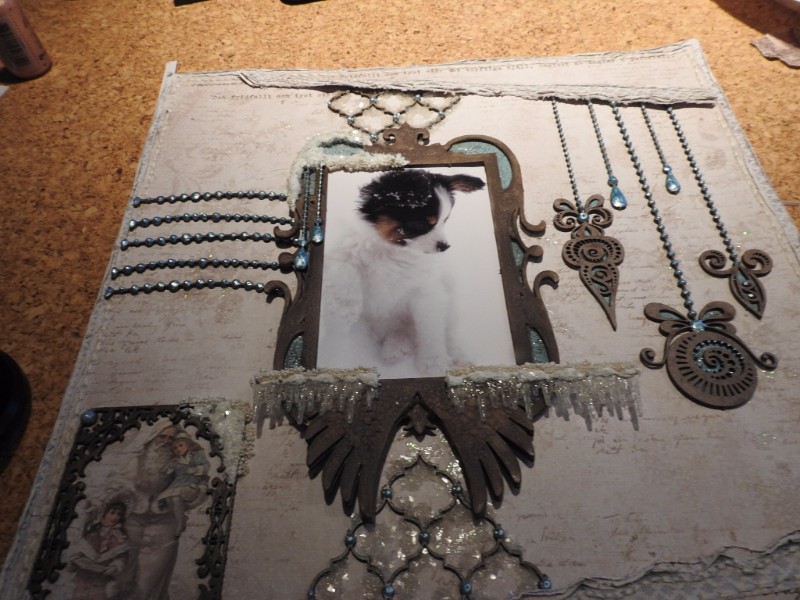
Glued on the framed photo…
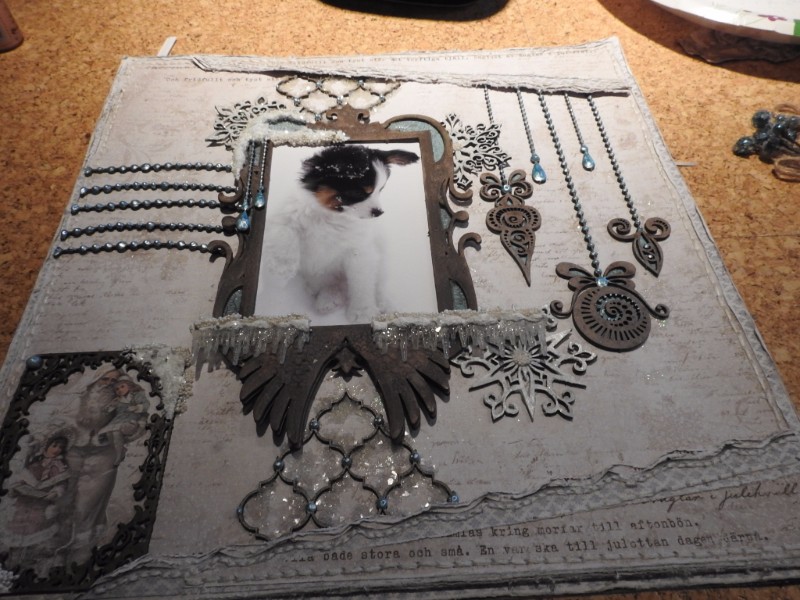
Glued on Bottom part of LO & Snow flakes… I primed the snowflakes with white gesso, then painted them with the clear crackle, & once the crackle dried I painted them with the LuminArt, heavenly white for the shimmer…
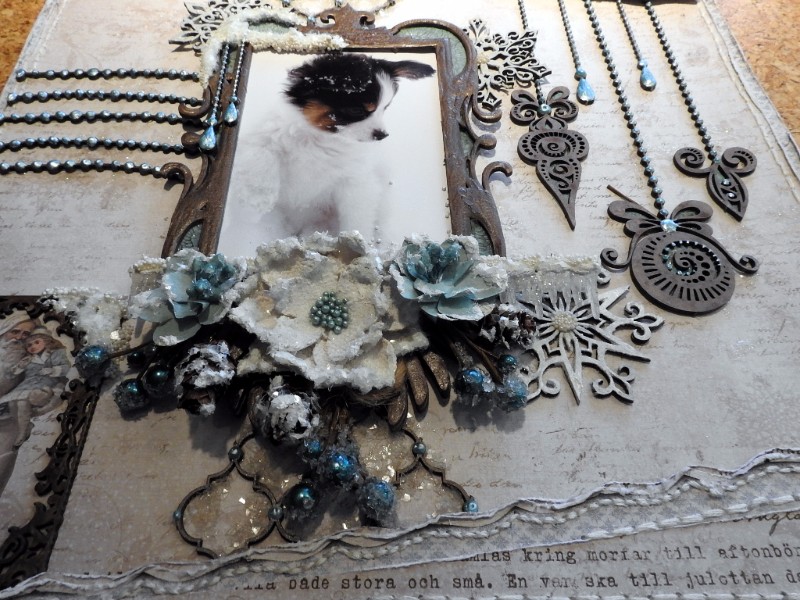
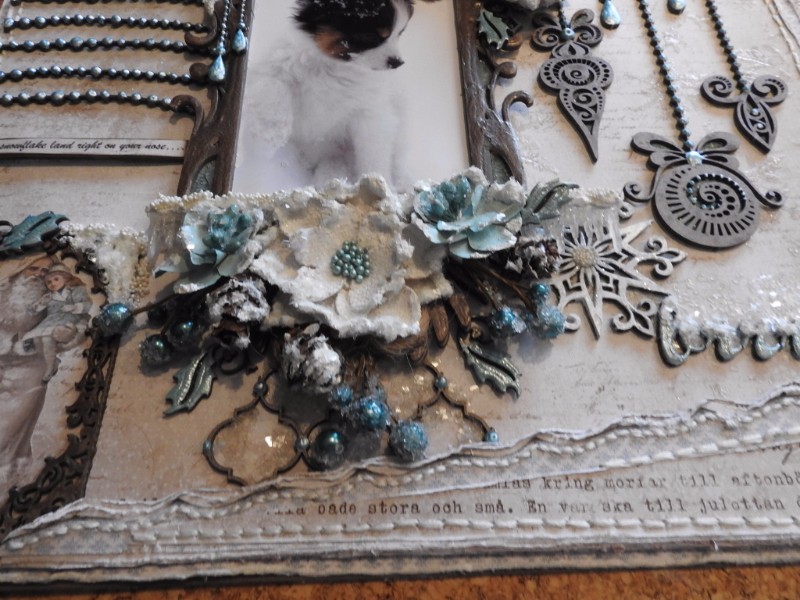
Started this cluster using 49 and Market Rustic Pointsettia Canvas Blooms, Garden Blooms, Petaloo Berry Picks & pinecones. I picked the small pine cones, cut off the bottoms to make them smaller, then sprayed them with a acrylic sealer. I also applied the snow texture & glass glitter on to the pine cones…
I painted on another coat of the Inklings Chocolate & Diamonds on the frame, for the Shimmer & Started a cluster here…
& here, top right corner…
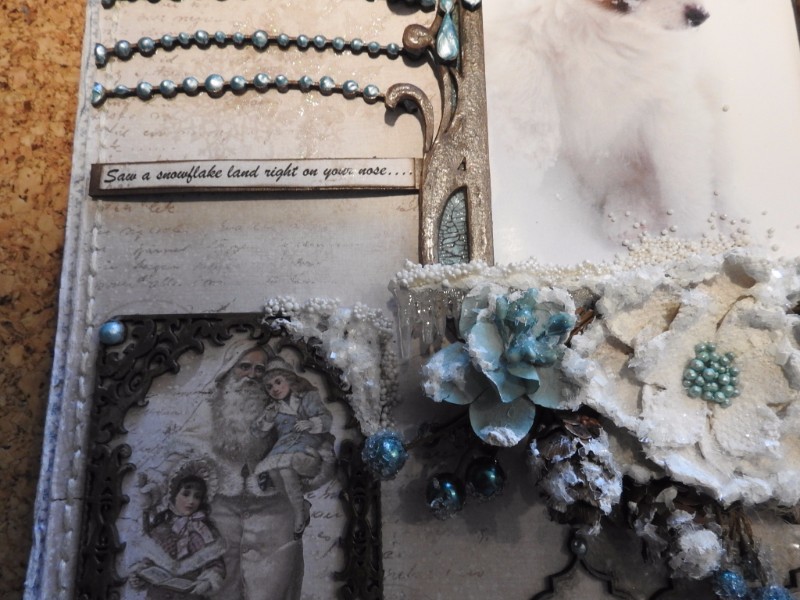
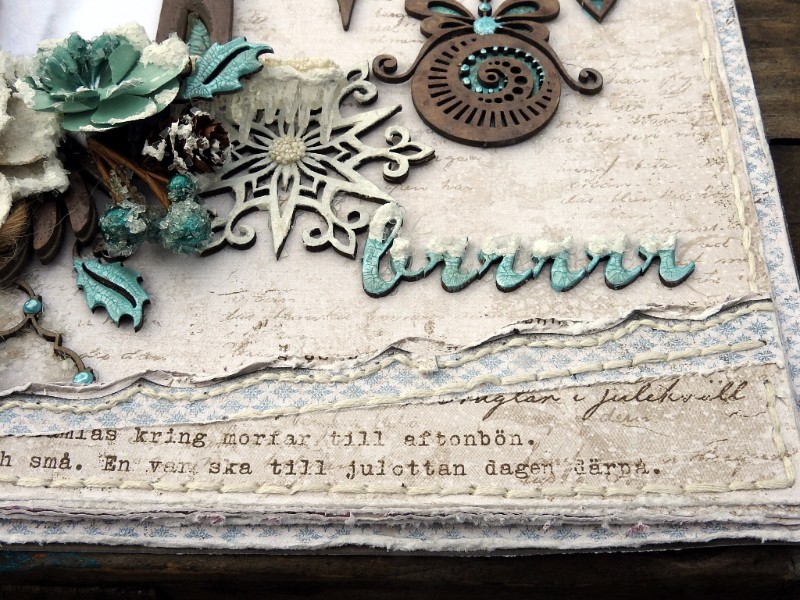
Added this printed piece that I took from the Mood Board…Also glued on some Prills-Mini Pearls onto the snow texture…
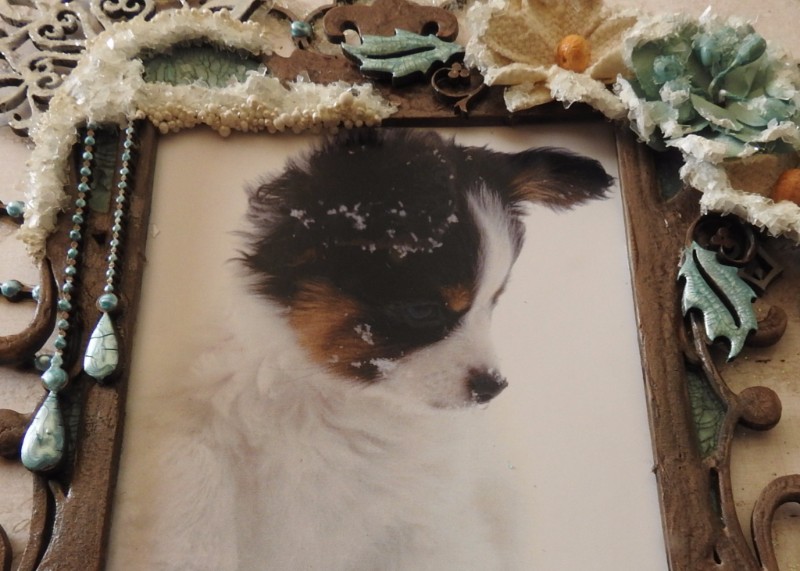
Shows the droplet on Jona’s nose…
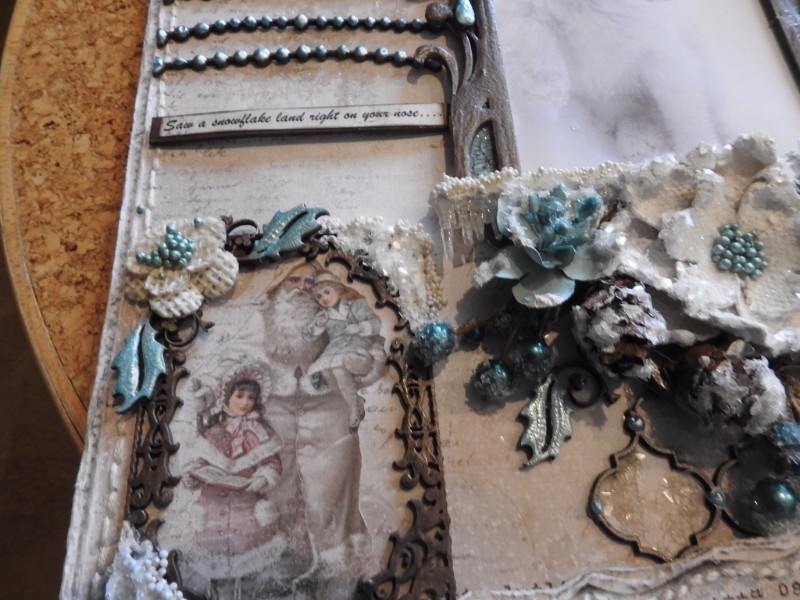
Added a flower cluster over the Santa Frame…
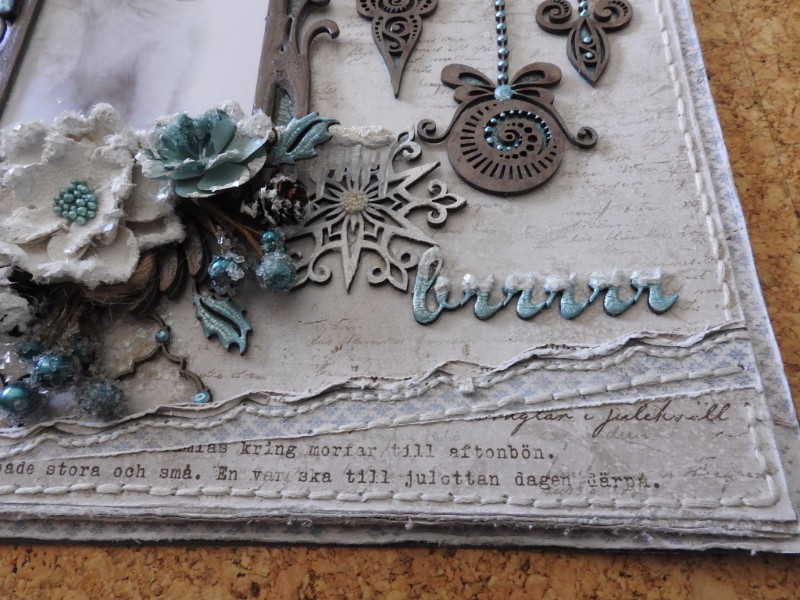
Added the title….
added the mini holly into the cluster…

& into these clusters….
I have also done another photo tut, for my next post on Dec 24.
Thank you so much for taking the time to look….Rachelle
![]()
3 Comments
Rachelle you did a fabulous job on this LO. Gosh…. I love all these details. And thank you for your long very easy to understand tutorial. Thank you so much for shaking your creative work. It was very inspiring.
Hugs from Monica
Spain
Really, really beautiful <3
WAUW this is sooo soooo beautiful Rachelle, I absolutely LOVE it. Normally I´m not soo much into ordinary LO´s, but this really hit me right in the heart and I fell completely in love right away. And thanks so much for the amazing tutorial for how you made this, it´s truly amazing and sooo cool and easy to follow. Thanks soo much for sharing this.