Welcome Baby Shaker Card

3

Posted by Maja Nowak

10 October, 2019 - , , ,

Write a comment

Good morning, dear Maja Fans, welcome to the blog today 🙂

I really love the look of shaker box projects. They offer some dimension and fun elements and are simply interesting to look (and play!). But I seldom make shaker box cards. And when I decided to make a welcome baby shaker card, I was quickly reminded why.
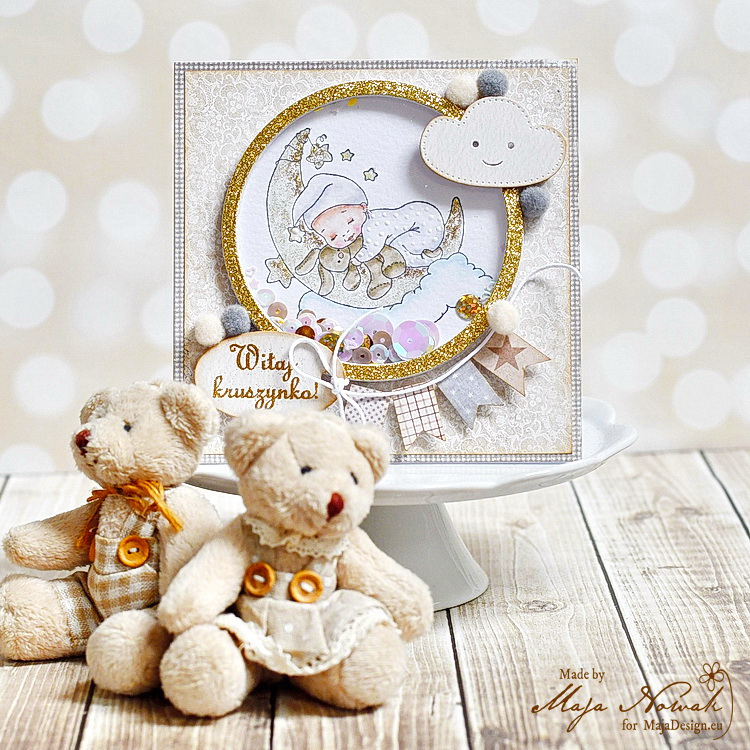
First of all, it’s easy to make shakers with square or rectangular shapes, but not so easy with other, even as basic as the circle. The capsule must be sealed tight so that the contents of the shaker do not fall out. I made many of shakers using adhesive foam squares, but with round shapes they might still leave tiny gaps, so I decided to die-cut round frames and stack them up to make the shaker box, thinking it would save me some time. Boy, was I wrong! To make a 0,5 cm high frame I had to die cut 8 pieces and then glue them one by one together. By the fourth layer the frame started to get crooked no matter how precise I tried to be! The frame is pretty thin, so that was the problem. But finally I managed to create a more or less even frame.
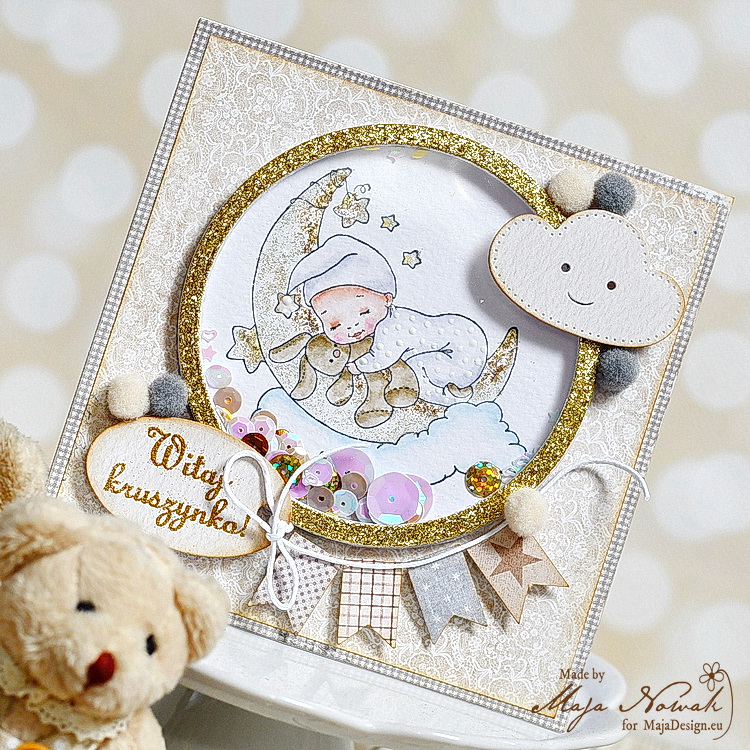
The next problem appeared with the window. I use thick laminating foil for my shakers and with smaller elements I never had any problems, but with this pretty large window the sequins I put in were jumping out or clinging to the foil due to the static electricity. I used soem anti-static spray to deal with it, some also use anti-static powders or pads that are designed for embossing. Finally I was able to assemble my card 🙂
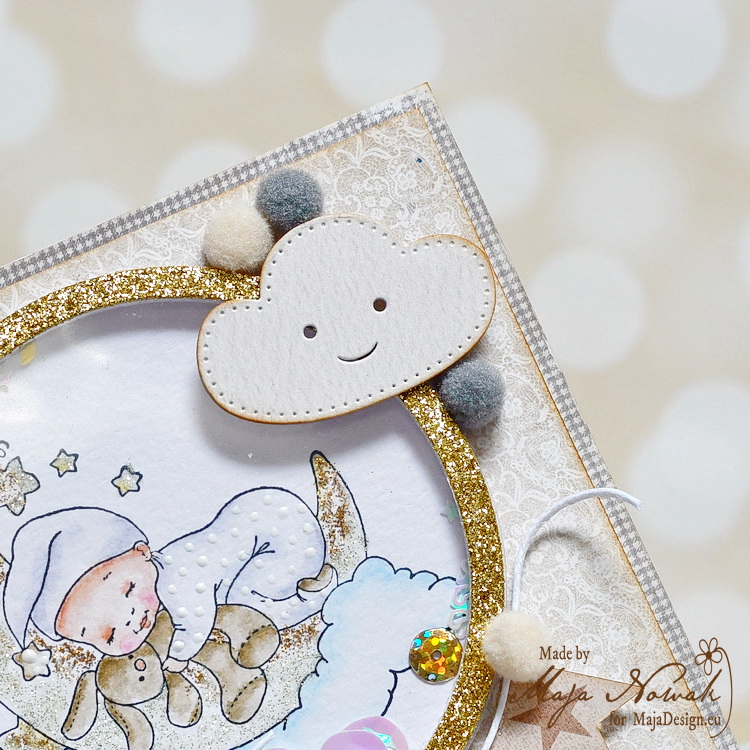
I kept the design very simple so that the shaker remains the main focus. I only added some more die-cuts and a couple of pom-poms to decorate the frame and added a stamped and embossed sentiment.
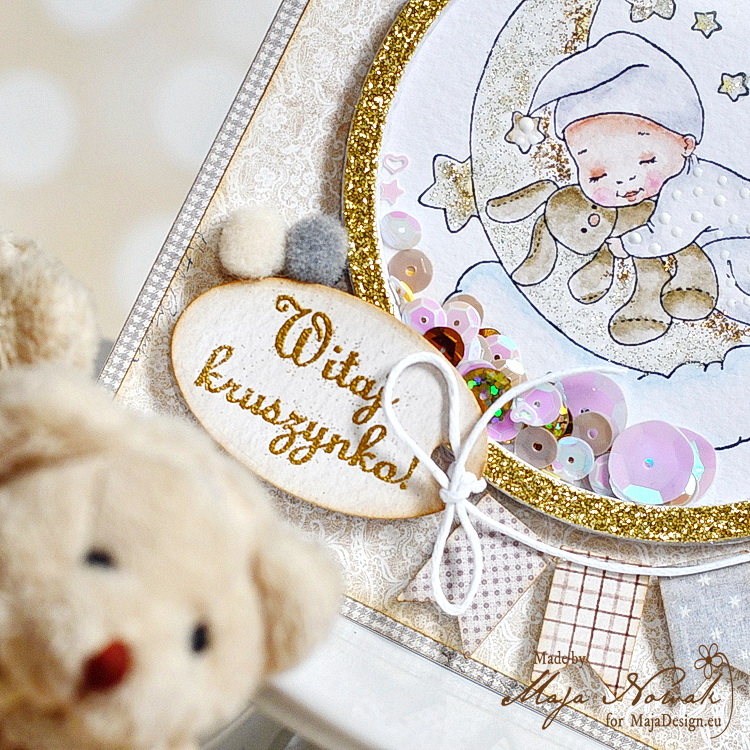
The image inside the shaker is coloured with Kuretake Twin markers. I accented the details with glitters to get an ombre effect on the moon:
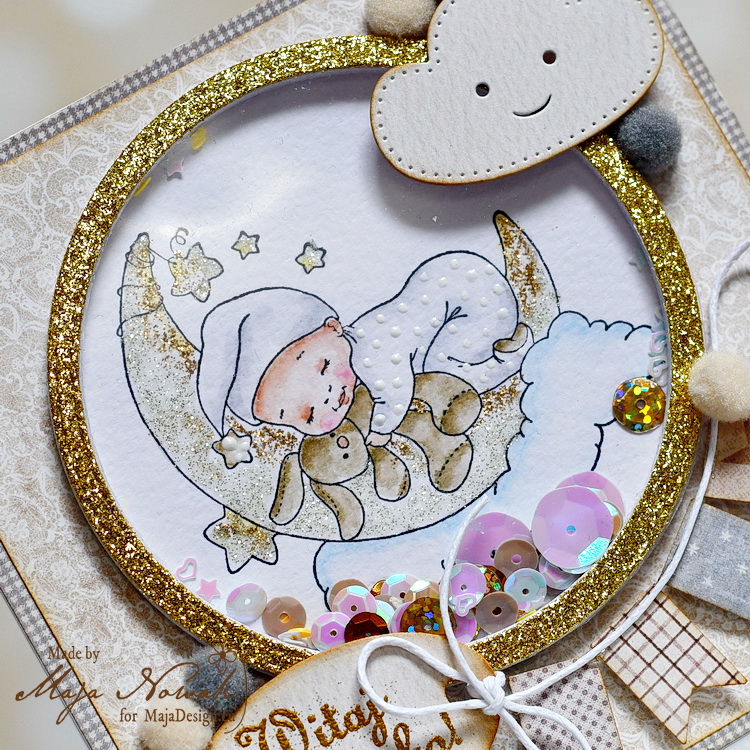
It wasn’t easy, it wasn’t quick, but I still like the result. Do you? 🙂

The list of supplies:

Maja Design papers:

Other: stamps: Whimsy Stamps, Lemonade; dies: CreaLies, ScrapMan; pom-poms, glitter cardstock: my stash.

Do you make shaker box projects?

That’s all for today, thank you for visiting and drop by tomorrow!

Merry Christmas

0

Posted by Kerstin-Inga Peters

23 December, 2017 - , , , , , ,

Write a comment

Welcome Maja friends!

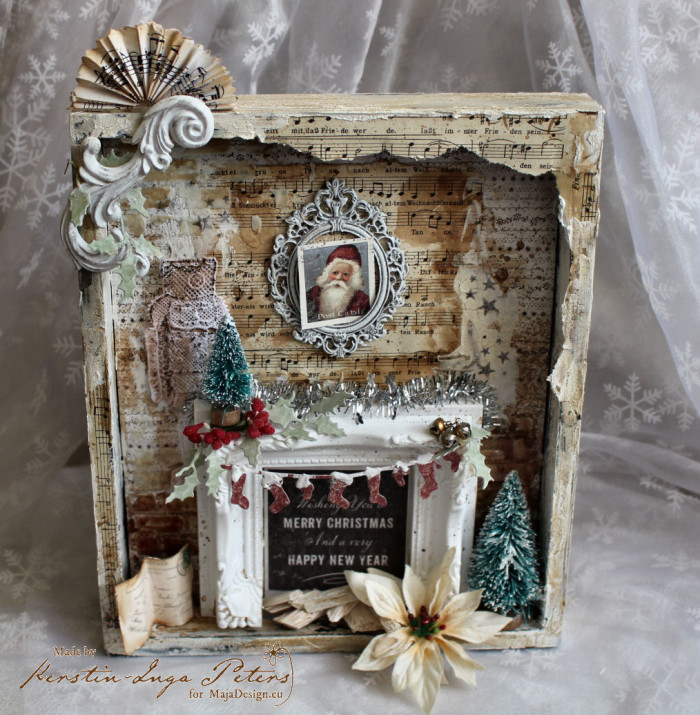
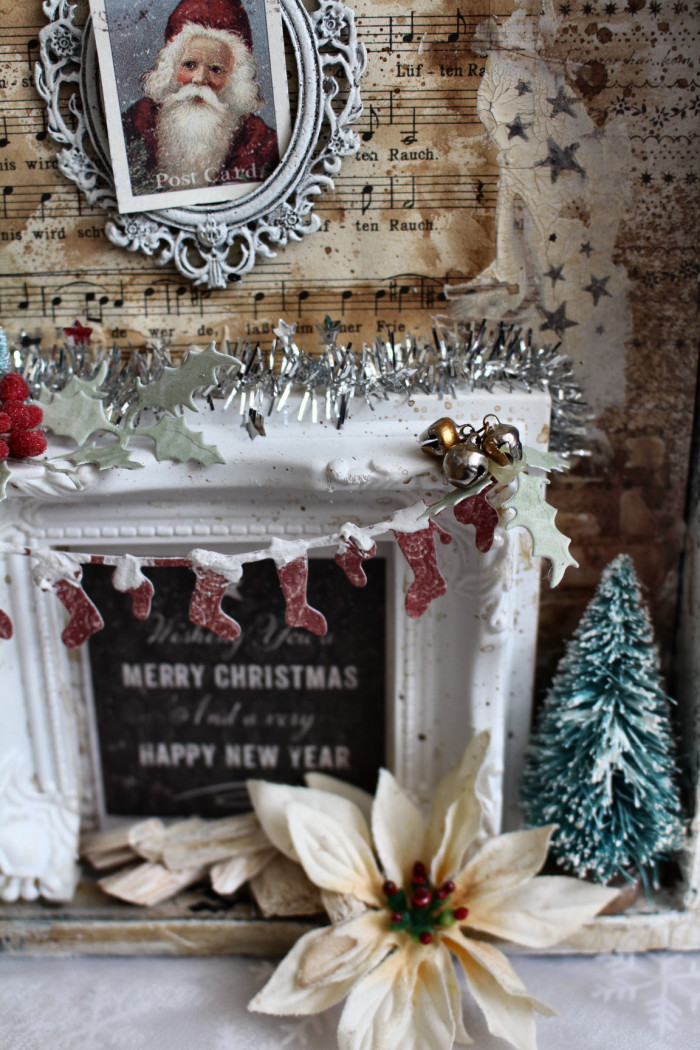
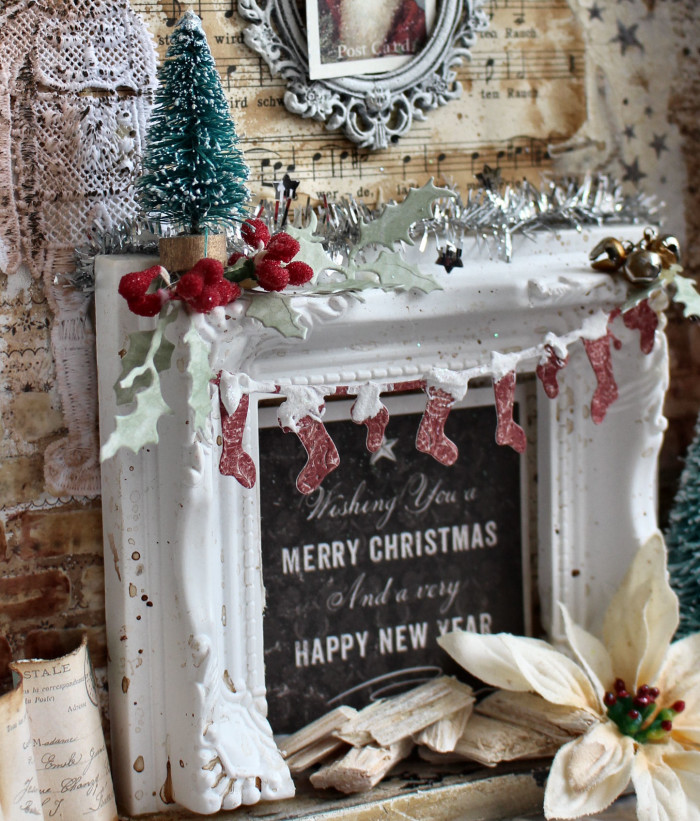
I love fireplaces especially on christmas time, it’s a wonderful tradition to hang up socks for every family member. Unfortunately I haven’t a fireplace and so I decided to make this in a small format.

IMG_3990

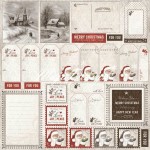
I used papers from various christmas/ winter collections from Maja Design

Joyous-Winterdays-P

  Its-Christmas-time-P
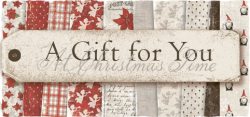
A-gift-for-you-P

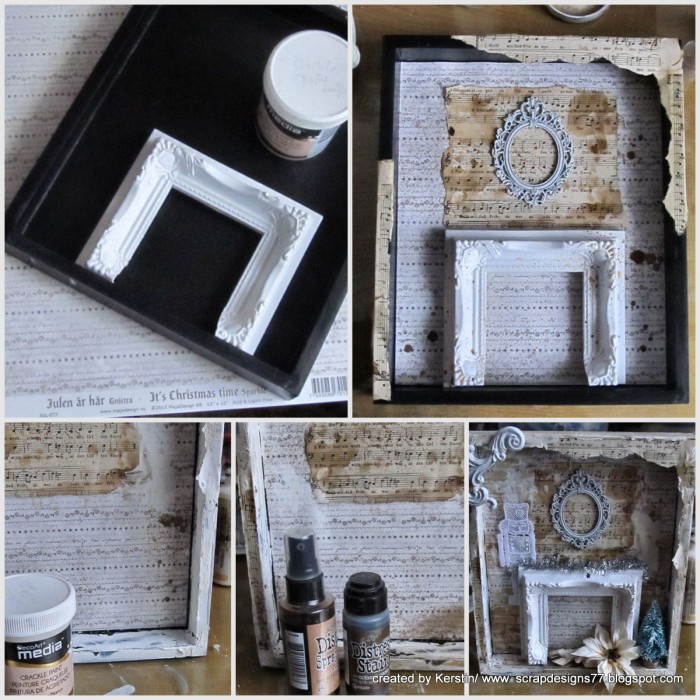
Want to see how they are made? Here I have some photos from the making.

Steps and tips
2017-11-07

As basic an old black wooden frame and the ‘Gnistra’ paper sheet as wonderful neutral background

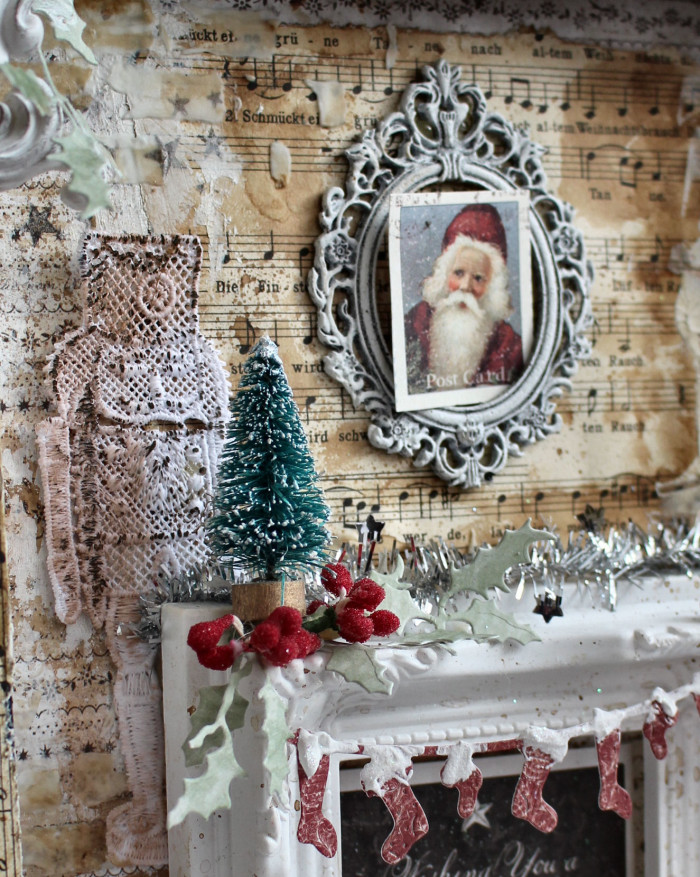
added with some torned pieces from old music paper, inked with Distress walnut stain

the highlight was the fireplace.

I saw some months ago an idea on Pinterest where a simple plastic frame was used,

I was impressed and went in search for the right frame.

I found this in a One Euro Store, the frame was square

and so I just had to remove the bottom part

really simple, but a cool effect!

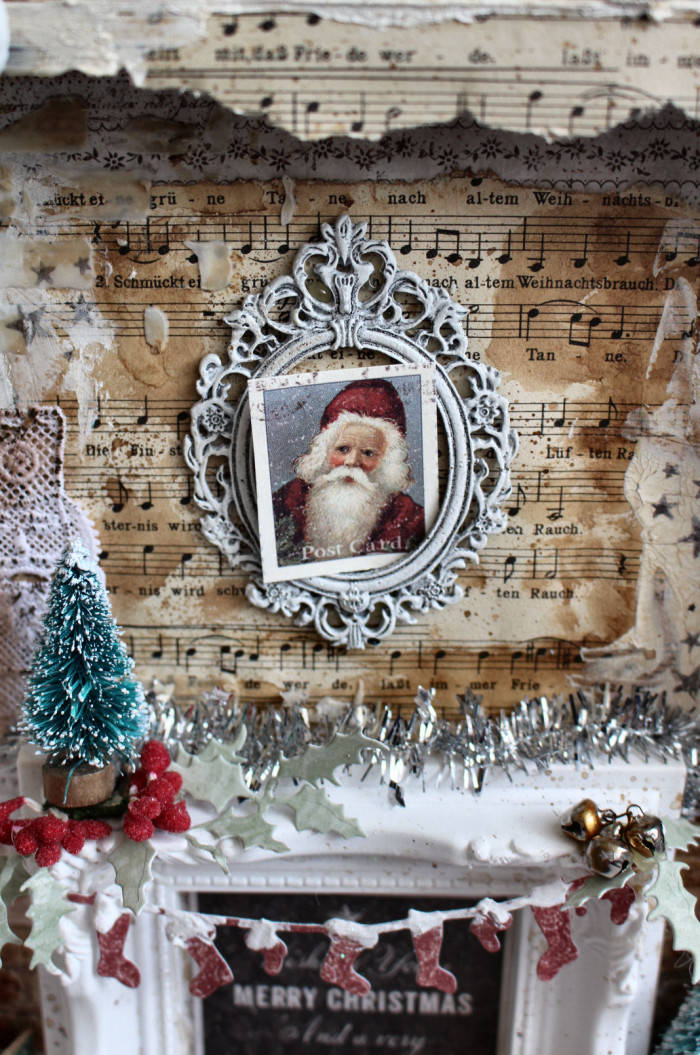
 some close up’s

IMG_3994

some dies with Maja papers – Hanging socks, Holiday leaves

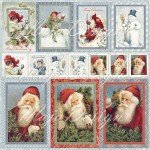
a Santa portrait from ‘Emphera’ Joyous winterdays, as picture in a shabby chic metal frame

IMG_3995
IMG_3997
christmas wishes from Die cut sheet – A gift for you
IMG_3997a
I hope you like this christmas inspiration!
If you want more inspirations with Maja Papers
than have a look on my blog 🙂
My best wishes for you and your families!
2017-12-19
Kerstin-Inga-sign

Time for Snowmen and Christmas

0

Posted by Jennifer Snyder

16 October, 2017 - ,

Write a comment

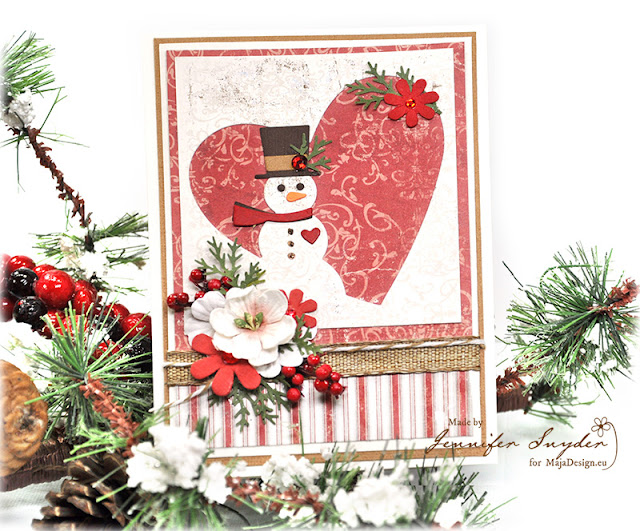
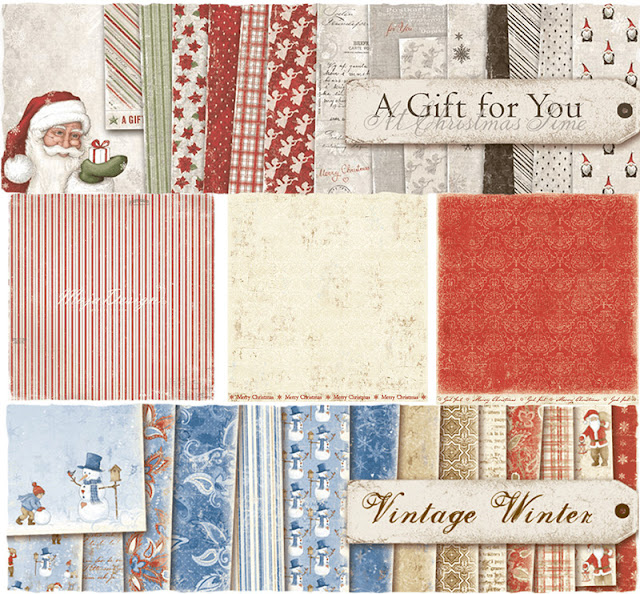
Hello Maja Design friends.  Jennifer Snyder here to share a Christmas card I made by combining two Maja Design holiday collections: Maja Design – A Gift For You and Maja Design – Vintage Winter .

I love that the collections can often be used together.  That’s part of the magic of Maja Design.  It’s  always fun when you can make the most of the products and paper you purchase.  That’s the added value of Maja Design collections.   While some of the papers in the Holiday/Christmas collections certainly have images that are “themed ” for the holidays, the B sides of the papers offer prints that can be used for any occasion.
 The papers I used are shown in the image above and are as follows:
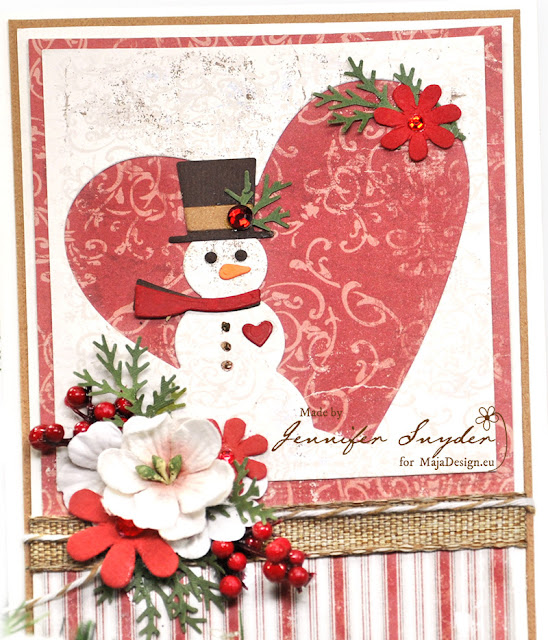
My darling snowman die is from Memory Box dies.  I think it’s adorable.   Accented with some Flowers,  pine branches and he’s all set for the Holidays.
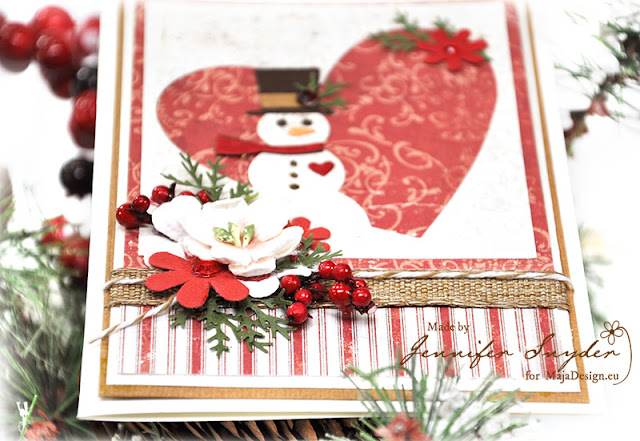
And one last close up from a different angle so you can see the dimension of my card.

Thank you for choosing  to spend your time at the Maja Design blog.  We treasure that.
 Shop internationally for Maja Design collections using the  Store Finder Link.  
 
Jennifer-sign

Maja Design A Gift for You – paper collection – Made by Me paper GIF-699
Maja Design – Vintage Winter  collection – Season’s Greetings ( B side) VIN-482
Maja Design – Vintage Winter collection – December paper

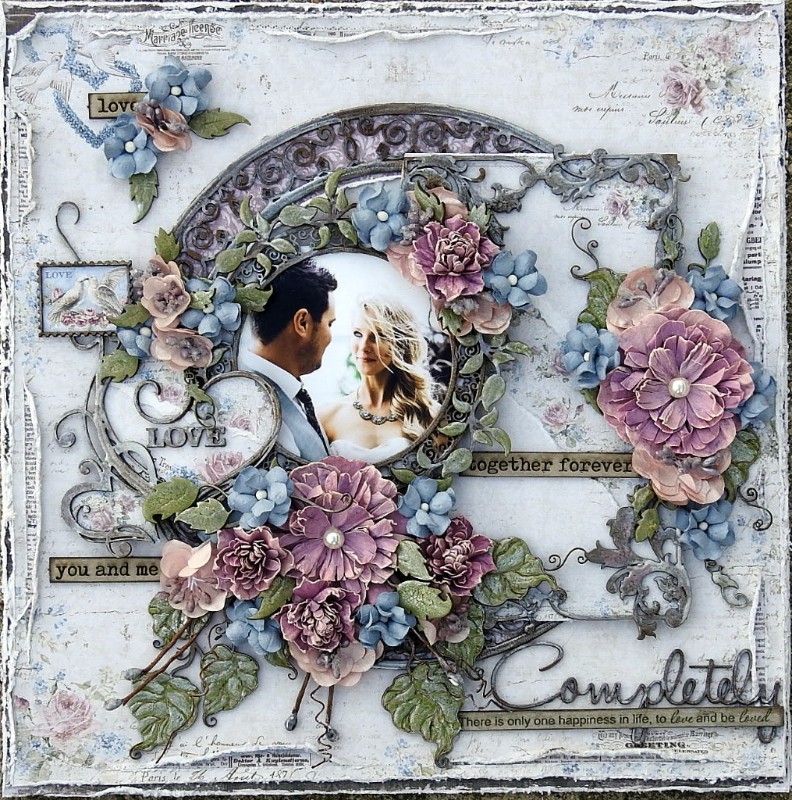
Love Completely

2

Posted by Rachelle Sigurdson

4 March, 2017 - , , ,

Write a comment

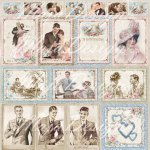
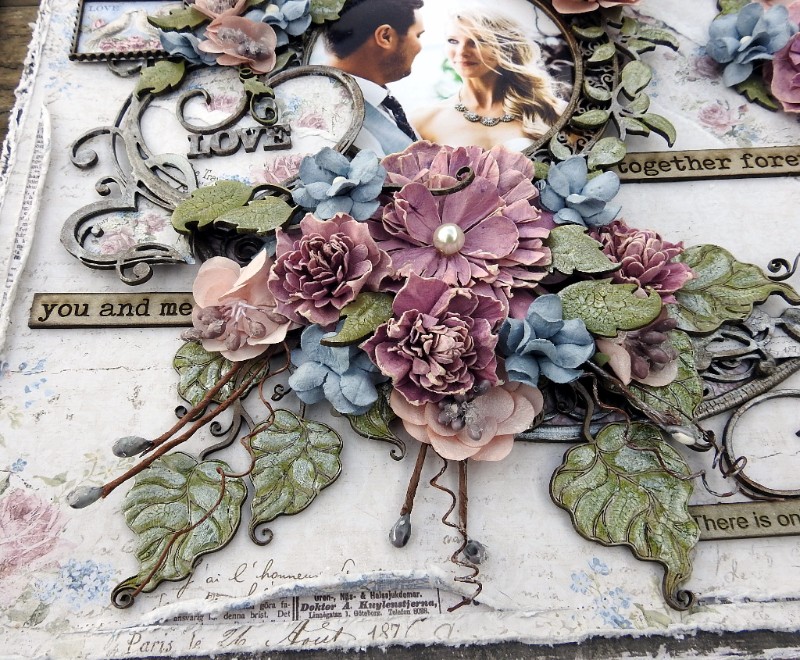
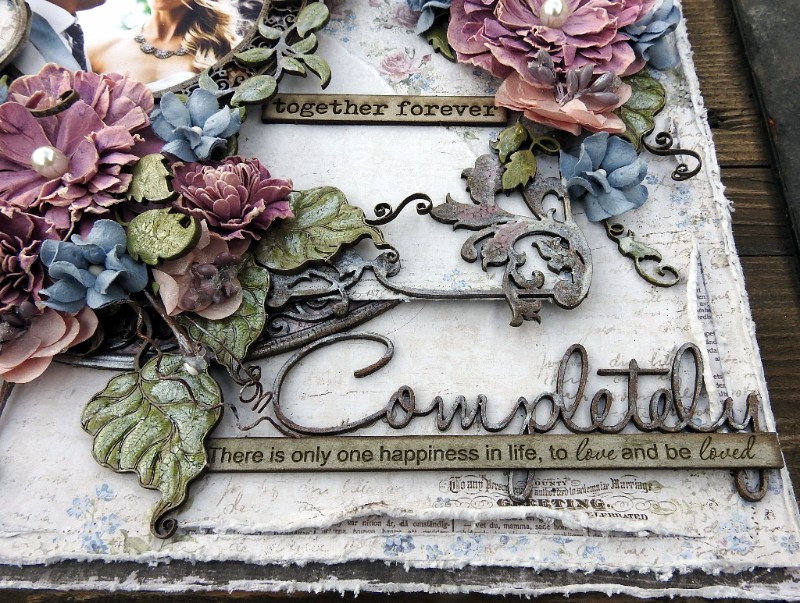
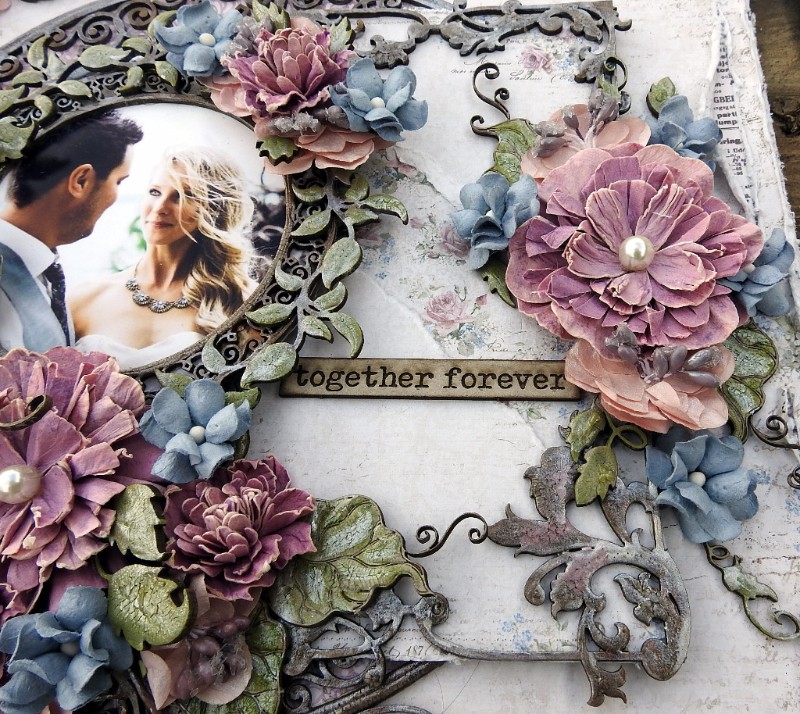
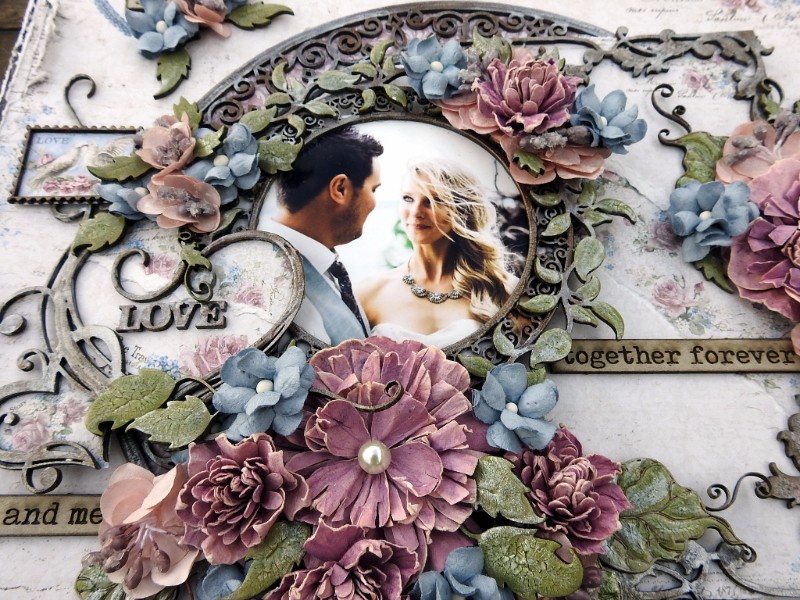
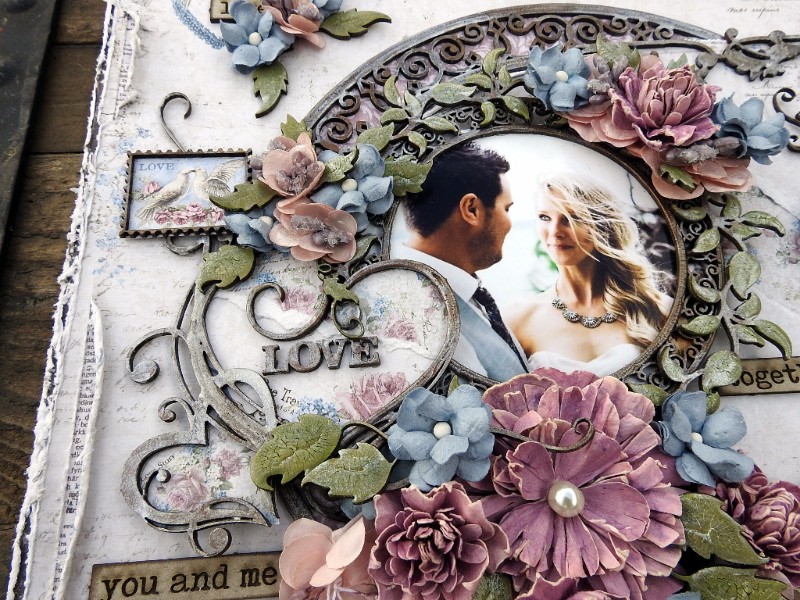
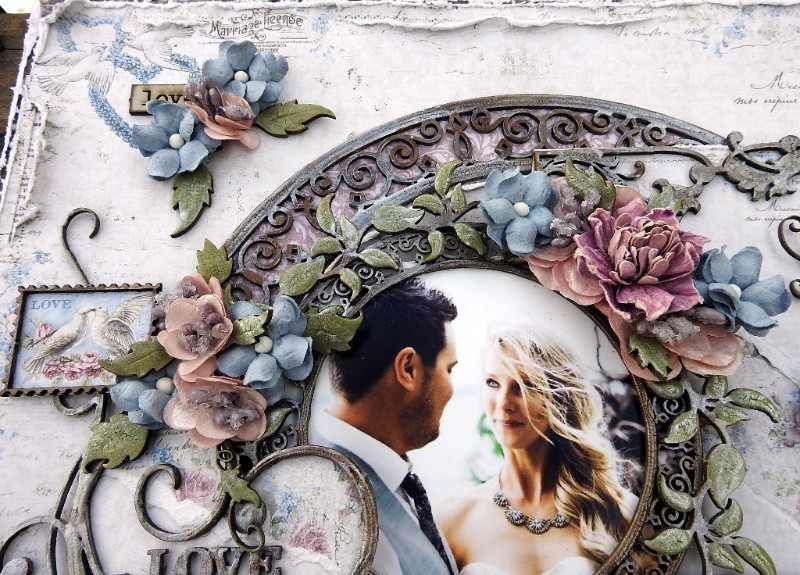
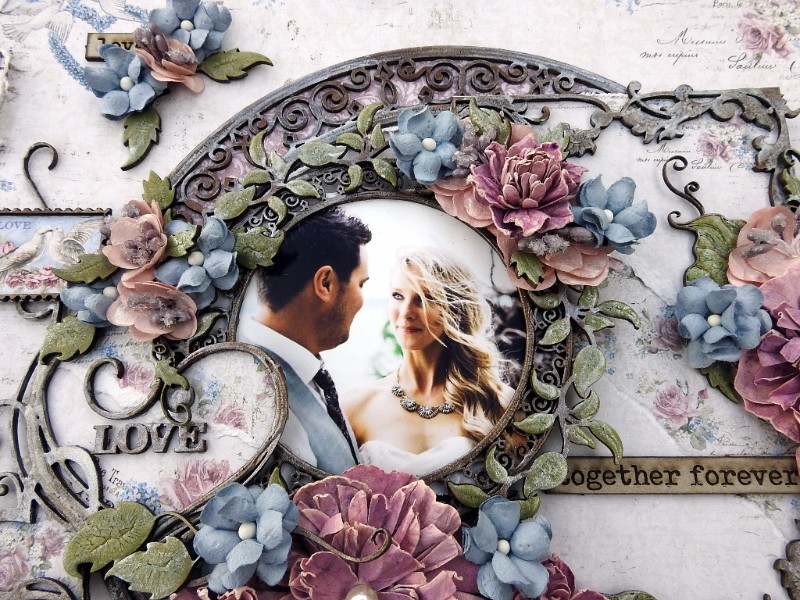
Hello, today I would like to share with you, a LO I did, combining Maja Design’s Vintage Romance with A Gift for You Collection…..

cfb93ef9117e475c89ed2752a84292e3

Vintage-Romance-P

A-gift-for-you-L

Other Elements used: 49 and Market: Vintage Shades-Orchid Bouquet, Vintage Shades-Orchid Blossoms, Garden Bloom-Pale Lavender, Garden Vine-Pale Lavender,….Dusty Attic Chipboard: Ornate Circle Frames, Ornate Frame #7, Vine Frames #2, Leaves #3, Vine Border, Postage Stamps, Love Heart Corners, Live Beautifully, Quoted Sentiments #1, Wordpl@y #4

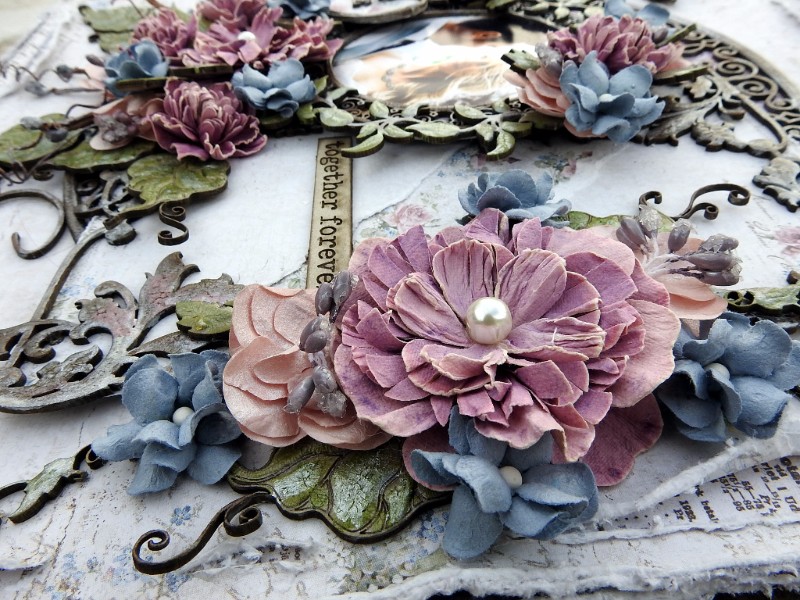
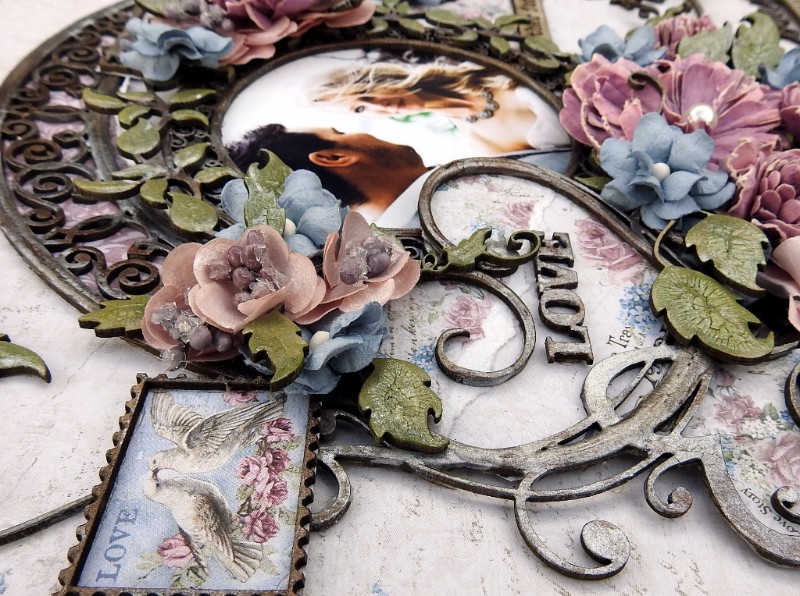
Here are some close ups…

b20037189d6a4c82bdd27b721d9e6c3e

For the background, I trimmed the outside edges, of the Bride & Groom sheet, so the bottom mat, wrapped in old newspaper-BS, would show. I also cut slits, & distressed those, & glued wrapped in old newspaper under the slits….

81fc87d1d958423fbdc71d21091695ba

I primed all of the chipboard, with clear gesso, then applied clear crackle on to some of the pieces. Once the crackle had dried, I painted the pieces, with Shimmerz Inklings-Chocolate & Diamonds, for the brown, Mochachino for the lavender brown, greener pastures for the green, & toned down or blended the colors with sheer bliss. I also inked the edges using the pinecone ink pad….

c3adb4464abb49ab9f53be998367276d

In the flower clusters I used DA leaves & grape vine, 49 and Market Vintage Shades-Orchid, & Garden Blooms & Vine-Lavender,& IamRoses S15

83bbc7a8a73e4ab6858cb698d94307e6

I tore pieces from the Bride & Groom sheet & the Love Poetry sheet & framed it with the Ornate Frame…

b783b3639796485d87f6a4e0eb1161e2

I glued She’s my Lady-BS, under the larger Ornate Circle Frame….

b12a7167905b4d43b3529b84067dbdd4

& pieces from the Love Poetry sheet under the Love Heart Corners…

634e51b019d94645b98701e9e3925731

Framed the cut out with a postage stamp…Here are some more close ups……

e1203af48b274741a9dea625d4c1d2ad

a3c17ff708f84134b43c0cdf09f520bb

6791ef17011d4ef7ba3f39a85a6781e6

This is a LO I did using the Enjoying Outdoors, Having tea in the sun & the BS of this sheet….

240974aa4f9b4d4a83b0c27597c72741

Thank you so much for taking the time to look….Rachelle

Rachelle-sign

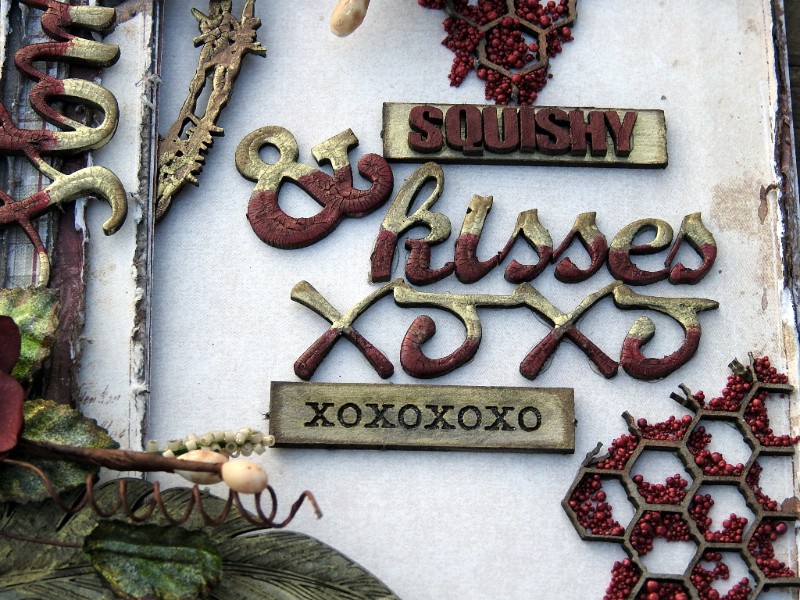
Squishy Hugs & Kisses

2

Posted by Rachelle Sigurdson

18 February, 2017 - , , ,

Write a comment

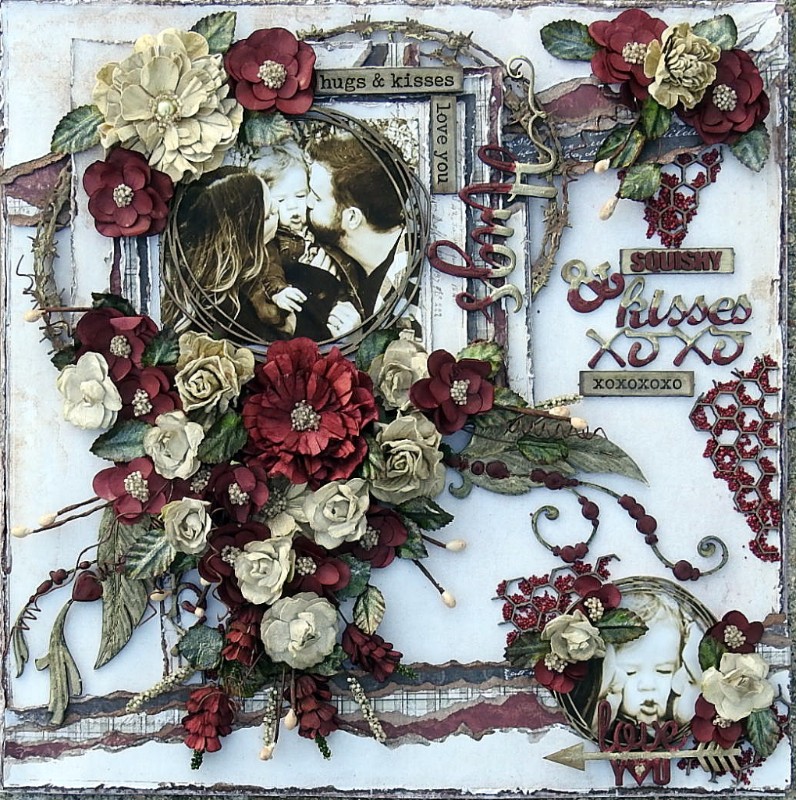
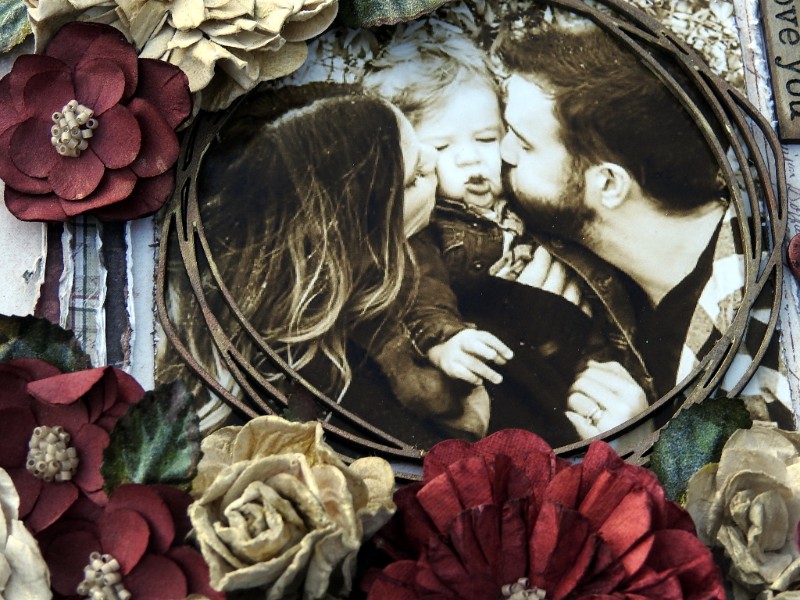
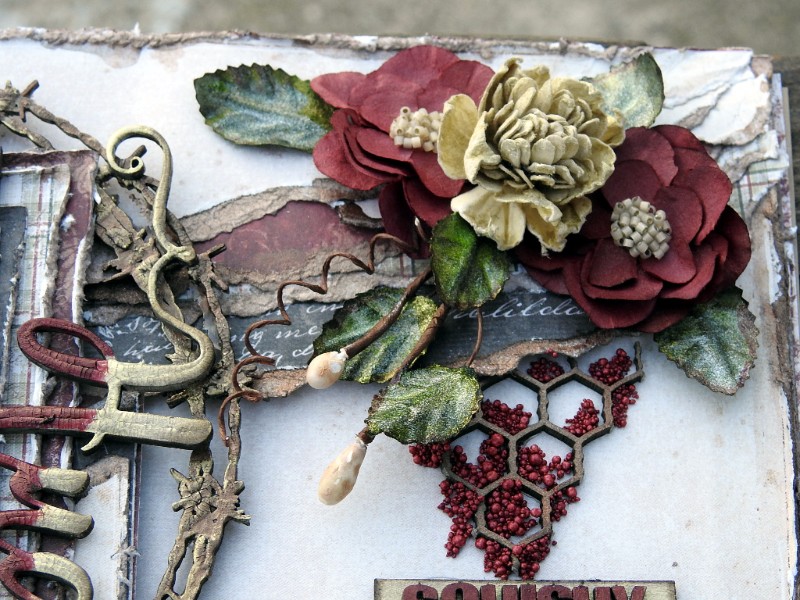
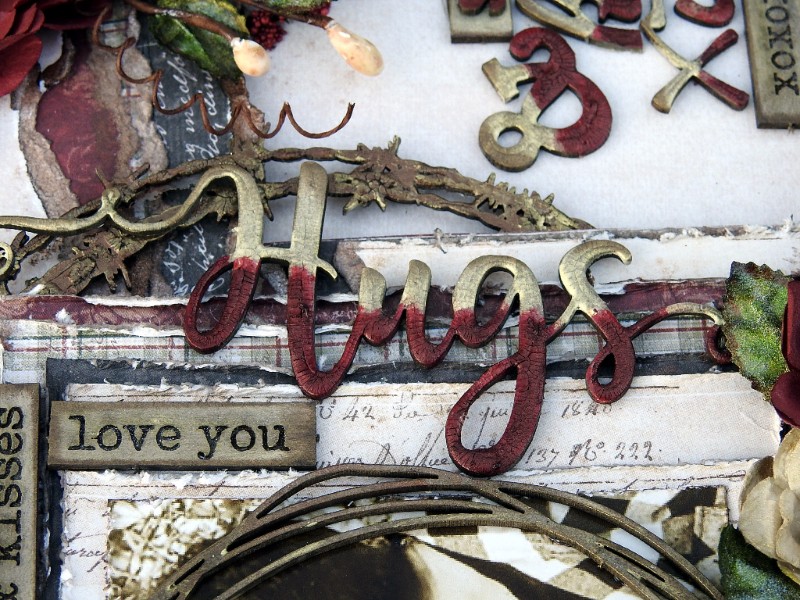
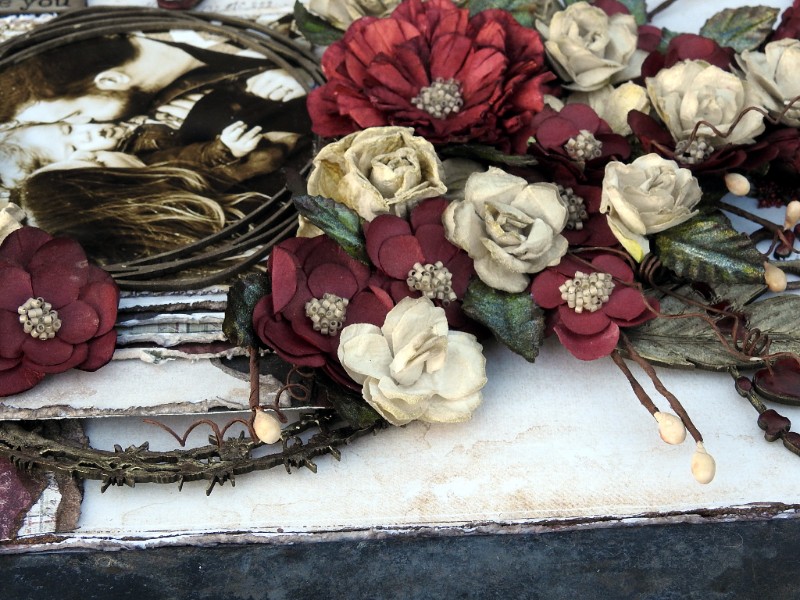
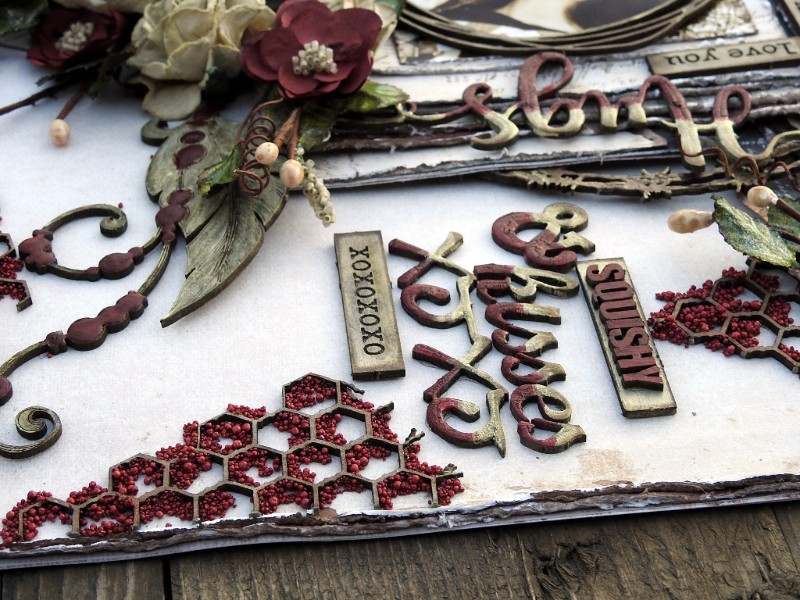
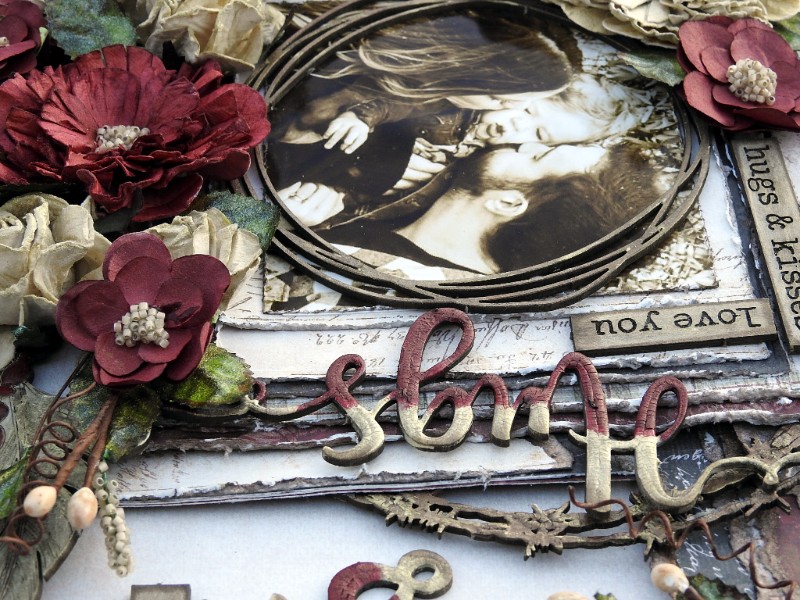
Hello, Rachelle here with a Valentines LO I did, using lots of flowers & love……

07405f9f4e054c679c71fa61aeaf0ba0

The Maja Design used:

Other elements used: 49 and Market Flowers: Vintage Shades-Ecru, Vintage Shades-Cherise Bouquet, Garden Bloom-Saffron, Garden Vine-Saffron…..Dusty Attic Chipboard: Barb Wire Frames, String Frames small, Feather charms, mini chicken wire, Hugs, Love You Arrows, XOXO, Wordpl@y #4, Mini Script ABC, Teeny Tiny ABC…….Roses,  Prills, Stop wining, Beads, Clear Crackle paint, LuminArt-Silk-Jasper Red, Olive Vine, iridescent gold, Shimmerz-Chocolate & Diamonds, glossy accents

Here are some close ups….

294544357d95402caea3c2bf177e5fcd

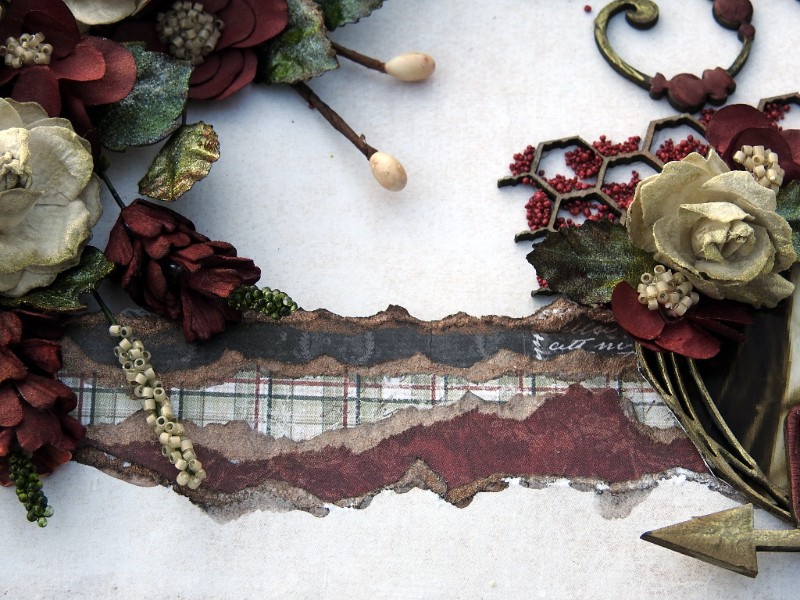
For the paper layers I tore the paper & Distressed the edges, then inked the edges using the Shimmerz-Chocolate & Diamonds..04971a3296b94ac49c6f8af1928bda7d

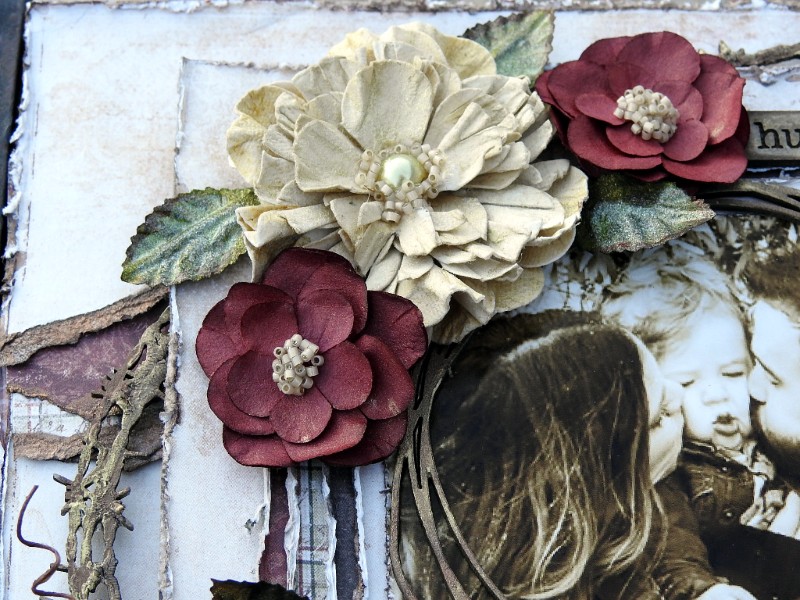
Shows a flower cluster using the DA feather charms, 49 and Market Flowers that I altered using beads as the flower centers….

332c6bf3c1d443838cb45fa51587ac29

ad09c9a0c804423cb2c3053ab4661ce1

23a8b9c08b9546a29b64630549064e0c

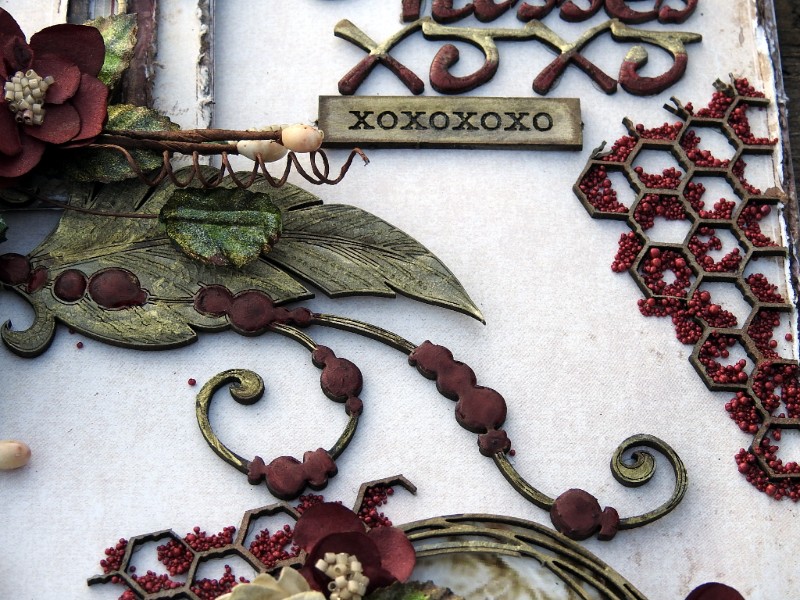
I primed all of the Chipboard with clear gesso, then applied clear crackle on to some of the pieces. Once the crackle dried I painted the pieces with LuminArt Silk, Jasper red, olive vine, iridescent gold & Shimmerz inklings Chocolate & Diamonds …..I applied drops of glossy accents on the beads of the feather charm….

ffe34878efb044638a9ef51f34c20b78

So cute!!!!

5ece59f9b35a4f44ba73fb26744a73e6

82e7923622514f338ae9b68f5e176e7c

I love Prills, glued some into the chicken wire….

e9c9d1ff91aa4859aaefcb4057345a7d

b4e58225c27a4bb7a57b302f6c97e546

c1f8fd5500fb47d99ef74ea296dc6fcc

5709527f2a0543b38daf381933b6c395

1dac9d1731634687b0201948a4abd8de

Thank you so much for taking the time to look…..Rachelle

Rachelle-sign