Merry Christmas Cards by Tina Ollett

3

Posted by Tina Ollett

20 November, 2020 -

Write a comment

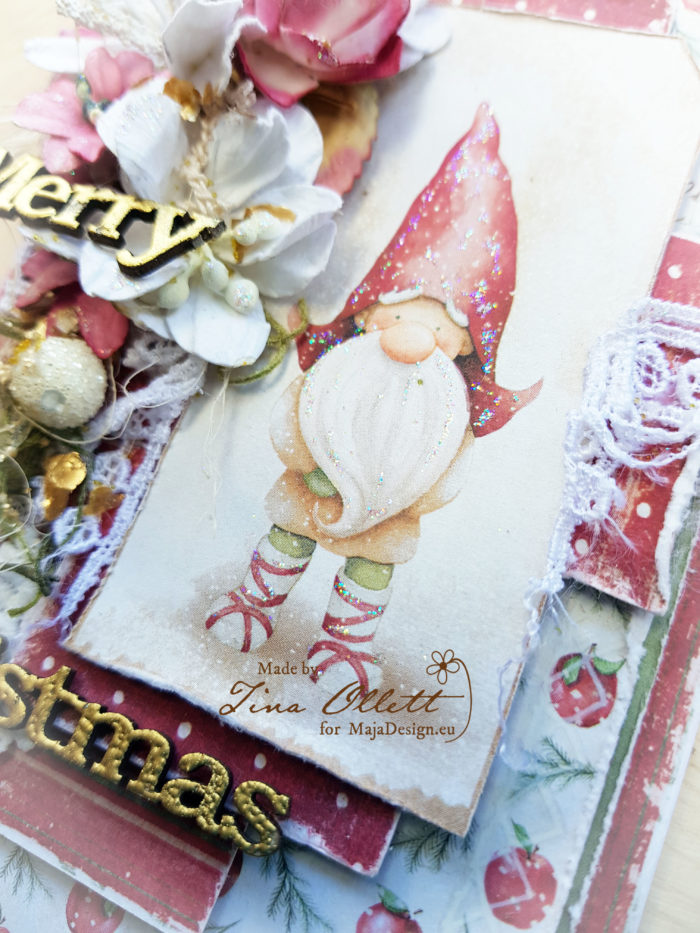
Welcome Maja Design friends. Tina here with you today to share a couple of very cute Christmas Cards that I created with the newest Christmas collection : “Traditional Christmas.”
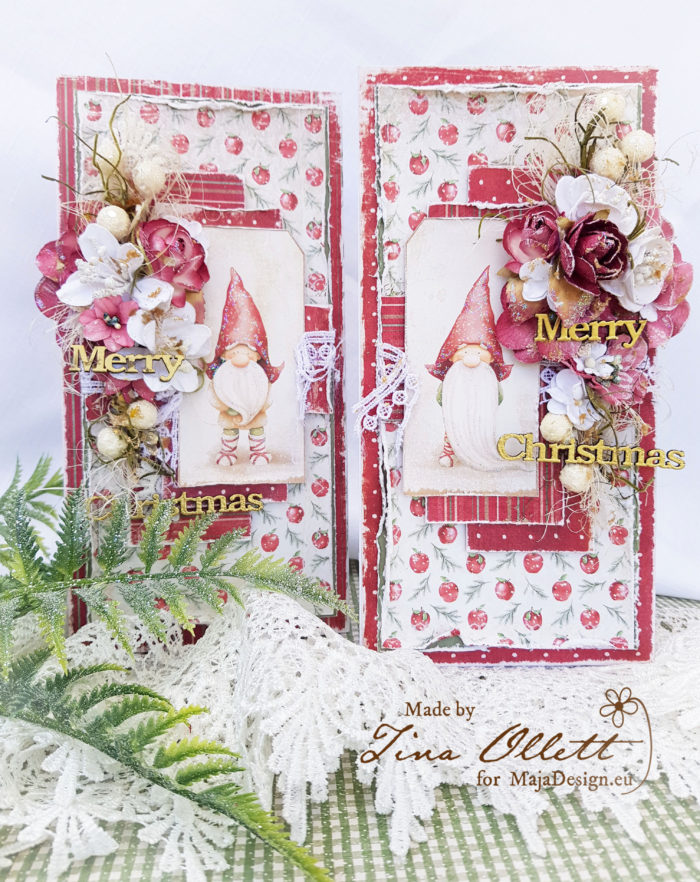
For those that know me well probably know that cards are really not my thing. I am a scrapbooker but when I opened up my goodies box from Marie I could not resist. This new collection truly is a remarkable Christmas collection filled with soft and elegant vintage touches.

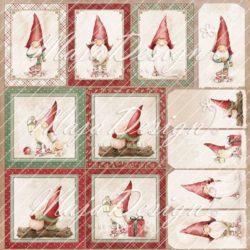
Diecuts
 

Christmas Apples A and B side
 

Family Gatherings A and B side
Moss Green

Monochrome Moss Green

And these little guys, aren’t they just the cutest Elves or Gnomes ever? And the papers are just amazing…. and I especially love the sheets of apples and also the present parcel pages. So the apples paper were my starting point. I also used the polkadots and the striped pages as well as a couple of tags from the ephemera page, just some of my favourite pieces from this collection.
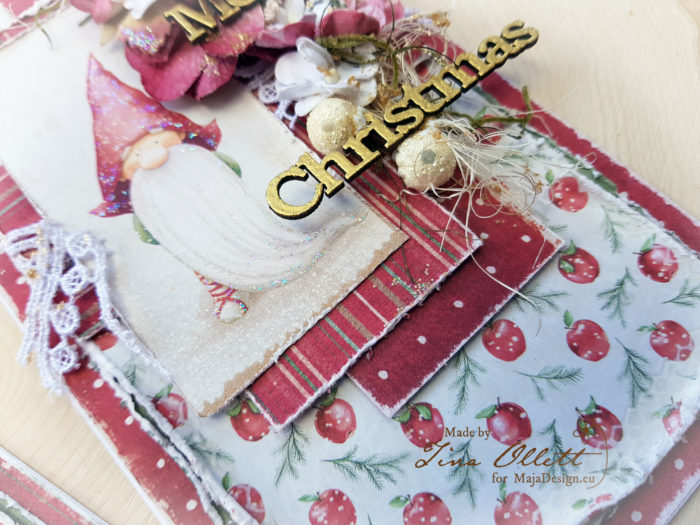
I made many layers from the papers using a and b sides distressing and sanding the edges.
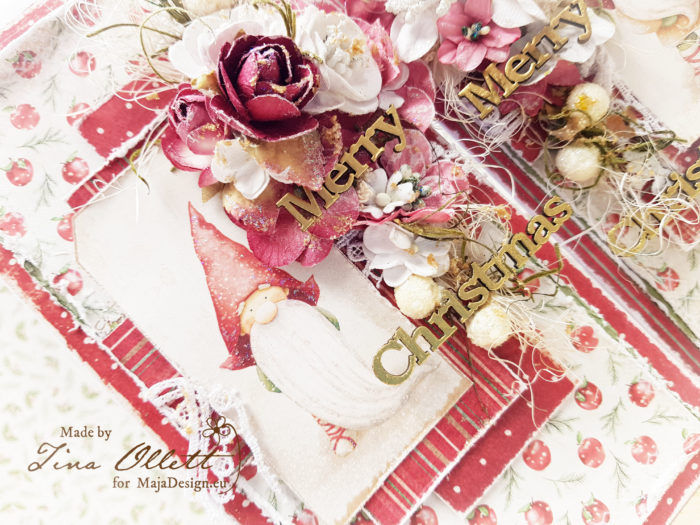
I embellished with lots of gorgeous flowers and trims from 49andMarket and a chipboard title from Dusty Attic that was dressed in gold embossing powders. I also added in glitters and fibres.

Well that is all from me today. I hope you enjoyed your visit. Take care and stay safe. xx


“Time Passes” by Tina Ollett

2

Posted by Tina Ollett

28 October, 2020 -

Write a comment

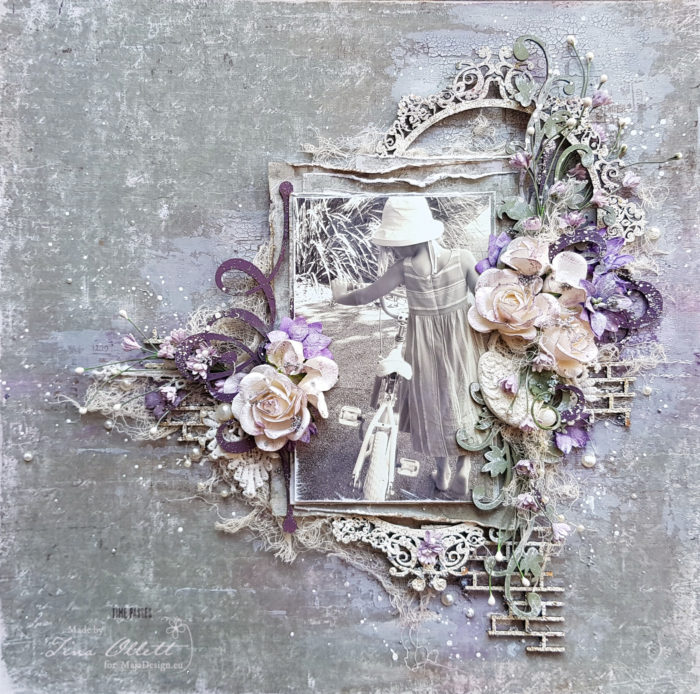
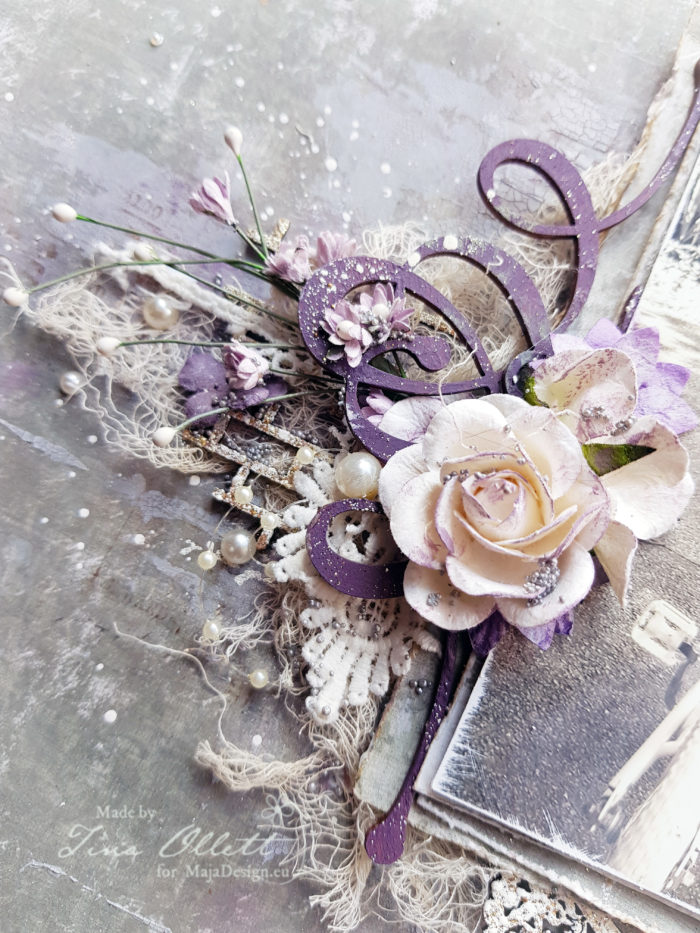
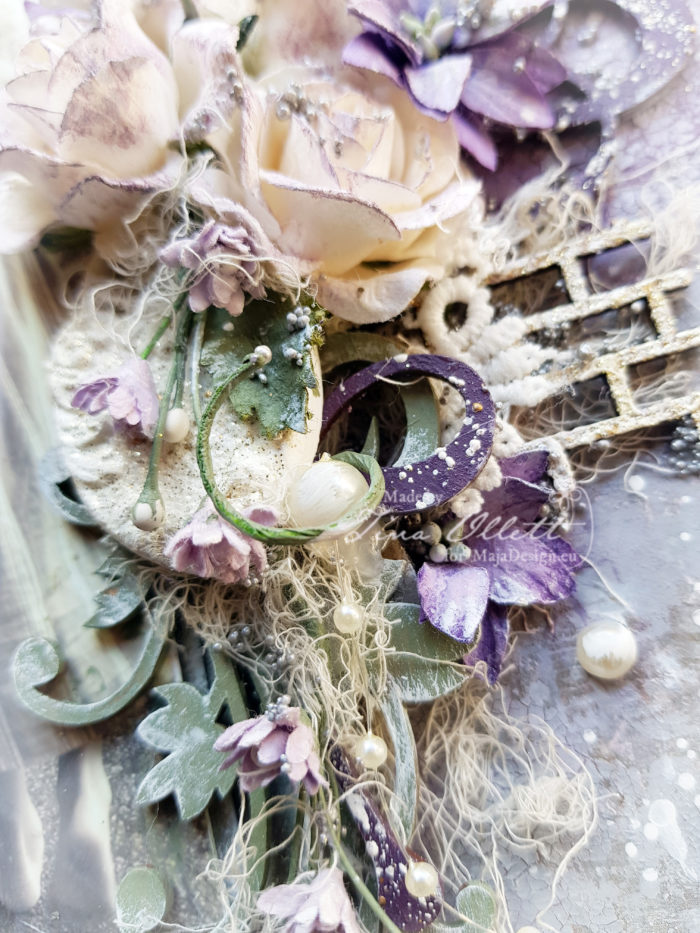
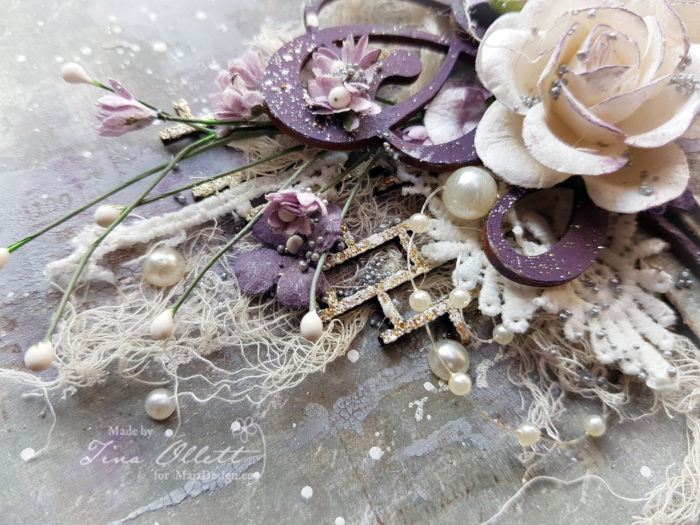
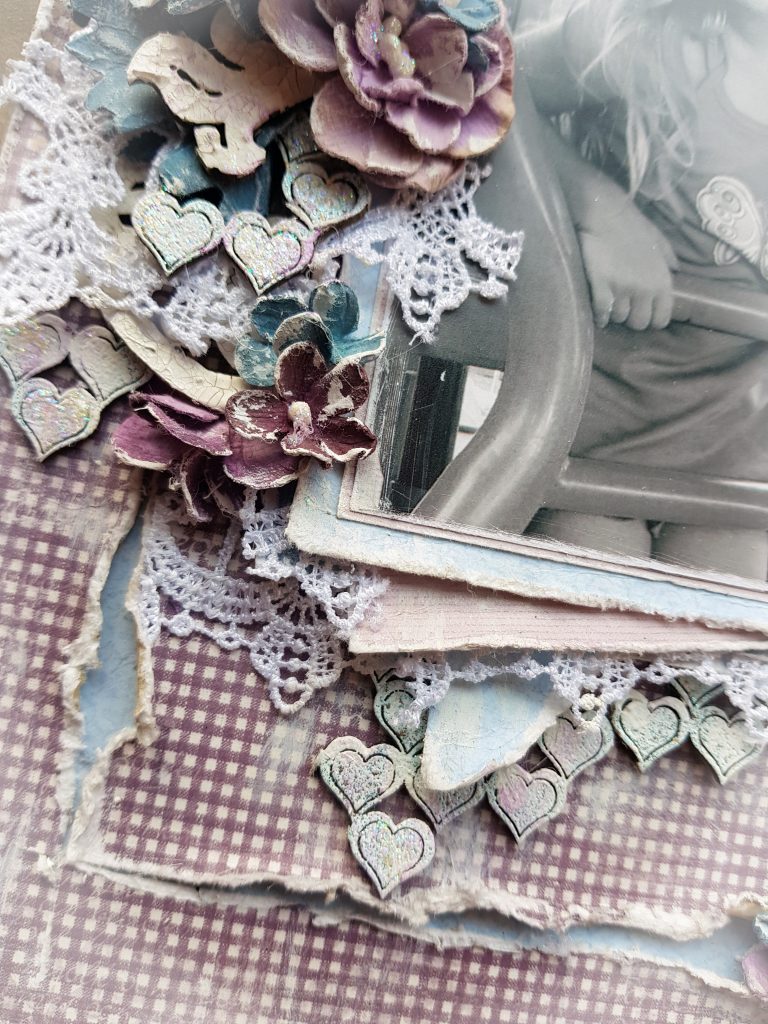
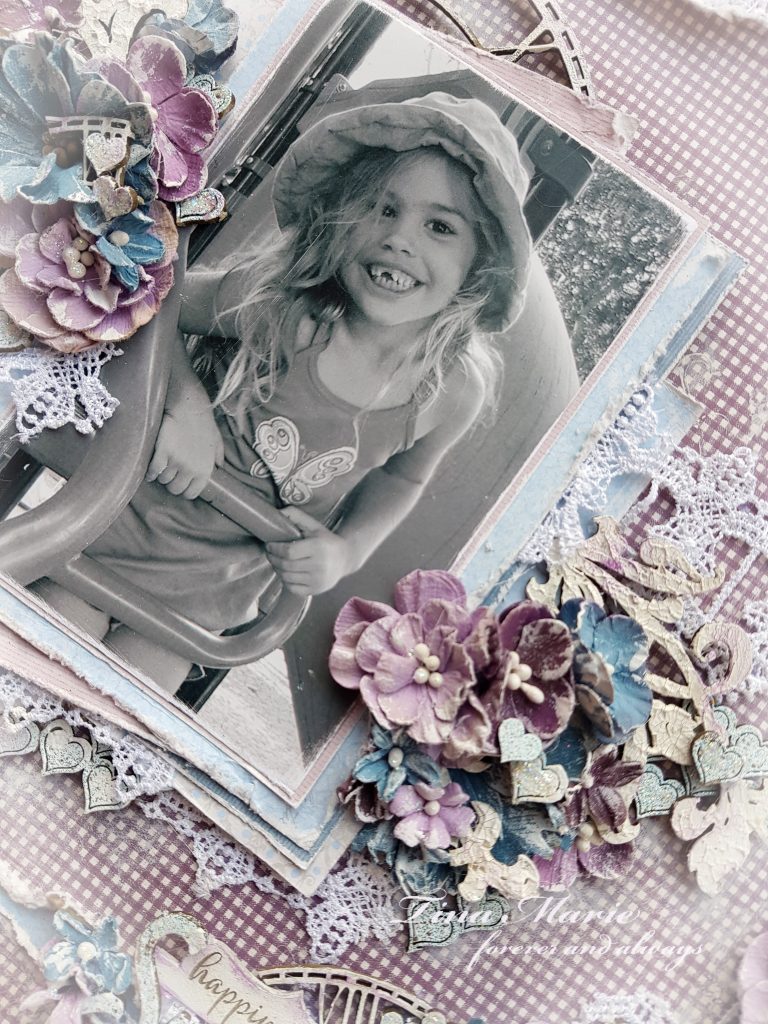
Hello and welcome today Maja Design friends. Tina with you here today to share my next Design Team post with you. It has been some time since I created for Maja and I so miss playing with the gorgeous papers. Today’s project was created using inspiration from one of my favourite Vintage Basics collections – Autumn. It was only when I was trimming the barcode from the base of this gorgeous patterned paper that I decided to add shades of purple as the barcode had the title ” A time forever etched in our hearts and memories”. Such a beautiful quote and I had intended to use it until I looked closely at the paper and saw in the bottom left the “Time Passes” in brown text. I decided to leave it as my title, nice and simple.

I used two sheets of the Vintage Autumn Basics No VII so that I could use both sides of the papers. And I also incorporated the purple sheet of Vintage Autumn Basics No VI BS. I love this combination of colours and I just couldn’t go past using them without a sepia coloured photo. I used a photo of my youngest from a trip to our Centenary Lakes around the goosepond. This was some years back but I do remember it well.

I dressed the first of the No VII paper using the B side firstly. I made a mix of pigment powder in Black Silver with some crackle paste through a Dusty Attic brick stencil. Once the crackle was dried I coloured over the stenciling with some Chalk Paint in Roman Pines. I also did some embossing of a script stamp in Antiquities Weathered White. I also did some stamping with Walnut Stain Distress Ink.
I cut some of the leftover papers in differing sizes to mount behind my photo. They were distressed sanded and inked with the Walnut Distress Ink.

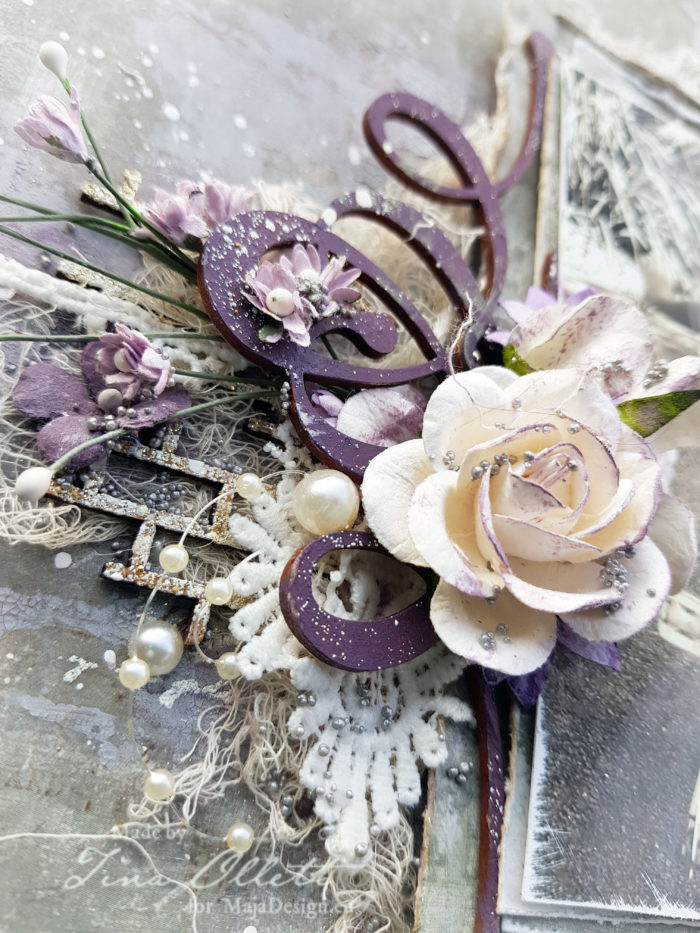
I embellished with lots of mdf’s from i.craft Designs. Some were embossed and some were painted in chalk paints.

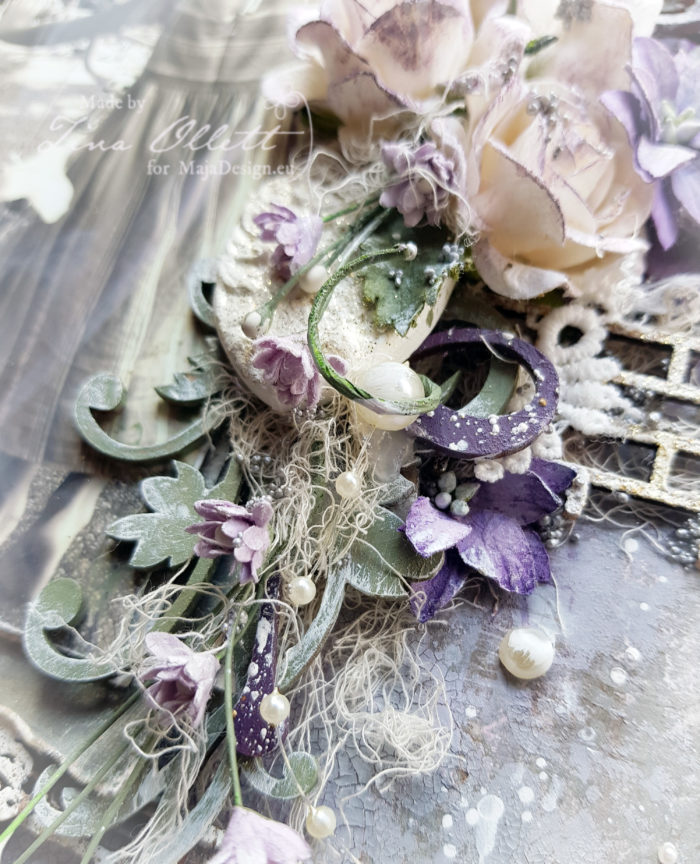
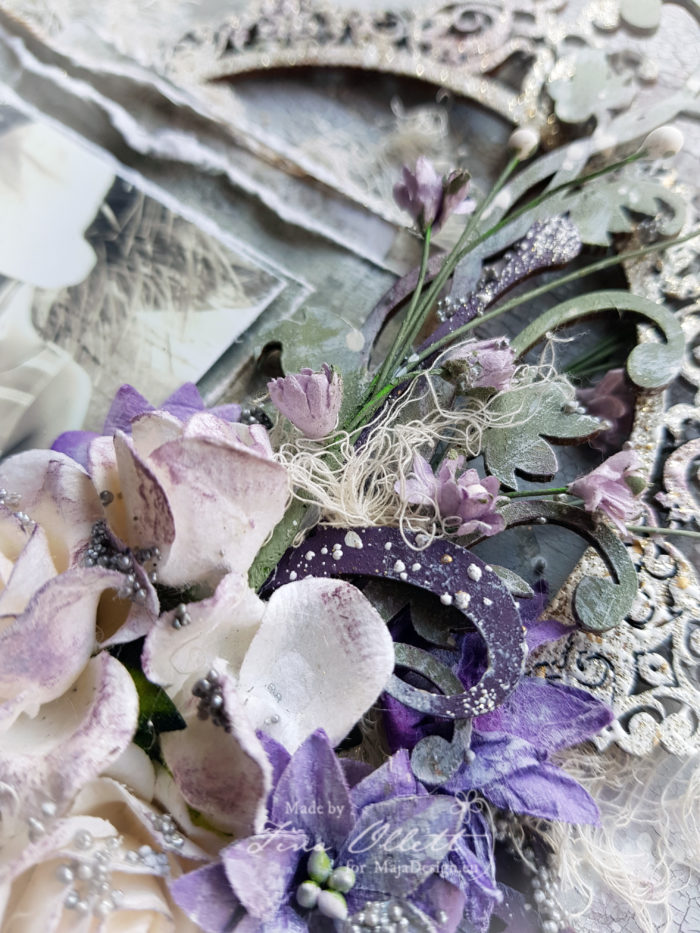
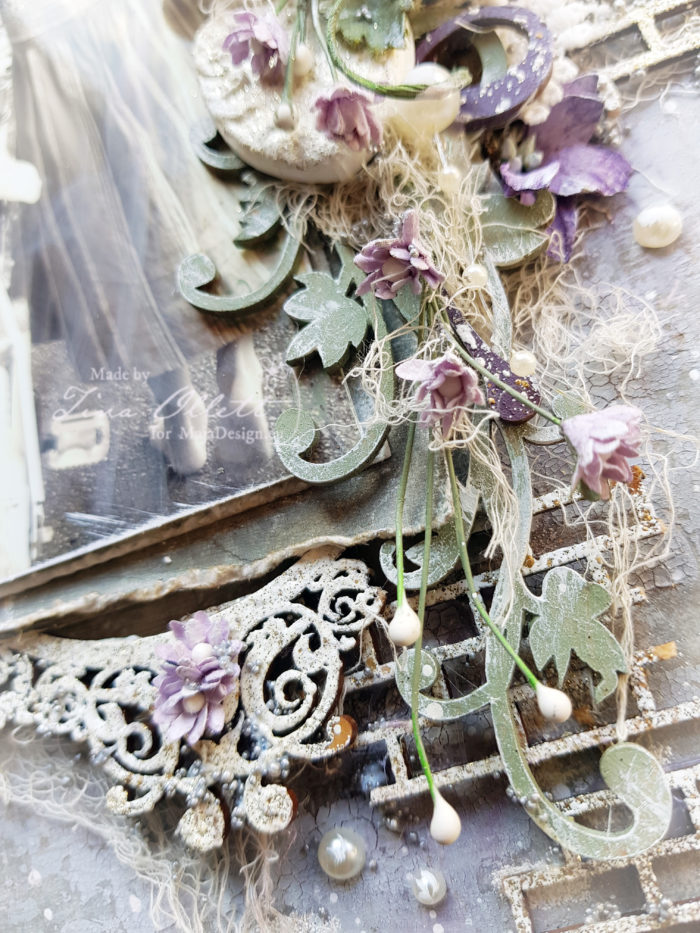
I hand dyed some muslin with a parisian rinse. This gives a gorgeous beige colour which contrasted beautifully with my Vintage Autumn papers. I also used a locket mould and beautiful florals from 49andMarket and icraft Designs. Also I added some pearls from Dusty Attic and finally some pretty mini prills in silver and some splashes of watered down white gesso.

And some more close-up pics for you .

Well that is all from me today. Thankyou so much for taking the time to pop by. I hope you have found some small piece of inspiration from my project today to help with your next crafting project.

Until next time take care and happy crafting.

Hugs


“Merry Christmas” by Tina Ollett

2

Posted by Tina Ollett

22 November, 2019 -

Write a comment

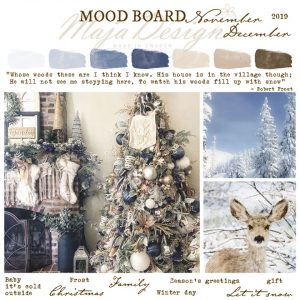
Hello and welcome Maja Design friends. Tina Ollett with you today to share a moodboard inspired creation. As you may already be aware,  Maja Design’s moodboard challenge is now up. Here is a glimpse for those who have not as yet seen it. Absolutely stunning!! A big thankyou to Marie Janson for all of her creativity putting these together every month.

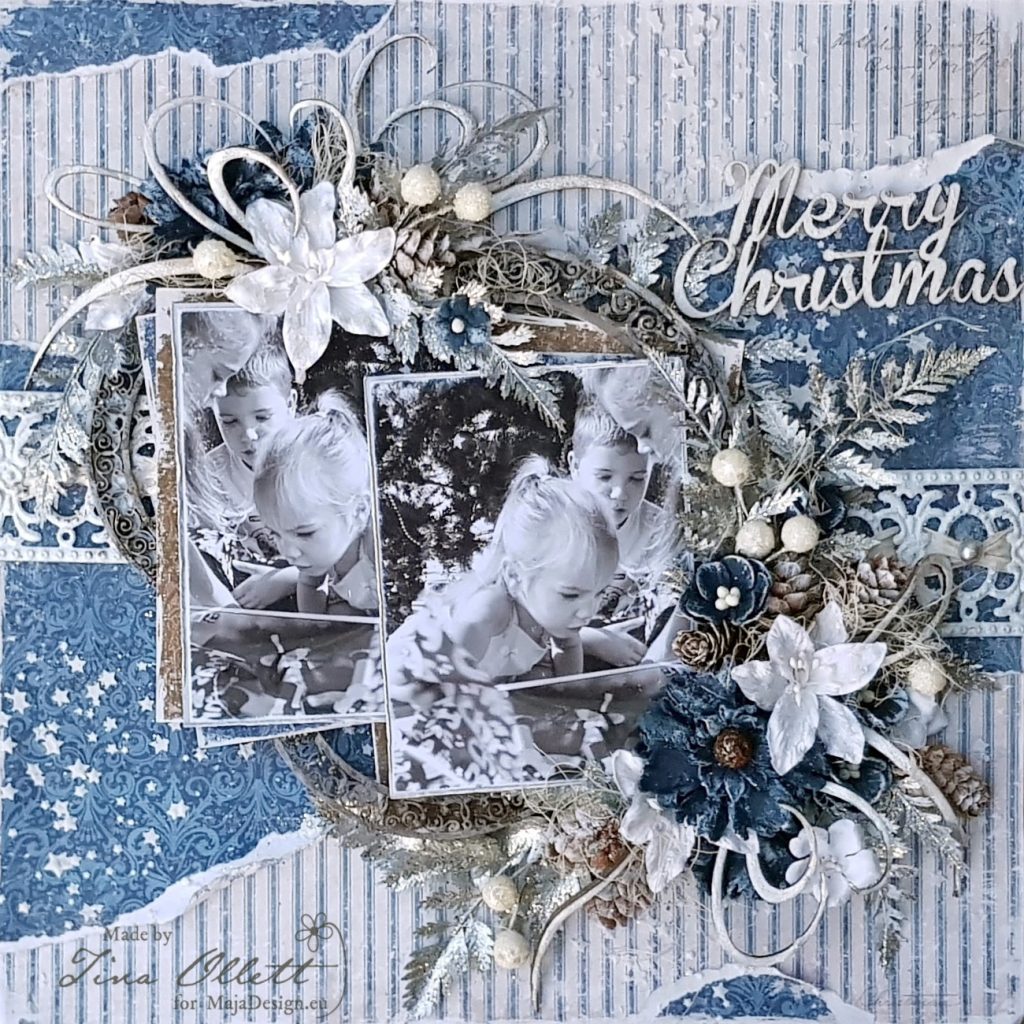
And this is my take on the gorgeous moodboard using the new release collection of Holiday in the Alps.

I have titled this layout “Merry Christmas”. I hunted for a photo fit for this project for a long time. I had to dig very deep and then come across this. I cannot ever remember seeing this photo amongst my pics but there it was. A photo of all 3 of my beautiful children caught in the moment of opening gifts on Christmas morning. So many beautiful memories are bought about by this photo. Isn’t it a beautiful thing that as scrapbookers we can relive the moment when creating.

Anyway more about the project. I have as previously mentioned used the new release designed by the very talented Marie Janson…. “Holiday in the Alps”. She has created an absolutely amazing collection. I am not huge on Christmas but this collection just rocked my world. I can see myself doing lots more in the coming weeks. Below are the papers I have used.

Snowflakes bs

Snowmen bs

I used the striped paper “Snowmen” as my background pieces and tore the blue sheet Snowflakes to sit through the middle of the project and the remaining pieces were made as photo matting for my two photos. I also decided a little bit later to add in some brown. So I added in the patterned paper “A New Year”.

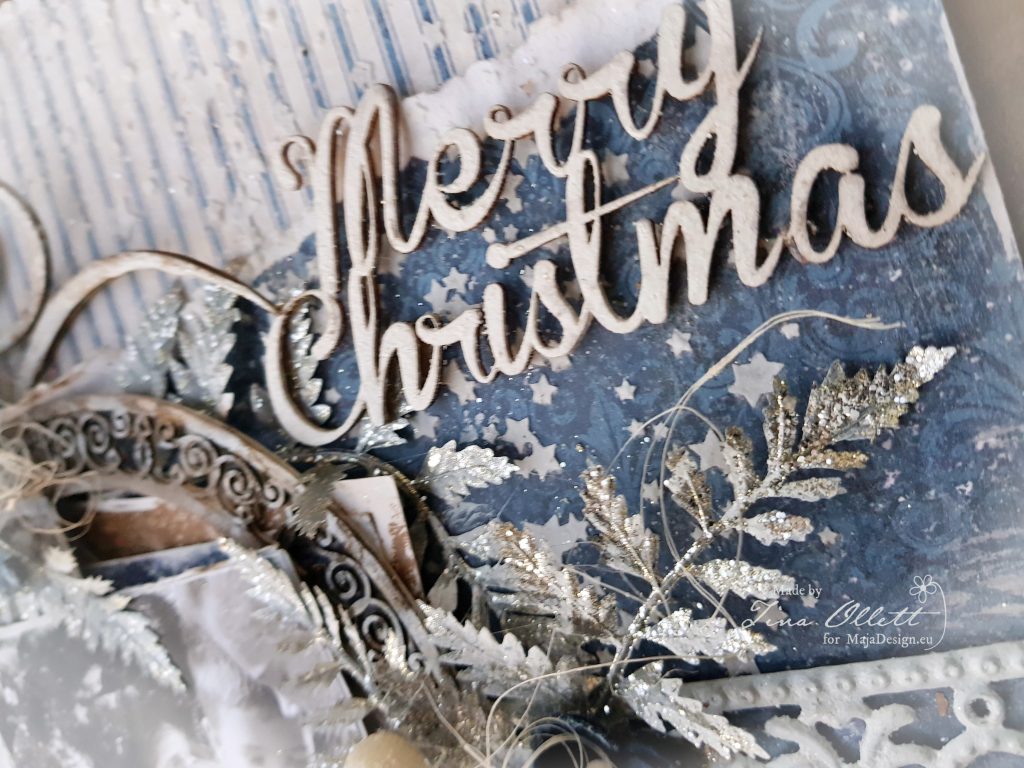
On my background I added in some texture paste through Dusty Attic’s Starry Night stencil and then sprinkled over Sparkling Dust from Dress My Craft.

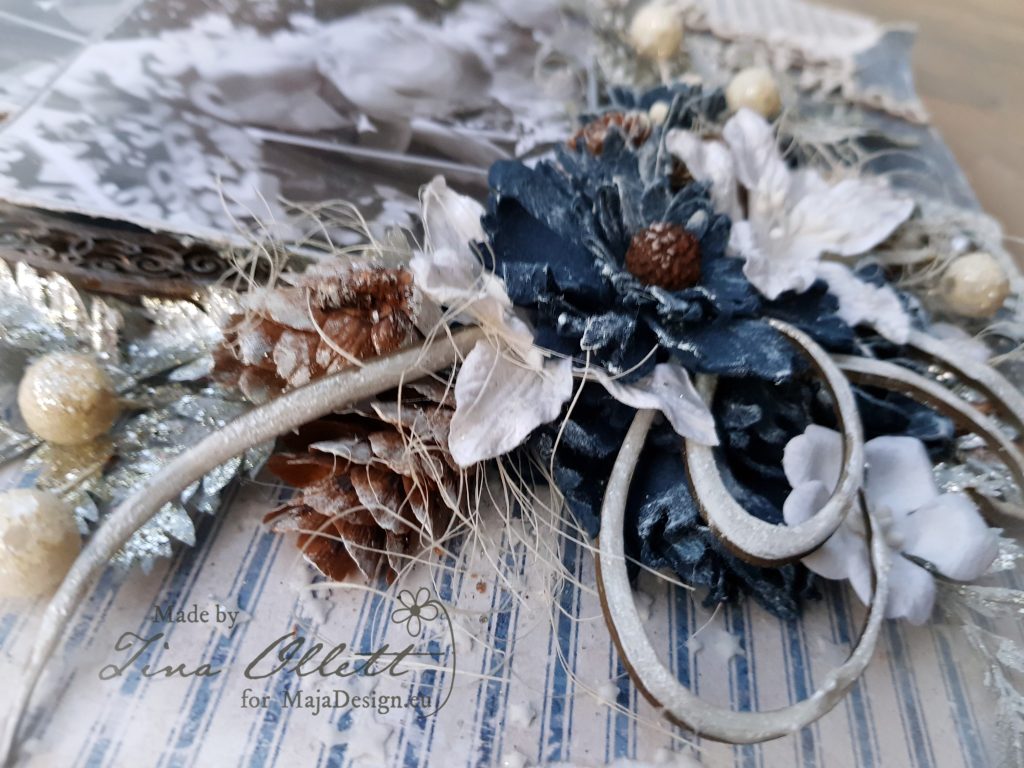
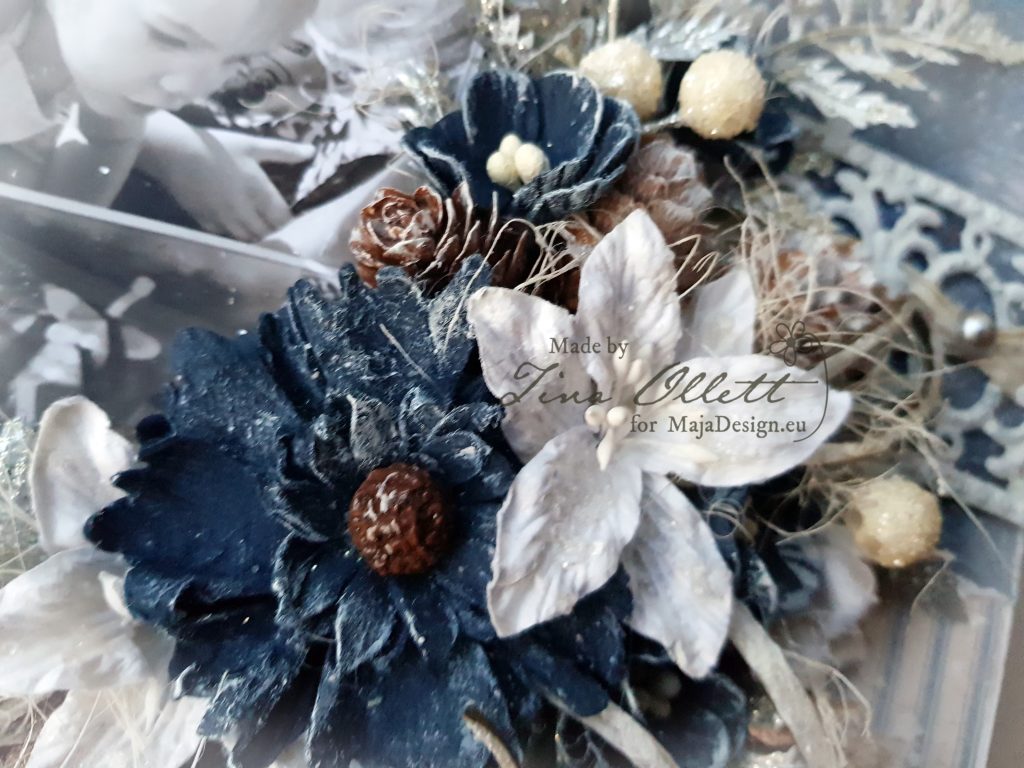
I have framed my photos using some gorgeous ornate frame chipboards from Dusty Attic. These were dressed in acrylic paints and inks. I also added in a couple of the Swirly frames and cut them into several pieces. They were dressed in Liquid Pearls and sprinkled over with Sparkling Dust.

I found some gorgeous silver branches whilst out shopping this week which fit perfectly for this project. I didn’t even have to colour them. Just cut and adhered.

I have also added in some gorgeous little pinecones. These were spritzed in an irridescent clear spray and dusted with Sparkling Dust.

So that is it. A little bit of Christmas inspiration using this month gorgeous moodboard. I hope you find time to join us in the challenge. Thankyou so much for popping by here today and taking the time to look. We appreciate it.

Until next time take care and happy scrapping.

Christmas Slider Shaker Card by Lenet Mos

2

Posted by Tina Ollett

18 November, 2019 -

Write a comment

Hello sweet maja fans,

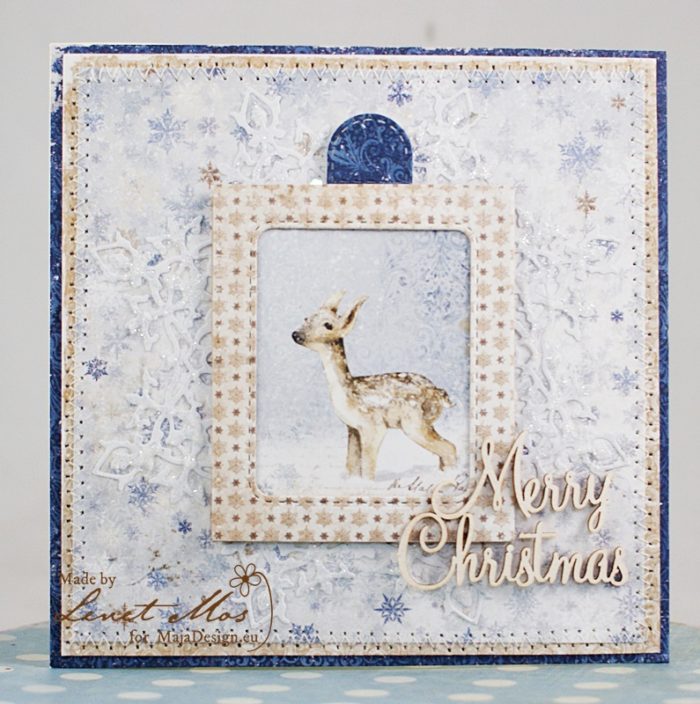
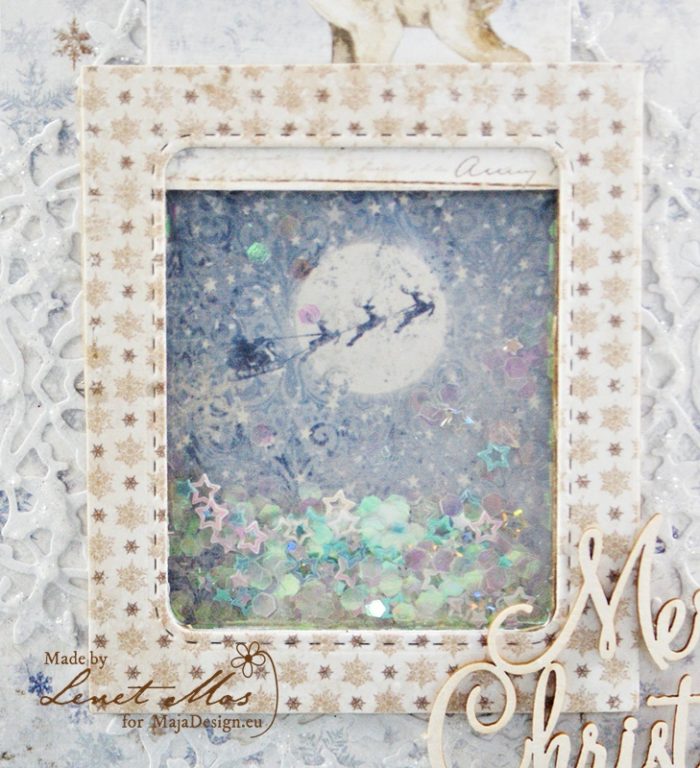
Lenet here and today I bring you this Christmas slider shakercard.

If you pull the bleu tap you can see the shaker part , with Santa in his sleigh on his way to deliver the presents.

I had this photo sleeve fuse tool from Becky Higgins in my toll drawer for awhile now and never used it, so I thought now is the perfect time to do something with it and so I made the shakerpocket using it.

Never thought it would be so fun and easy, I’m sure I will be using it more often now.

Here you have a closeup of the shakerpart.

For this card I used a combination of the 15×15 set and the 12by12 from the newest Holiday in the Alps collection.

For the snowflake behind the shaker I used the Snow sheet from the monochromes -Shades of the Alps.

I think it’s such a splendid idea to make the matching monochromes, now you have always the right color cardstock to go with your papers.

The Merry Christmas sentiment is from Scrapiniec.

Thank you very much for visiting the blog. I hope you like what I made for you.

Make sure you come back to see what the other maja girls have made for you.

“Sunshine” by Tina Ollett

1

Posted by Tina Ollett

20 May, 2019 - , , ,

Write a comment

Welcome Maja friends. I hope this post has found you happy and well. Tina with you today to share a layout project created using a mix of papers from differing Maja Design collections.

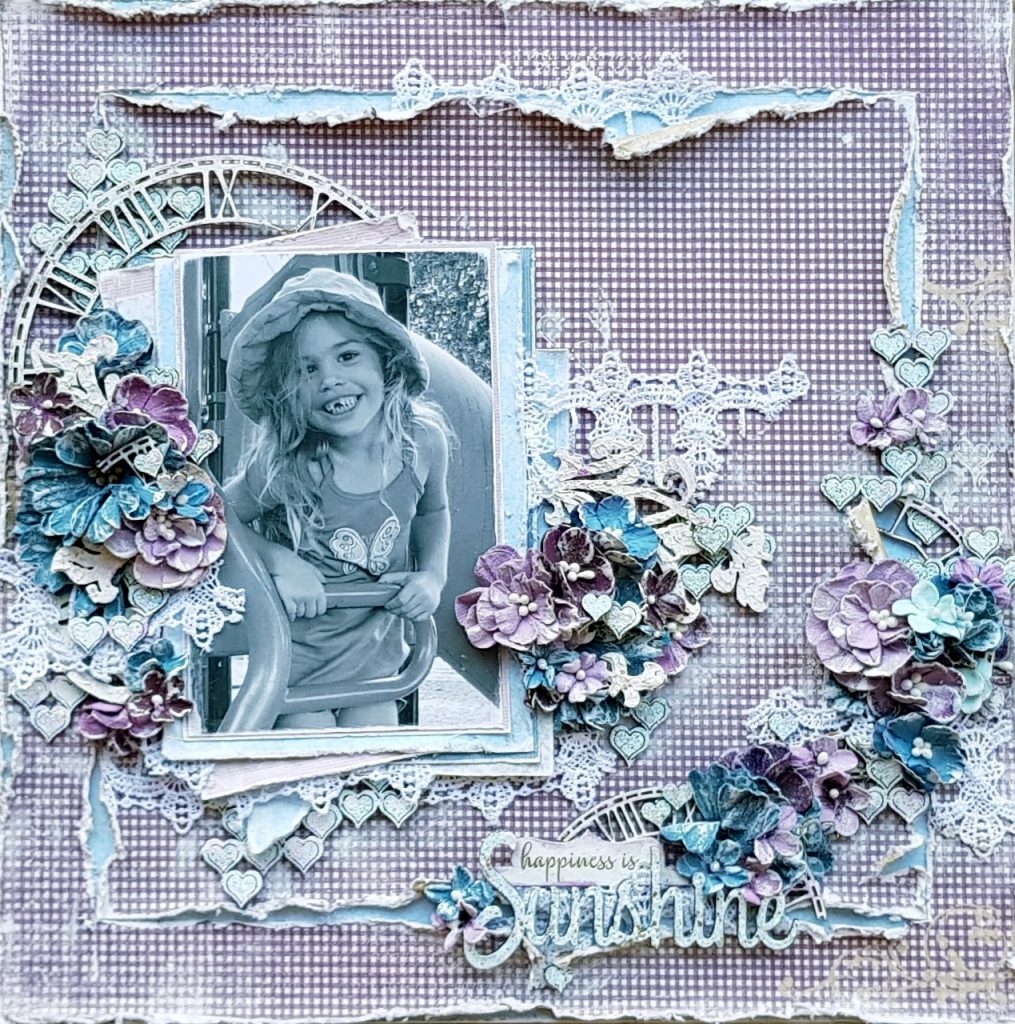
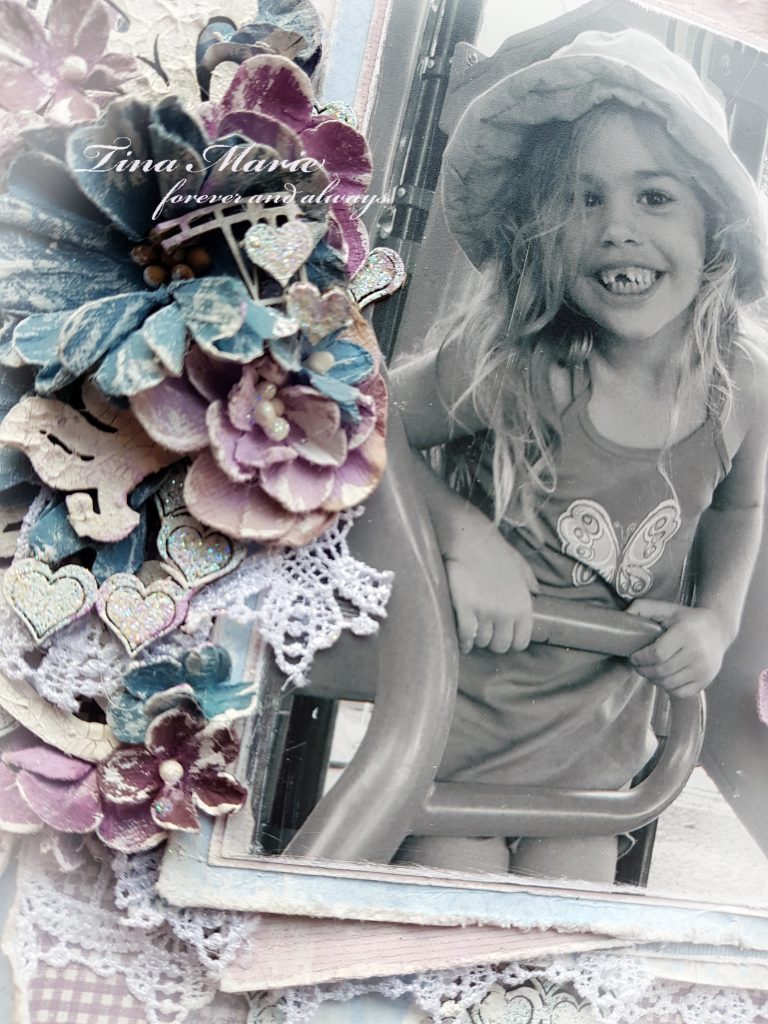
I have called this “My Sunshine”.

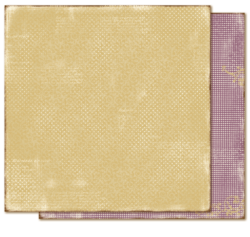
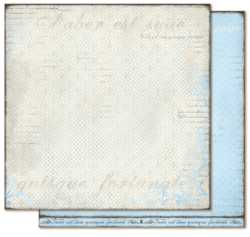
My background page was made using the Fika’s Sockerkaka and Crea Diems Sin lyckas smed. I created a framework 2.5 cm around the Sockerkaka paper and distressed it heavily. I then added Crea Diems Sin lyckas smed behind Sockerkakato allow the blue to shine through.

Vintage Pink

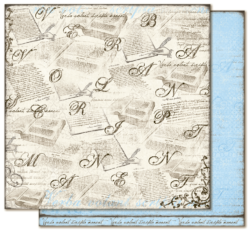
The sheet of Det skrivna består was cut into rectangular mats in differing sizes. I also added some rectangular mattings in differing sizes using Monochromes shades of Denim in Vintage Pink. These were all distressed heavily and randomly adhered together. I mounted the whole piece including the photo upon some 3D mounting tape and adhered it to the left of the layout.   

I have used this adorable photo of my eldest daughter who just turned 18 this month. And because she has just turned that fabulous number I have used the Skeleton clockfaces to represent time gone past. I used two clocks from the collection and cut the smaller one in half to sit at the right of my layout.

The clockfaces were primed with white gesso and then coloured with Inka Golds in Hydrangea.

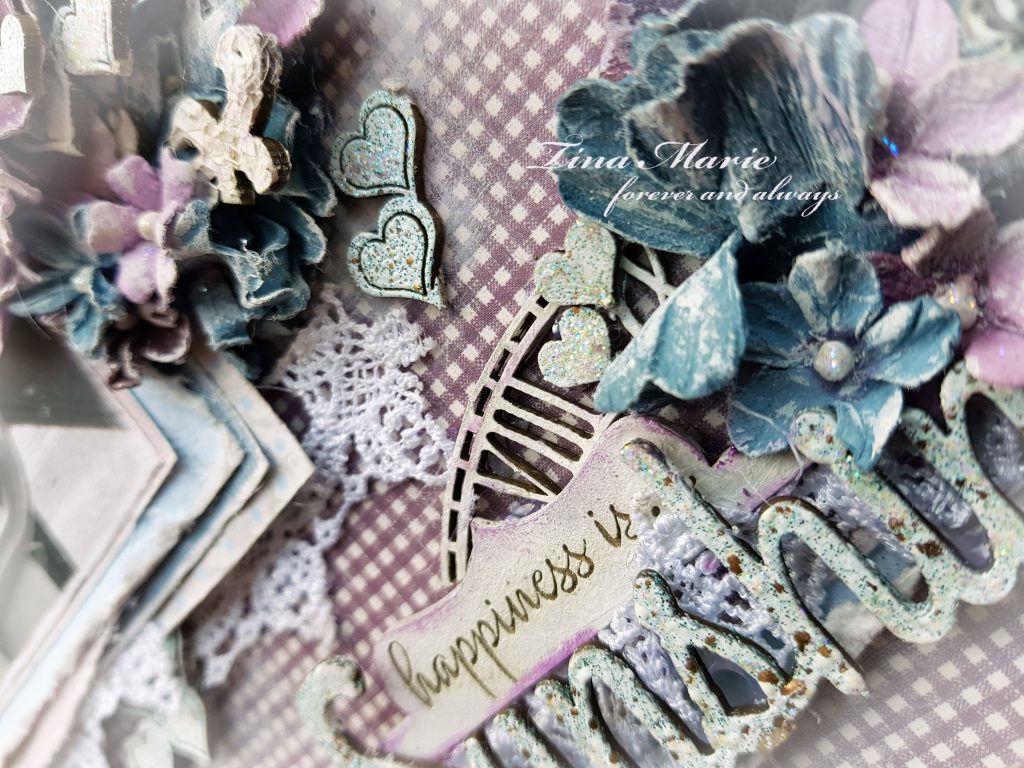
I have also used a panel of the Heart Attack Small.  For this project I decided to simply emboss the full panel with Shabby Blue Embossing Enamel from Stampendous. I cut the panel into quite a few pieces and layered them around and in between layers of the Maja Design papers and lace and of course the other chipboards and flowers. Some of the itty bitty hearts I took out of the panel and scattered them around and through the clusters. You can see below the hearts taken out separately.

The Dusty title Sunshine was also dressed in the shabby blue enamel. You can see it above. The tiny weeny specs of gold that shine through are just so cute.

 I have used lots of distressing to highlight the layers of papers also. Some sanding of my papers was also done to create the shabby style look. You can see this above.

I have also used one half of the pack of Ornate Scrolls another one of my favourite pieces. this was cut into two and divided behind the photo. I dressed this piece in Crackle Texture Paste and coloured it a little with the Hydrangea Inka Gold and some Ranger Star Dust Stickles to make it shine.

I have also used some gorgeous Birch lace cut into segments.

And that is all from me today. Until next time take care and happy creating.