Me Heart You

1

Posted by Amy Voorthuis

18 May, 2021 - , ,

Write a comment

Goodmorning Amazing Maja Design Fans,

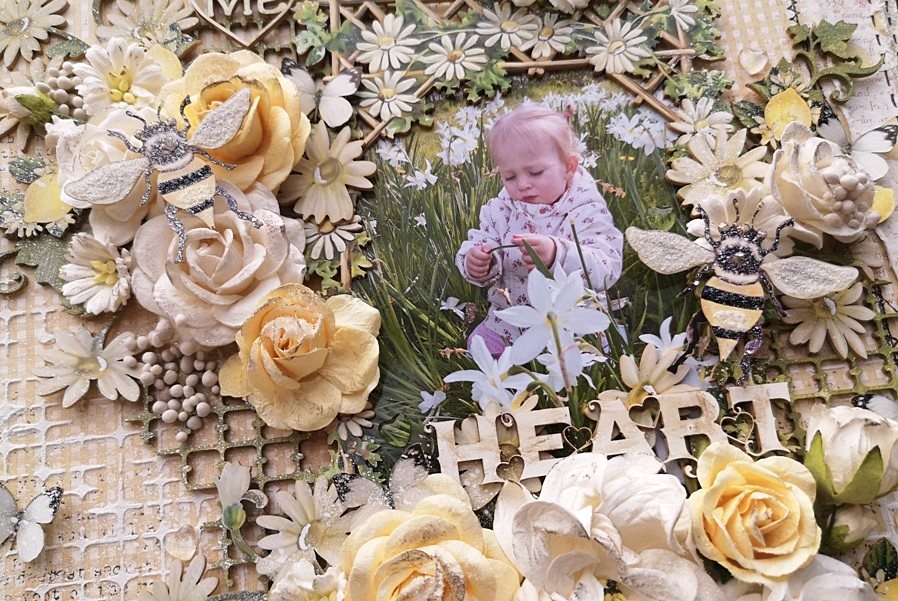
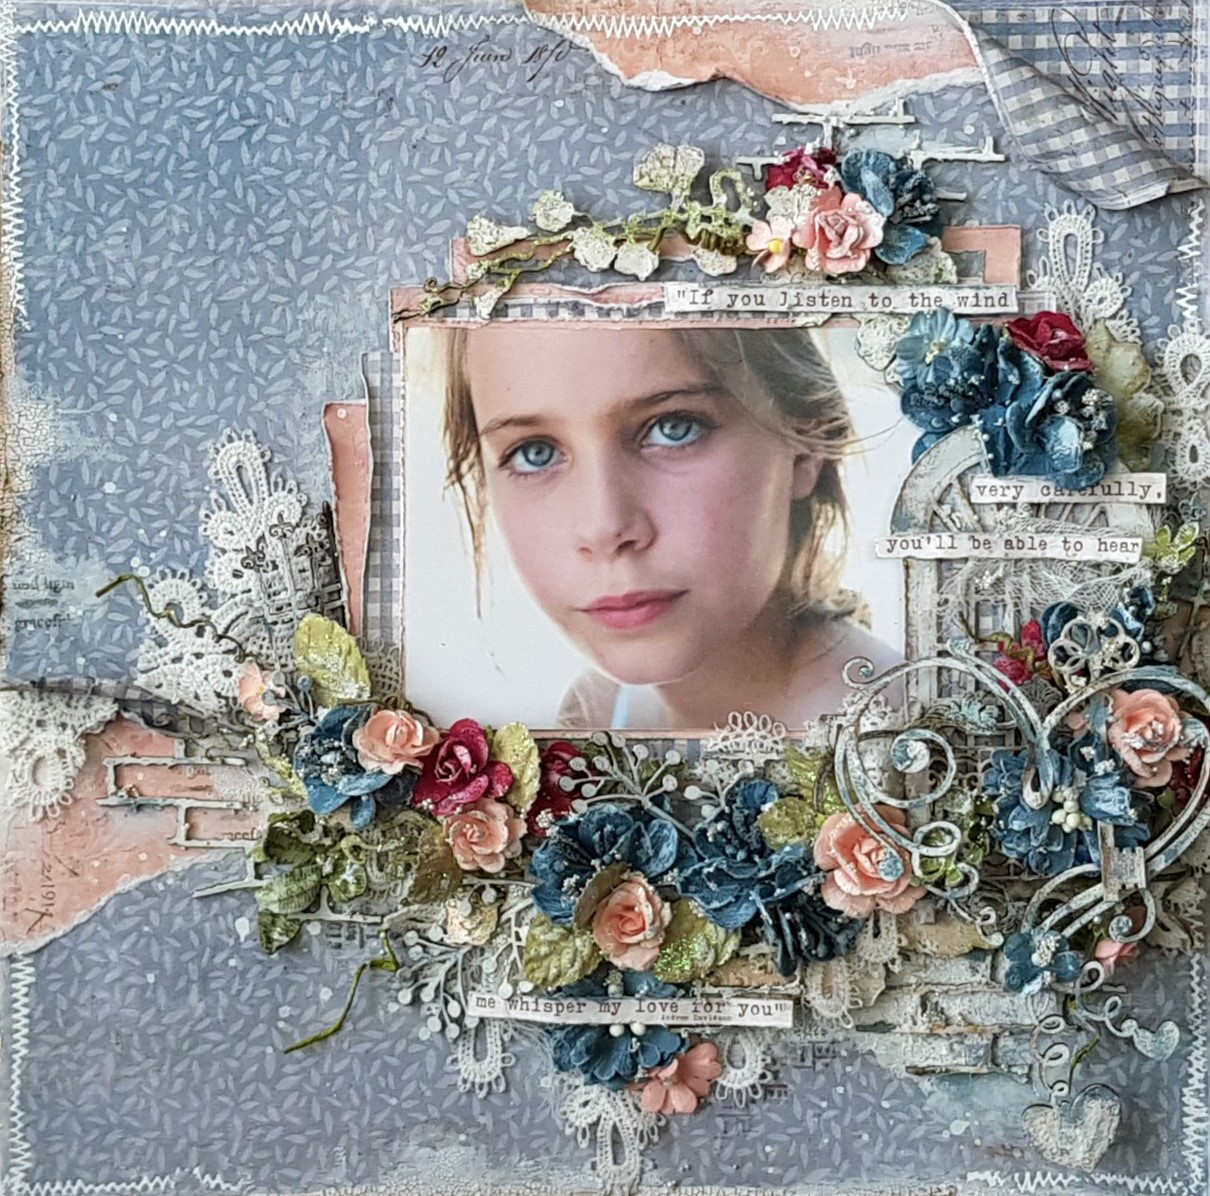
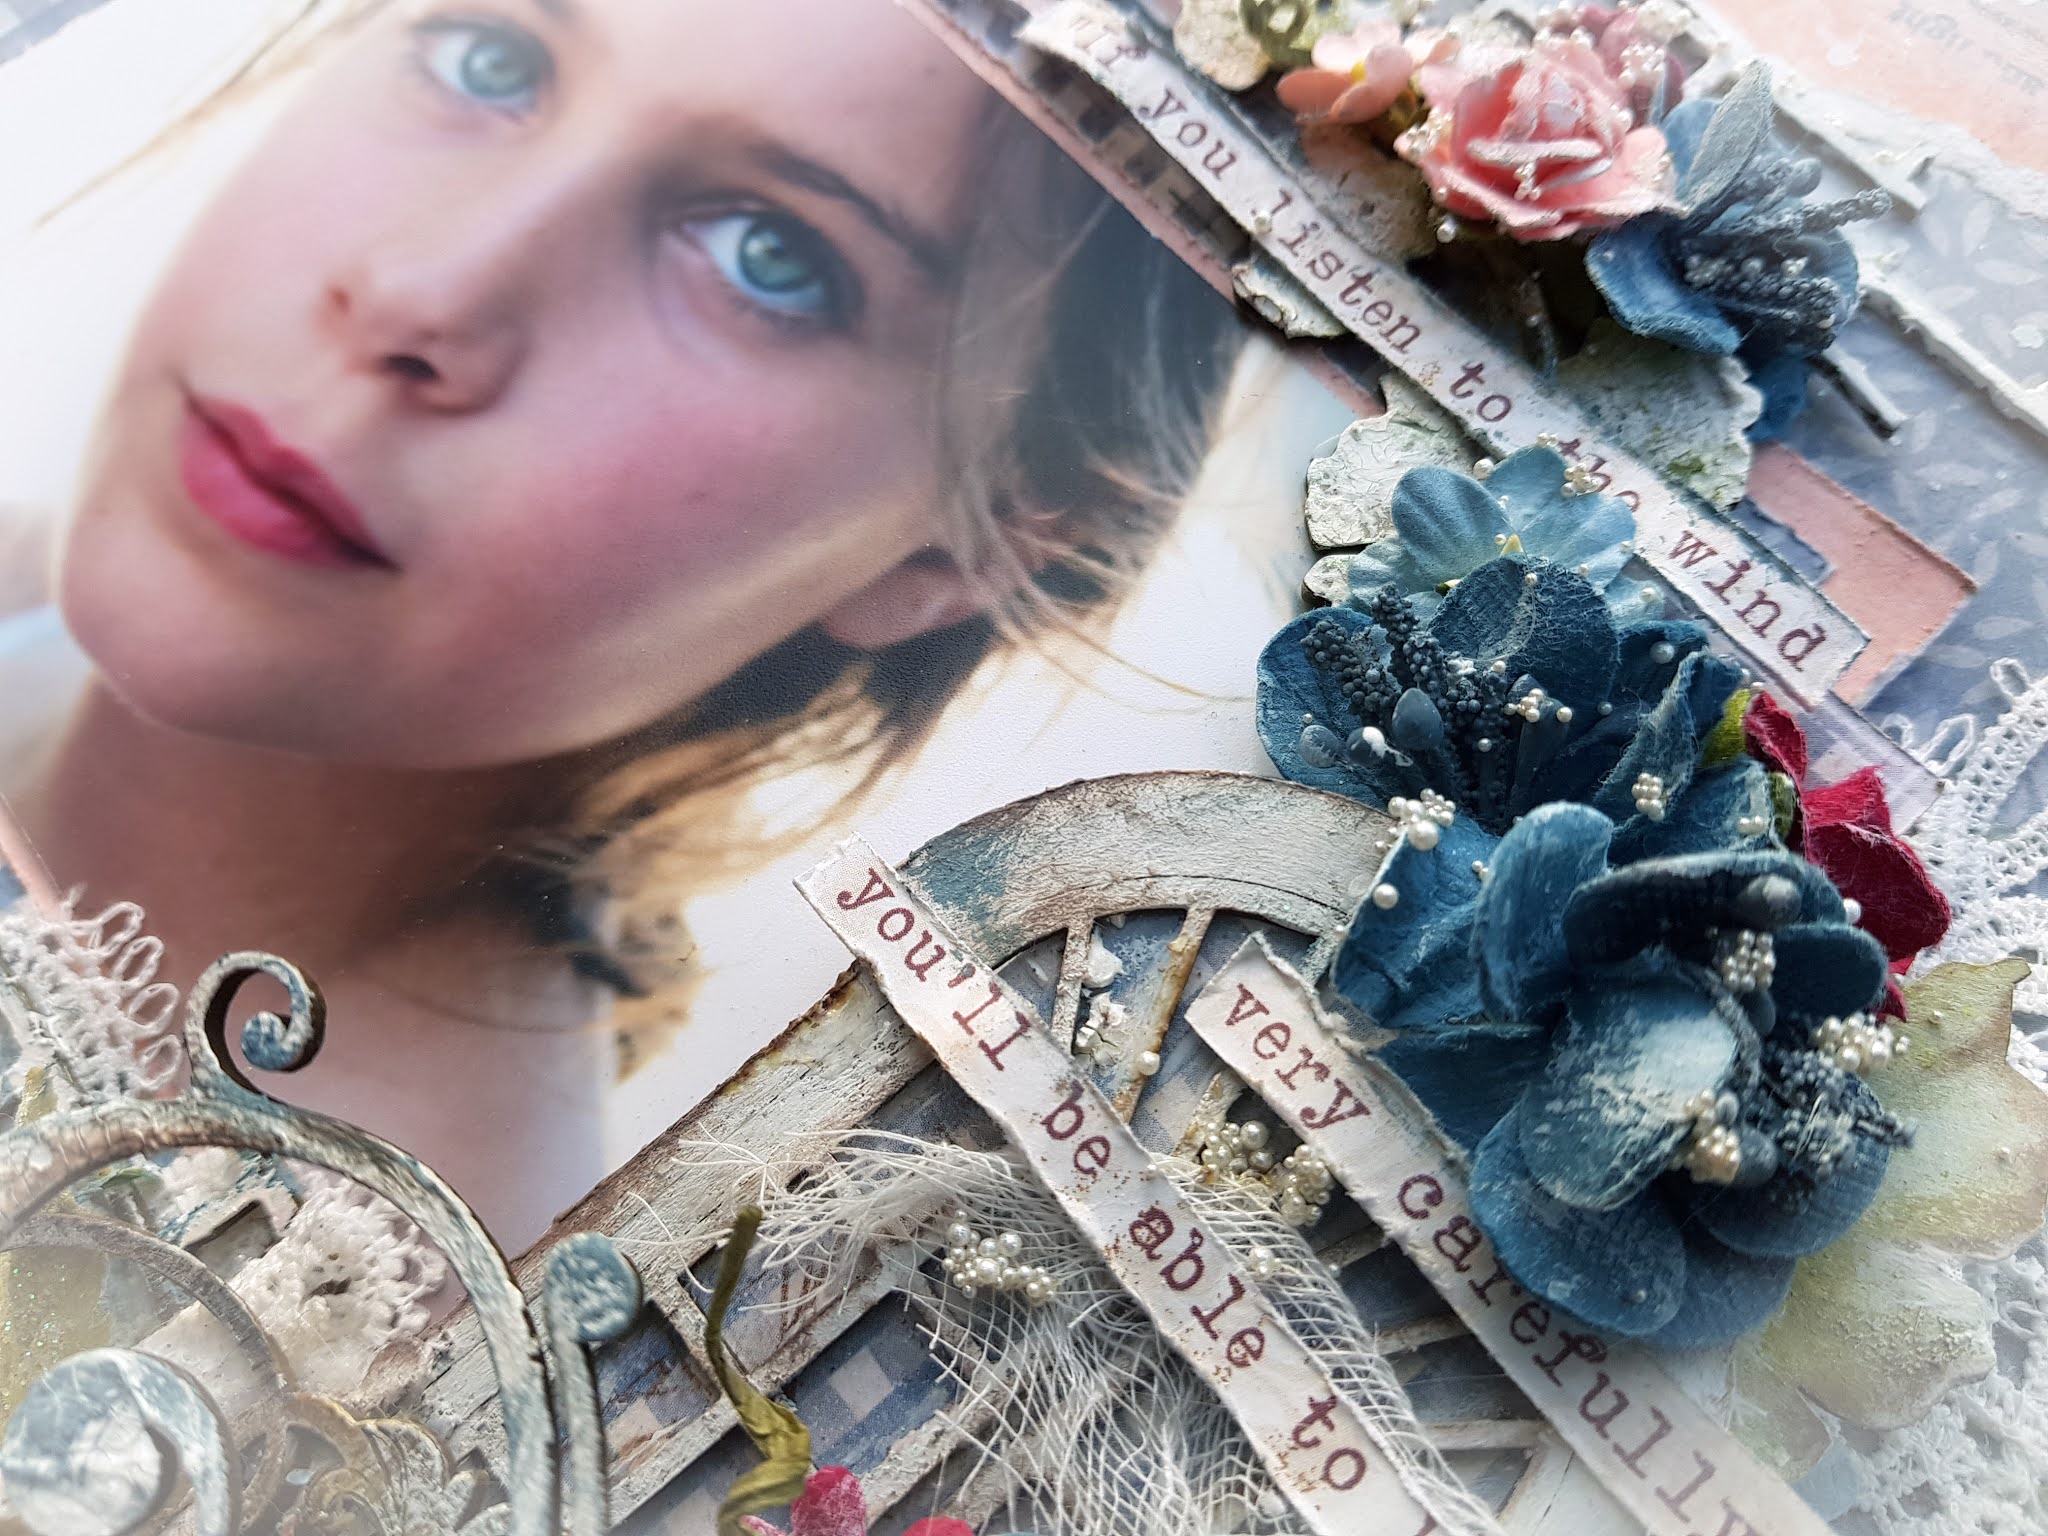
 How lovely of you to visit the blog today! I would like to show you another layout I created with some beautiful Maja Design papers & some amazing Renea Bouquets embellishments. Our daughter Abbey really loves flowers and always wants to be surrounded by them. So this time another picture of her in between some beautiful flowers. I also would like to apologize to you all for missing two posts….I had my hands full being a working mom and having two children in two different stages of their lives, so life got a little busy.

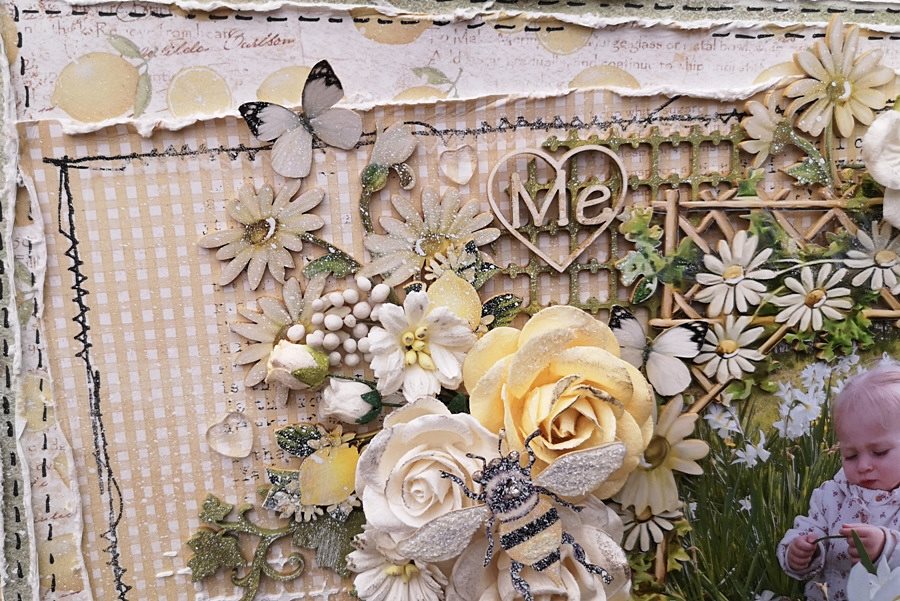
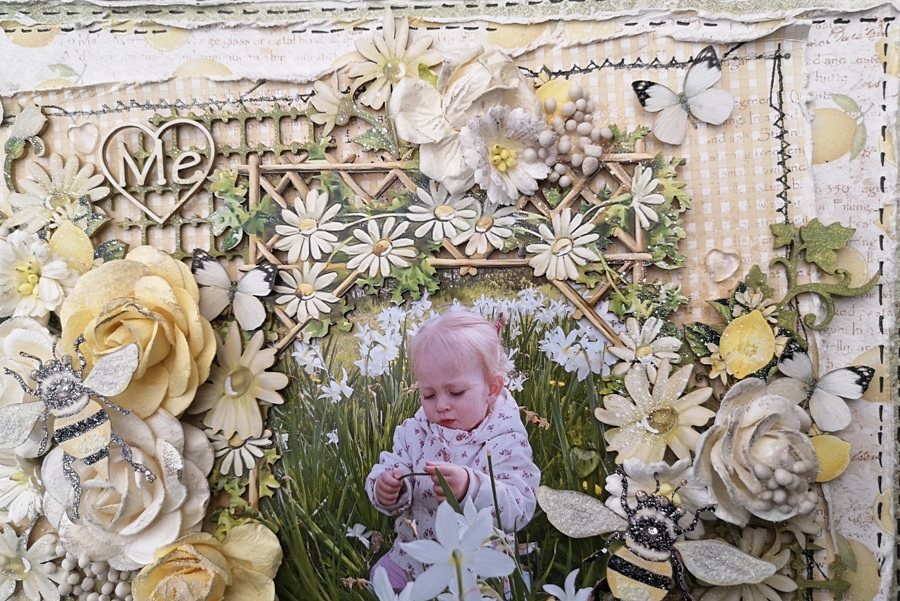
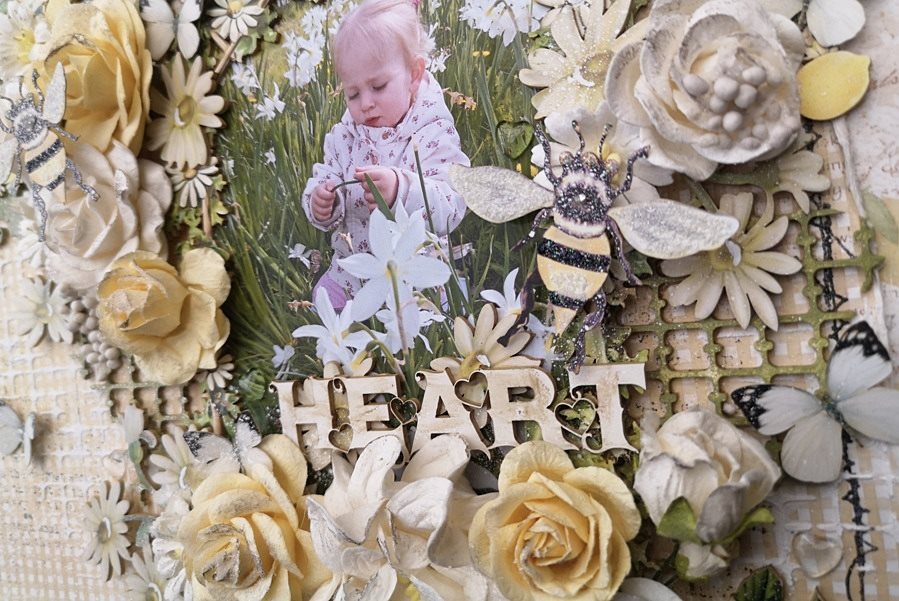
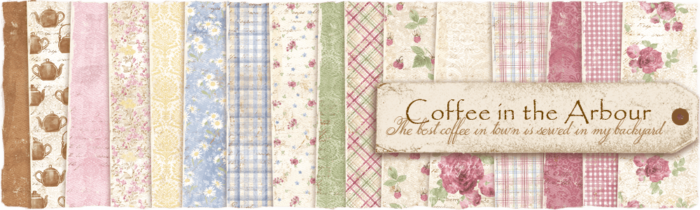
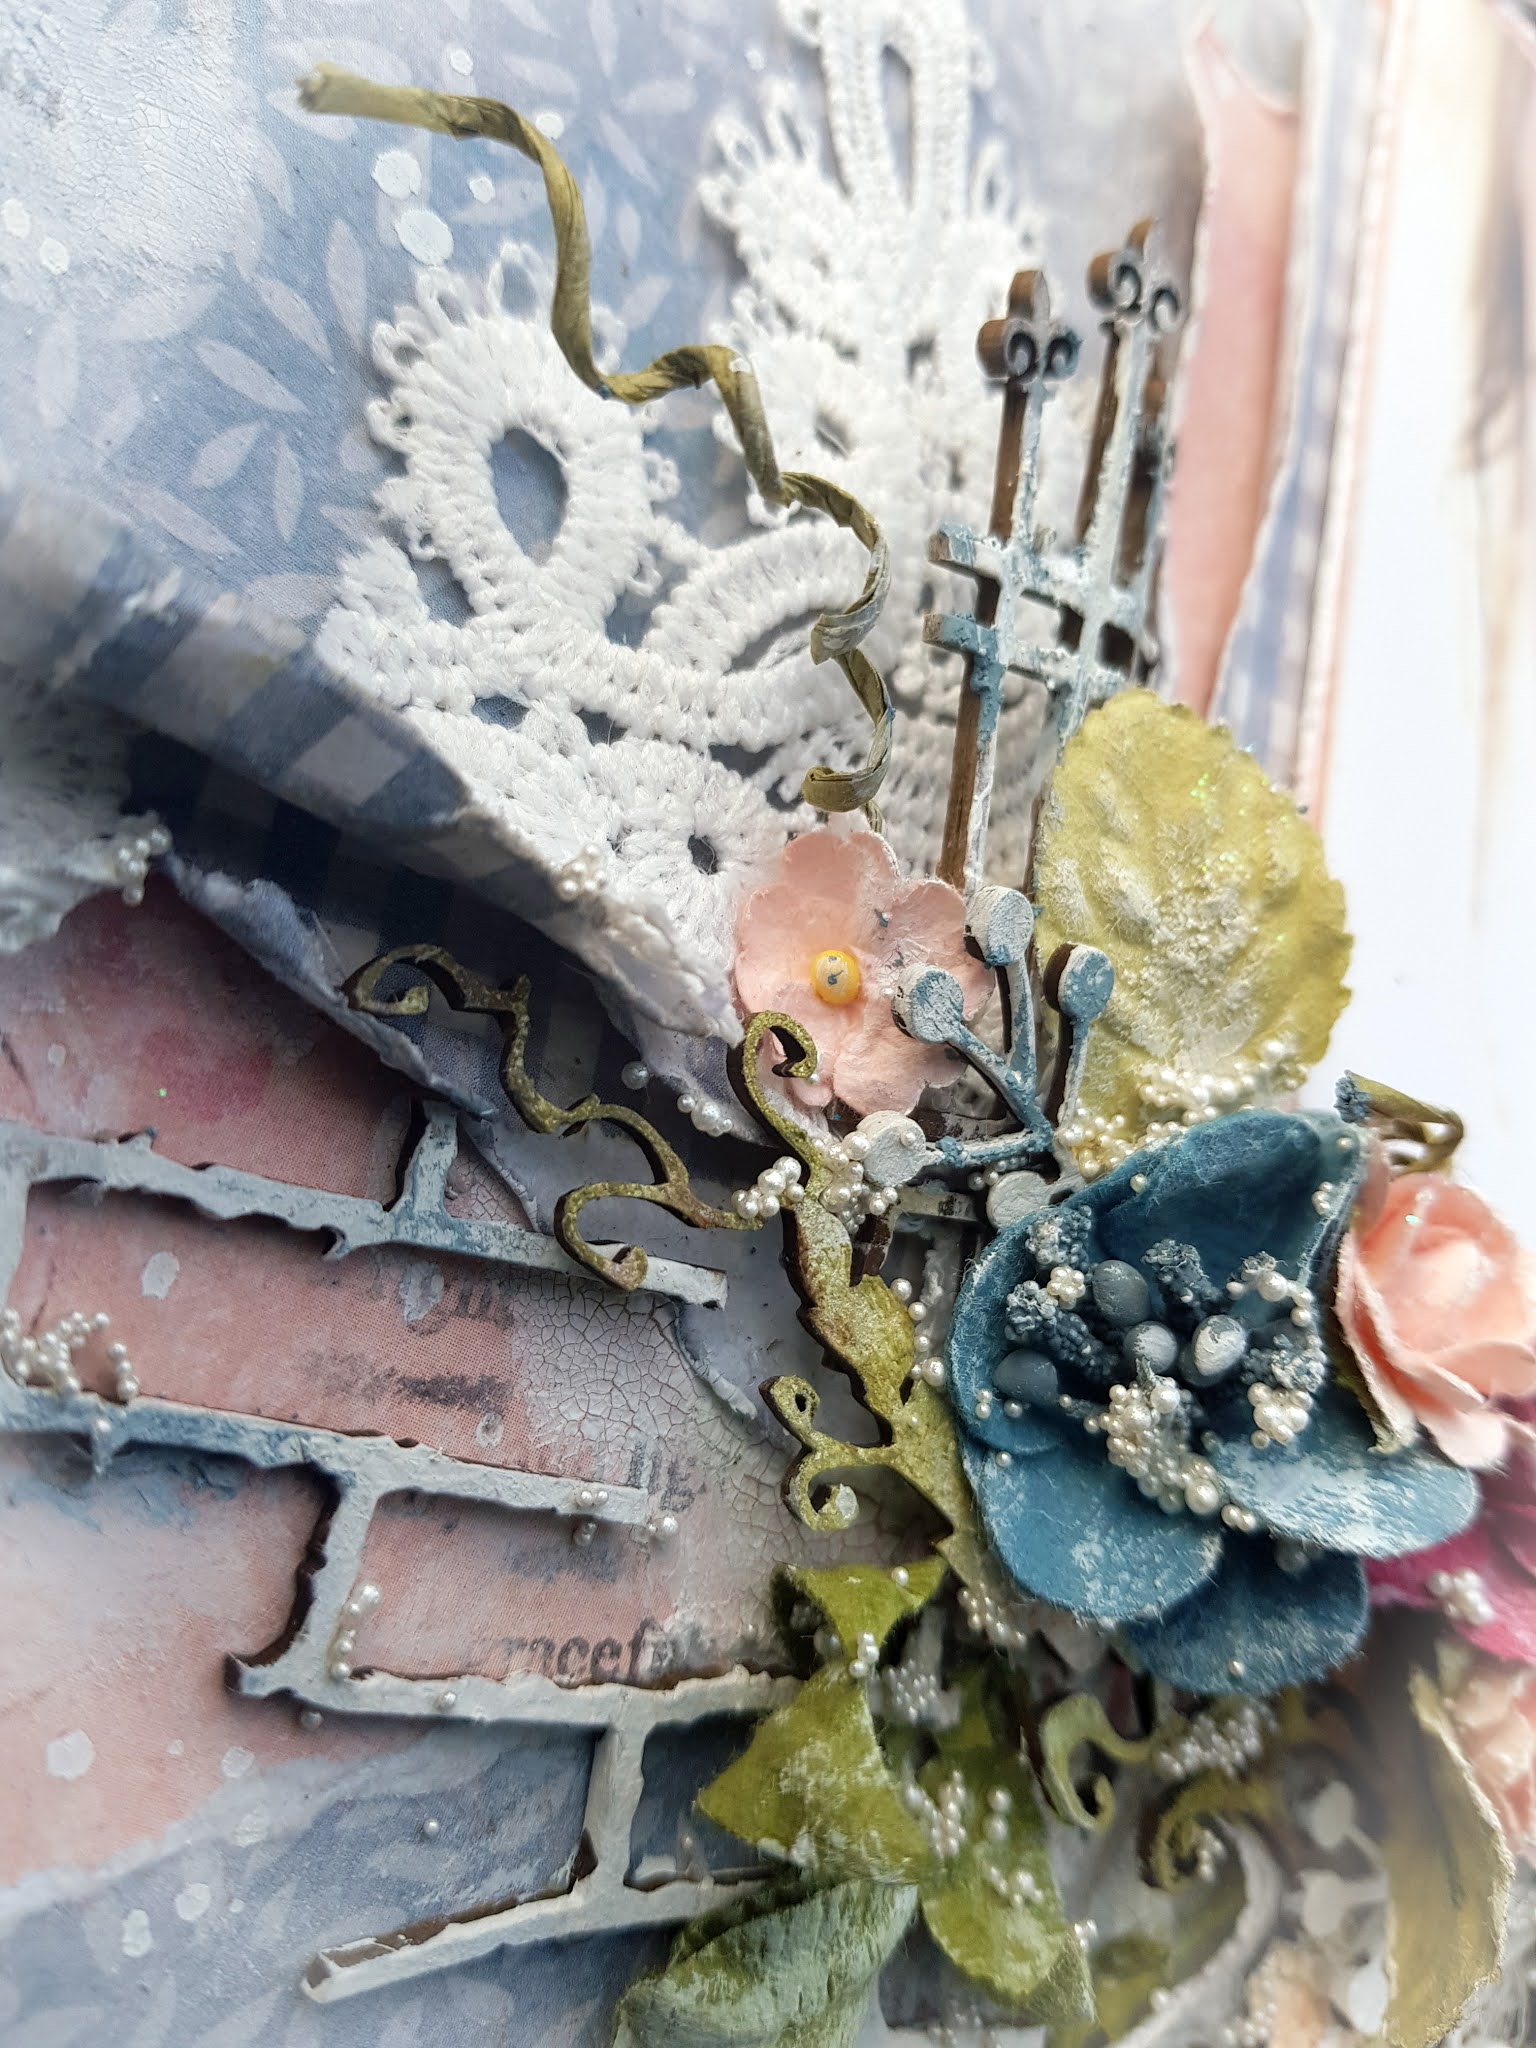
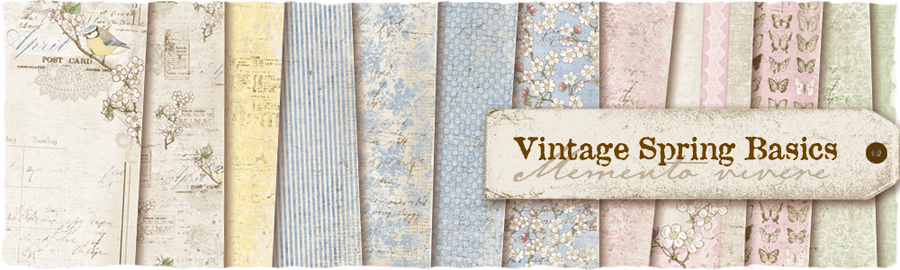
I layered three different Maja Design sheets from the Coffee in the Arbour collection, which is a great fit for the pretty lemons. As one sheet has some pretty lemons on it. The top sheet I placed a little on the side as I wanted something different then just straight. The I added some sprays & a stencil which fitted the pretty grid element.

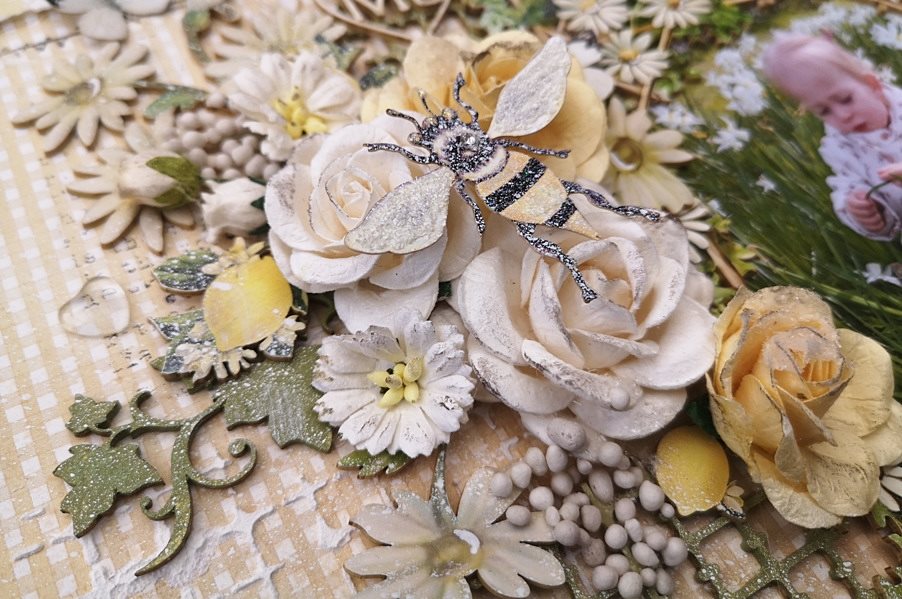
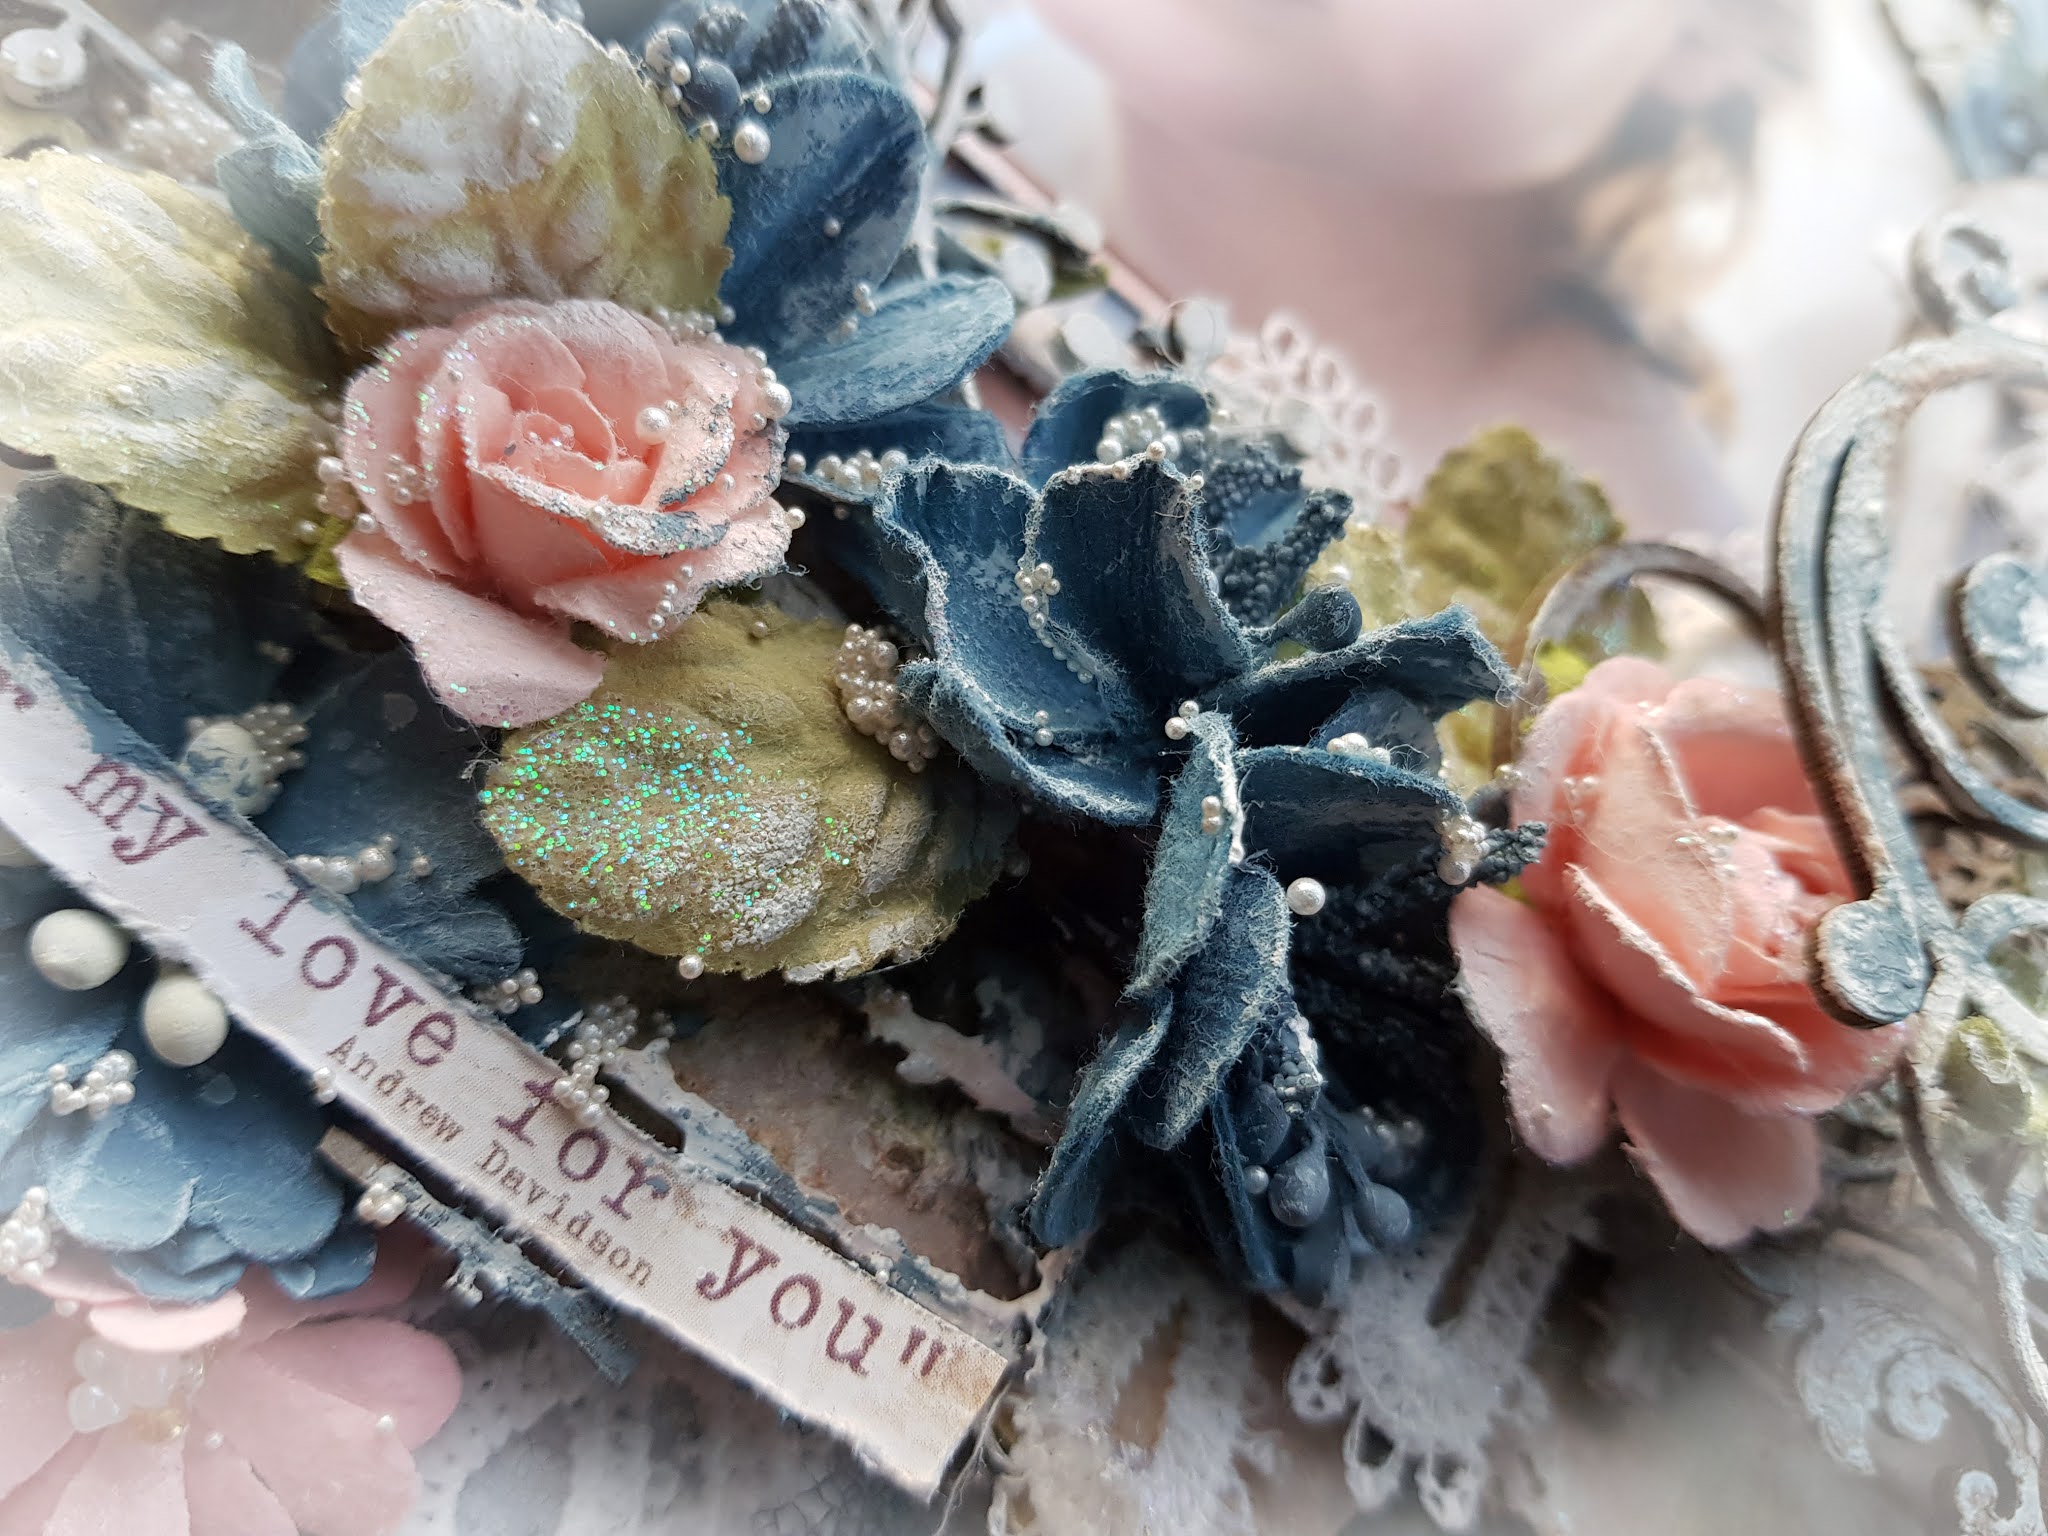
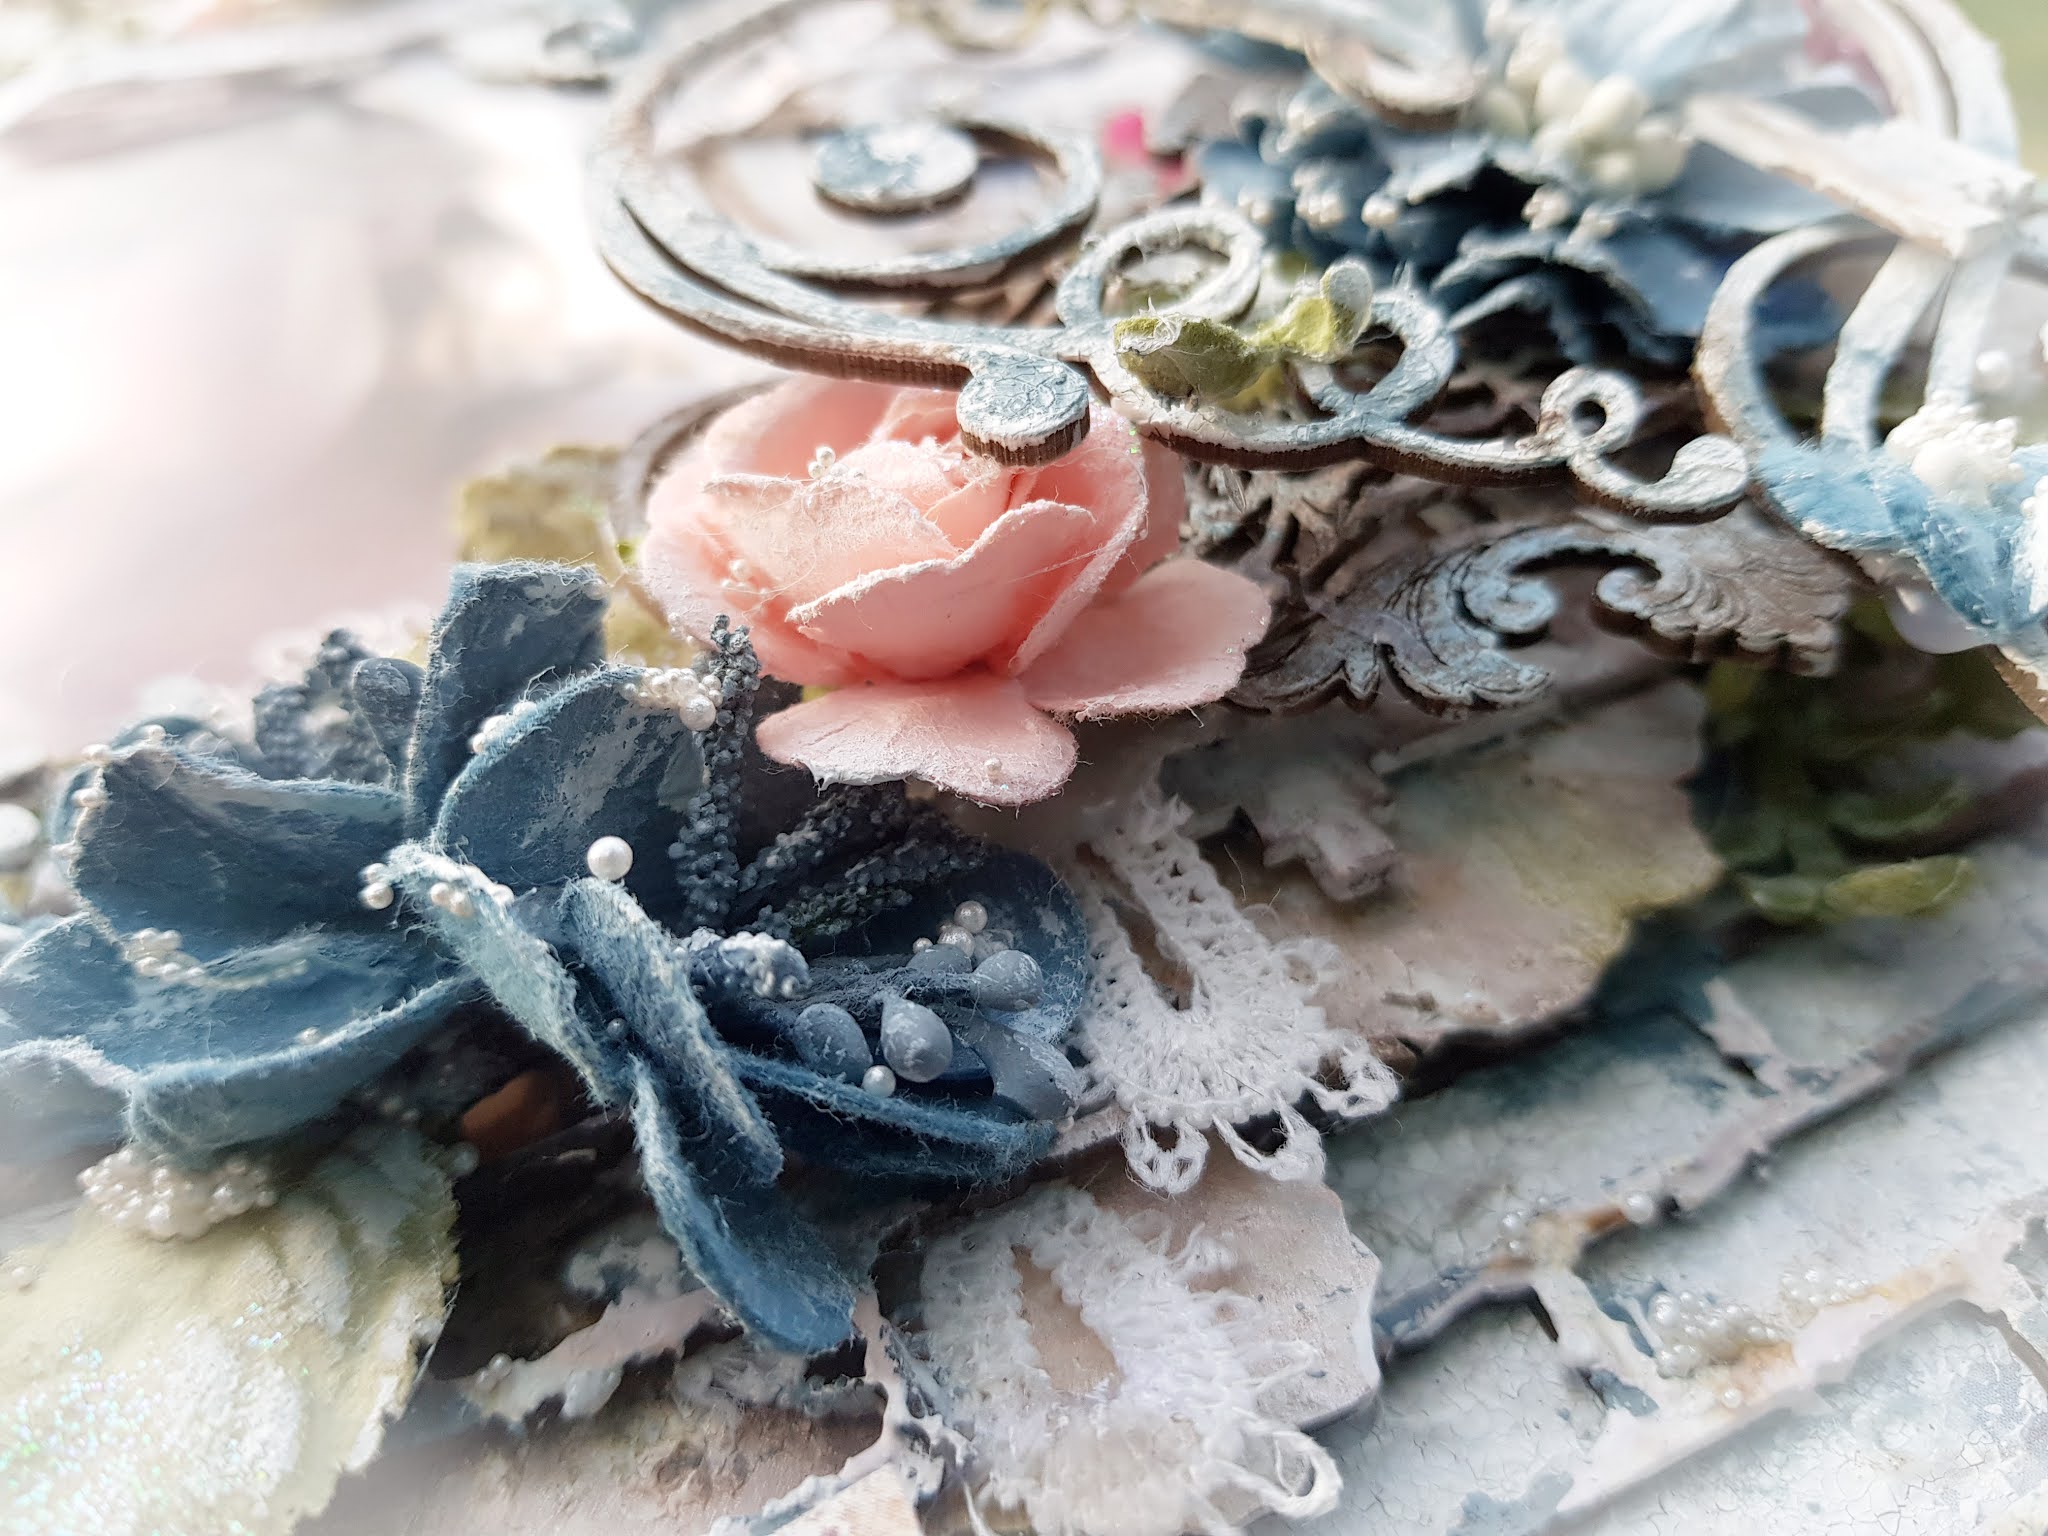
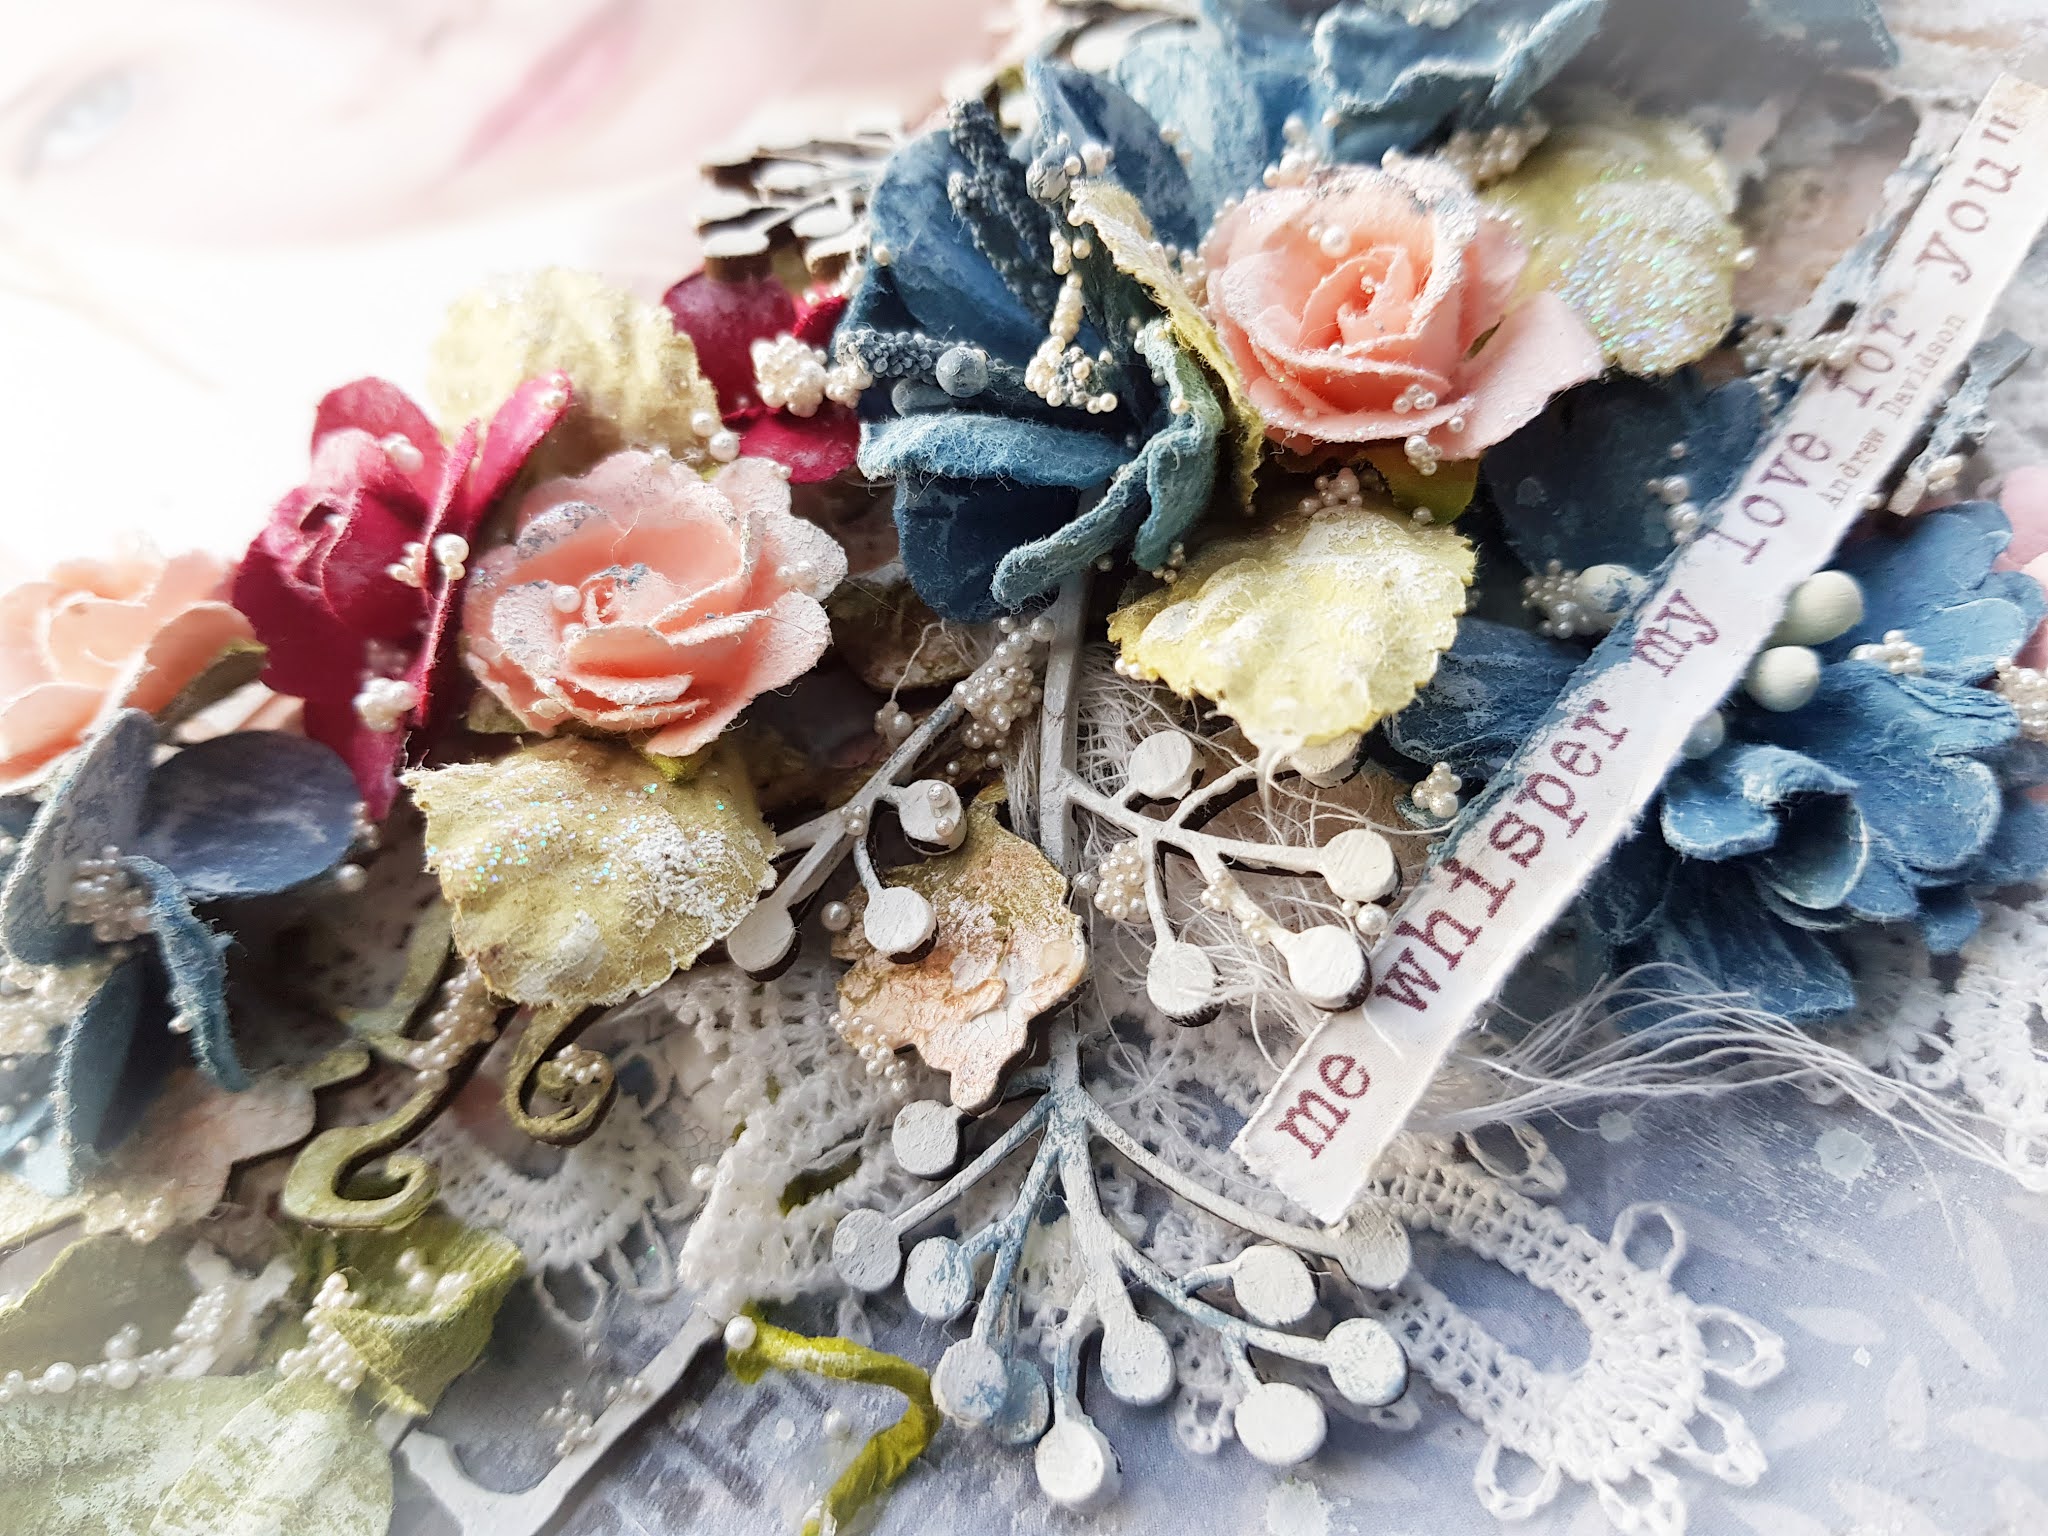
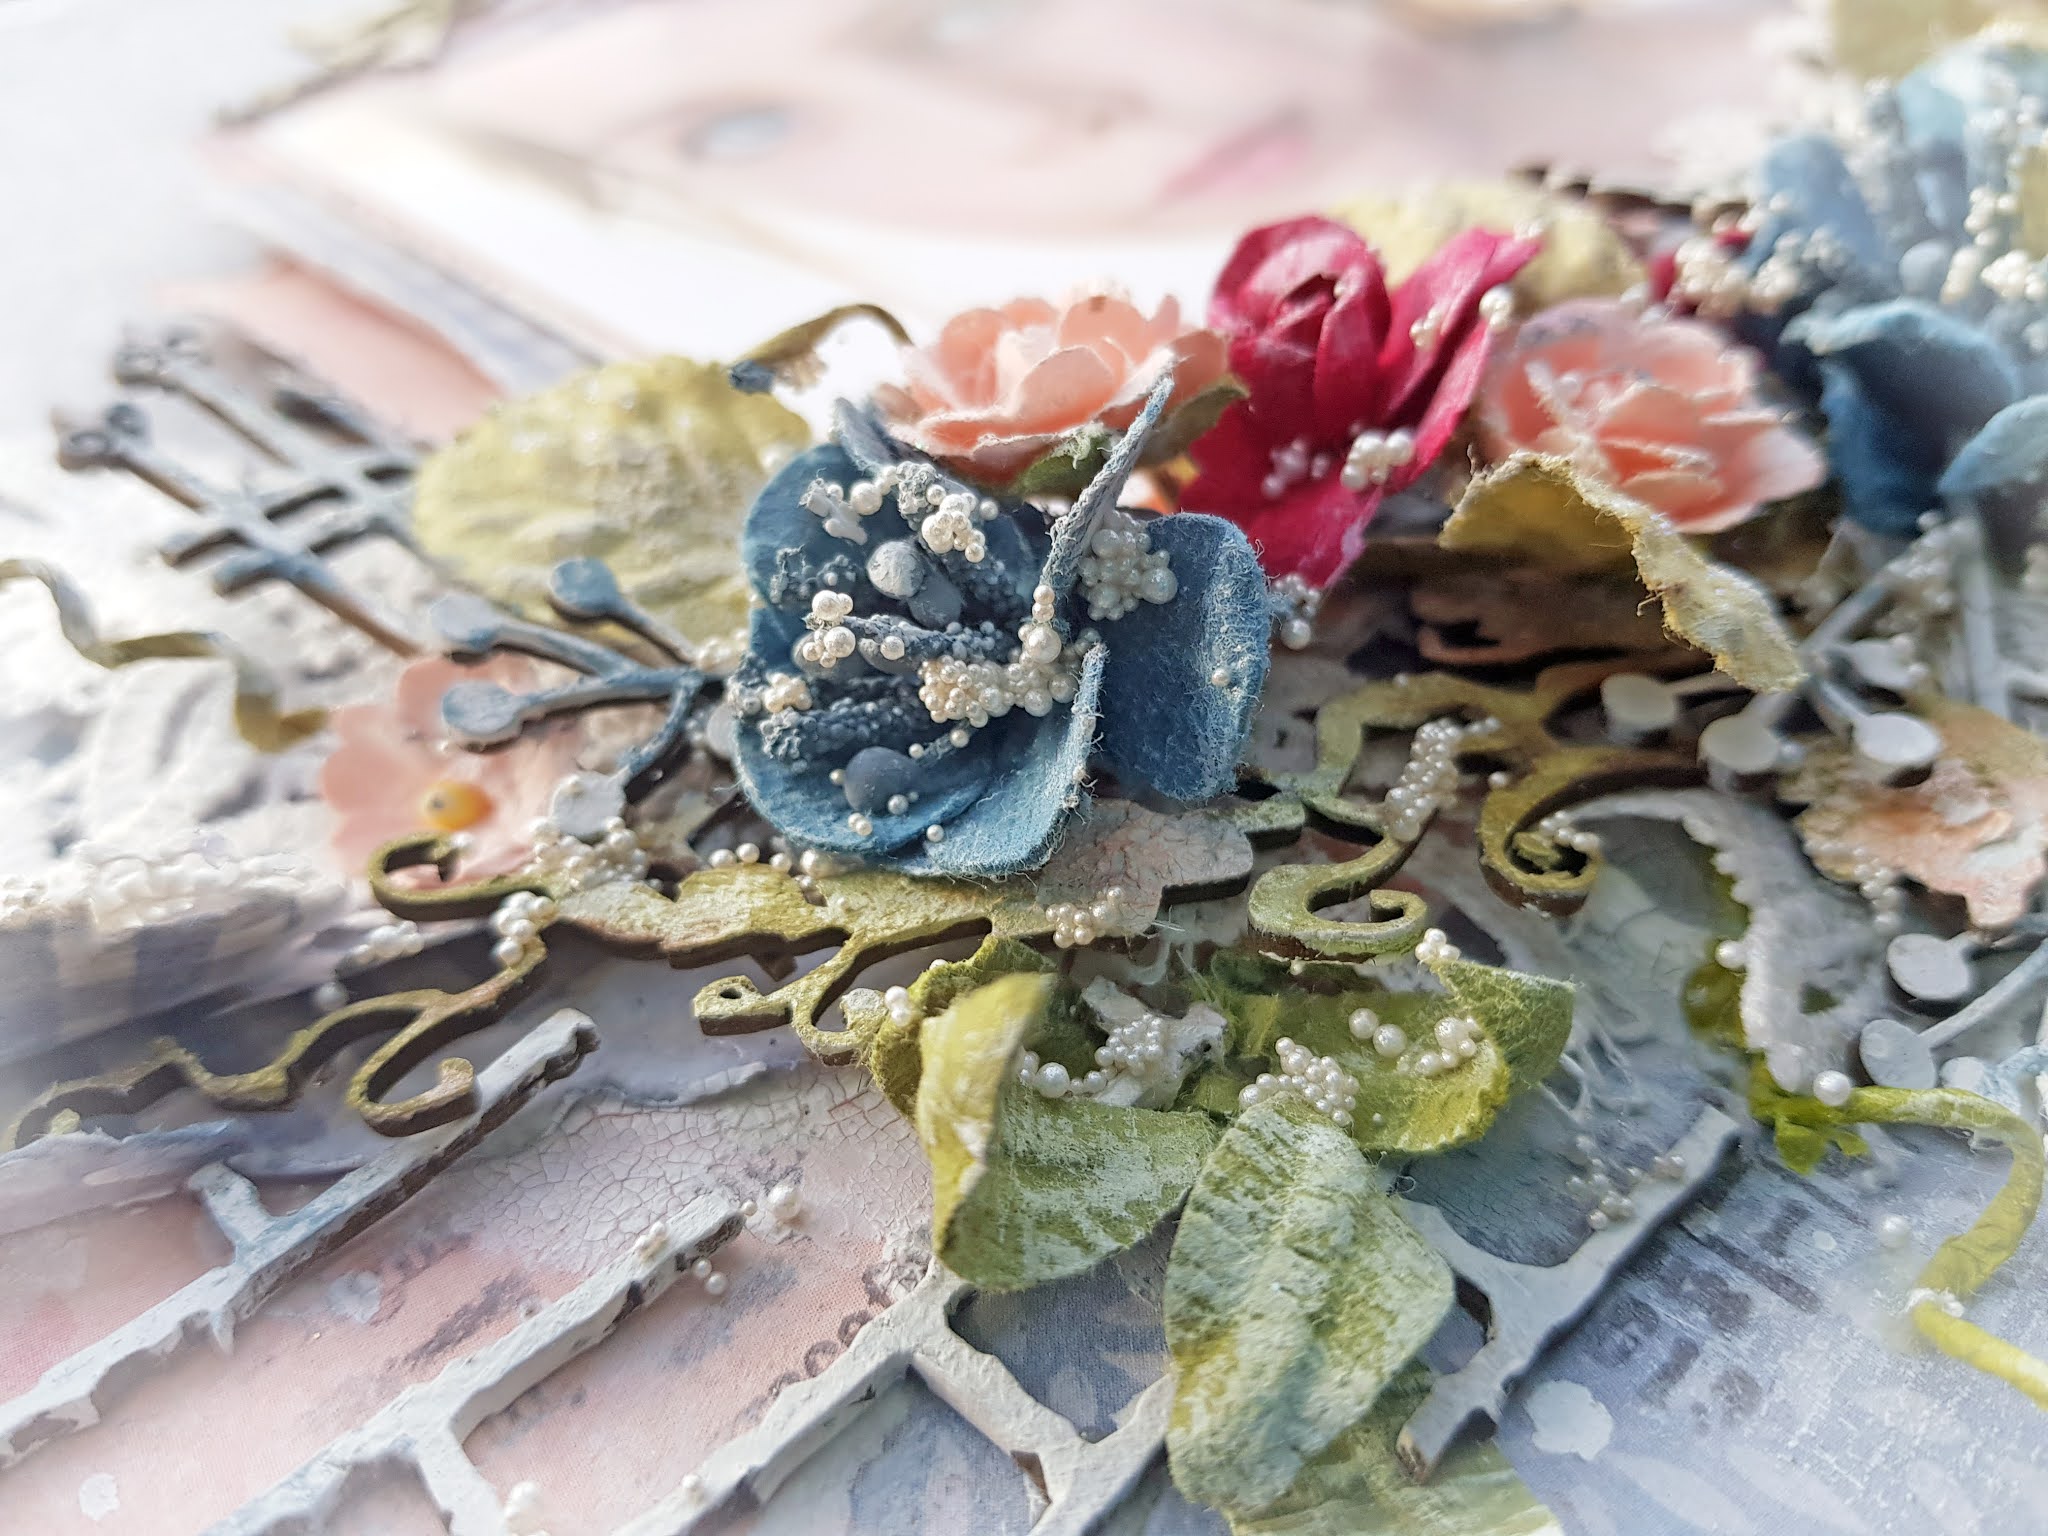
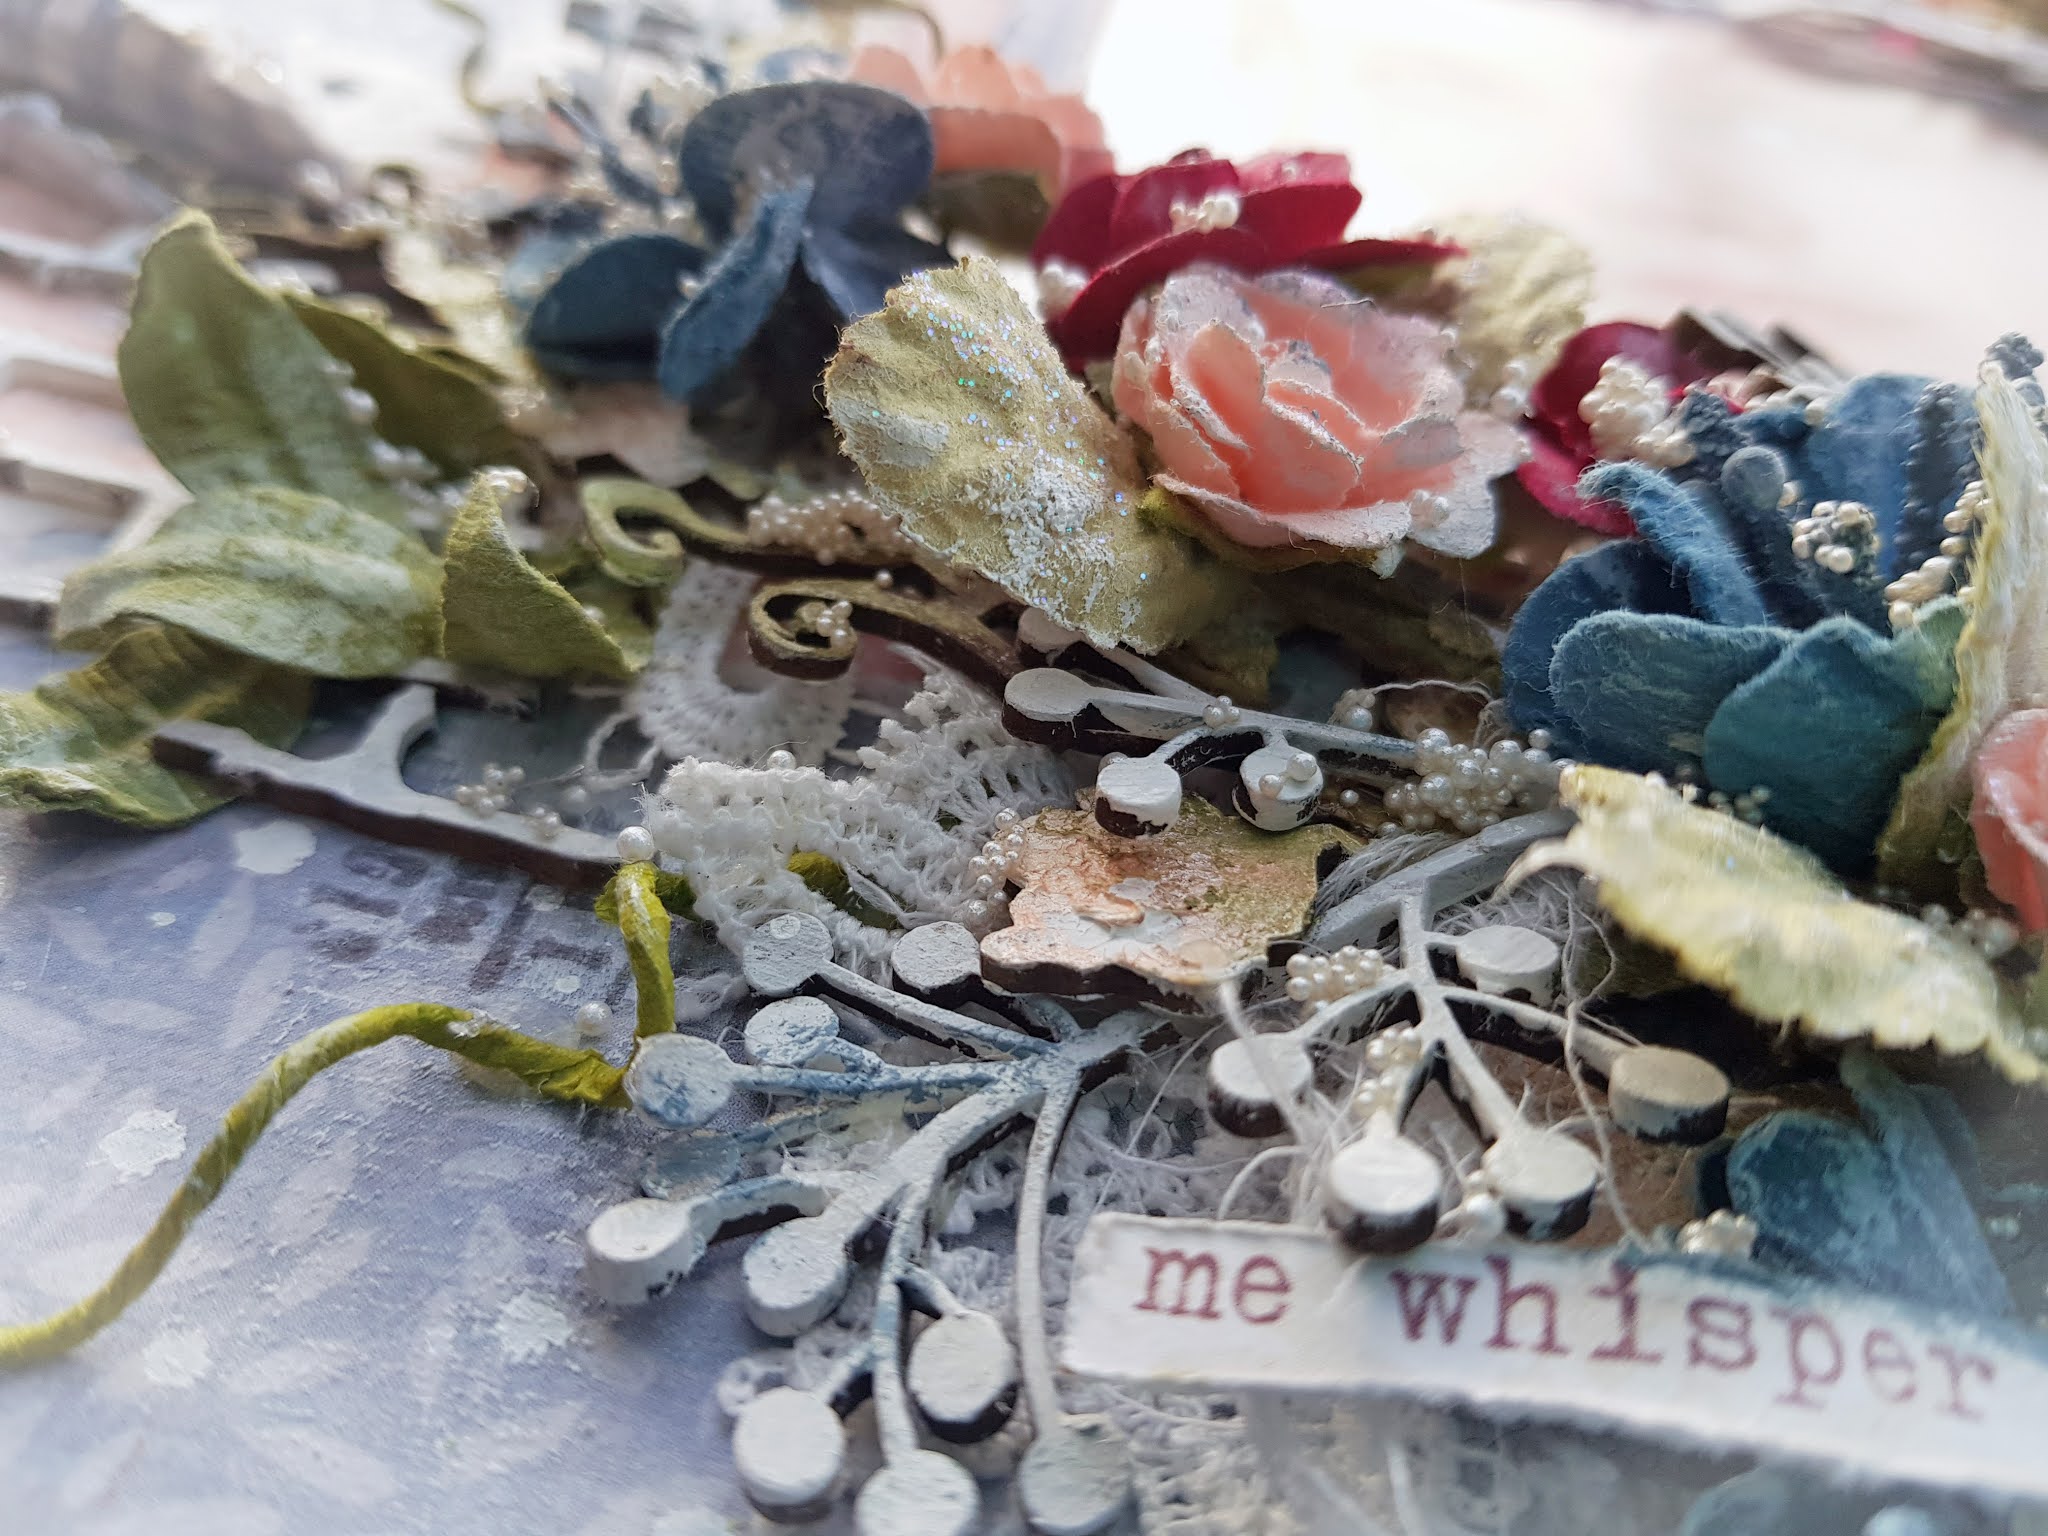
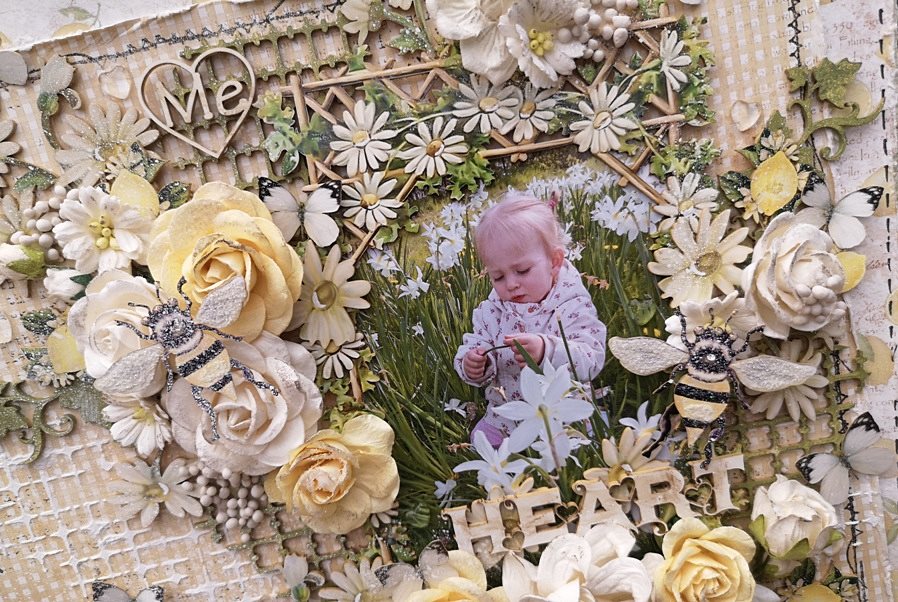
I really enjoy creating with all the pretty Renea Bouquets products just because they go so well with the Maja Design papers. Ans also because they are a feast to the eye…I painted the pretty ivy & the grid element green and then used some of my precious waxes. I also added some waxes on the beautiful boards that I kept nutral.

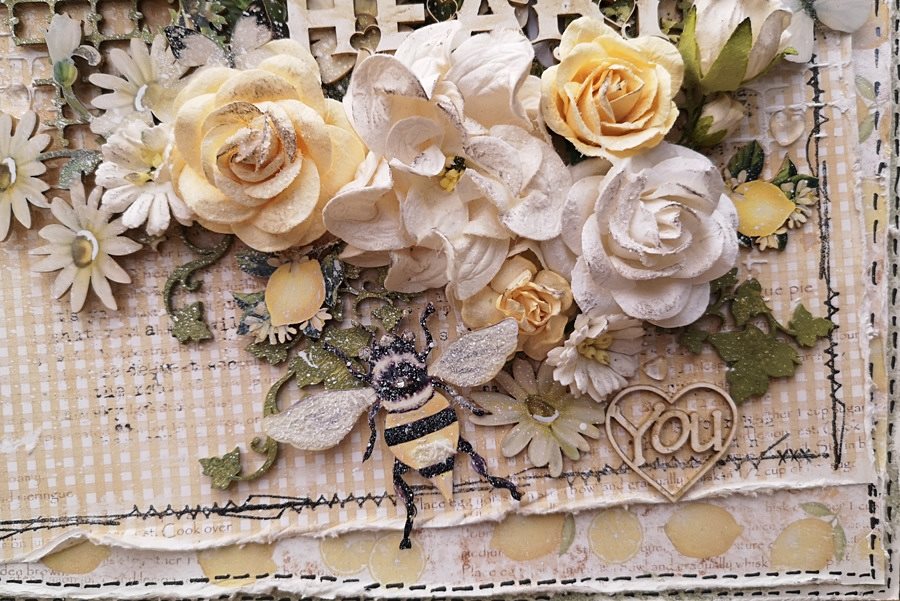
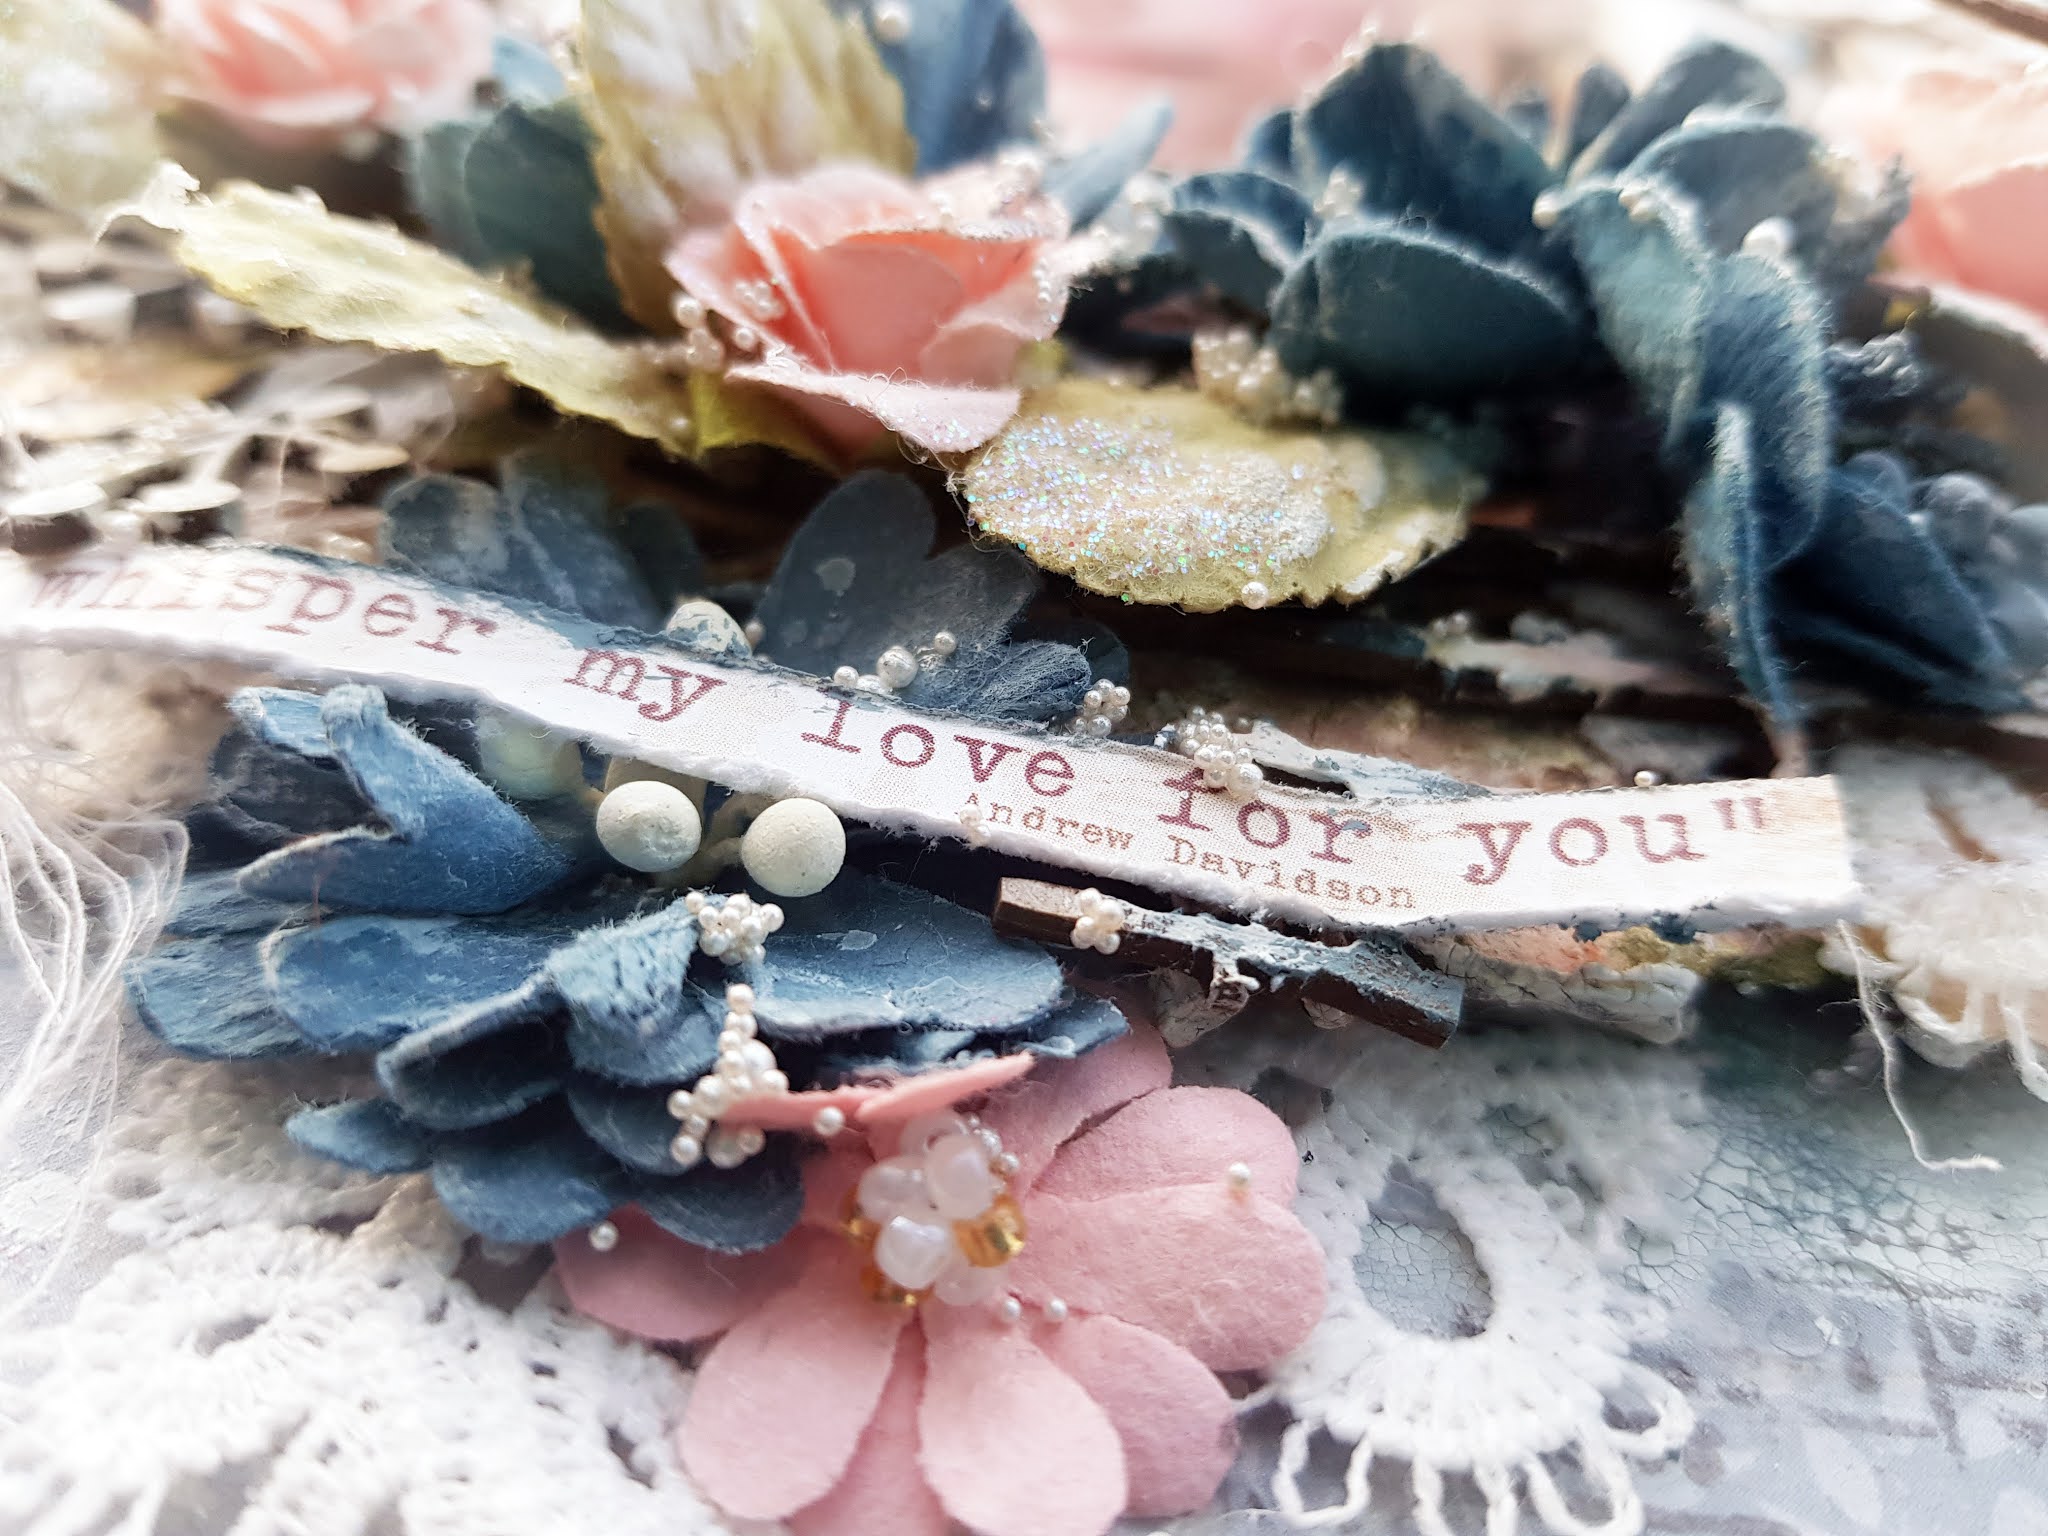
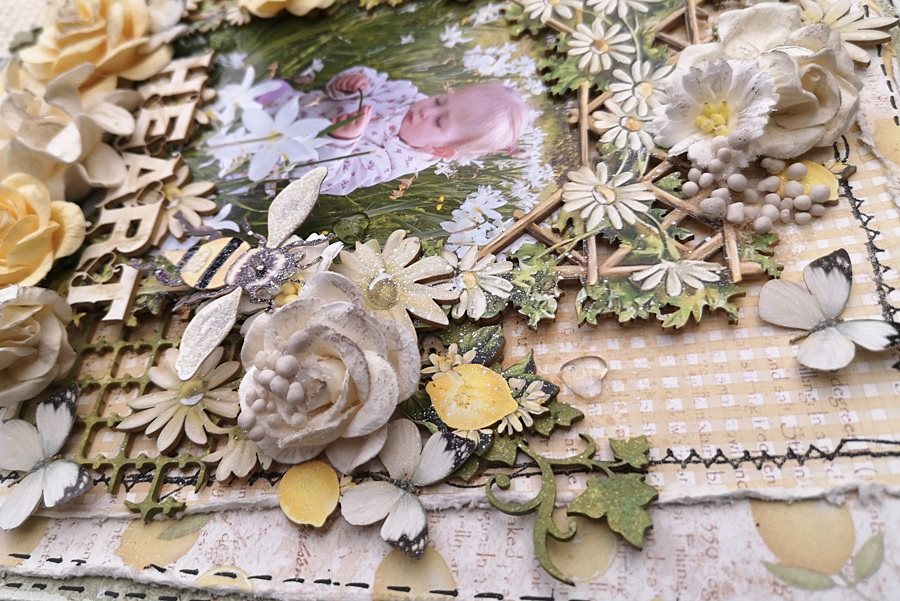
 On the the yellow upper sheet I stamp with a stitch stamp around the edges to make it pop a little more then on the end I added some beautiful glass hearts which are one of my favorite items by Renea Bouquets and some art stones, pearl fine glitter glass & butterfly kisses butterflies. AlsoI lightened up the centers of the sweet daisies.

Maja Design products used:

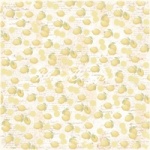
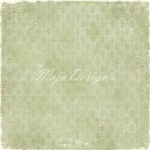
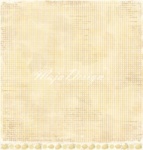
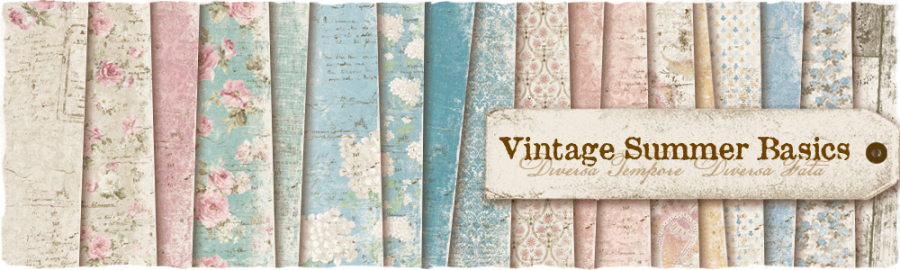
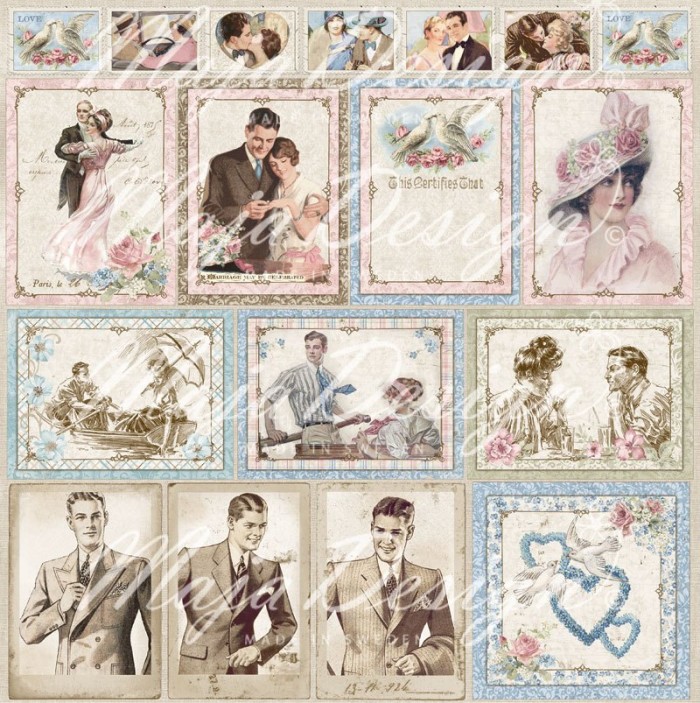
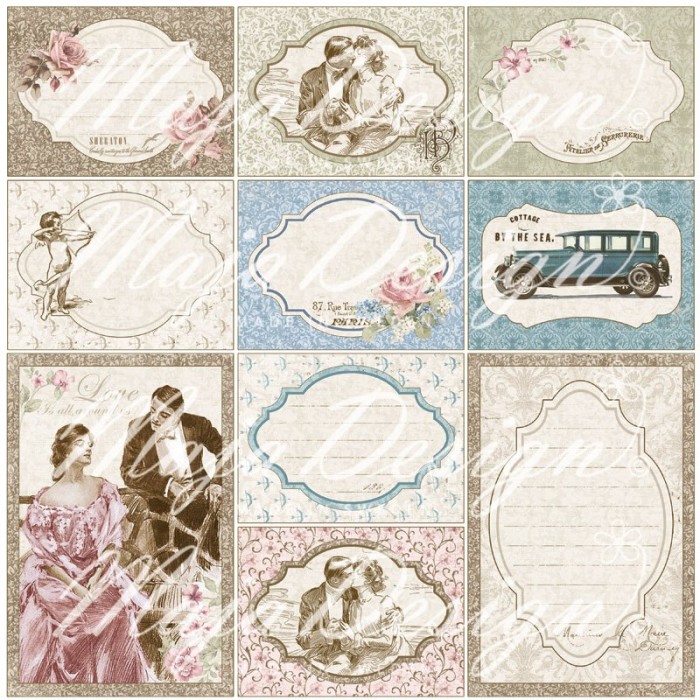
Coffee in the Arbour: Feel the Grass, Lemon Meringue Pie & Lemon Meringue Pie bs

Thank you so much for visiting the blog today and I hope I have inspired you to create and show us your beautiful art you can always share your work here: Maja Design Facebook page and I if you like the products I worked with please visit here

Have a wonderful day & stay safe hugs!

“My love for you” by Tina Ollett

1

Posted by Tina Ollett

23 December, 2020 - ,

Write a comment
Hello Maja Design friends. Thankyou for returning here today. My project I am sharing with you uses the gorgeous gorgeous collection of Miles Apart.
This is  “My love for you”….
It was when I was going through the absolutely stunning paper collection of Maja Design’s new release “Miles Apart” that I came across a quote from the barcode strip of “Keep in touch”, that I knew this was my starting point.
The quote reads:
“If you listen to the wind very carefully, you’ll be able to hear me whisper my love for you”.
Just beautiful don’t you think? So I found my photo to work with this and went to work. I made lots of layers using torn papers from the Maja collection in the tones of the blues and apricot as in the moodboard below. I couldn’t believe really how close these colours were.


They are as listed below.


Keep in touch “A”
“Keep in touch “B”


“Keeping Busy” “A”


 “Keeping Busy” “B”

  
I did a little embossing in white around the outside of the background using a stitching stamp from 49andMarket. I also added in some texture using Rangers White Crackle paste and some random stamping in Archival Ink in Watering Can. The barstrip with the quote was cut up and distressed.
 
I used a number of gorgeous pieces of Dusty Chipboards some you will probably have to look very hard to see but they are there. For me it is all about the layers. So starting off once all my paper layers were down I added in the new release chipboard the “Flowering Vine”. I have used the smaller vine from this pack. It was dressed in white crackle paste along with Inka Golds in the colours of mint and apricot.

I have used a number of flower packs. Some from 49andMarket and some from Prima Marketing to create my flower clusters.


Lots of lace and leaves with pretty flower pearls and muslin were also added in amongst these layers.


Well that is all from me today. I do hope you have enjoyed this blogpost. I would like to take this opportunity to wish you all a very blessed and safe Christmas and New Year.
Can’t wait to see you all back here again next year.
Thanks for calling by.
Teen x


“Adore” by Tina Ollett

1

Posted by Tina Ollett

9 May, 2017 - , ,

Write a comment

Hello and welcome Maja followers!

Tina Ollett with you here today to share my next Design Team creation. Last time I was here I shared something a little rustic /country, so this time around I have decided on something Shabby Chic to showcase this gorgeous photo of my two girls. And what better collections to use to create this with, but the ever gorgeous

Vintage Spring Basics and the Vintage Summer Basics.

Vintage-Spring-Basics-P

Vintage-Summer-Basics-P

Just perfect to create that pretty shabby page.

This I have titled “Adore”………

2017-05-08 Adore 010 (1024x1022)

 I used the Vintage Spring Basics 7th of May as my background page but I firstly cut a photo mat from the centre to save on paper. I then layered torn Vintage Summer Basics 1922 and the Vintage Springs Basics 4th of May over this. When creating shabby layouts I like to leave large areas of the white paper core to give it an complete border and it also saves on sanding or inking.

2017-05-08 Adore 007 (768x1024)

Here you can see the layered torn papers and above that the photo mats with distressed and sanded edges.

2017-05-08 Adore 008 (768x1024)

I have layered over the top of the background page two sections of lace. I have run a piece of seam binding through the top piece of the lace and I tied it in a bow at the right side of the photo where it hangs to hold the chipboard title “Adore”. This chipboard piece was simply dressed in gesso and Liquid Pearls was swiped across and around the edges to highlight the titled.

2017-05-08 Adore 026 (768x1024)

I love to create flower clusters, and this one was no exception. I used leftovers from many of my flower baskets that sit under my desk. They were all whitewashed with gesso to keep in with the shabby chic design. To complete the layout I added in some Kaisercraft paper leaves, a Dusty Attic frame which was dressed in Platinum Liquid Pearls and cut into several pieces and also a little cheesecloth.

Well that is all from me today. I hope you have enjoyed popping by. Until next time, take care and happy crafting.

Tina-sign

“Truly, Madly, Deeply” by Tina Ollett

4

Posted by Tina Ollett

31 January, 2017 - ,

Write a comment

 A very warm welcome to the wonderful Maja Designs blog. It feels like it has been forever since I was last here.  Today my family and I are going to a engagement dinner for a lovely young couple who, we as a family have grown with over the past few years. It is ever so sweet to see these two uniting. So I thought I would create a simple but elegant card for them to help celebrate their unity as a couple.

This is titled

“Truly, Madly, Deeply”

Truly Madly, Deeply (5)

When I first had the idea , I knew I wanted to create something very elegant but not too vintage as they are only a very young couple. I also wanted to keep it clean and crisp and I think I kept to my plan pretty much.

Vintage-Romance-P (1)

I had used the Vintage Romance collection previously with another creation and I had a few scraps leftover which is what I have used for this card. They are as below. I only used the strip from the bottom of Champagne which says “Truly, Madly, Deeply”. I cut and distressed this piece and used this to run through the middle of my embellishments. I have used both sides of  Happily Ever After and torn and layered these papers to a baby blue cardstock card measuring 4 inches x 9 inches. My favourite size at this present time. I think this size cards keeps things elegant and stylish.

From the Ephemera Cards sheet I cut the doves and the hearts to help embellish my cards. I have also used the blue frame from Love Notes to sit under the doves and hearts as you can see below in the close-up photos.

Truly Madly, Deeply (3)

I have used a beautiful motif that is an absolute favourite. I have cut and extended this to fit under my ephemera. I have also added in a little cheesecloth along with some tiny blue roses and a couple of petals from a material flower.

Truly Madly, Deeply (2)

I dusted over a little gesso to the flowers and other embellishments to keep it calming. Then a little Star Dust Stickles was wiped over areas included the hearts and doves of the ephemera piece.

Truly Madly, Deeply (6)

The card from another angle layered around some more gorgeous laces and motifs. This collection is a sure winner in my books. It is simply elegant! Well that is all from me today. I do hope that I have inspired you in some small way to create a little something for yourself or possibly a loved one.

A great excuse to create with Valentines Day only day away.

Until next time take care and happy crafting.

Tina-sign