Special Guest Designer – Camilla S. Bakke

4

Posted by Carita Ruckman

14 March, 2016 - , , , , , ,

Write a comment
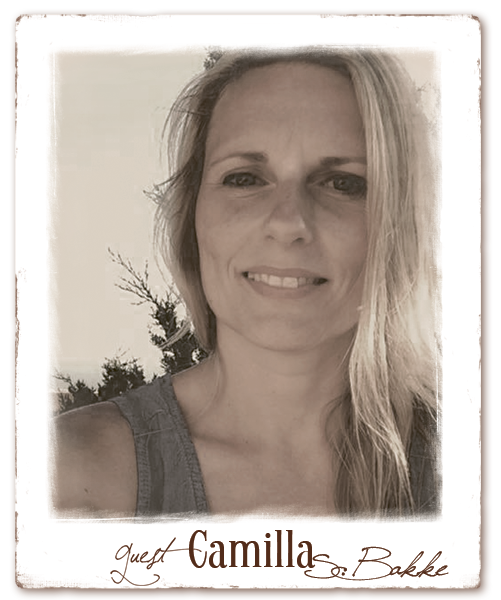
Hi there! I am Camilla S. Bakke. I am so, so happy to be guesting this amazing team with the most beautiful pattern papers you can imagine!
 Camilla-S.Bakke
But first something about myself. I live in Norway together with my husband, our two year old son, and two spoiled cats. I work full time as a teacher. And this year I work in lower secondary school as a teacher in 10th grade.
But apart from that I love working with stamps and papers. And Maja Design is my absolutely favorite! I love each new collection, and sometimes I feel it is hard to use them, because they are so beautiful.
I like making cute cards, with a vintage or shabby touch. And I think the papers from Maja Design fits my style perfectly. I like pastels, and also laces, doilies, butterflies, post marks… The list is long. But most of all, I enjoy colouring the images with Distress Ink. And I feel that the colours I use, fits the colours on the Maja Design pattern papers so well.
As you might understand, with a job like mine and a two year old; there is not that much room for my hobby. But when I feel I can allow to treat myself, I make a card!
I am going to show you some new projects today, and also a small tutorial on how I make homemade flowers.
But first to a lollipop card I made to my sweet grandmother Sigrid, who celebrated her birthday last month.

Lollipop cards are fun to make, and I can see they are popular in Norway now. This is my first!

The lovely pattern papers I have used on my lollipop are from the collection Coffee in the Arbour, “Blueberry cupcake”, “Lovely weather” and “Butterflies are free” (I have cut out the butterflies from the paper).


The text is written on my computer and printed out on watercolour paper. The postmark stamp is from Stempelglede. The flowers are from Wild Orchid Crafts. I have also added Frantage as white spots around the image. And the glitter on the butterflies, is Stickles – Star Dust.
The image from Magnolia is coloured with Distress Ink, re-inkers and Markers. The blue colour I use is called Weathered Wood, and I use my Marker for this colour. The dark shadows are made with the colour Hickory Smoke (also the Marker).
Under you see the back of my card, where you can write a greeting. The card is fasten to a paper straw.
You might see the different layers on the photo under.
I put the lollipop together with a flower I gave my grandmother on her birthday.
Hope you liked it, and maybe you fell the urge to make one your self!
♥♥♥
Now I will show you how you can make homemade flowers. I have cut mine out with dies (DooHickeys) from Magnolia. But you can use any flower dies really.
1. Cut out some flowers from your beautiful Maja Design papers. I have used two pattern papers from the Enjoying Outdoors collection, “What a beautiful day” and “Having tea in the sun”.


2. Use a mini mister from Rangers (or something similar), and spray water onto the paper flowers.
3. Curl the flowers together, and let them dry.
4. Then fold up the flowers.
5. To make the look even more shabby, give them a brief stroak with white Gesso.
6. Do not paint all of the flowers, let the beautiful Maya Design papers show through.
7. Give the rest of the cut outs a brief stroke with the paint too. As you see it is a bit transparent.
8. Put them together with two stamens (mine are from Wild Orchid Crafts).
8. One of the flower put together.
 
9. All three of them, ready to be used on any project.
♥♥♥
Here is the card I made with the flowers:
The papers used are from the Enjoying outdoors collection – “Feeling good”. I have used the front side of the paper on the front of the card, and the back side of the paper inside the card. It is a folder card. The image is from Tickled Pink Stamps. And I have coloured her with Distress Ink, re-inkers and Markers.
A close up of the home made flower.
And over you can see that I have put together two of them, also with some leaves.
The green paper I have used is also from the Enjoying outdoors collection – “Woodlands”.


 The card is folded on 5 cm and 20 cm. It measures 15 x 30 cm. Under you see the back:
And here is the inside. I have made a tag that you can write a greeting on. Look at the fantastic paper!


And under the “cash”-text you can place the money-gift.
♥♥♥
Here is another confirmand card I have made. I have used the lovely papers from the Vintage Spring Basics Collection – “3rd of March” (both sides) and “4th of March”. I have also used Enjoying outdoors – “Woodland” for the leaves.
This image is also from Tickled Pink Stamps, and I have coloured her with Distress Ink, re-inkers and Markers.


The flower is from I am Roses.


Under you see the back of the folder card.
Here is the inside with the tag/card to write on.


♥♥♥
Here comes my last confirmand card. Also with a Tickled Pink Stamps. The papers are from the Enjoying Outdoors collection – “Woodland” and “Having tea in the sun”. I have also used a page from an old book, and placed between the two patternpapers. You can spot it on the upper part of the card.
Also this image is coloured with Distress Ink, re-inkers and Markers. The small flowers are punched out with a Retro Flower punch (small). I have added Stickles – Star Dust on to them. The leaves are cut out with a DooHickey die from Magnolia.


I have added Stickles – Star Dust onto the flowers, and spots of Liquid Pearls around the image. On the letters “Hurra” I have attached Crackle Accents.


The small flowers are punched out from the paper called “Having tea in the sun“.


 The metal corner and the butterfly are painted with White Gesso. 


The pennant is made with a DooHickey die from Magnolia, and the letters are made with a Sizzix die.
The shape of the card is made with a Envelope Art from Dutch Doobadoo.
The swirl stamp is from Stempelglede.
♥♥♥
At last I have made a Christmas gift box for you. I just love the Christmas papers from Maja Design, and this collection is no exception. It is called Home for the Holidays. I have used the papers called “A real fellow bs“, “Brought you a gift bs“, “Diecuts” and “Together“.
For the shape I have cut out hard cardboard with a GoKreate die. Then I also cut out (with scissors) two rectangles measuring 10 x 10,5 cm. One for the bottom and the other one for the lid. The box is four cm high. (The lid is three cm high).


The cute Christmas girl is from Magnolia, and I have coloured her with Distress Ink, re-inkers and Markers. The red colour is both Fired Brick and Aged Mahogany.
The flowers are cut out from the sheet called “A real fellow“, and I have used Magnolia DooHickeys. The post mark stamp is from Stempelglede.


The post stamps are cut out from the sheet called “Diecuts“.


You can see the different layers. Under each pattern papers I also have a Bazzil paper – Vanilla. I sew them together with a sewing machine.


The small pinecones are coloured with a stroke of White Gesso.


The tree is made with a DooHickey, and cut out from the “Together” paper.
Behind the image I have cheese cloth, currugated paper and a mini bag with two cute tags (DooHickeys). I have attached Vintage Seem Binding on the tags. They are first wet with water, then curled up and left to dry.
Thank you so much Camilla and Marie for having me as your guest for March!! It has been so much fun!
If you want to see more creations with Maja Design papers, please visit my blog “Camilla’s blogg“.
Hope I inspired you a little today.
With love, 
Camilla

Snow Taffy

2

Posted by Rachelle Sigurdson

5 March, 2016 - , , , , ,

Write a comment


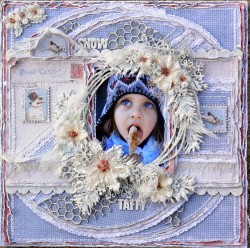
Hello, Rachelle here, with a Winter LO I did using the Beautiful Home for the Holidays & Vintage frost Basics Collections. I love working on Winter LO’s, even if it is not one of my favorite seasons. Our days are starting to get longer, & warmer, so Spring is in the air!!!
9a451d5a07f94f8f97037305da6e5eee

Home-for-the-holidays-P

I used: A real Fellow,Never to Old-BS,Celebration,& Die cuts

Vintage-Frost-BasicsKL

I Used: 14th of Dec-BS

The Chipboard used is from Dusty Attic

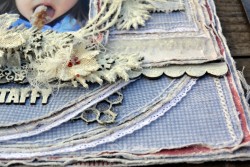
Here are some closeups

8f38404bcee9490f9a2d85a4bfeb7f64

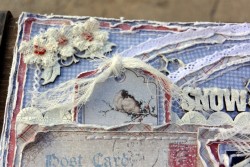
On winter LO’s I love to do lots of paper layers, just as you would bundle up to go outside. I always distress the edges, & Maja Papers are the softest, best quality papers, that distress beautifully….

fe3efc44a468402da772739ac6cb0921

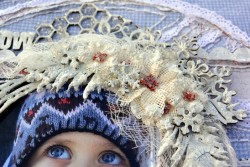
I also did some hand stitching, & used some lace & chipboard in the layers…

d2a4de9e4a934738ae8a4aa81a568feb

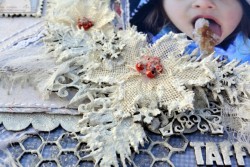
I painted the chipboard with white crackle, then once the crackle dried,I applied snow texture, & glass glitter…

c1d482f66416431cb97a3501b6ba18c5

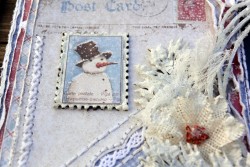
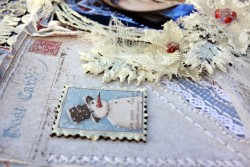
I love the postage stamps, on the die cut sheet. The flowers are petaloo, I also applied snow texture, & glitter on the flowers…

07de7dcfed324e22bf6895e1e07a7ce0

d79d1564ad704ae299c40818d1bd1f92

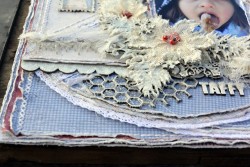
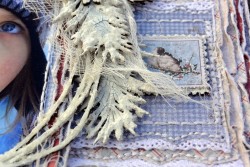
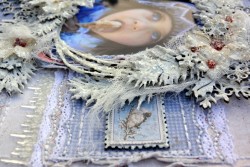
I was trying to achieve the crystal look, of the snow taffey, with the glass glitter…

0f29871b5ca846a2a56452d7e550167a

Shows,glass beads glued into the chicken wire…

44fbe4b35e49418697bdcaa2d227dc83

b1a4fb6a2abb4cbc871d17d53fb98a6f

428ebbf4ea7e460885b680fd8a5b709a

This is a LO I did combining the Vintage Summer Basics,Vintage Spring Basics & Vintage Autumn Basics Collections..

55d65fa56d3c4daba8c9371fbe3dc6b5

From the Vintage Summer Basics I used: 1905,1932-BS,& 1903 From the Vintage Spring Basics I used: 1st of March, & 10th of March Vintage Autumn Basics I used: N0. XVI

Thankyou so much for taking the time to look….Rachelle

Rachelle-sign

Girly Cards

1

Posted by Maja Nowak

4 March, 2016 - , ,

Write a comment

Hello, Maja Fans, welcome to the blog 🙂

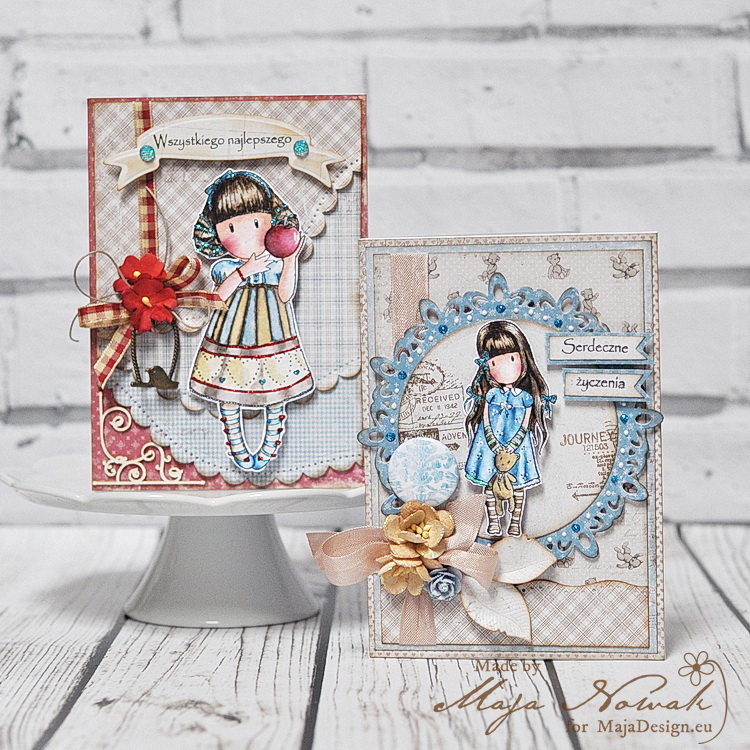
I’m happy you’ve found some time to visit us and – hopefully – get inspired 🙂 I have two girly cards to share today.

I love colouring stamped images. Perhaps it’s not as trendy as mandala colouring that seems to have captured the world 😉 but it’s still relaxing, though it does take some time and therefore I can’t do it as often as I’d like to. But recently I bought cute stamps for colouring and just couldn’t resist! And here are the cards I made:

mdgor

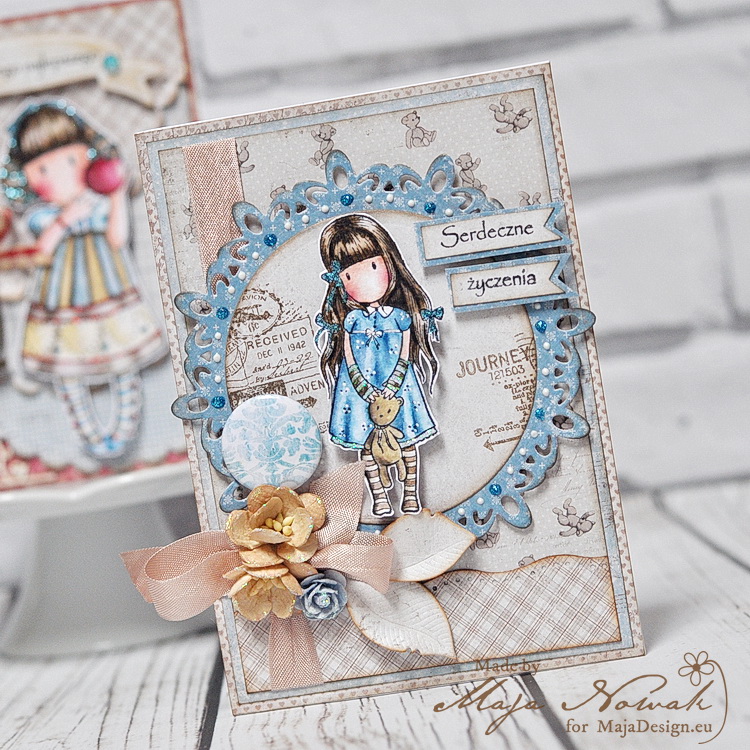
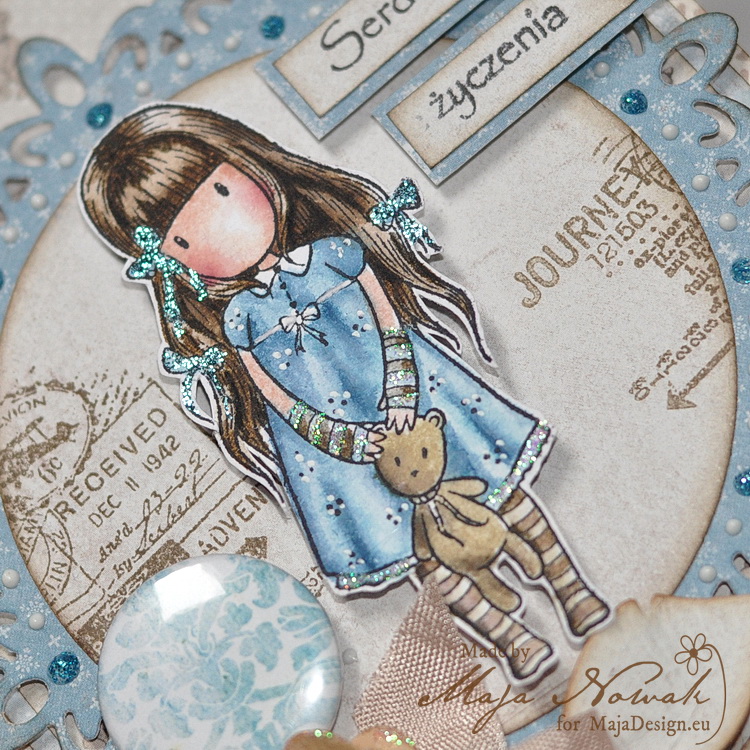
I used small paper pads for both cards so that designs are well visible. The first card is based upon the Vintage Baby collection. But this time I chose the blue-brown combo usually associated with boy themes 😉

mdgor1

The image I chose for the card features a teddy bear, so the teddy pattern was just the perfect choice 🙂

mdgor2

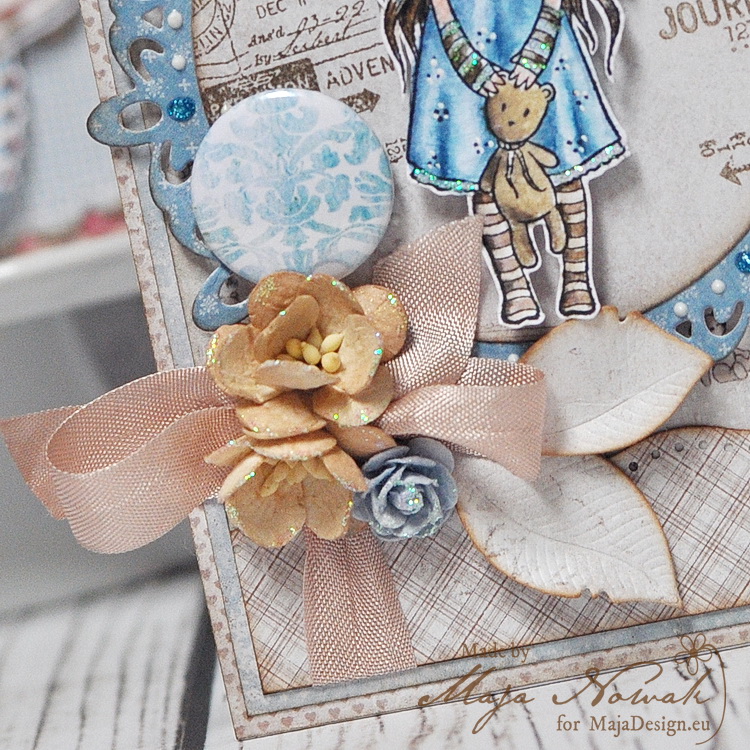
I chose a couple of flowers and a button to decorate the card:

mdgor3

I most often colour my stamped images with Distress inks and then accent them with glitter or liquid pearls. Here I used glitter for some bling 🙂

mdgor4

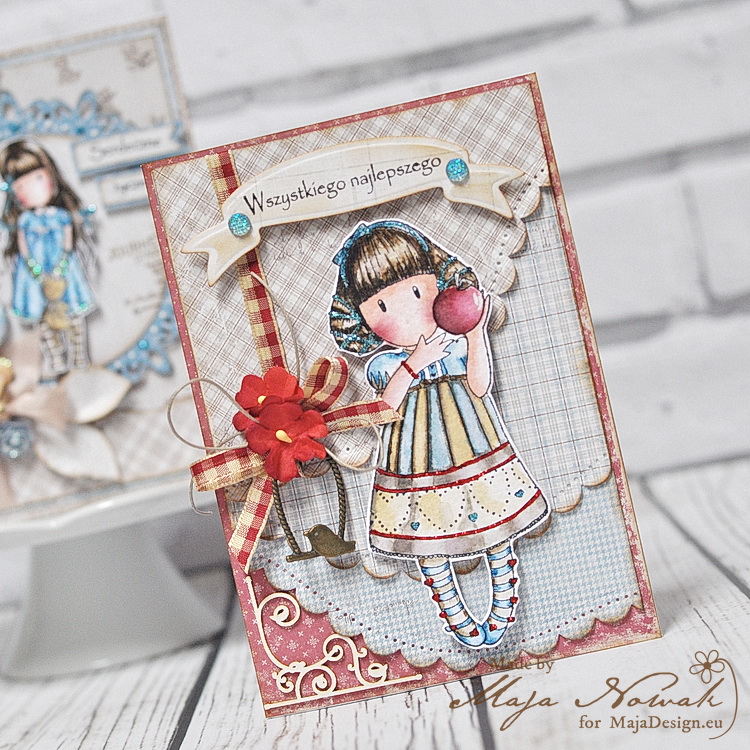
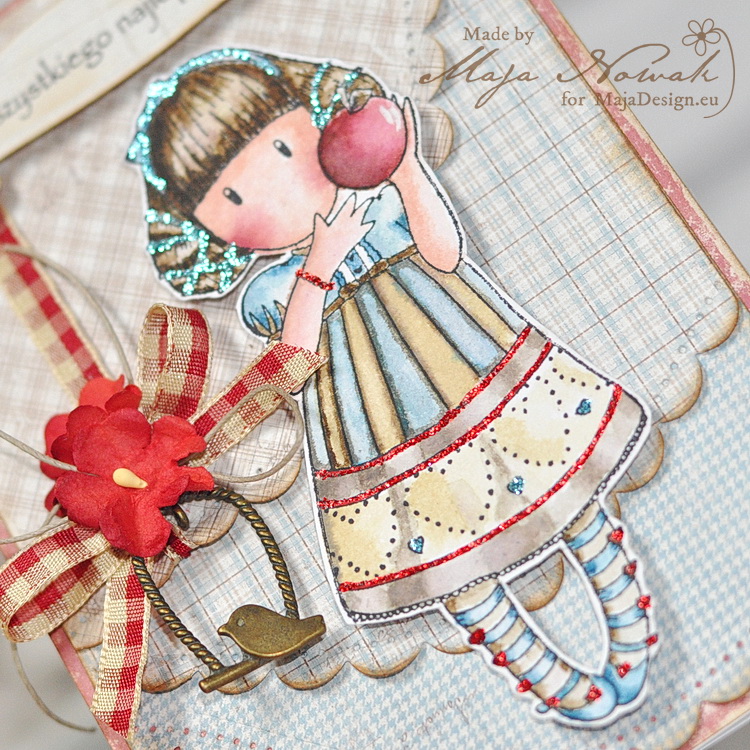
The other card adds some red accents as I used the Home for the Holidays collection 🙂

mdgor5

To make the image pop out I used plaid patterns for the background:

mdgor6

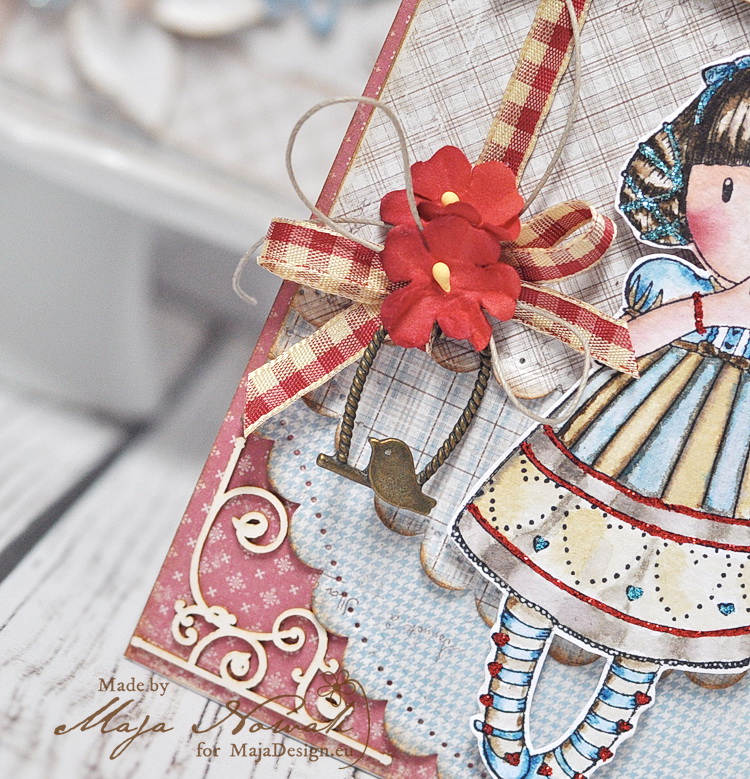
The decorative elements here include birdswing charm and plaid ribbon with some sweet little flowers:

mdgor7

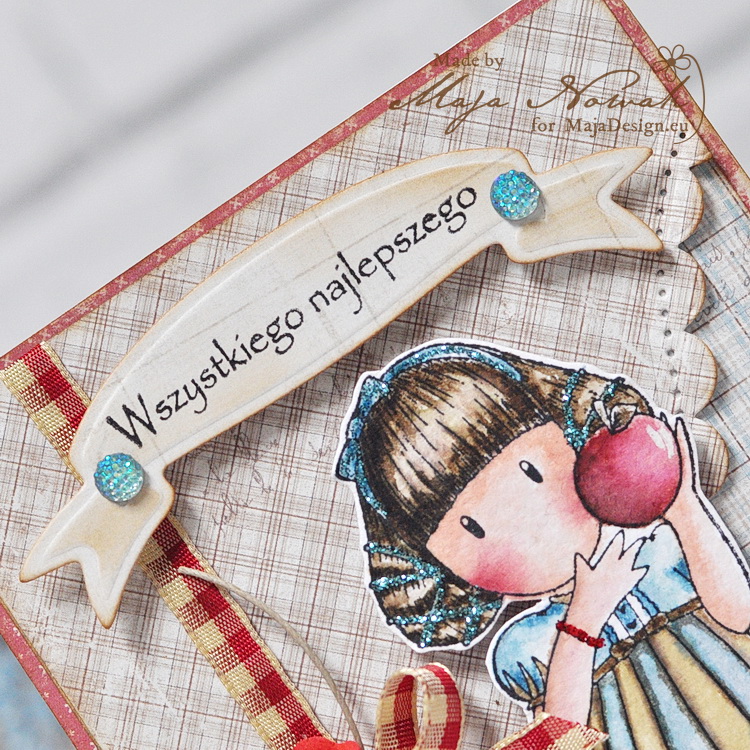
To imitate light glow, I use white gel pen, like here on the apple:

mdgor8

I hope some girl would be happy to receive a card with the cute image in it 🙂


Supplies:

Maja Design papers: small pads for Vintage Baby and Home for the Holidays collections. Other: stamps: Gorjuss by Santoro; Distress inks, Stickles glitters: Ranger; flowers, ribbon, charm: my stash.

See you soon 🙂

Maja-sign

Look Me in the Eye

2

Posted by Rachelle Sigurdson

20 February, 2016 - , , , , , ,

Write a comment

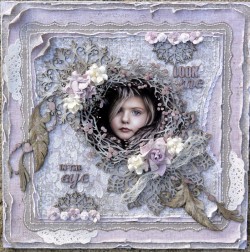
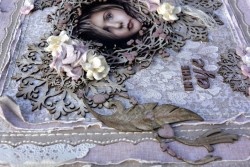
Hello, today I am here to share with you, a LO I did using Maja Design’s Vintage Summer Basics Collection, using the pink & brown tones….

e6ee21658ee54b5f8d85be384446be64

Vintage-Summer-Basics-P

I used:1924-BS,1903,1903-BS, & from the Vintage Spring Basics I used: & 7th of April

The Chipboard used is from Dusty Attic

6011aded286d4733aa973a5ff313e4c3

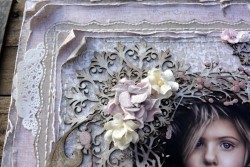
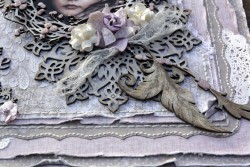
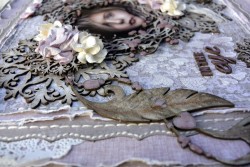
Shows, distressed hand stitched layers. I also did some punch work, & placed doily’s in the layers. Maja Design papers are the best quality, distressing papers, I have ever worked with!

0f4abb12bed6442fb41ded4df7270a39

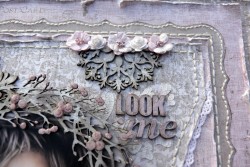
I did some stencil work, using DA heart attack stencil, & dream weaver crackle texture..

f8ddd688195f417ab7ce062ea91c66d1

On the feather I used clear crackle, then once the crackle dried I rubbed in some chalk to bring out the cracks. I also inked the edges using a brown ink pad…

b4aecb8627ae4dfda6a4e9be39a646b0

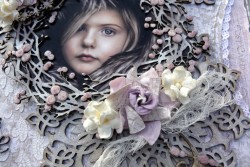
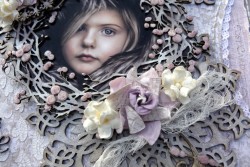
The flowers used are Prima & IamRoses..

8e15178631424fb290ae862681e23c9b

For the pink used on the chipboard I used shabby pink smooch. On the berries & the beads, on the feather charms,I also applied drops of glossy accents…

0f4abb12bed6442fb41ded4df7270a39

Here are some more close ups…

7cb1103e4207458fbcb57085a830d123

9f11397385f345a4975fcd4c4dee600c

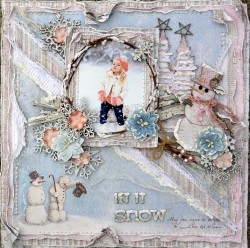
Let it Snow

d45c814d44ba4df4819ab848a1596364 (1)

From the Home for the Holidays I used: Welcome Winter, From the Vintage Frost Basics I used: 7th of December, 7th of Dec-BS, 6th of December, 5th of December & Days of Dec-BS

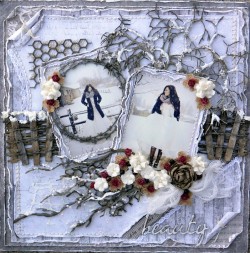
Beauty

73c82593637844bc9f9535a1c5535bb8

From the Nyhavn Collection I used: Kings Square-BS, Sitting at the Dock, & Sitting at the Dock-BS. From the Crea Diem Collection I used: Om du vill alskas

Thank you so much for taking the time to look…..Rachelle

Rachelle-sign

My Boy

0

Posted by Maja Nowak

17 February, 2016 - ,

Write a comment

Hello there, Maja Fans, I’m so happy you dropped by our blog today 🙂

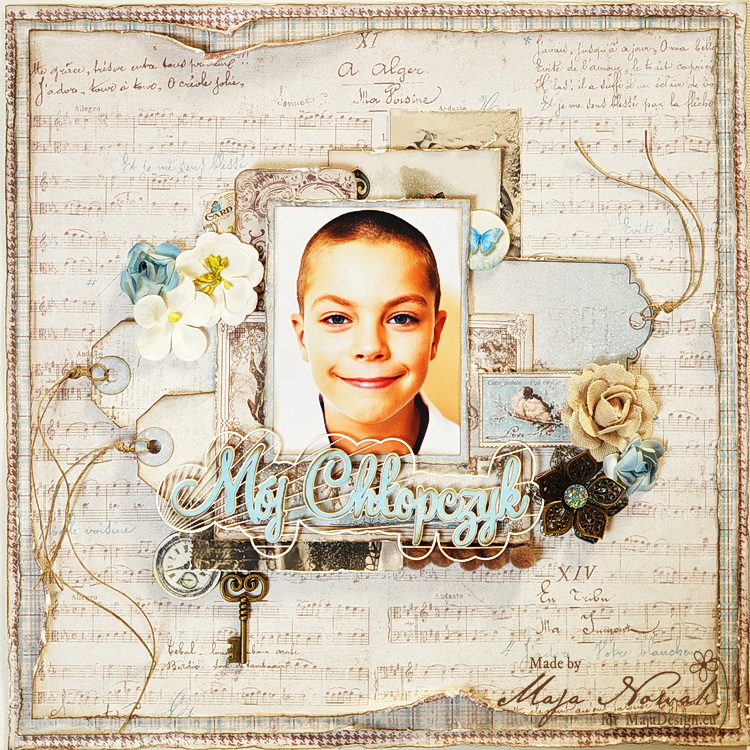
Some time ago I shared a layout here in which I featured two photos of my younger son showing how much he grew over a year. He gets so clever now, receiving best grades and developing new skills, I’m so proud of him! But as much as I want him to get more and more mature, I still don’t want him to grow too quickly… I want to have this sweet little boy as long as possible – don’t all mothers do? I can’t stop time, but I can at least capture moments and scrapbook them later 🙂

mdmoj

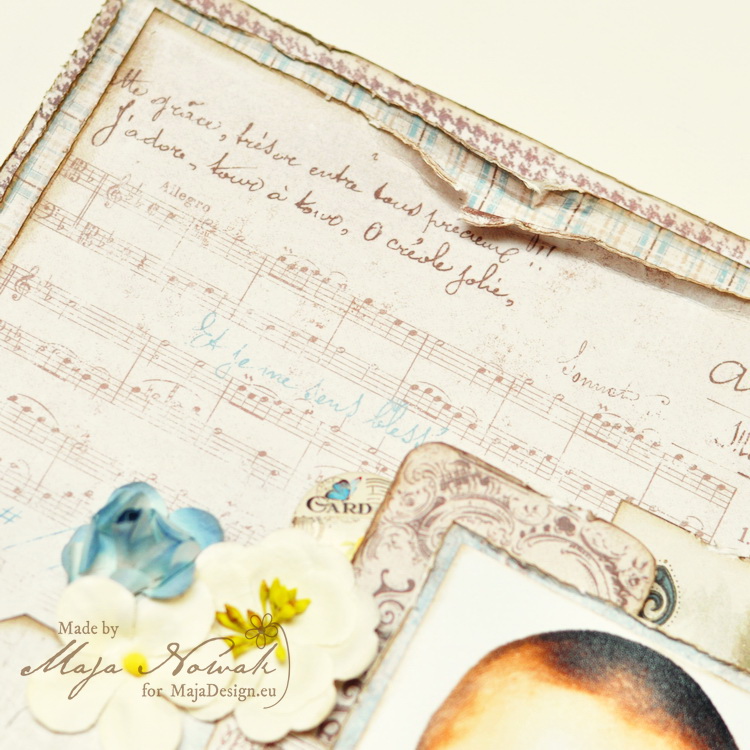
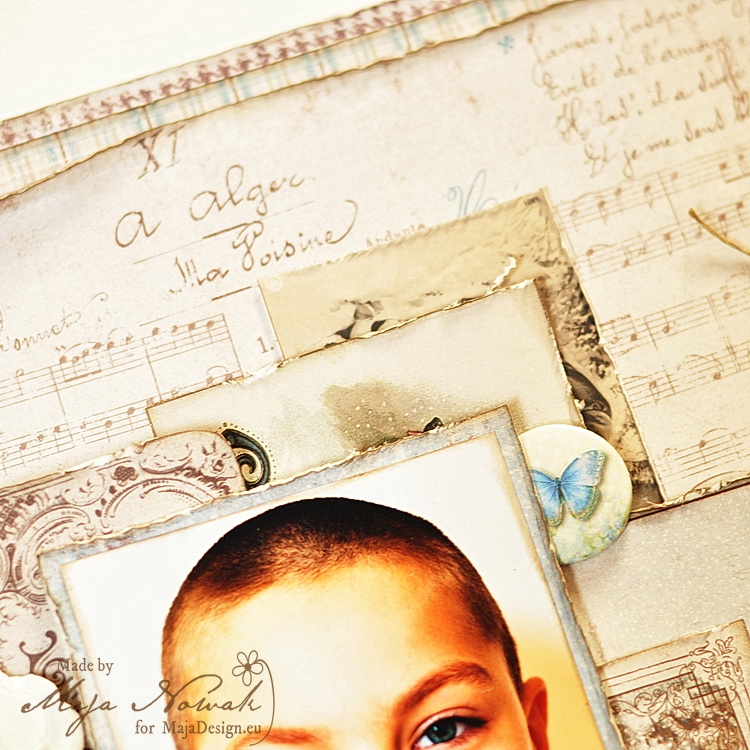
It seems I can’t make myself to put those Christmas papers away! 🙂 But one of the best things with Maja papers is that you can actually use them all year round! And so  I used the beautiful Home for the Holidays collection. For the background I layered papers and distressed the edges…

mdmoj1a

…and matted my photo with tags from the Diecuts sheets. I arranged them so that stricly wintery images are covered, sometimes just turning the tags upside down to hide the Christmas wishes 😉

mdmoj2

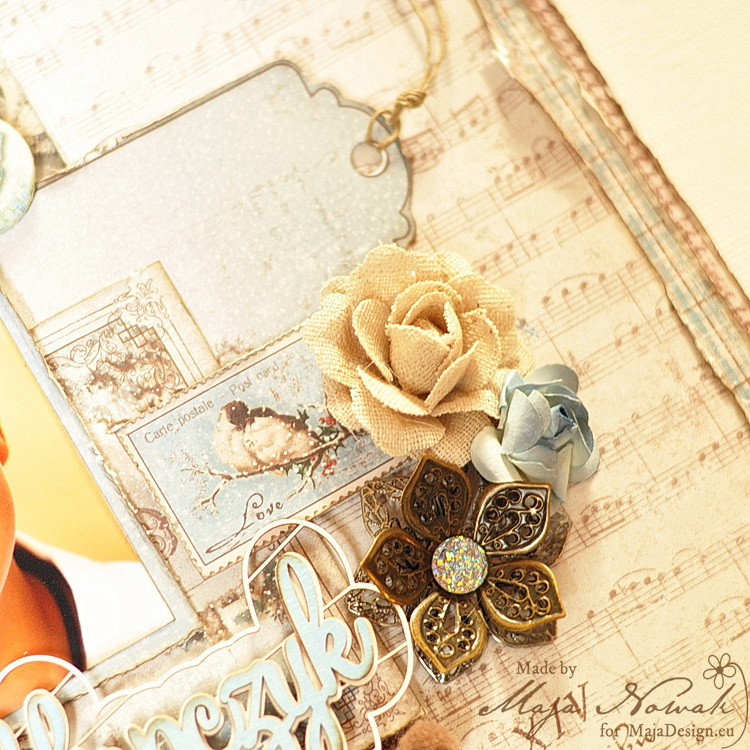
I also added some flowers and buttons…

mdmoj3

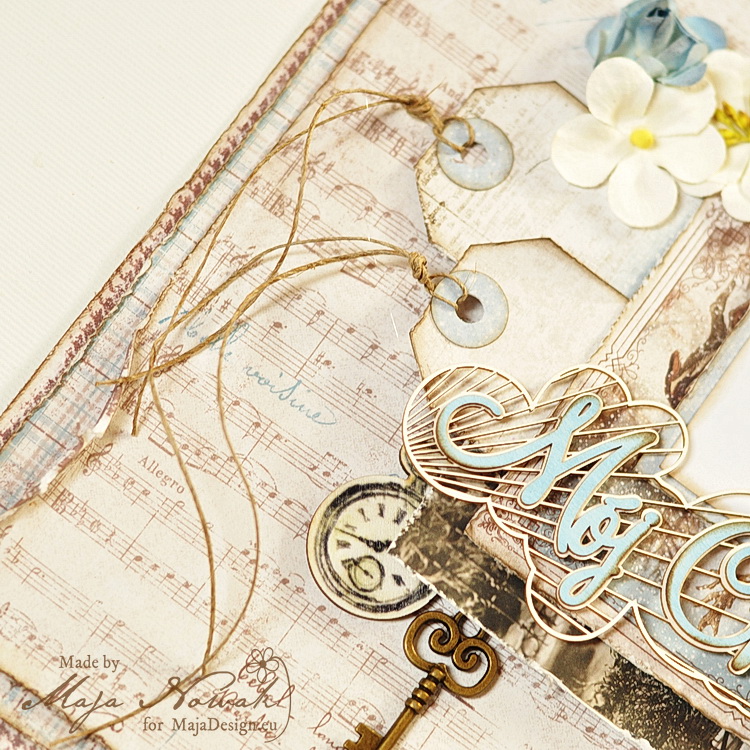
…a metal key charm and a wooden clock:

mdmoj4

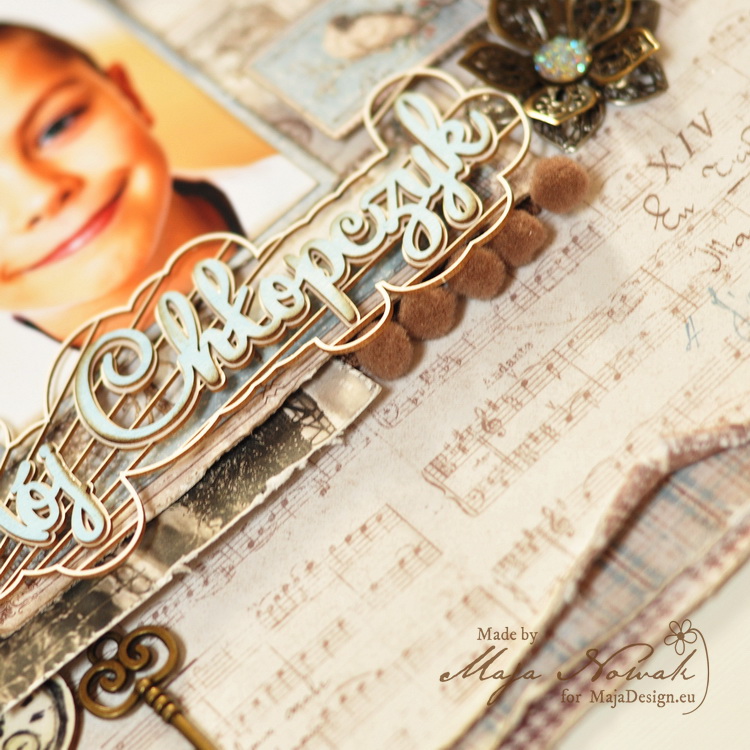
For the title I used a layered chipboard that says “My little boy” in Polish. I just love the yummy dimension!

mdmoj5

Supplies:

Maja Design papers: Home for the Holidays: Diecuts, Mom’s Gingerbread bs, White Christmas bs, Christmas chorus. Other: buttons, pom-pom trim: Lemoncraft; flowers: Prima, my stash; metal elements: my stash, wooden clock: Prima.


See you soon!Maja-sign