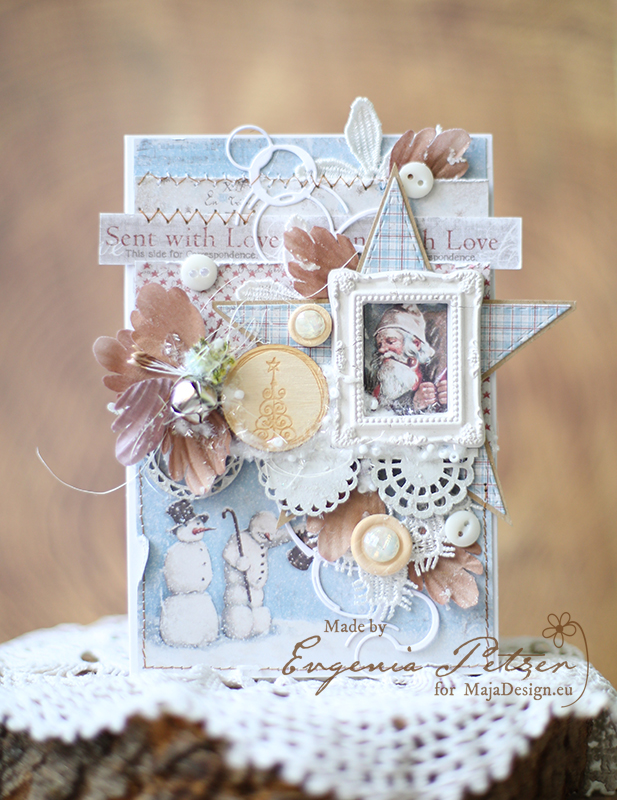
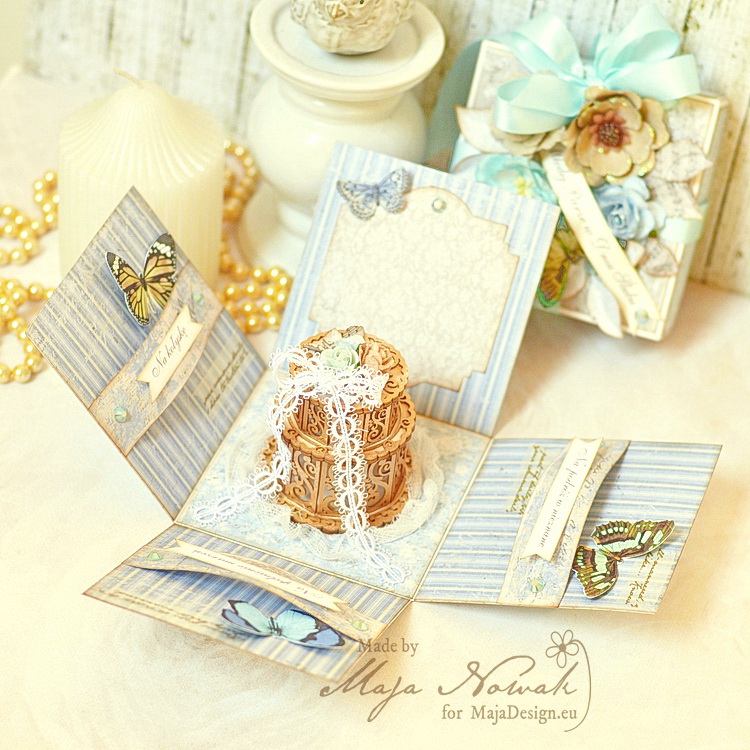
Vintage Winter Box (Tutorial)

2

Posted by Silje Kristin Aunan

9 October, 2016 -

Write a comment

Hello Everyone 🙂

Today I am ready with a step by step made for Maja Design, I intend to show you how you can decorate various boxes in a easy way.

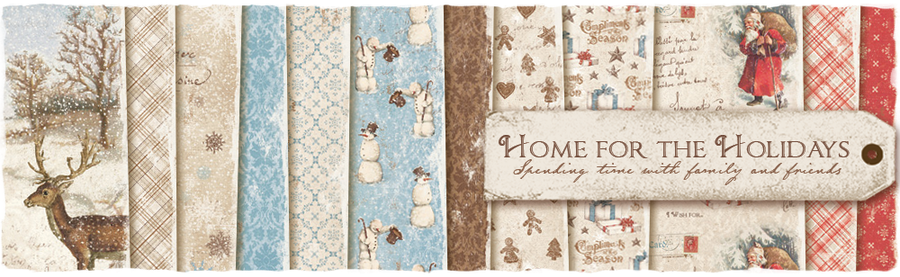
I’ve created a easy box using two papersheets from Home for the Holidays: Traditions and Together.

The explanation of how you can make this box, standing under eatch picture 🙂

STEP ONE:

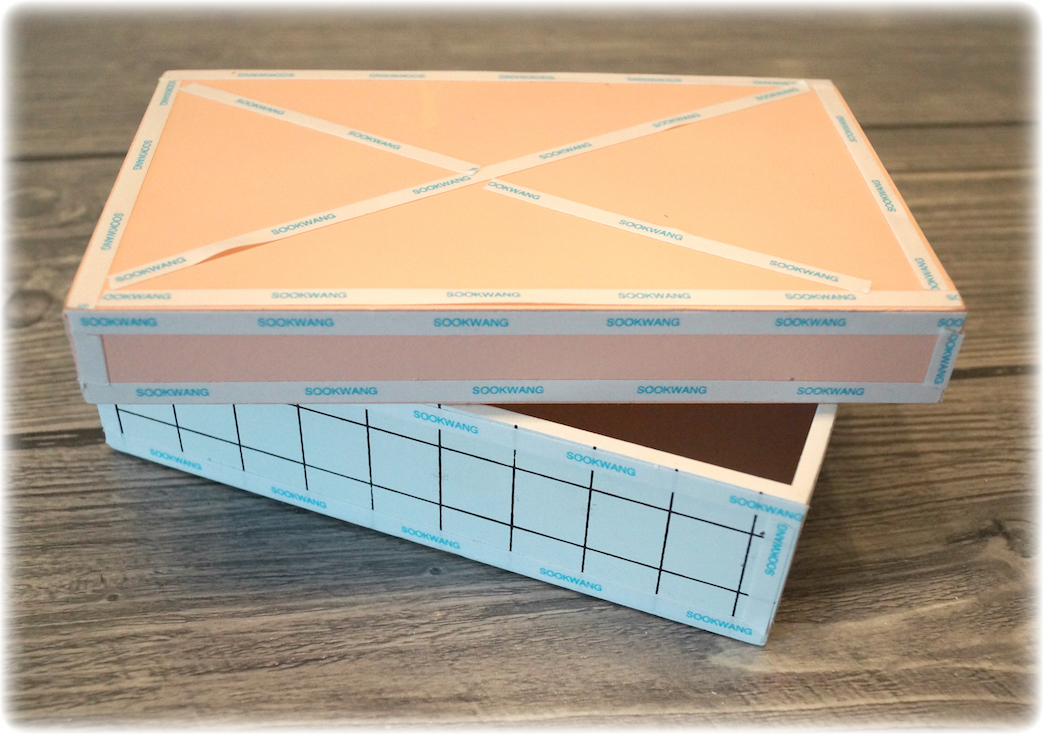
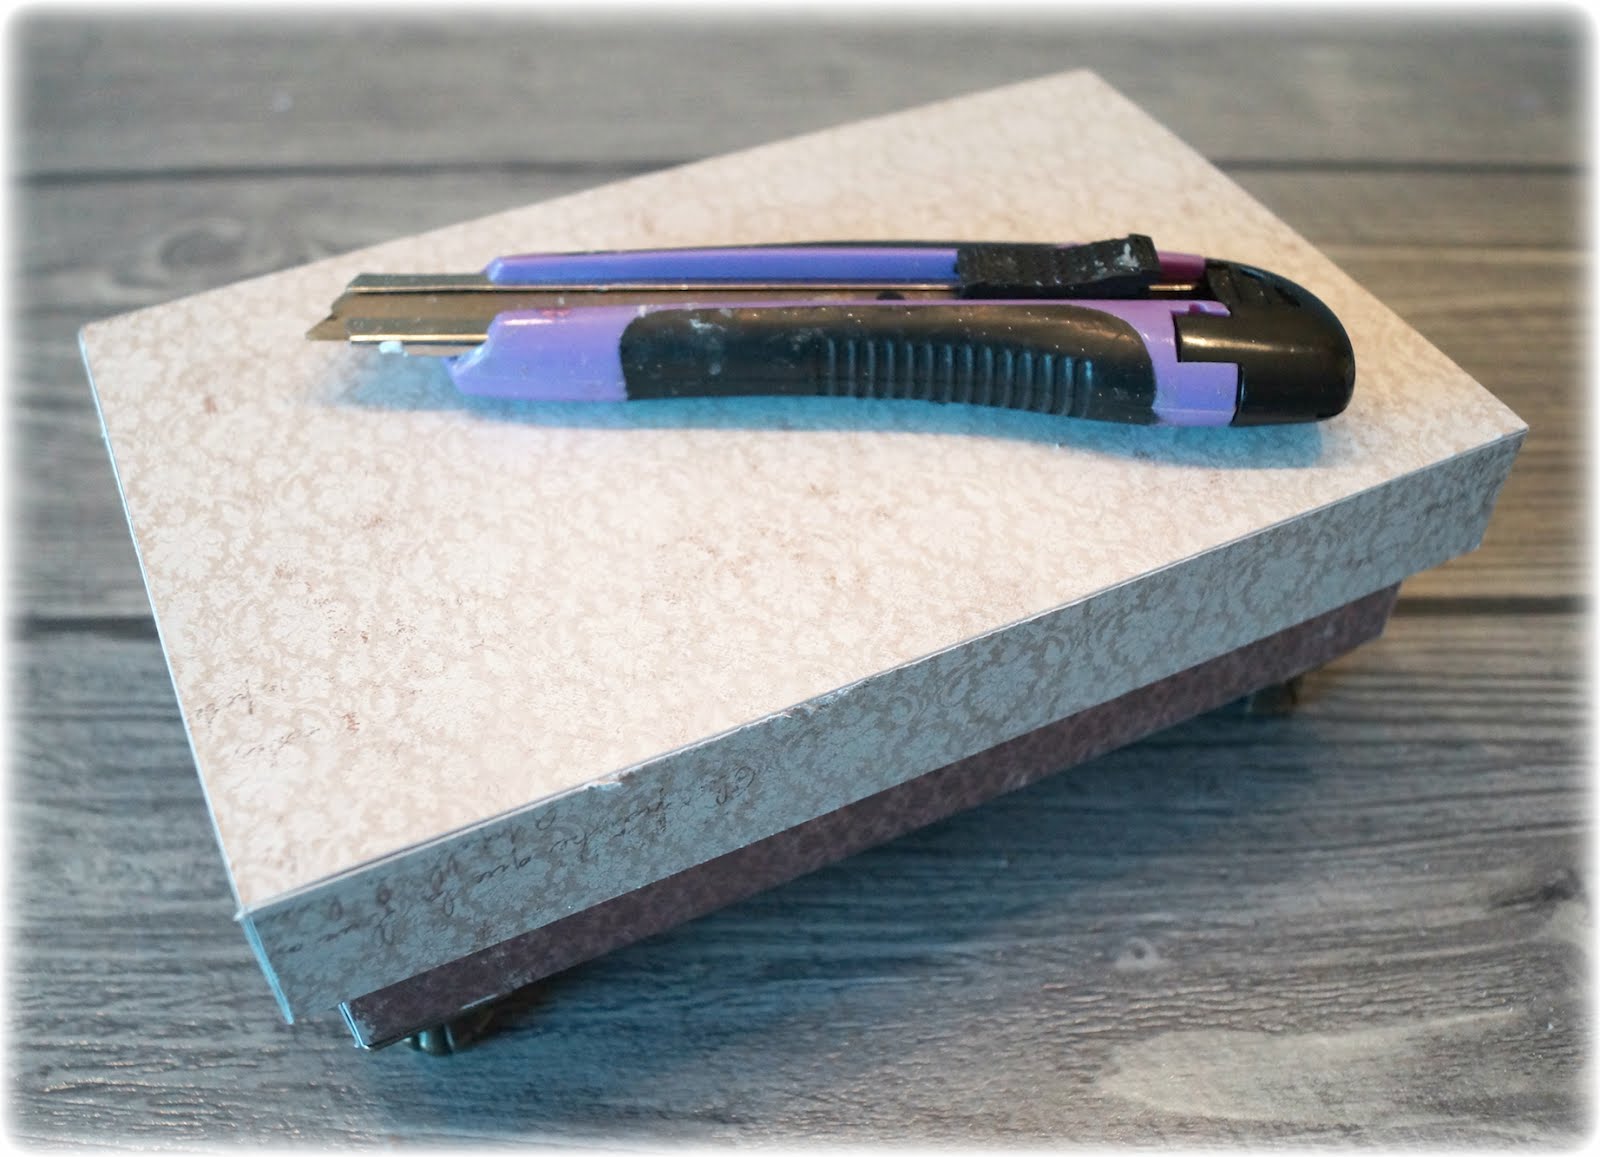
This is the wooden box I have chosen to use. I have used double sided tape on all the edges on the lid and the bottom.

STEP TWO:

When I make these boxes, I use not a cutting board. I remove the paper off the tape, I put down the page with the tape down on the sheet and use a Knife for cutting around. I do this to the box is covered. It’s an easy way to decorate boxes on, you do not have a measuring the paper and use your cutting board.

STEP THREE:

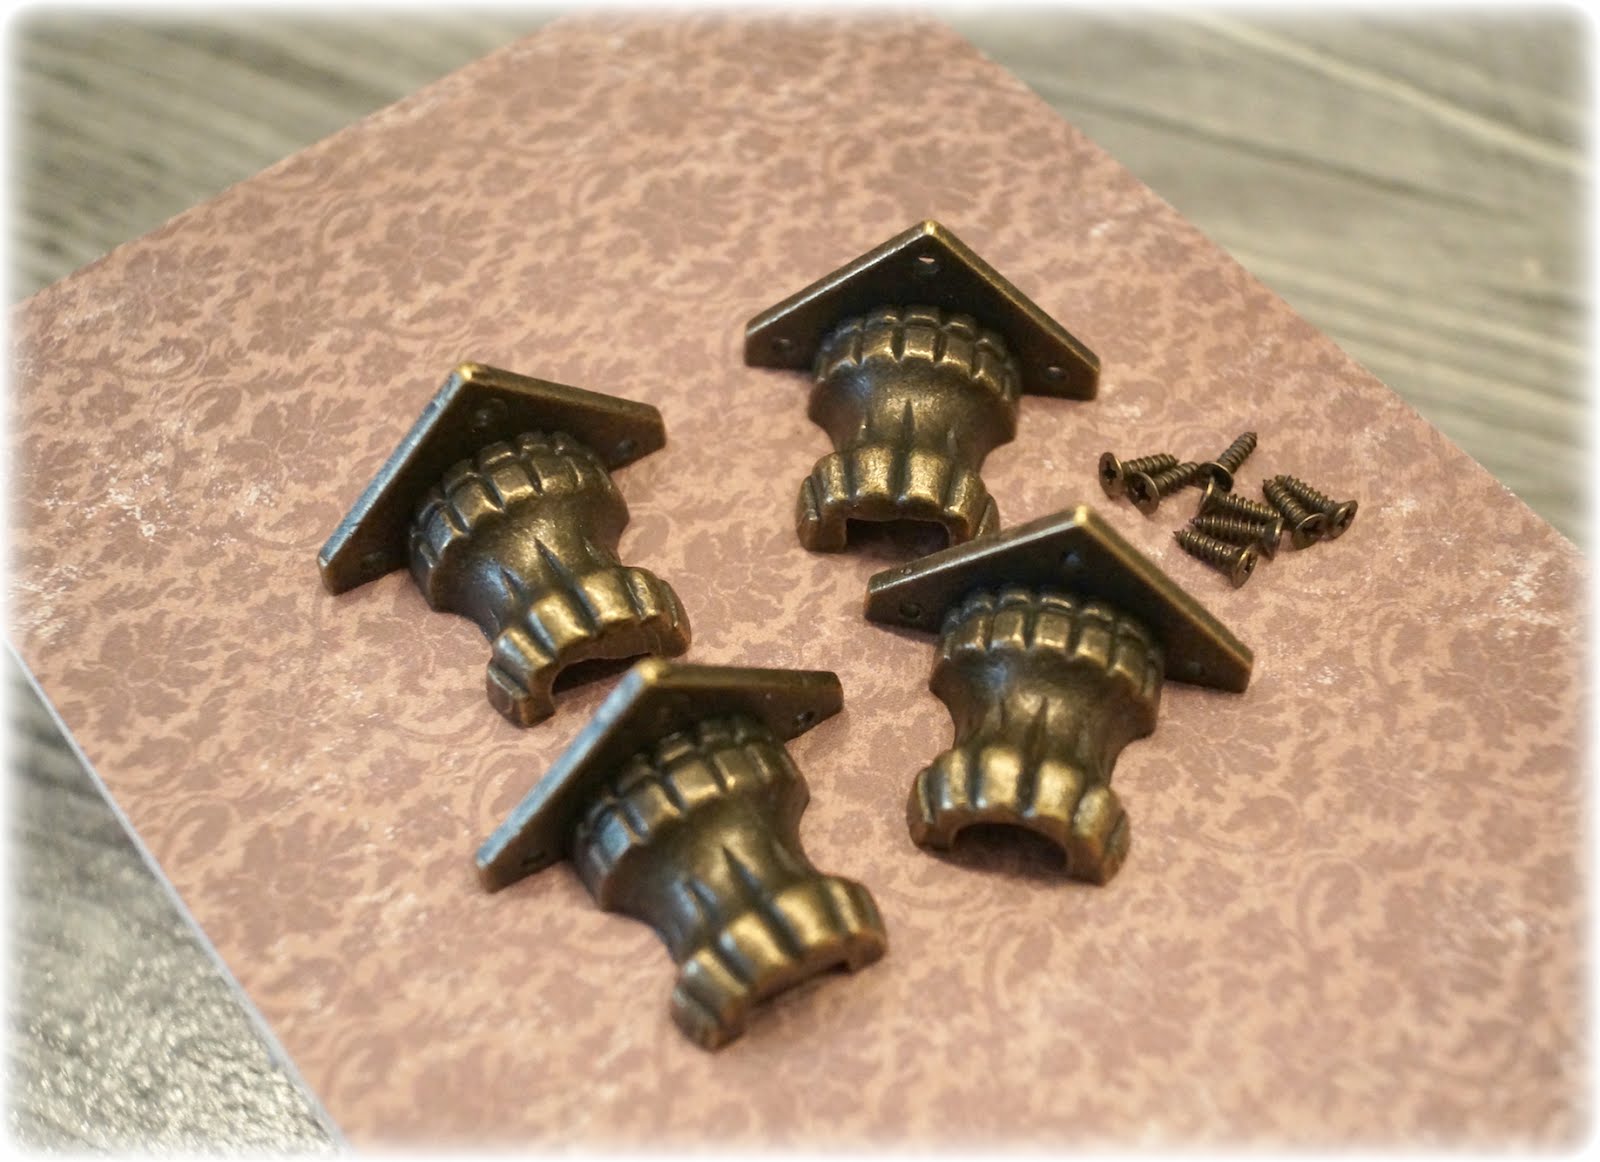
The bottom part of the box, I turn, then I attach the feet in bronze under. In this way the box have something to stand on.

STEP FOUR:

Use a knife to go over all teh edges and scratch the paper. Then you get a vintage look without using ink.

STEP FIVE:

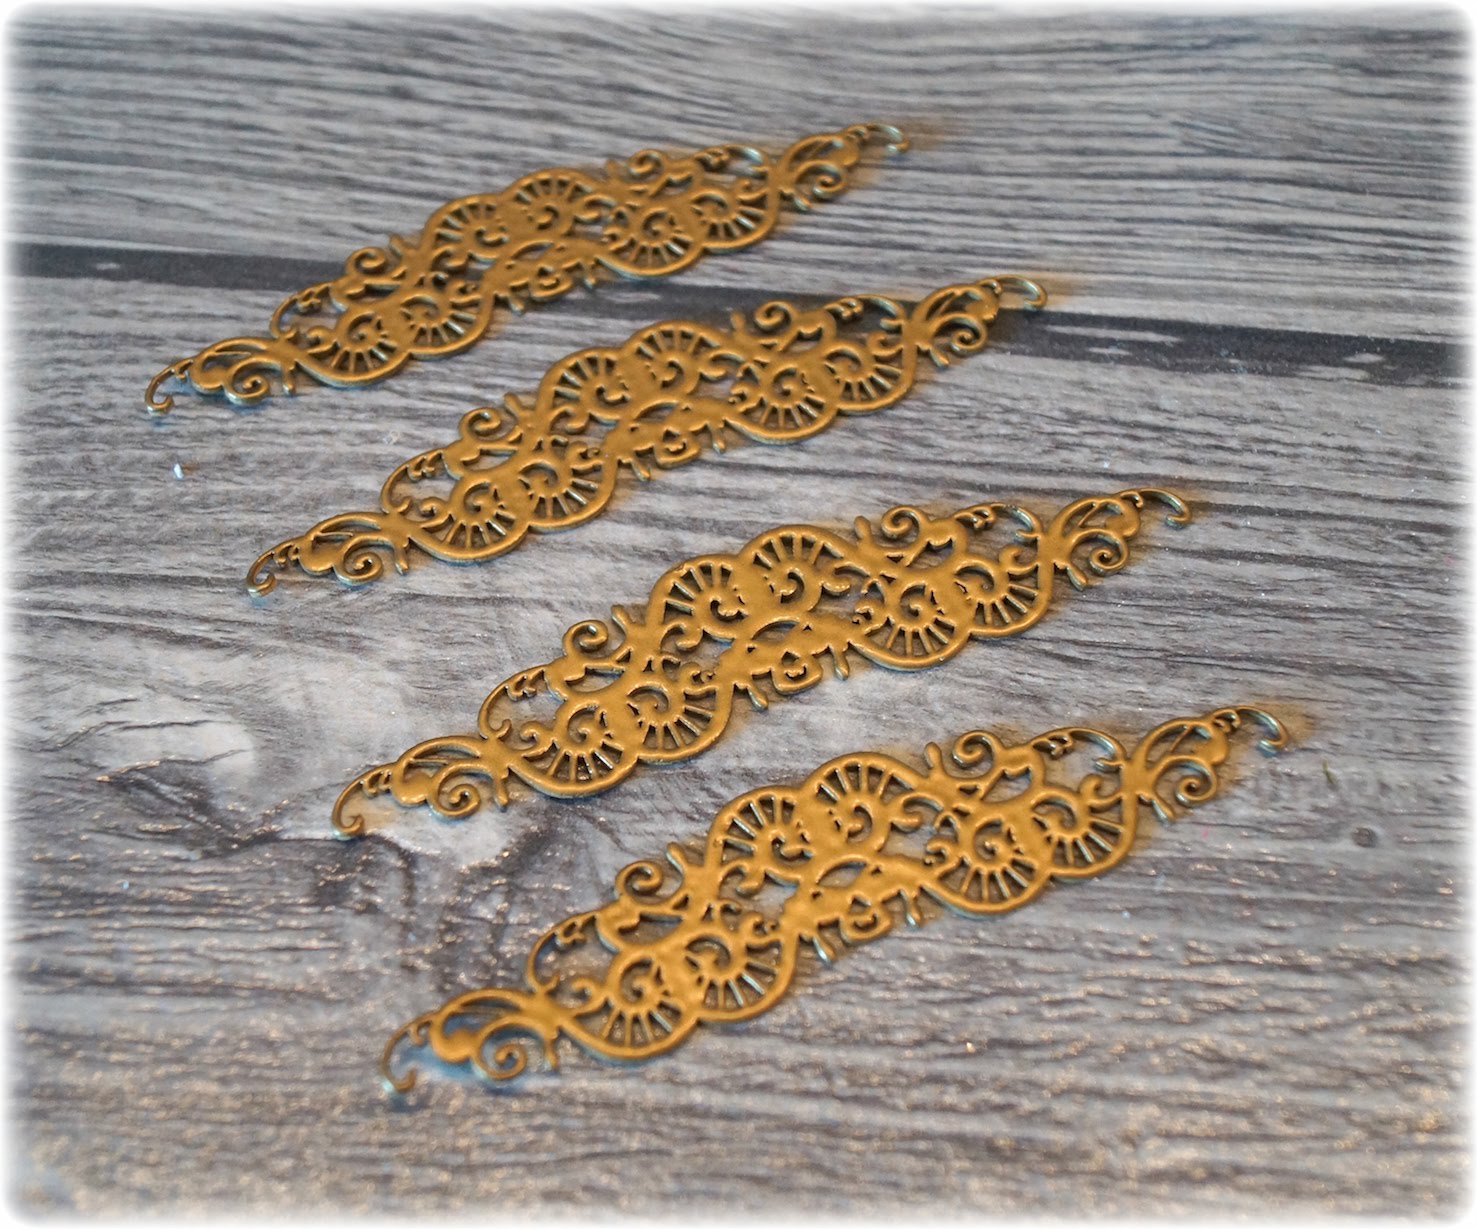
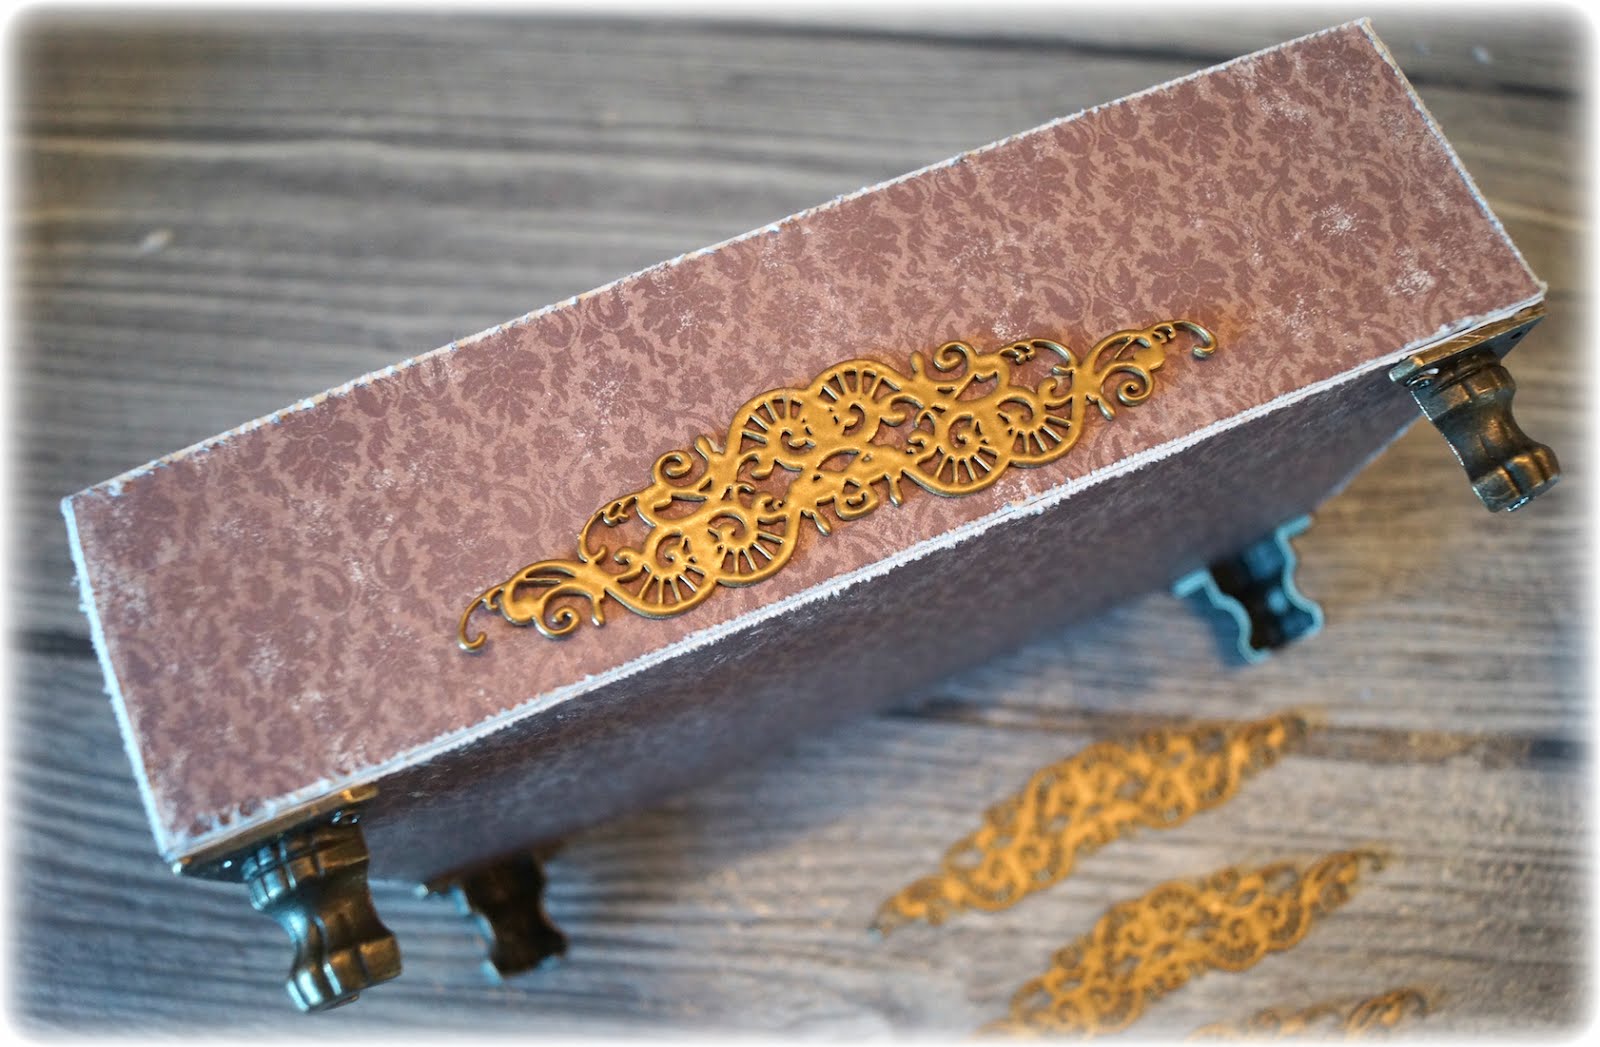
I’ve spent four shipboards from Wycinanka, I’ve embossed them with gold powder before I glue them on the sides of the box.

STEP SIX:

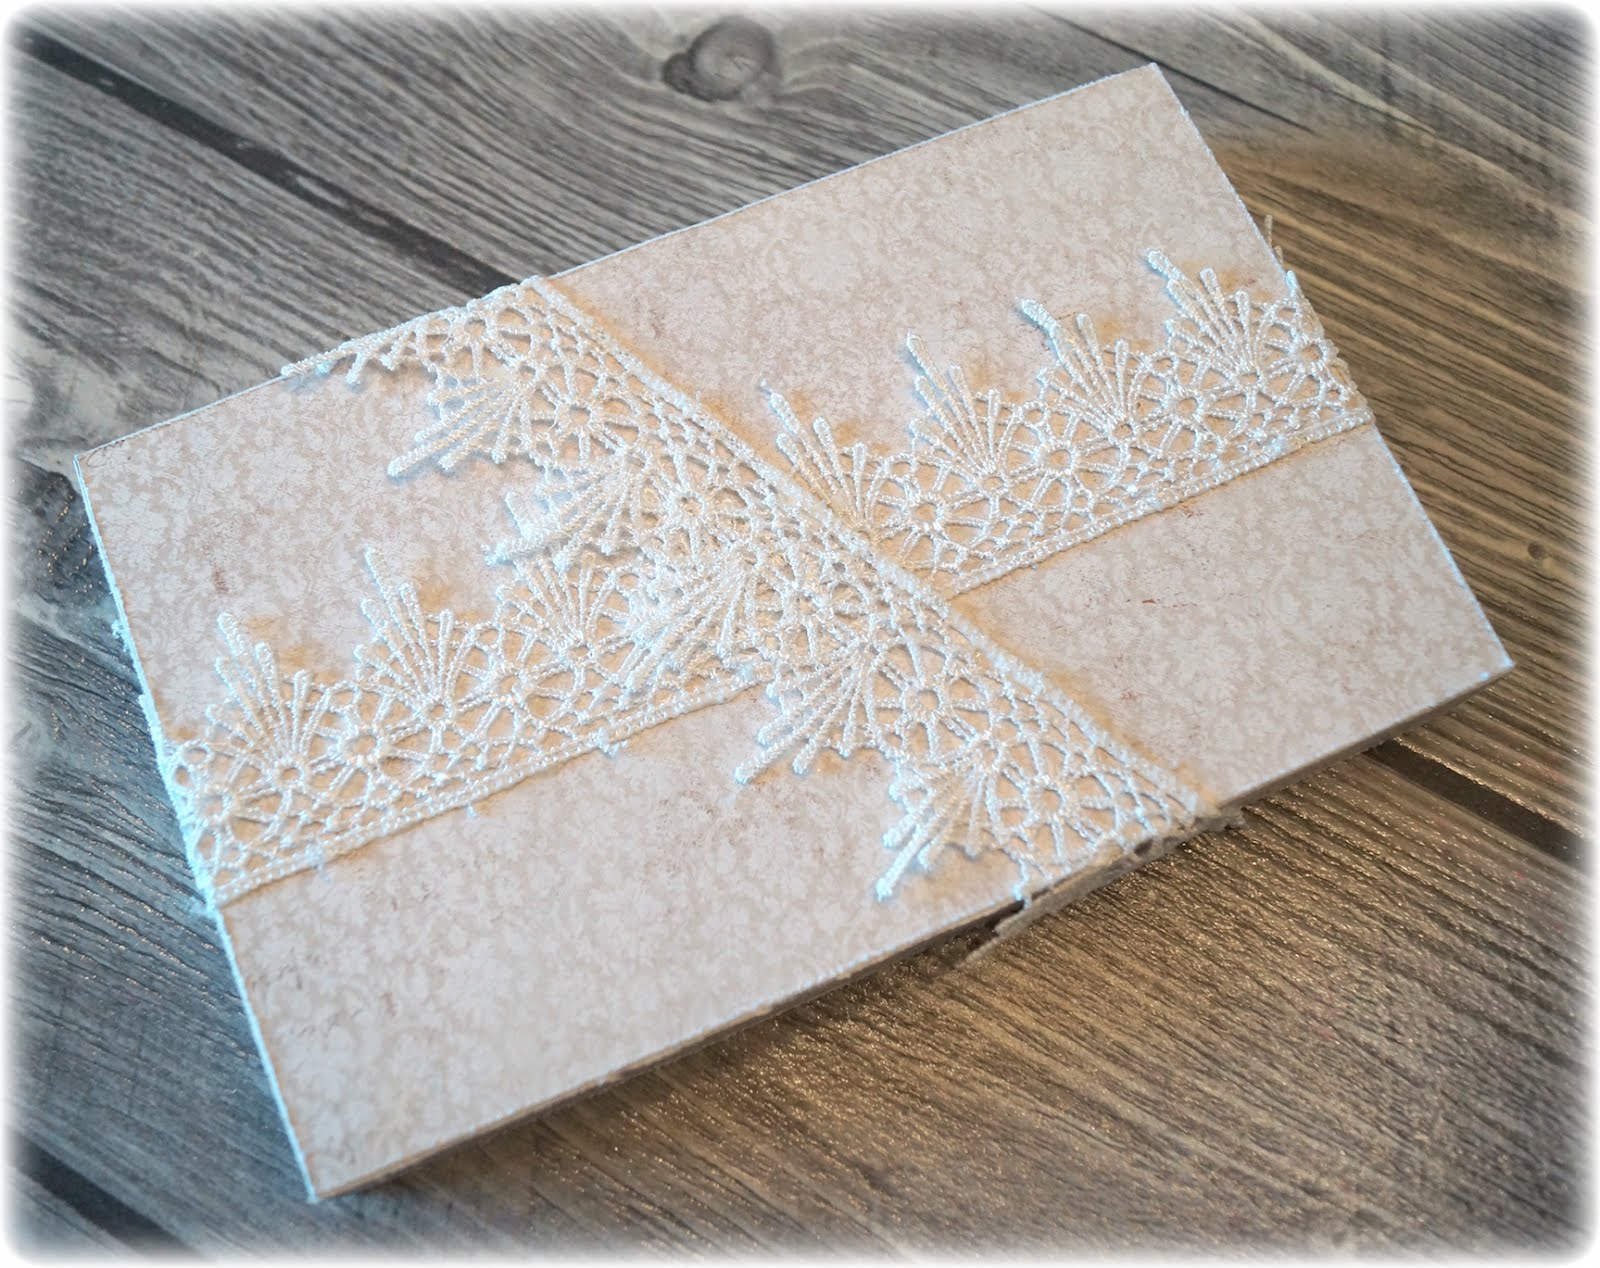
On the lid I have attached some white cotton ribbon.

STEP SEVEN:

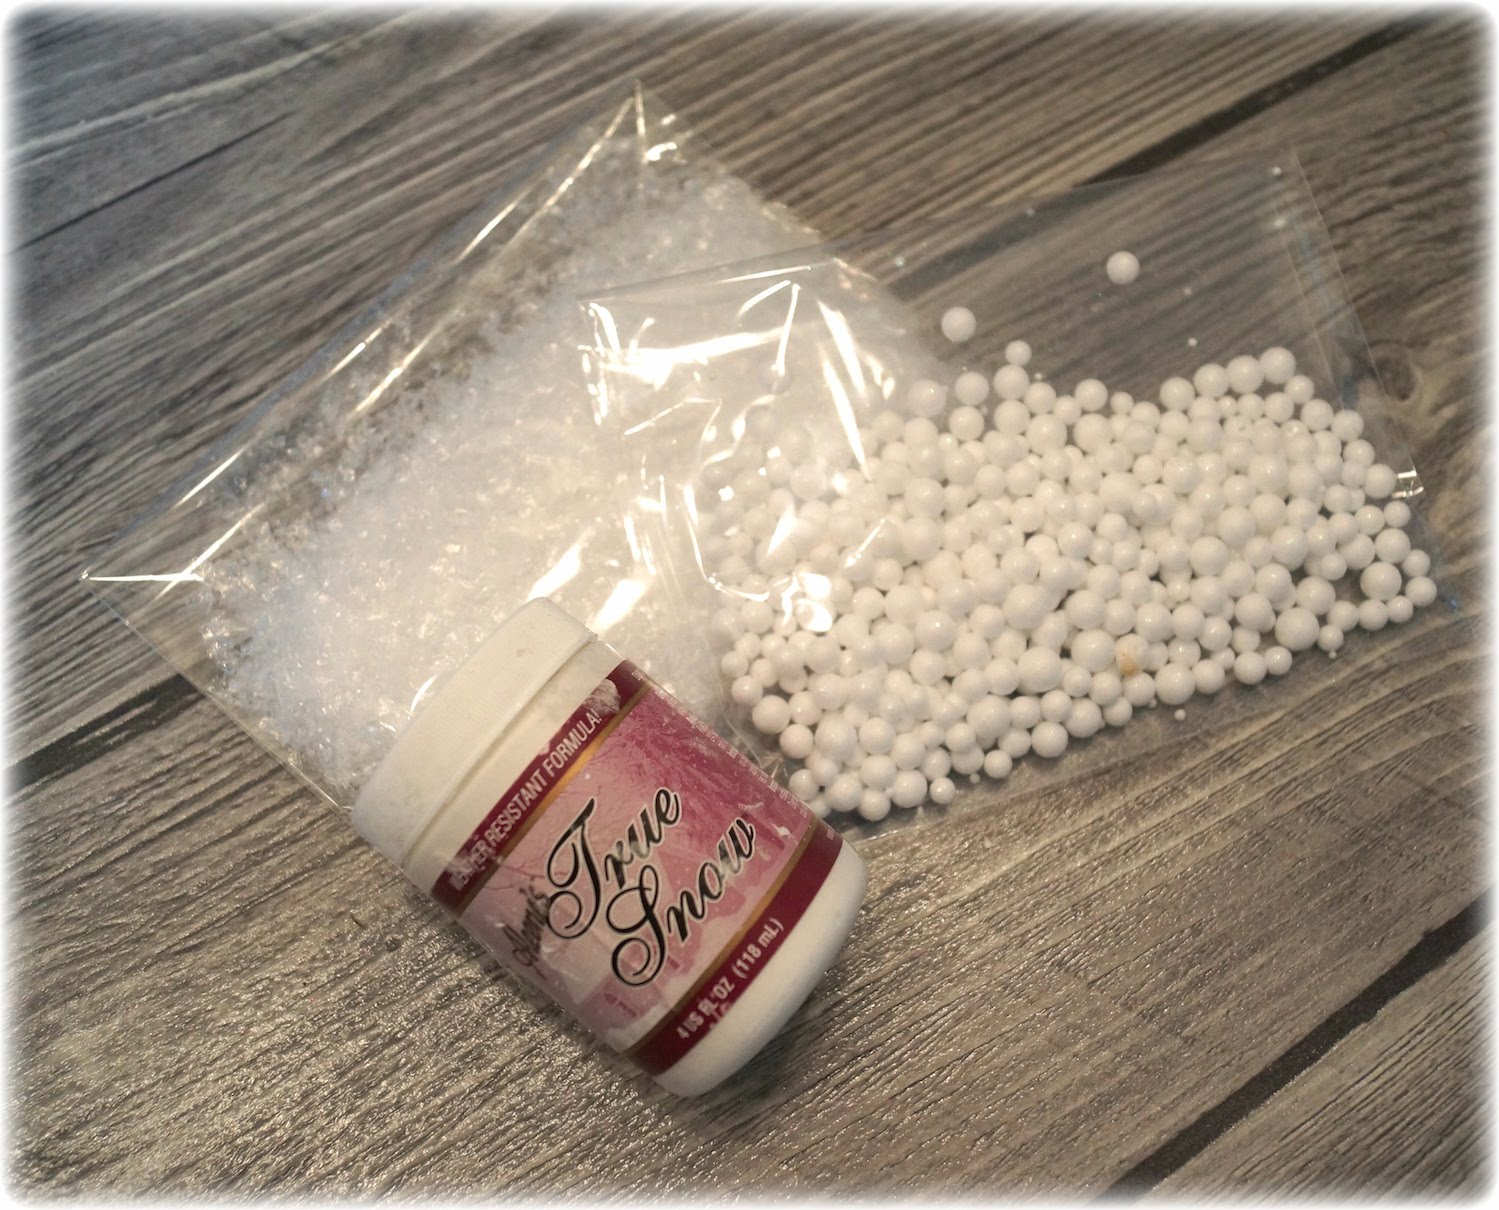
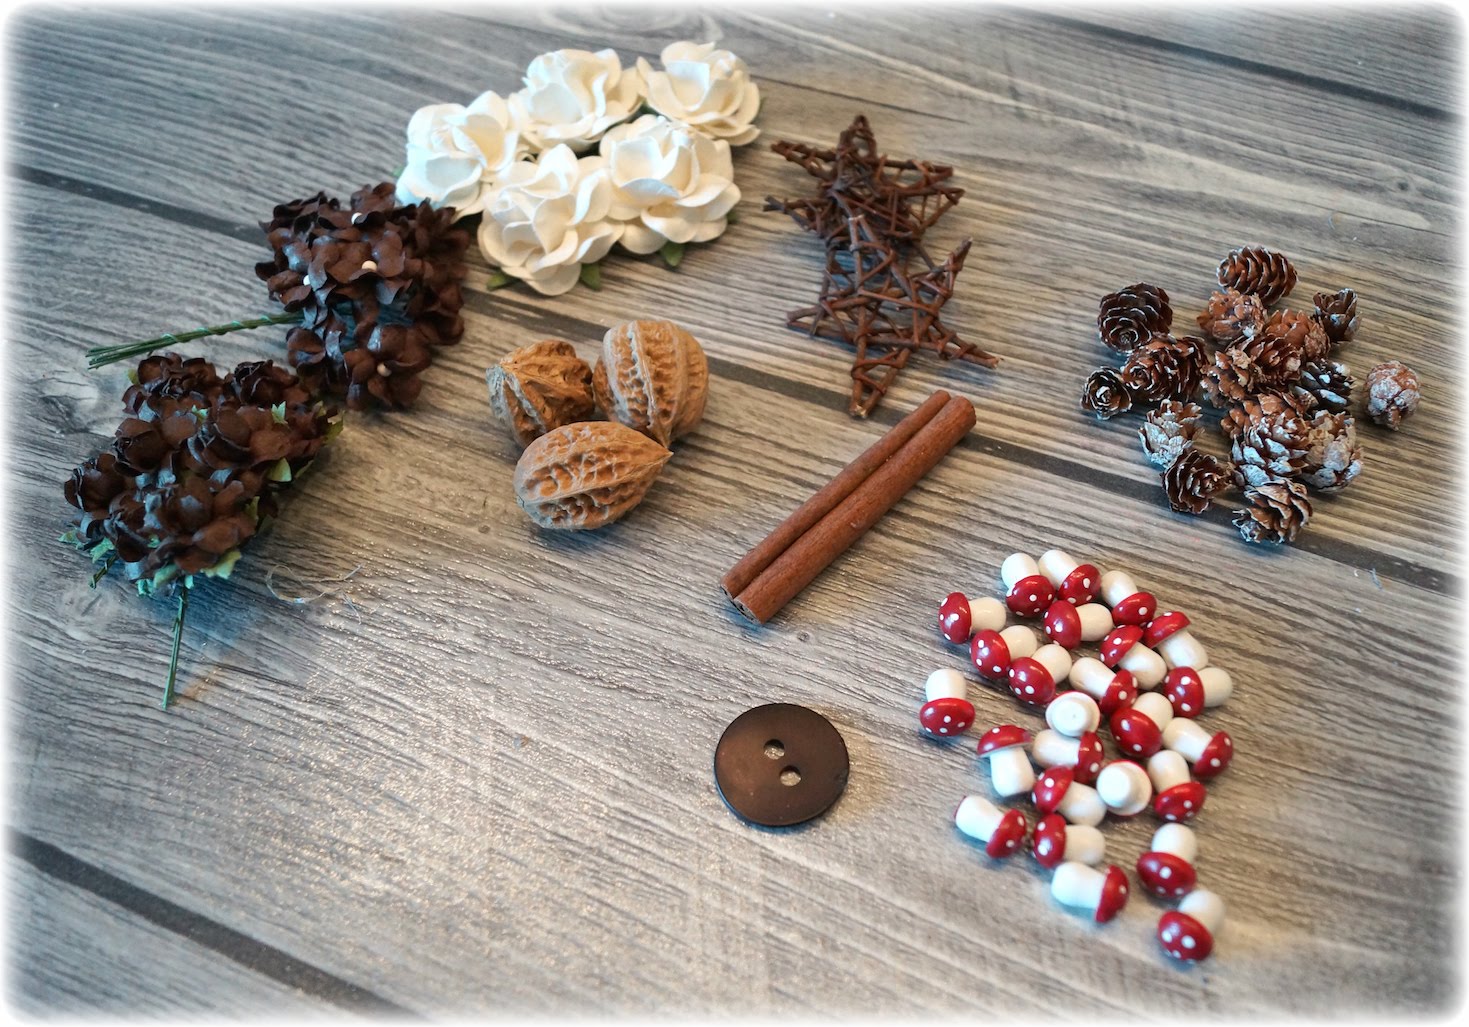
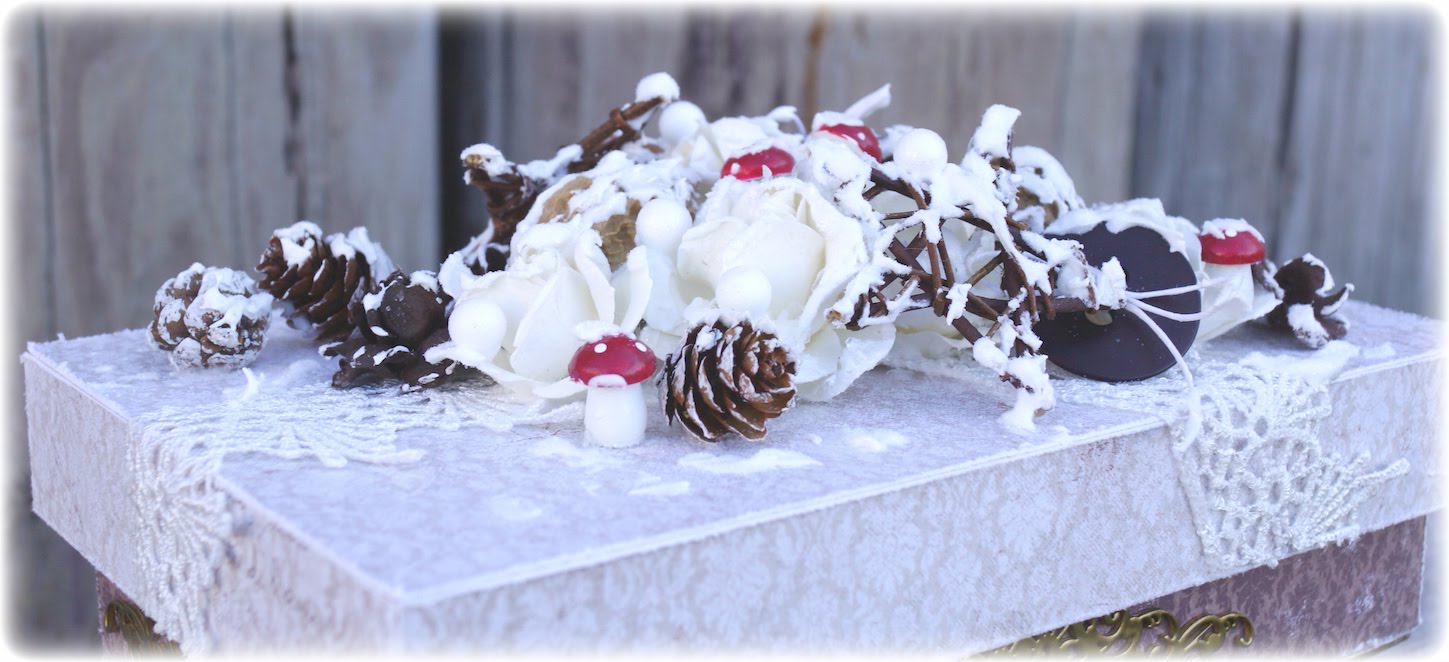
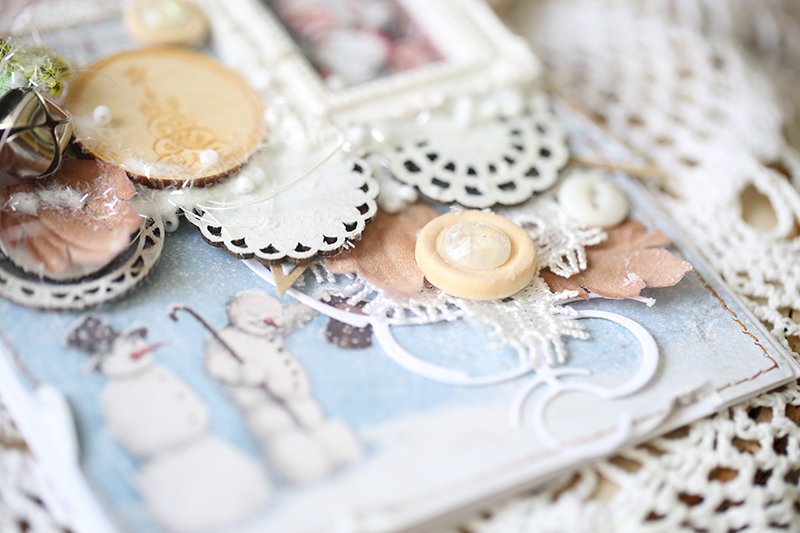
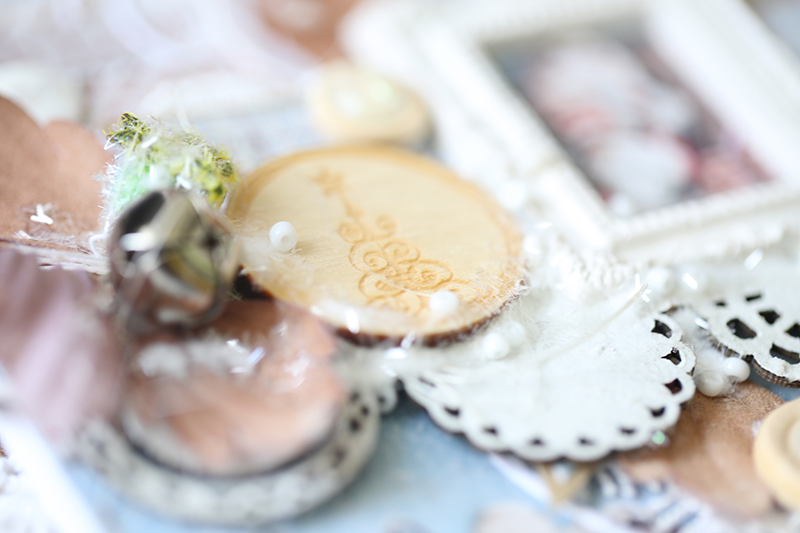
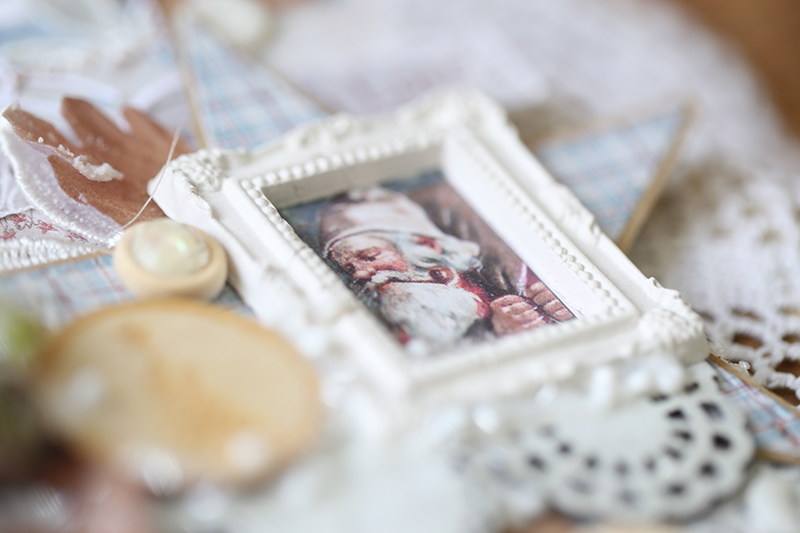
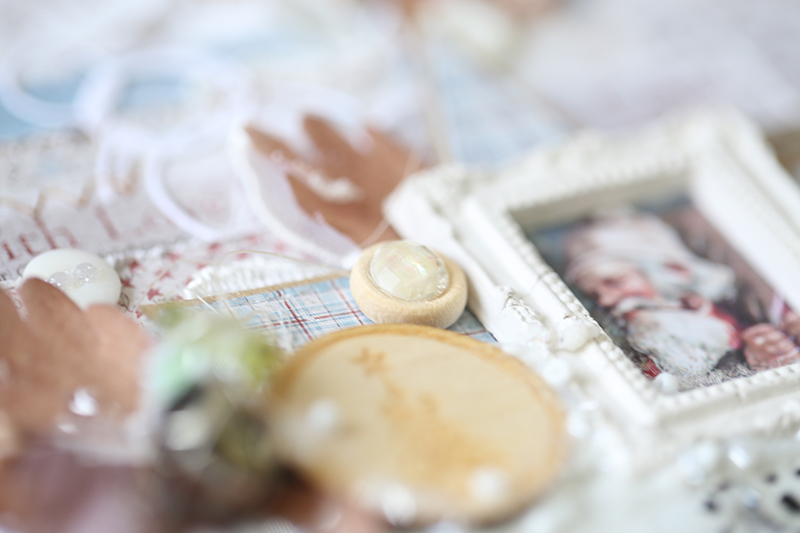
On the top of the lid I have used flowers, walnuts, mushrooms, cinnamon stick, stars and one button. These I have covered with True Snow, Plastik Snow and Glitter.

It’s really difficult to take images along the way while placing flowers and details, because I constantly had to move them around along the way. But I’ve done is I’ve just built around three large white flowers until I was happy with the lid.

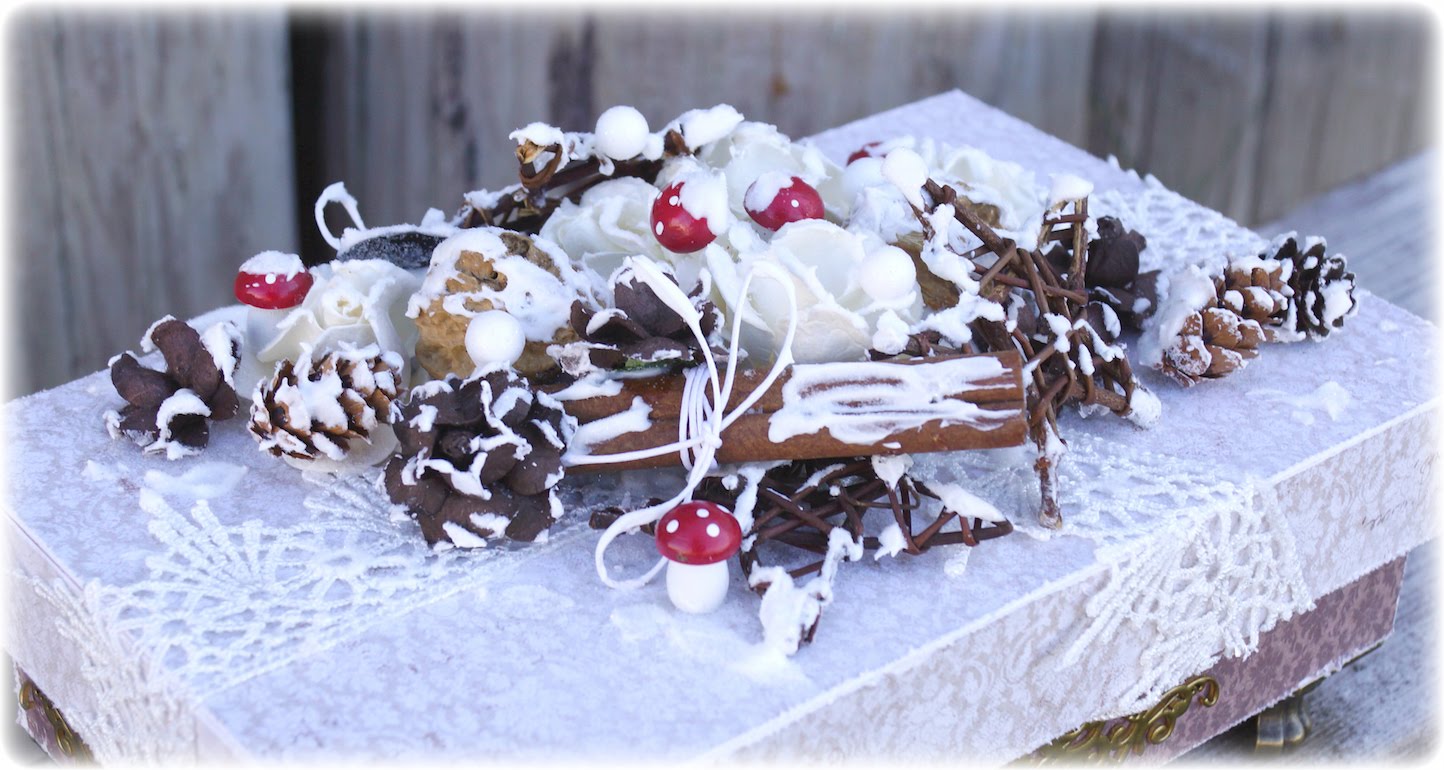
Then the box is finished. A simple box, but at the same time full of lovely winter details covered with snow and Glitter <3

SiljeKristin-sign


Three christmas cards

3

Posted by Evgenia Petzer

8 October, 2016 - ,

Write a comment

Hello dear friends, its Evgenia Petzer with you today. While I am waiting when my hands will play with the newest collection released (I wish), I pulled the previous year one and made three cards out of the Home for the Holidays paper pad.

Christmas cards and all the baby theme are my favourite items to create. So I had a real blast while playing with these cards.

They all are layered, very detailed – all as I like.

home_for_the_holidays_petzer_card1

lots of close ups:home_for_the_holidays_petzer_card1_det1 home_for_the_holidays_petzer_card1_det2 home_for_the_holidays_petzer_card1_det3 home_for_the_holidays_petzer_card1_det4 my second card from this collection:

home_for_the_holidays_petzer_card2home_for_the_holidays_petzer_card2_det1 home_for_the_holidays_petzer_card2_det2

love those knitted socks, they add so much home feeling and charm for the creation.home_for_the_holidays_petzer_card2_det3

and the last one for today:) Those snowmen, aren’t they the cutest?

home_for_the_holidays_petzer_card3

and again lots of details:home_for_the_holidays_petzer_card3_det1 home_for_the_holidays_petzer_card3_det2 home_for_the_holidays_petzer_card3_det3 home_for_the_holidays_petzer_card3_det4

I have used the following collection- Home for the Holidays (all the cards use only the small paper pad of this collection):

Have a great weekend,

A Beautiful Wedding Day!

8

Posted by Delaina Burns

22 September, 2016 - , , , , ,

Write a comment


I am so excited and happy to get to share something beautiful! My sweet daughter’s wedding!

We filled this room with Paper, Pearls, and Lace!

Who knew such a beautiful display could be made from paper….

Although, not just any paper could pull off such a gorgeous spread. It took around 200 sheets of beautiful Maja paper mixed with a few others to pull off this massive creation…. and about 4 months of my time. Yep, I made every single one of those layered pinwheel flowers. I must say, it was worth every single minute. Many, many thanks to Maja’s Marie and Camilla for sending such a generous box to make this project possible!

View More: http://penni.pass.us/anna-and-sterling

The groom’s cake and a another peak at the wonderful paper pinwheel flower display…

View More: http://penni.pass.us/anna-and-sterling

We carried the paper theme through out the entire reception,

which took place in a warehouse style, rustic, shabby art studio.

We filled the walls with large engagement photos and strung a handmade paper banner over the gift table…


View More: http://penni.pass.us/anna-and-sterling

The tables were embellished with gold candle sticks topped with handmade pearl balls,

fabric and paper flower balls, along with altered stacks of books and strings of pearls…

View More: http://penni.pass.us/anna-and-sterling

Lights with paper and fabric lanterns hung from the ceiling…

View More: http://penni.pass.us/anna-and-sterling

A closer view of the extraordinary paper pinwheel flower display…

View More: http://penni.pass.us/anna-and-sterling

Here are a few shots of my sweet girls happy smile and laughter on her amazingly beautiful day!

12

Delaina-sign

Summer And Winter For Spring Cards

1

Posted by Maja Nowak

13 April, 2016 - , ,

Write a comment

Hello, Maja Fans, welcome to the blog today 🙂 I’m glad you’ve found a moment to visit us and I hope you’d find my projects inspring.

For me the spring is all about flowers! I’m a flower girl at heart and love putting flowers all over my creations, including my boy layouts 😉 And also today I have two cards to share, and both feature some flowers, though I actually used the summer and winter papers  😉 The first one is for the 25th wedding anniversary:

mdann

This anniversary is traditionally called a Silver Anniversary, and so I looked for greyish papers to make a background. I love wooden patterned papers, so found this floorboard desing from the Vintage Summer Basics collection just perfect 😉 I matted it with a darker sheet from the Home For The Holidays set:

mdann1

I put the round sentiment stamp in the centre. I also embossed it with silver ep and added some silver liquid pearls around. To break the “seriousness” of the grey tones I added pink roses and ribbons:

mdann2

To complete my design, I added chipboard ornaments that I sprayed with silver mist and accented with glitter and pearls.

mdann3

Sturdy grey wood and soft and romantic roses completed with a touch of glam – doesn’t it sound like a good recipe for a successful marriage? 😉

My second card is quite universal and fit for any occassion. To be honest, I didn’t think of the purpose, I just wanted to try out my newest die! 😀

mdsw

I cut two pieces from the Real Fellow paper so that only the plain cream background is visible (I guess the Santa image would not make the card much universal 😉 ) and die-cut the intricate pattern in the top piece – isn’t that die simply gorgeous? To make the flourishes stand out even more, I separated the layers with soft pink paper from the Vintage Summer Basics collection and mounted the front layer on dozens of tiny 3D dots:

mdsw1

I added the flowers and ribbons:

mdsw2

…and to make the card super pretty, I accented the curves with liquid pearls 🙂

mdsw3

Supplies:

Maja Design papers: Vintage Summer Basics: 1906, 1926; Home For the Holidays: Real Fellow, Love the Snow. Other: die: Sizzix; stamp: Lemonade; flowers, ribbon: Wild Orchid Craft; chipboard: Wycinanka; liquid pearls: Ranger.


Have a nice day and see you later! 🙂

Maja-sign

Spring Wedding

3

Posted by Maja Nowak

30 March, 2016 - , ,

Write a comment

A very good morning to you, Maja Fans, welcome to the blog today 🙂

Can you feel the spring already? Even if the weather is getting cooler or rainy sometimes, I can feel the warmth in the air, the birds can be heard more often (but do they really need to get up at five? 😉 ) and the days are noticeably longer. And soon the wedding season will be in its highest, so it’s a good idea to stack up some wedding-themed projects. And this time I have one of the most popular gadgets, an exploding box in fresh springy colours:

mdboxex

Naturally, I used the Vintage Spring Basics collection, with its pastel blues, light turqouises and subtle browns. As usually, I based the sides decoration on the beautiful paper designs and concentrated embellishments on the box lid:

mdboxex1

When you remove the lid the box open up and reveals the inside sides with a tag to write wishes on and three paper bands to slide money behind.

mdboxex2

I added some purposes on the bands: for a crib, for a journey into the unknown and for wishes to become true 🙂

mdboxex3

mdboxex4

And as usually, I place a cake in the centre. This time it’s not a cardstock one, but a gorgeous intricate chipboard cake I recently bought and instantly fell in love with 🙂

mdboxex5

In order not to cover it too much, I didn’t use my usual rings of roses around the sides, but just placed a couple of blooms in the front:

mdboxex6

Supplies:

Maja Design papers: Vintage Spring Basics: 7th of March, 7th of March bs, 3rd of April bs, 4th of April; Home for the Holidays: Together. Other: flowers: Wild Orchid Crafts; dies: Spellbinders, Magnolia; chipboard: Wycinanka.pl; ribbon, lace, crystals: my stash.

see you later 🙂

Maja-sign