Special Guest Designer Kerstin-Inga Peters

4

Posted by Carita Ruckman

17 July, 2017 - , , , ,

Write a comment

Hello Scrapbooking friends!
I am very excited and honored to have been invited here this month as Guest Designer. Thanks so much for your invitation!

Kerstin-Inga-Peters

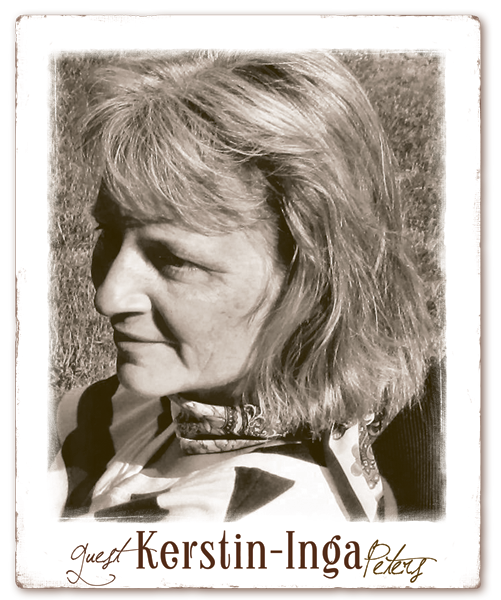
My name is Kerstin- Inga Peters and I come from Germany. I have been creating for many years now, always in search for new techniques and yet unexplored territory in craftland.
I’m a modern girl with a big vintage heart and my big passion are photos, colours and textures. With Scrapbooking and Mixed Media Style I have found ‘my’ perfect favourite genres – as it combines words and pictures, thoughts and feelings, and the application of various innovative products, techniques and the idea of telling stories.
I love the sea forever and ever. That’s my place for relaxation, dreaming and inspiration.
As I saw the wonderful papers I thought, amazing the right colors for sea, beach and so much more.

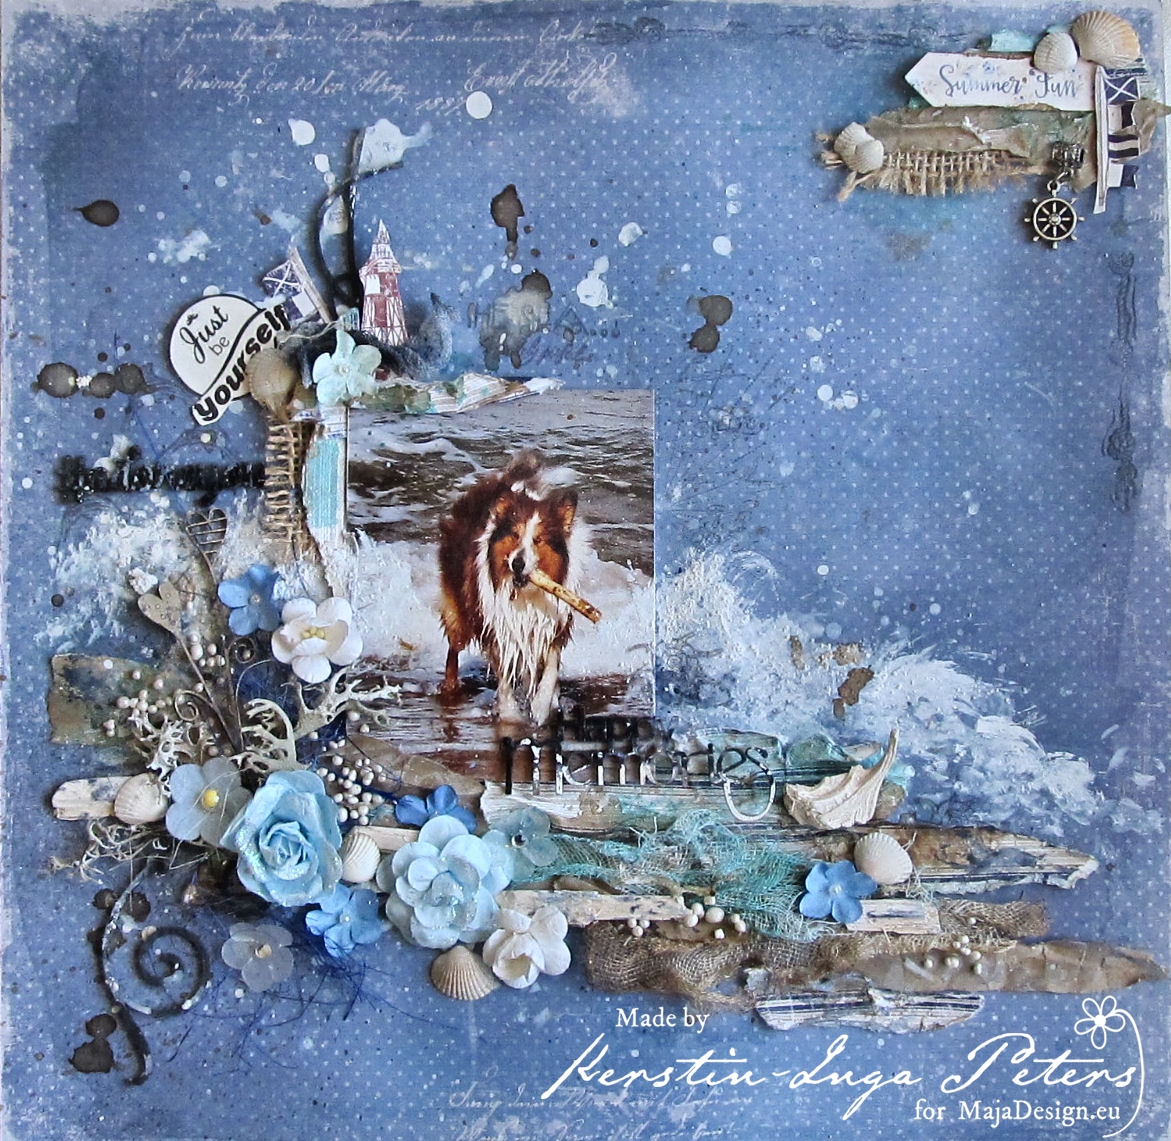
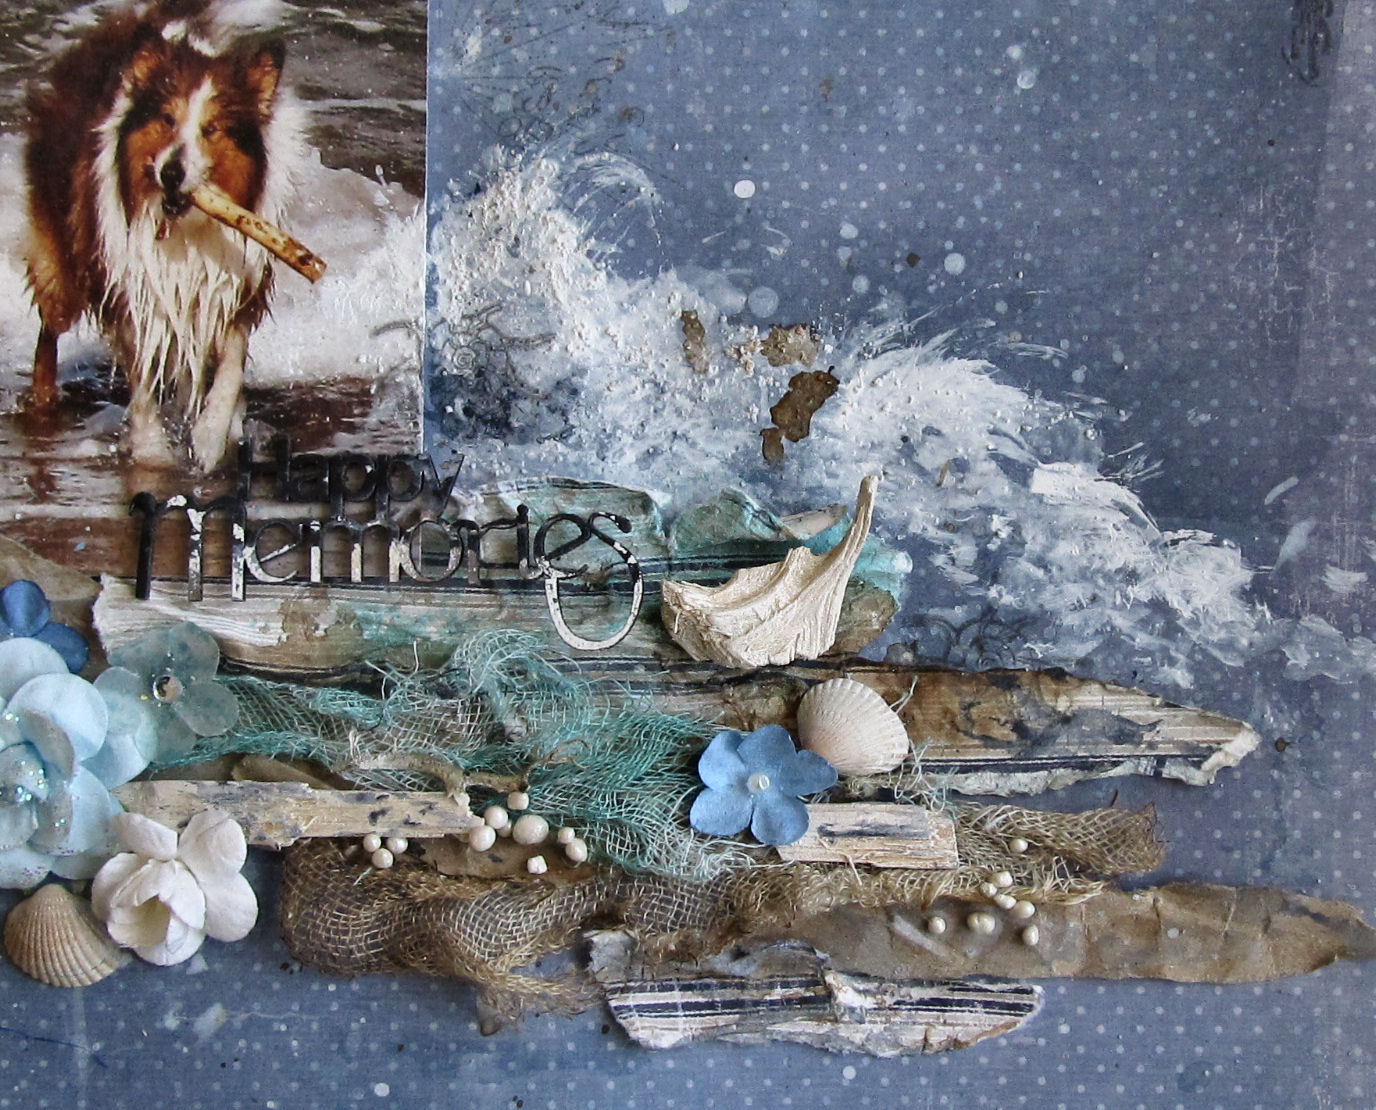
My first layout shows our family sunshine ‘Filou’, it’s a sheltie and he has always so much fun on the sea. His favourite occupation is to get sticks or balls out of the water.

Summer Fun

Used materials

Maja Design papers: Summer Time -Having fun-; Life by the sea -Regatta-; Life by the sea -Marina-

Prima flowers, Scrap FX chipboards, Gauze, Texture paste white, Distress Stain Walnut ink, Embossing powder, 3D pearls, sea shells, metal embellishments, driftwood

IMG_2820A crumpled craft paper with burlap leftover, some self-collected shells and a piece from edge stripe.

IMG_2821

Some stains and splashes with paints diluted with water, together with some cut outs from the ‘Marina’ paper (flags and lighthouse).

IMG_2823

Can you see the waves on my photo? I love the idea to continue some photo elements on the background paper. Here I used a white texture paste and a fan brush for more sea waves.

I also used some hand torn stripes together with colored gauze and a lot of little blue flowers.


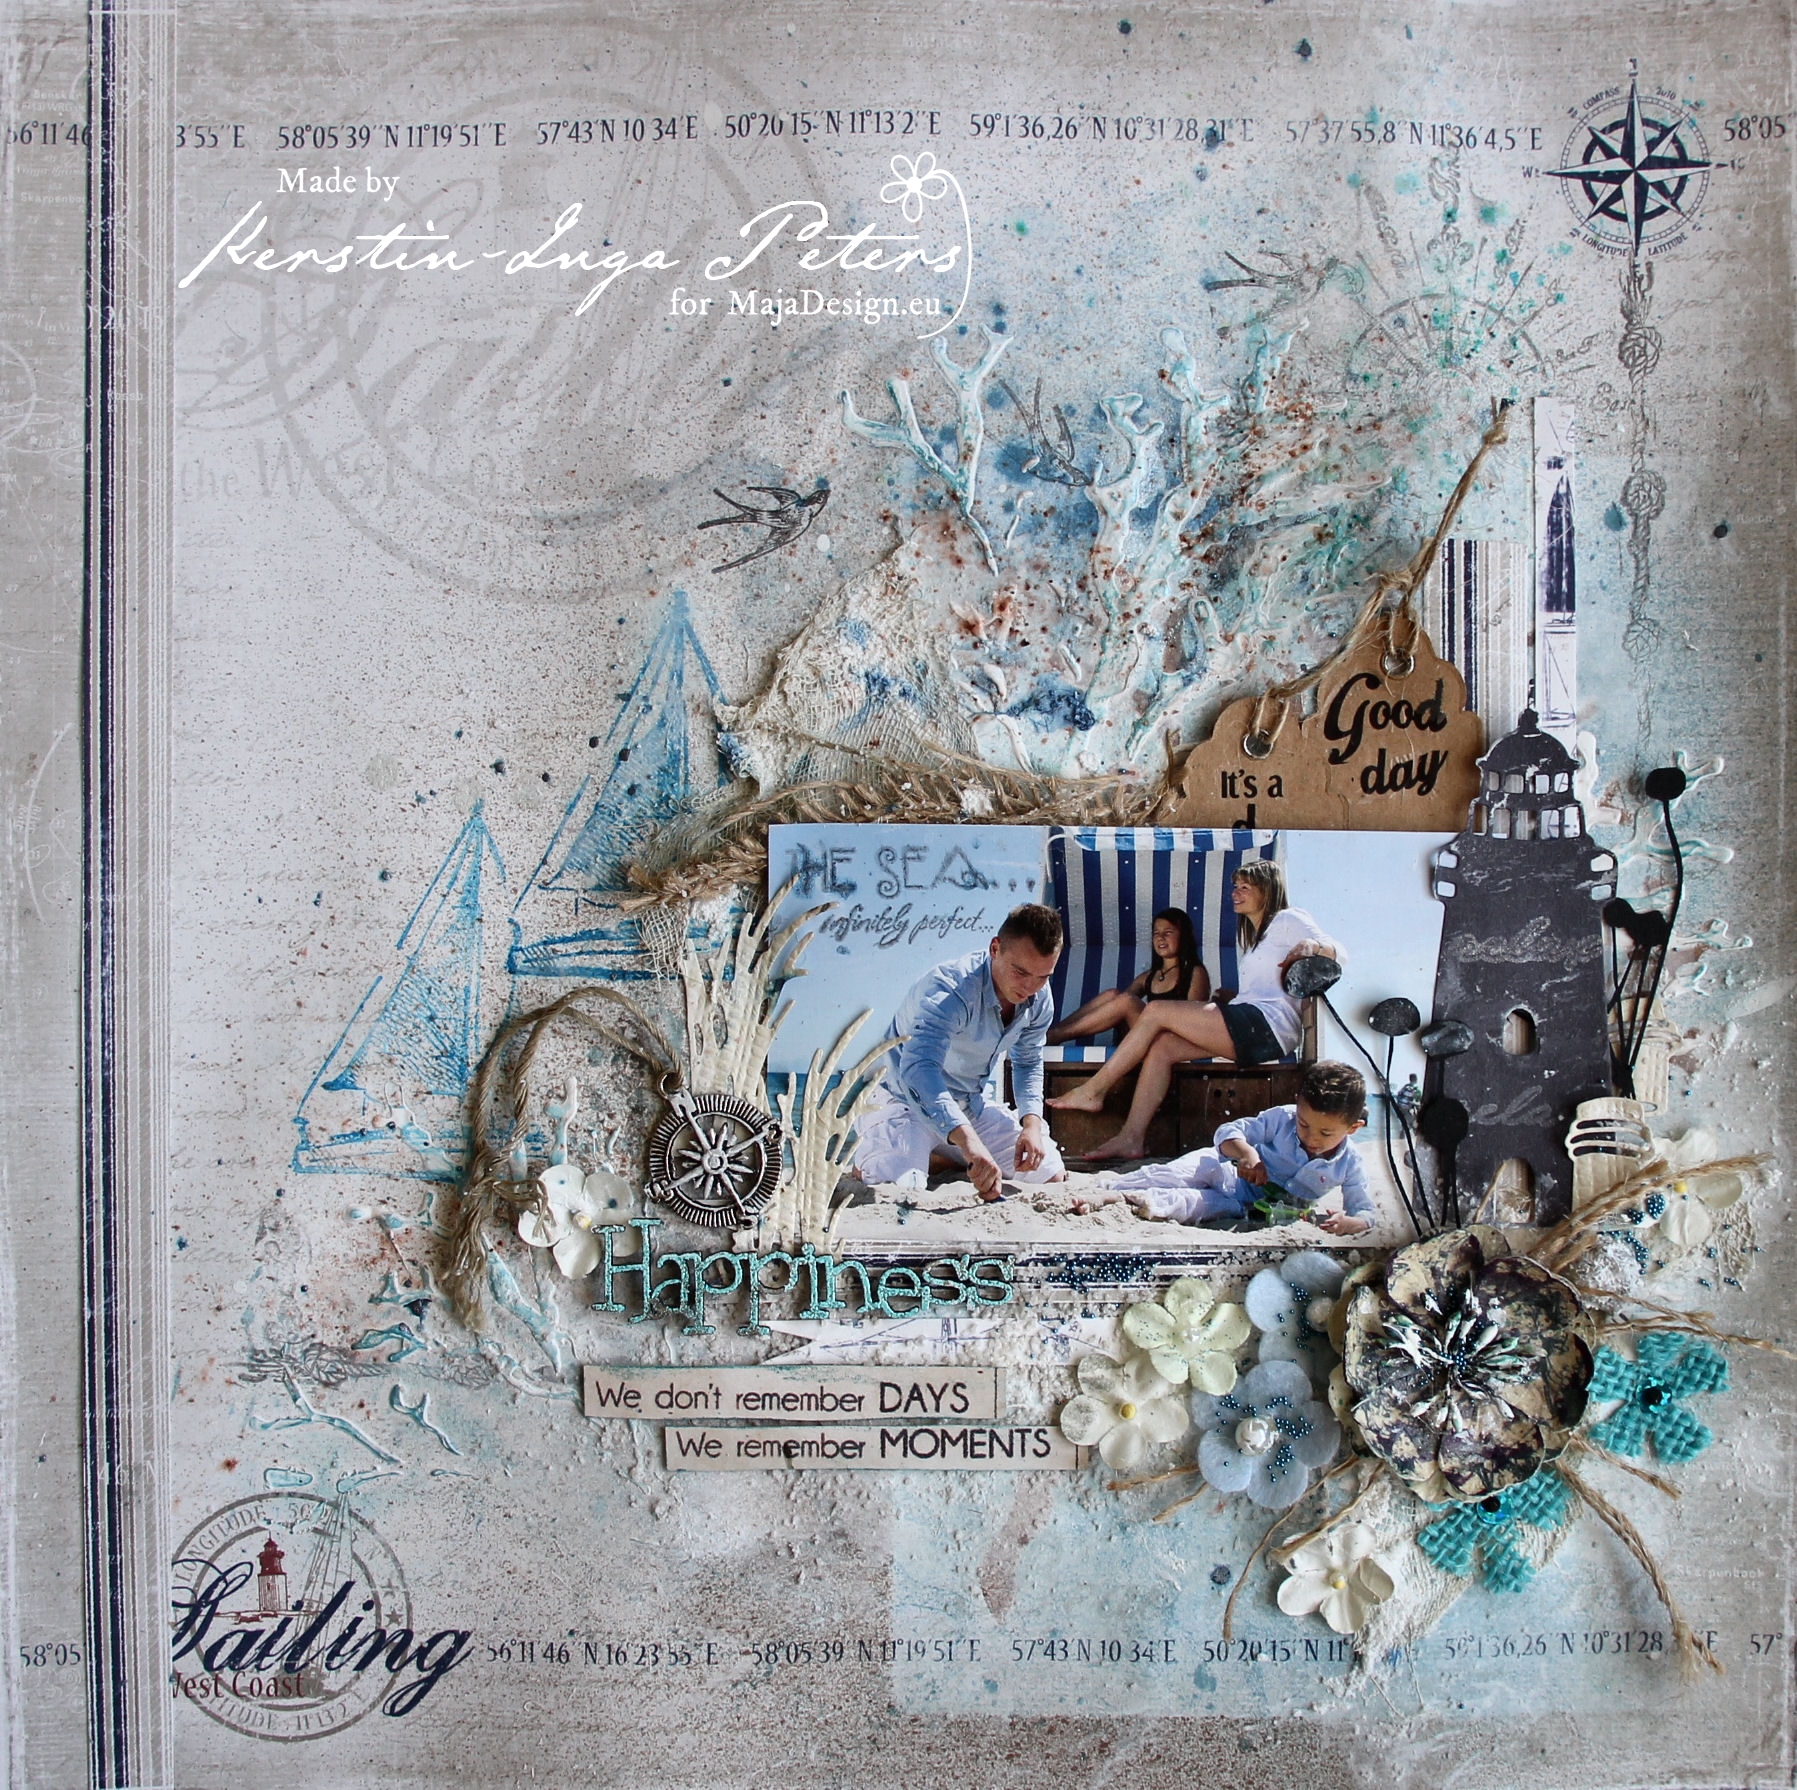
Good day – We don’t remember days, we remember moments

Sunshine, beach, the sea and more: while the little ones dig in the biggest sandpit, the grown-ups lounge in a beach chair enjoying the sun or take a refreshing dip in the sea.

Used materials:

Maja Design papers: Life by the sea -Sailing-, Life by the sea -Regatta-

Stencil ‘Coral’ Scrap FX, Clear stamps ‘Maritim’ Viva Decor, Dies – Lighthouse, Beach grass, Tattered flowers, white gesso, Chalkboard Glimmer Mist ‘Boogie board’ Tattered Angels,

burlap,metal embellishment, tags, chipboard word from Scrap FX

IMG_2518

 Hanse Sail

Maja Design papers: Sailing – Vintage Romance -Words of Love-, Life by the sea -Marina-

Embellishments – wooden seahorse, metalic charms, feathers, starfish, rope

3D pearls, Distress stain ‘Walnut ink’, chipboard wordlet Scrap FX, circle dies, stencil ‘Bubbles’

embossing powder ‘Burnt copper leaves’

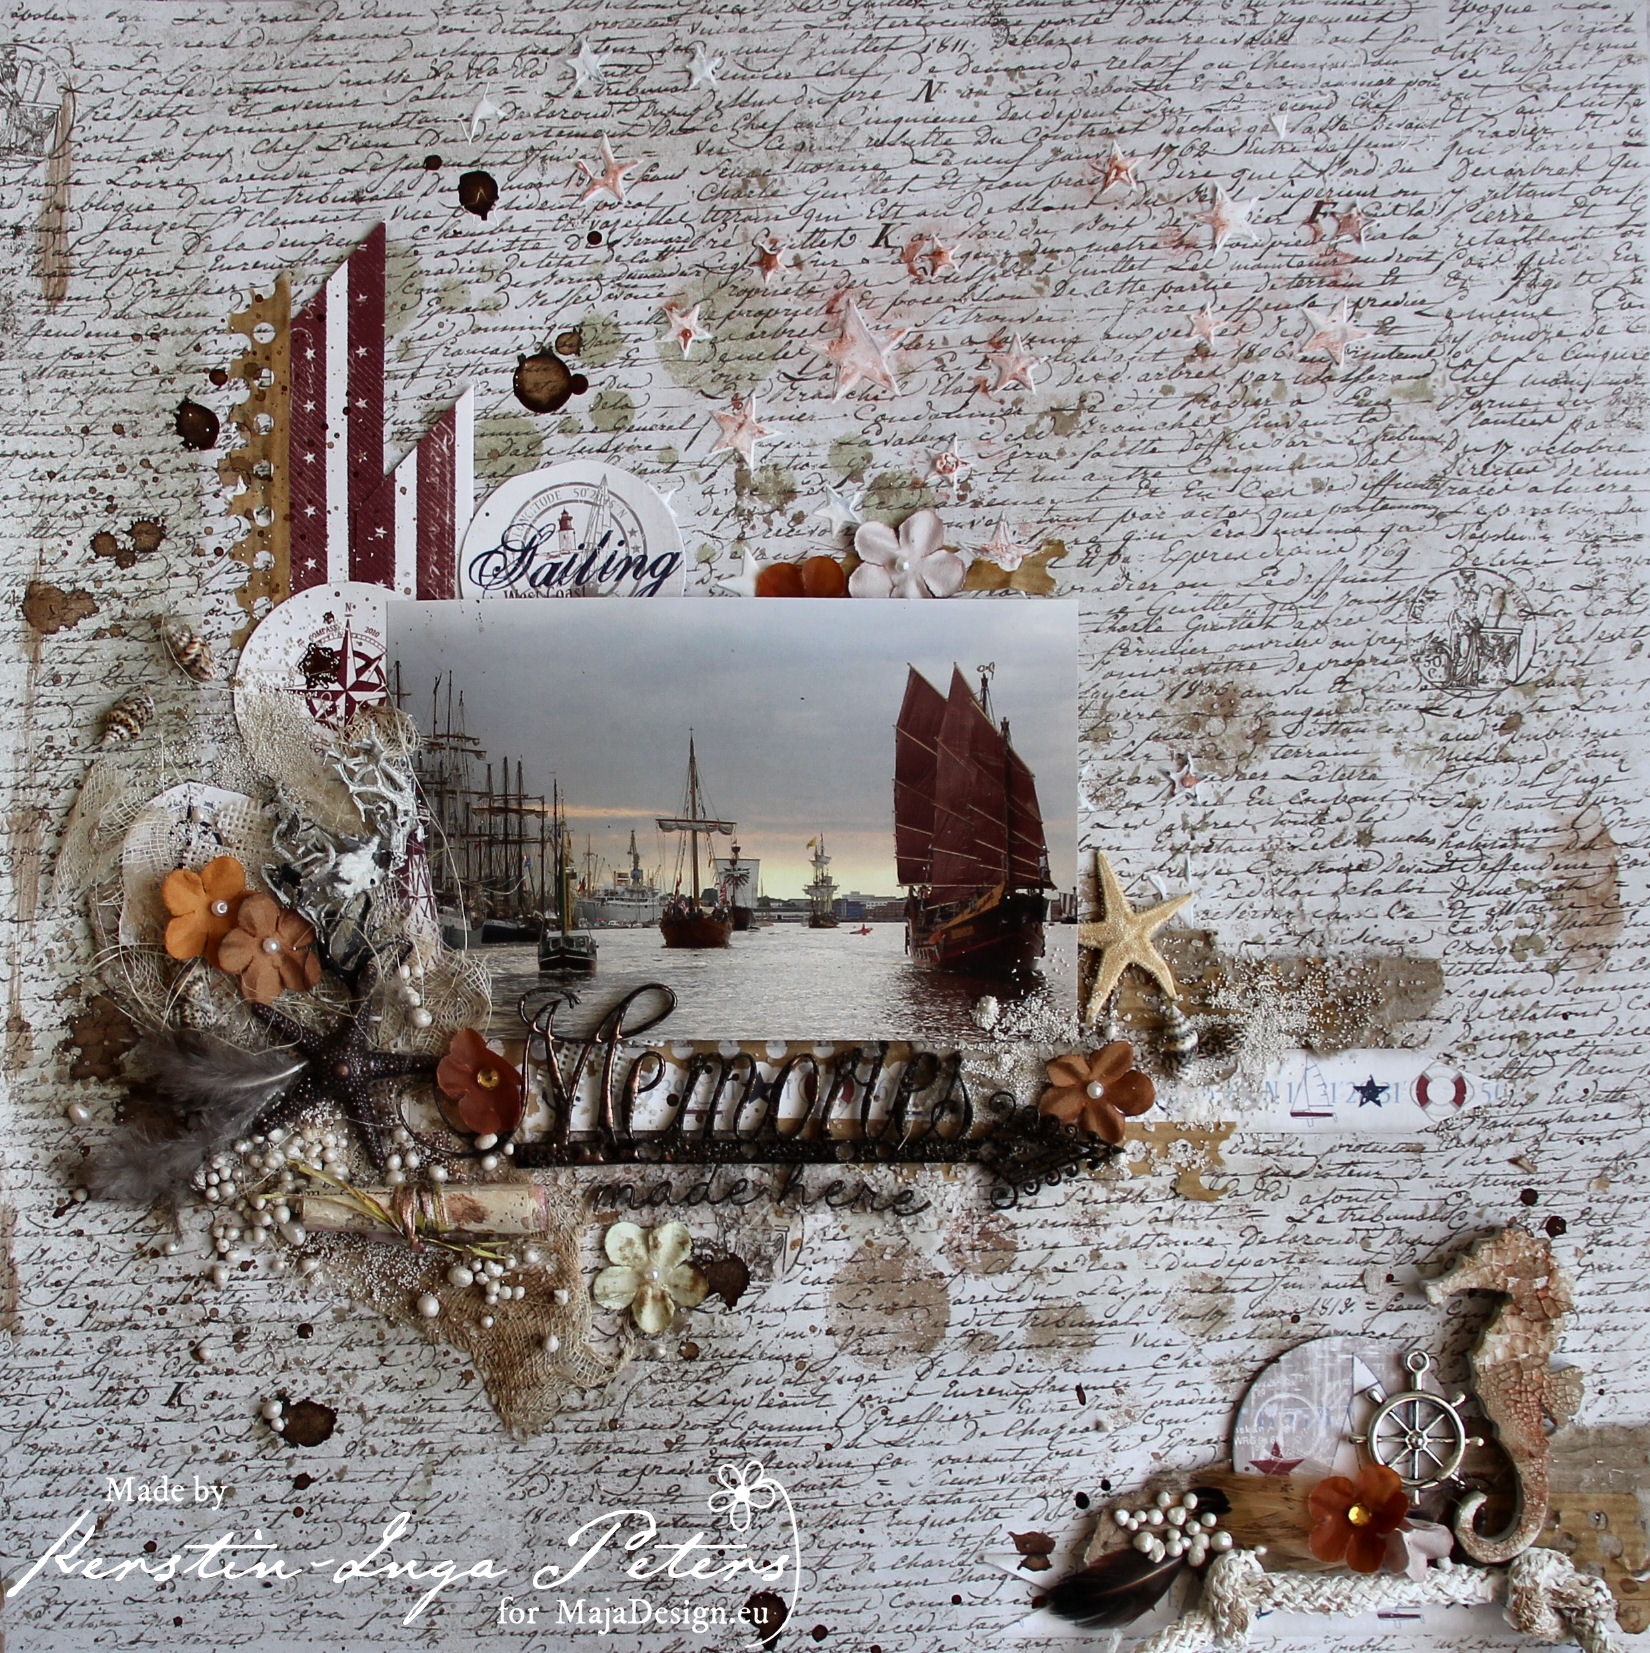
I’m a big fan of old sailor ships. The ‘Hanse Sail’ shall take place once at year on the Baltic Sea. You can see there very impressive windjammers,

traditional ships and museum ships. IT’s really a highlight for me and my vintage soul.

IMG_2513

So I used here more vintage colors, various brown shades and a wine red.

For the wooden seahorse I used a transparent crackle paste in combination with distress ink and a little bit copper wax creme.

IMG_2514

Some motifs from the ‘Regatta’ were very suitable for my photo and I decided to use a round die to cut out these elements.


More of my projects can you see here

https://scrapdesigns77.blogspot.com/

Many thanks for your visit!

Happy crafting!


Guest Designer Julie Lavalette

8

Posted by Carita Ruckman

22 May, 2017 - , , , , , , , ,

Write a comment

Hello Maja Fans, my name is Julie and I am from Scotland, today I am delighted to be sharing with you a mixed media project and two cards.
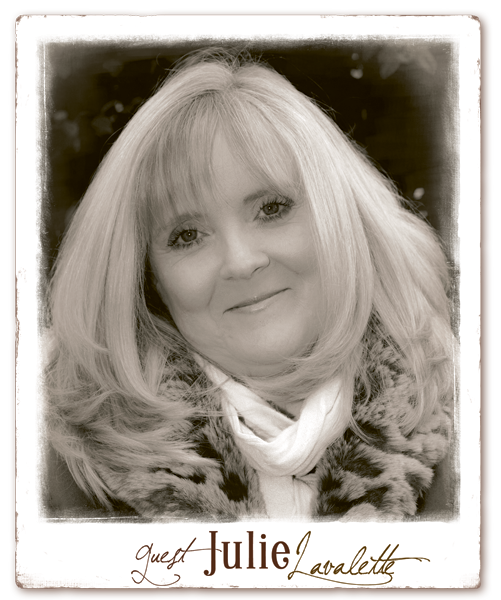
Julie-Lavalette

I have been crafting for around ten years now and am at my happiest creating in my craft room watching the birds come into our garden. My love for flowers, bygone eras and antiquities I love to express through my creating.

I love bringing a piece of paper to life and creating a story within my card so it becomes a keepsake and has a true meaning for the recipient and I love adding special little touches of details.

My style is definitely vintage/shabby chic, I love using diecuts and making my own flowers, adding lace, pearls, chipboard and mixed media accents into my designs.

So why not grab a cuppa and let me share my projects with you.
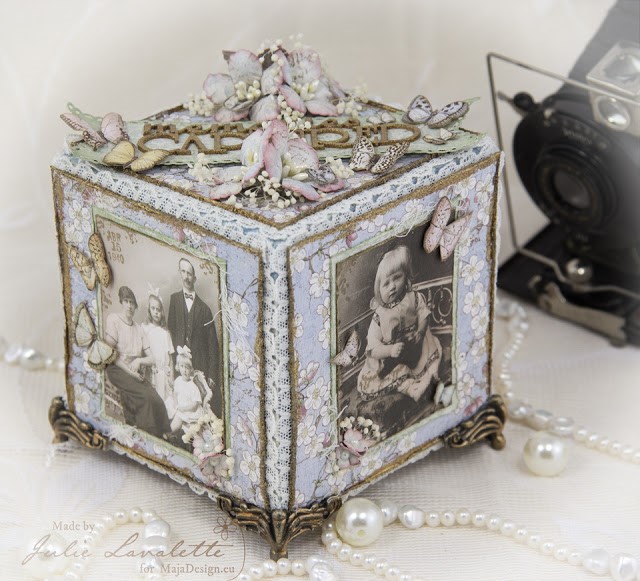
Julie1

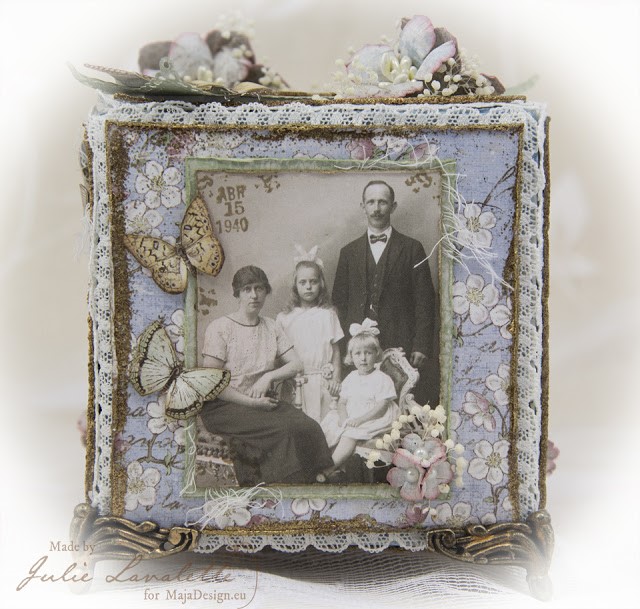
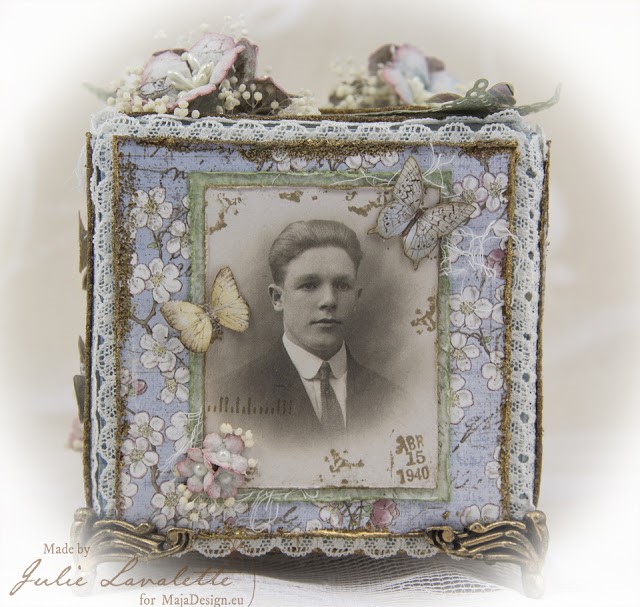
As a child I remember my parents had a Photo Cube in the house where family photos took pride of place and with all the beautiful images Maja Design have to offer I was inspired to making one in a shabby chic style. My cube measures approximately 3.75 inches square and was created by gluing beer mats together to form the cube, adding some coffee stirrer sticks at the joins internally to help strengthen my cube. Next I added tissue tape around all my seams and a little blue Distress paint.
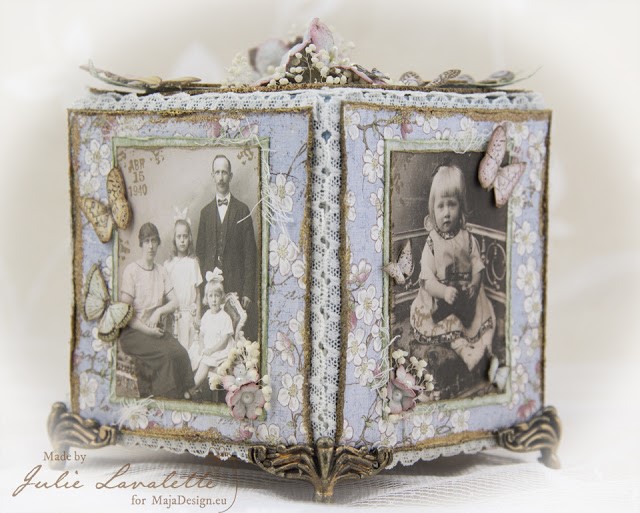
Julie2
My papers were all cut to size and tattered at the edges, I then rubbed some Versamark Ink around the edges and heat embossed my Embossing Powders. I added a pretty lace to the back of my paper and positioned them all in place with foam strips on each side. This helps to give my lace more dimension than lying flush next to the cube.
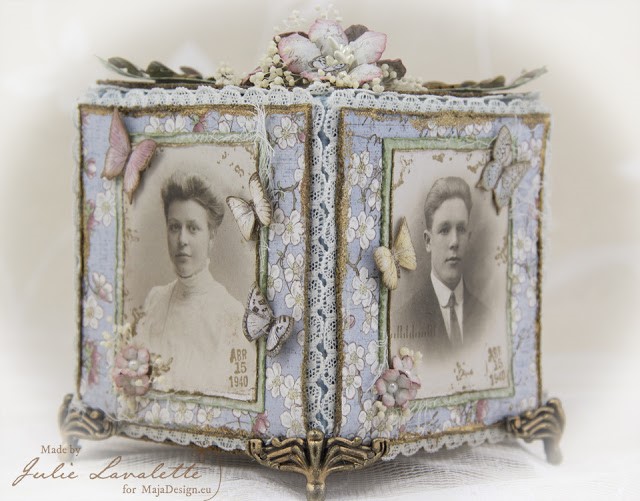
Julie3
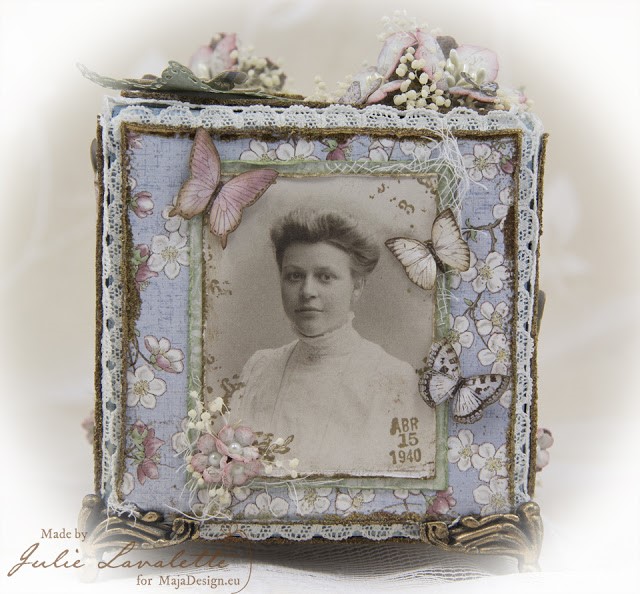
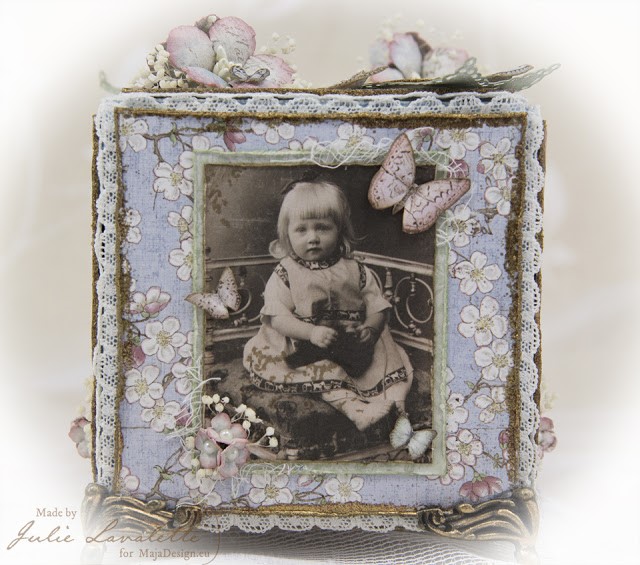
I tattered my images at the edges and added a little stamping to distress them before matting and layering in place on my cube.
Julie4
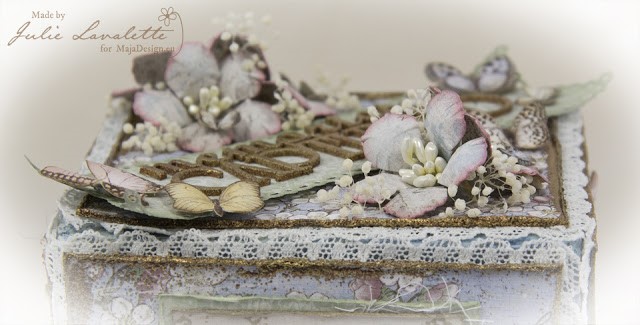
I decorated with lots of small flowers with a Pearl centre and some dried ones.
Julie5
I fussy cut out lots of butterflies using both the 12 x 12 paper and 6 x 6, gosh I adore these butterflies for a perfect finishing touch.
Julie6
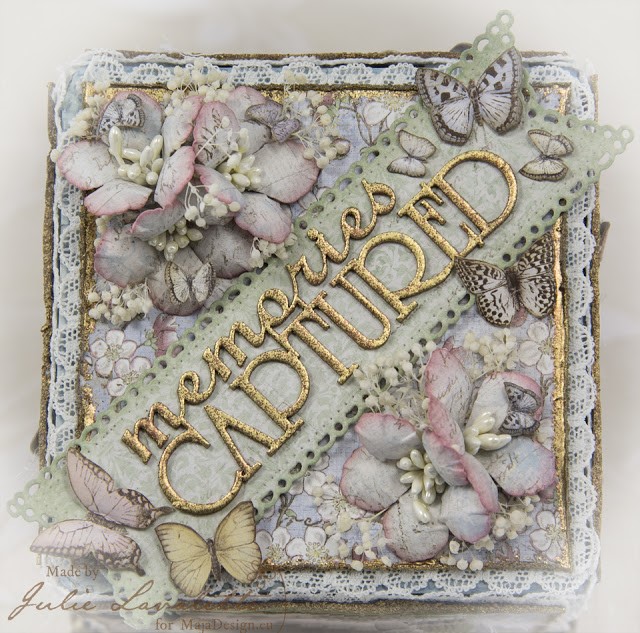
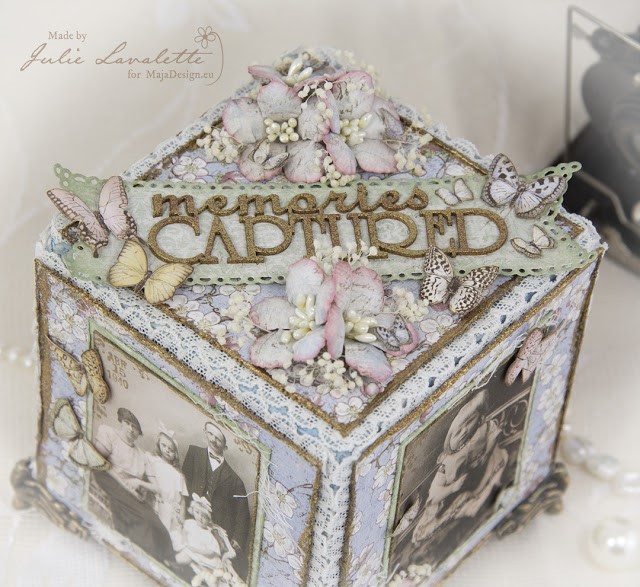
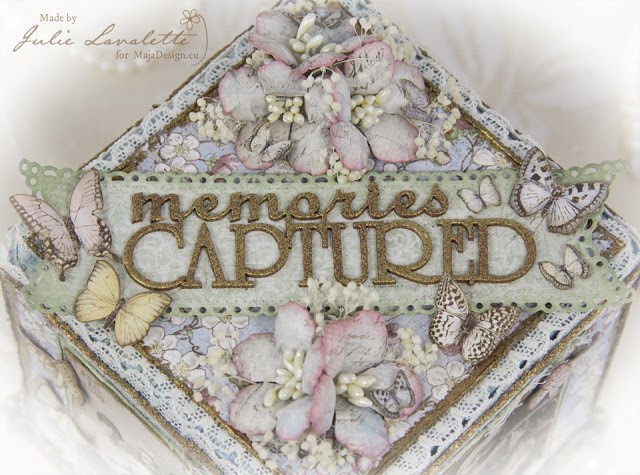
I added a diecut banner onto the top of my cube with my chipboard sentiment which had been heat embossed with the same colours as the edges of my paper.
Julie7
My larger flowers were shaded with Distress Inks and Pearl Stamens added into their centres with some smaller butterflies added onto their petals.
Julie8

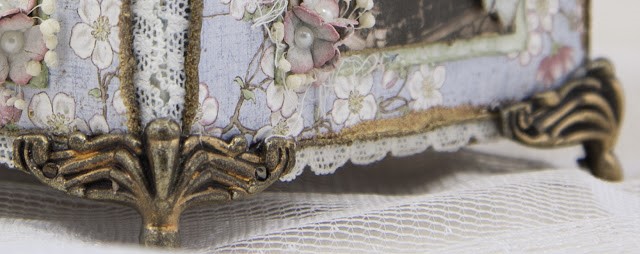
I finished off my cube by adding small brass feet from my stash that I added highlights of Gilding Wax.
Julie9

Finishing of with a few more images of my cube.
Julie10

Julie11 Julie12

Maja Design Products Used :

Vintage Autumn Basics – Heritage 12 x 12

Vintage Spring Basics 6th of May 12 x 12

Vintage Spring Basics 6th of April

Vintage Spring Basics 6 x 6 Paper Pad


Other products used:

Cheery Lynn Designs –

C184 Judy’s Blooms,

DL 278 Horizon Fishtail Banners


Sue Wilson Small Flowers – Delicate Garden

Stampers Anonymous – Correspondence Set

6 Square Beer Mats or Chipboard measuring approximately 4 inches square

Tissue Tape

Distress Ink – Victorian Velvet and Frayed Burlap

Distress Paint – Faded Jeans

Treasure Gold Gilding wax

Versamark Ink Pad

Gold and Penny Copper Embossing Powders

Anna Marie Dried Flowers

Flower Stamens,

Cheesecloth and Lace – Ribbon Girl

Scrapiniec Chipboard – Memories Captured

Pinflair Glue, Hot Glue, Cosmic Shimmer Glue, Foam Strip Tape

Tiny Pearls and Brass Feet – Hobby House


Julie2,1

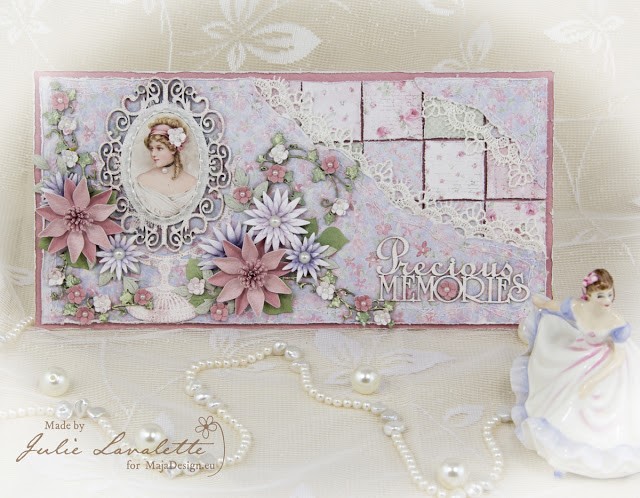
This card uses the exquisite papers from the Sofiero Collection. I love the pretty feminine tones and the elegance of the images that compliment any craft project so well. This card measures approximately 5″ x 10″ and I intend to put it into a frame to keep as my ‘Precious Memory’ as a Guest Designer here at Maja Design.
Julie2,2
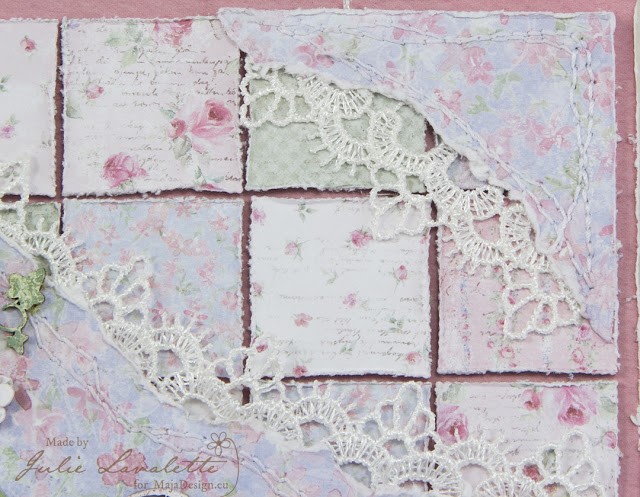
I started with tattering the base pink layer of my card with my scissors, this would help frame the soft tones on my design. I gathered lots of little scraps of paper from my Sofiero Collection and cut into approx 1″ squares, tattered at the edges and placed onto my card with foam strips. I now added on my torn layer of paper with tattered edges, some stitching and lace for extra detail.
Julie2,3

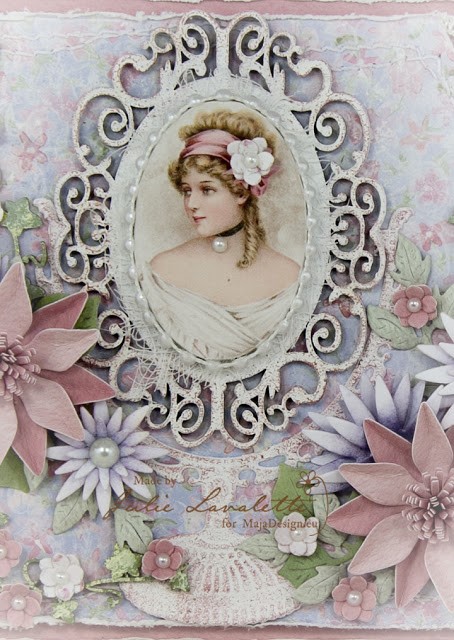
My dressing table mirror was diecut in white cardstock and I stippled on some Gesso for extra texture and once dry I added some Gilding Wax for highlights. You will also notice I replaced the mirror part of my diecut with a oval chipboard which had been painted and gilded in the same way. My beautiful image was glued onto an oval chipboard adding Pearls around the frame, finishing with a flower in her hair and a small Pearl added to her choker for extra detail.

Julie2,4

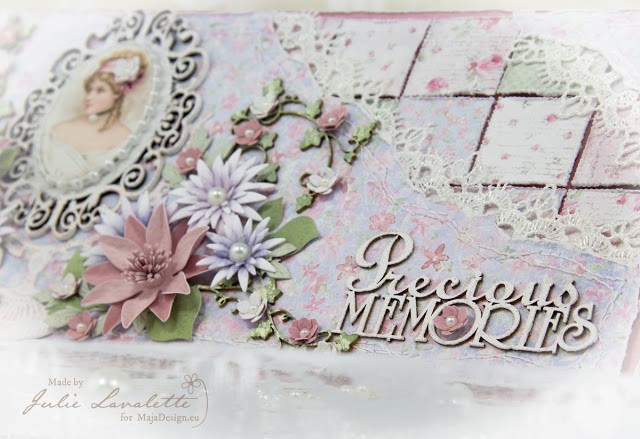
My Ivy chipboard has been painted nestling some small flowers around them and adding a few diecut leaves.
Julie2,5

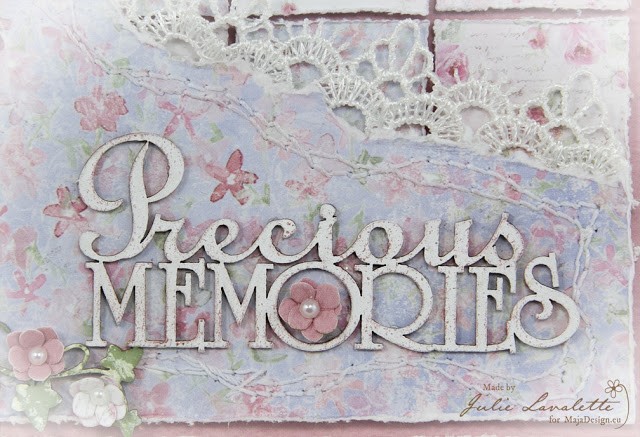
My lilac flowers were created with Distress Inks and adding Pearl centres, my other flowers have all been creating using Maja Papers.
Julie2,6


Products Used List.

Maja Design Products Used –

Monochromes Shades of Sofiero Blush / Rouge 12 x 12

Exuberance of Flowers in Bloom 12 x 12 

Ephemera 12 x 12

The Sofiero Collection 6 x 6 Paper Pad


Other Products Used –

Cheery Lynn Dies –

CABD 72 Chrysanthemum

B338 Black Eyed Susan Strip

B178 Flourish Leaf Strip

CAFLRS 13 Flourish#13
Scrapiniec – Ivy and Precious Memories

Dusty Attic – ATC Frame

Marianne Creatables Vintage Mirror

Spellbinders Hydrangea

Gilding Wax – Rose

Gesso

Sewing Machine, White Thread

Lace, Cheesecloth

Mini Pearls, Pearl Ribbon

Distress Oxide Peeled Paint

Distress Ink Milled Lavender, Shaded Lilac Foam Strips

Pinflair Glue and Cosmic Shimmer Glue
 

Julie3,1

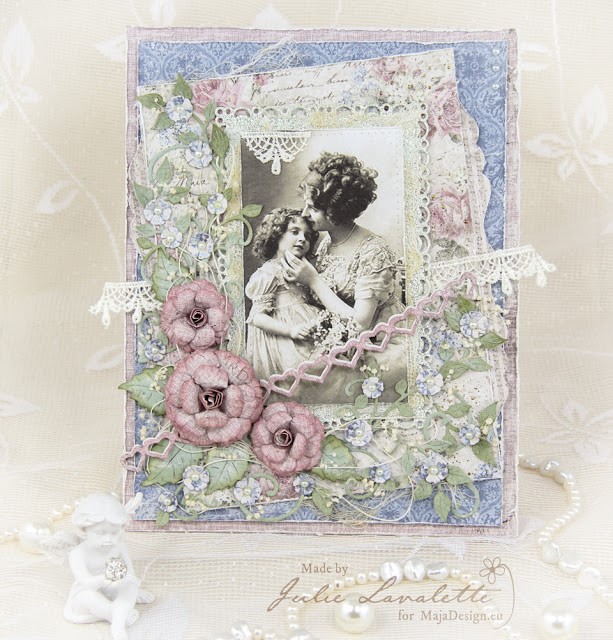
The inspiration for this card which measures 7.5 x 5.5 inches came from the love between a mother and daughter on my image and the beautiful Vintage Romance 12 x 12 paper called Engagement. I knew these would compliment each other so well and I could replicate the pretty flowers from the background paper onto my card.
Julie3,2
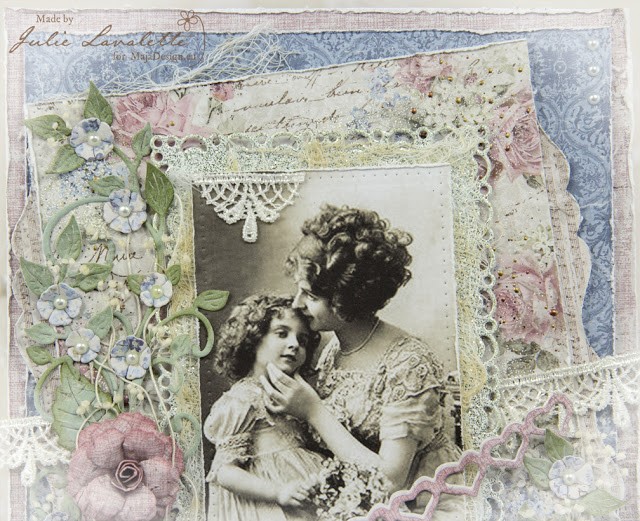
I started by adding tattered layers, accents of cheesecloth, touches of lace and Frantage for a shabby feel.
Julie3,3

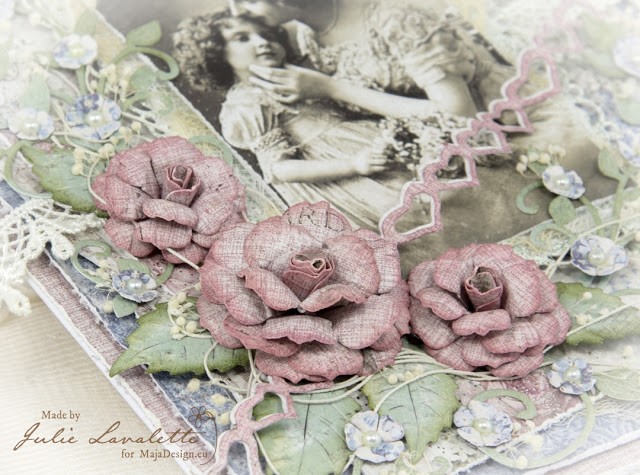
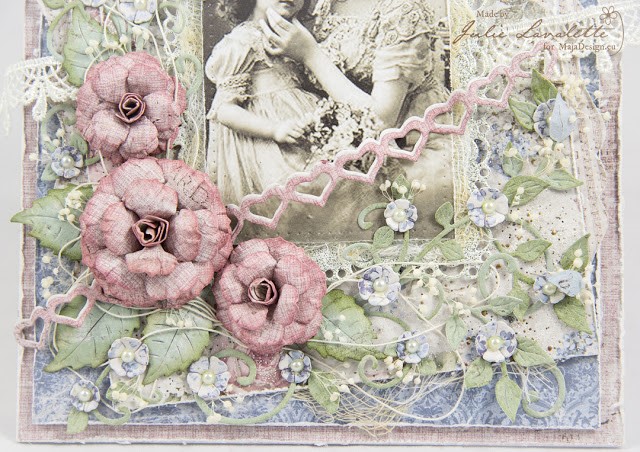
My roses were die cut out in coordinating papers and inked with Victorian Velvet Distress Ink, I also added some small flowers with a mini Pearl into their centres.
Julie3,4

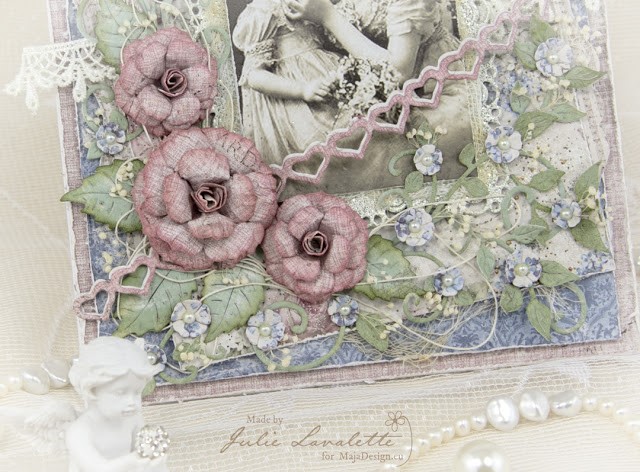
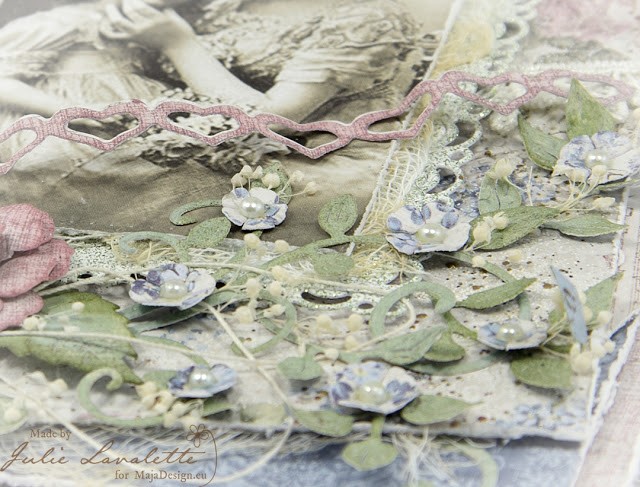
My floral arrangement was positioned onto my card with leaves which were inked at the edges and a few flourishes for added detail.
Julie3,5

I finished with a small double layered heart chain, some dried flowers and a little thread positioned through my bouquet.
Julie3,6


Maja Design Papers Used :


Vintage Romance Forget Me Not 12×12

Vintage Summer Basics 1924 12×12

Vintage Romance Engagement 12×12

Vintage Summer Basics 6×6


Cheery Lynn Dies Used:

B304 Ivy Strip

B241 Rose Leaf Strip

B291 Mini Fanciful Flourish Right

B117S Mini Fanciful Flourish Left

B376 Tiny Flower Kit

B433 Small Gardenia Strip

B339 Gardenia Strip

LPC-16 Rectangle Pierce and Cut Tool

DL270 Horizon Boutique Rectangle Stacker Frames

B115 Heart Chain Border

B569 Curved Border Set


Other Products Used :

Lace, Cheesecloth

Image from Stash

Antique Linen and Victorian Velvet Distress Inks

Stampendous Shabby Green Embossing Enamel

Stampendous Aged Bronze embossing Enamel

Craft Consortium Pearl


Thanks so much to Camilla for giving me this opportunity which shall be forever in my heart and for the super talented Design Team at Maja for their endless inspiration.


Crafty Hugs to all,

Julie-sign

Guest Designer Kavitha

3

Posted by Carita Ruckman

17 April, 2017 - , ,

Write a comment

Hi!! I am Kavitha from India.

Kavitha

I have been into some form of arts & crafts all the time, but when I found mixed media 3 years I was completely hooked up. Mixed media give me lots of creative freedom and allows me to experiment with different mediums and materials. I love playing with paper, colors and all pretty stuffs. My style is more of vintage/shabby chic with lots of layers and textures but I love to try anything in between. Apart from crafting I love music, sleep, shopping and long drives.

I am so thrilled and honored to be guest designing here today. MajaDesign is one of my favorite paper line, I absolutely love the soft colors and textures prints. You can see more of my work at: kalalayaa-artclub.blogspot.com

3471

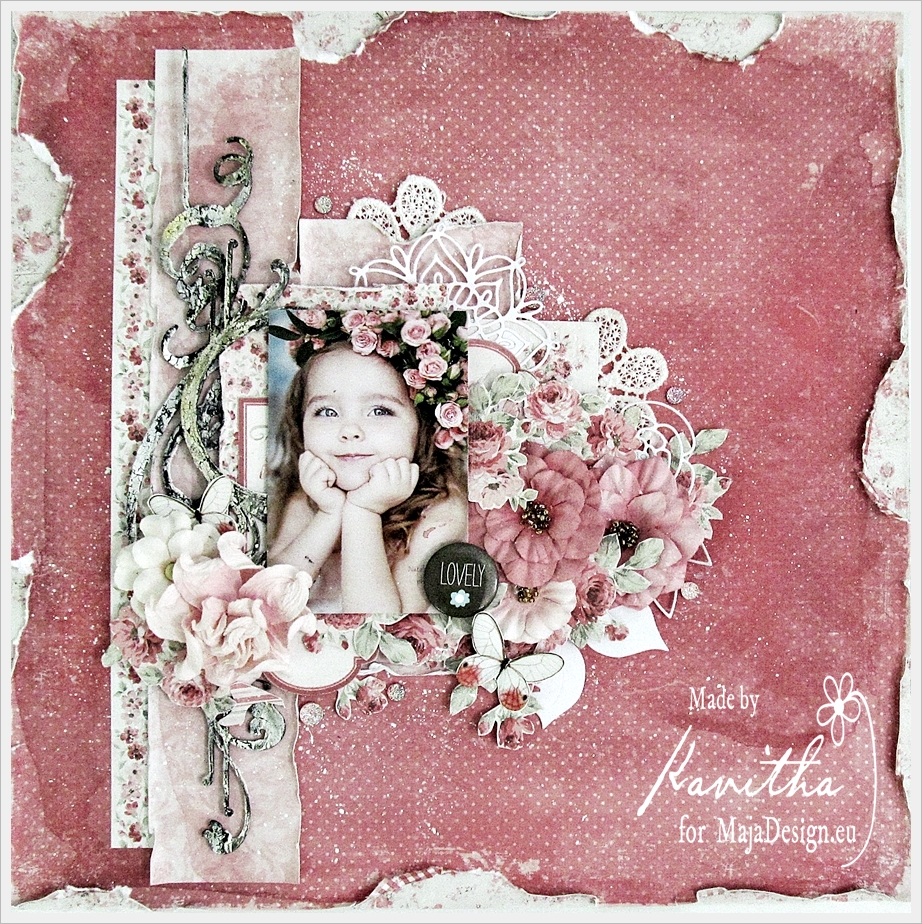
For my first layout i made a very soft, pretty and girly page with lots of layers and fussy cut elements. I have used papers from “Summer time” and “Summer crush”.

3472

Keeping the paper “He gives her flowers” as the base i used “Light scarlet” paper from summer time, torn and distressed the edges and glued both together.

3475

For layering i have used diecuts and papers from Summertime (In the garden, flowers everywhere and garden bouquet).

3474

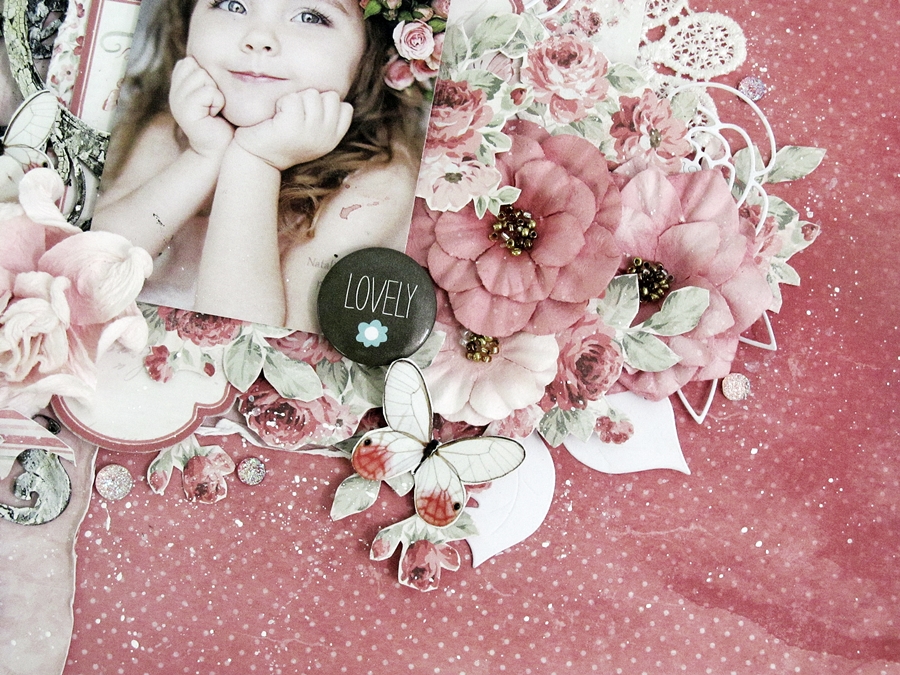
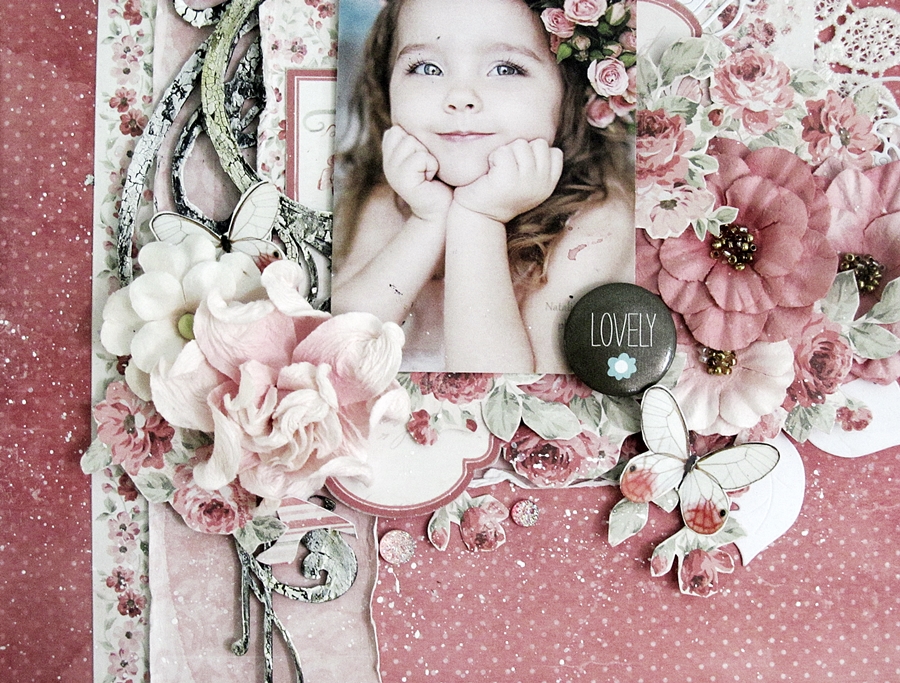
For embellishing i have used prima flowers, laces and fussy cut flowers from “Smell the roses” paper.

3473

I have also used chipboard pieces from 2crafty which i colored with color bloom spray and applies ranger crackle paste on top to add some texture.
 

3483

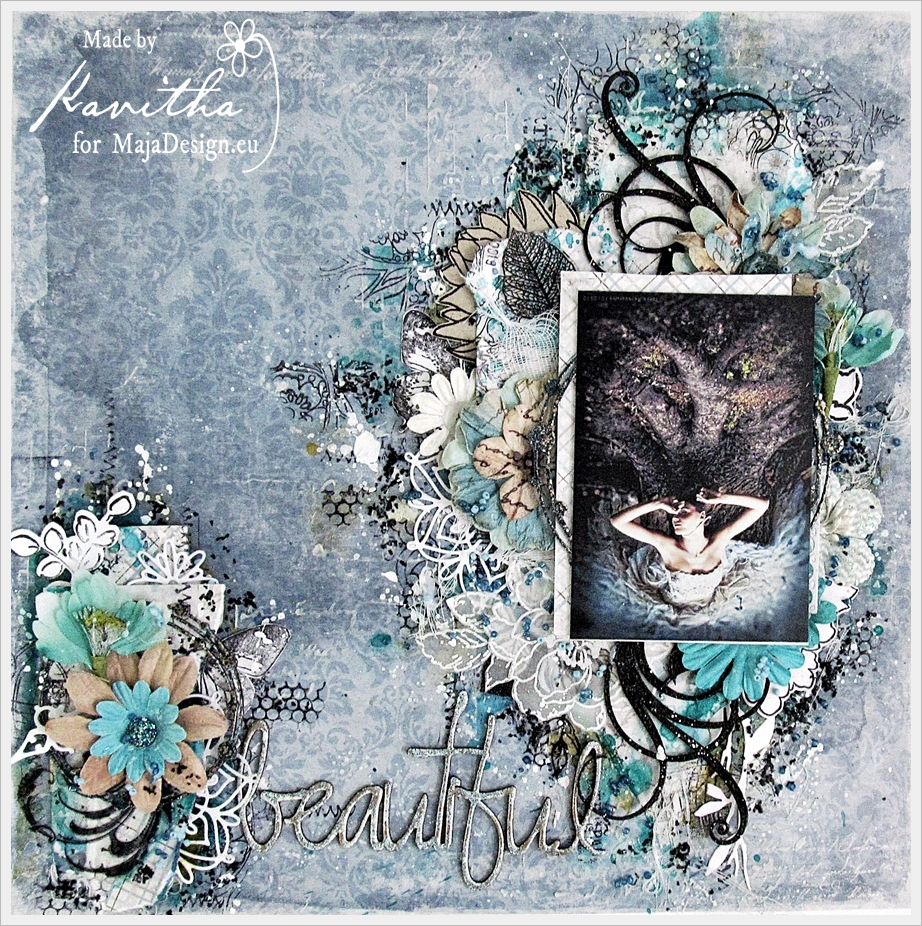
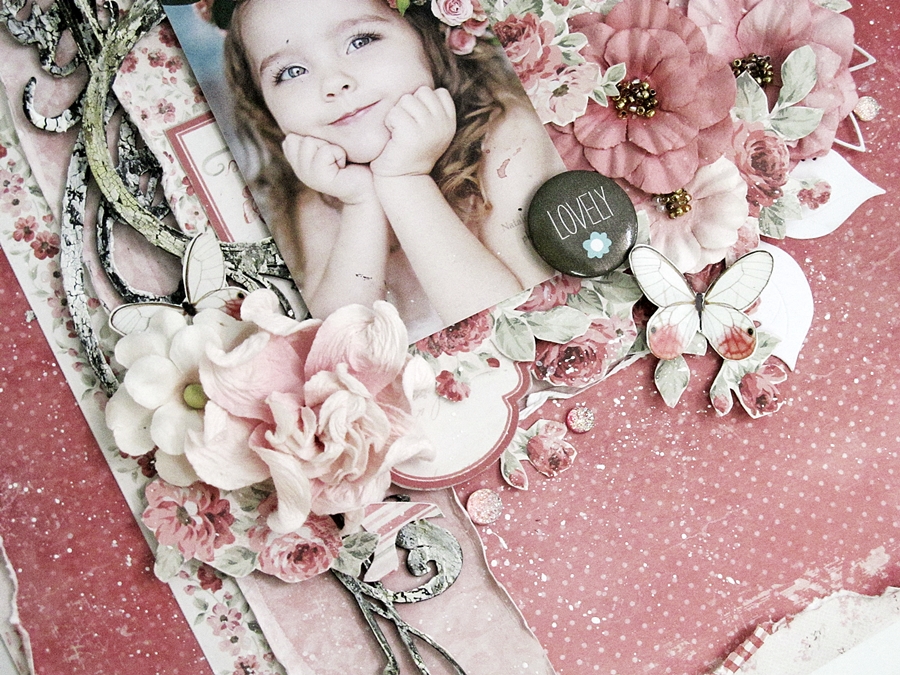
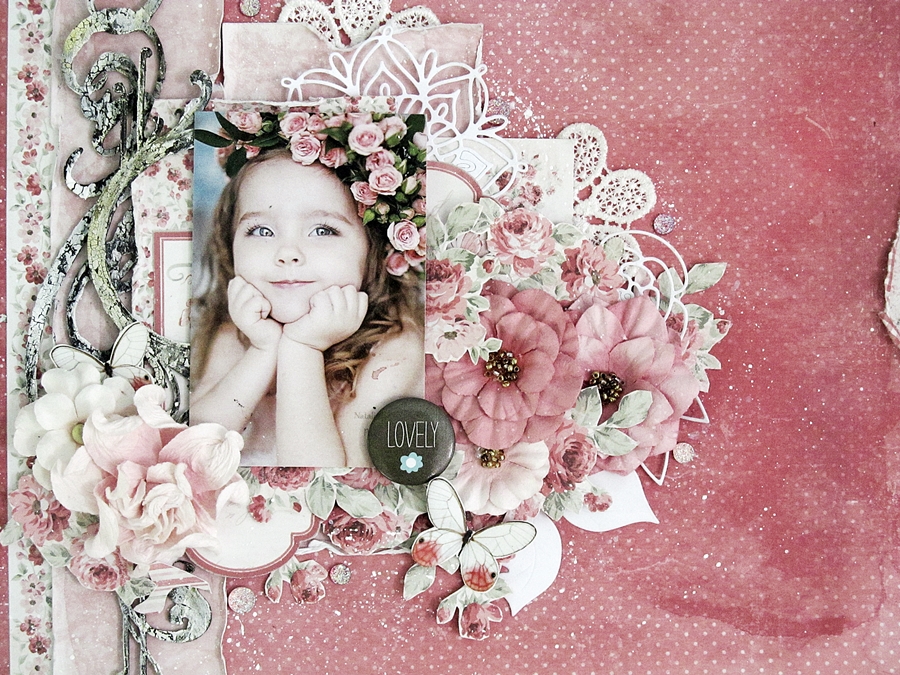
My second layout is a mixed media page with lots of layers and textures. I have used “Summertime” (by the sea) glittering water” paper for my base and “Vintage romance together forever” paper for layering.
3484

To create my mixed media background, I did a lot of texture stamping, applied some modelling paste through stencils and colored with “Lindy stamp gang” sprays in different shades of blues.

3485

For layering and embellishing  i used die uts, stamped images, prima & petaloo flowers along with 2crafty chipboards.

3486

3487

Kavitha-sign

Guest Designer Eulanda Silvey

9

Posted by Carita Ruckman

20 March, 2017 - , , , ,

Write a comment

Hi,

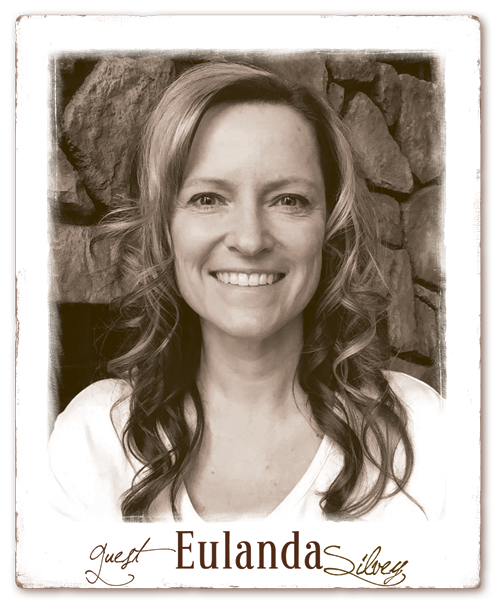
My name is Eulanda Silvey and I will guest here at Maja today.

Eulanda-Silvey

My husband and I own our own business but we are lucky to have our weekends to ourselves.  This is where I find myself heading to my craft room when there isn’t other things we need to be doing.  We built a house recently and my craft room is only a set of french doors away from his man den.  I set it up this way so that I can open the doors and feel like I am spending a bit of time with him while he’s in his room watching tv and I’m in my room creating.  Clever huh?  LOL!!!  I’ve been crafting for about 10 years now and just love this hobby.  If I could play full time, I would!!


Coffee

Tea card 

I tried to keep this card from being covered in embellishments to show the gorgeous papers from the “Coffee in the Arbor” collection.  The image is from the “Delicious Moments” 12″ x 12″ and my bottom layers of the card are “Raspberries” and “Rose Garden” but from the 6″ x 6″ pad.  Yes I have both in many Maja collections.  LOL!  I layered with a square doily I had in my stash (well half of it) and a few more dies from Joy called “Cutting & Embossing Floral Edge Die” and “Cutting & Embossing Doily Edge Die”.  I’ve added various Wild Orchid Crafts flowers and a few leaves and finished it off with a row of white rose ribbon.

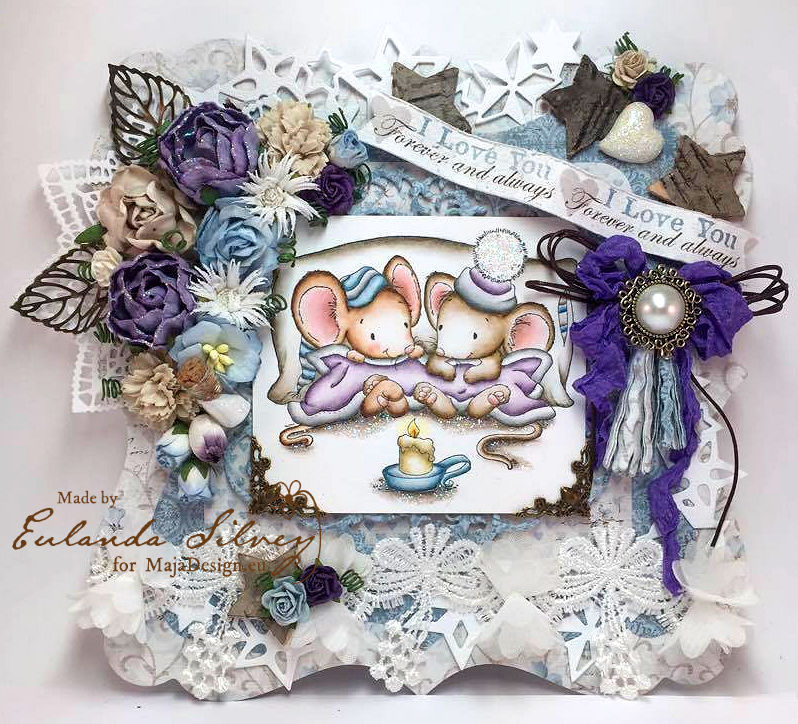
Cuddle Mice

Cuddle Mice  This card was fun to make but after I was finished I thought I should have made it into a canvas!  7″ x 7″ (almost 18cm x 18cm) and I still managed to have embellishments fall outside of that measurement! Well my thinking was that I wanted to added lots of embellishments but I also wanted to show some of Maja Design’s gorgeous “Vintage Romace” papers.  Ummm….well I tried!!!  LOL! The image is from Whimsy Stamps called “Cuddle Mice”. I added some “Diamond Dust”glitter to the pom pom on the hat and over the grey flooring.  FUN!!! After I added the WO English roses I put some glitter on those as well.  OH and I added more to the miniature glass jar.  Those are fun too!  The Marianne “tassel dies” are so easy to make but adding them under the “filigree flat back pearl”, wax cord bow and seam binding bow seemed like the perfect addition.

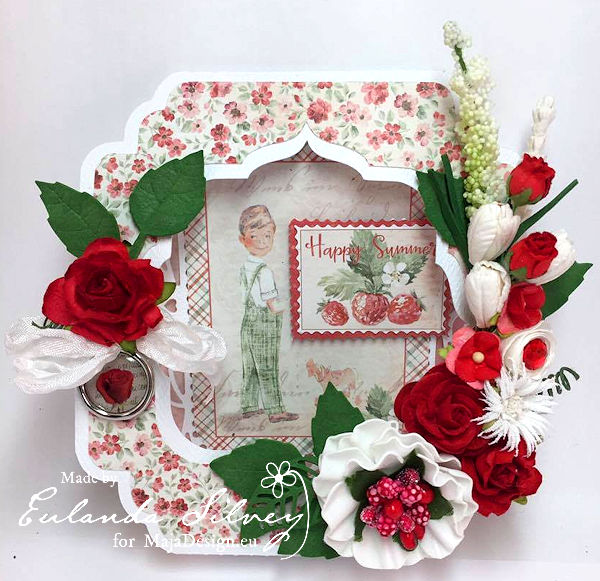
Summer Red

Red “Happy Summer” Card  I started with Dutch Doobadoo’s Card Art A4 Tent template and layered using Maja Design’s gorgeous Summertime collection.  For the image I used Summertime’s “In the Garden” and layered it over Joy’s “Framework with Rounded Corners” die.  For the top layer I added the “Happy Summer” strawberry stamp.  I then added some Wild Orchid Craft flowers as well as a hand made Foamiran flower (white) and layered all flowers with Foamiran leaves.  The shabby chic bow and rose charm were then popped on last for the finishing touch.

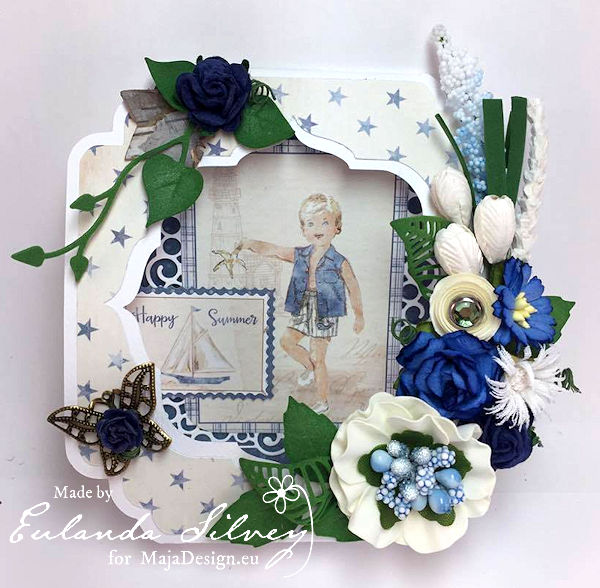
Summer Blue

Blue “Happy Summer” Card For this sweet card I did the same thing as the Red “Happy Summer Card” using the Art A4 Tent template from Dutch Doobadoo.  I loved the Summertime collection so I thought maybe I needed two of them.  The image is from the “By the Sea” diecuts paper and same with the “Happy Summer” stamp that I layered atop the image.  Under the image is a different Joy die called “Rectangle Frame with Circles”.  Again I made a flower bouquet using more Wild Orchid Craft flowers and another cream colored Foamiran flower.  I layered them with more Foamiran leaves but for this one I added a wood bark star from Noor! Design UK.  The filigree butterfly was from my stash.  

I hope you’ve enjoyed this one!  I know I did!
Thanks for stopping by!
Hugs!


Eulanda-sign

Guest Designer Monika Jakubowska

1

Posted by Carita Ruckman

12 March, 2017 - , ,

Write a comment

Hello Maja Design fans.
Monika Jakubowska with you here today.

Monika-Jakubowska

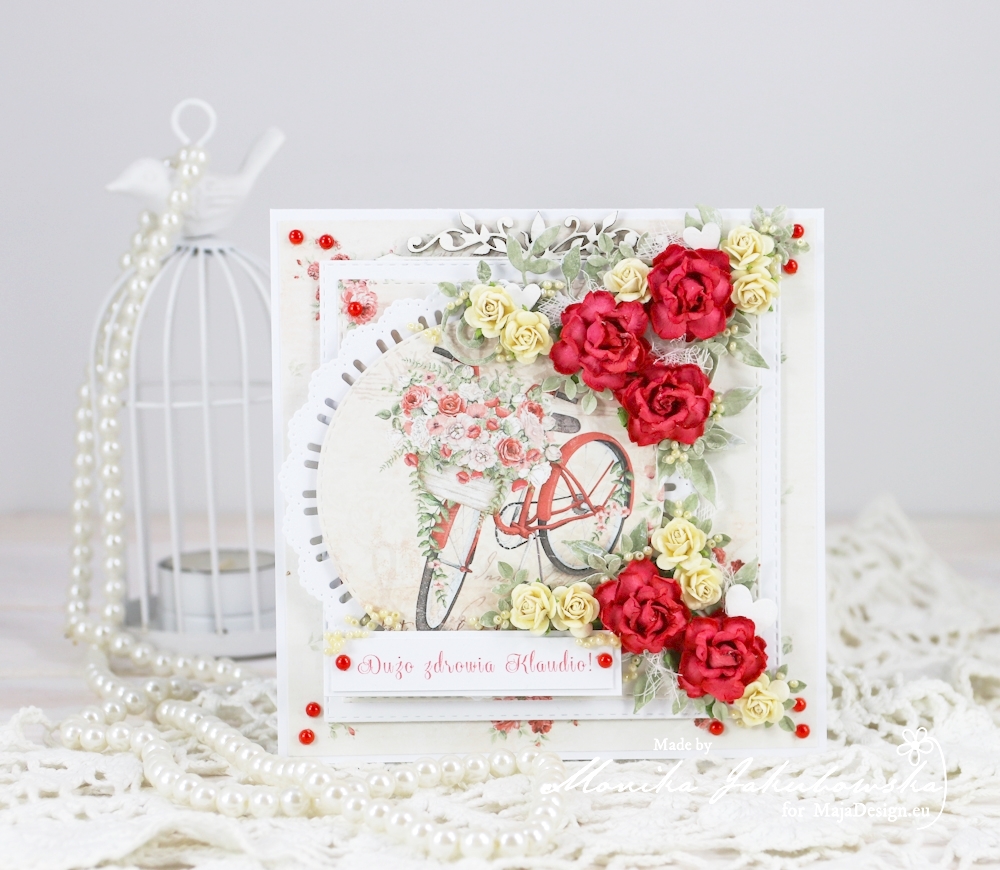
It`s nice to meet you here. Today I want to share romantic card made with Summertime collection.

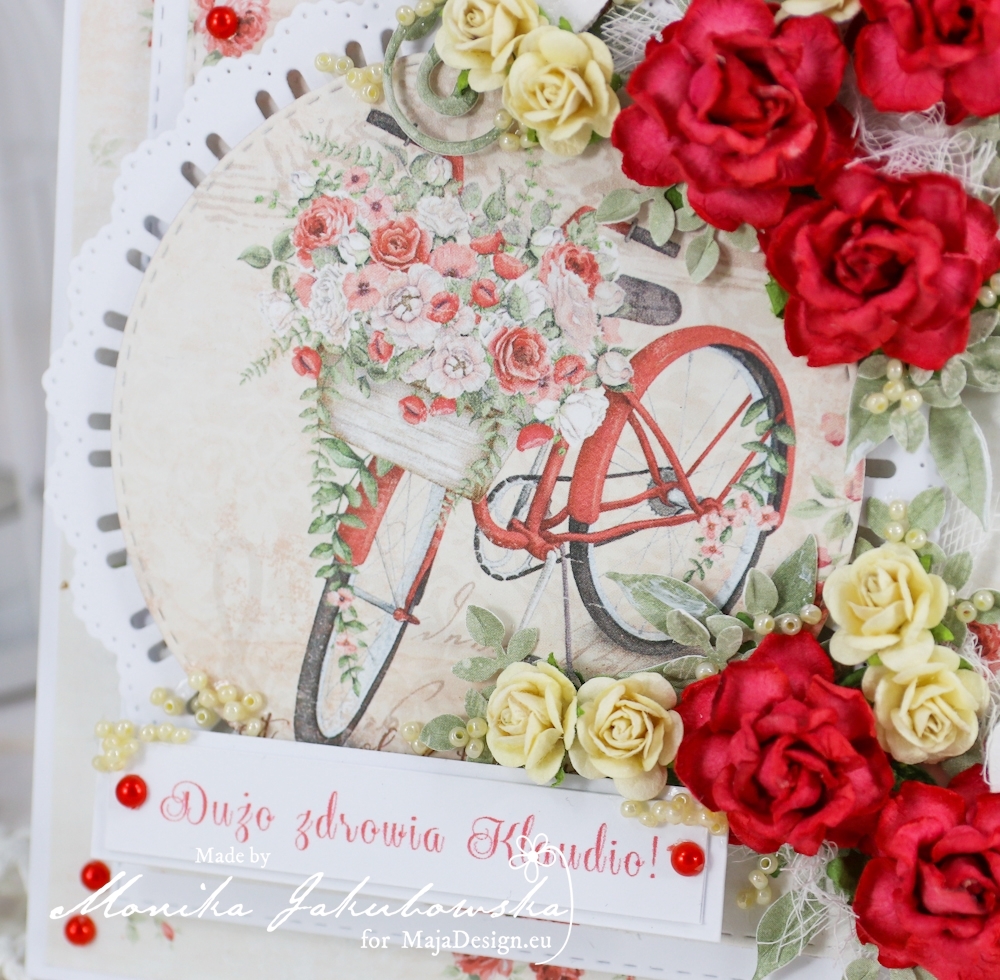
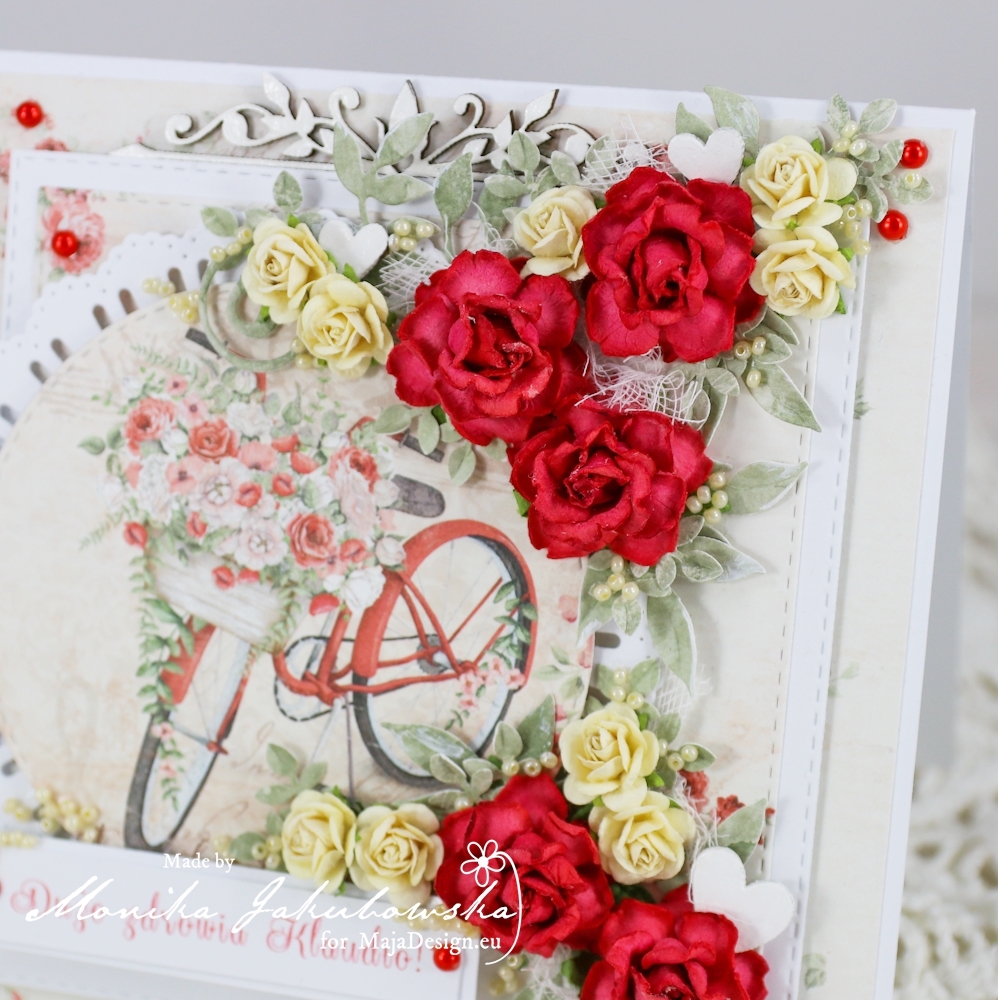
I used paper “Garden bouquet” and added gorgeous image from the paper “Is always the best”. Flowers comes from Wild Orchid Crafts. To make the cluster look more natural I added leaves cut out with the paper “Greenery” .

Monika_Jakubowska_February (1)

I also added some chipboards from Agateria and lots of cream beads.

Monika_Jakubowska_February (3)

I hope you like my inspiration.

Monika-sign