Hello there….
My name is Tina Ollett, my family and friends call me Teen. And before I tell you more about myself can I just say how
very, very excited I am to have been invited here this month as Guest Designer.

I live in beautiful sunny Queensland, Australia with my husband, our three children and two furry friends. They are my ultimate inspiration for everything creative that I do. I am for the most part a scrapbooker, but on occasion I have been known to do smaller off the page projects. I love to use patterned papers, lots of layers, dimension, chipboards and of course flowers…..lots of flowers with small amounts of media in a vintage / shabby chic style. My aim when scrapping is to keep the focus on the photo and to celebrate the memories that they represent.
I am currently designing on some wonderful Design Teams, and in my other spare time I share my love of scrapbooking through teaching at workshops and classes around my hometown.
I feel so very privileged and honoured to have been asked to Guest here at Maja Design’s this month. Thank you from the bottom of my heart for having me here.
To see more of my work you can visit me here :
http://tinamarie-foreverandalways.blogspot.com.au/
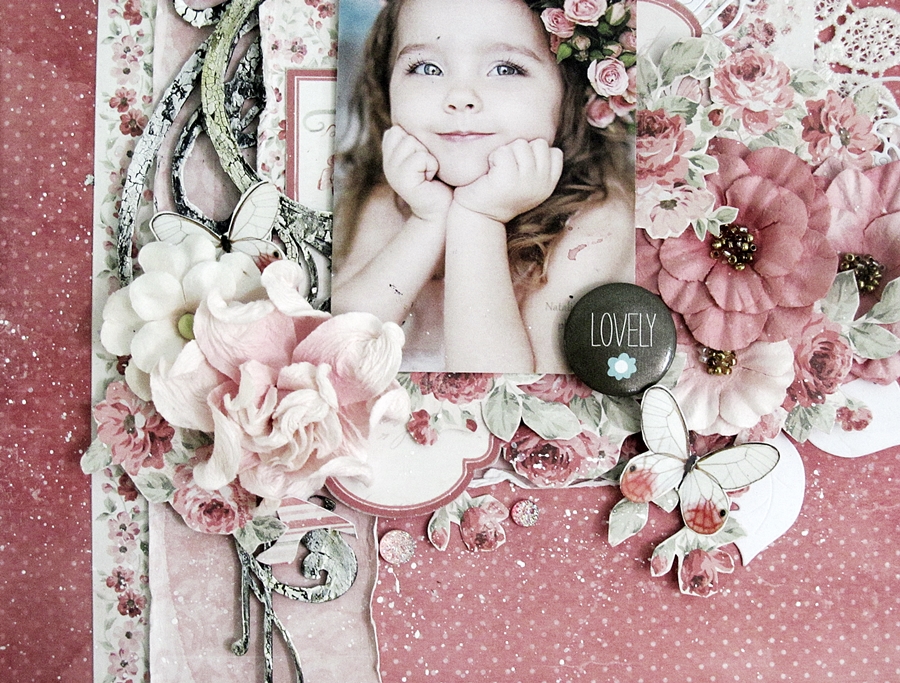
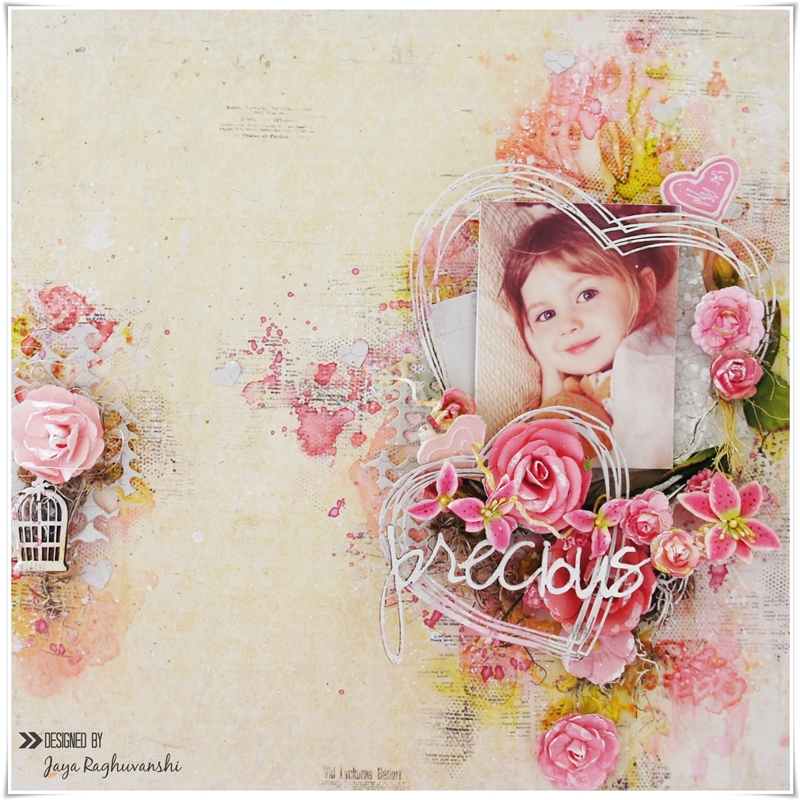
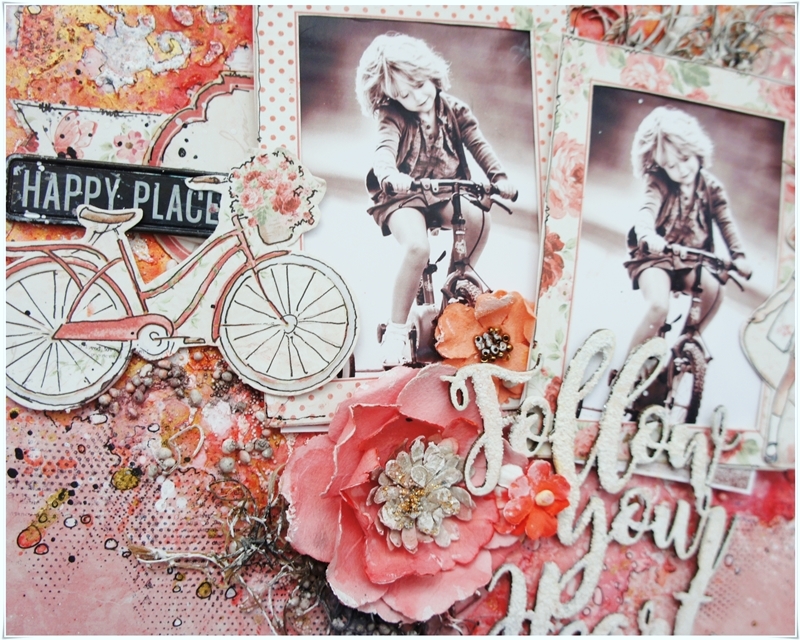
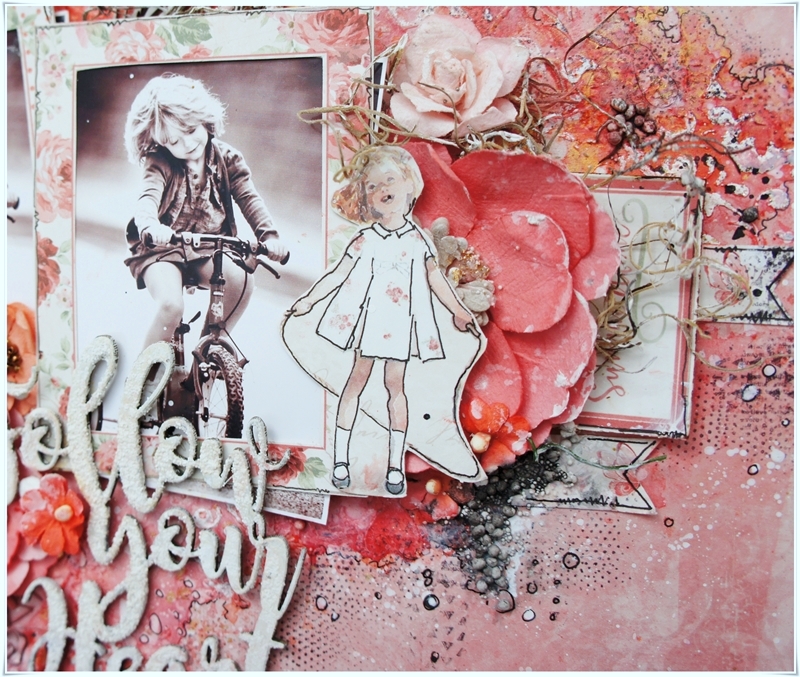
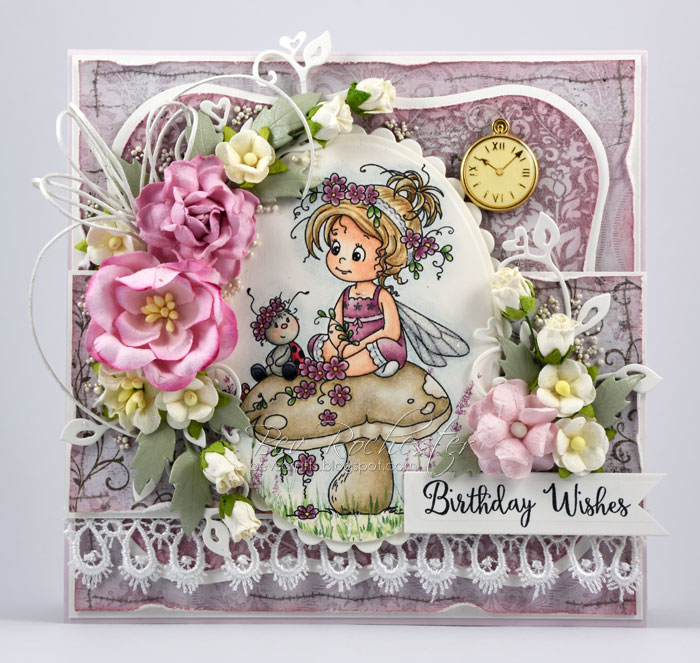
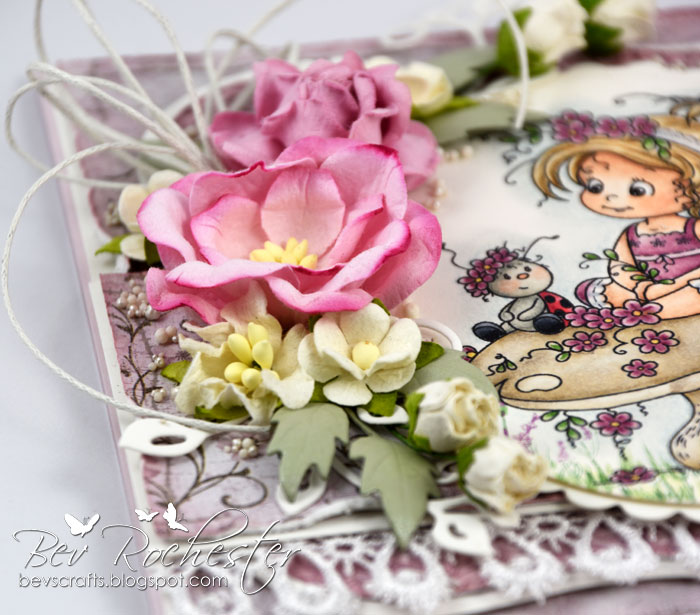
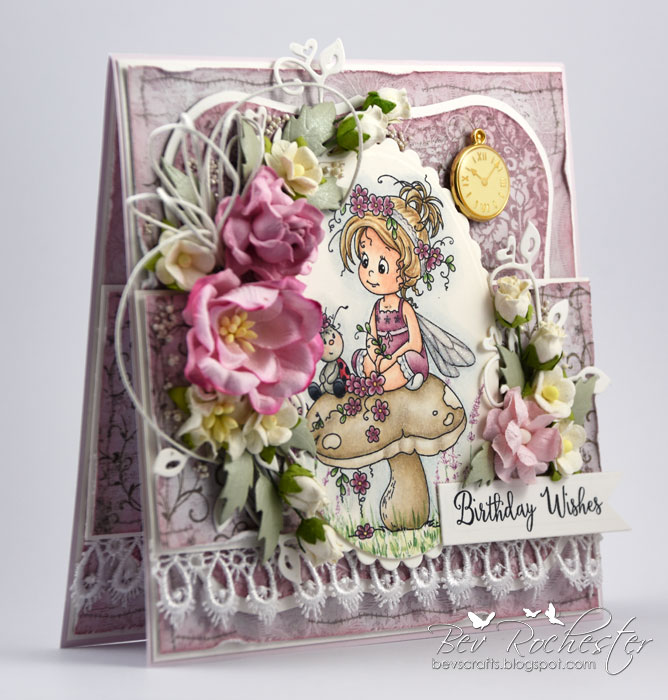
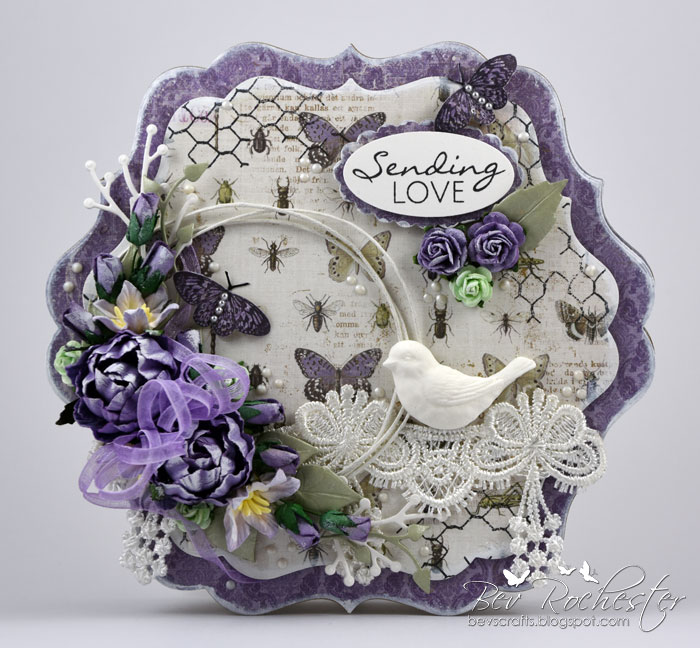
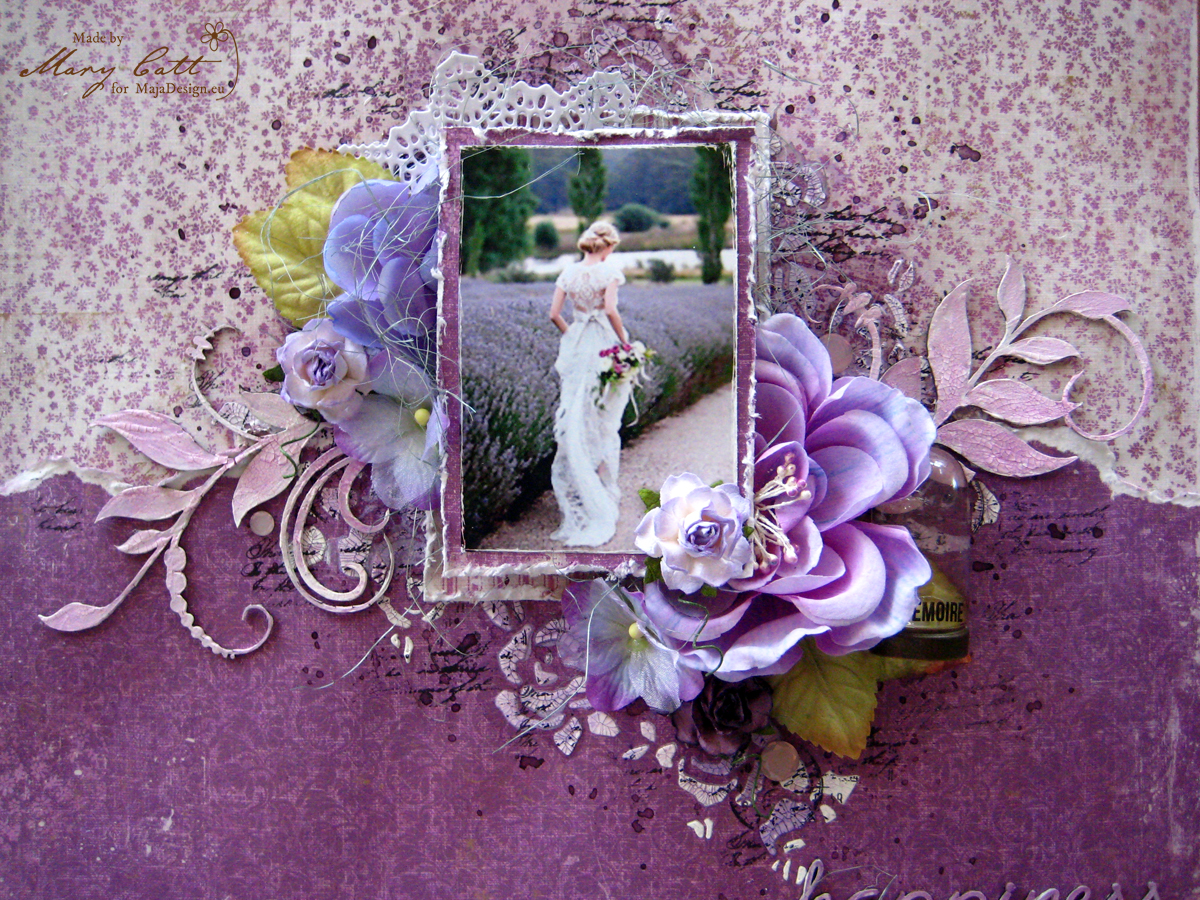
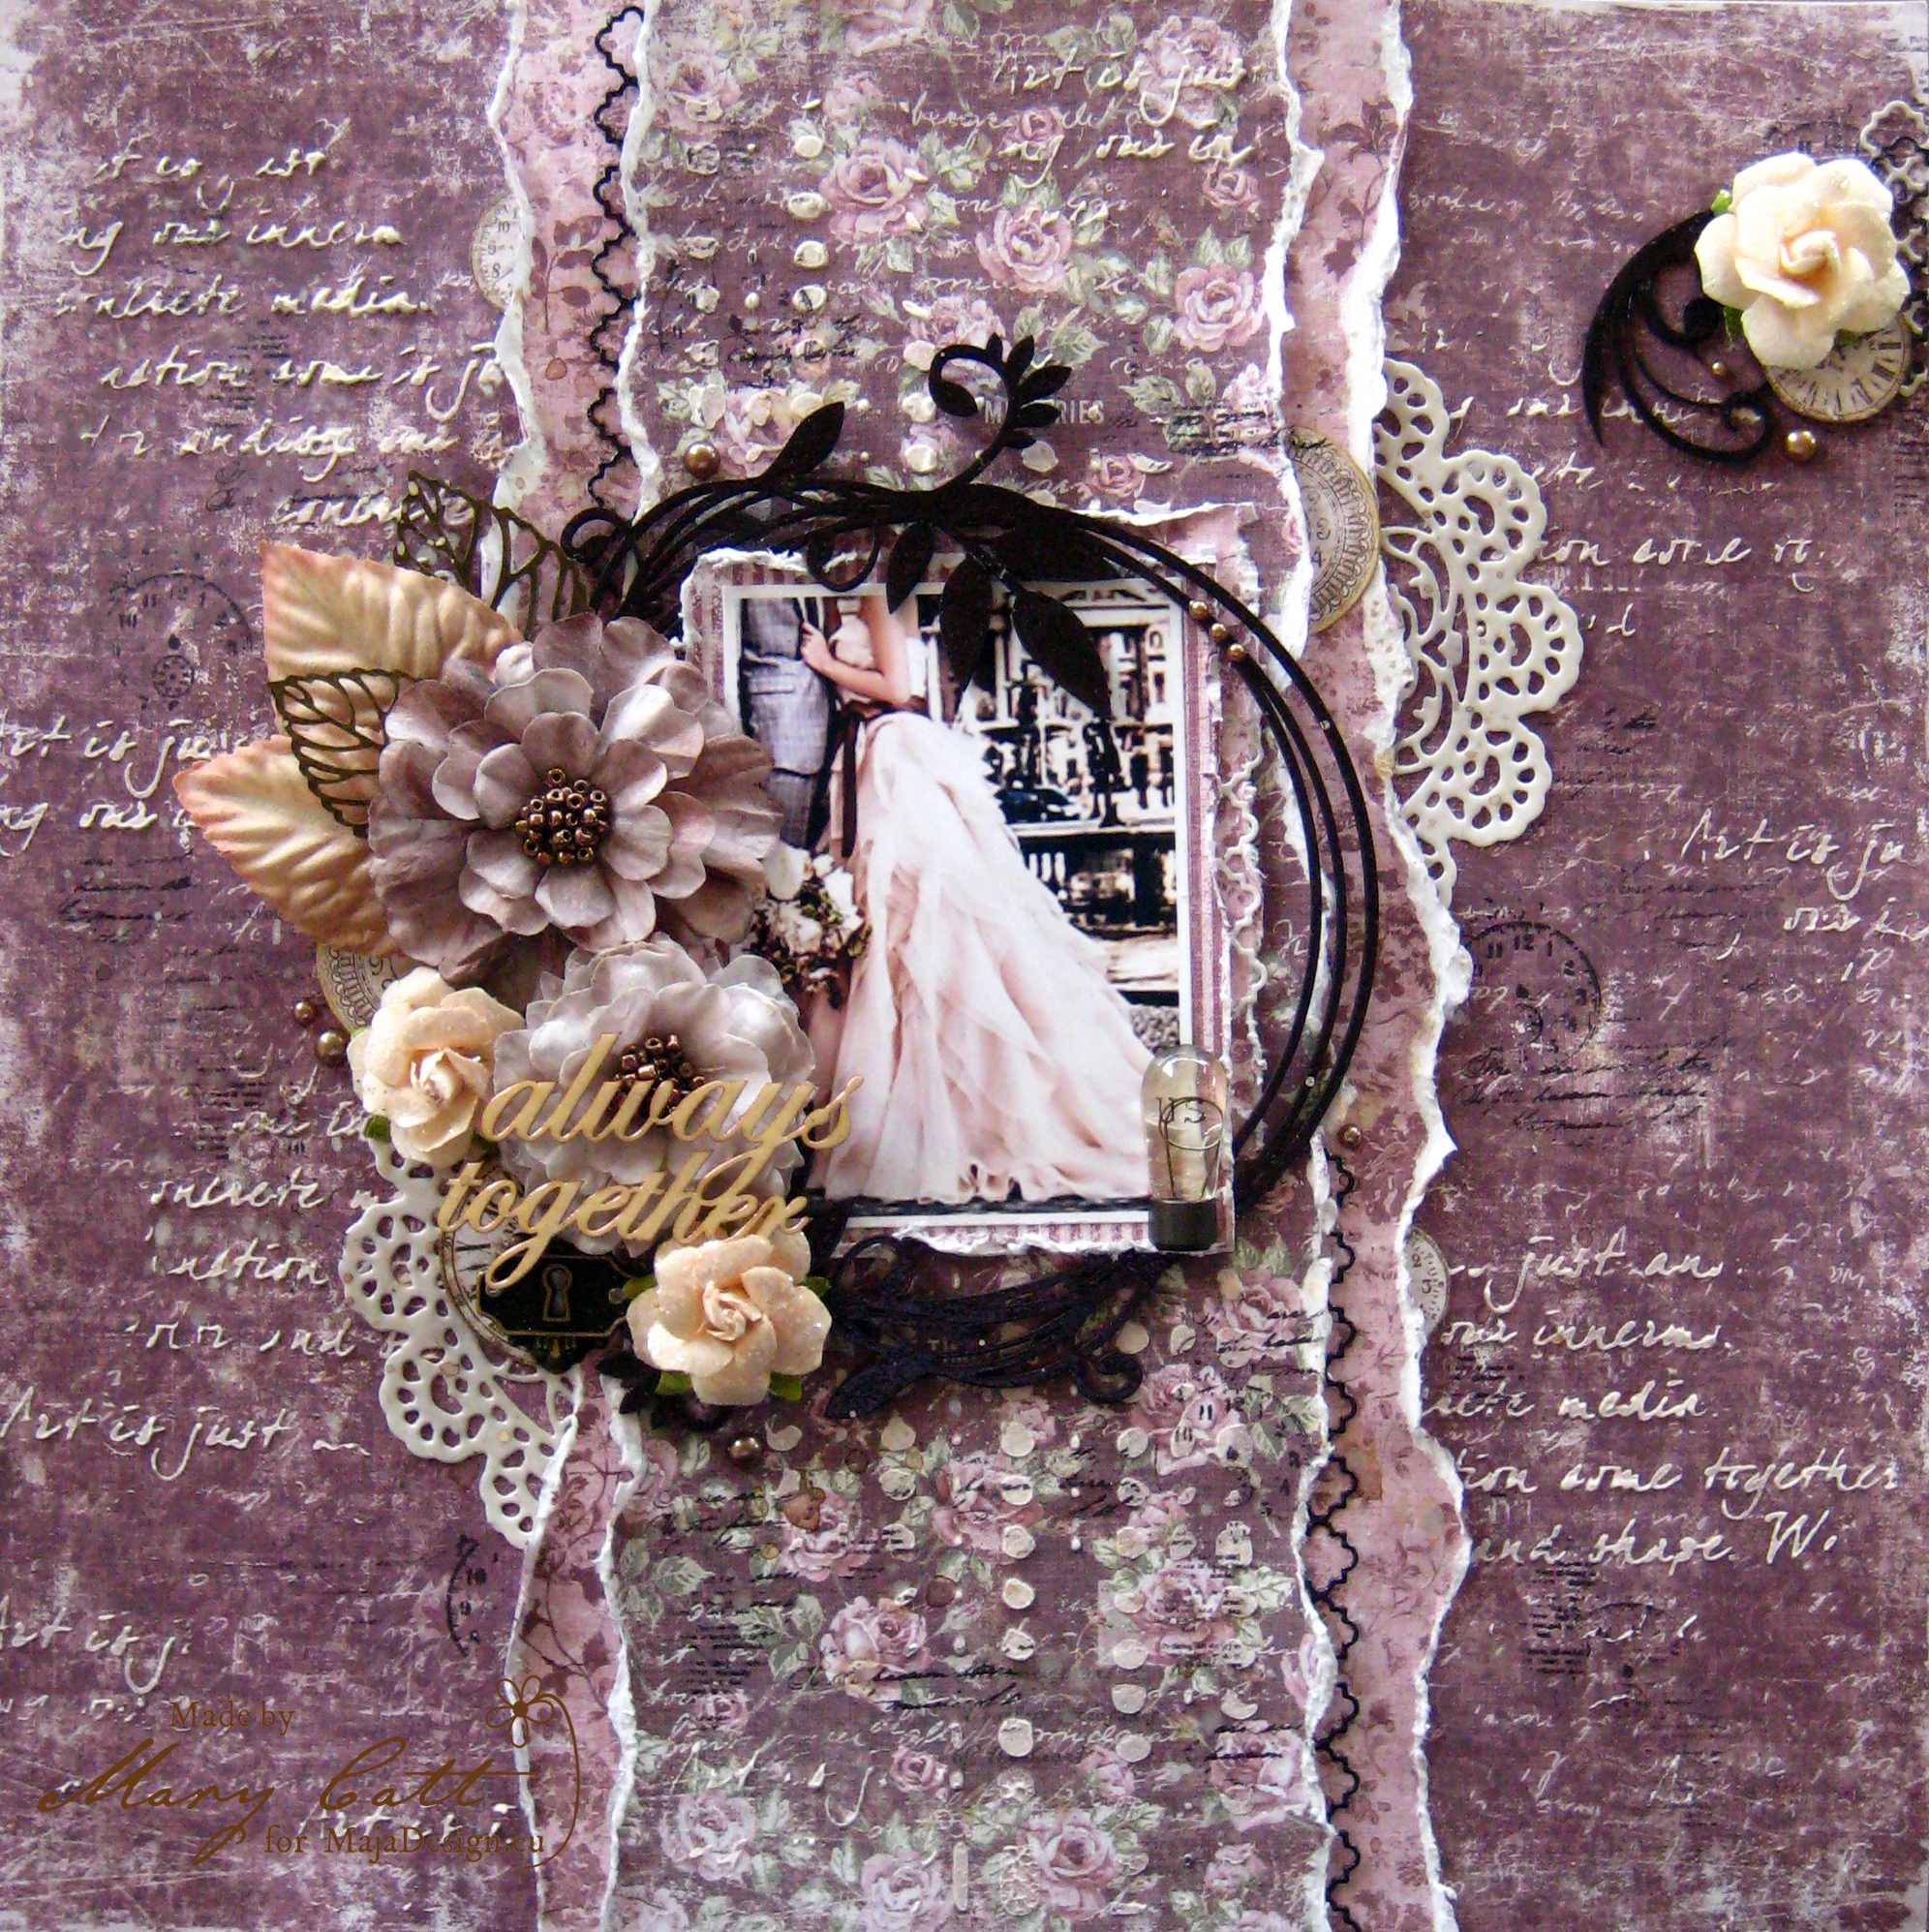
For those that know me and my style…..Maja Design suits me beautifully with it soft romantic, shabby papers. I chose to use the Nyhavn collection. The softness of these papers cried out to be used with photos that have a beautiful memory attached. This is a photo of my gorgeous daughter with my eldest brother. He really is the biggest kid I know and whenever my kids are around him they continually pester him for piggy back rides! This is one of those times that I happened to have the camera out.
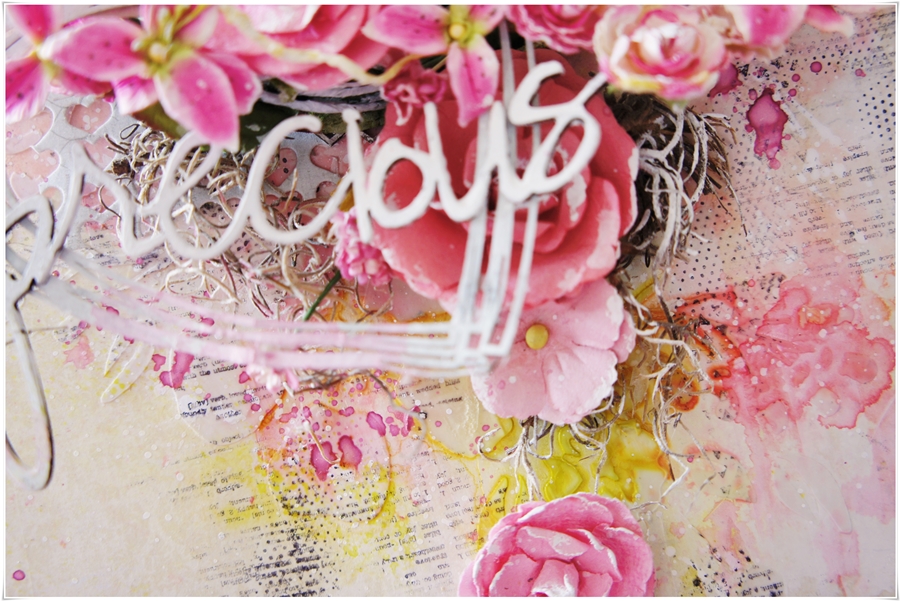
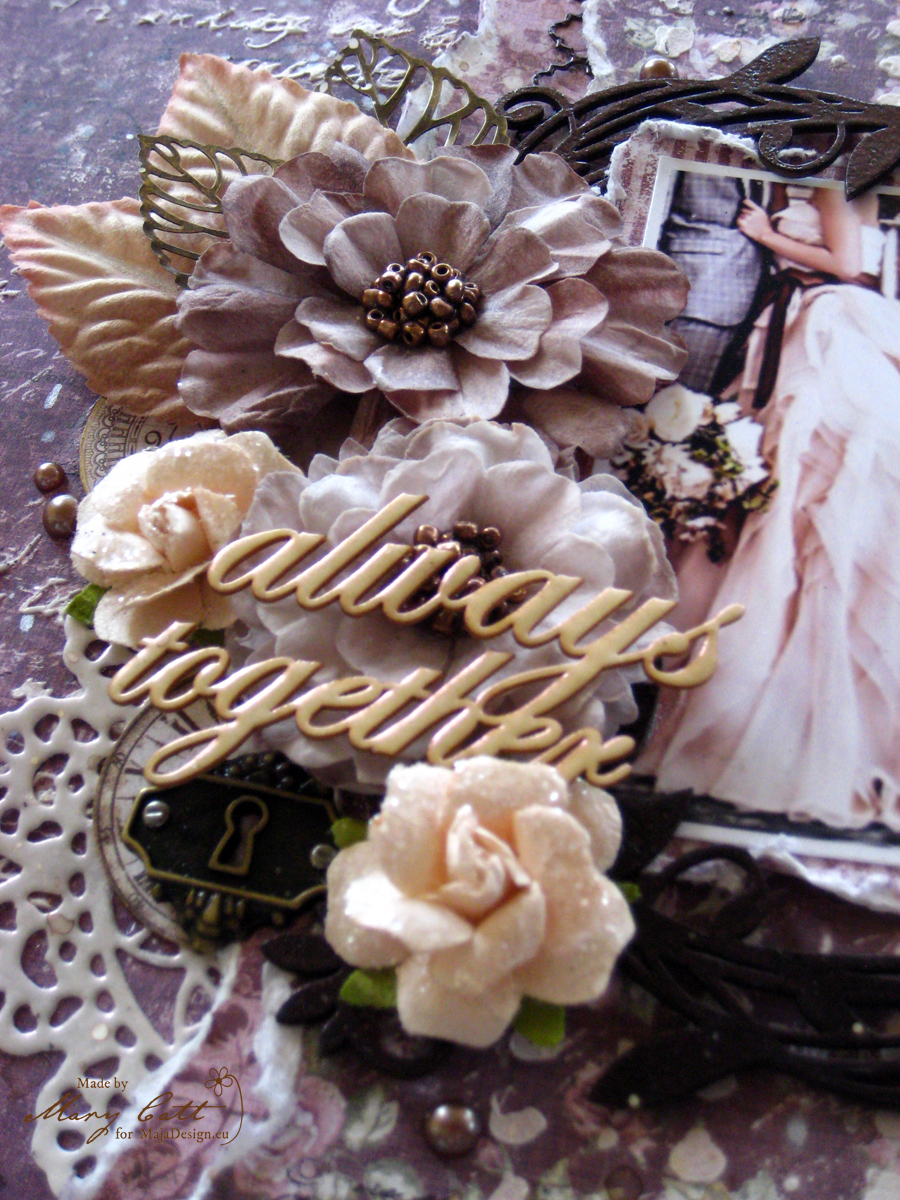
I have titled this “Special”……
I hope you enjoy it!
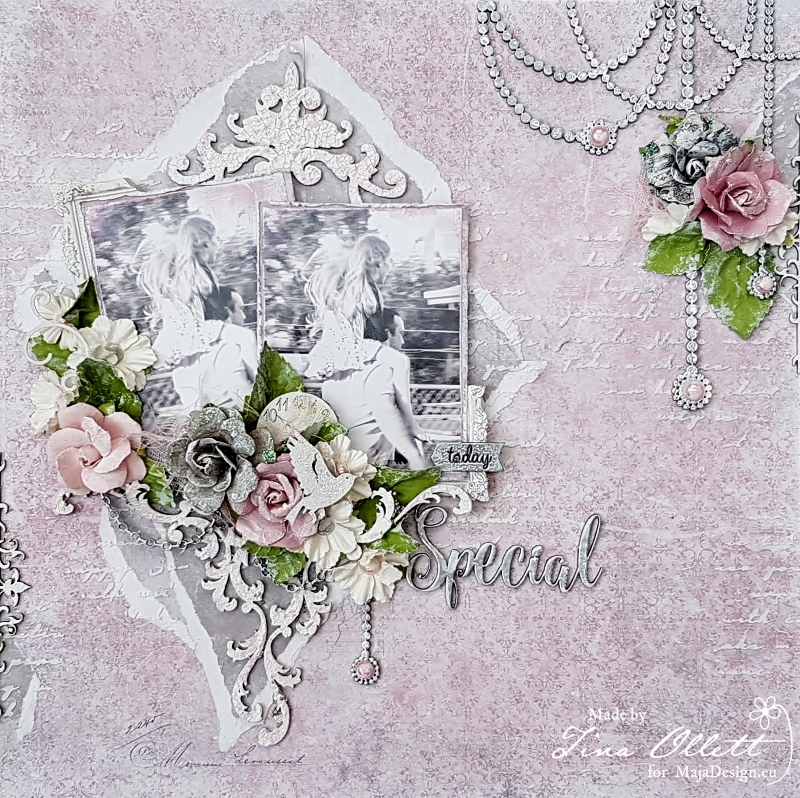
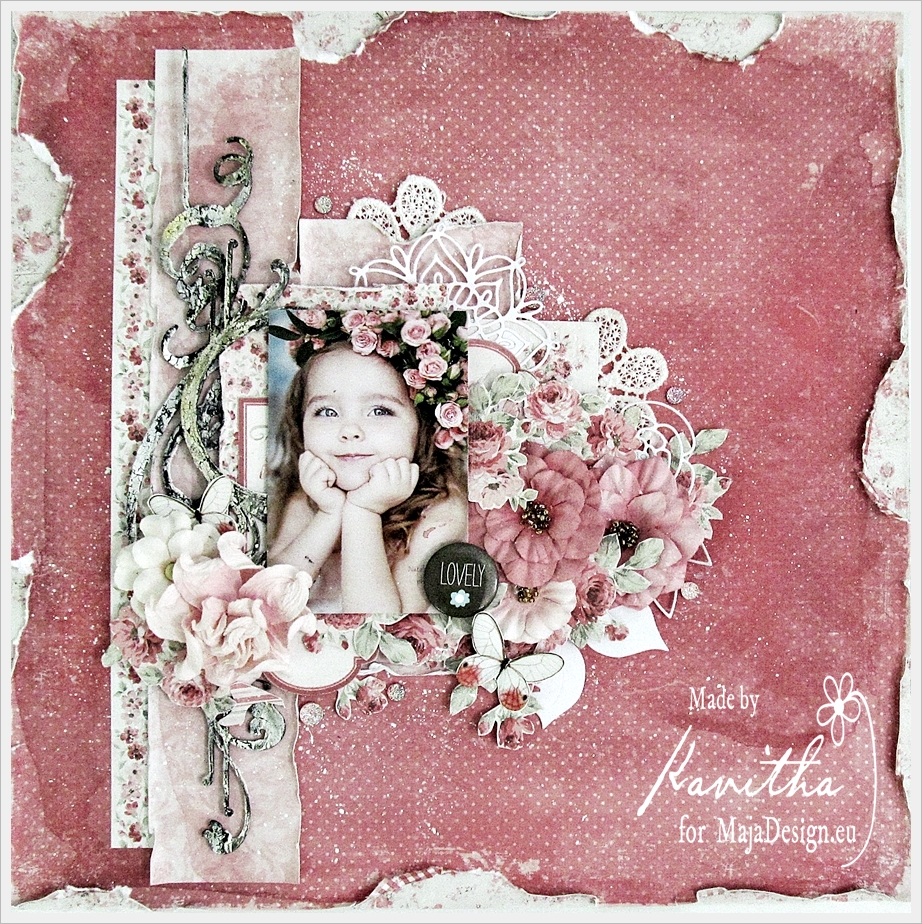
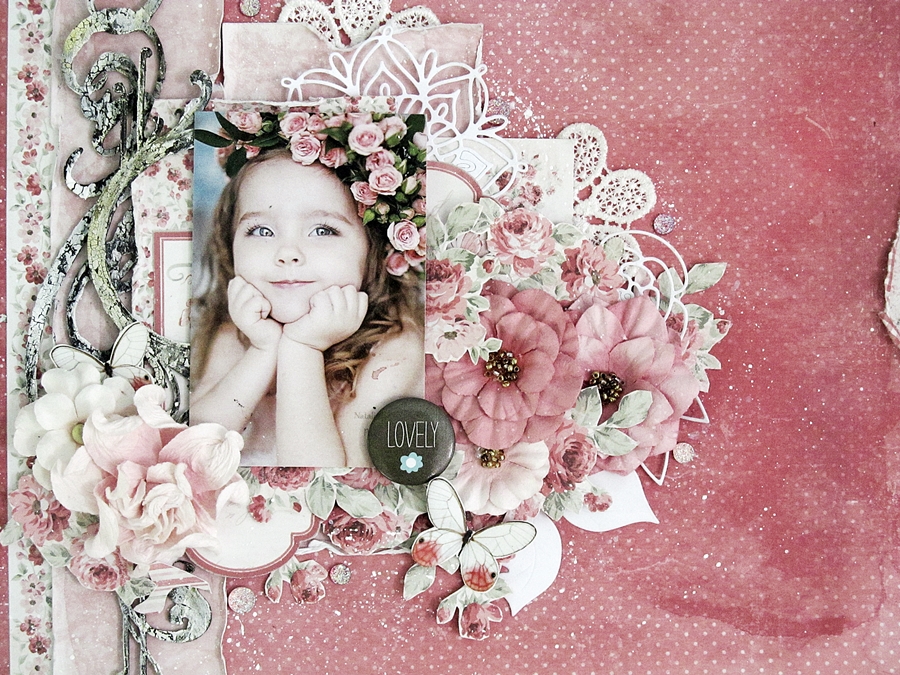
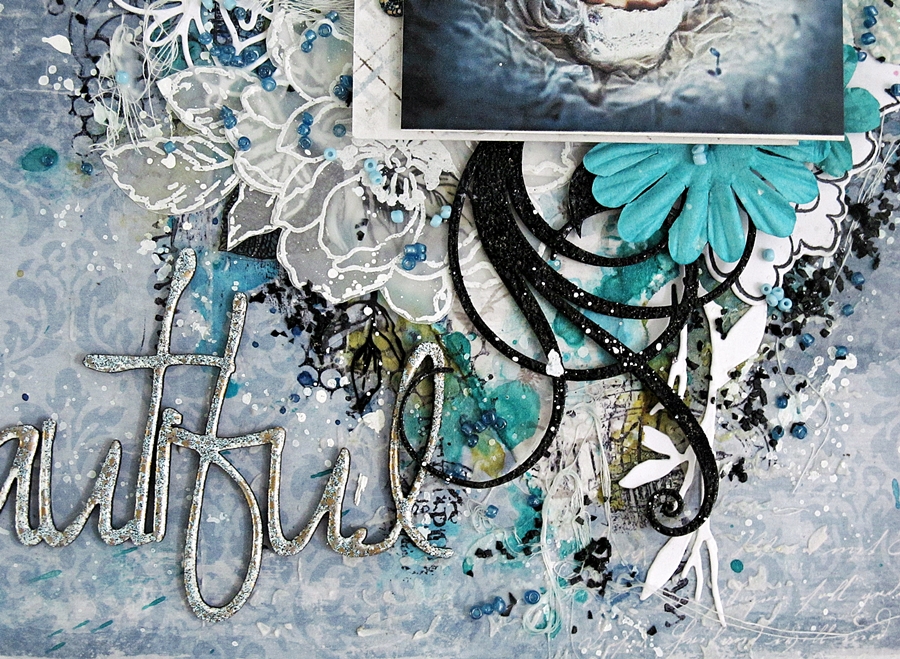
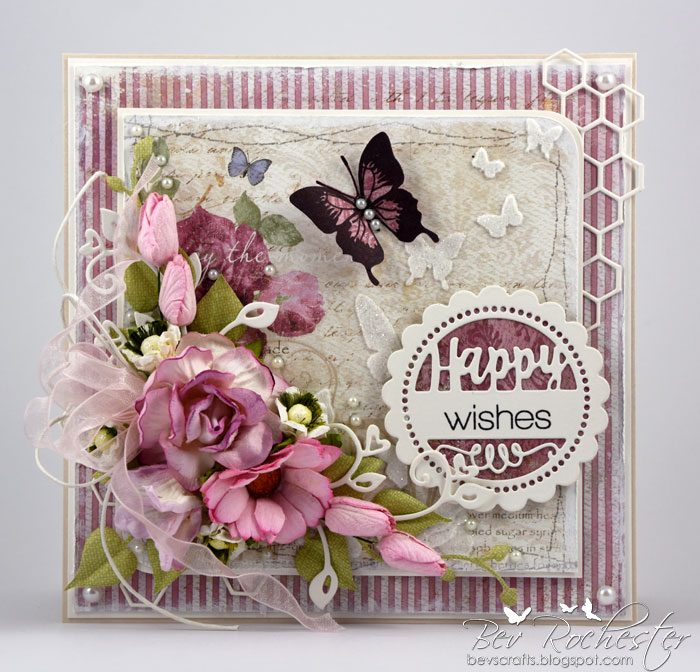
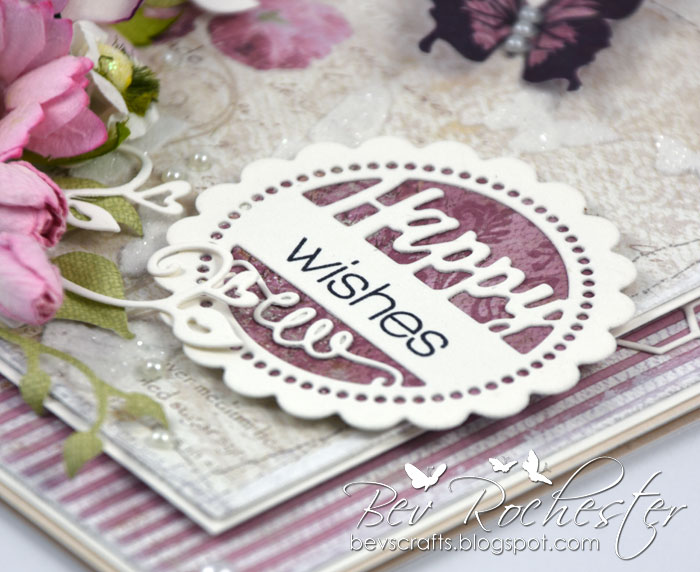
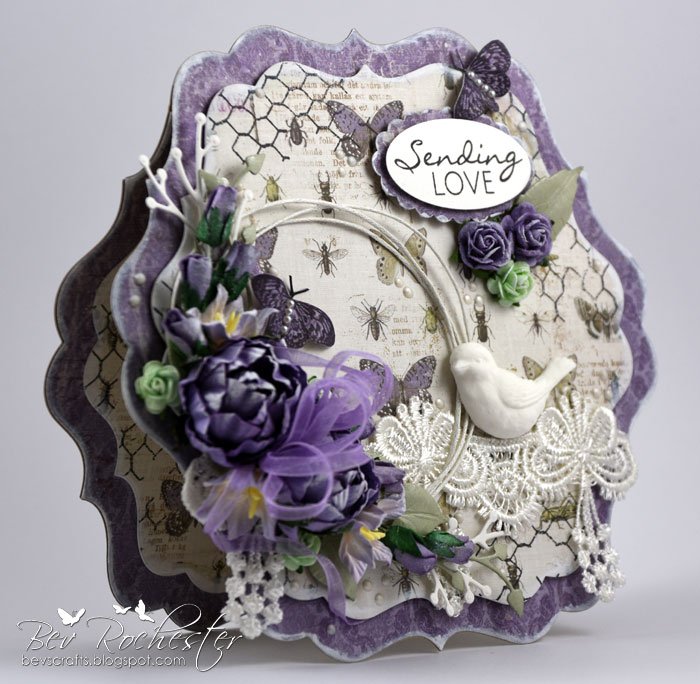
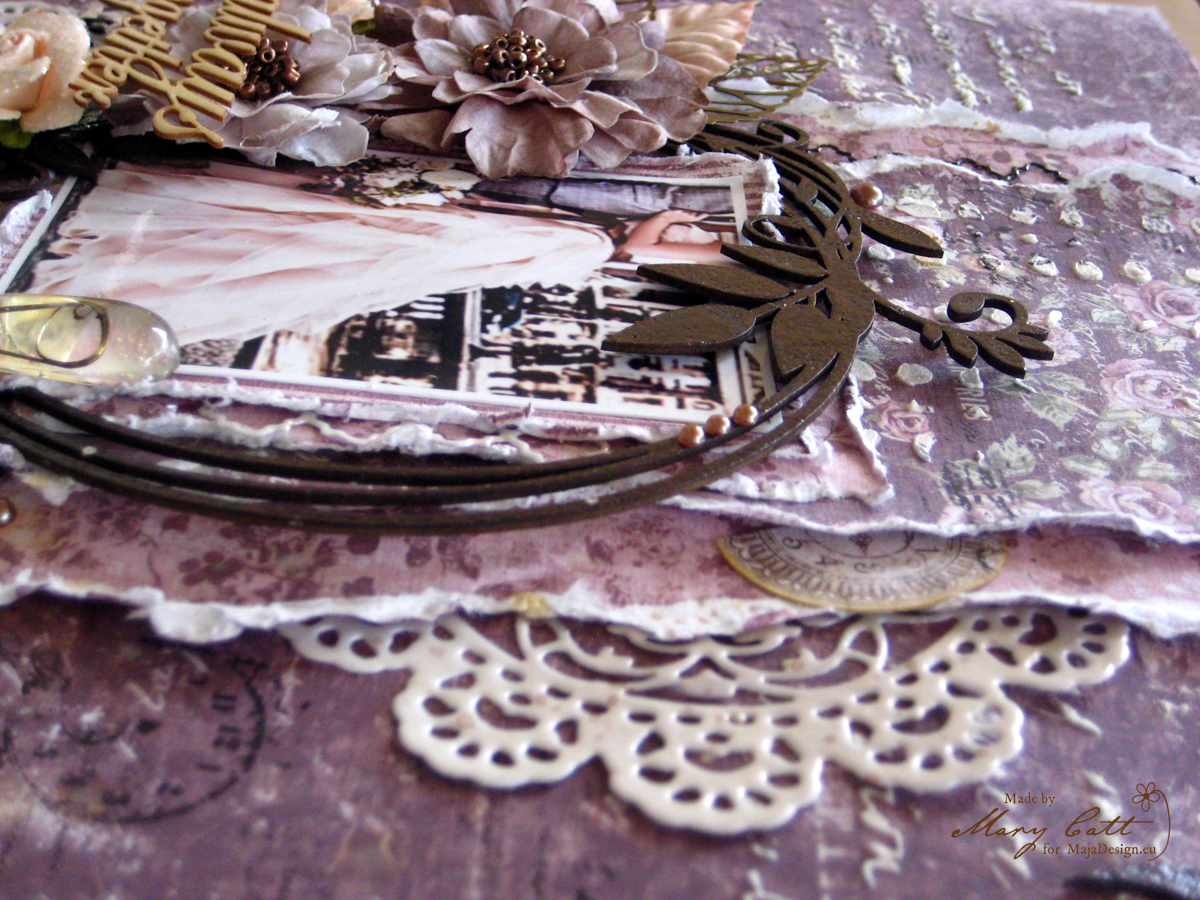
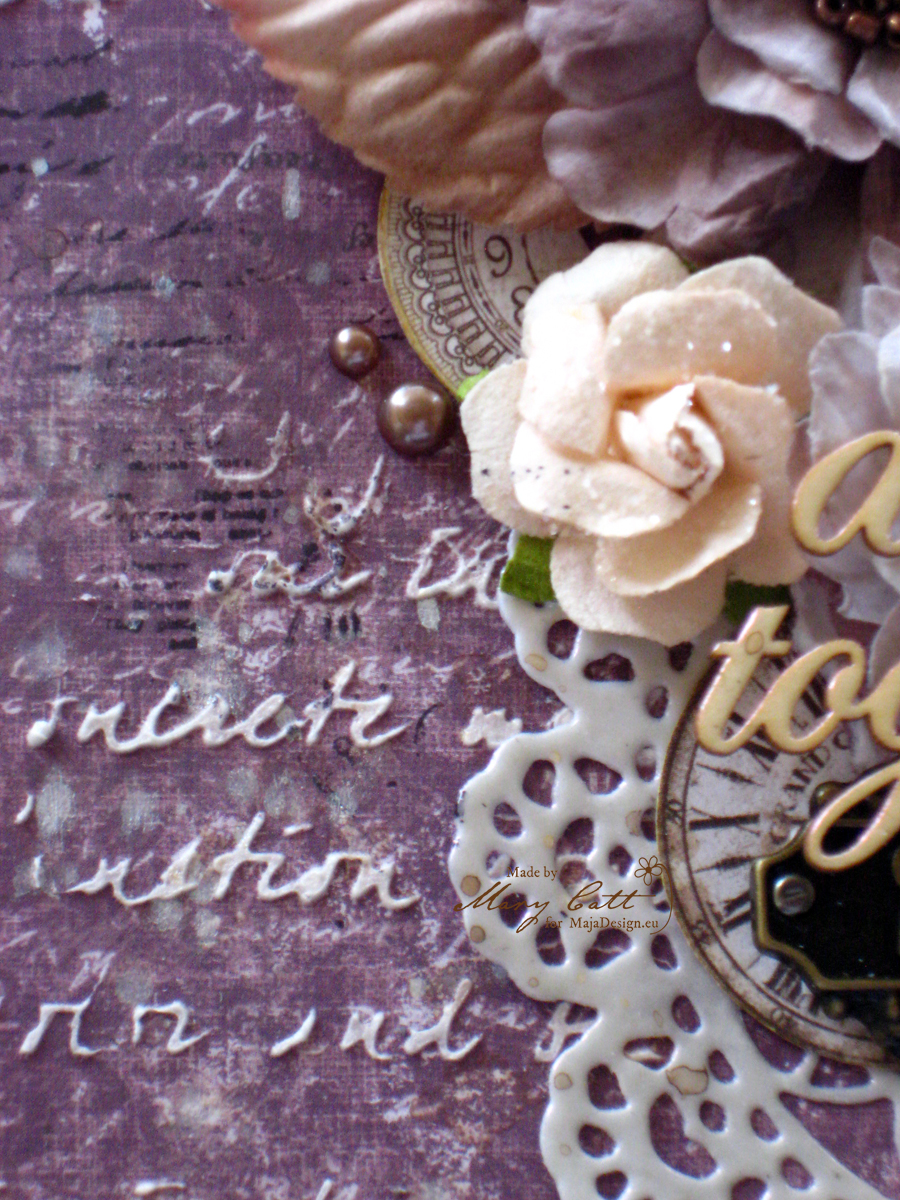
I used Maja’s Nyhavn “Strolling along the Canal” for my background piece adding a little texture paste through the Dusty Attic Script Stencil and a sprinkling of silver embossing powder. I left it to dry for a short time and then heat set the embossing powders so as not to make the texture paste bubble. The title and the pendants were embossed a couple of times with silver embossing powders to create a thick covering.
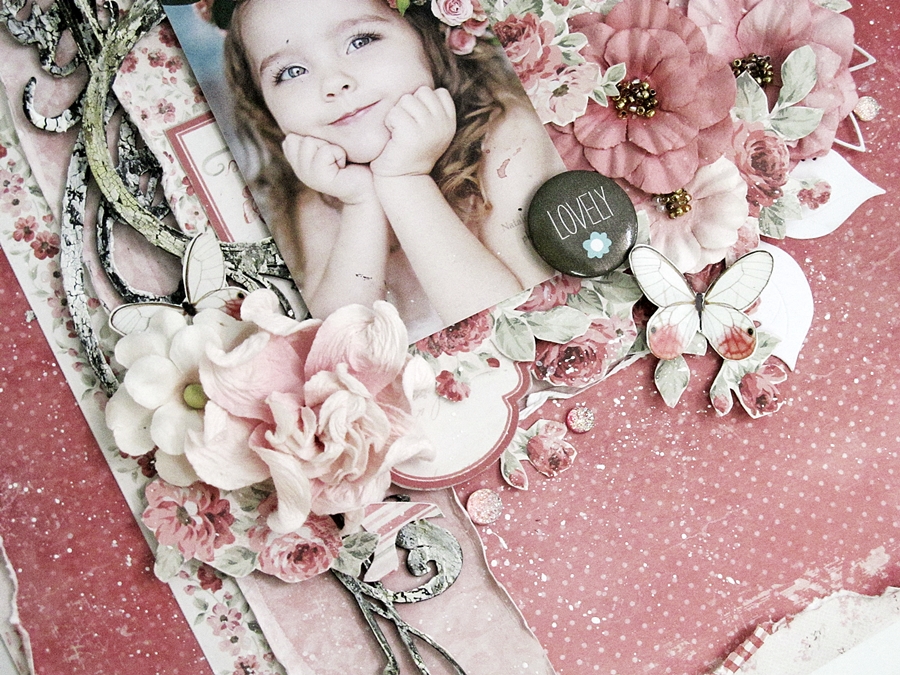
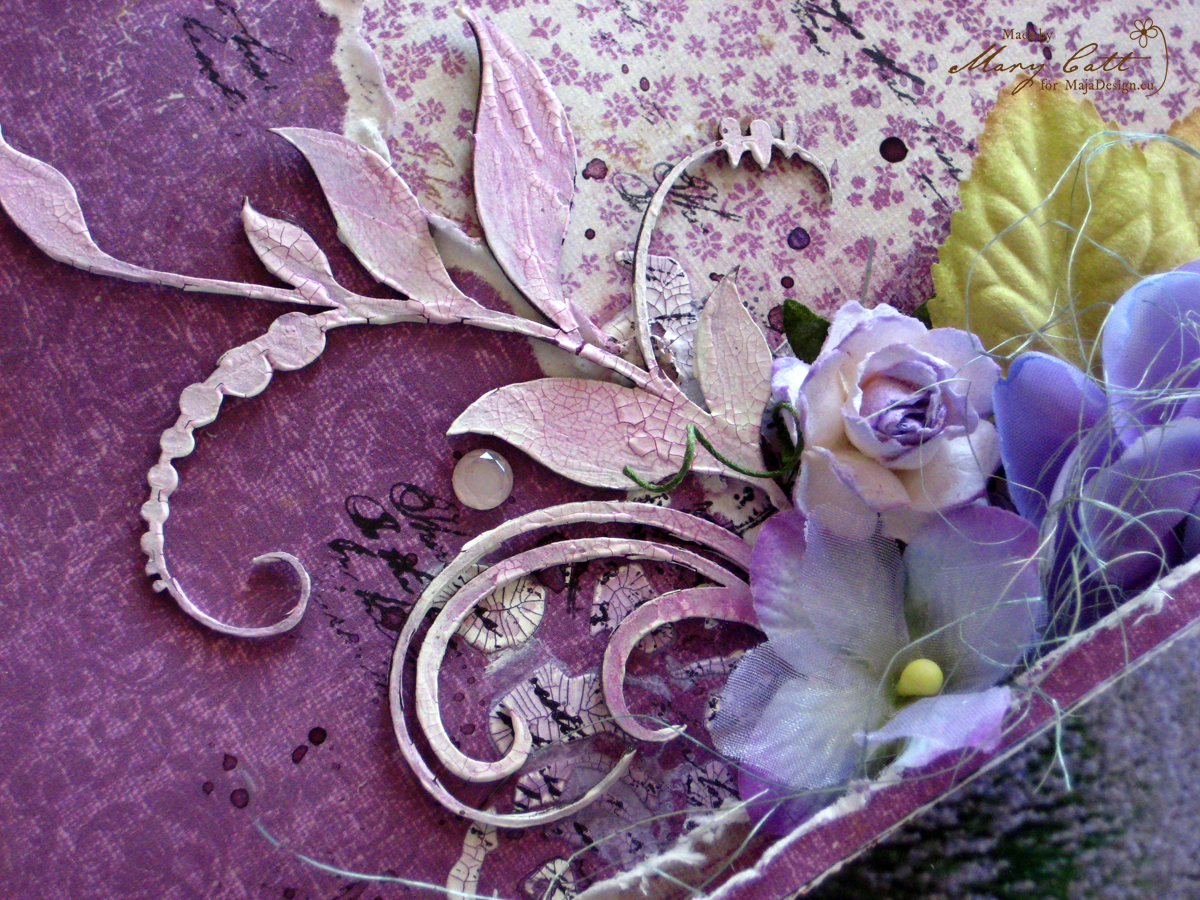
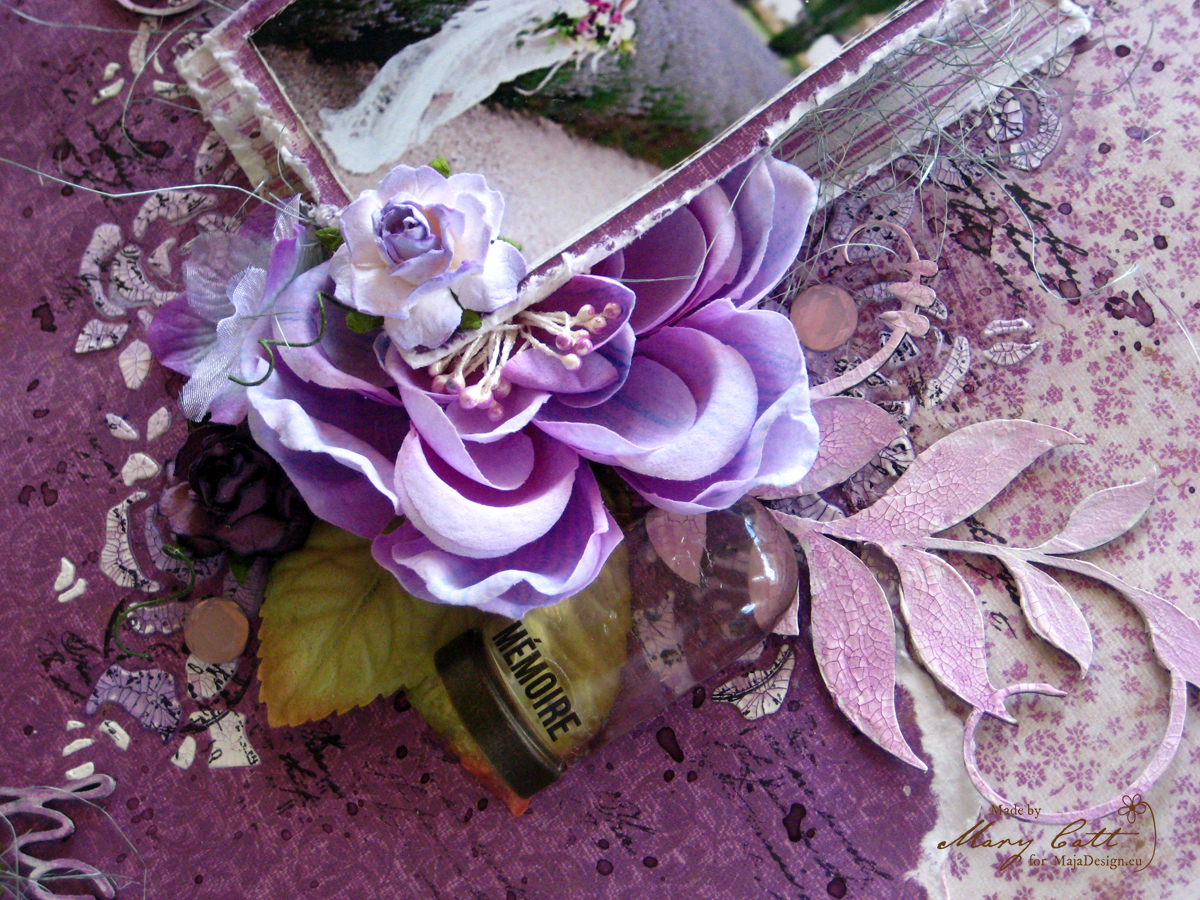
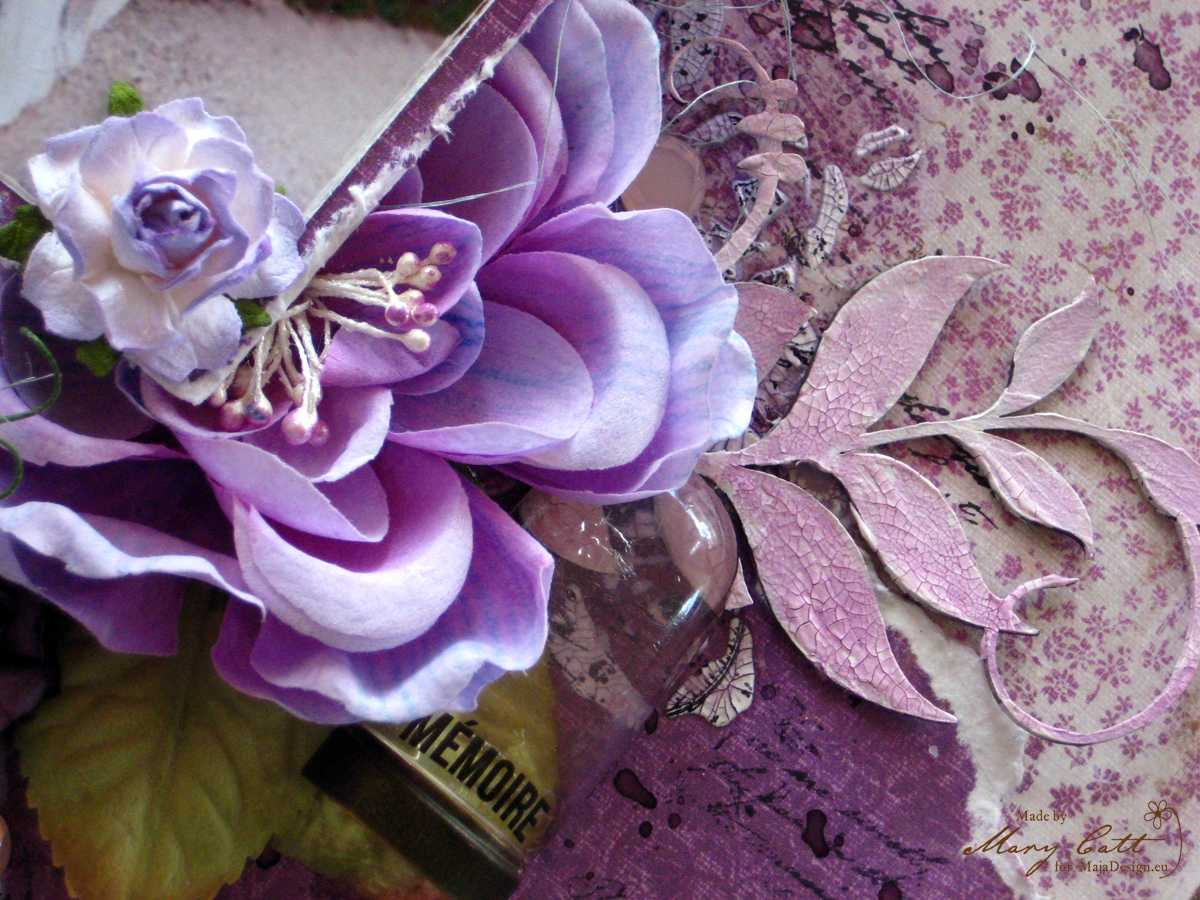
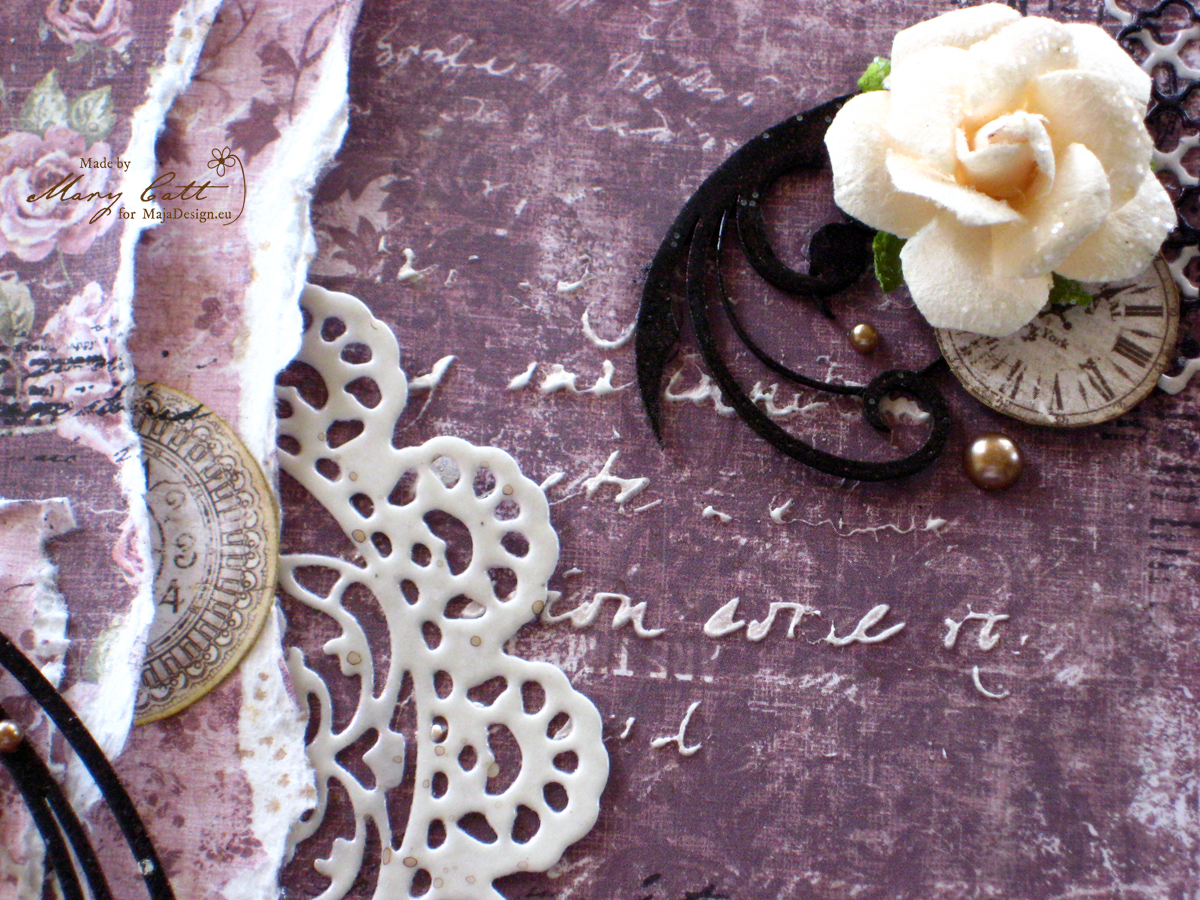
The Dusty Attic Baroque Corners and Ornate Frame were both dressed in White Crackle Paste and left to dry. Once it dried and crackled I washed it over with a mix of watered down Sugar Plum acrylic paint and a little gesso. I also applied a dabbing of Star Dust Stickles over the edges of these to highlight the colours a little more.
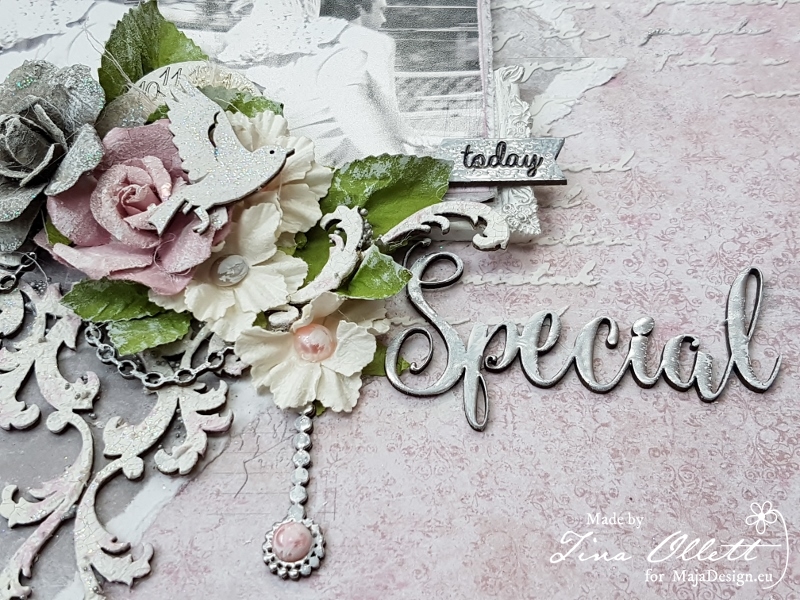
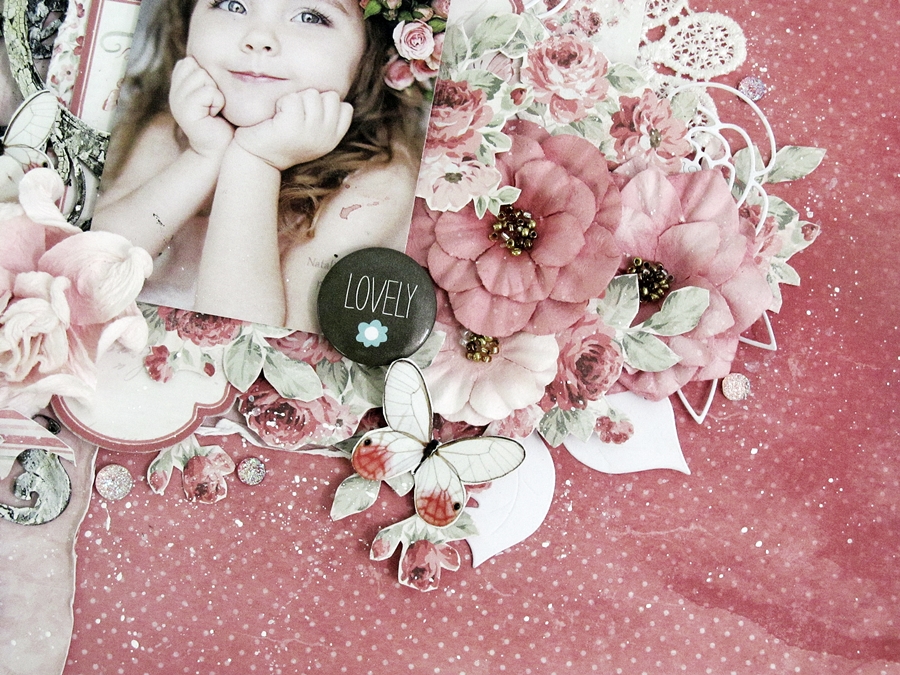
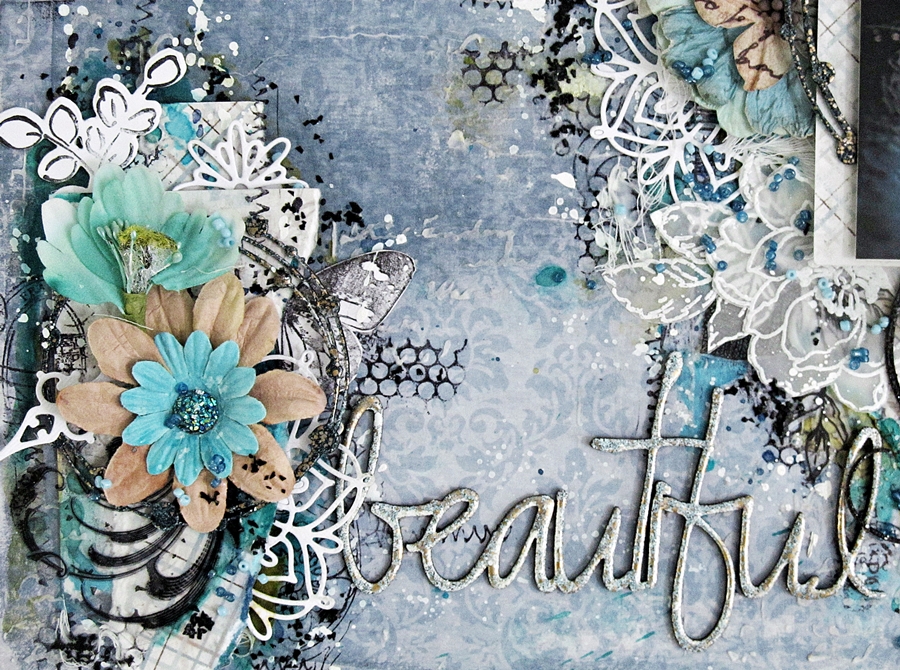
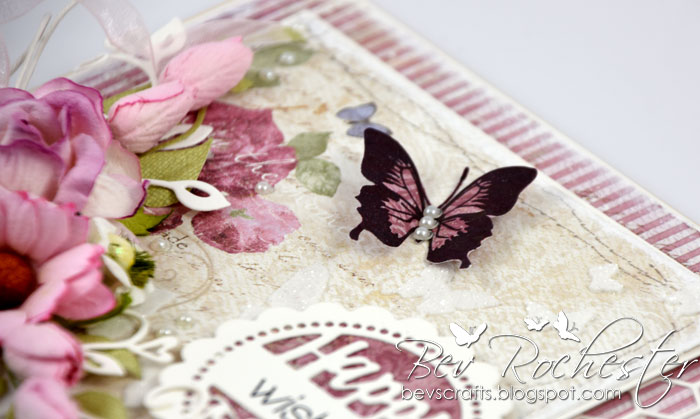
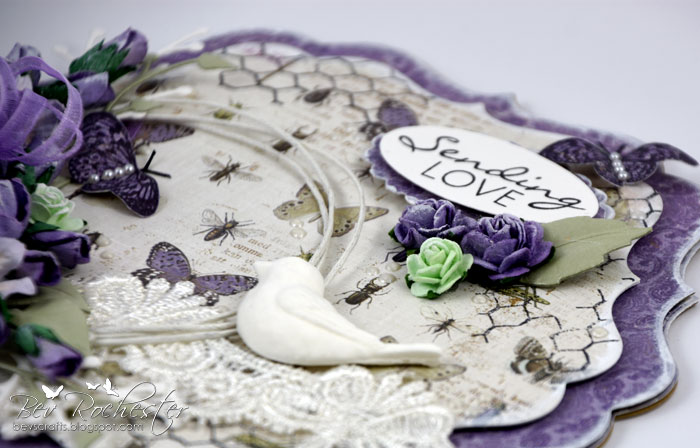
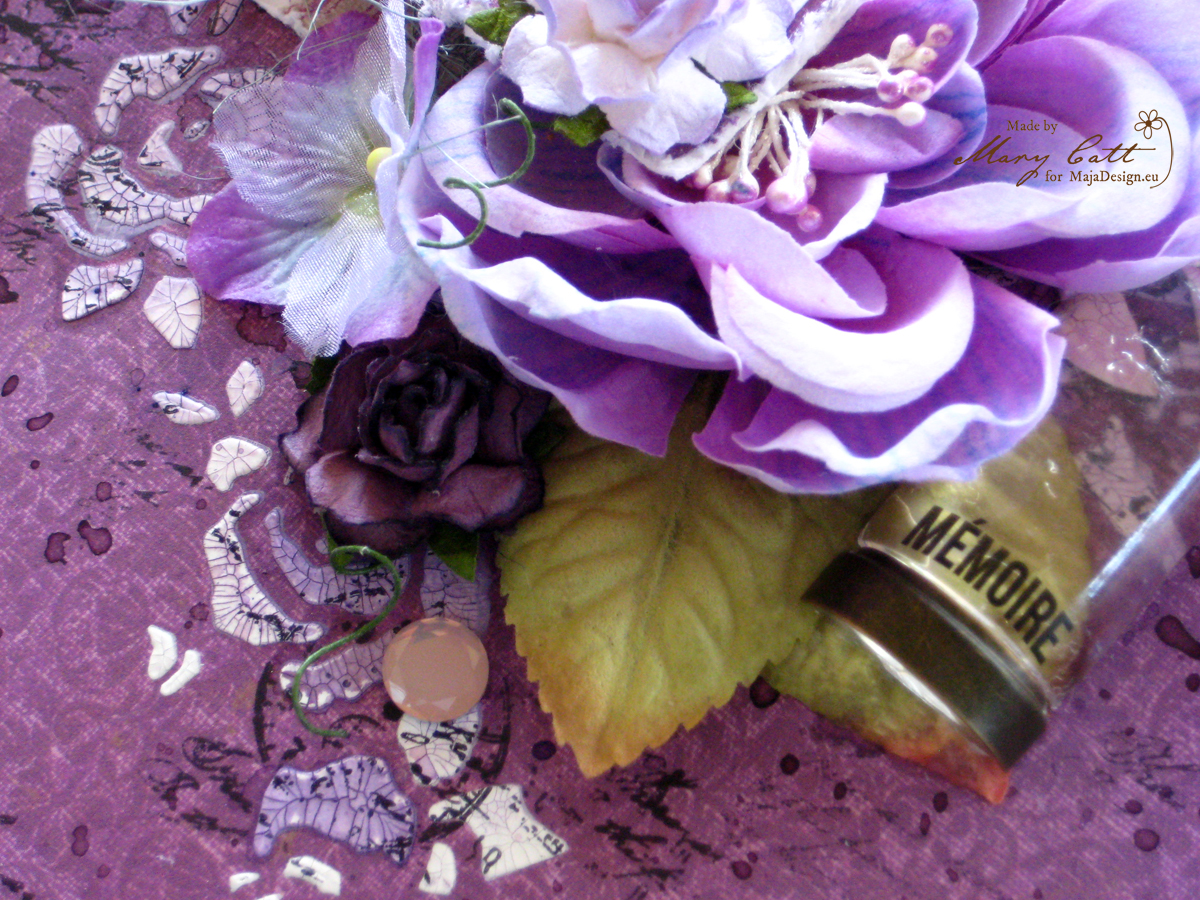
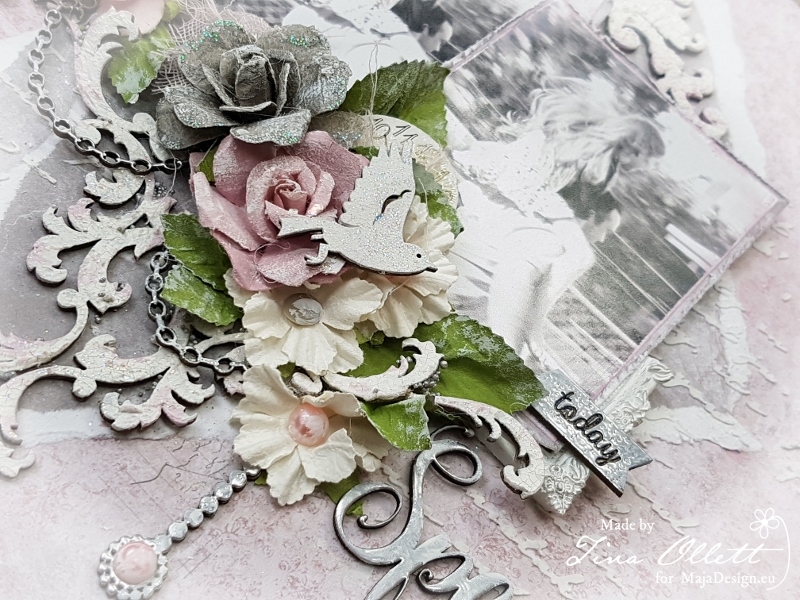
Pearls have been added to the pendants and flower centres and I have also sprinkled in some silver Prills to highlight the Baroque Corners which I have faced back to back and placed under the photos. The Prima Marketing Flowers were adhered to the base of the photos with the addition of some of my favourite Kaisercraft paper leaves. They were then dry brushed with a little gesso to tone the colours of the leaves and flowers down and to add that hint of shabbiness.

I have cut the chains from the Dusty Attic elegant chain and embossed with silver embossing powder. These were hung from under the floral cluster at the base of the photos. I have also added in one of the string pendants from under here to keep the page consistent.
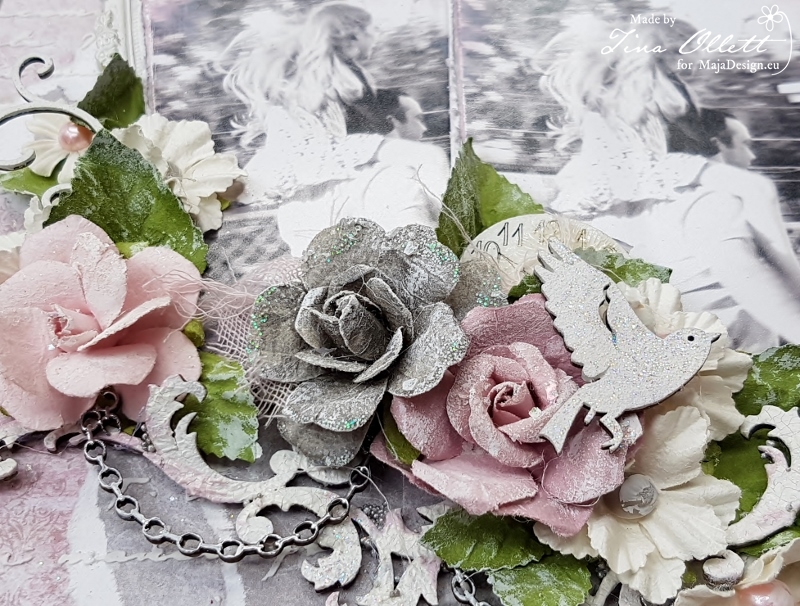
Here you can see the cute little mini chipboard bird….they are just so cute. It has been dressed with a little gesso and Star Dust Stickles and adhered atop of the flower cluster. And also the Vintage Nameplate was cut up into pieces and dressed similarly to the bird and added to the left and right edges of the layout as shown in the main photo.
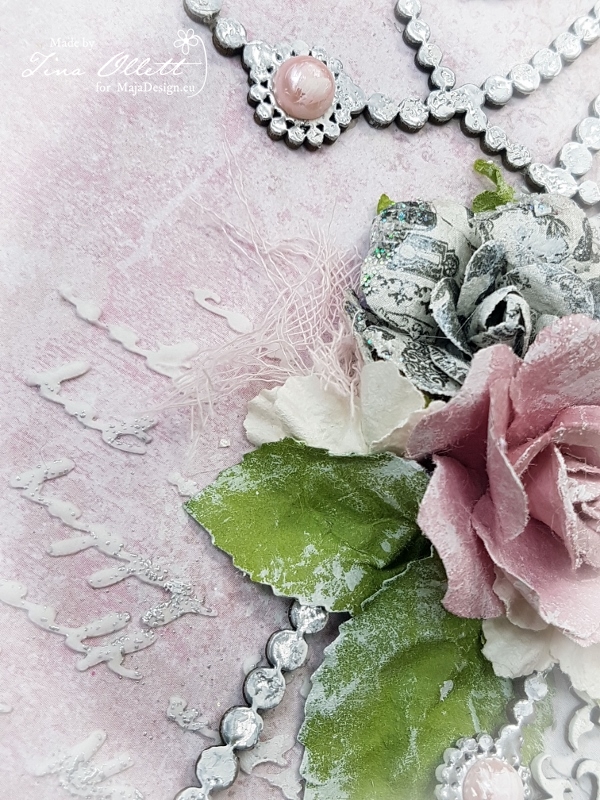
I have also coloured some cheesecloth with a little watered down Victorian Velvet distress ink and heat set it. It was distressed and placed amongst the flower clusters. I only had one square Prima resin frame left on my table so I decided to cut it up and add it to the top left and bottom right of the photos to tie the photos together.
–
-
-
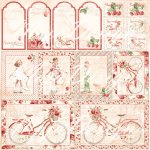
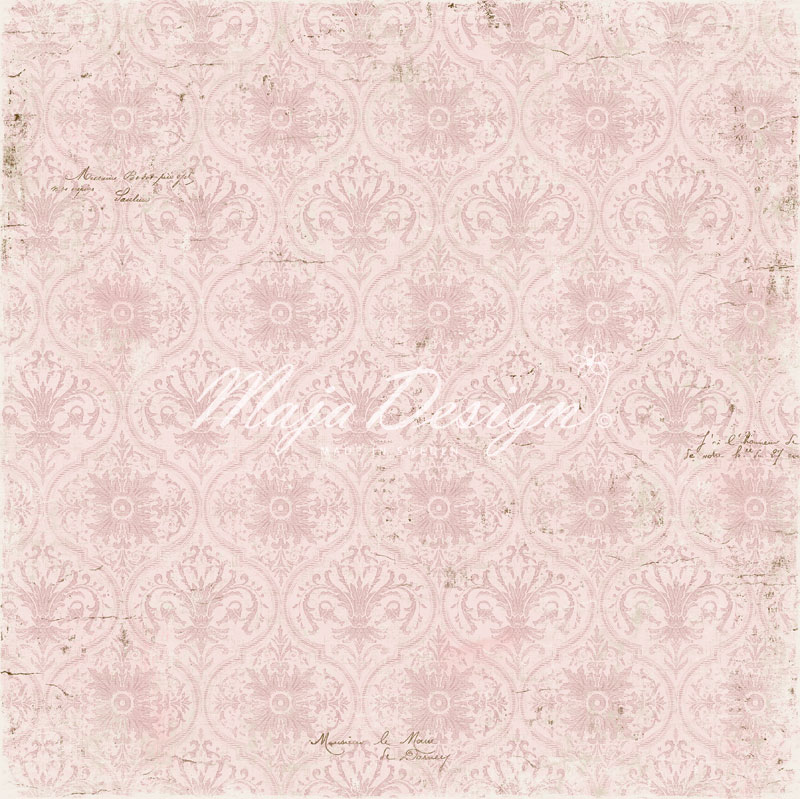
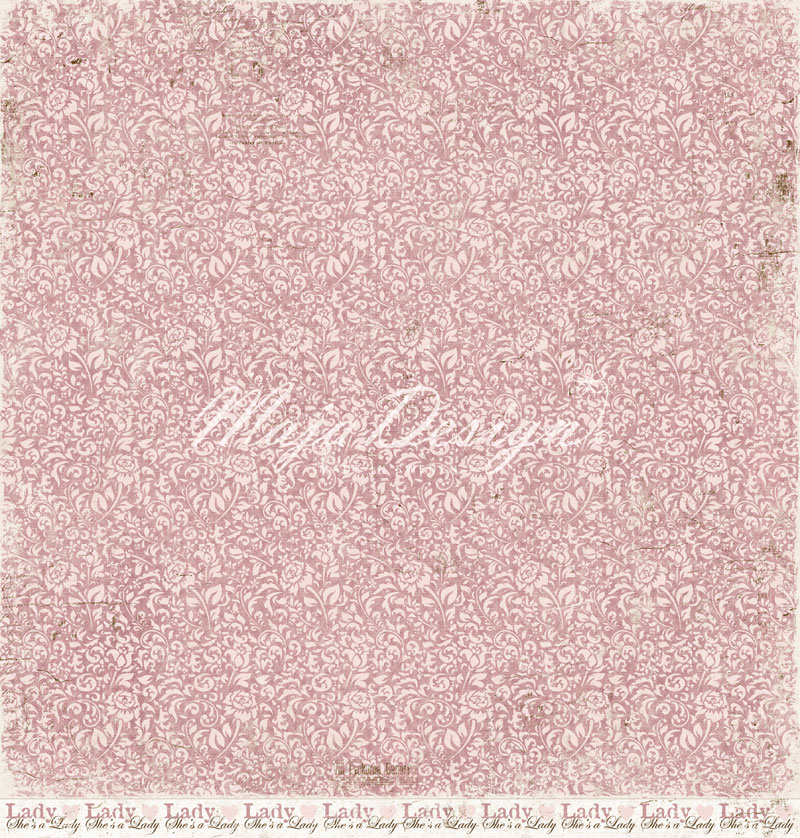
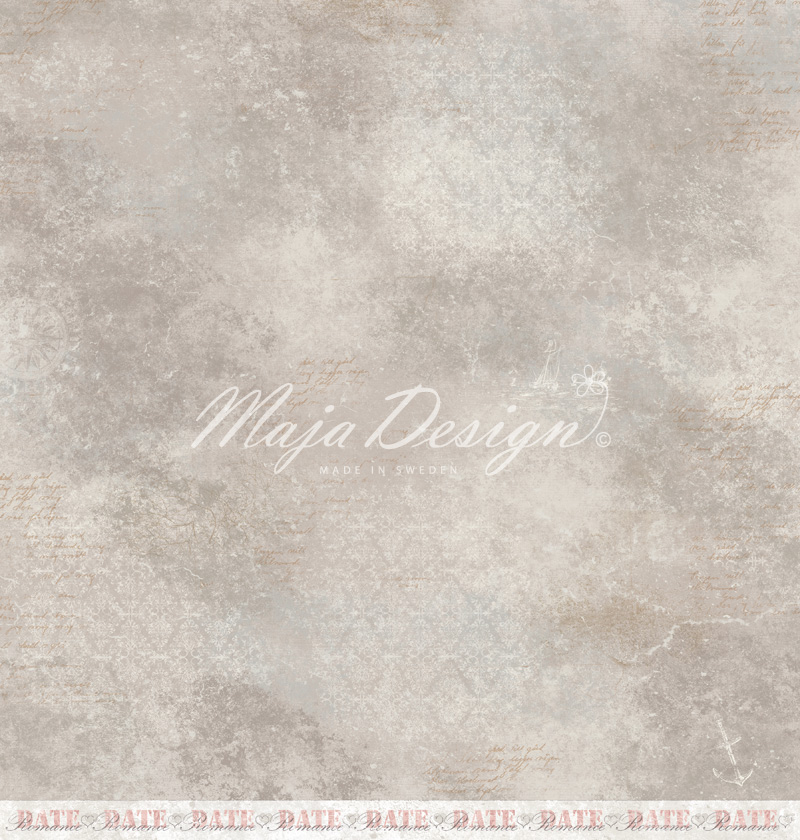
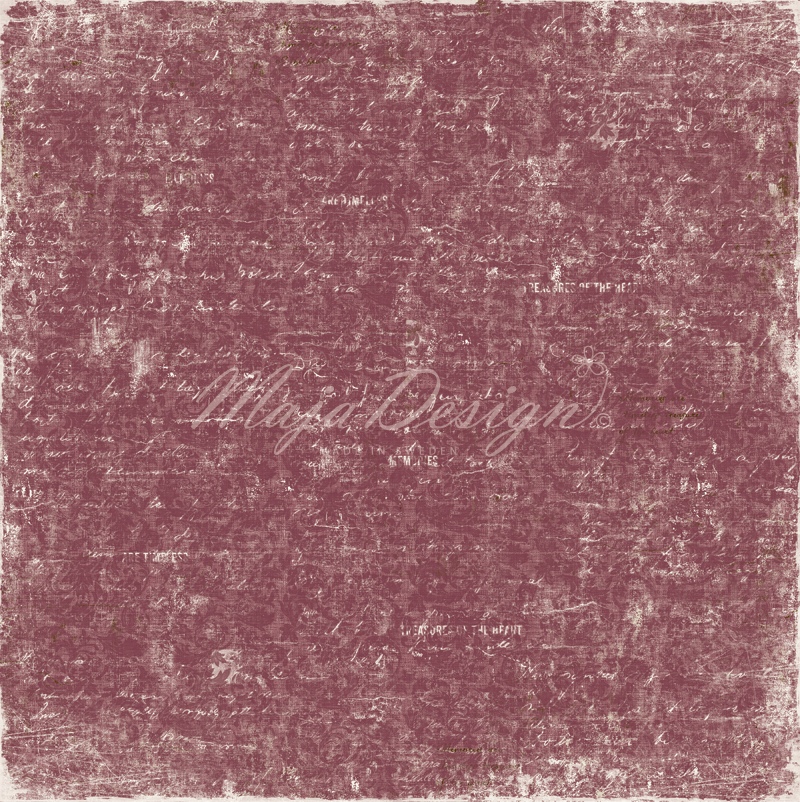
Strolling along the canal
-
-
Romantic lunch bs
Also used……
Dusty Attic Ornate Frame #1
Dusty Attic Creative Script Stencil
Dusty Attic Elegant Chain DA1453
Dusty Attic Word Strips
Dusty Attic Mini Clocks
Dusty Attic Mini Birds #3
Dusty Attic Baroque Corners
Dusty Attic Vintage Nameplate
Dusty Attic Wordpack 33
Dusty Attic Word Strips
Dusty Attic Acrylic Paint – Sugar Plum
Silver Embossing Powder
Liquitex White Gesso
Prima Marketing Resin Frame
Prima Marketing Inc. Flowers
Prima Marketing Inc. Flowers
Prima Crackle Paste
Pearls
Ranger Star Dust Stickles
Ranger Texture Paste
I have so enjoyed working with these papers and I really think you will too!! I hope you find some time this week to create a little something using papers from this gorgeous collection or maybe another from this wonderful company.
Thank you for taking the time to visit.
Take care……..