Special Guest Designer Monika Jakubowska

1

Posted by Marie

23 January, 2017 - , , ,

Write a comment

Hello, I’m Monika Jakubowska.

I`m so honoured and thrilled to be a Maja Design Guest Designer,Thank you for the invitation. I think it will be a fabulous year.
Monika-Jakubowska


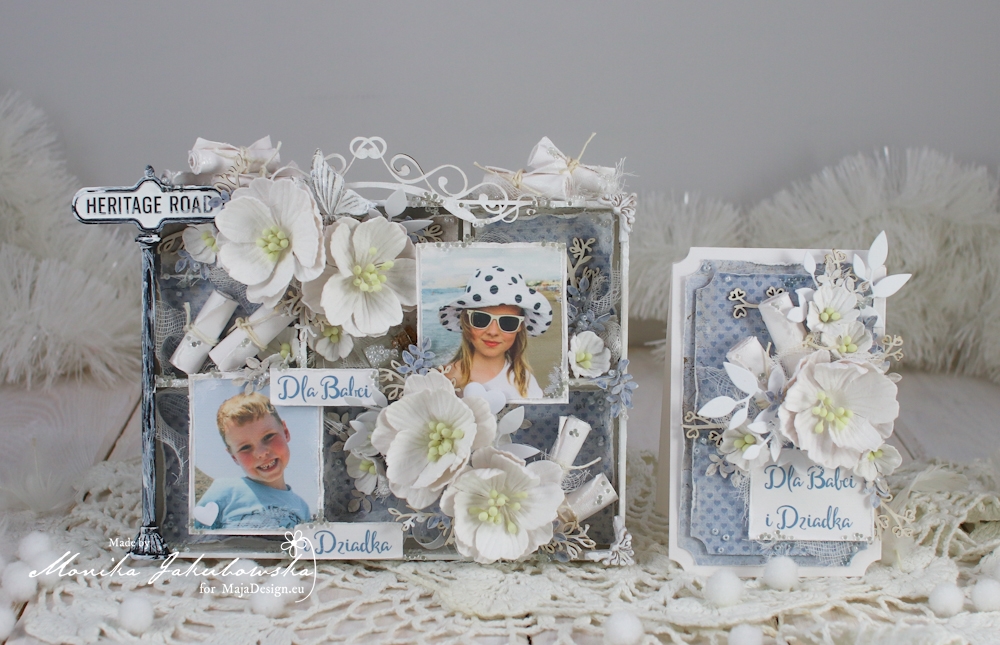
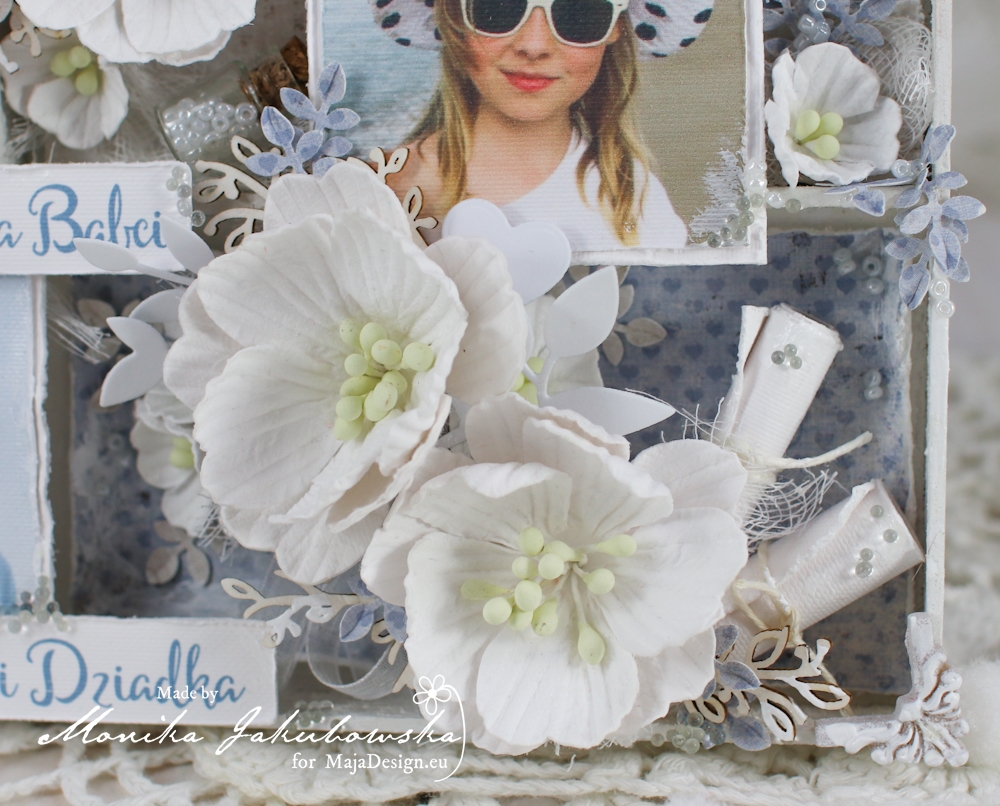
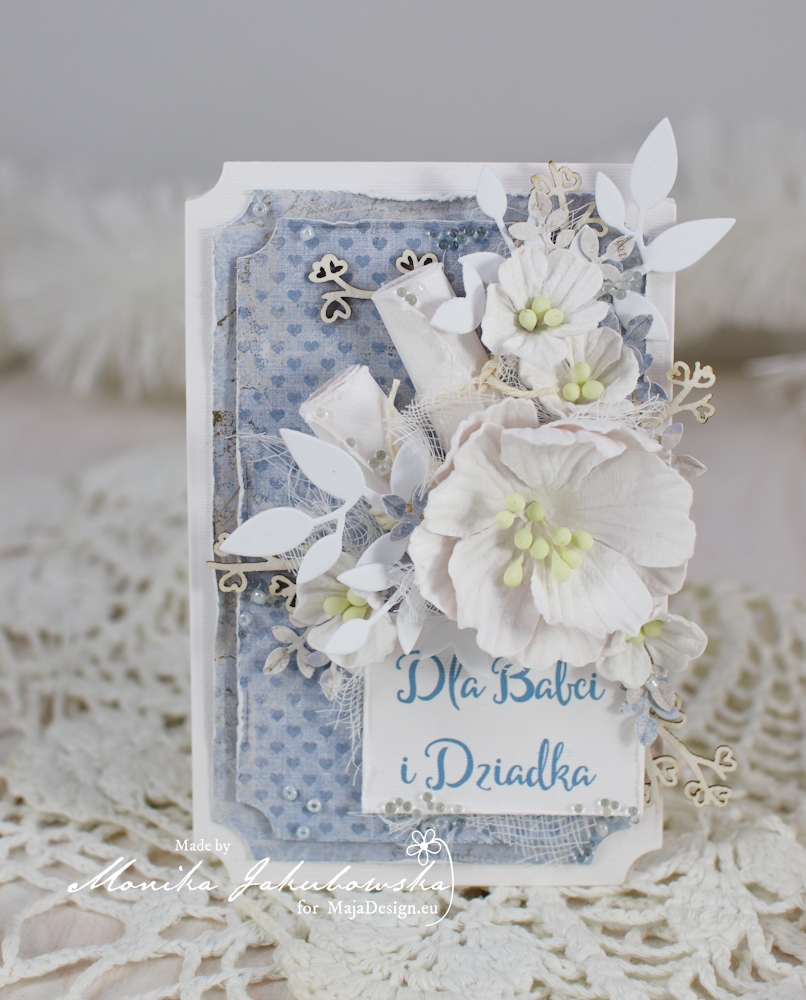
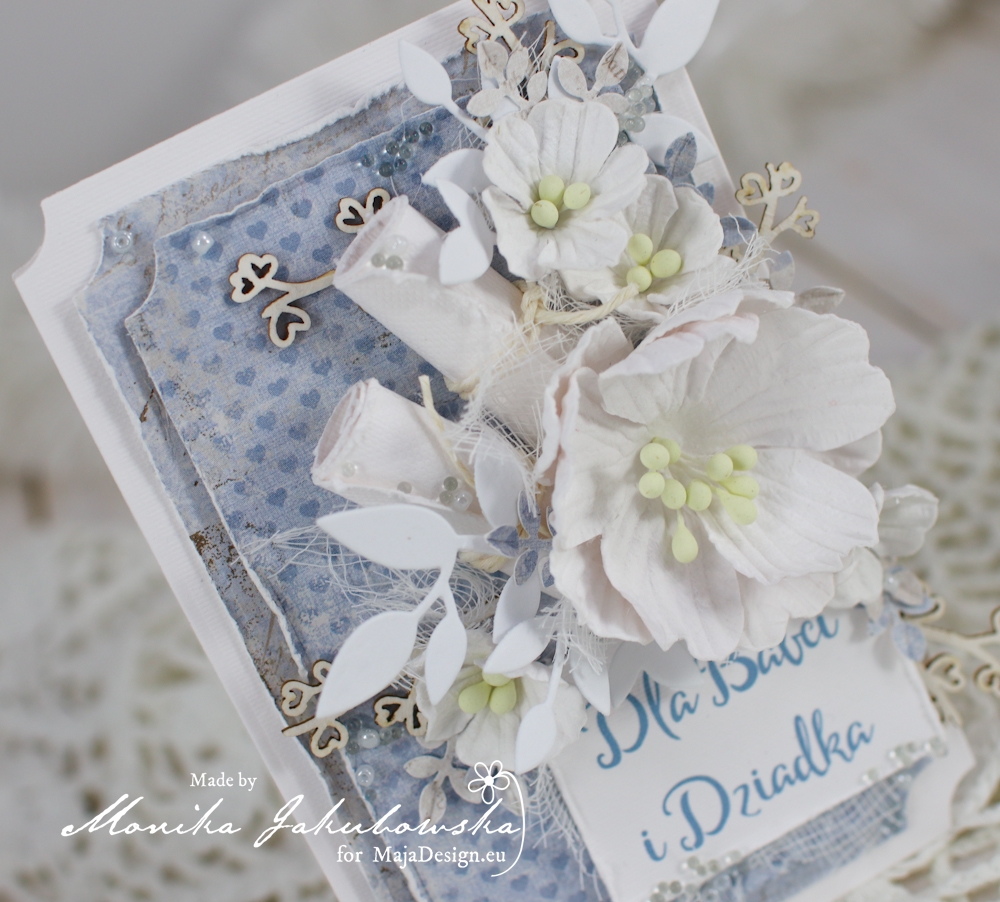
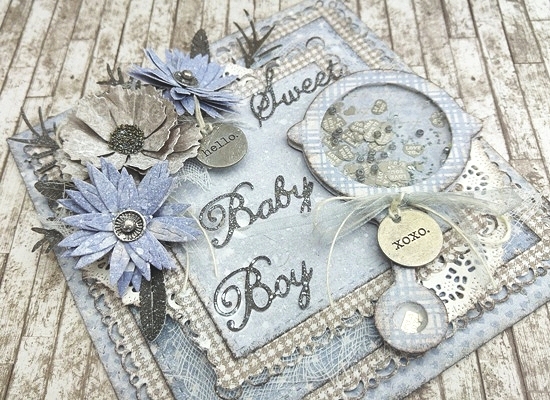
Today I want to present you my very first creation – a shadow box and a card made for Grandpa and Grandma.
Monika Jakubowska I 2017 (1)

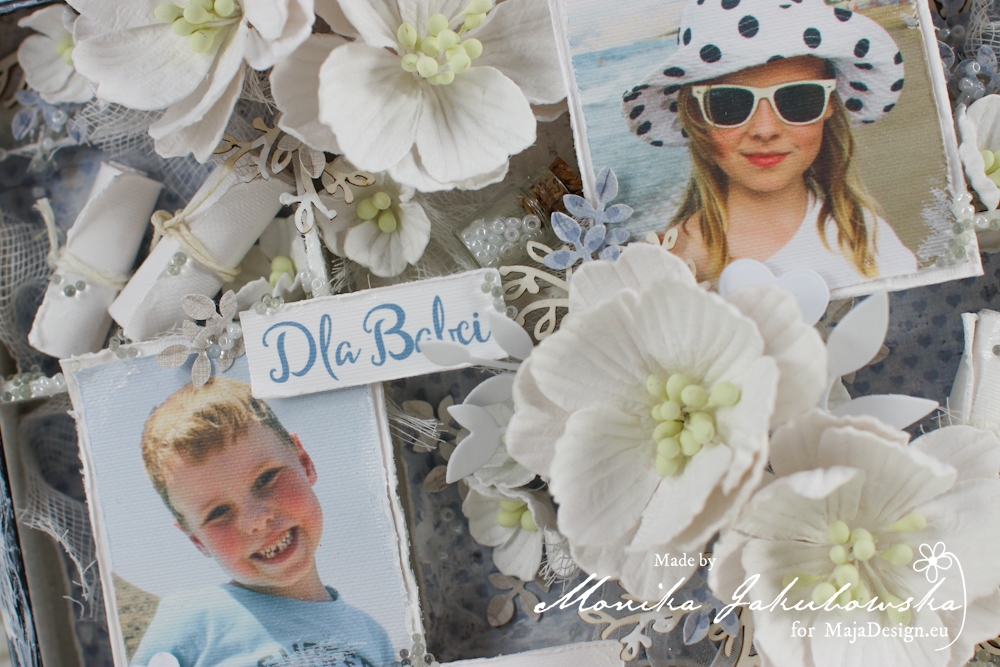
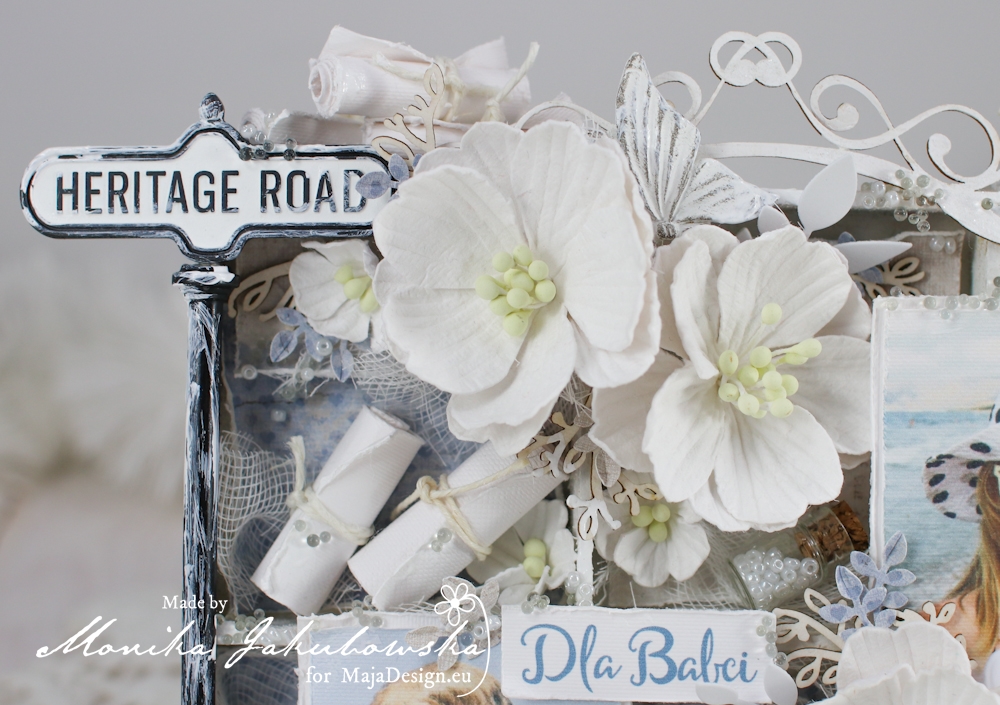
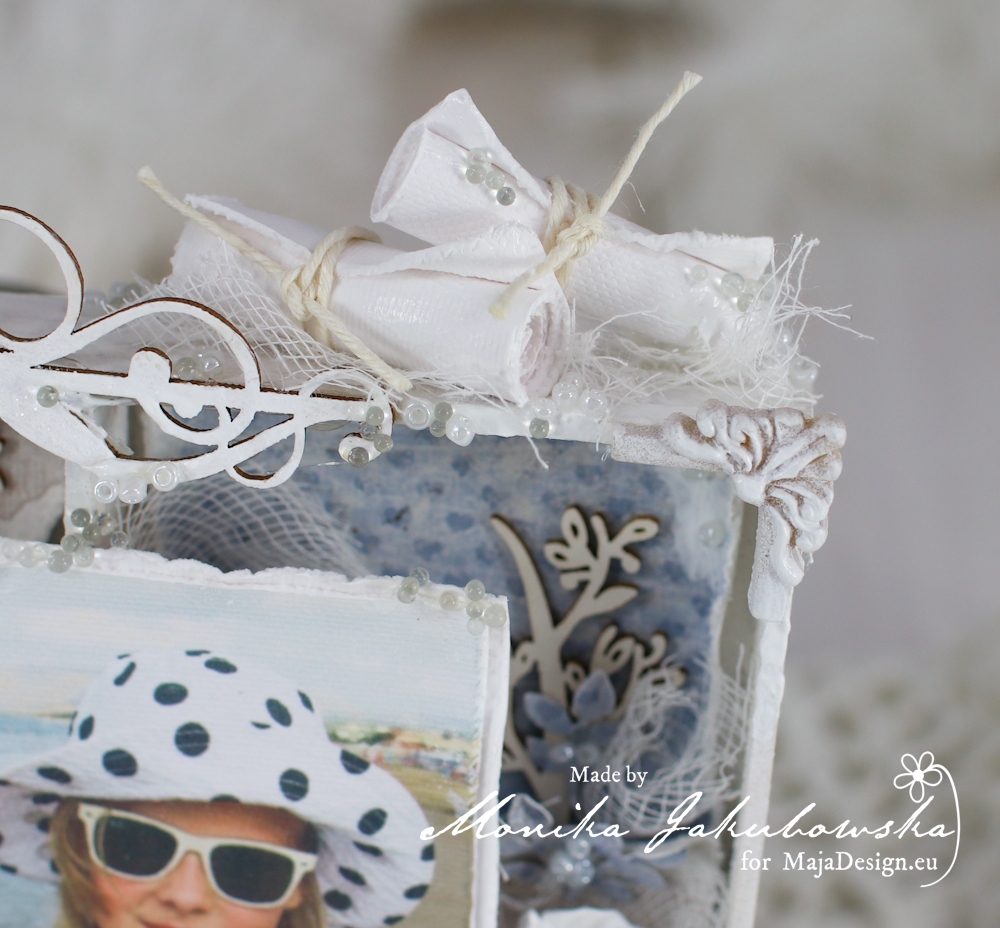
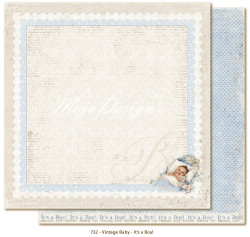
To decorate this set I used gorgeous, delicate Vintage Baby It`s a Boy VIN-732 and Vintage Baby Special Delivery VIN-737. These papers look so lovely here. I also used my handmade flowers, some chipboards and Prima metal and resin embellishments.

Some closeups:
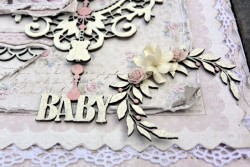
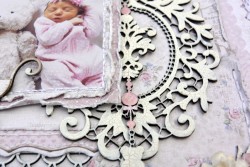
Monika Jakubowska I 2017 (5)

Monika Jakubowska I 2017 (3)

Monika Jakubowska I 2017 (7)

Monika Jakubowska I 2017 (6)

Monika Jakubowska I 2017 (8)

Monika Jakubowska I 2017 (9)

Vintage-Baby-P

Thank you for visiting.

Monika-sign

Hello Sweet Baby Boy

0

Posted by Amy Voorthuis

10 January, 2017 - , , , , ,

Write a comment

Goodmorning Maja friends,

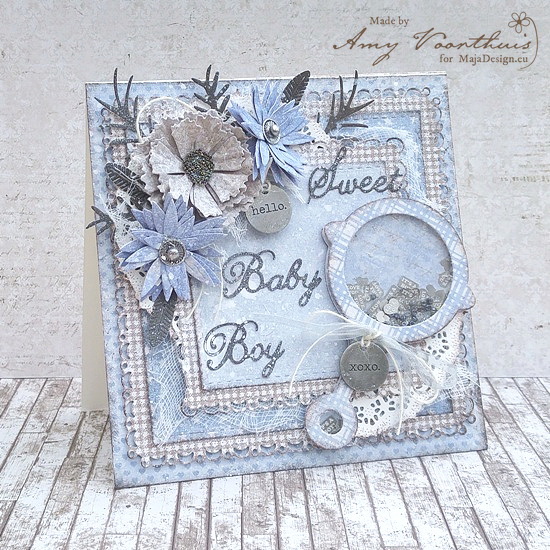
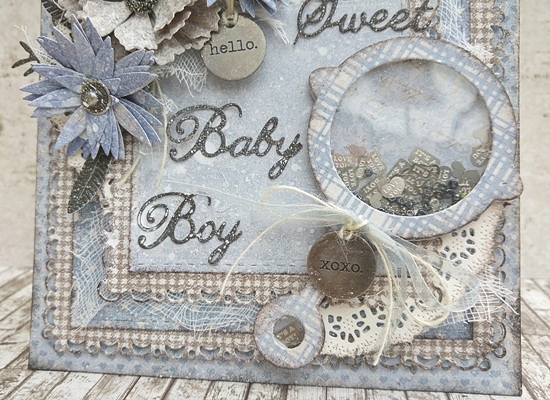
Today I am here with you all to show you a card I made with the lovely “Vintage Baby”collection! I am getting more and more addicted to that collection because of the soft colors and that you have both blue & pink sheets in it. For today it’s a baby boy card with handmade flowers and a rattle shaker with metal pieces in it {also some beads and glass glitter}

20161214_133401_HDR000000000001

I cut out different pieces of the blue & darker brown papers and placed them on top of each other to get more dimension, underneath the last layer I added some cheese cloth and a paper doily that I cut in half. The card is all made out of dies from a manufacturer I design for. Sorry for the different shades in the pictures but we have some bad weather and my camera is acting up!

  20161214_133419_HDR

20161214_133414_HDR1

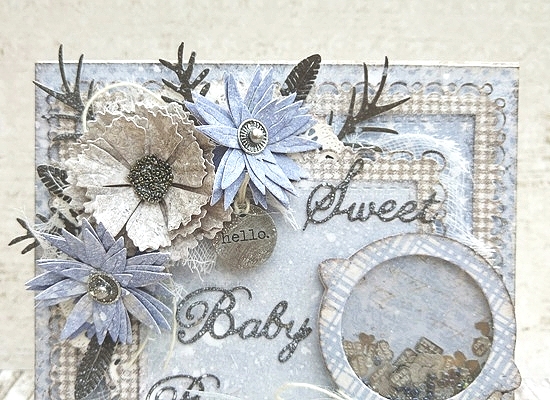
What is great about using dies is that you can make your own flowers and you don’t have to worry about the colors not fitting well on your work. I always had a problem finding the perfect blue shade color for my work and now that problem is being solved by making my own flowers. Maja Design papers really allows you to make beautiful paper flowers from their collections because of the high quality & thickness of the papers.

20161214_133428_HDR (4)

Actually I used three other Maja Design collections here too, the blue flowers are made with “Nyhavn”collection! The flower with the beads in the center is made with the “Vintage Romance” collection and the feathers & leaves are from the “Vintage Summer Basics” collection and they all go so well together don’t you think so too??

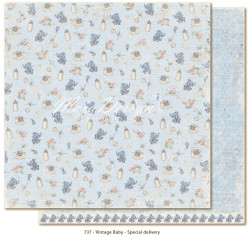
Maja Design papers used: Vintage Summer Basics: 1905 bs, Nyhavn: Old Townhouses bs, Vintage Romance: Marriage proposal bs, Vintage Baby: It’s a boy bs, Adorable bs, Special Delivery bs & Die cuts bs

Vintage-Baby-P

732-Its-a-boy-2s 736-Adorable-2sNY 737-Special-Delivery-2s 750-Die-cuts-2s

Thank you so much for being here with us today and have a wonderful week!

Love

4

Decoration of stick it note pads *Tutorial*

1

Posted by Evgenia Petzer

1 December, 2016 - , ,

Write a comment

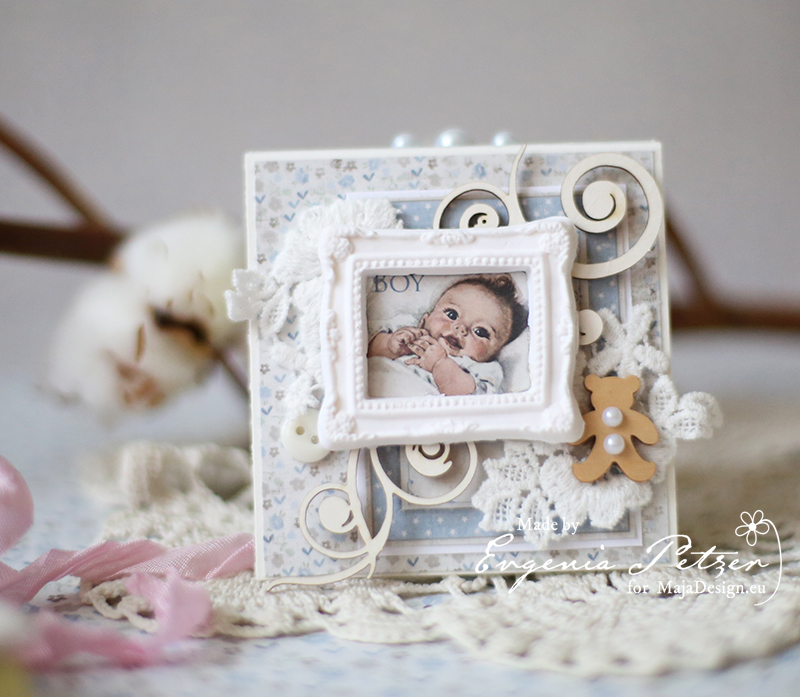
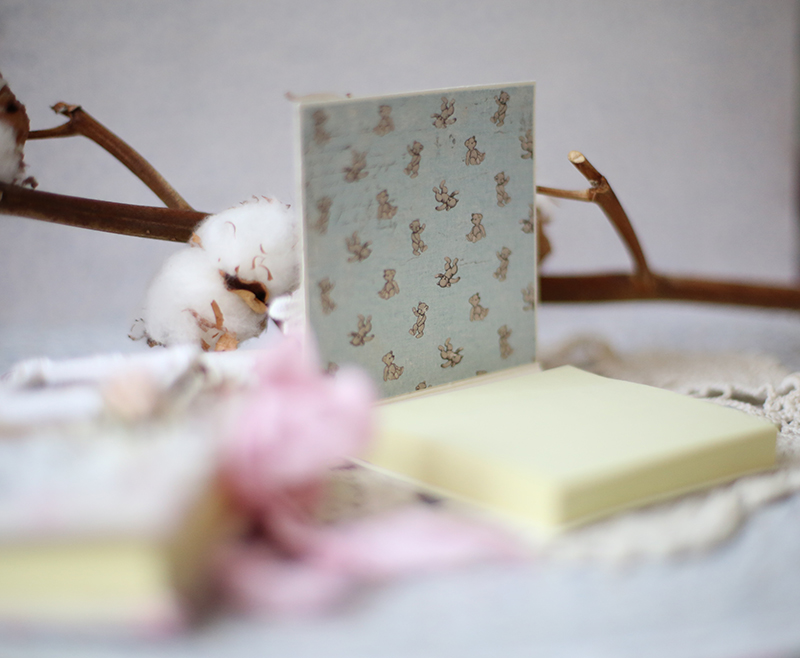
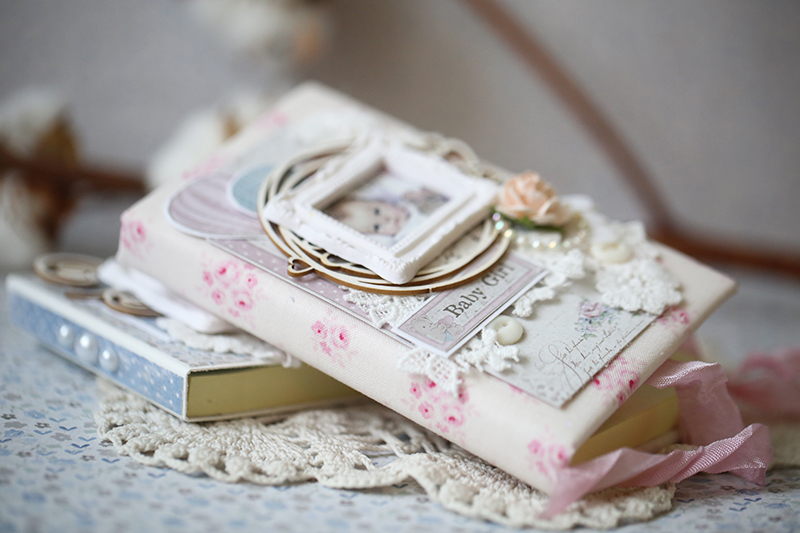
Hello dear friends! Its Evgenia Petzer with you today and I will show you how to make the covers for the sticker pad notes. The covers are long-lasting, as once the notes are finished you can simply attach the new block on the same place.

One cover I have decorated using the paper and another one is with fabric covering.

Here is the result:
stick_notes_pad_petzer_together

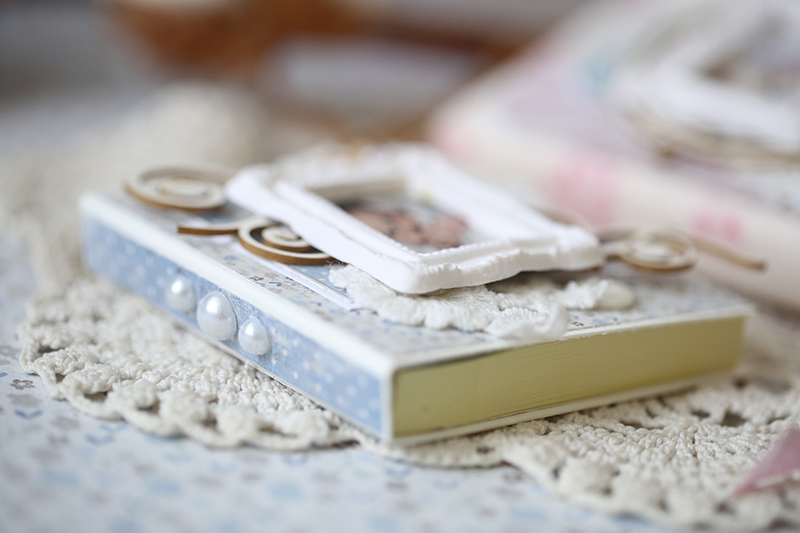
The one for the boy uses the paper:stick_notes_pad_boy_petzer

some close ups:

stick_notes_pad_boy_petzer_det1stick_notes_pad_boy_petzer_det2

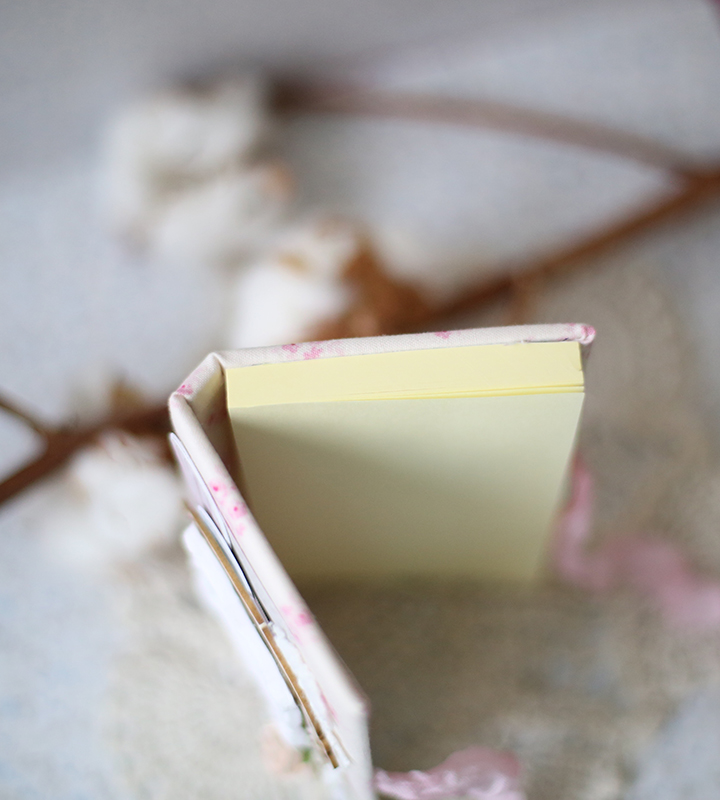
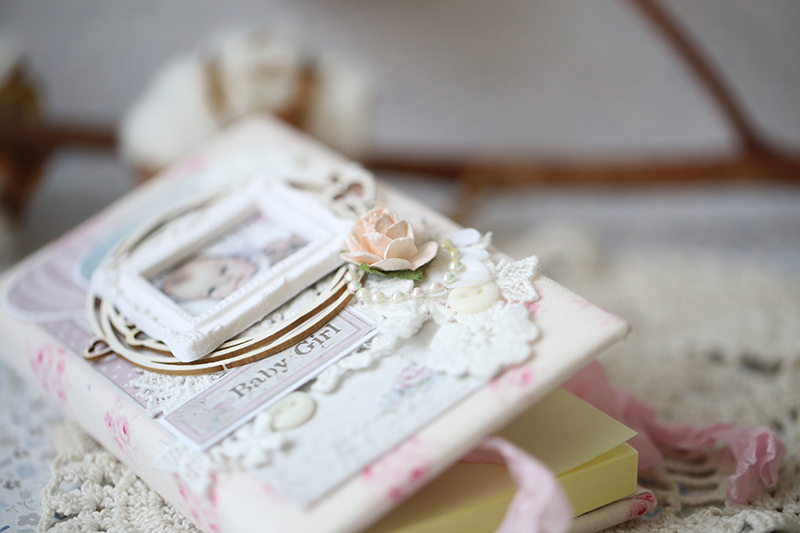
and the girl’s one is made out of fabricstick_notes_pad_girl_petzer
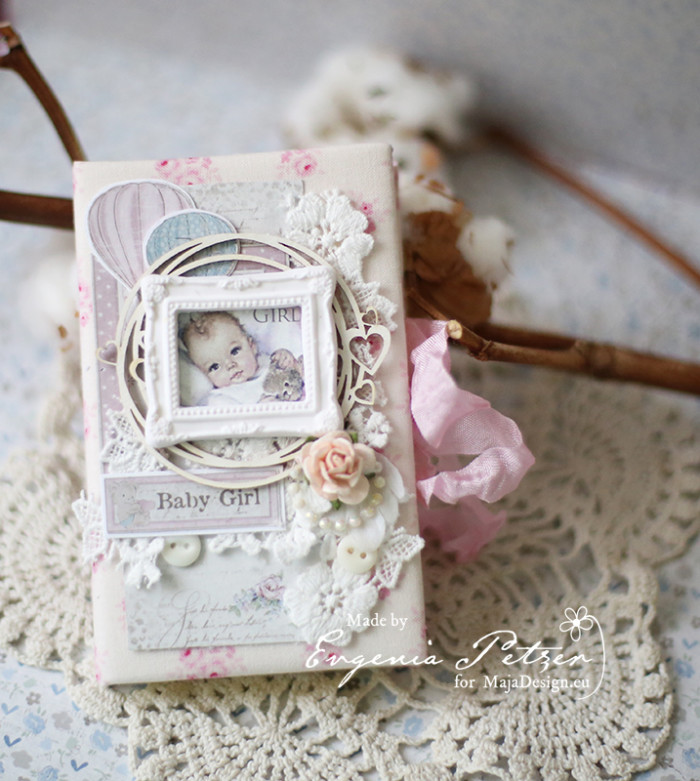
some close ups:

stick_notes_pad_girl_petzer_det1 stick_notes_pad_girl_petzer_det2

So lets start: Thats basically  what we will need (if you decide to go just with the paper decorations)
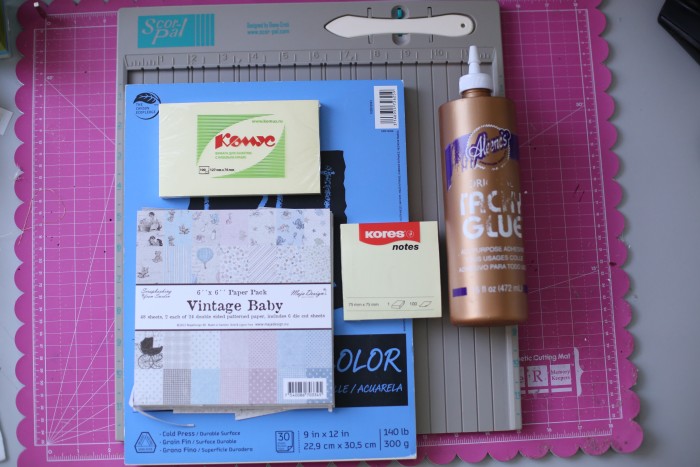
MK_pad - 1

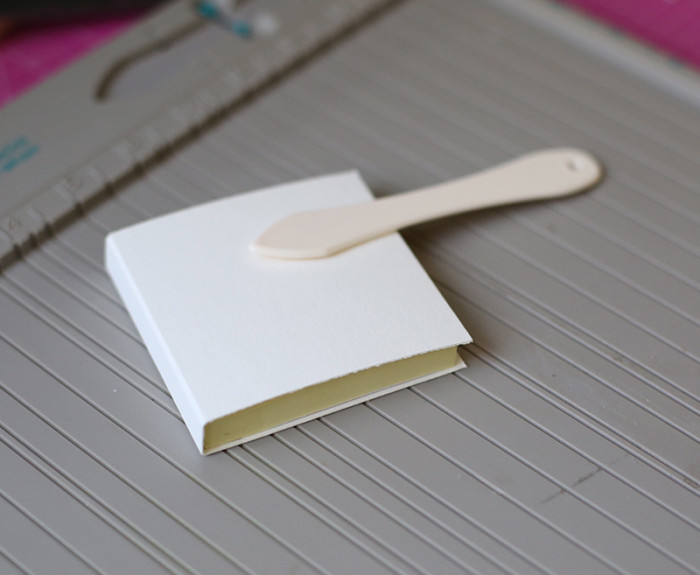
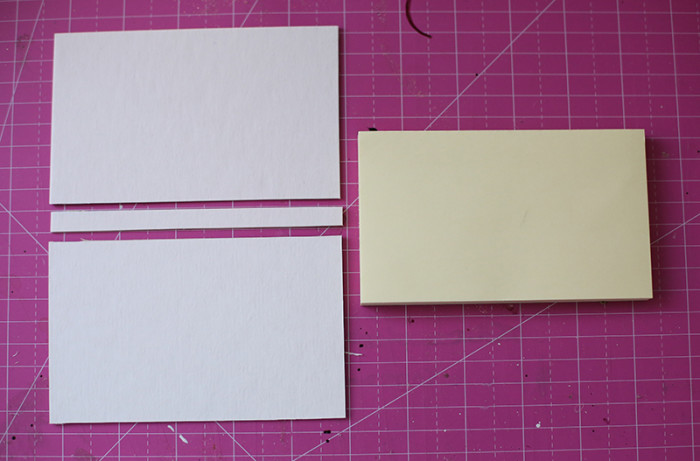
I am not providing the certain measurements here as your sticky blocks may vary… I cut the piece of the thick yardstick (or the watercolour paper as I am using here) the width is about 5 mm bigger than the block itself.
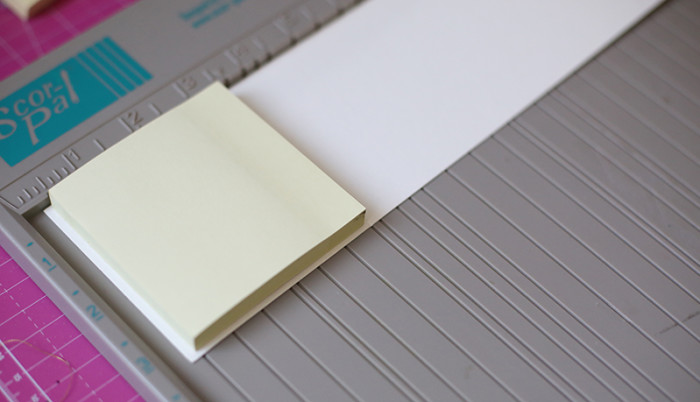
MK_pad - 4

after you score it, you cut the extra length off and here is what you will need to get.
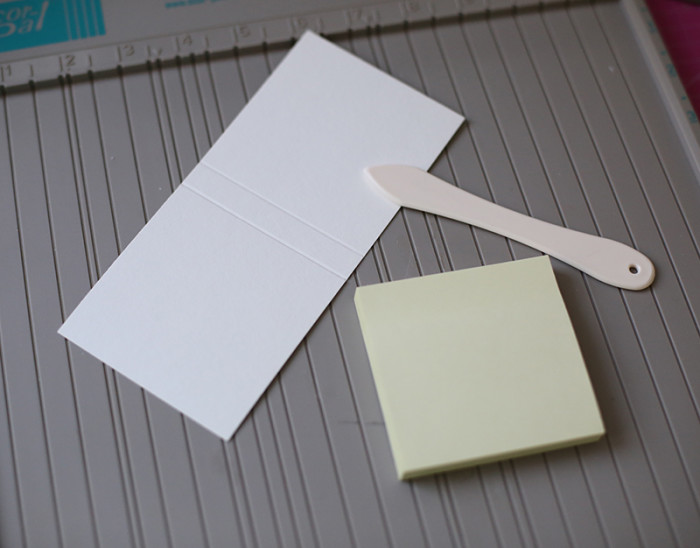
MK_pad - 5

The block inside looks like this.

MK_pad - 6

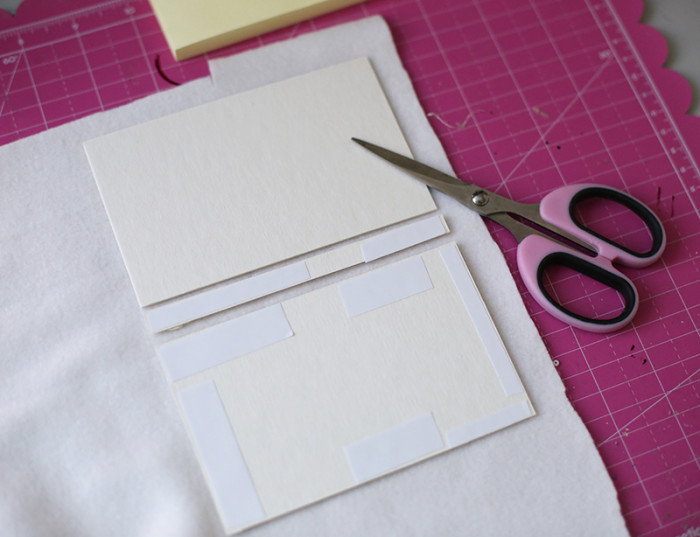
for the fabric covering, we do it slightly different, I use the cardboard for it, to make it even firmer. The larger rectangular are slightly bigger then the block itself (add about 2 mm for each!!! side), where as the inner, thin part is thinner than the block’s part (to make the cover open nicely and smoothly)
MK_pad - 7

Than we need to attach these three parts to the fleece material (I actually buy the fleece throughs from the IKEA and use them for these type of things)
MK_pad - 8

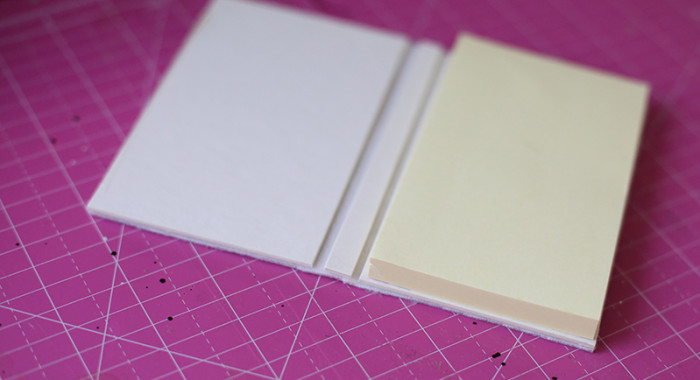
Than you cut all the extra length away and get this:
MK_pad - 9

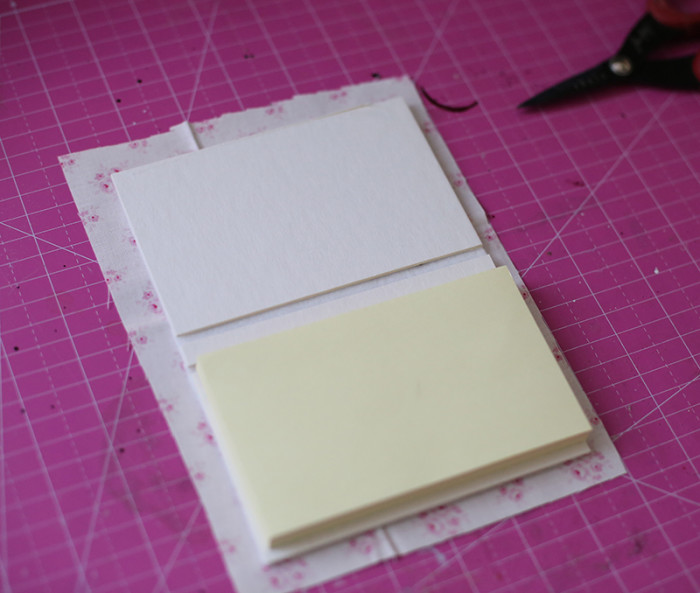
then you need to pick the fabric, I prefer cotton one and the designs that match my papers that I will use fro the decoration,
MK_pad - 10

Using the glue, you adhere the fabric inside (start from two opposite sides, than another 2 opposite sides, that will make the fabric lay straight and nice)
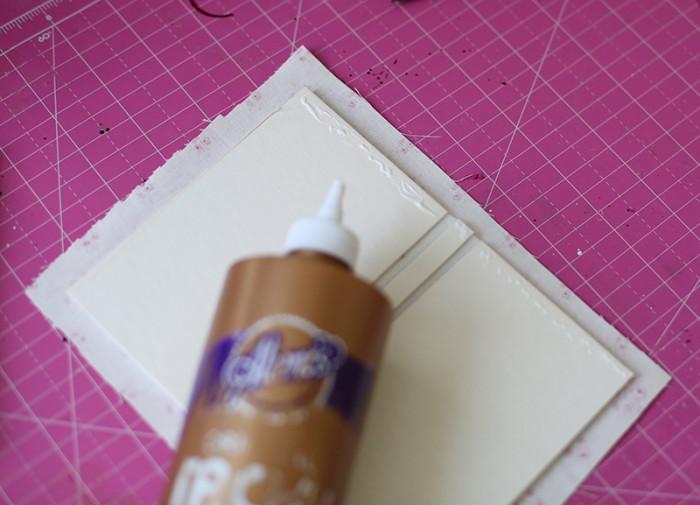
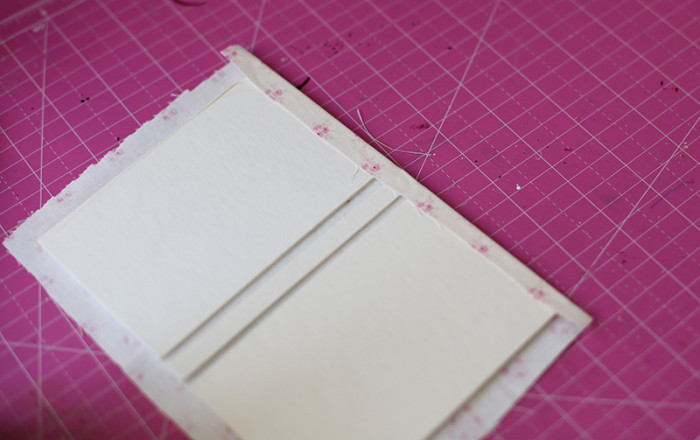
MK_pad - 11

MK_pad - 12

the corners of the fabric you can cut as shown, that will help you to get the corners look more nicer.
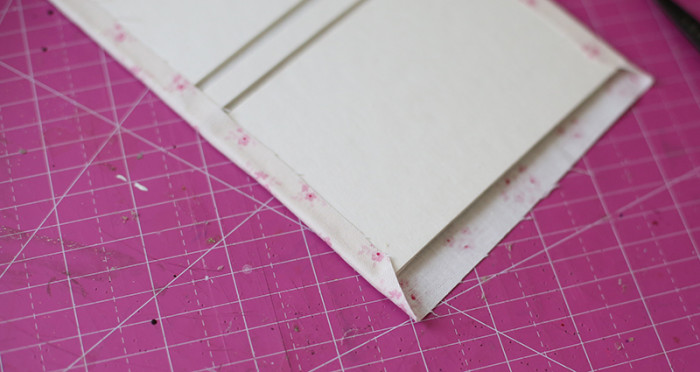
MK_pad - 13


after bending the corners inside, it will look like this:
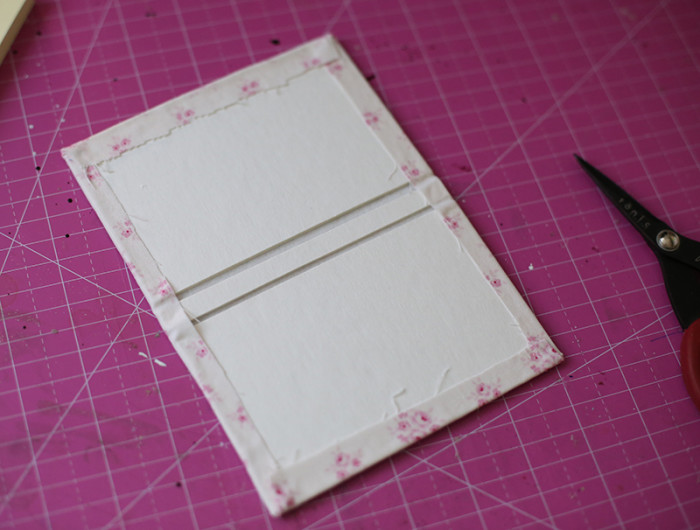
MK_pad - 14

MK_pad - 15

This time I also will put some ribbons to get the more appealing look, the ribbons you attach with the glue and then can also add some sticky tape.
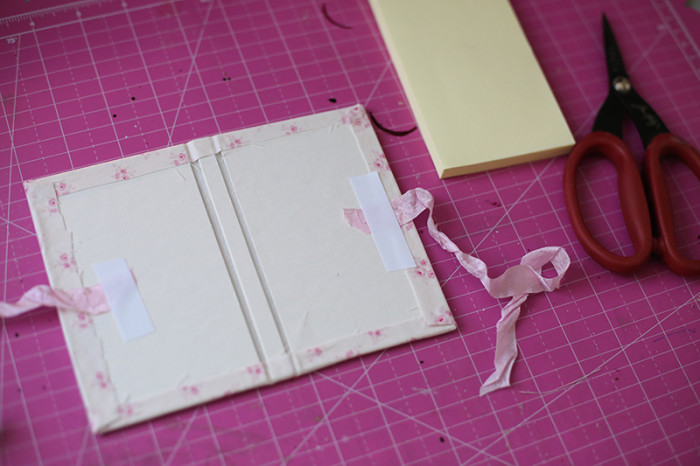
MK_pad - 16

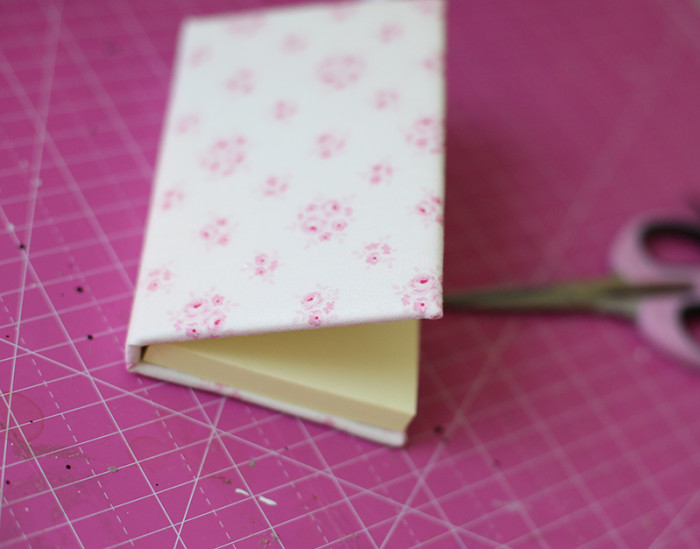
Now we will need to cover the inner part also with the same fabric
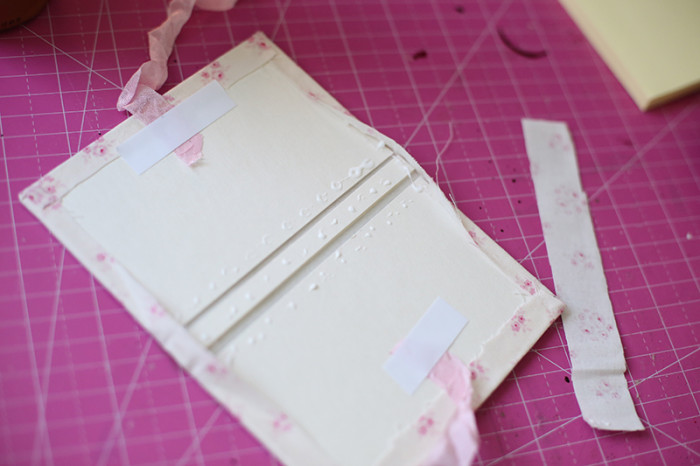
MK_pad - 17

here is what we get, you can help yourself with the scoring pen for those two lines.
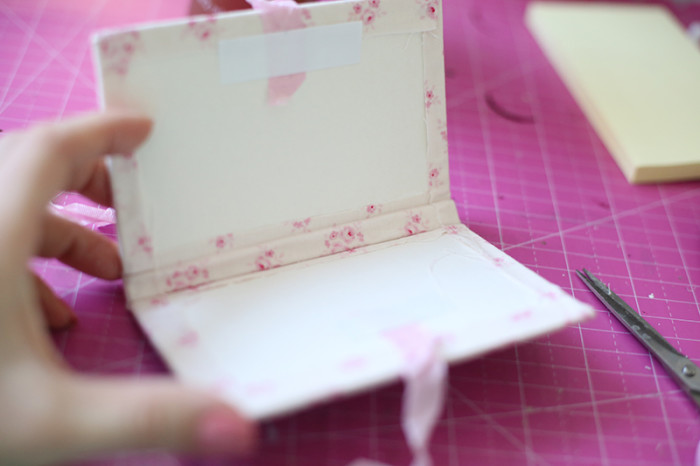
MK_pad - 18

than you put some glue on the stick note pad and adhere it inside of this cover.
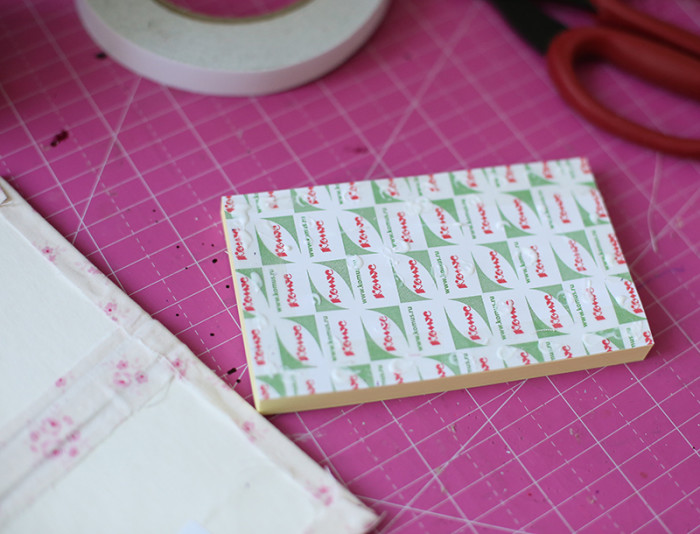
MK_pad - 19

Now the nicest part begins- decoration! I pick the paper for the covering.
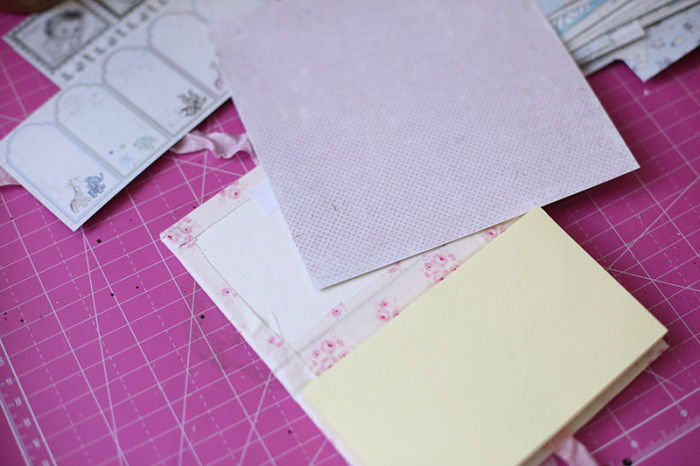
MK_pad - 20

using the wet glue you adhere it inside.
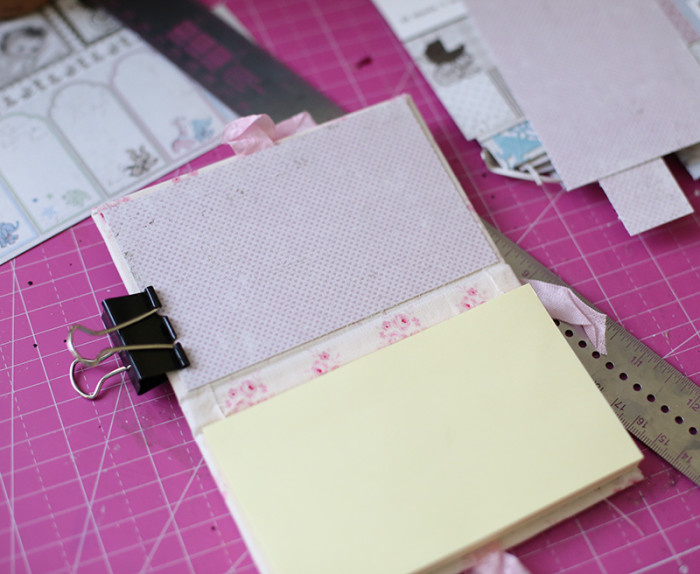
MK_pad - 21

*****

with the paper decoration for the boys’ sample its even easier… I picked two papers for the outside decor and you need to adhere it as shown.
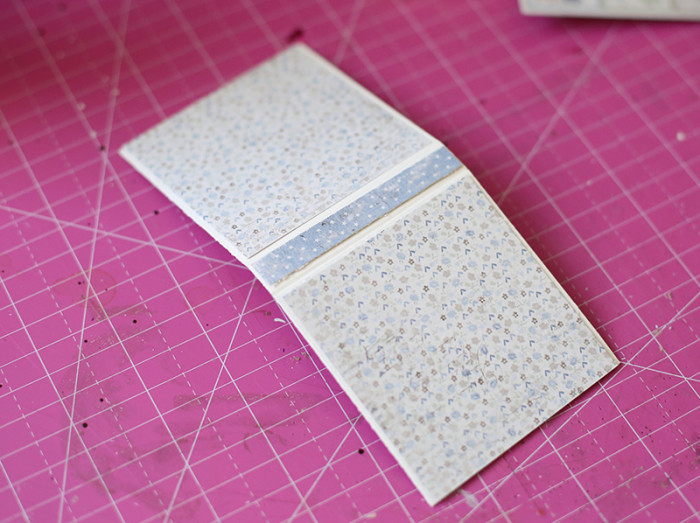
MK_pad - 22

then you just need to decorate your projects as you wish, I always start by picking the main element.
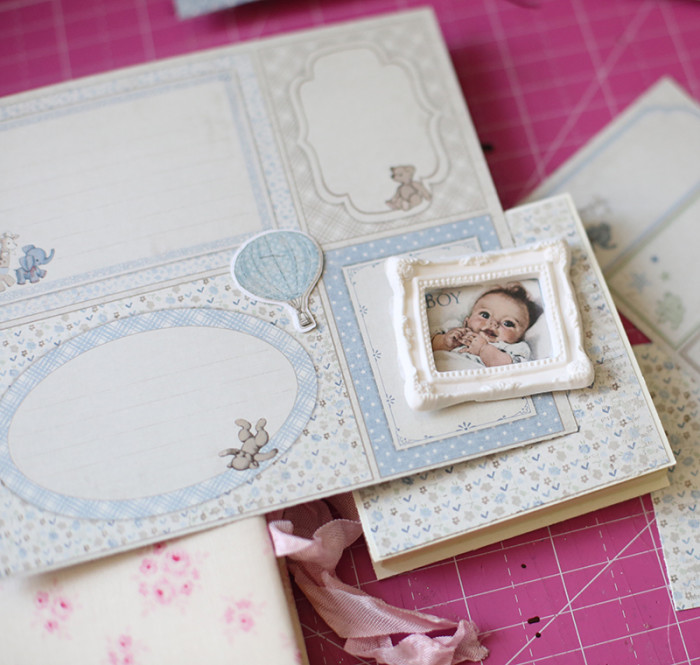
MK_pad - 24Once again- here is the outcome result!
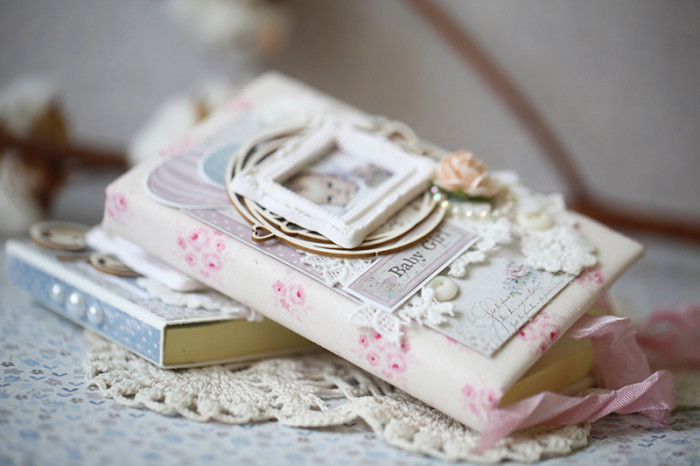
stick_notes_pad_petzer_together

Hope that you have enjoyed this little tutorial and these paper pads can become small nice gifts even for the teachers, if you go with more neutral decor theme.


I have used the paper pad of The Vintage Baby Collection

and the sheet with hot air baloons (New Arrival) for the fussy cutting:


Have a lovely day, 

Precious Baby

3

Posted by Rachelle Sigurdson

26 November, 2016 - ,

Write a comment

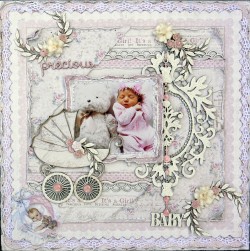
Hello, today I would like to share with you, a baby LO I did, using Maja Design’s, Beautiful Vintage Baby Collection….

f4a2bf570ece4893b6f730aa5367f71b

Vintage-Baby-P

I used:

It's a girl

It’s a Girl, its a Girl-BS

Flowers for Mum

Flowers for Mom

Cherish - bs

Cherish-BS

Our little miracle

Our Little Miracle & a BS of a label

The Chipboard used is from Dusty Attic

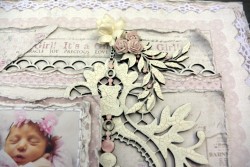
Here are some close ups….

2d61fcfcac464010923b6af2a5520b79

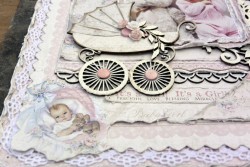
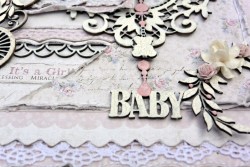
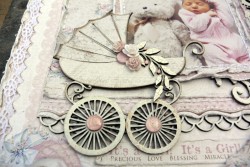
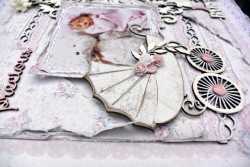
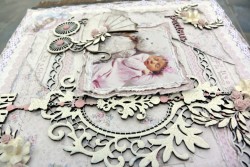
Shows distressed paper layers, using chipboard & lace in the layers. I scanned & printed the pram, painted it white, inked the edges using a brown ink pad, then cut out the pieces from the Vintage Baby,6×6 pack & glued them onto the pram…

841d7774520a4e33bdb483873101312a

I also did some hand stitching….

60a3a04272774dcf855e16a06e237aed

Here are a few more close ups….

25715f6022bc4f70aba5481c0e45c7d4

8797f61c595a429e95184e31ae0719dc

38fb52b996674a27aefd0dedf2dccac9 (1)

738f35be3d244cb6b0fd613415848a87

56fc839af9d84991b91cfeced2afc4dd

Thank you so much for taking the time to look…….Rachelle

Rachelle-sign

Baby Boy Cover Journal

0

Posted by Evgenia Petzer

5 November, 2016 - ,

Write a comment

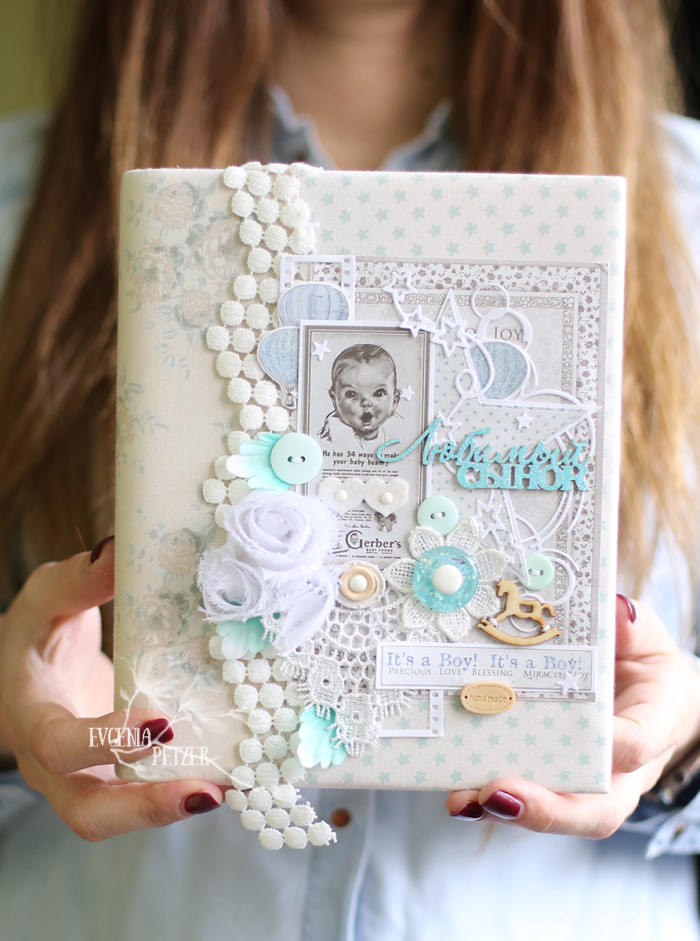
Hello dear friends! its Evgenia Petzer with you today and I am sharing another cover for a baby’s keepsake book that I love to make. I tried to make it soft and gentle, even though its for a boy, its still very appropriate as I think. I added some pops of “tiffany color” as the accents. This baby book can be also nicely complimented with this card That I made before.

baby_boy_nalichie

The air balloons I fussy cut from this sheet  *New Arrival*

then I put them on the white cardstock, to make them a bit firmer and to have that white edge around them that compliments other white colors of this book.

I have used the paper pad from The Vintage baby collection for it (I also currently have the giveaway of this entire collection on my blog, please come and enter if you wish to win it)

have a lovely weekend, we have lots of snow here, in Russia and want to play outside, have some outdoor snow fun.