Precious Memories

0

Posted by Maja Nowak

28 December, 2015 - , ,

Write a comment

Hello, dear Maja Design blog visitors ๐Ÿ™‚

It’s Maja here to share a layout about friendship and having fun ๐Ÿ™‚

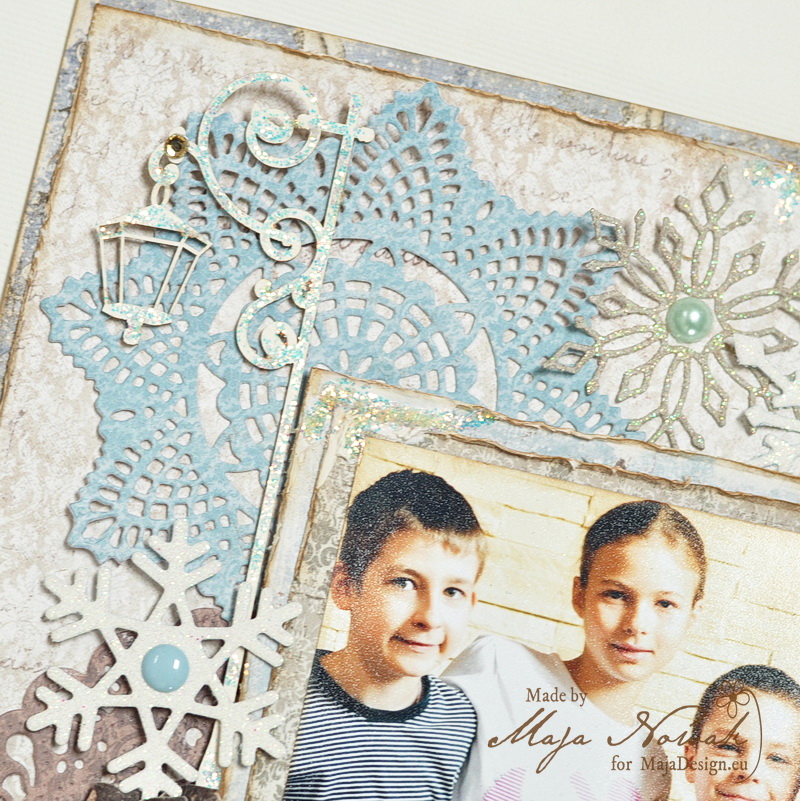
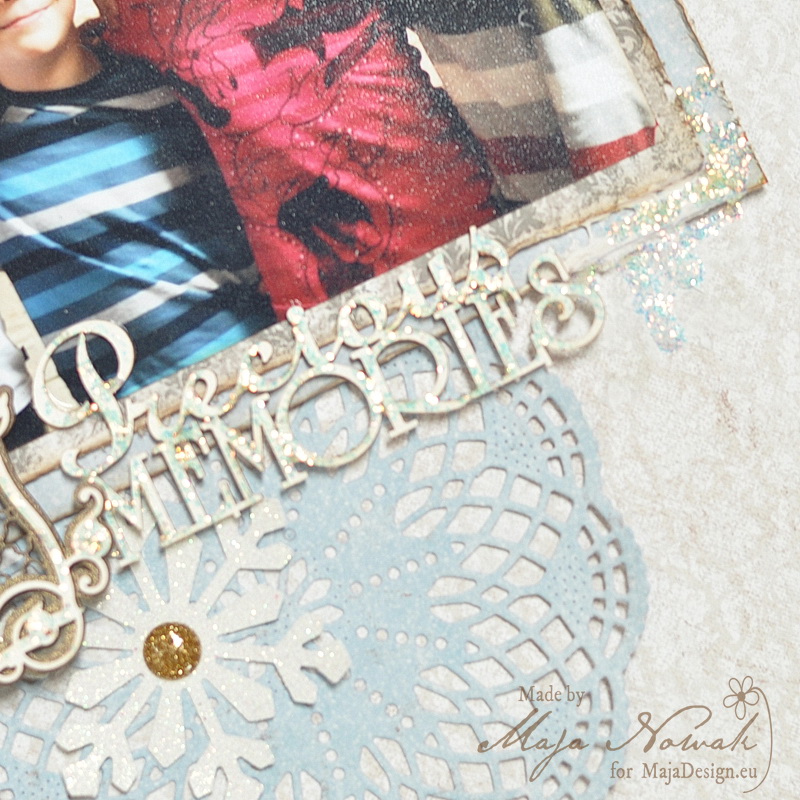
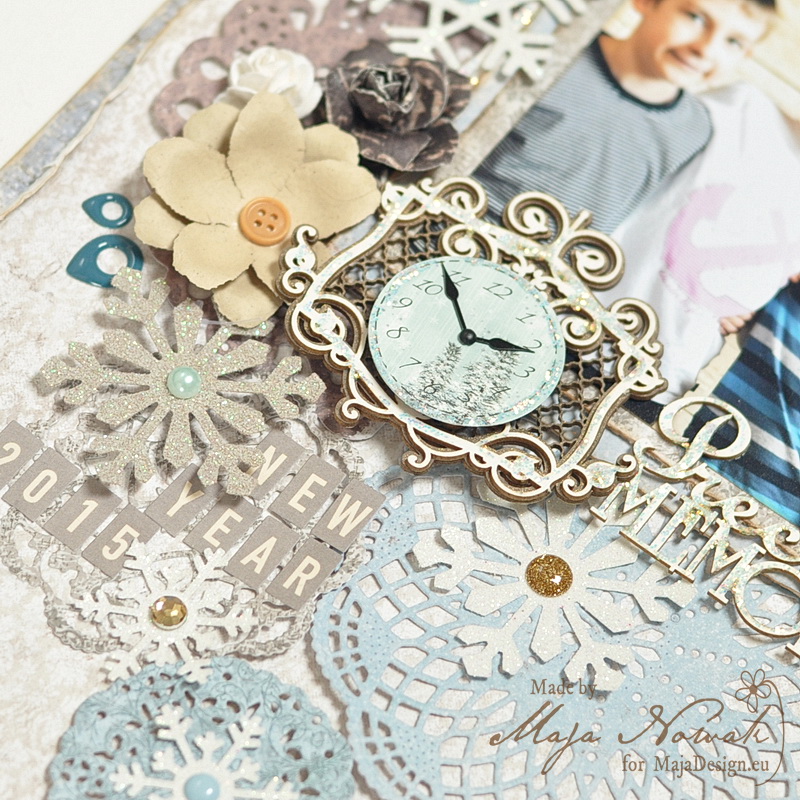
mdpreciousThe photo was taken almost a year ago, on the New Year’s day, when my cousin’s daughters visited us and my boys, my nephew and them were having a really good time together – just as we, their mothers, were when we were at their age… And so this photo brings some good and precious memories for me too ๐Ÿ™‚ I used papers from the latest collection, Home for the Holidays, and as the layout is to be framed, I had to go as flat as possible {sigh}. And so for the background I chose a light patterned paper and die-cut various doilies and snowflakes to create another delicate pattern ๐Ÿ™‚

mdprecious1

mdprecious2

To give it a light, frosty look, I used glitter cardstock for the snowflakes and added glitter to chipboard elements I used on my page:

mdprecious3

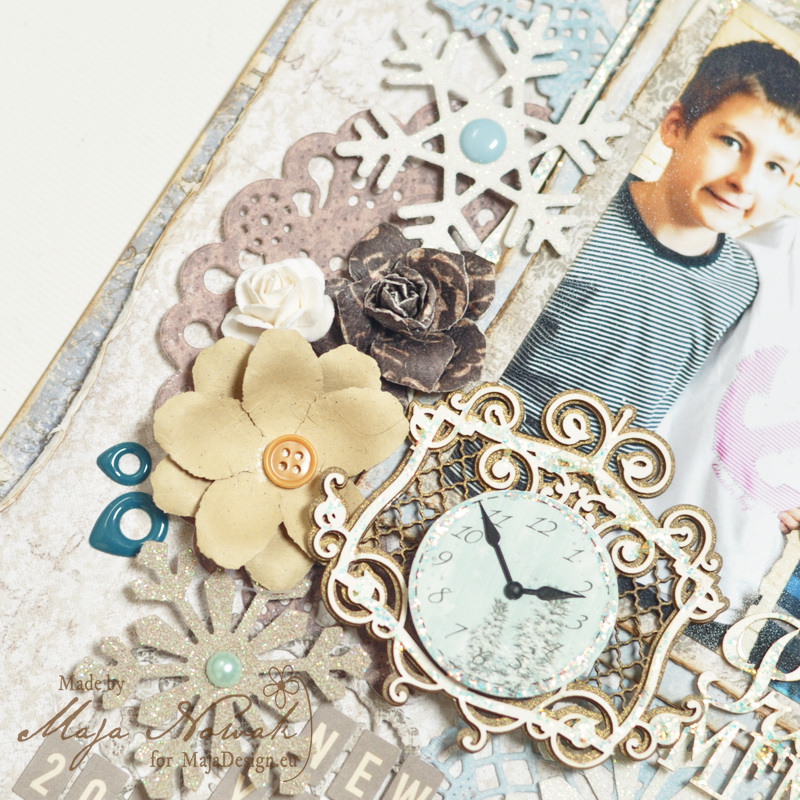
I used only flat and small flowers not to bring too much dimension on the layout. I also added a beautiful metal clock mounted on an intricate chipboard frame:

mdprecious4

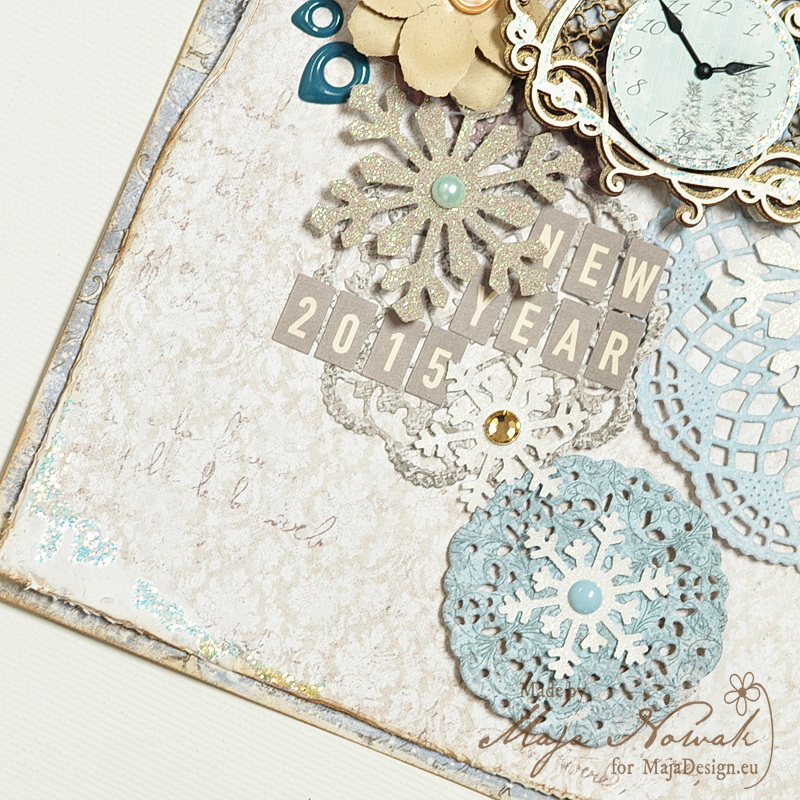
I composed a little bit of journaling using stickers:

mdprecious5

I tried really hard to go flat, but there’s some dimension ๐Ÿ˜‰

mdprecious6

I don’t want to spill the beans, but this is not the only layout I made with this photo ๐Ÿ˜‰ Keep a watchful eye and you’ll see soon ๐Ÿ˜‰

Supplies:

Maja Design papers: Home for the Holidays: Together, White Christmas, Welcome Winter, Friends, Snowy Days, Traditions. Vintage Frost Basics: 12th of December. Other: dies: Prima, Cheery Lynn Designs, Joy!Crafts; punches: Martha Stewart; chipboard: Scrapiniec; metal clock: the ScrapBerry’s; flowers: Prima; enamel dots: DP Craft.

see you soon!

Maja-sign

Christmas Cards

3

Posted by Maja Nowak

14 December, 2015 - , ,

Write a comment

Hello there, Maja Fans, welcome to our blog ๐Ÿ™‚

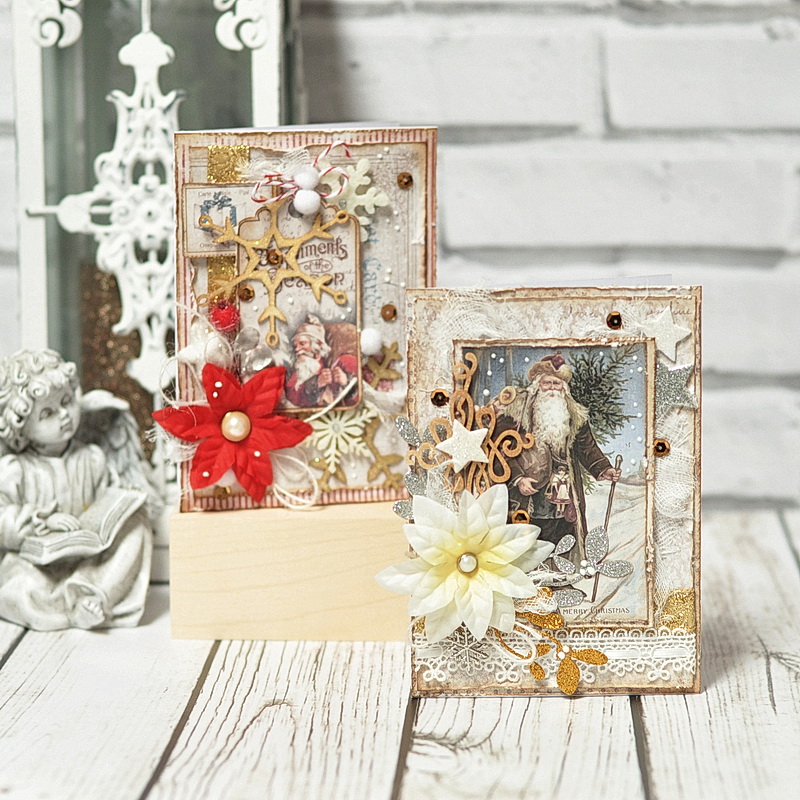
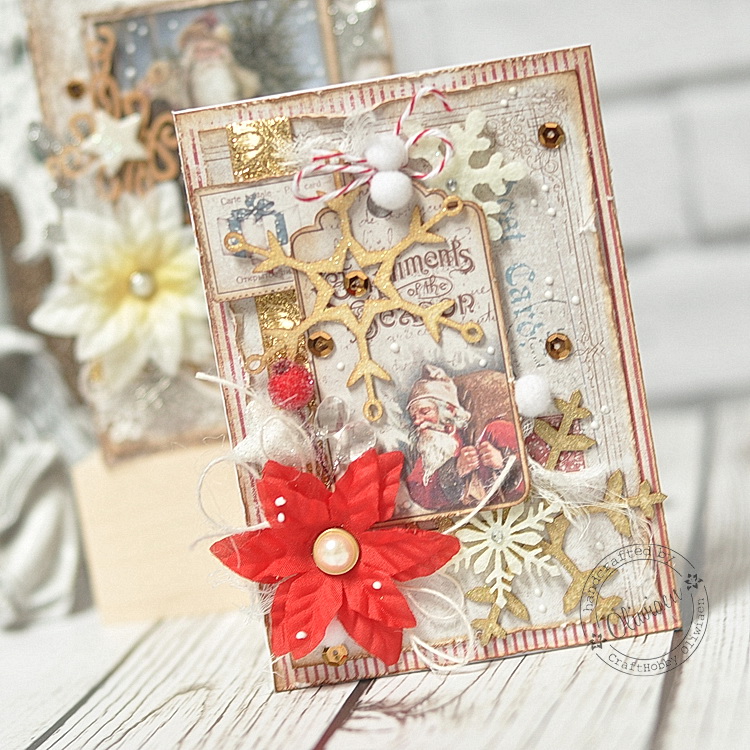
It’s Maja here and yes, I finally bring you Christmas cards! ๐Ÿ™‚ With Christmas less than two weeks away I’m getting into the holiday mood and preparing to send out my Christmas cards. Here are the cards I made with our latest beautiful collection, Home for the Holidays:

mdmer

As you can see, I used the Santa Clause images and poinsettias as main motives for both cards, yet they do differ in the details.

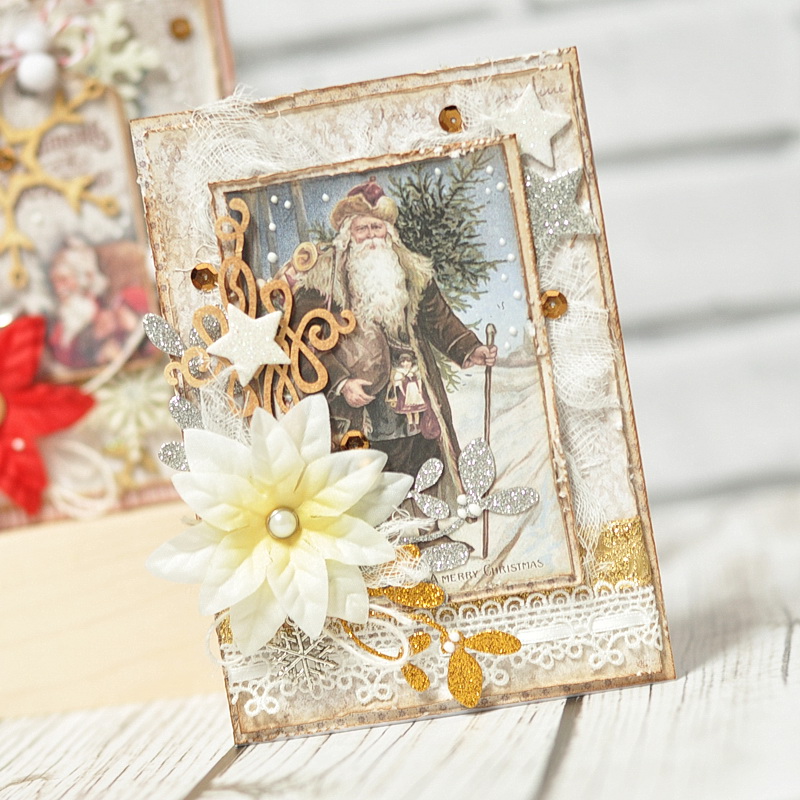
The white poinsettia card features the Santa image from the Vintage Frost Basics die cuts sheet:

mdmer1

I chose the ecru-white-gold-silver palette: I layered pieces of paper and covered the background with a piece of cheesecloth. Then I tucked some foam glitter stars I bought for my kids to play with ๐Ÿ˜‰ and golden sequins under the layered image:

mdmer2

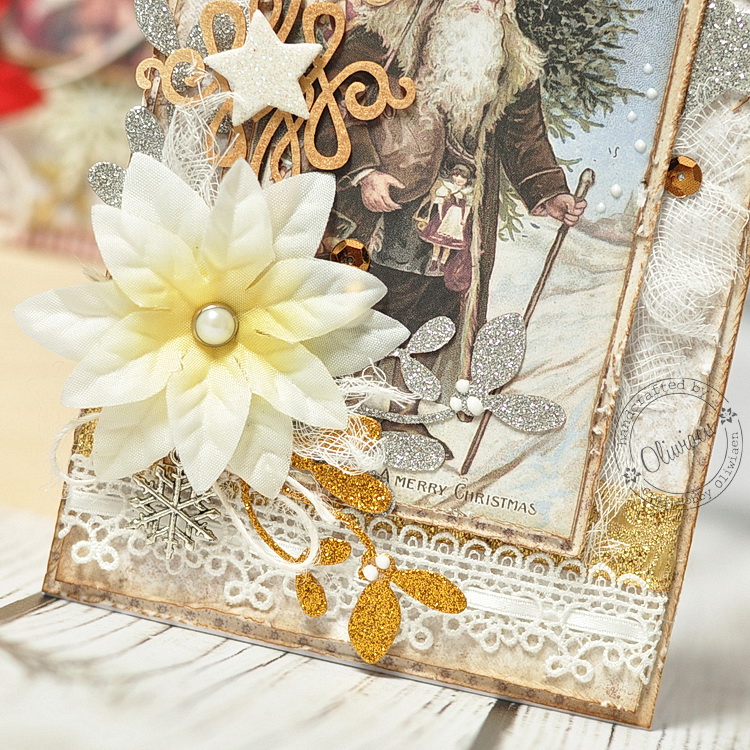
The poinsettia isn’t the scrapbooking stuff either ๐Ÿ˜‰ I just dismantled a small poisettias bouquet I bought from a home decor shop. I removed the plastic stem and flower centre and replaced it with a pearl brad. Under the poinsettia I put die-cut mistletoe twigs, a snowflake charm and some beautiful golden ribbon and guipure lace:

mdmer3

The other card features some more bright colours as I chose the “red” Santa tag from the die cuts sheet for the Home for the Holidays collection and added a red poinsettia:

mdmer4

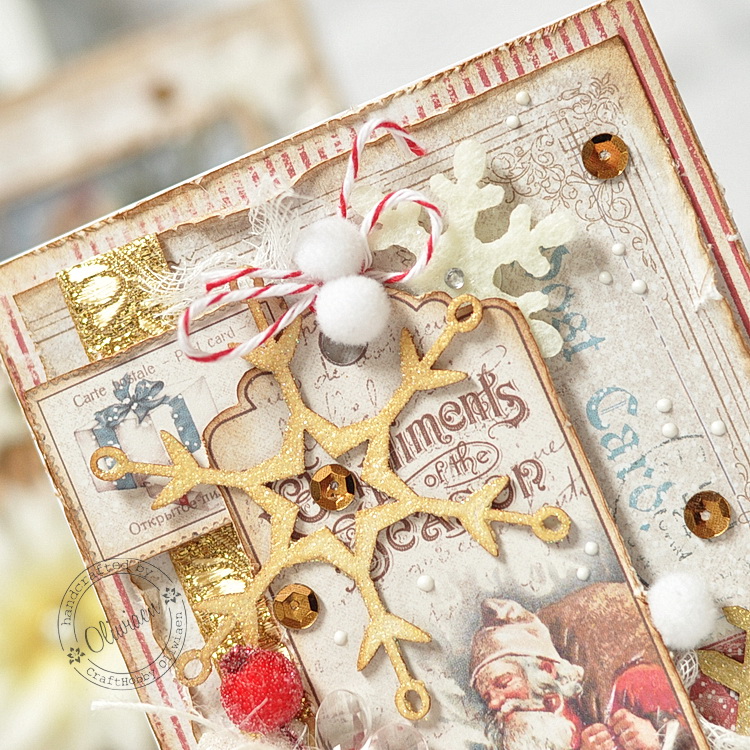
For the background I used a piece of the A Real Fellow paper with the postcard print. Then I added some felt and chipboard snowflakes, the poststamp image, golden metallic ribbon and sequins. I tied a piece of baker’s twine on the image tag and added white pompoms ๐Ÿ™‚

mdmer5

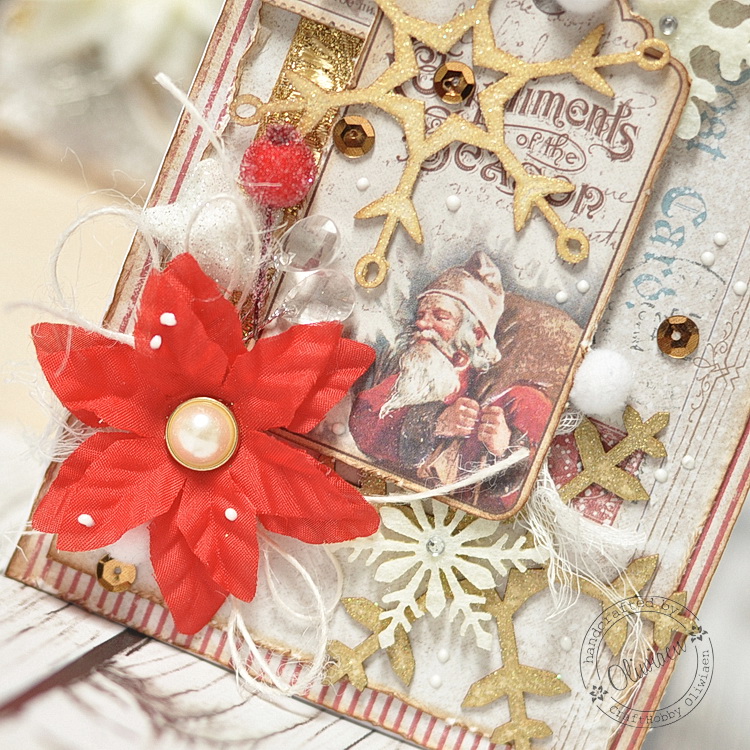
I decorated the poinsettia with frosty berries, crystal drops and “furry” twine. Then I added some liquid pearls imitating snow to finish my design:

mdmer6

I really like how the cards turned out: vintage and festive, just as I wanted ๐Ÿ™‚

Supplies:

Maja Design papers: Home for the Holidays: Together, Together bs, A Real Fellow, Die Cuts; Vintage Frost Basics: Die Cuts. Other: chipboard: Scrapiniec, Wycinanka; twine: Prima, Divine Twine; glitter, liquid pearls: Ranger; crystal drops: The ScrapBerry’s; cheesecloth, poinsettias, ribbon, pompoms, sequins: my stash.

Have you sent your Christmas cards yet? ๐Ÿ™‚

Maja-sign

Merry Christmas in pink

4

Posted by Evgenia Petzer

24 November, 2015 - , ,

Write a comment

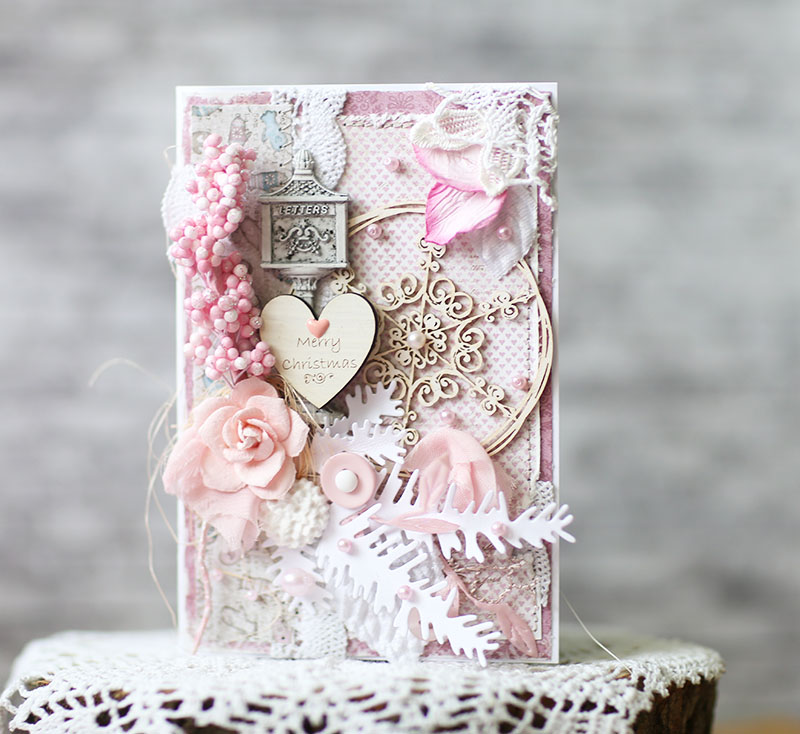
Hello dear Maja friends! Its Evgenia Petzer with you today. Do you have your favourite crafting themes? I absolutely do! I love making baby stuff and also love doing christmas projects. And sometimes I love to challenge myself by creating the non-traditional coloured projects. This is how I started creating this card. I was thinking about the shabby style in christmas and the pink color just popped in my mind and then resulted in this card.maja_nov_pink_petzer

I love the little beads that made perfect accents in this cut. The die cuts in white and the lovely chipboard helped me to showcase the Maja Papers.

I have mixed some scraps of paper that I have in my leftovers and they were from different collections, I was just pulling them by color. That’s another reason why I love Maja Design papers -they are so easy to mix and match. I have used here Coffee in the Arbour collection

and this sheet with mittens

Have a lovely cozy day,

The Frozen Playground

5

Posted by Silje Kristin Aunan

15 November, 2015 - ,

Write a comment

Hi all ๐Ÿ™‚

Today it is me, Silje Kristin, who can not wait to show you a new project that I have made with paper from The Vintage Frost Basics.

I asked the others in the Design Team if any of them had an idea for a BIG project I could make. Lovly Camilla, suggested children furniture, and with this two words, I decided to create my own kids playground ๐Ÿ˜‰

When I made the kids playground, I chose to use the pink pattern papers from the collection. I make several different elements, you will find in a real playground. When I was finished with the elements I used snow and glitter on them.

Frost-Basics-P

On this playground you will find a swing, slide, sandbox and a toy I dont remeber the name on. All the items are made by hand and withut a tutorial, the entire project took 15 hours to create.

The fist thing I made was the swing, here you can see is room for two <3

Afther the swing, I made the slide.

A playground is not the same without a sandbox ๐Ÿ™‚ In the sandbox you can find two buckets that I have made and on the edge on the sandbox sits a bullfinch, which is a dies sett with 3 sizes from kaBoks. I also placed a bullfich up pn the swing.

And finally there is the small special toy that you can sit on.

The deer is one dies from Memory Box and the sled is a dies from Marianne Design.

Since this is a frozen playground, I have also made a pyramid of snowballs, in norway kids have candle inside of them.

The entire project is built on the back side of a wooden frame and in the corners I have some silver feet.

Maybe you wish you were four inches, so that you could play in my frozen playground, like I do <3

SiljeKristin-sign


My Winter Wonderland

4

Posted by Silje Kristin Aunan

1 November, 2015 - , ,

Write a comment

Hello Everyone <3

Today it is me, Silje Kristin that will inspire you, with something I’ve never have done before.

This weekend I took a trip down to southern Norway, and visited a lovely town called Tรธnsberg. I traveled on Thursday to have the entire weekend along with scrapping happy ladies. I’m having a great time, and some great days here at the scrapbooking event. I have meet many new and wonderful scrappers and enjoyed hours after hours with papers.

Do you remember my last post? I told you I’d show you one big project. I was then in a scrapbooking event here in my home town, Bodรธ. That weekend I spent 21 hours making something I’ve never tried before. The inspiration I got from an intro of a TV series and the winter theme.


I decided to create one ferris wheel. The ferris wheel is made without a tutorial. I used about five hours to make the two wheels. Around the wheels I have attached white pearl string. The ferris wheel is assembled in the same as the wheels. Also these, I’ve created without a tutorial.

In between the wheels I have attached paper straws, which I have distressed with Distress Mini Ink. On every paper straws, a small trolley hanging down. The trolleys are made of four circles. I’ve used a thin white tape around, to create a special effect.

On the front on the wheels, I have some big snow crystals, these are wood from Wycinanka. I have covered them with snow and glitter from Distress Ink.

The details I have made and placed around the ferris wheel are made by hand. Here you will find shoes, snowmen, christmas trees, deer, christmas gifts and bullfinch.

The shoes are painted white, and then I have some snow and glitter on them <3

I have made two snowmen, which are made with a tutorial that I have made myself. Both snowmen are covered with snow and glitter, that you can see is everywhere on the project.

Behind the ferris wheel and at the front, I have some deer. This is a dies set from Marianne Design.

On the green chrismas trees I’ve used glitter and snow.ย  In and on the trees you can see christmas baubles in blue andย  bullfinch.

The bullfinch is a dies set from kaBoks, this is one set of three size and they are perfect to have between flowers, or as I have done, glued them on the christmas trees <3

The final details of the project are tree packages in three sizes. Each package has its own tag, ribbon and snow <3

If you put all the details together, you have a lovely winter wonder land, with wonderful snow and glitter <3

The entire project is made on the back of a shelf. In the corners I have attached silver feet and atop of the brown carton I have covered it all with white snow and glitter.

I have used paper from two diffrent collections from Maja Design.

Frost-Basics-P

Wintage-vinter-P

I hope you are inspired to create your own winter wonderland <3

SiljeKristin-sign