Mini album and a card

0

Posted by Evgenia Petzer

12 March, 2016 - ,

Write a comment

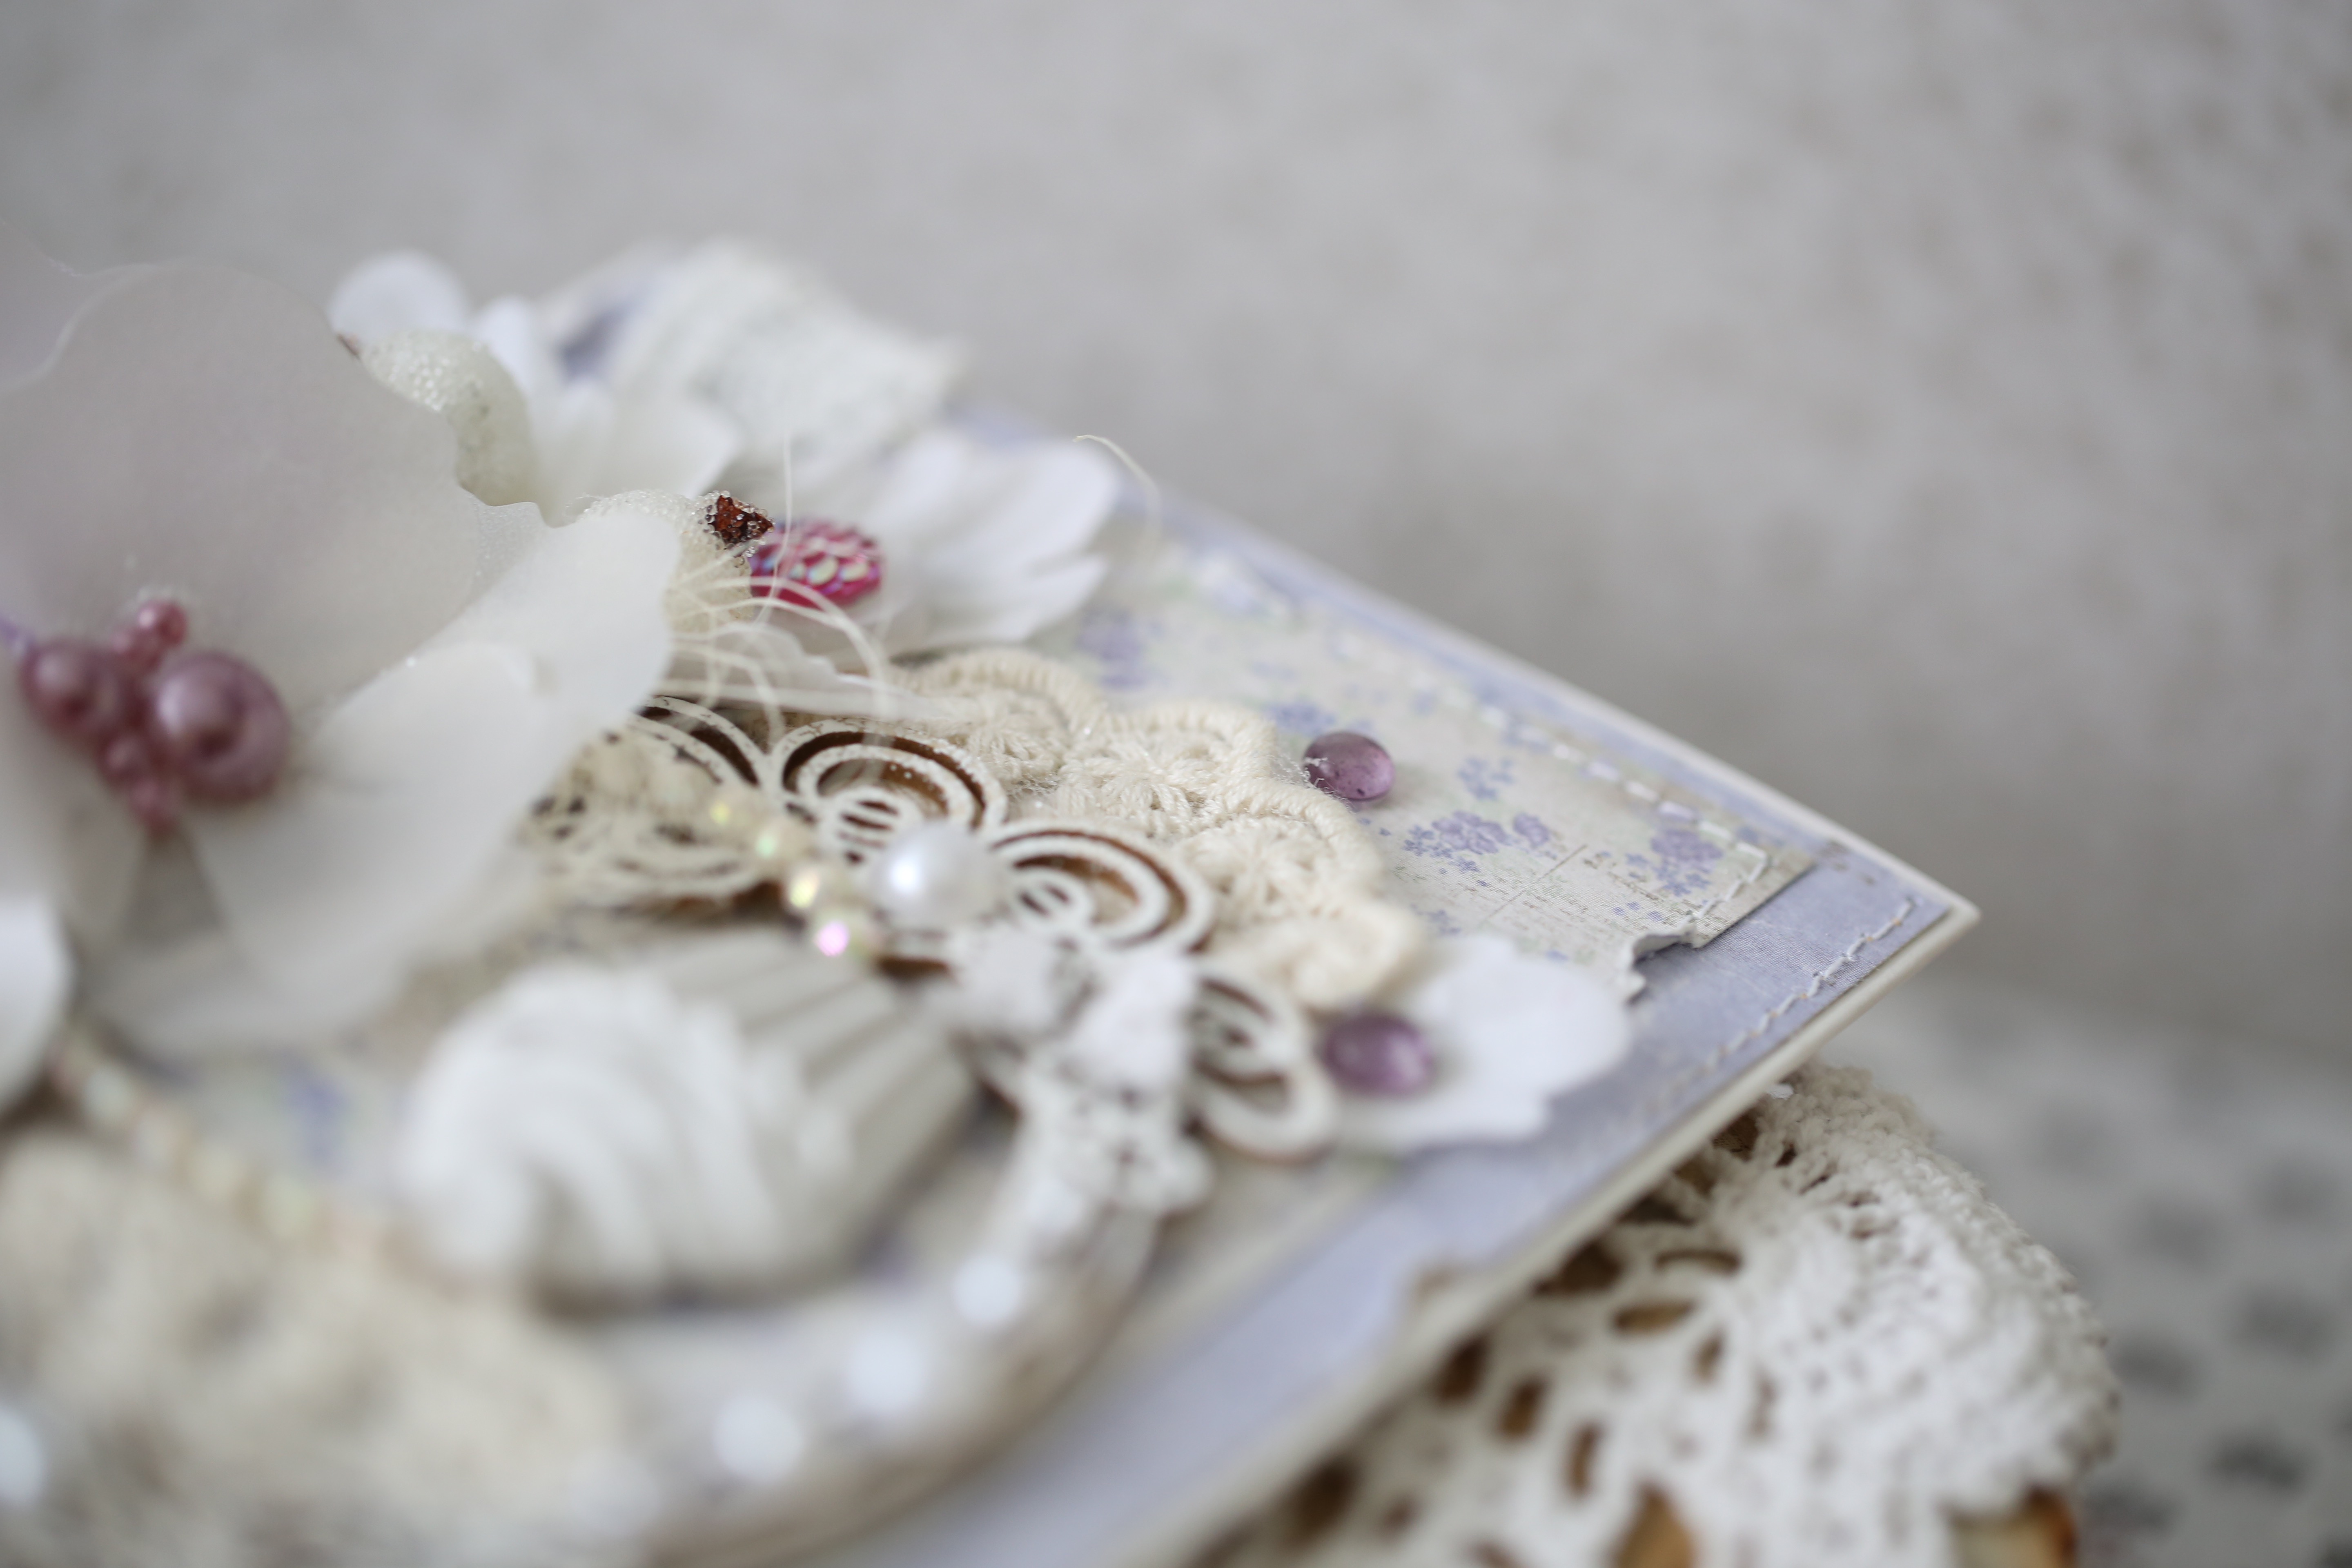
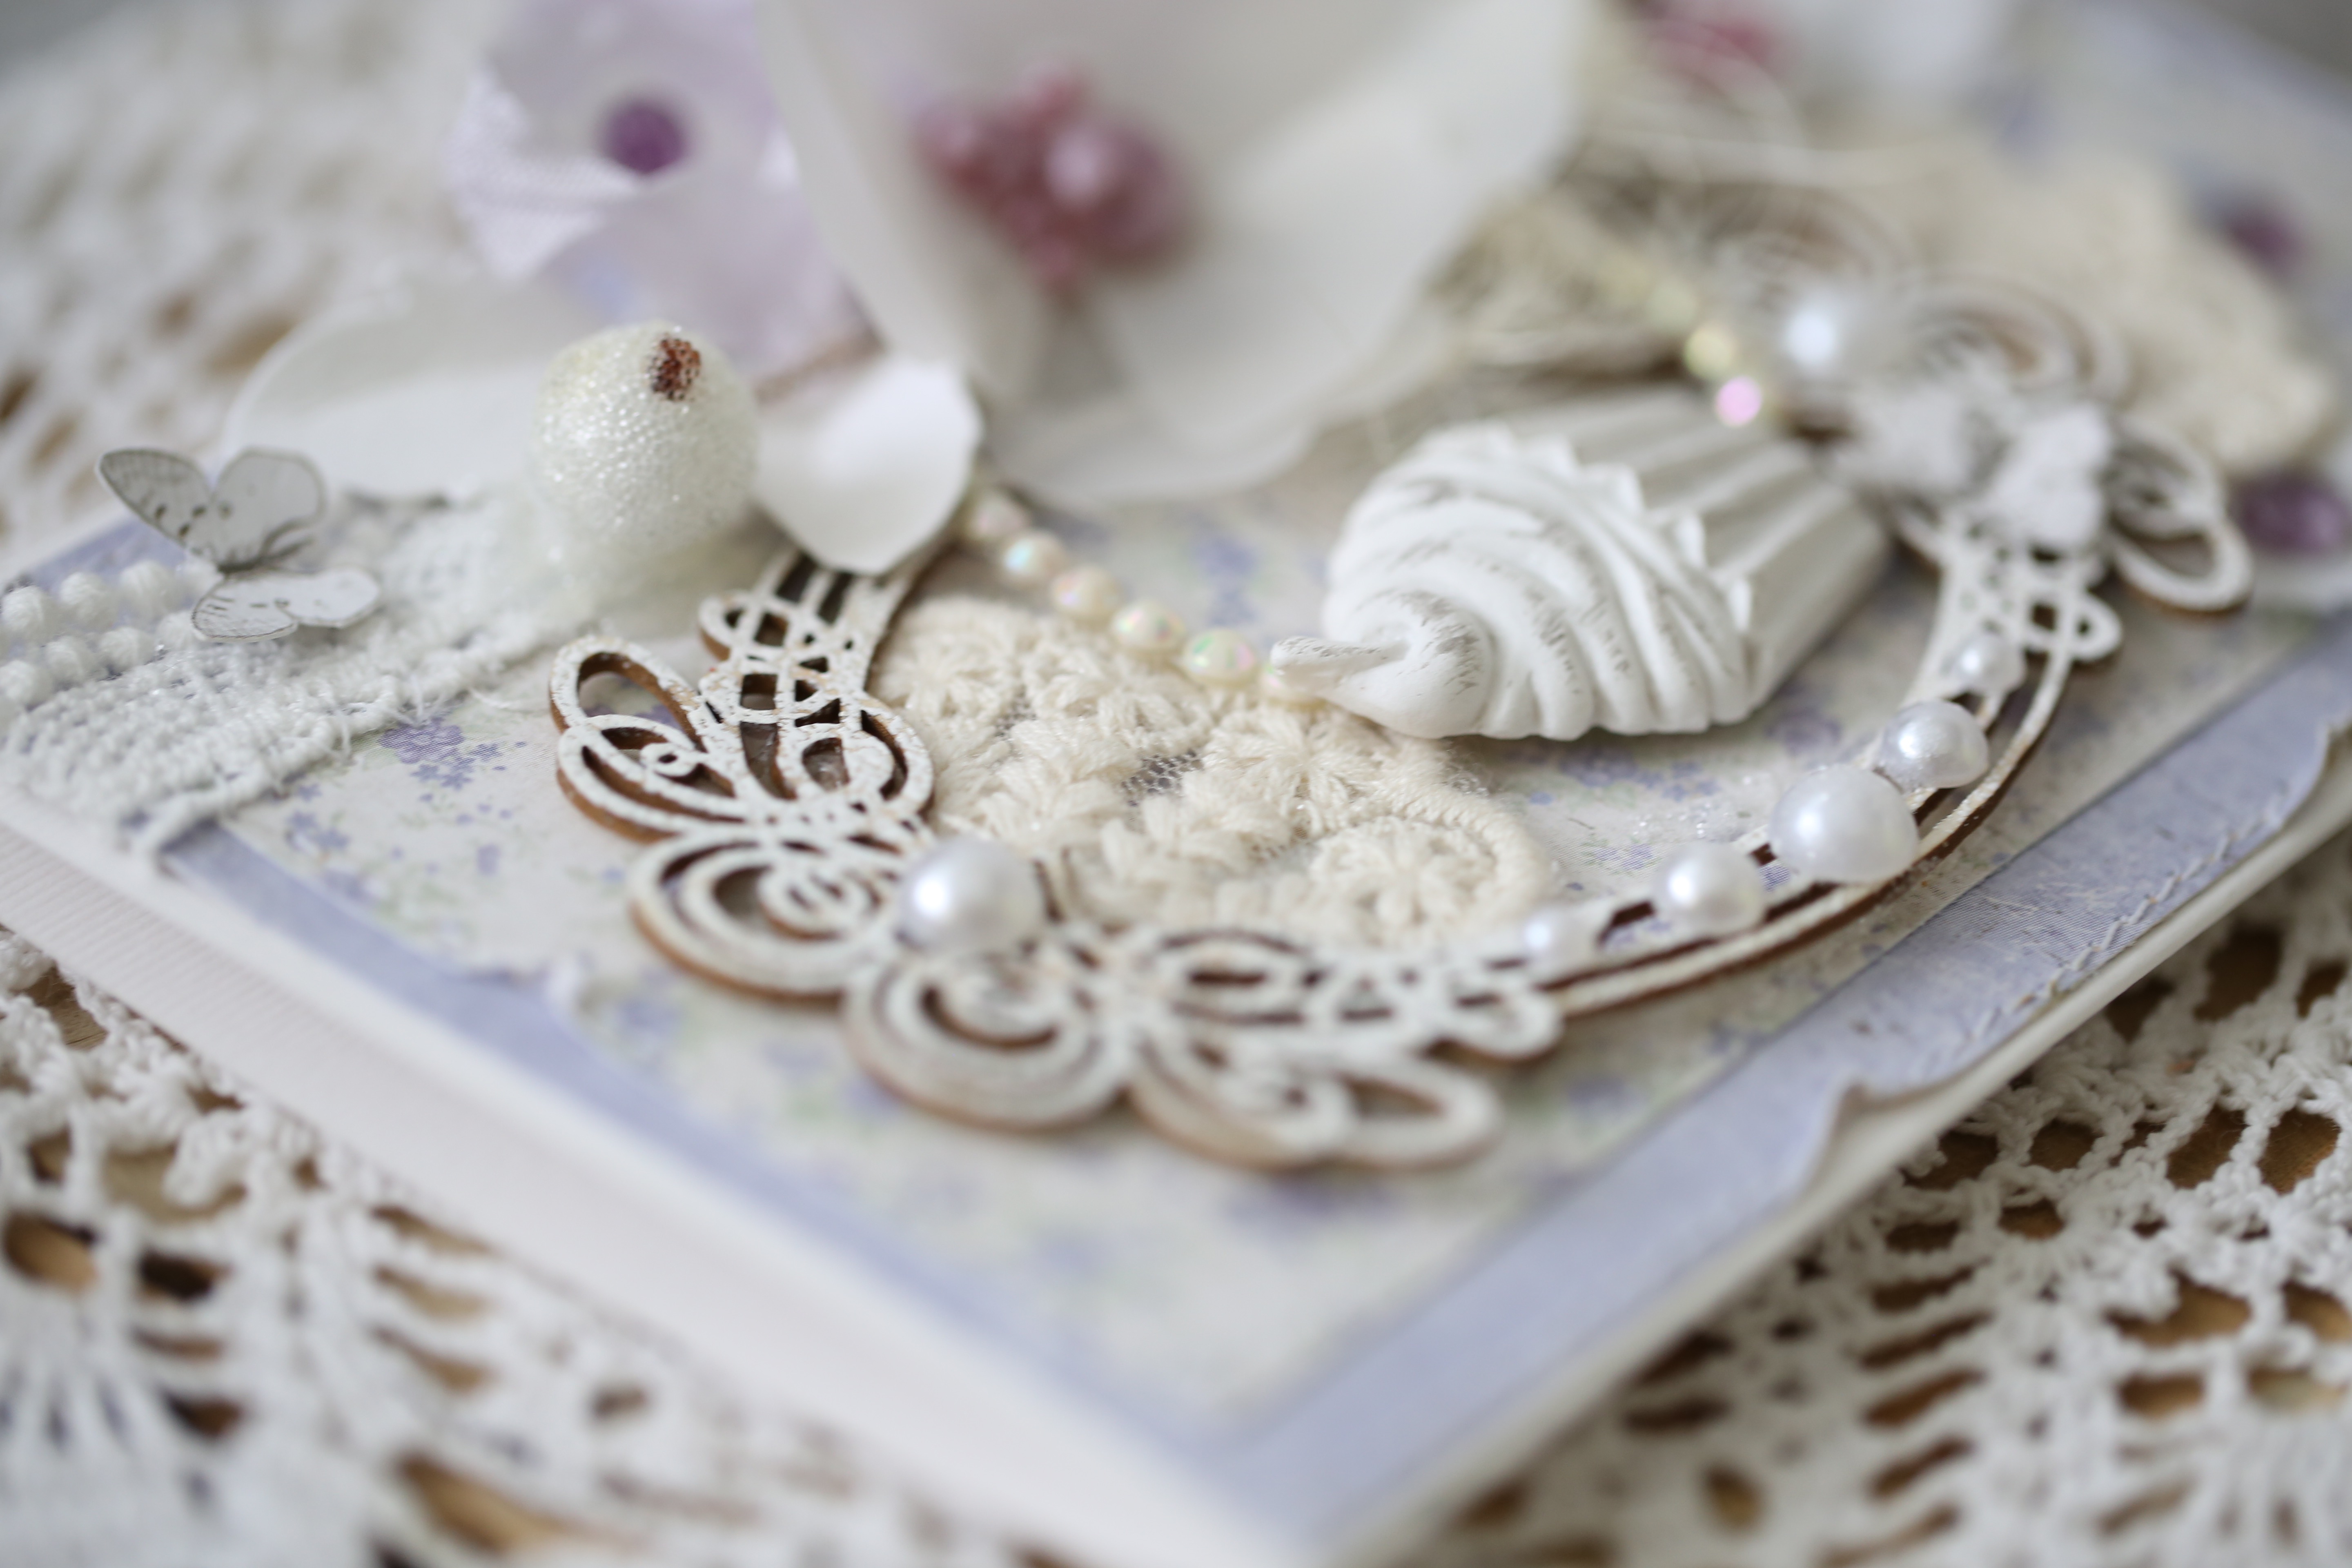
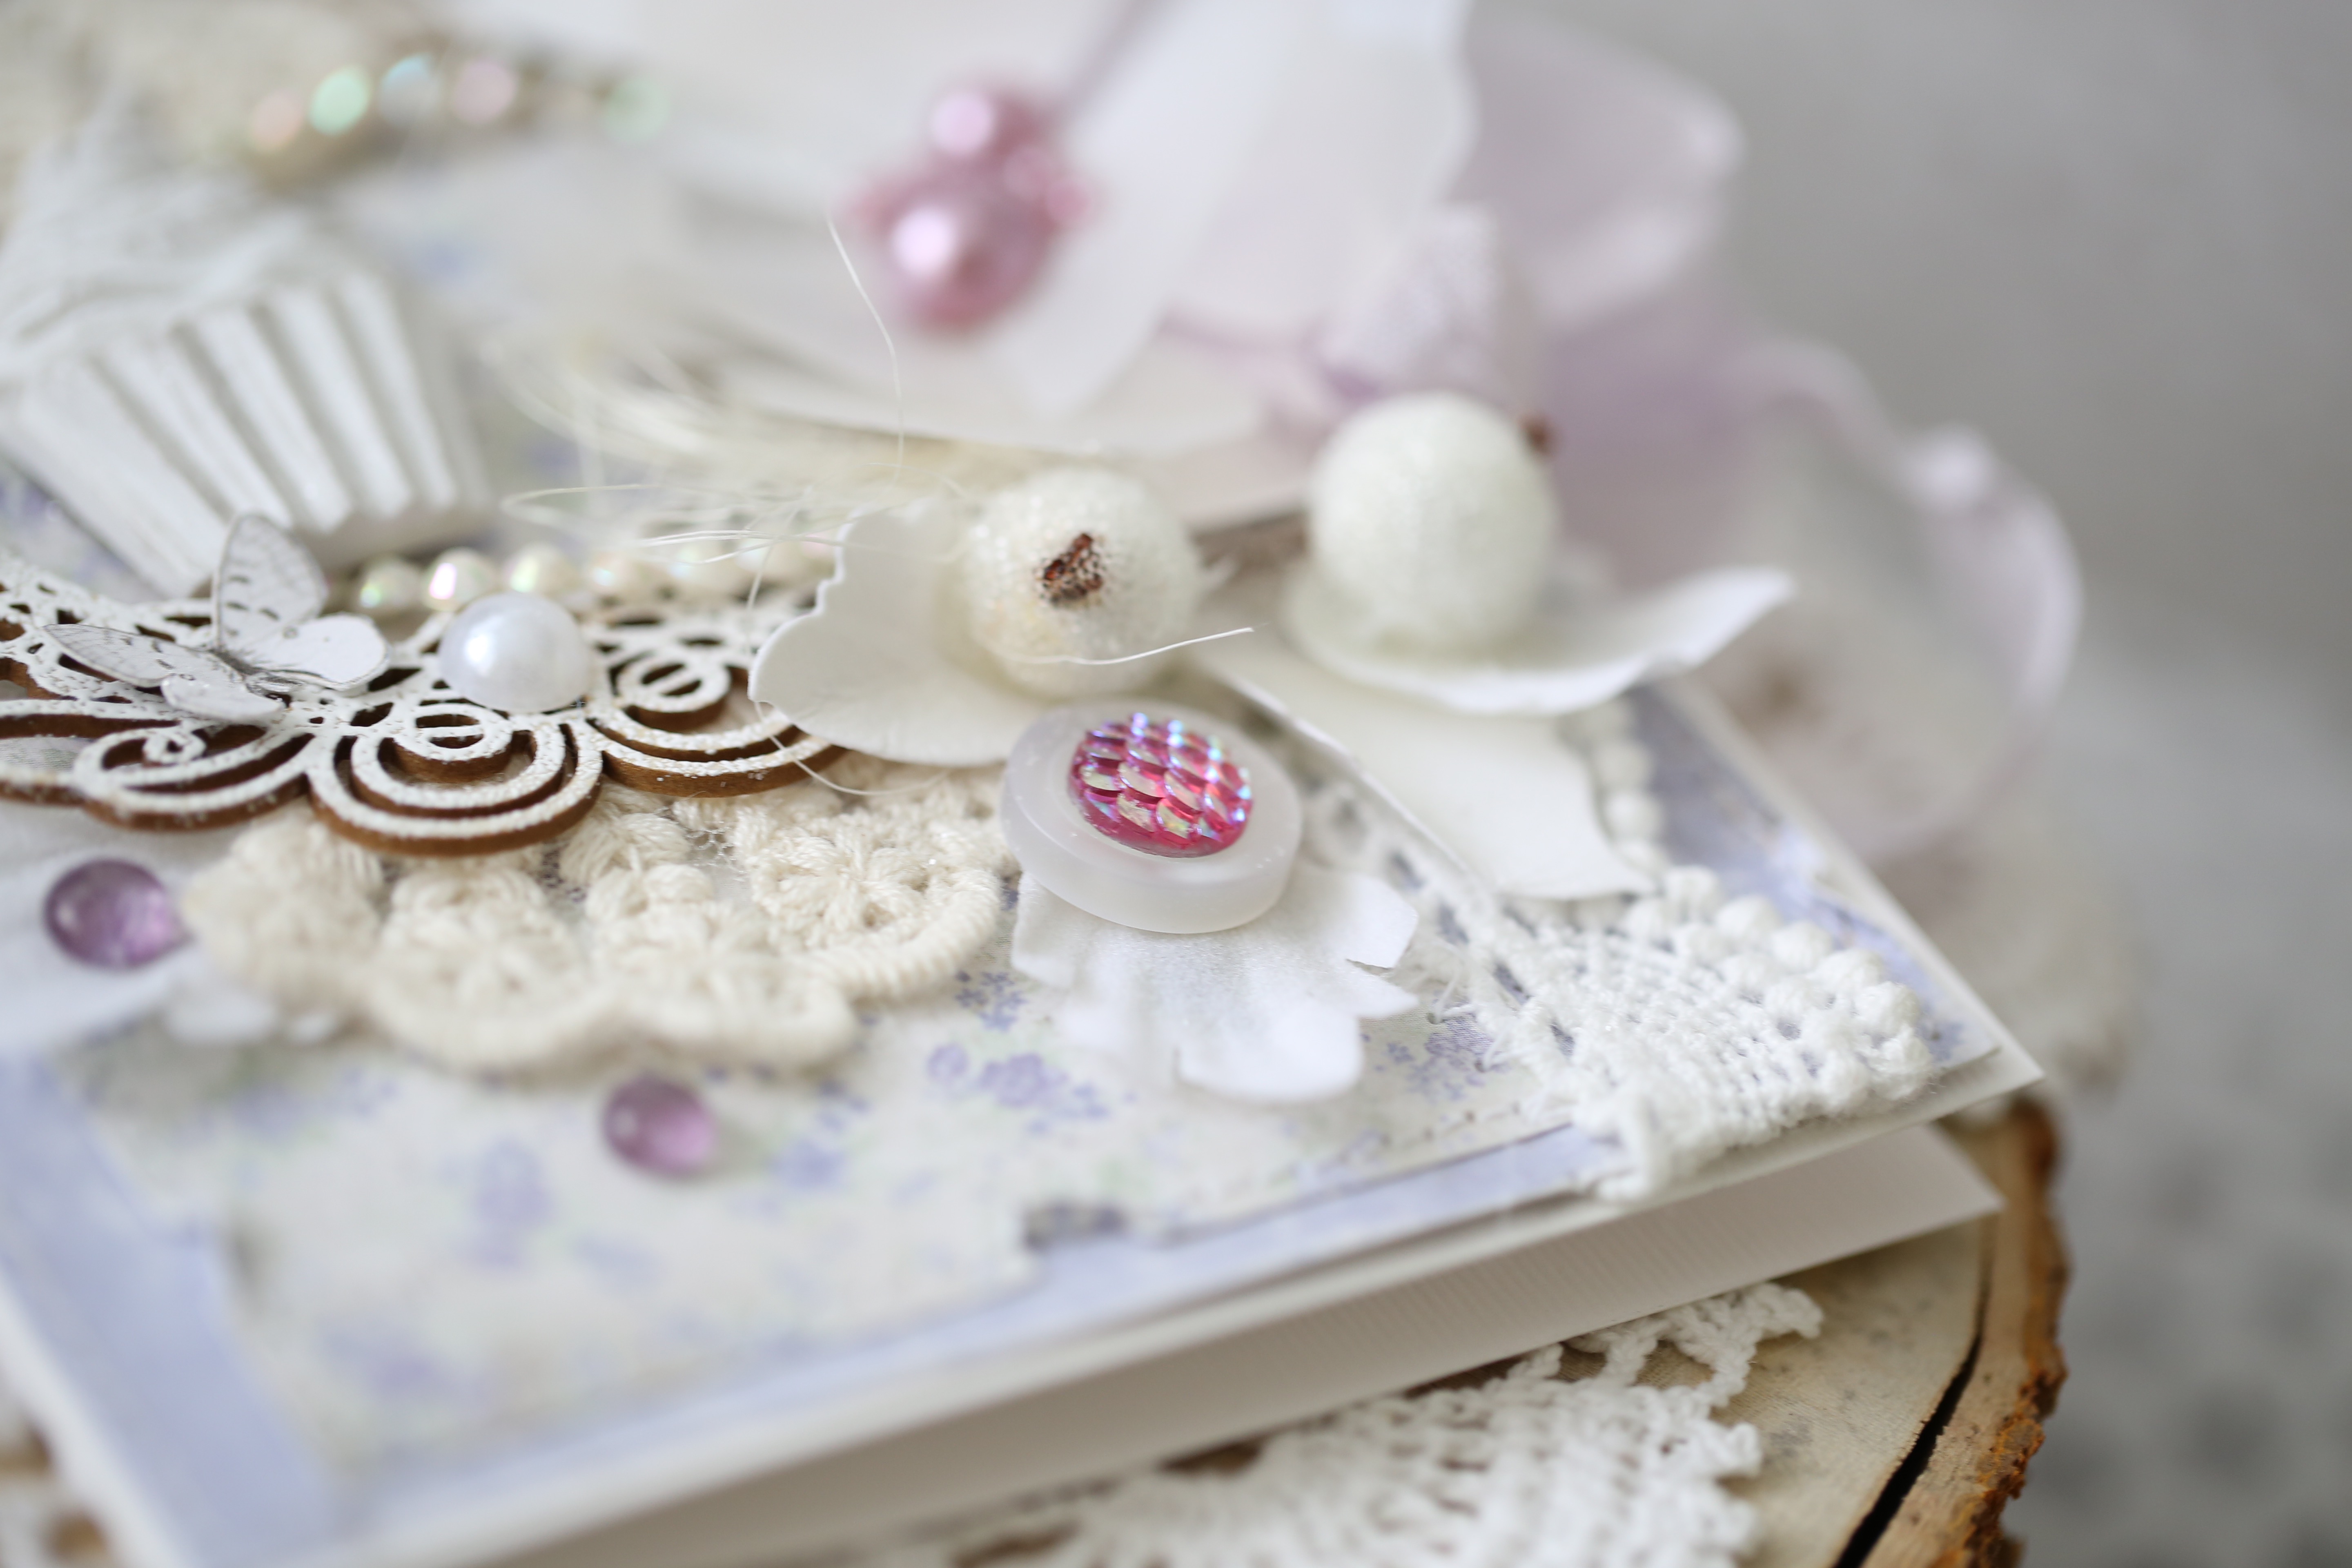
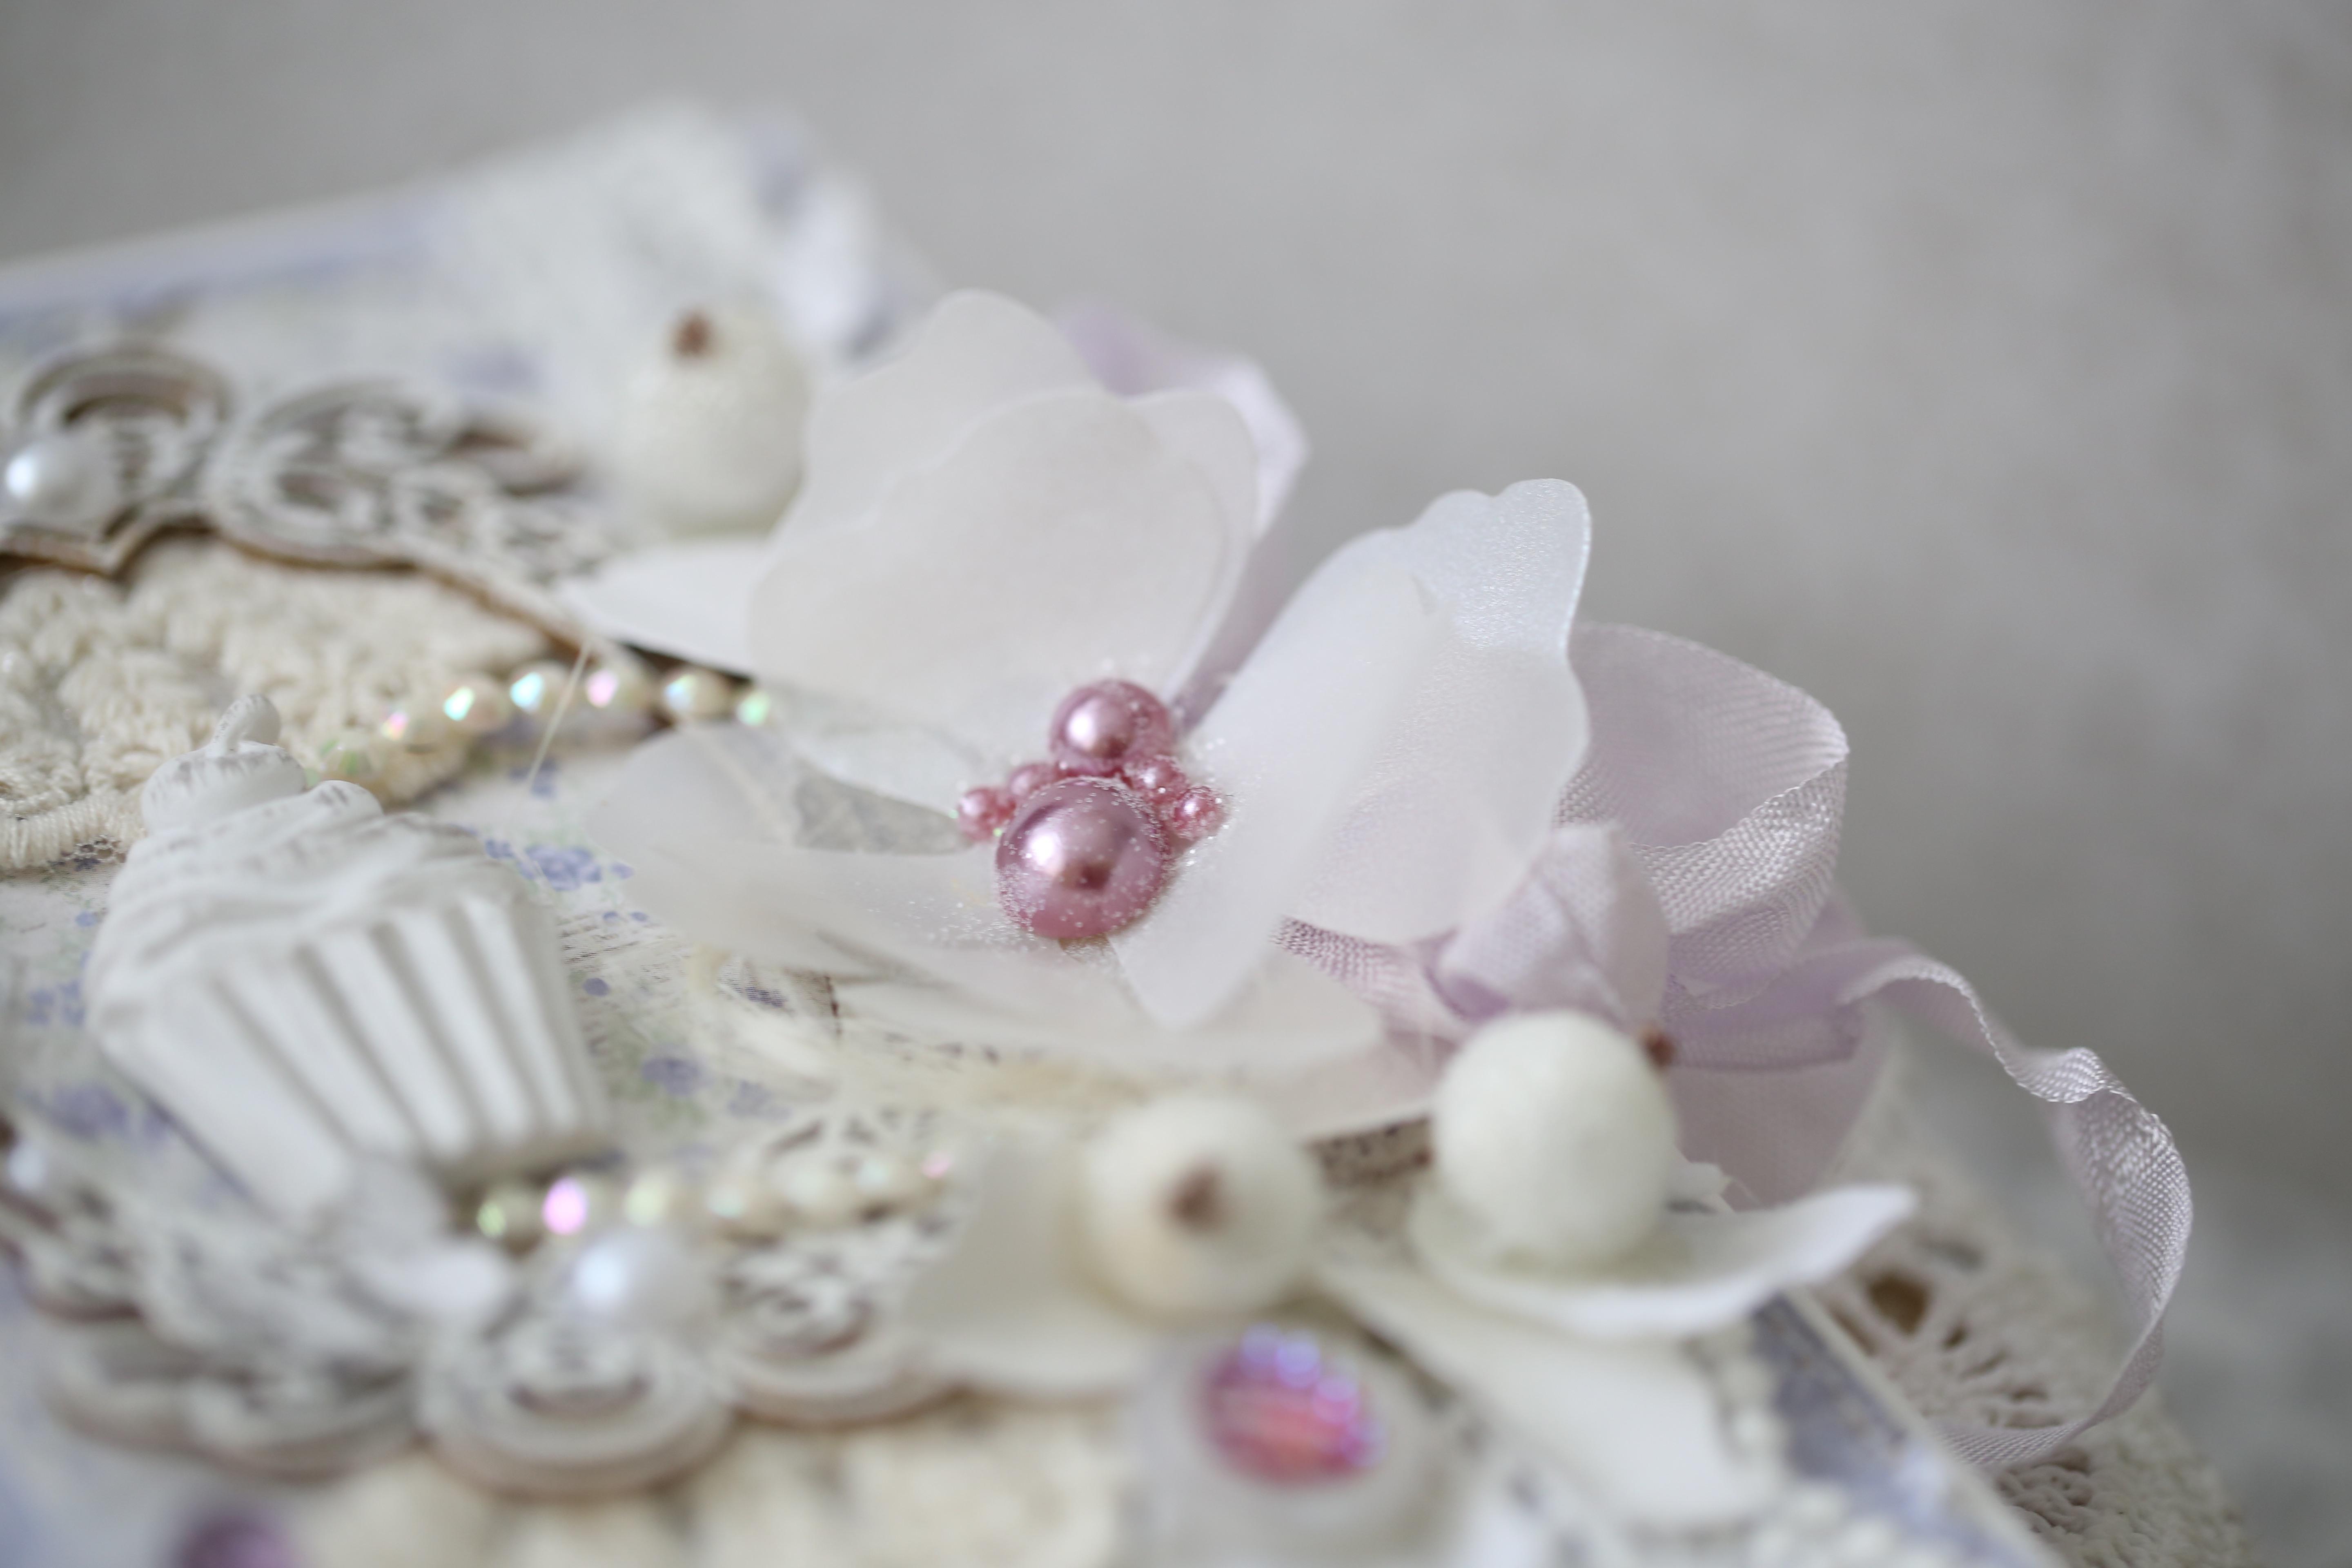
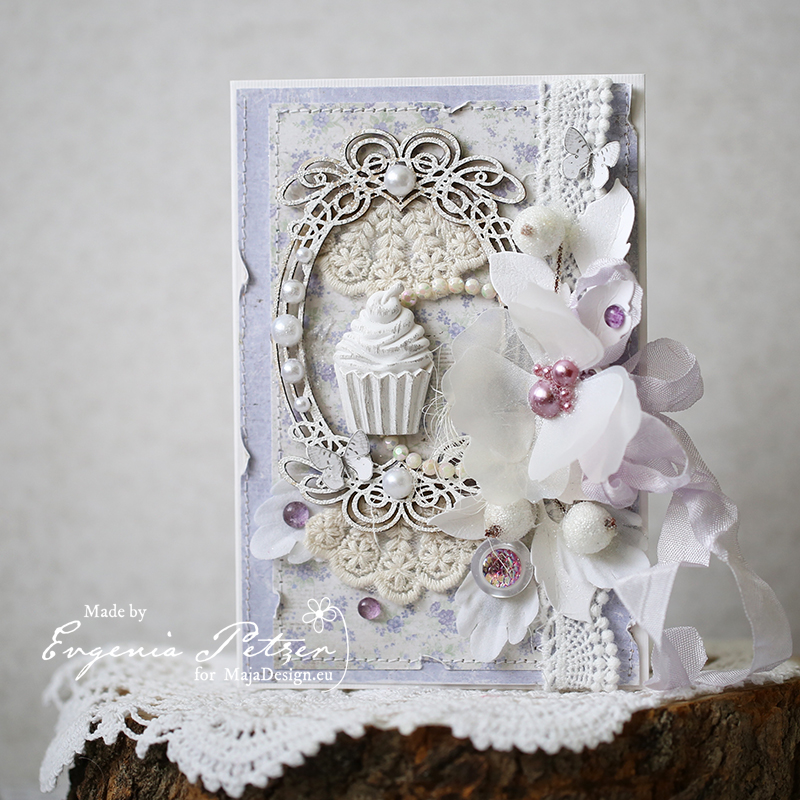
Hello dear friends! Evgenia Petzer with you this Saturday morning with a long post to share. First is the gentle, feminine birthday card that I made using the light shade of lavender color that I love so much.

handmade_flowerslots of close ups:

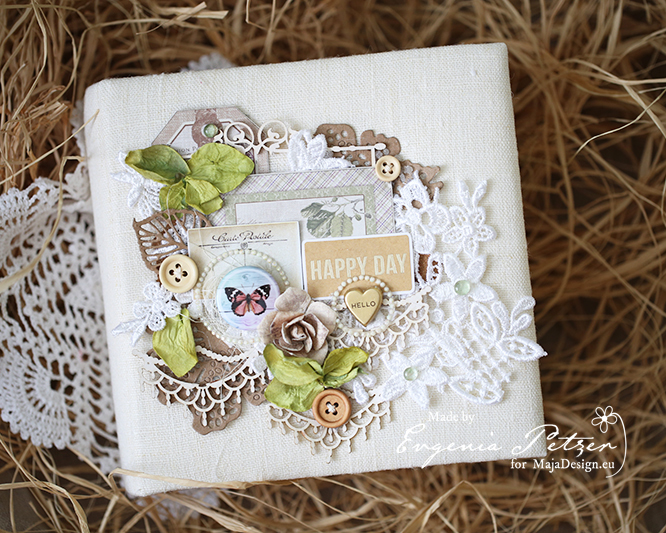
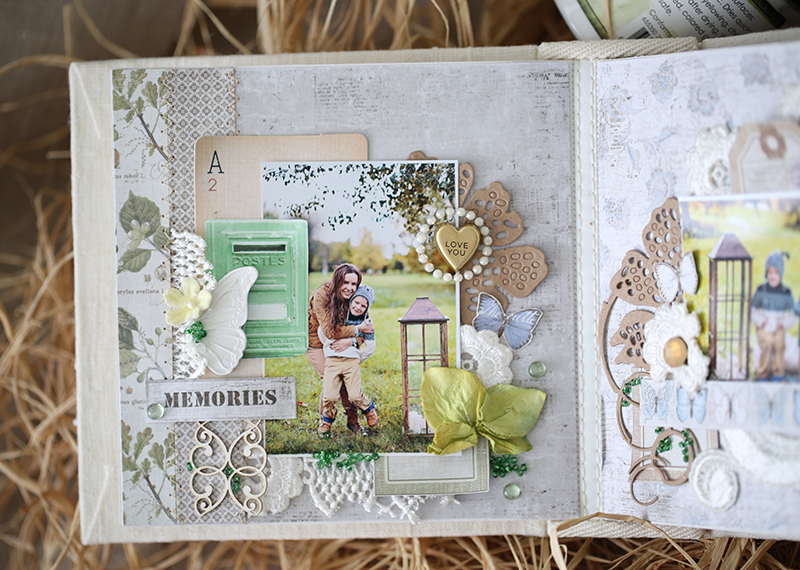
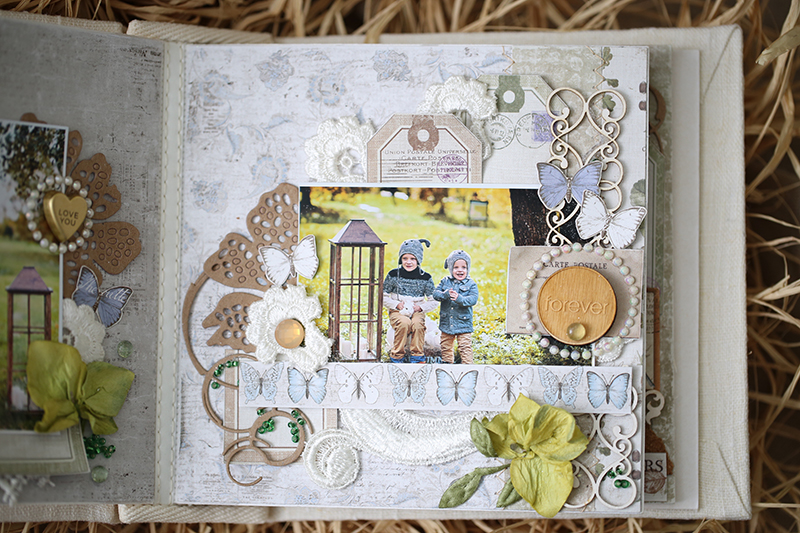
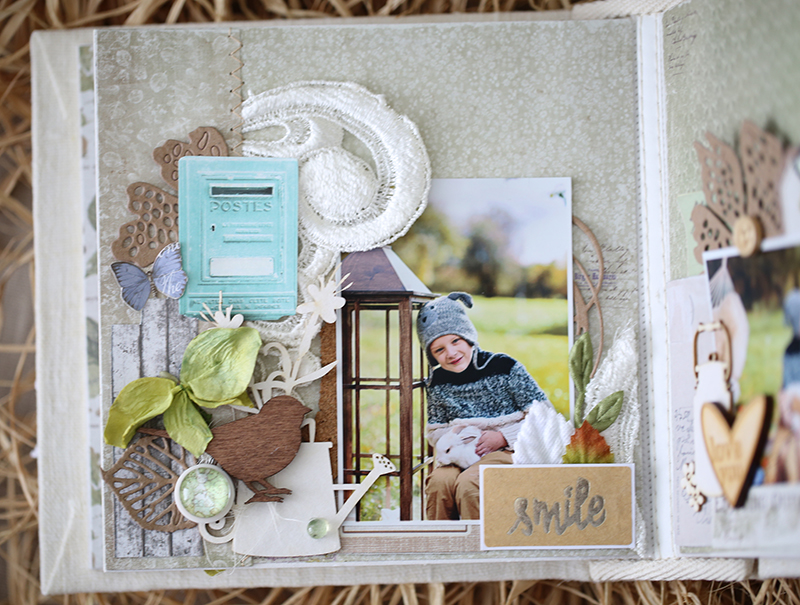
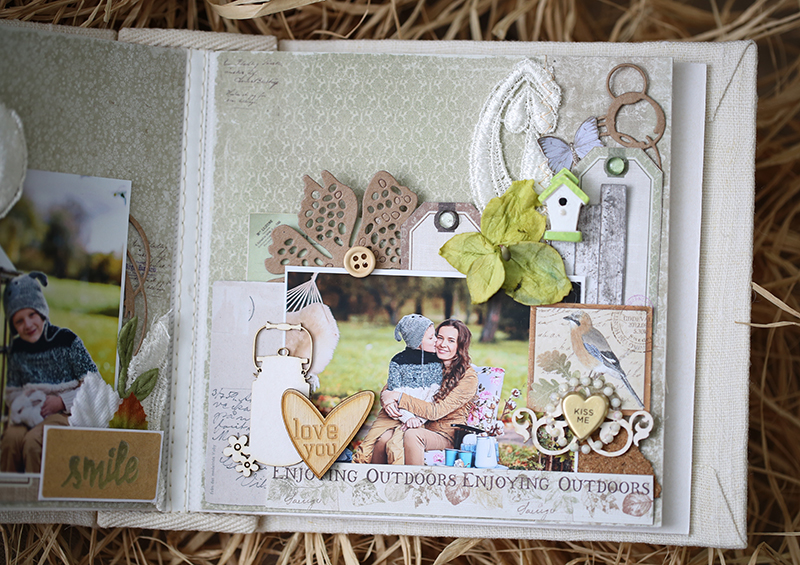
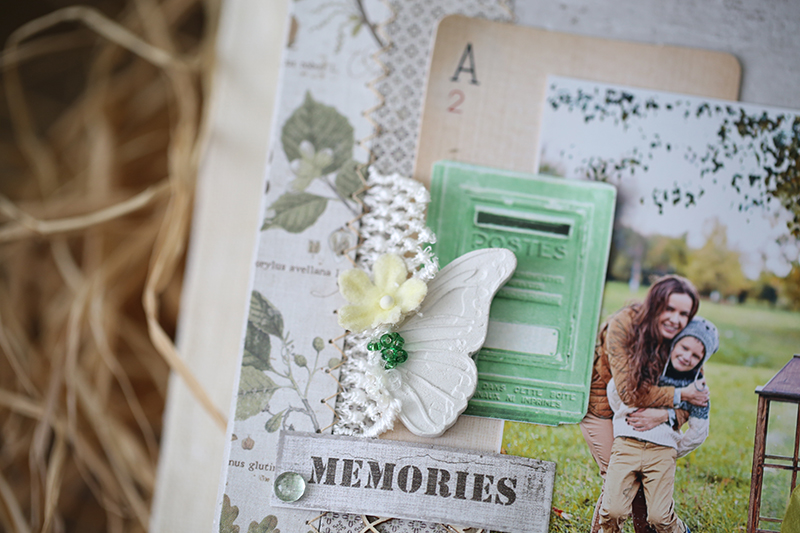
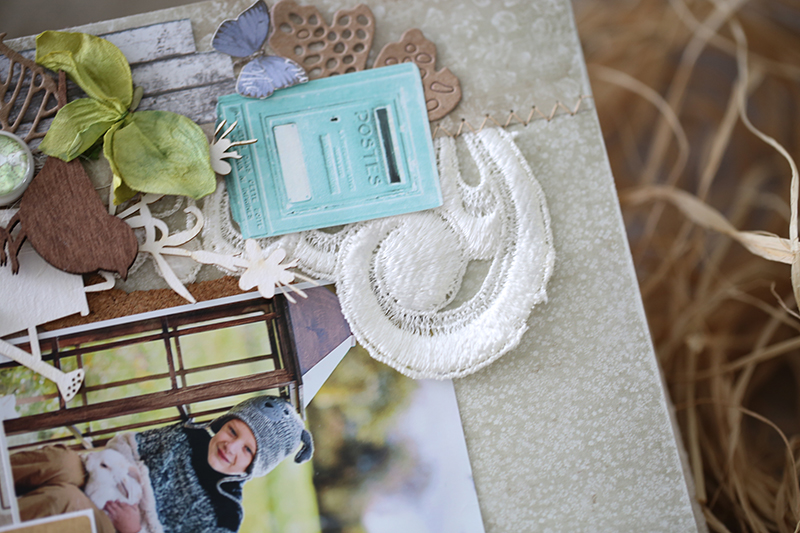
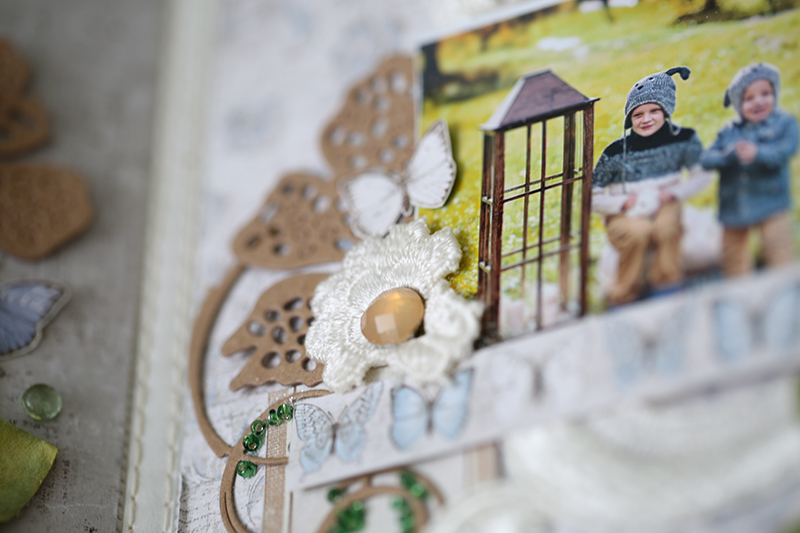
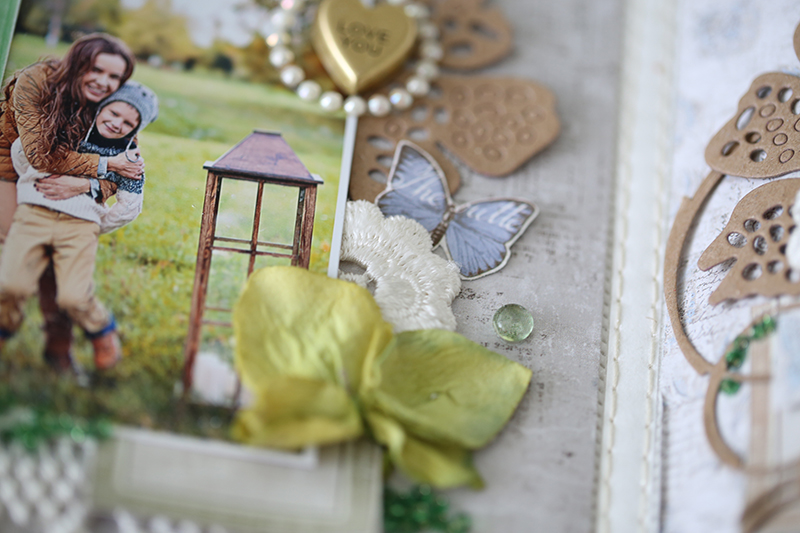
CA2A3154 CA2A3153 CA2A3150 CA2A3149and a mini album: the size is 6 by 6 inch and I used mainly the Enjoying outdoors  paper pad for it

maja_cover

str1 str2 str3 str4

album_det1 detalbum2 detalbum3 detalbum4

For the card I used Vintage Spring Collection

and for the Mini Album Enjoying Outdoors Collection:

Have a lovely weekend,

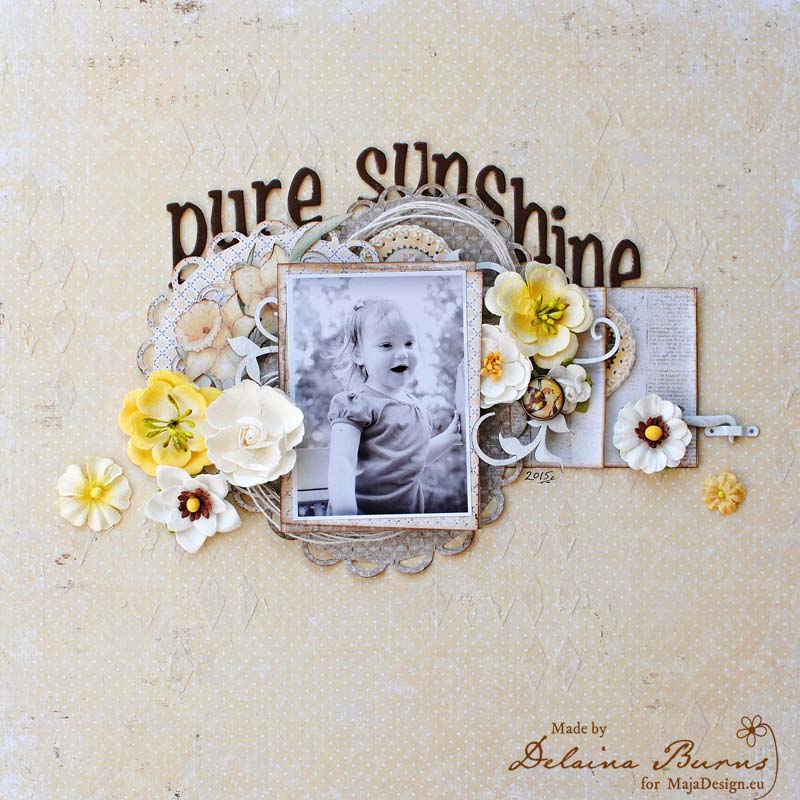
Pure Sunshine LO…

1

Posted by Delaina Burns

10 March, 2016 - , ,

Write a comment

Hello! Welcome!

The weather is beautiful here in Alabama and I think this LO reflects it.

I wanted to create something fresh and Spring like!

I started with a soft yellow back drop and added pops of brighter yellow, white and brown.

March 10 post (1)2

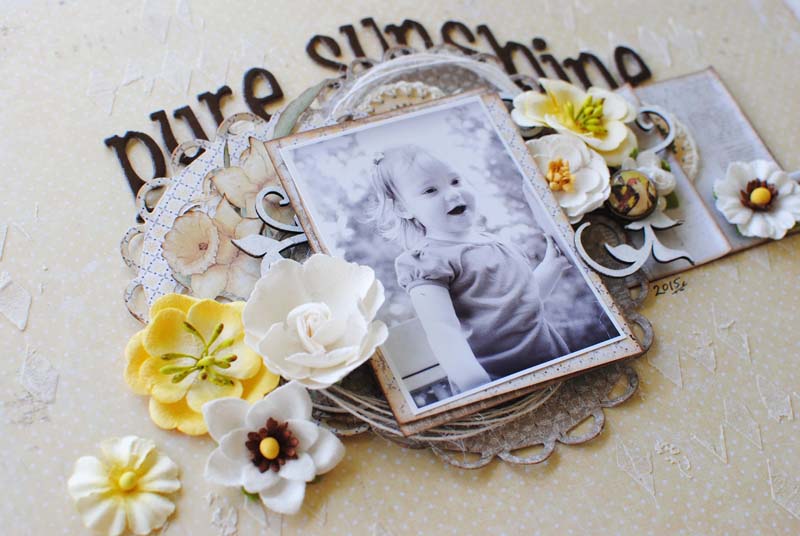
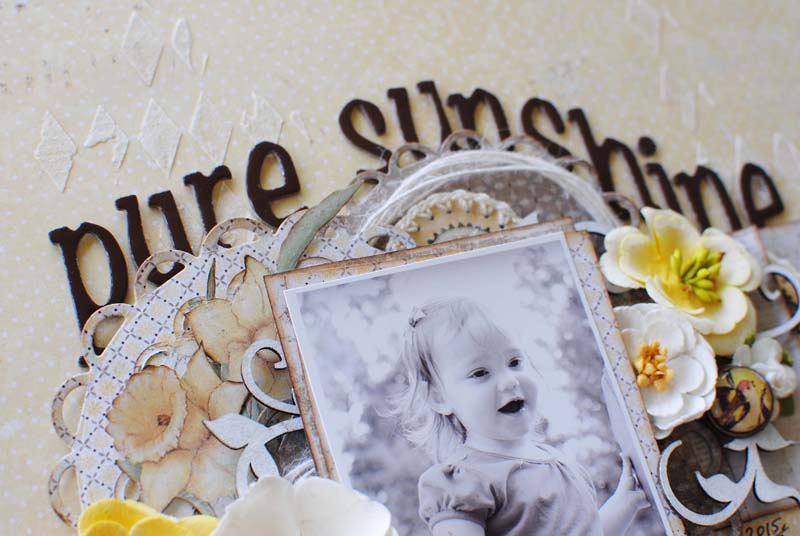
Lots of layers here beginning with a some die cut circles and few fussy cut flowers from the beautiful Maja papers.

March 10 post (4)2

I used a modeling paste to stencil a subtle design in the background and a large alphabet for some pop…

March 10 post (2)2

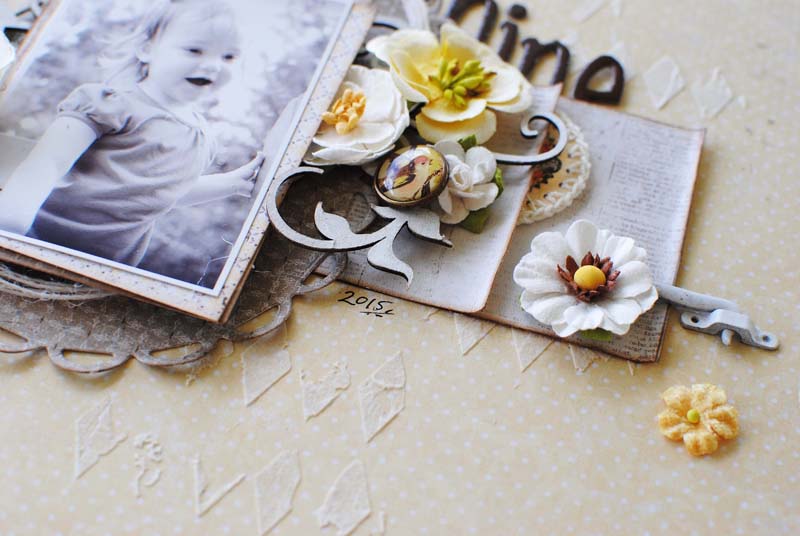
I added pretty flowers, a chipboard flourish and some metal pieces for the perfect accents.

There a bit of twine and crochet pieces for texture too.

March 10 post (3)2

Products:

Vintage Spring, 1st of March

590-1th-of-March

Vintage Spring, 2nd of March

591-2nd-of-March-BS

Vintage Frost, 21st of December

670-Vintage-Frost-Basics-21th-of-December-BS

Flowers- Prima

Metal Brad and Lock- Prima

Stencil- Prima

Modeling Paste- Prima

Chipboard- Dusty Attic

Alphabet- American Craft

Metal Dies- Spellbinders

Delaina-sign

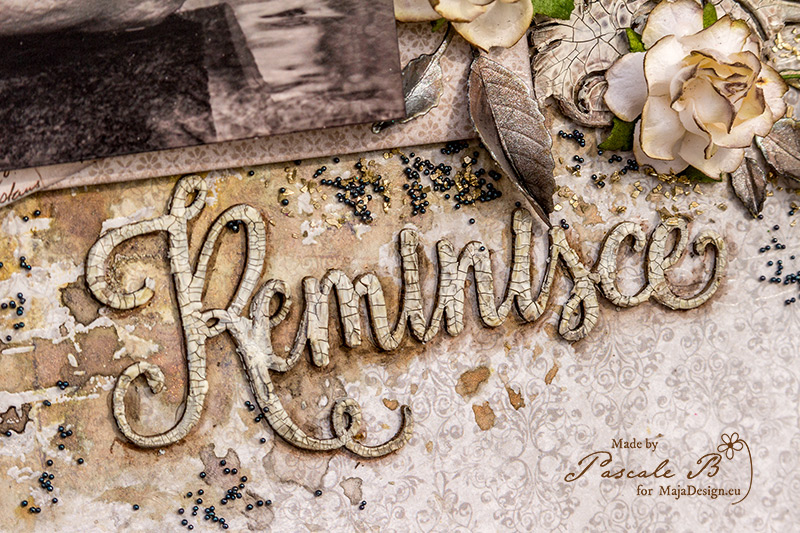
Reminisce

0

Posted by Pascale B

6 March, 2016 - , , , , ,

Write a comment

Hello Sweeties,

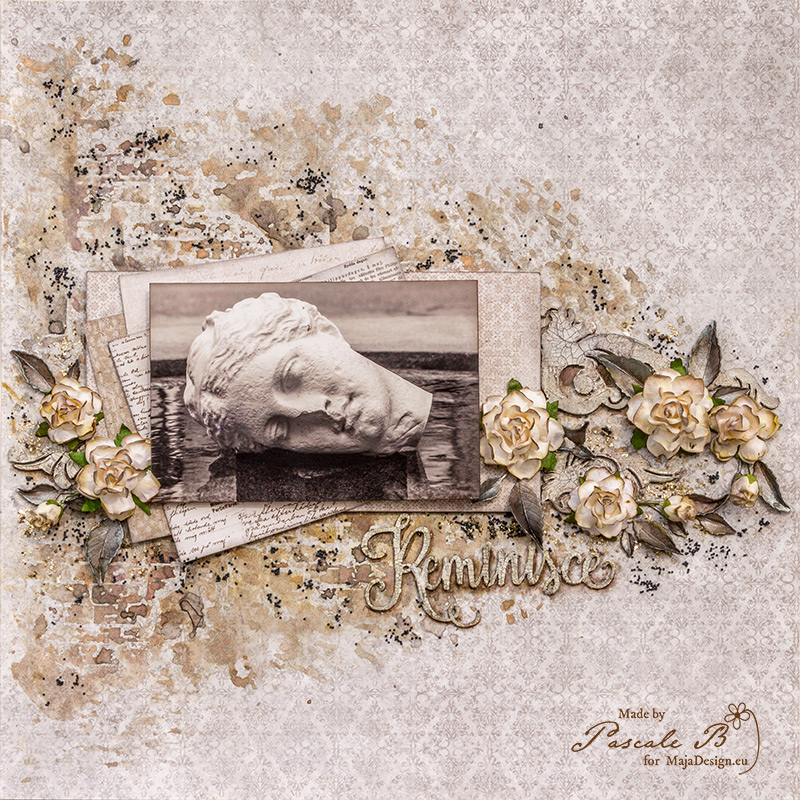
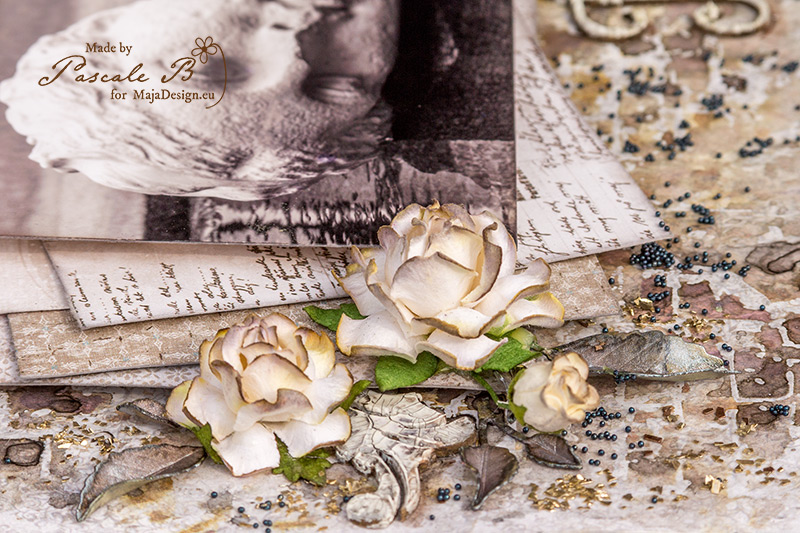
Today I’m up on Maja Design blog a new layout featuring a photo taken in Rennes (France). This head has a long story as it has been stolen several time.

Reminisce_PB

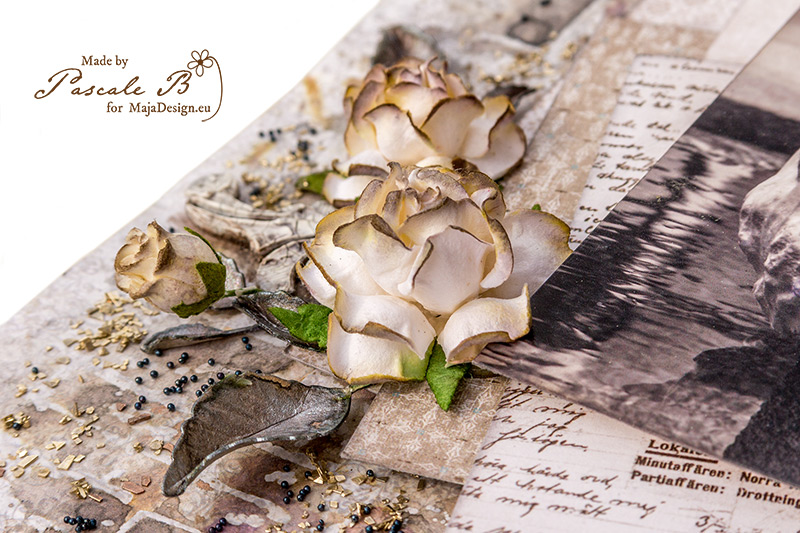
I started to add a thin layer of clear gesso to help the paper with all the inks I will add later. Then I added a design with a stamp and clear embossing powder.  Then I colored the background with different shades of brown and black.

Reminisce_detail2_PB

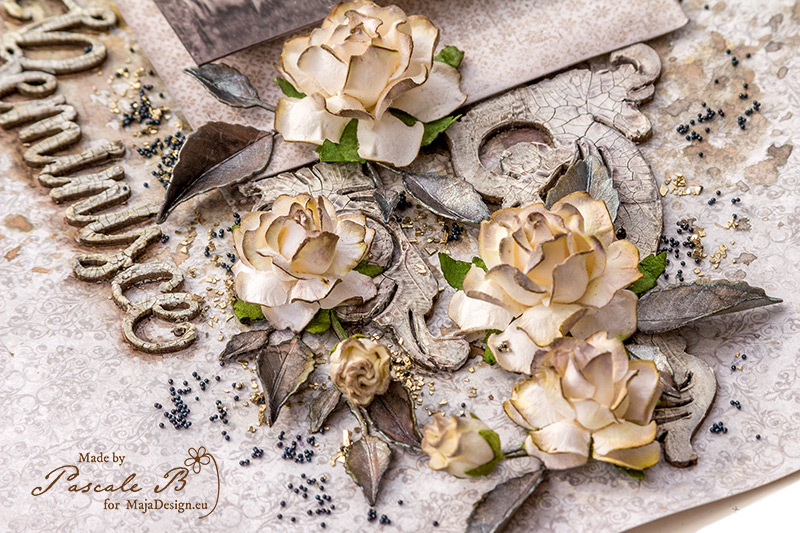
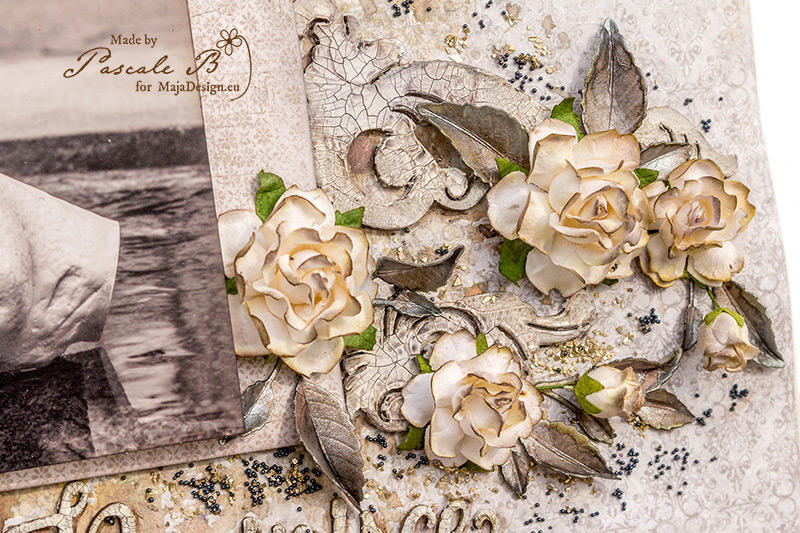
I covered the chipboards with a white crackle paste and I aged them with Twinkling H2O.

Reminisce_detail1_PB

I colored the tip of flowers with two tones of Distress Inks and sprayed them allowing the inks to move along the paper.

Reminisce_detail3_PB

I colored the leaves with the same Twinkling H2O  I used for the background and added some silver Mica Powder.

Reminisce_detail4_PB

I finished the page with Glass Glitter and Micro Beads.

Reminisce_detail5_PB

Maja Design papers used:

Eating out bs 1891 6th of March BS 6th of December 21th of December BS
Nyhavn
Eating out bs
Vintage Summer basics
1891
Vintage Spring Basics
6th of March bs
Vintage Frost basics
6th of December
Vintage Frost basics
21th of December

Pascale-sign

Snow Taffy

2

Posted by Rachelle Sigurdson

5 March, 2016 - , , , , ,

Write a comment


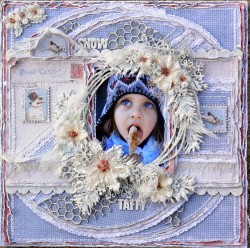
Hello, Rachelle here, with a Winter LO I did using the Beautiful Home for the Holidays & Vintage frost Basics Collections. I love working on Winter LO’s, even if it is not one of my favorite seasons. Our days are starting to get longer, & warmer, so Spring is in the air!!!
9a451d5a07f94f8f97037305da6e5eee

Home-for-the-holidays-P

I used: A real Fellow,Never to Old-BS,Celebration,& Die cuts
Vintage-Frost-BasicsKL

I Used: 14th of Dec-BS

The Chipboard used is from Dusty Attic

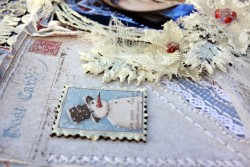
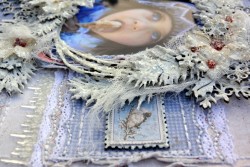
Here are some closeups
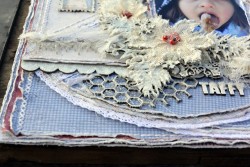
8f38404bcee9490f9a2d85a4bfeb7f64

On winter LO’s I love to do lots of paper layers, just as you would bundle up to go outside. I always distress the edges, & Maja Papers are the softest, best quality papers, that distress beautifully….
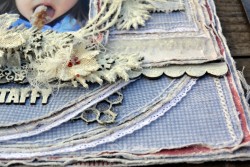
fe3efc44a468402da772739ac6cb0921

I also did some hand stitching, & used some lace & chipboard in the layers…
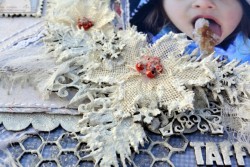
d2a4de9e4a934738ae8a4aa81a568feb

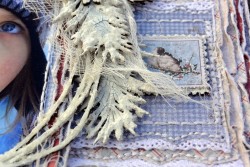
I painted the chipboard with white crackle, then once the crackle dried,I applied snow texture, & glass glitter…
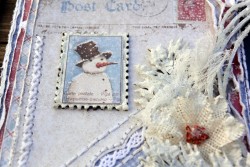
c1d482f66416431cb97a3501b6ba18c5

I love the postage stamps, on the die cut sheet. The flowers are petaloo, I also applied snow texture, & glitter on the flowers…

07de7dcfed324e22bf6895e1e07a7ce0

d79d1564ad704ae299c40818d1bd1f92

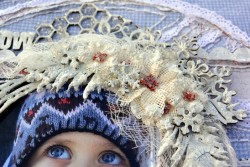
I was trying to achieve the crystal look, of the snow taffey, with the glass glitter…
0f29871b5ca846a2a56452d7e550167a

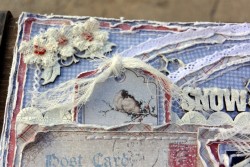
Shows,glass beads glued into the chicken wire…
44fbe4b35e49418697bdcaa2d227dc83

b1a4fb6a2abb4cbc871d17d53fb98a6f

428ebbf4ea7e460885b680fd8a5b709a

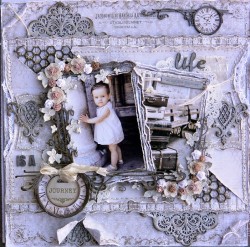
This is a LO I did combining the Vintage Summer Basics,Vintage Spring Basics & Vintage Autumn Basics Collections..
55d65fa56d3c4daba8c9371fbe3dc6b5

From the Vintage Summer Basics I used: 1905,1932-BS,& 1903 From the Vintage Spring Basics I used: 1st of March, & 10th of March Vintage Autumn Basics I used: N0. XVI

Thankyou so much for taking the time to look….Rachelle

Rachelle-sign

Window Easel Card {Maja Baby}

4

Posted by Gabrielle Pollacco

24 February, 2016 - , , , ,

Write a comment

Baby card photo4

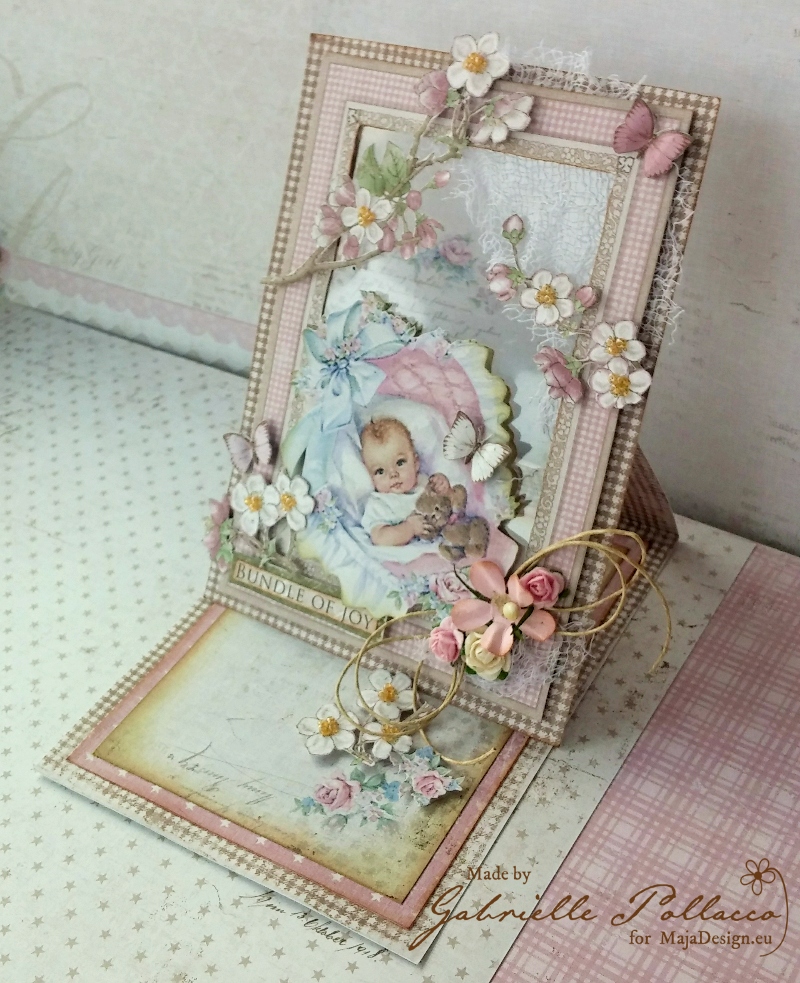
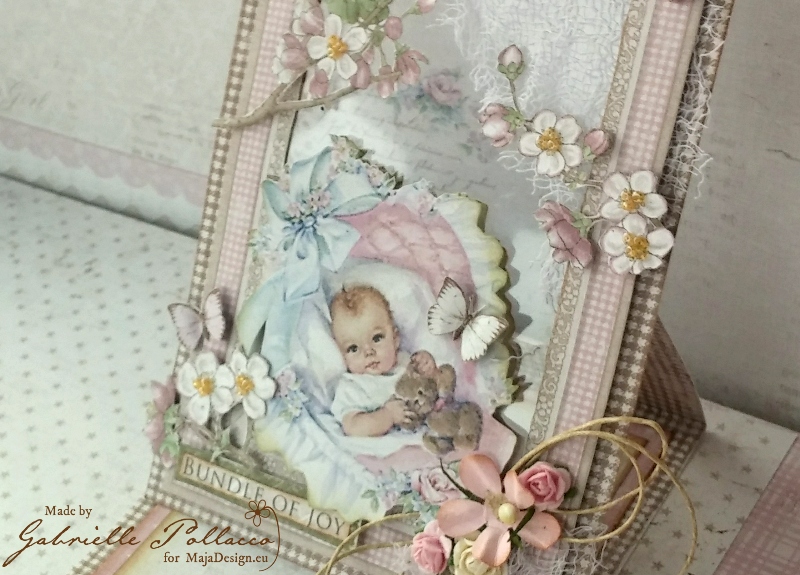
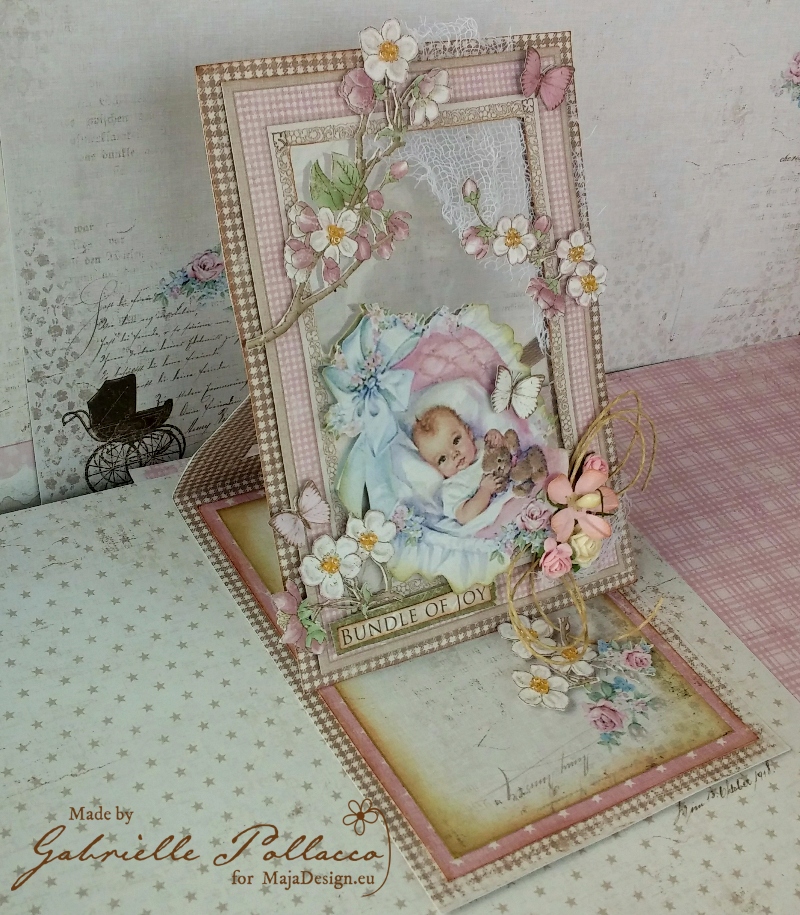
Hello Maja fans! Gabrielle here with you today to share this uniquely shaped baby card I recently made.  I tend to be a bit frugal with scrap supplies, I save everything!  Those plastic/transparent pieces that many of your embellishments come on (blooms etc.), I don’t throw them out, just in case I can use them later.  I recently found a fun use for them….making easel cards with a peek-a-boo window.  The Maja Design ‘Vintage Baby Collection’ had all the perfect elements to create the card I envisioned.

Vintage-Baby-P

I used a variety of papers from the Vintage Baby collection (Die Cuts, Die Cuts-bs, Ephemera, Expecting, Our Little Miracle and Flowers for Mom), I also did a little fussy cutting from Vintage Spring Basics (5th of May) and Coffee In the Arbour (Butterflies are Free).

Baby card photo2

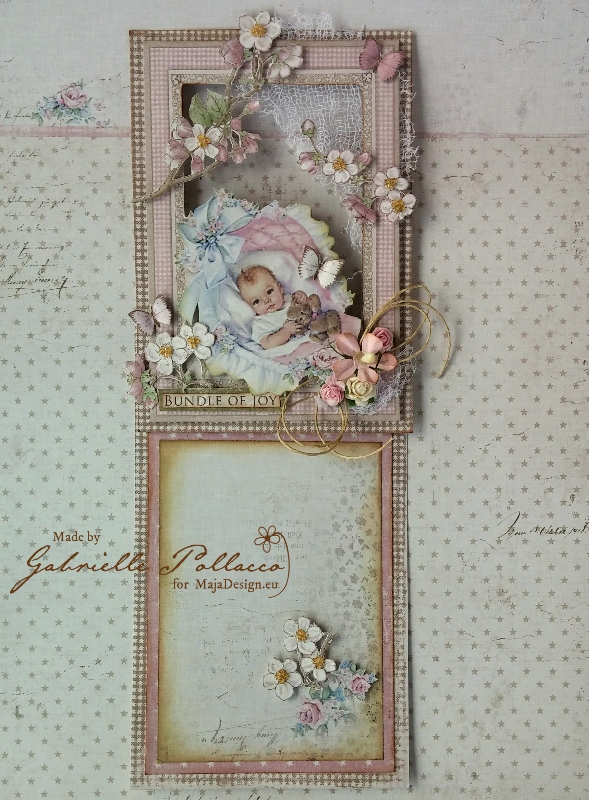
The bottom part of the card has an area for you to write in your own personal thoughts.  I added some fussy cut blossoms attached with foam adhesive dots so that the window part of the card has something to prop against.

Baby card photo1

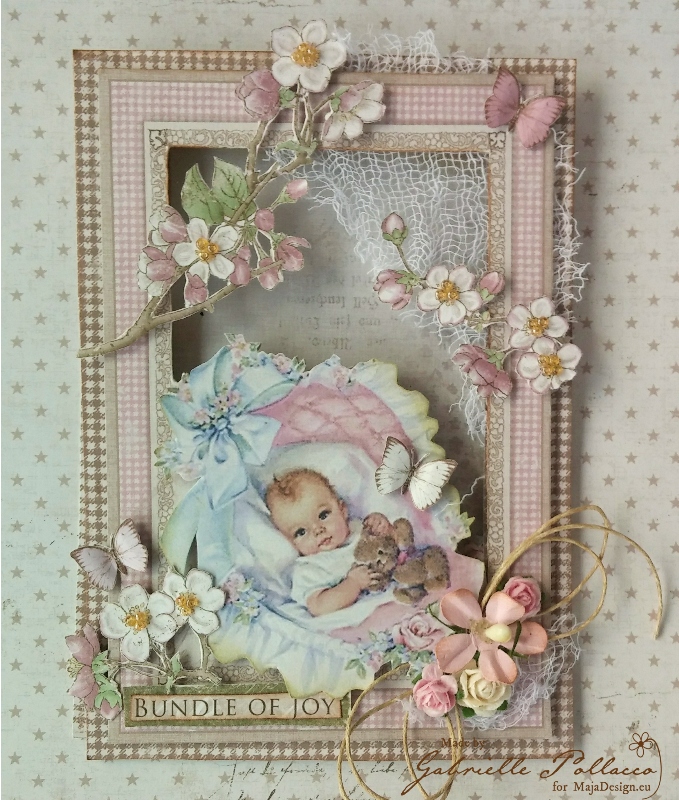
Here is a picture of the card with it’s folded shut.  To make the card I cut out the framed baby design from the Vintage Baby Ephemera paper, also cutting out the area behind the baby inside the frame with an exacto-knife. I then laid the card cut out on the brown gingham paper (backside of the Die Cuts paper) and cut a piece slightly larger in wide to the frame piece…and kept the length of the strip the full 12 inches.  I then cut a second piece of the gingham paper to frame the baby frame piece, making sure there is about a 1/4 inch edge.  I then made a fold crease in the long strip at the 6″ mark and at the 3″ mark.  I cut out the center of the upper part of the 6″ rectangle and also out of the matting piece I cut for behind the baby frame.

Baby card photo5

I then put the card together by attaching the gingham matting paper to the upper 3″ of the long card strip and then sandwiching the transparent plastic piece between the matting and the actual baby frame piece.  Now you have a cute peek-a-boo window on your easel card.  The last steps are just adding a few decorations.  I cut out a second baby image from another piece of the Ephemera paper and added it with foam pop dots, I thought it gave the card that extra pop.  I also fussy cut some flowers from the Vintage Spring Basics paper and butterflies from the Coffee In the Garden collection and added them as decorations to my card front.  A few seed beads for my flower centers and bingo, your unique baby card is done!  The cool thing?  Maja also has a beautiful baby boy framed image in this collection so you can make the card for either sex.

Baby card photo3

It’s hard to show in a photo the effect of the see through window so I thought I’d post an extra pic from the other angle, but believe me, in real life the effect is quite striking.  I had a lot of fun creating this special baby card and think you’d enjoy it too!  Thanks so much for taking the time to stop by the Maja blog today….as always we enjoy hearing your comments and feedback on our projects! xoGabrielle-sign