“A Little Handbag” PLUS a Video Tutorial By Di Garling

6

Posted by Di Garling

28 April, 2016 - , ,

Write a comment

bag 3

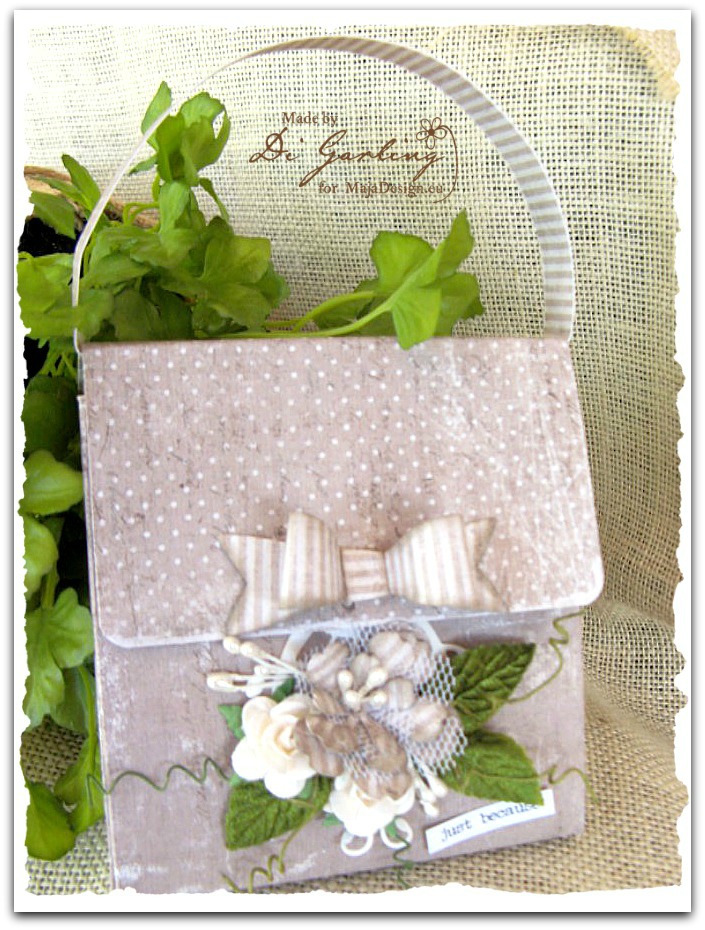
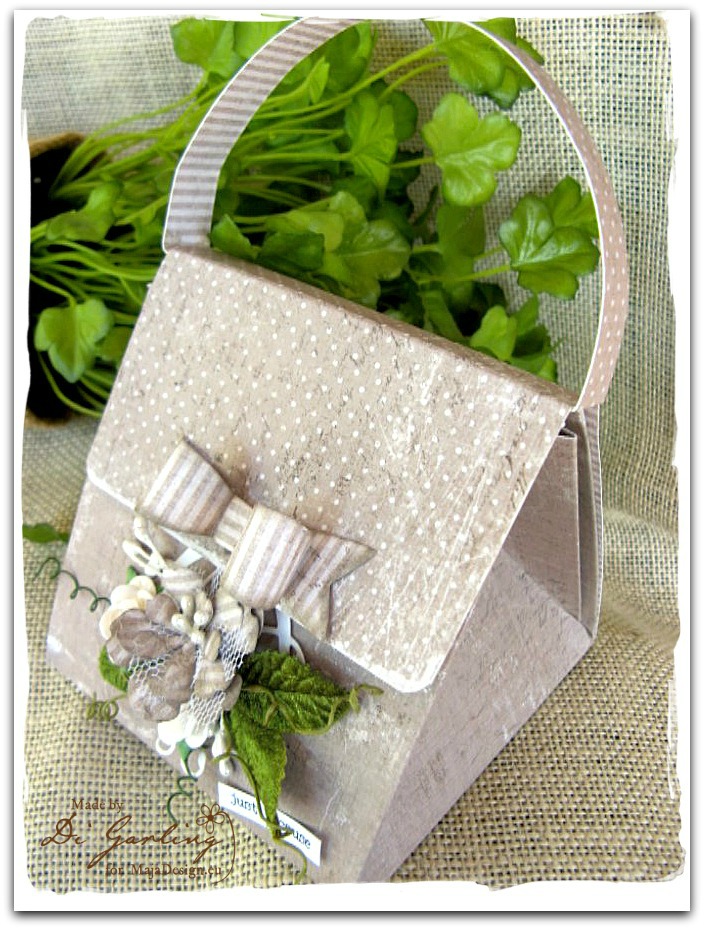
Hello Maja fans, welcome to the blog. Today I have a rather cute little handbag that I made to show you. It is actually a gift bag. Isn’t is just so sweet?  I made it using the “1903” from the “Vintage Summer Basics” collection for the base of the bag & then trimmed it using “7th of April” from the “Vintage Spring Basics” collections.

I have also made a VIDEO TUTORIAL to go with it.

TO VIEW VIDEO CLICK HERE….

Bag 1

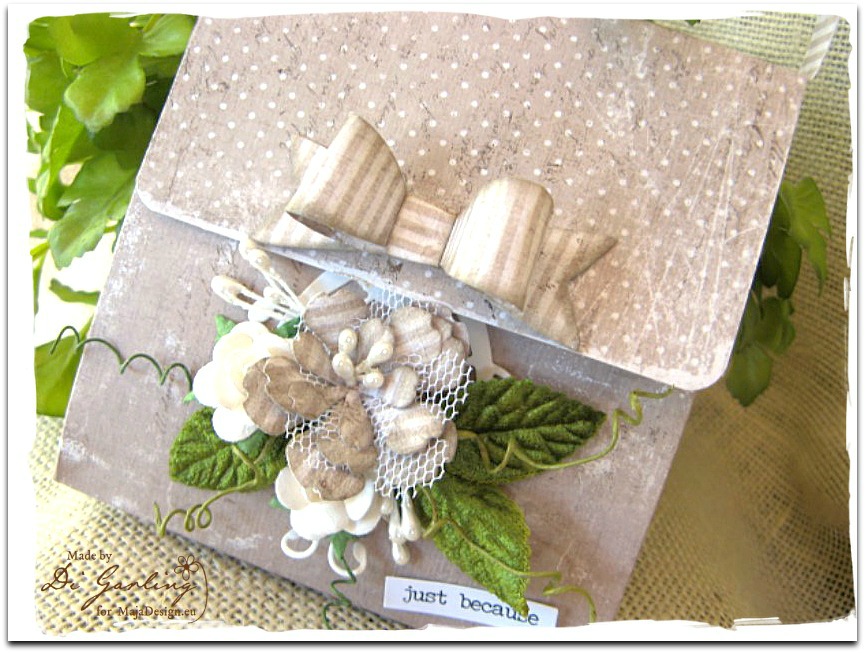
I created a handmade flower & this delightful little bow using the “7th of April – Vintage Spring Basics”. This delightful stripe paper is actually the reverse side of the spotty “7th of April” paper.

bag 4

When I made the little paper flower I also cut some tuille netting with my die cut machine to layer in between the paper petals & finished it off with a few pearl stamens. I think this adds a little pizaz to my handmade flower.

bag 5

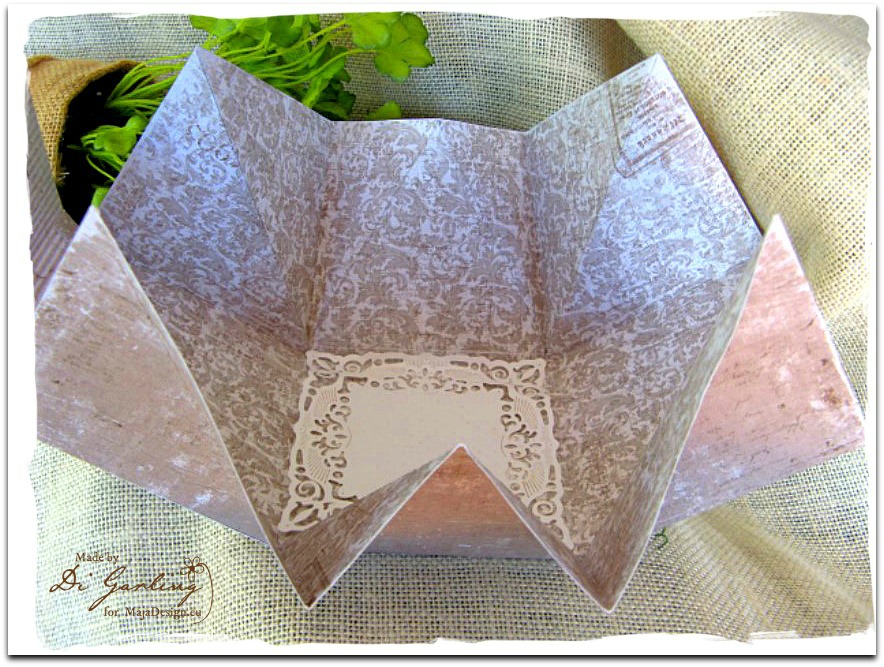
This photo shows how it looks when open. Just a perfect size for a small gift & so very novel too. Lastly I finished  it off with a small four inch square doiley I cut out of some white cardstock. You could also write a greeting on this doiley as well.

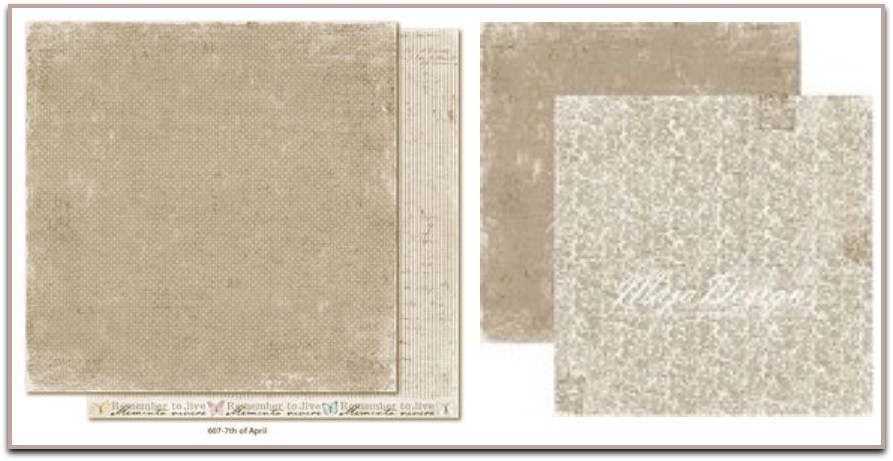
Maja Design Papers Used

“7th of April-Vintage Spring Basics”…………..”1903-Vintage Summer Basics”

maja papers-001

Vintage-Summer-Basics3

Well thats all from me today, I do hope you take the time to watch my video on how I created this over on the Maja Design You Tube channel. It really is a very easy project that only takes about ten minutes to make.

Until next time.Di's Signature

Memories

1

Posted by Bec Genet

26 April, 2016 - , ,

Write a comment
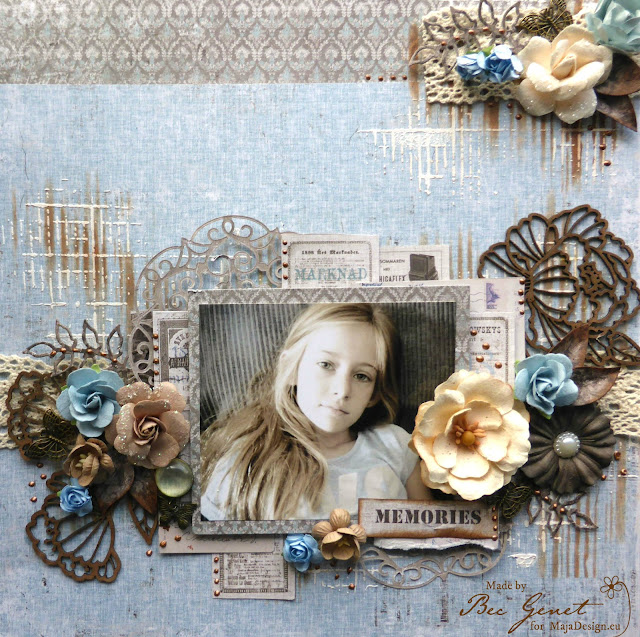
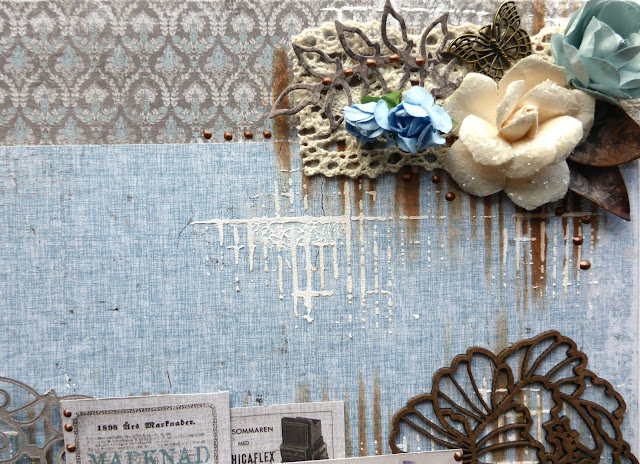
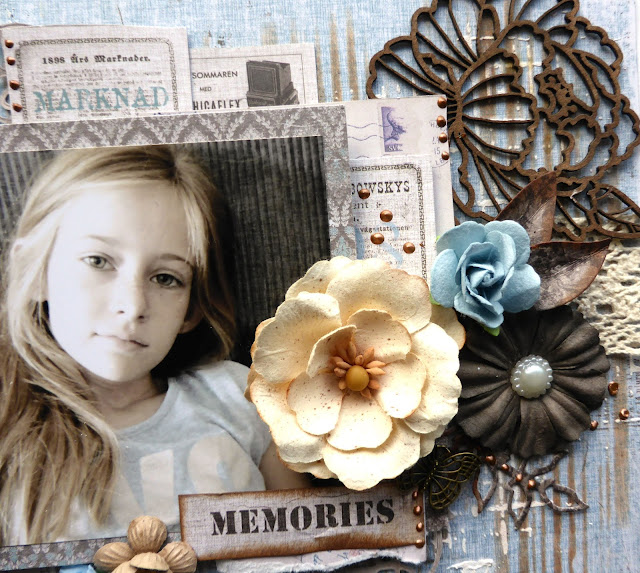
Hi, today I have a video tutorial to share with you on a layout using the Maja Design Vintage Summer Basics Collection. I hope you enjoy it.
Here is my video:

Vintage Sumner Basis Collection. 1936, 1944, 1903, and Minnen
 Vintage-Summer-Basics-P
Bec-sign

Rennes Street

1

Posted by Pascale B

17 April, 2016 - , ,

Write a comment

Hello Sweeties,

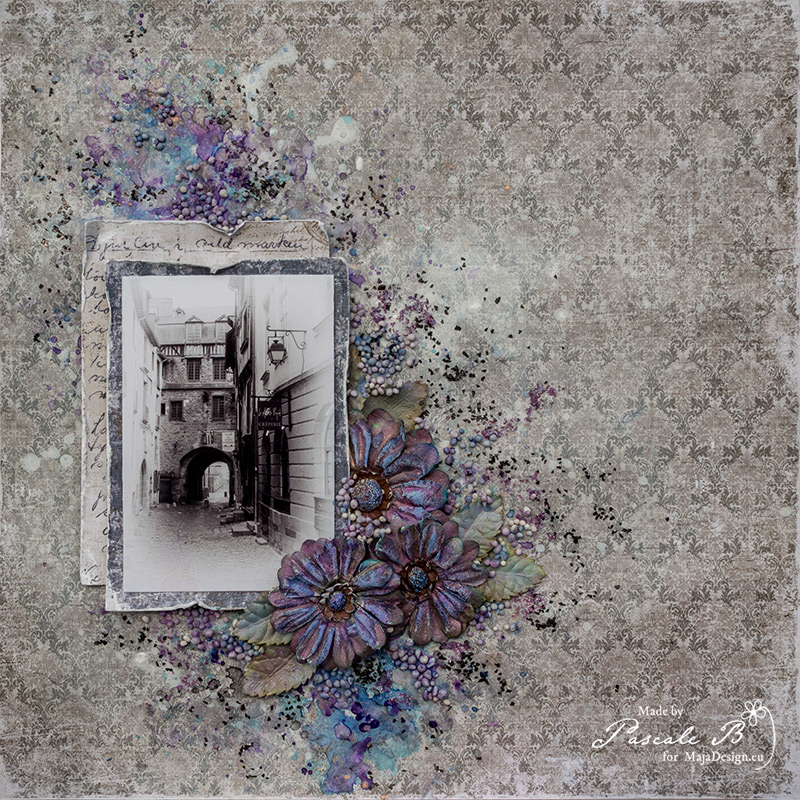
Today I’m up on Maja Design blog with a layout that showcase a photo I’ve taken in Rennes (France). It’s a simple street in the old town, but I like the way the photo turns out.

Rennes Street by Pascale B

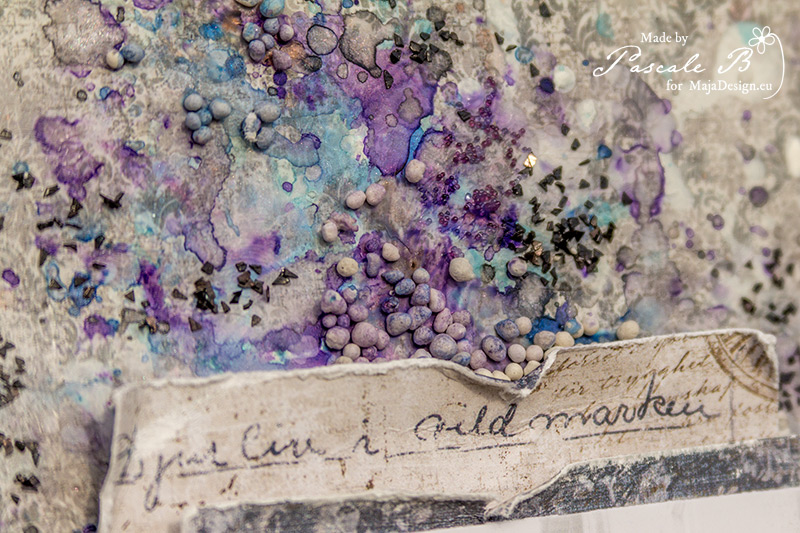
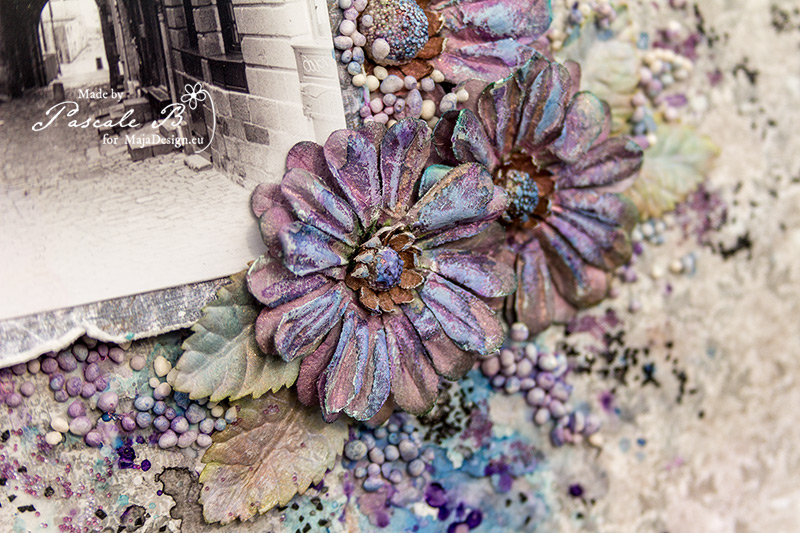
I kept the design of the layout quite simple. I started to add a thin layer of white gesso where I want to put the photo. When dry, I splattered watered gesso too and dried. Then I added a first color and dried. I continued to add different colors and dry before adding the next color until I was happy with the result.

Rennes Street by Pascale B

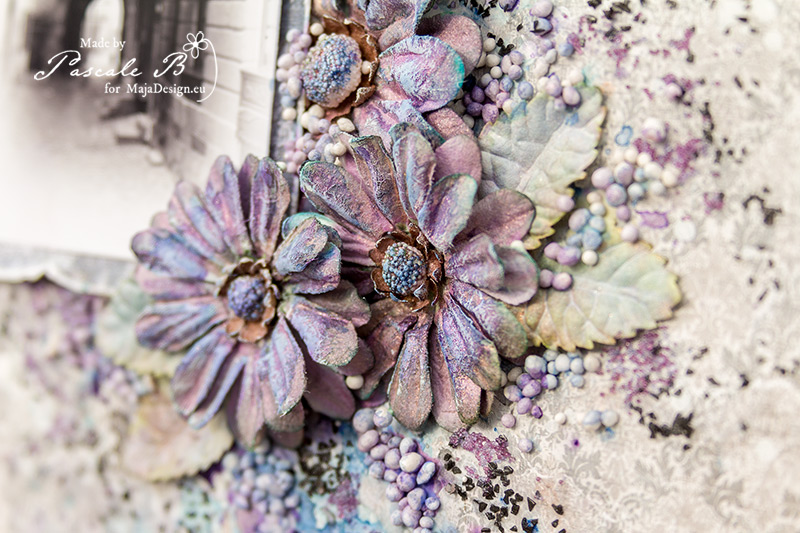
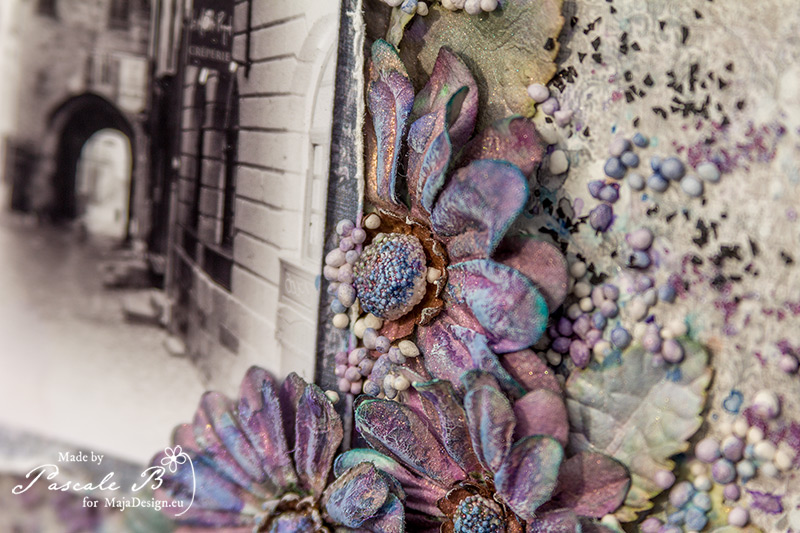
I used the same colors to colored the flowers and the leaves.

Rennes Street by Pascale B

After I’ve glued the flowers, papers and photo, I added some Art Stones. I used the same colors to colored them too.

Rennes Street by Pascale B

To finished the layout, I added some glass glitters and microbeads.

Rennes Street by Pascale B

Maja Design papers:

 1926 bs  no.XXI  no.XX
Vintage Summer Basics
1926 bs
Vintage Autumn Basics
n°XX                                          n°XXI

Pascale-sign

“A Moment Captured” By Di Garling

8

Posted by Di Garling

14 April, 2016 - , ,

Write a comment

A Moment Captured..-001

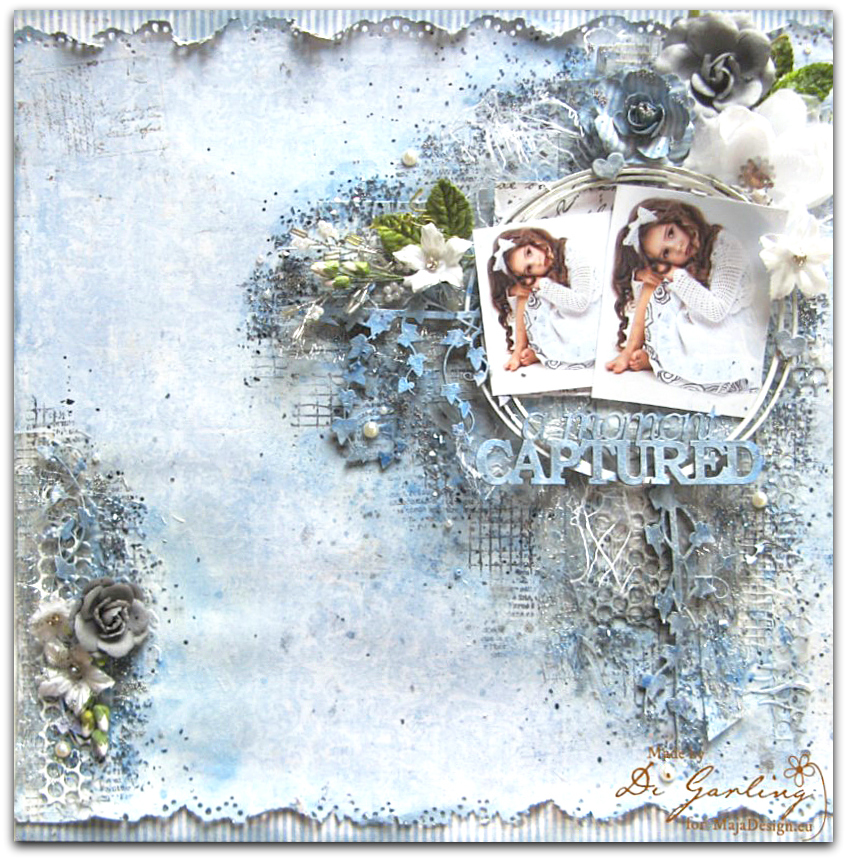
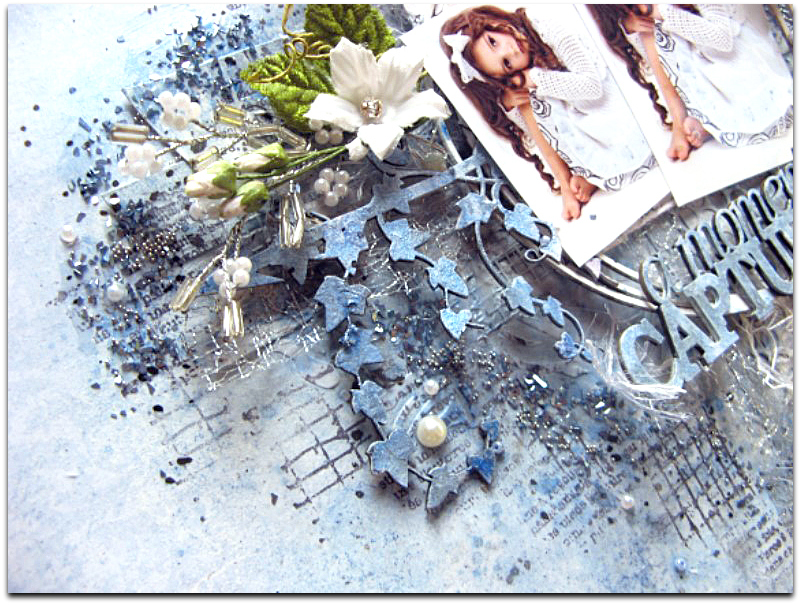
Hello Maja fans, thanks so much for dropping by. Today I have another new layout to share with you using some papers from the Vintage Summer Basics collection. I used the “1914” paper for my background & then added this delightful striped one from the Vintage Spring Basics called, “4th April” to both the top & bottom edges. Even though it is a different collection, I think it works great.

a moment captured 2-001

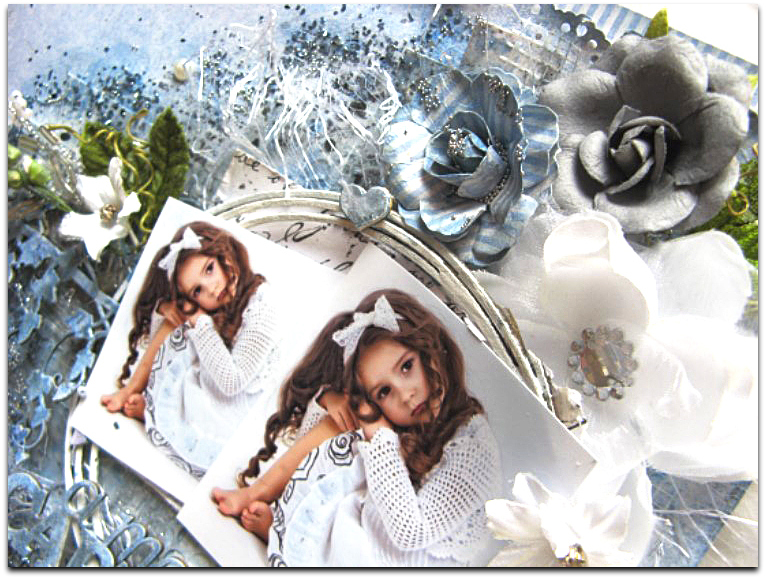
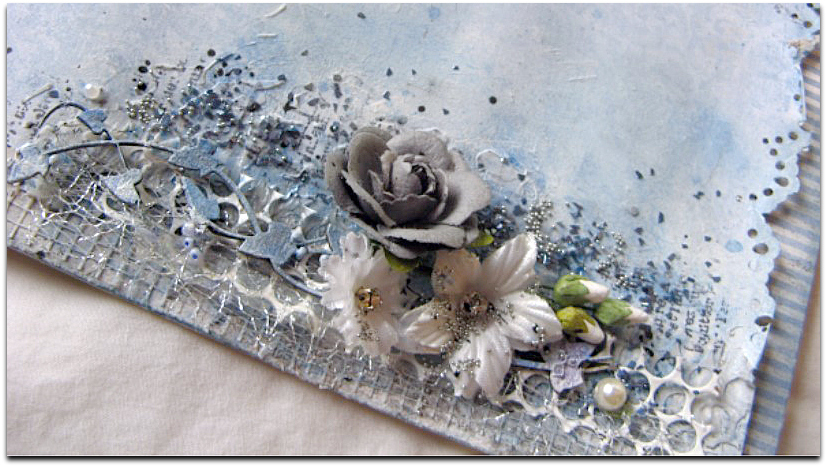
I have also made a handmade flower to add to my flower cluster above the photo, using the same stripe “4th April” paper. I really like adding some handmade flowers in the same papers as my layout to add extra accents to the page, plus it gives it a more custom made look I think.

a moment captured 6-001

I have created a mixed media background & the Maja papers are just perfect for this because they are so beautifully thick & they handle it so well without warping etc.

a moment captured 4-001

I have layered strips of both the “1902” & the “1904” papers underneath my photos, but unfortunately after adding lots of gesso & mists, it is a little hard to see them in the photos, but little bits of their colours & patterns peek out here & there.

a moment captured 3-001

All of the chipboard I have used is from 2Crafty Chipboard.

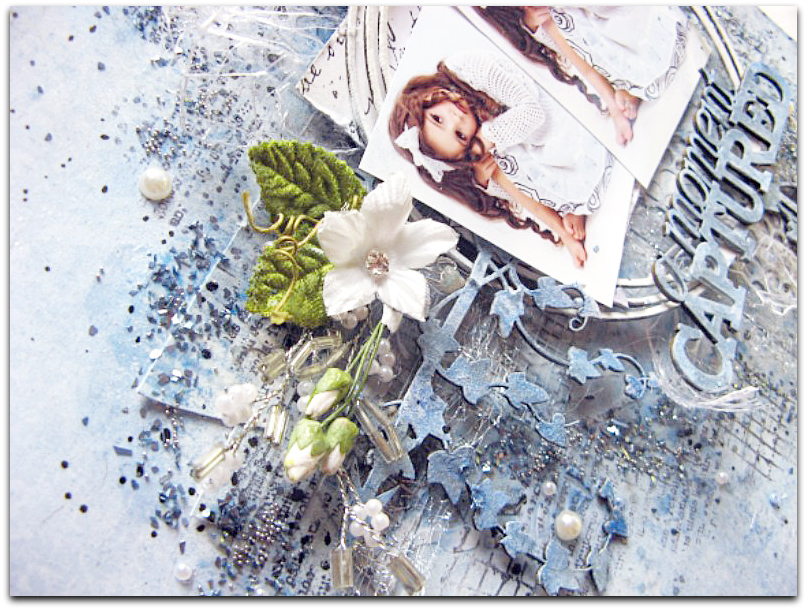
On my background I have also added lots of stamping, fibers, micro beads in both blues & silver, pearls, pearl sprays & finished of with lots of flowers.

a moment captured 7-001

These are the four papers I have used. Well thats all for today. I will see you back here again in two weeks time.

Papers-001Vintage-Summer-Basics-P

Di-sign

Summer And Winter For Spring Cards

1

Posted by Maja Nowak

13 April, 2016 - , ,

Write a comment

Hello, Maja Fans, welcome to the blog today 🙂 I’m glad you’ve found a moment to visit us and I hope you’d find my projects inspring.

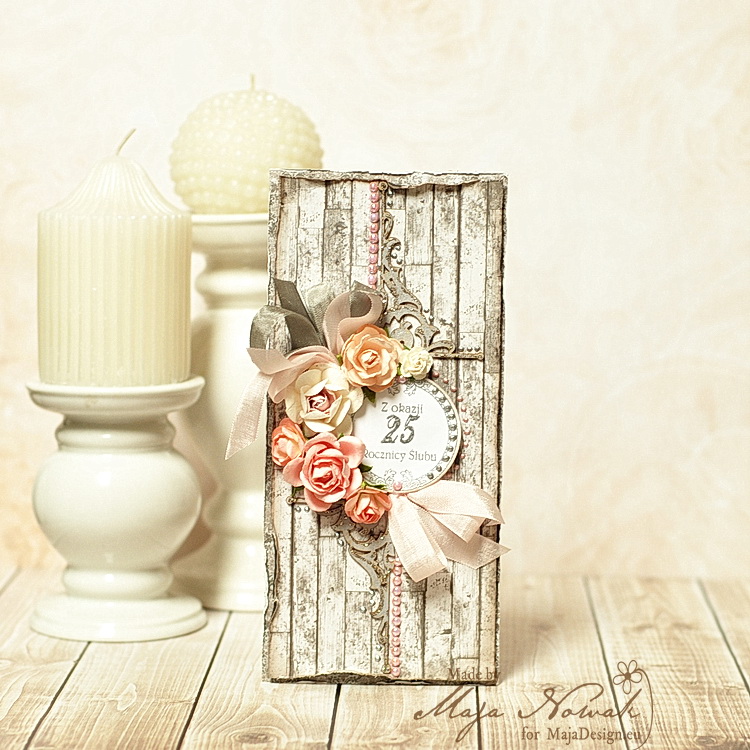
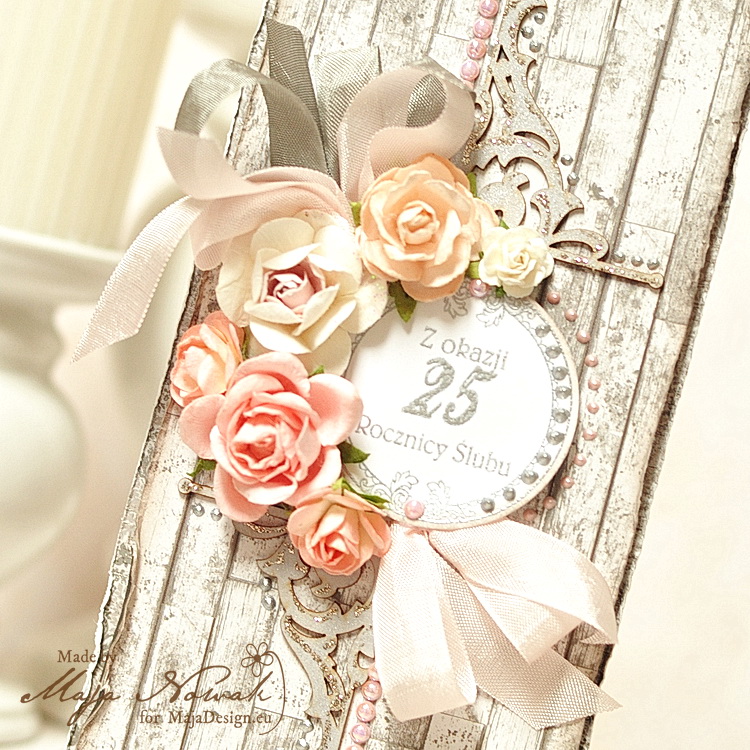
For me the spring is all about flowers! I’m a flower girl at heart and love putting flowers all over my creations, including my boy layouts 😉 And also today I have two cards to share, and both feature some flowers, though I actually used the summer and winter papers  😉 The first one is for the 25th wedding anniversary:

mdann

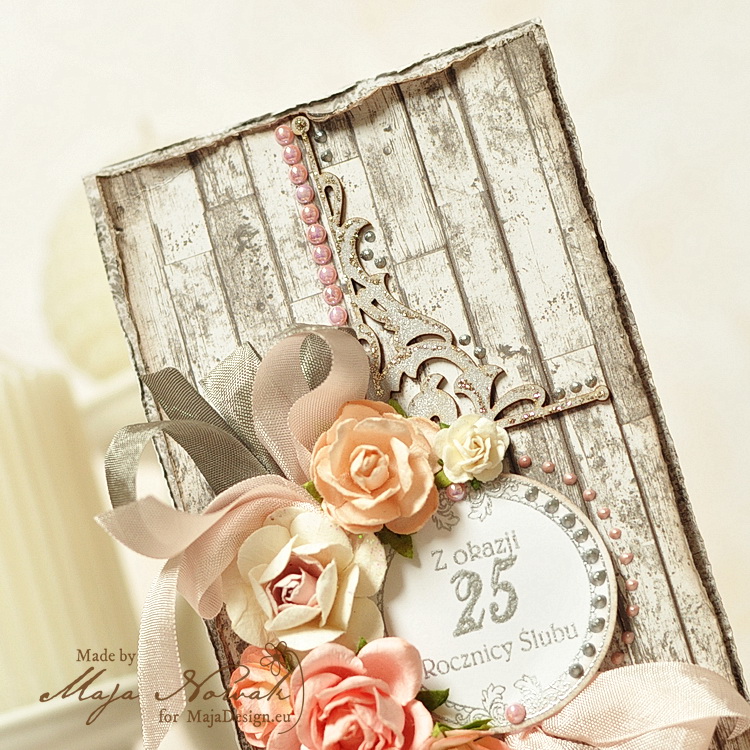
This anniversary is traditionally called a Silver Anniversary, and so I looked for greyish papers to make a background. I love wooden patterned papers, so found this floorboard desing from the Vintage Summer Basics collection just perfect 😉 I matted it with a darker sheet from the Home For The Holidays set:

mdann1

I put the round sentiment stamp in the centre. I also embossed it with silver ep and added some silver liquid pearls around. To break the “seriousness” of the grey tones I added pink roses and ribbons:

mdann2

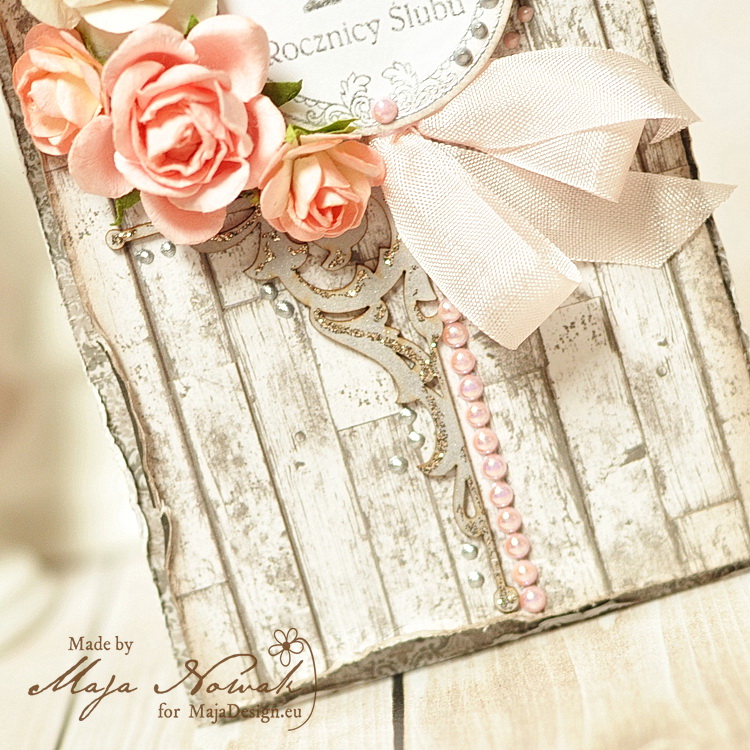
To complete my design, I added chipboard ornaments that I sprayed with silver mist and accented with glitter and pearls.

mdann3

Sturdy grey wood and soft and romantic roses completed with a touch of glam – doesn’t it sound like a good recipe for a successful marriage? 😉

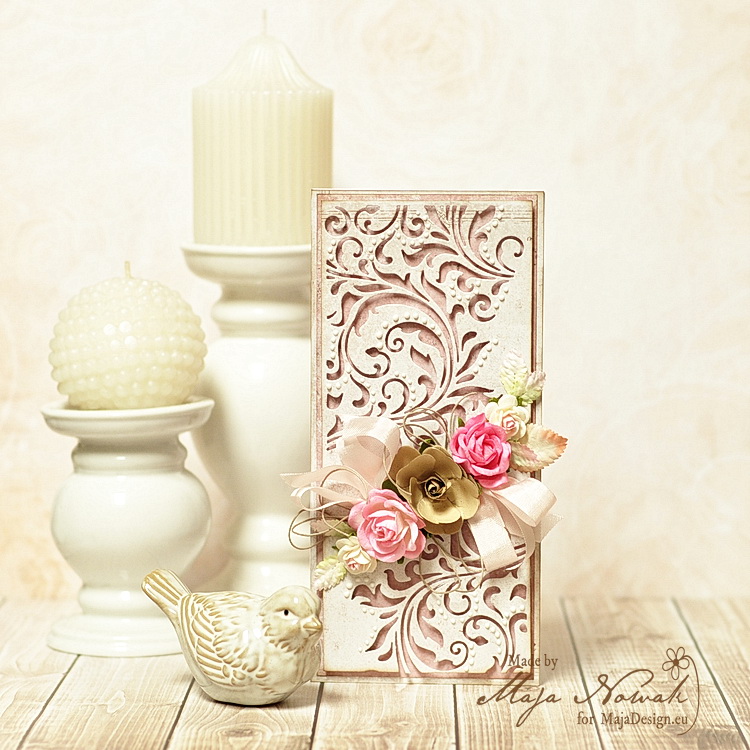
My second card is quite universal and fit for any occassion. To be honest, I didn’t think of the purpose, I just wanted to try out my newest die! 😀

mdsw

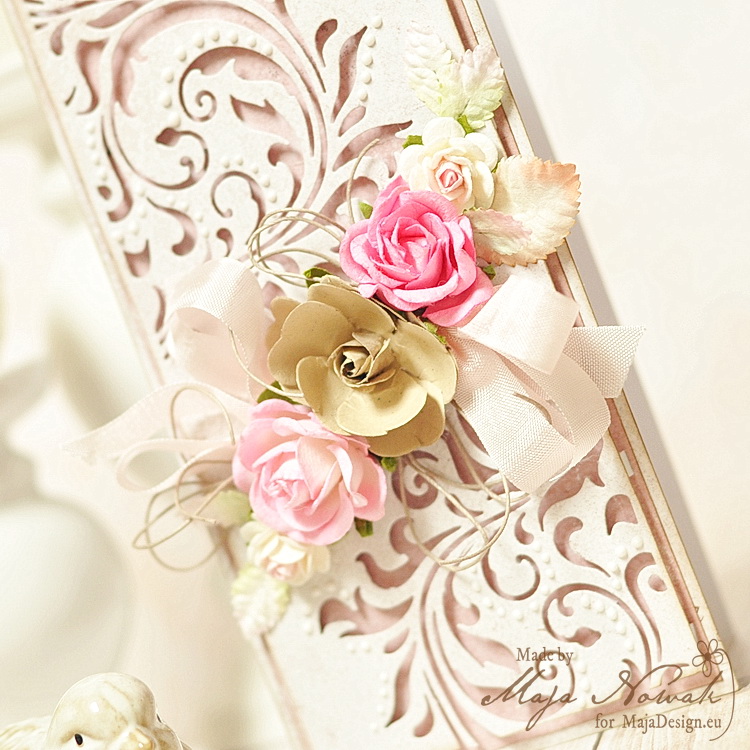
I cut two pieces from the Real Fellow paper so that only the plain cream background is visible (I guess the Santa image would not make the card much universal 😉 ) and die-cut the intricate pattern in the top piece – isn’t that die simply gorgeous? To make the flourishes stand out even more, I separated the layers with soft pink paper from the Vintage Summer Basics collection and mounted the front layer on dozens of tiny 3D dots:

mdsw1

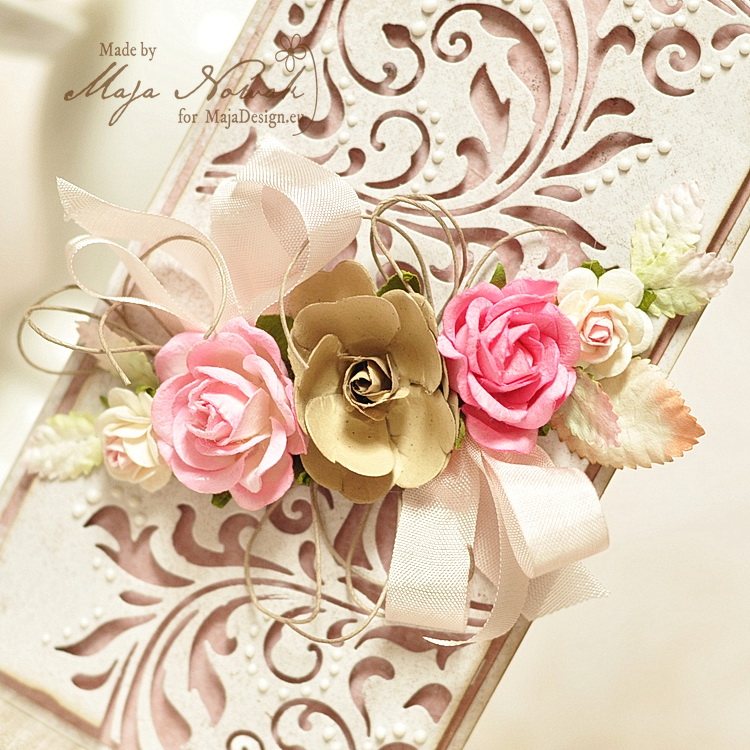
I added the flowers and ribbons:

mdsw2

…and to make the card super pretty, I accented the curves with liquid pearls 🙂

mdsw3

Supplies:

Maja Design papers: Vintage Summer Basics: 1906, 1926; Home For the Holidays: Real Fellow, Love the Snow. Other: die: Sizzix; stamp: Lemonade; flowers, ribbon: Wild Orchid Craft; chipboard: Wycinanka; liquid pearls: Ranger.


Have a nice day and see you later! 🙂

Maja-sign