Hello Maja Fans, my name is Julie and I am from Scotland, today I am delighted to be sharing with you a mixed media project and two cards.
I have been crafting for around ten years now and am at my happiest creating in my craft room watching the birds come into our garden. My love for flowers, bygone eras and antiquities I love to express through my creating.
I love bringing a piece of paper to life and creating a story within my card so it becomes a keepsake and has a true meaning for the recipient and I love adding special little touches of details.
My style is definitely vintage/shabby chic, I love using diecuts and making my own flowers, adding lace, pearls, chipboard and mixed media accents into my designs.
So why not grab a cuppa and let me share my projects with you.
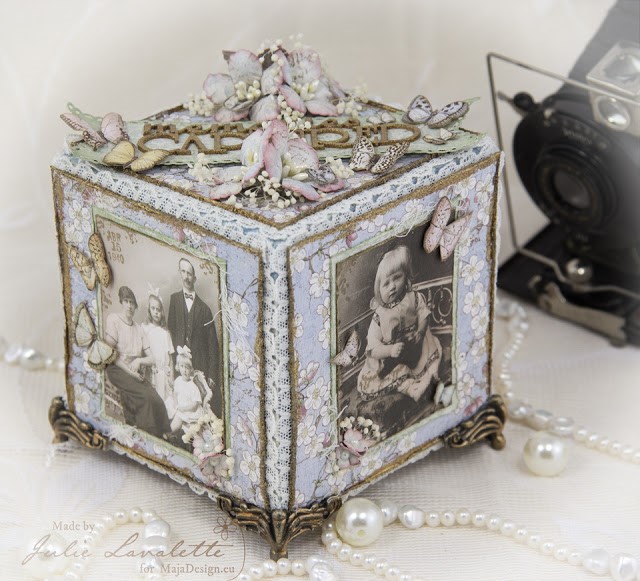
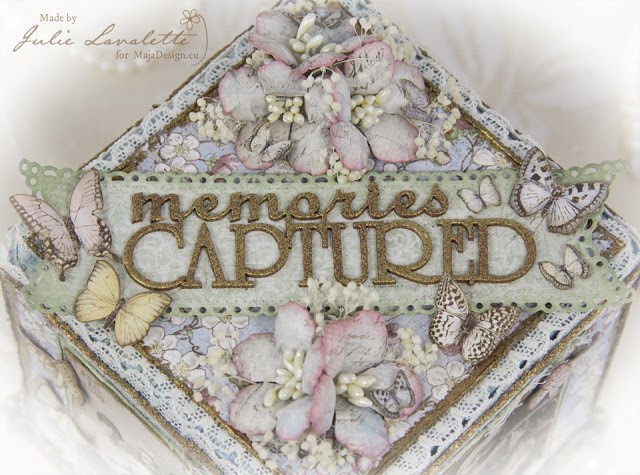
As a child I remember my parents had a Photo Cube in the house where family photos took pride of place and with all the beautiful images Maja Design have to offer I was inspired to making one in a shabby chic style. My cube measures approximately 3.75 inches square and was created by gluing beer mats together to form the cube, adding some coffee stirrer sticks at the joins internally to help strengthen my cube. Next I added tissue tape around all my seams and a little blue Distress paint.

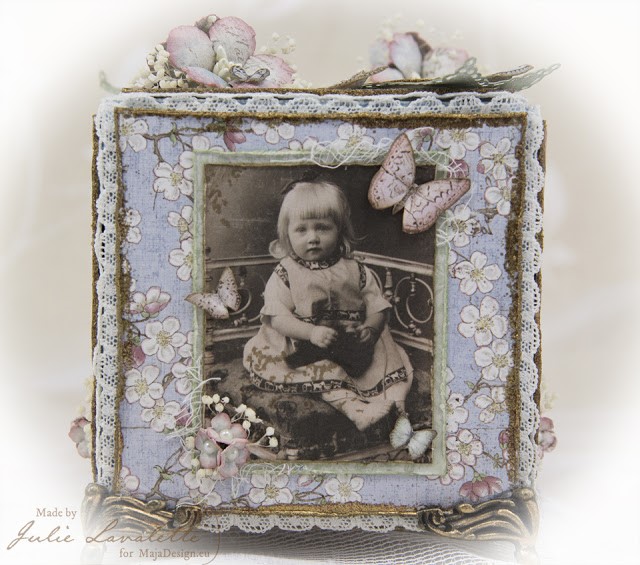
My papers were all cut to size and tattered at the edges, I then rubbed some Versamark Ink around the edges and heat embossed my Embossing Powders. I added a pretty lace to the back of my paper and positioned them all in place with foam strips on each side. This helps to give my lace more dimension than lying flush next to the cube.
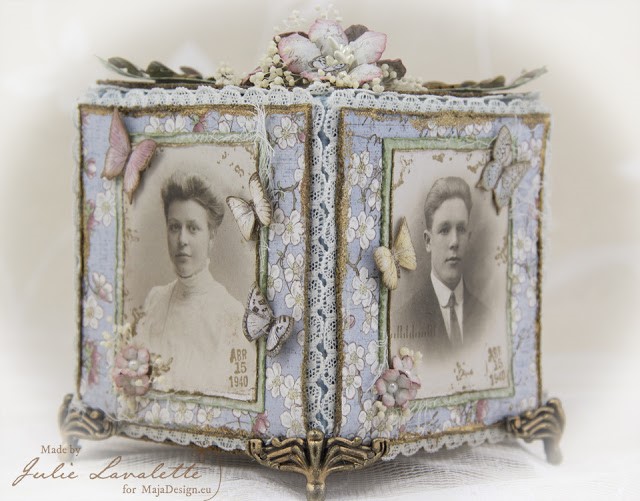
I tattered my images at the edges and added a little stamping to distress them before matting and layering in place on my cube.
I decorated with lots of small flowers with a Pearl centre and some dried ones.
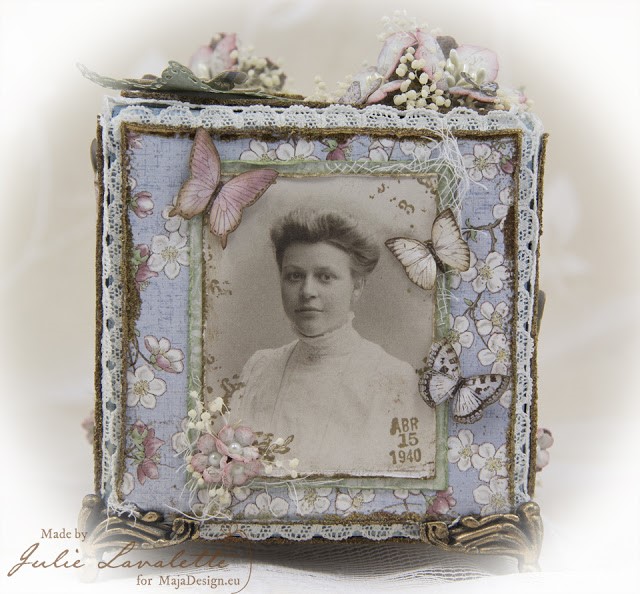
I fussy cut out lots of butterflies using both the 12 x 12 paper and 6 x 6, gosh I adore these butterflies for a perfect finishing touch.
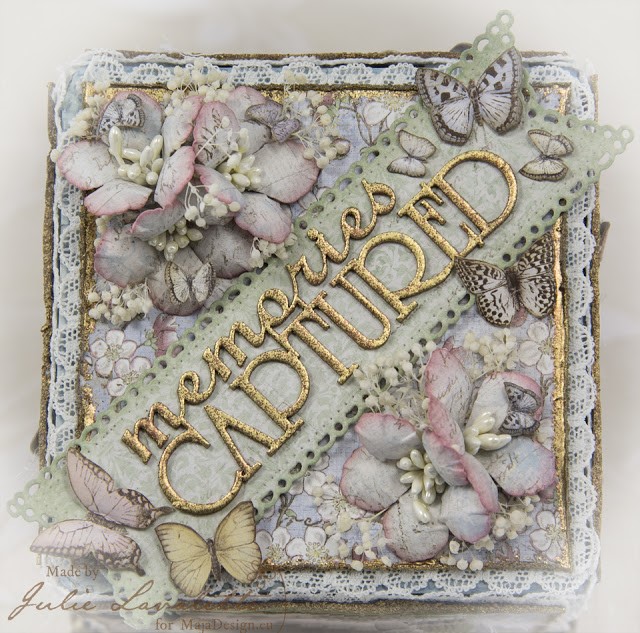
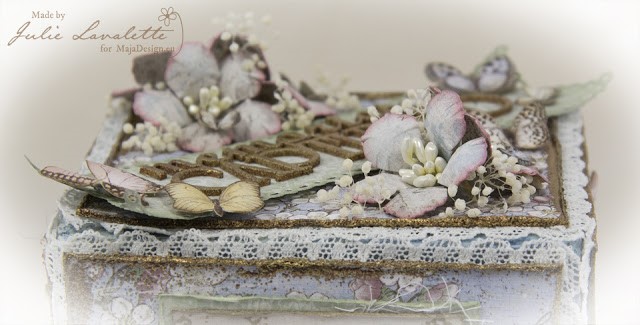
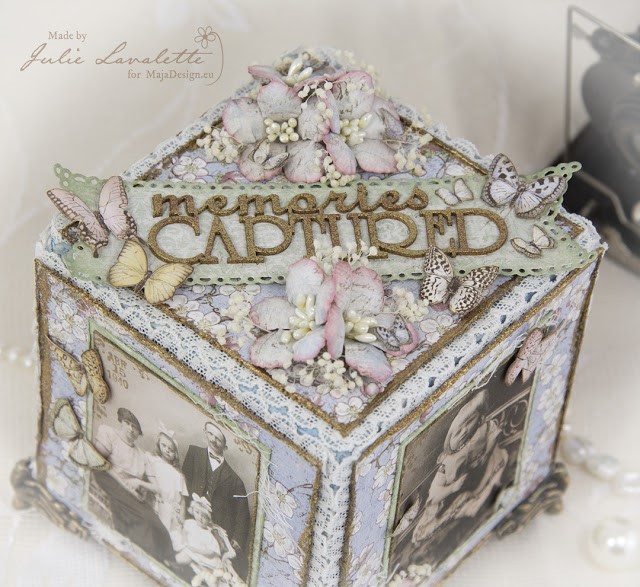
I added a diecut banner onto the top of my cube with my chipboard sentiment which had been heat embossed with the same colours as the edges of my paper.
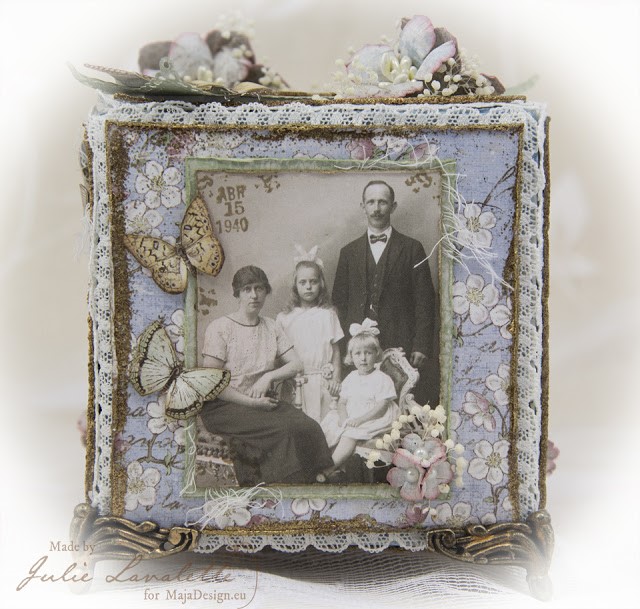
My larger flowers were shaded with Distress Inks and Pearl Stamens added into their centres with some smaller butterflies added onto their petals.
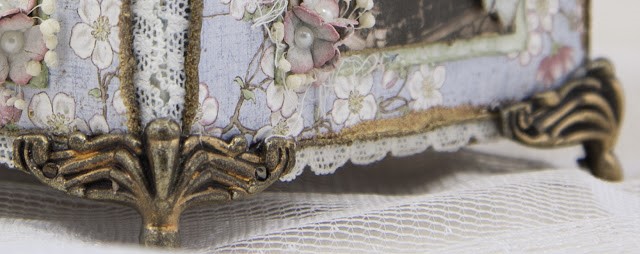
I finished off my cube by adding small brass feet from my stash that I added highlights of Gilding Wax.
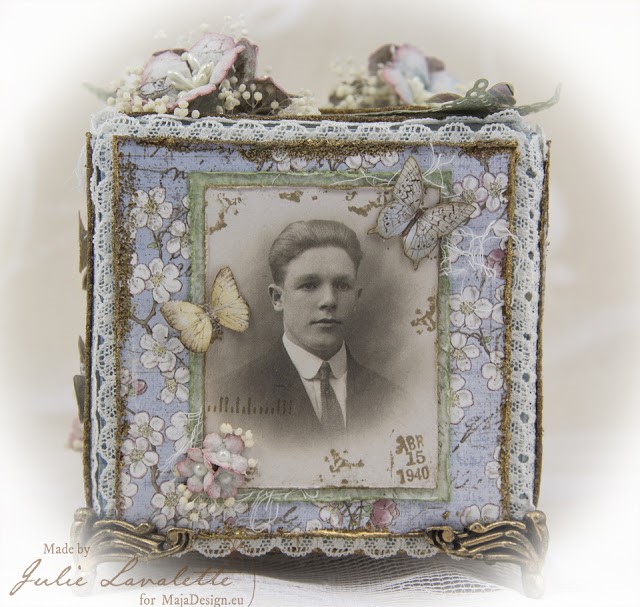
Finishing of with a few more images of my cube.
Maja Design Products Used :
Vintage Autumn Basics – Heritage 12 x 12
Vintage Spring Basics 6th of May 12 x 12
Vintage Spring Basics 6th of April
Vintage Spring Basics 6 x 6 Paper Pad
Other products used:
Cheery Lynn Designs –
C184 Judy’s Blooms,
DL 278 Horizon Fishtail Banners
Sue Wilson Small Flowers – Delicate Garden
Stampers Anonymous – Correspondence Set
6 Square Beer Mats or Chipboard measuring approximately 4 inches square
Tissue Tape
Distress Ink – Victorian Velvet and Frayed Burlap
Distress Paint – Faded Jeans
Treasure Gold Gilding wax
Versamark Ink Pad
Gold and Penny Copper Embossing Powders
Anna Marie Dried Flowers
Flower Stamens,
Cheesecloth and Lace – Ribbon Girl
Scrapiniec Chipboard – Memories Captured
Pinflair Glue, Hot Glue, Cosmic Shimmer Glue, Foam Strip Tape
Tiny Pearls and Brass Feet – Hobby House
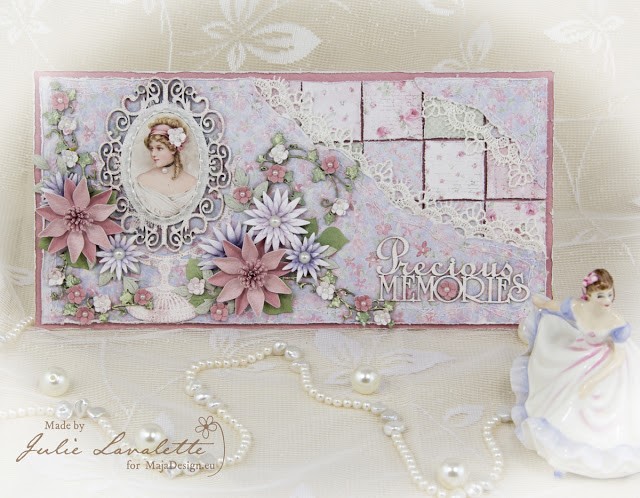
This card uses the exquisite papers from the Sofiero Collection. I love the pretty feminine tones and the elegance of the images that compliment any craft project so well. This card measures approximately 5″ x 10″ and I intend to put it into a frame to keep as my ‘Precious Memory’ as a Guest Designer here at Maja Design.

I started with tattering the base pink layer of my card with my scissors, this would help frame the soft tones on my design. I gathered lots of little scraps of paper from my Sofiero Collection and cut into approx 1″ squares, tattered at the edges and placed onto my card with foam strips. I now added on my torn layer of paper with tattered edges, some stitching and lace for extra detail.
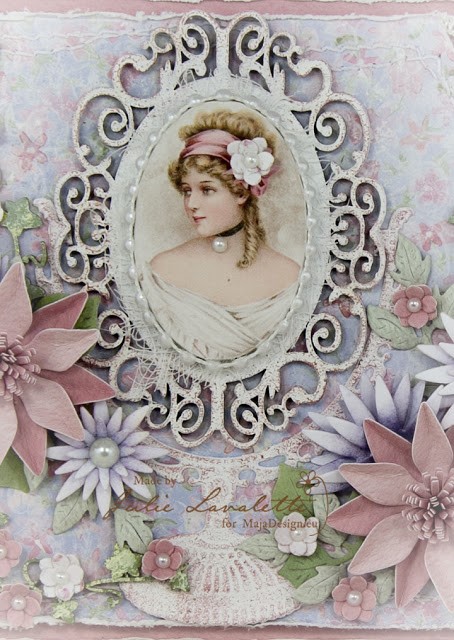
My dressing table mirror was diecut in white cardstock and I stippled on some Gesso for extra texture and once dry I added some Gilding Wax for highlights. You will also notice I replaced the mirror part of my diecut with a oval chipboard which had been painted and gilded in the same way. My beautiful image was glued onto an oval chipboard adding Pearls around the frame, finishing with a flower in her hair and a small Pearl added to her choker for extra detail.

My Ivy chipboard has been painted nestling some small flowers around them and adding a few diecut leaves.
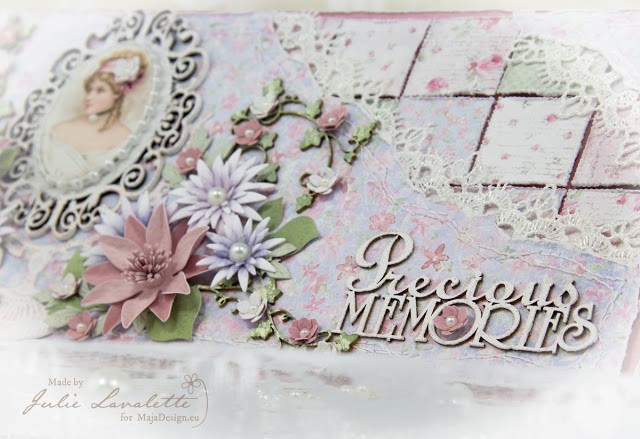
My lilac flowers were created with Distress Inks and adding Pearl centres, my other flowers have all been creating using Maja Papers.
Products Used List.
Maja Design Products Used –
Monochromes Shades of Sofiero Blush / Rouge 12 x 12
Exuberance of Flowers in Bloom 12 x 12
The Sofiero Collection 6 x 6 Paper Pad
Other Products Used –
Cheery Lynn Dies –
CABD 72 Chrysanthemum
B338 Black Eyed Susan Strip
B178 Flourish Leaf Strip
CAFLRS 13 Flourish#13
Scrapiniec – Ivy and Precious Memories
Dusty Attic – ATC Frame
Marianne Creatables Vintage Mirror
Spellbinders Hydrangea
Gilding Wax – Rose
Gesso
Sewing Machine, White Thread
Lace, Cheesecloth
Mini Pearls, Pearl Ribbon
Distress Oxide Peeled Paint
Distress Ink Milled Lavender, Shaded Lilac Foam Strips
Pinflair Glue and Cosmic Shimmer Glue
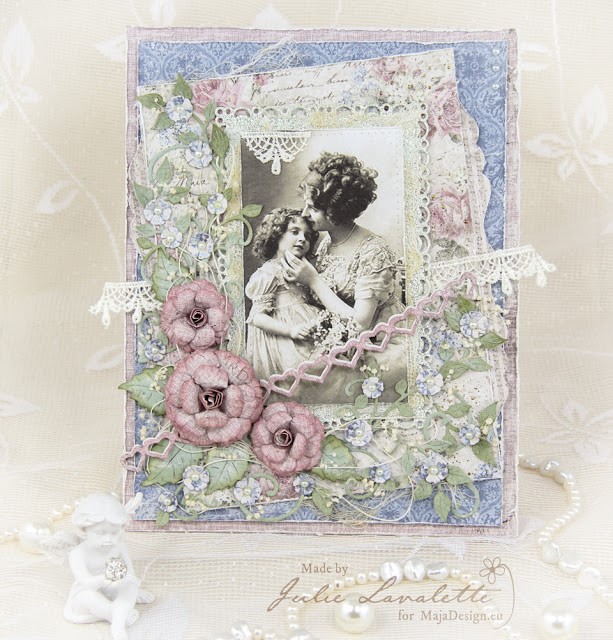
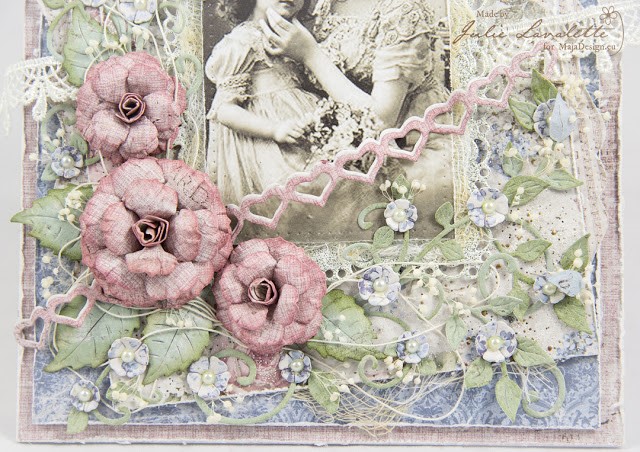
The inspiration for this card which measures 7.5 x 5.5 inches came from the love between a mother and daughter on my image and the beautiful Vintage Romance 12 x 12 paper called Engagement. I knew these would compliment each other so well and I could replicate the pretty flowers from the background paper onto my card.

I started by adding tattered layers, accents of cheesecloth, touches of lace and Frantage for a shabby feel.
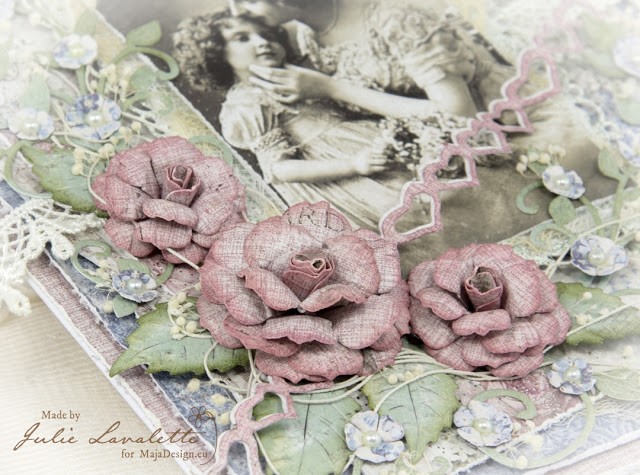
My roses were die cut out in coordinating papers and inked with Victorian Velvet Distress Ink, I also added some small flowers with a mini Pearl into their centres.
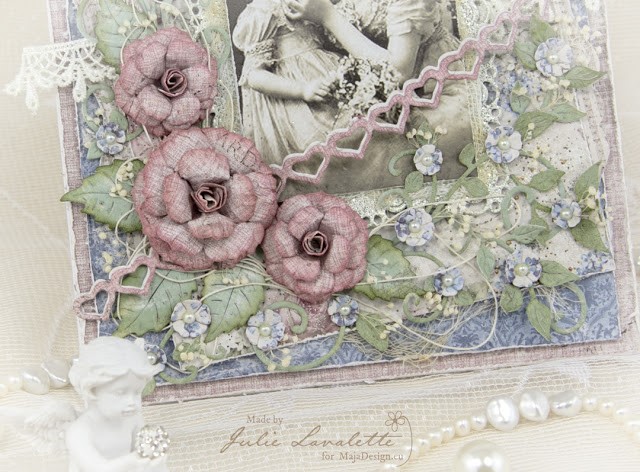
My floral arrangement was positioned onto my card with leaves which were inked at the edges and a few flourishes for added detail.
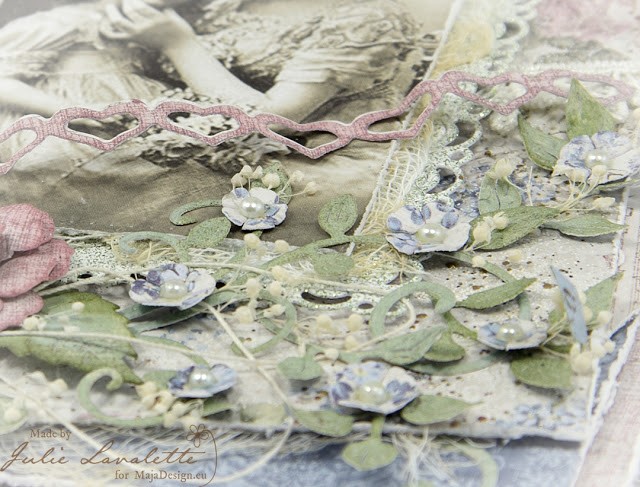
I finished with a small double layered heart chain, some dried flowers and a little thread positioned through my bouquet.
Maja Design Papers Used :
Vintage Romance Forget Me Not 12×12
Vintage Summer Basics 1924 12×12
Vintage Romance Engagement 12×12
Cheery Lynn Dies Used:
B304 Ivy Strip
B241 Rose Leaf Strip
B291 Mini Fanciful Flourish Right
B117S Mini Fanciful Flourish Left
B376 Tiny Flower Kit
B433 Small Gardenia Strip
B339 Gardenia Strip
LPC-16 Rectangle Pierce and Cut Tool
DL270 Horizon Boutique Rectangle Stacker Frames
B115 Heart Chain Border
B569 Curved Border Set
Other Products Used :
Lace, Cheesecloth
Image from Stash
Antique Linen and Victorian Velvet Distress Inks
Stampendous Shabby Green Embossing Enamel
Stampendous Aged Bronze embossing Enamel
Craft Consortium Pearl
Thanks so much to Camilla for giving me this opportunity which shall be forever in my heart and for the super talented Design Team at Maja for their endless inspiration.
Crafty Hugs to all,

8 Comments
And thank YOU Julie for sharing these outstanding and beautiful projects here with all of us too. I absolutely LOVE your photocube and ofcause also the cards, but that cube is such an amazing idea, and I wish I´d got it a little sooner, cause tthen I would´ve “borrowed” it for my granddaughters confirmation. I really think this could be such an awesome idea for that occasion, and then they can also keep small things inside it as keepsakes too, and it´s just soooo beautiful. But I also really love your cards, they´re really gorgeous too, just that this cube is a new idea to me, and why I´m sure, it ju,mped right into my heart here.
All the work here today are amazing and sooo beautiful, well done and TFS.
Thankyou for such a lovely comment, I really appreciate it and I’m so pleased I have inspired you to make a photocube.
Crafty Hugs x
Wow, wow & wow!! Julie these are all simply stunning!! I love the cube but those cards are beautiful! I really and truly these make your ‘dream come true’ my mind…you certainly deserve it without doubt!! Well done and amny congrats on your DT spot. Simply amazing papers! Hugs, Mary x
Thankyou for taking the time to leave such a lovely comment.
Crafty Hugs x
What gorgeous vintage inspired work from Julie..3 stunning projects which showcase these lovely papers perfectly. Thanks fo sharing xx
Thankyou for your lovely comment Jane. Hugs x
Fabulous Julie, love your stunning creations, your romantic photo cube is a dream! Hugs, Kerstin x
Thanks Kerstin for a wonderful comment. Crafty Hugs x