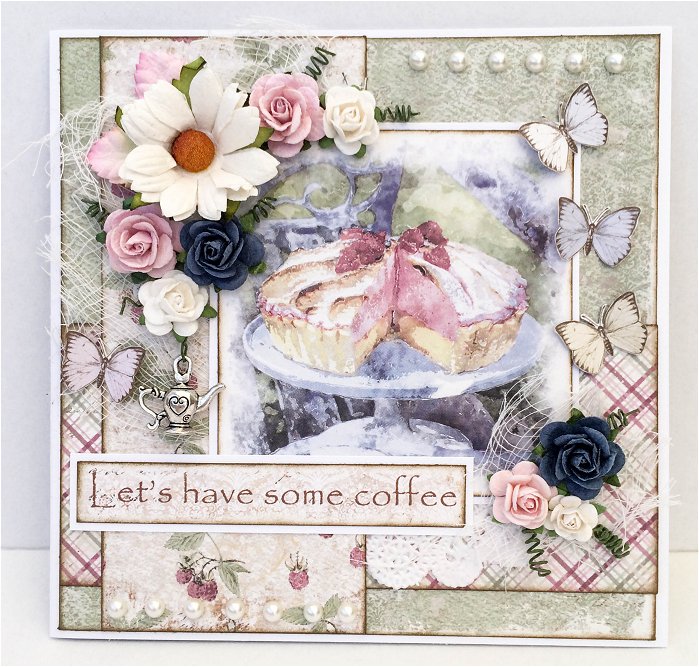
Guest Designer Tina Ollett

1

Posted by Carita Ruckman

12 September, 2016 - , ,

Write a comment

Hello there….

My name is Tina Ollett, my family and friends call me Teen. And before I tell you more about myself can I just say how

very, very excited I am to have been invited here this month as Guest Designer.
Tina-Ollett

I live in beautiful sunny Queensland, Australia with my husband, our three children and two furry friends. They are my ultimate inspiration for everything creative that I do. I am for the most part a scrapbooker, but on occasion I have been known to do smaller off the page projects. I love to use patterned papers, lots of  layers, dimension, chipboards and of course flowers…..lots of flowers with small amounts of media in a vintage / shabby chic style. My aim when scrapping is to keep the focus on the photo and to celebrate the memories that they represent.

I am currently designing on some wonderful Design Teams, and in my other spare time I share my love of scrapbooking through teaching at workshops and classes around my hometown.

I feel so very privileged and honoured to have been asked to Guest here at Maja Design’s this month. Thank you from the bottom of my heart for having me here.

To see more of my work you can visit me here :

http://tinamarie-foreverandalways.blogspot.com.au/

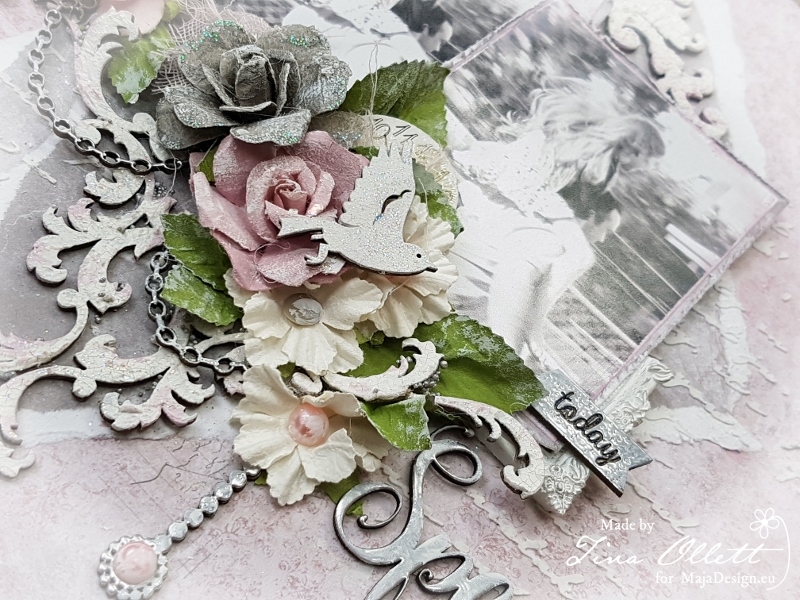
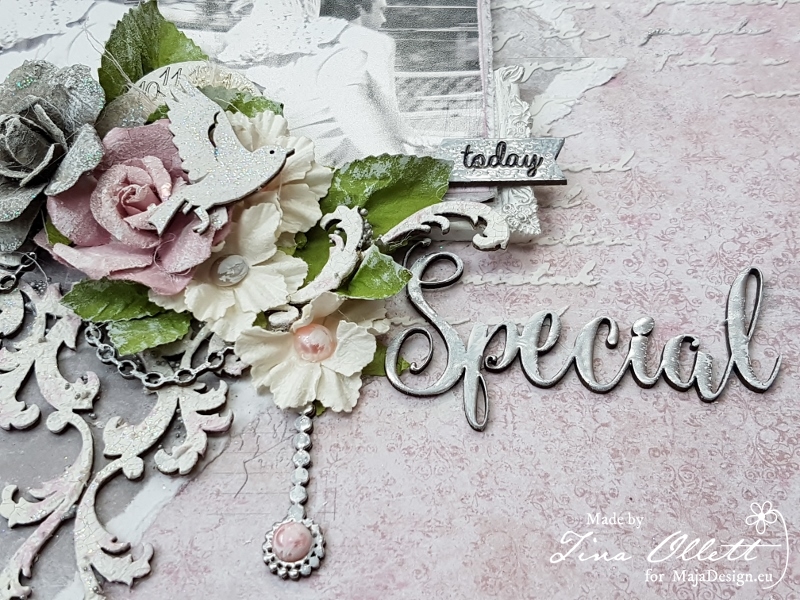
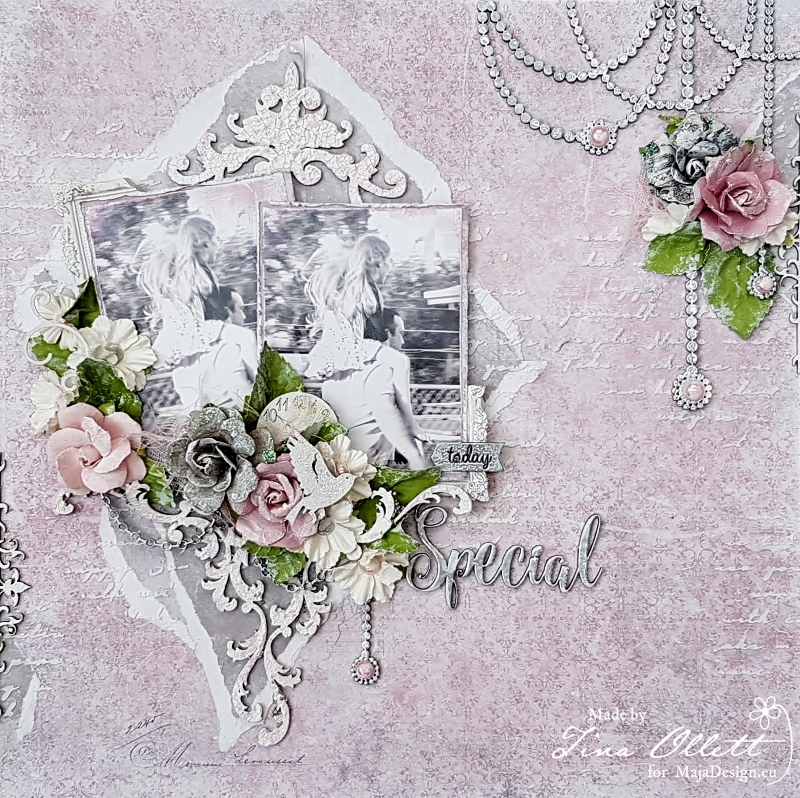
For those that know me and my style…..Maja Design suits me beautifully with it soft romantic, shabby papers. I chose to use the Nyhavn collection. The softness of these papers cried out to be used with photos that have a beautiful memory attached. This is a photo of my gorgeous daughter with my eldest brother. He really is the biggest kid I know and whenever my kids are around him they continually pester him for piggy back rides! This is one of those times that I happened to have the camera out.

I have titled this “Special”……

I hope you enjoy it!
Tina Ollett

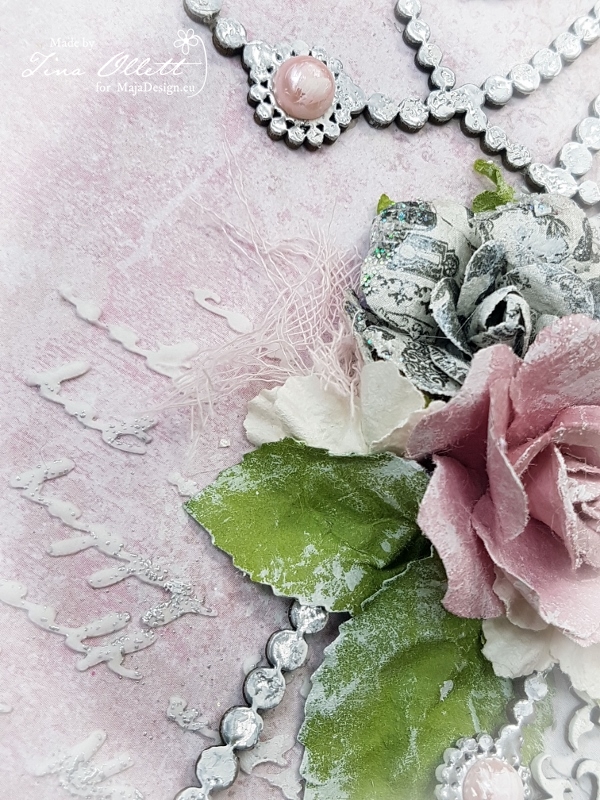
I used Maja’s Nyhavn “Strolling along the Canal” for my background piece adding a little texture paste through the Dusty Attic Script Stencil and a sprinkling of silver embossing powder. I left it to dry for a short time and then heat set the embossing powders so as not to make the texture paste bubble. The title and the pendants were embossed a couple of times with silver embossing powders to create a thick covering.

Close up Tina

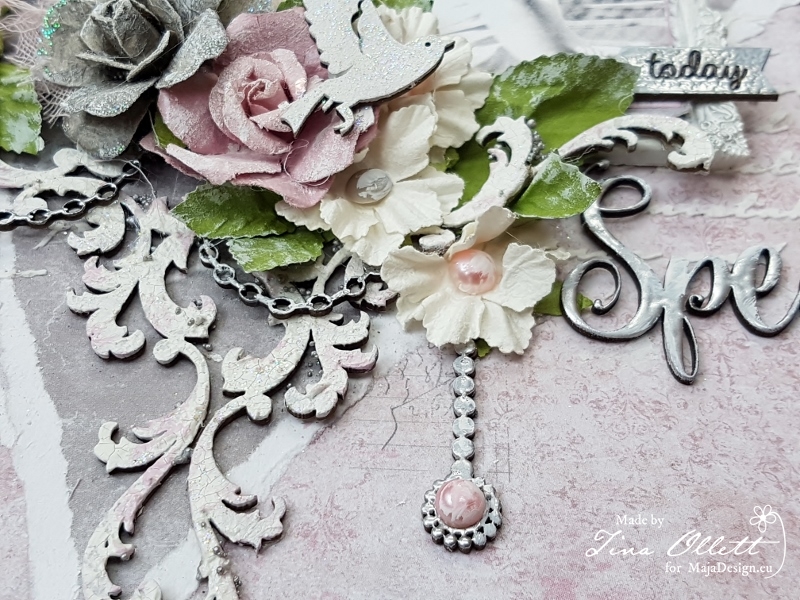
The Dusty Attic Baroque Corners and Ornate Frame were both dressed in White Crackle Paste and left to dry. Once it dried and crackled I washed it over with a mix of watered down Sugar Plum acrylic paint and a little gesso. I also applied a dabbing of Star Dust Stickles over the edges of these to highlight the colours a little more.

Tina close up

Pearls have been added to the pendants and flower centres and I have also sprinkled in some silver Prills to highlight the Baroque Corners which I have faced back to back and placed under the photos. The Prima Marketing Flowers were adhered to the base of the photos with the addition of some of my favourite Kaisercraft paper leaves. They were then dry brushed with a little gesso to tone the colours of the leaves and flowers down and to add that hint of shabbiness.

Tina O close up

I have cut the chains from the Dusty Attic elegant chain and embossed with silver embossing powder. These were hung from under the floral cluster at the base of the photos. I have also added in one of the string pendants from under here to keep the page consistent.

Tina Ollett - close up flowers

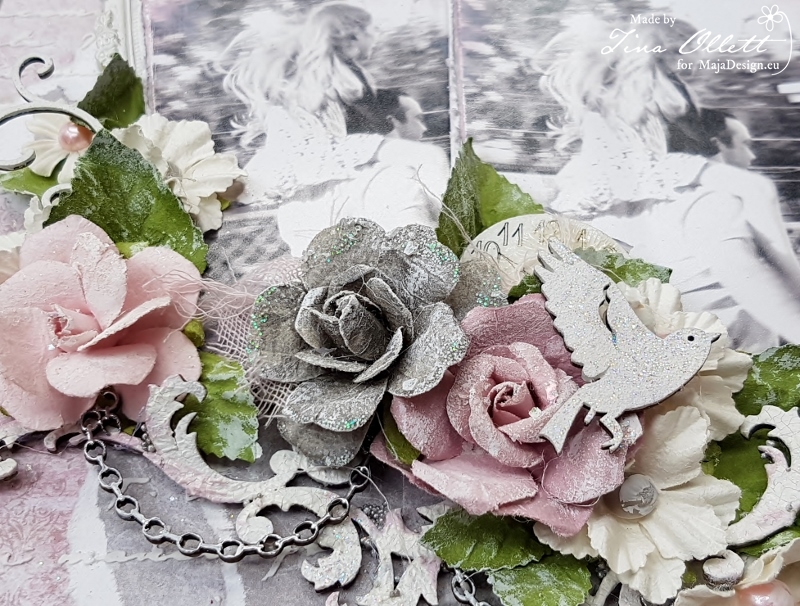
Here you can see the cute little mini chipboard bird….they are just so cute. It has been dressed with a little gesso and Star Dust Stickles and adhered atop of the flower cluster. And also the Vintage Nameplate was cut up into pieces and dressed similarly to the bird and added to the left and right edges of the layout as shown in the main photo.

Tina Ollett - close up


I have also coloured some cheesecloth with a little watered down Victorian Velvet distress ink and heat set it. It was distressed and placed amongst the flower clusters. I only had one square Prima resin frame left on my table so I decided to cut it up and add it to the top left and bottom right of the photos to tie the photos together.

Nyhavn-P


Also used……

Dusty Attic Ornate Frame #1

Dusty Attic Creative Script Stencil

Dusty Attic Elegant Chain DA1453

Dusty Attic Word Strips

Dusty Attic Mini Clocks

Dusty Attic Mini Birds #3

Dusty Attic Baroque Corners

Dusty Attic Vintage Nameplate

Dusty Attic Wordpack 33

Dusty Attic Word Strips

Dusty Attic Acrylic Paint – Sugar Plum

Silver Embossing Powder

Liquitex White Gesso

Prima Marketing Resin Frame

Prima Marketing Inc. Flowers

Prima Marketing Inc. Flowers

Prima Crackle Paste

Pearls

Ranger Star Dust Stickles

Ranger Texture Paste


I have so enjoyed working with these papers and I really think you will too!! I hope you find some time this week to create a little something using papers from this gorgeous collection or maybe another from this wonderful company.

Thank you for taking the time to visit.

Take care……..

Tina-sign

Guest Designer Malin Ellegaard

5

Posted by Carita Ruckman

9 July, 2016 - , ,

Write a comment

Hi!
It is so nice to be here again.
Malin-Ellegaard
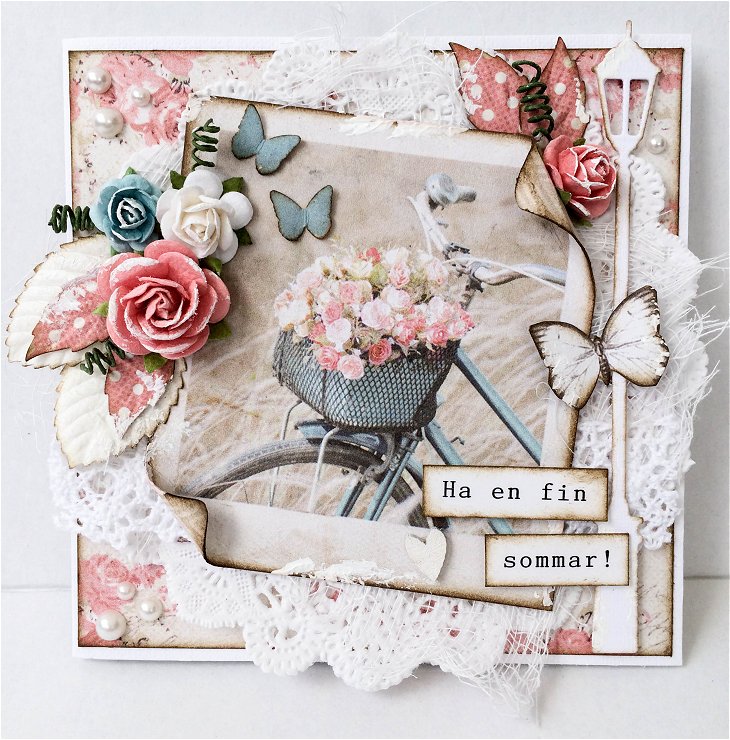
Today I have two cards to share with you. The first one is a little 10x10cm card that I actually made  from my left over papers. I CAN NOT throw ANY of the gorgeous papers away so even the smallest leftovers from when I have made other cards will be used for example 10×10 cards.
There are always something you can do with the smallest pieces you get over!

Malin

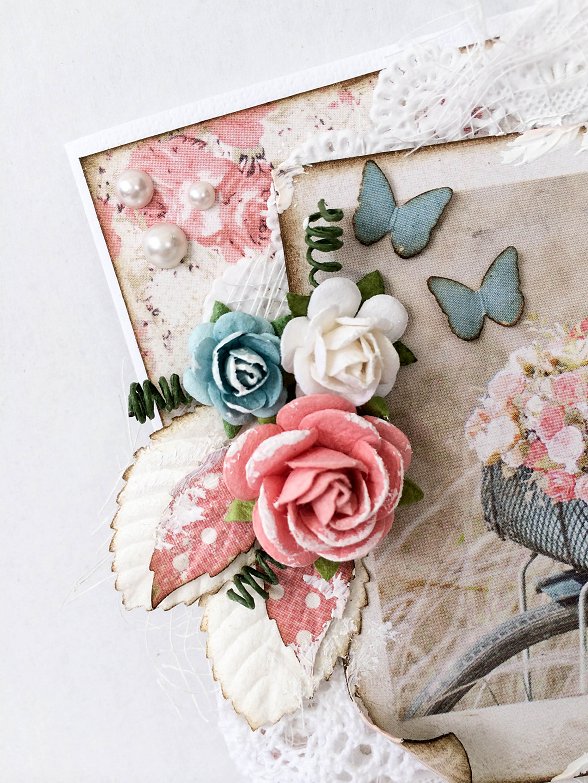
For this card I have been using leftovers from the collection “Summer Crush” and from my smallest pieces I actually punched out some small leaves that I used on the card. Love it!

Malin E

The small blue butterflies is also from a small peace of paper since I really wanted the same colour as it is in the bike on the picture I have been using.

Malin

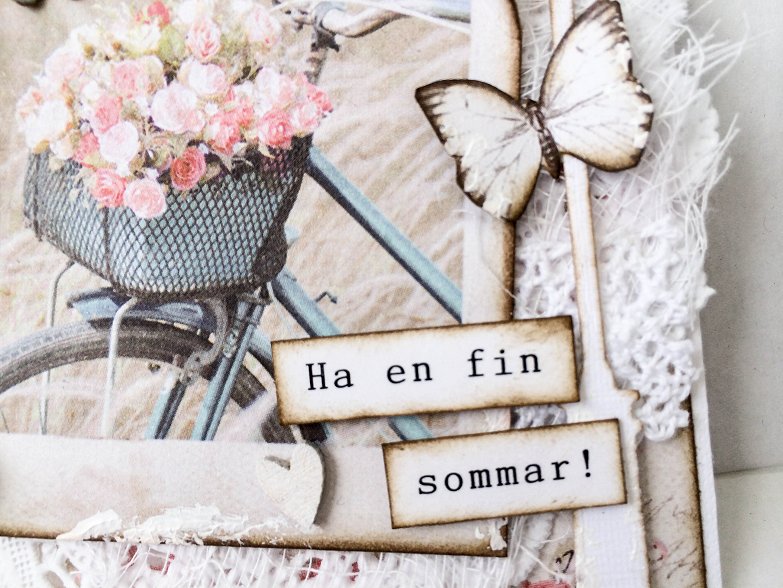
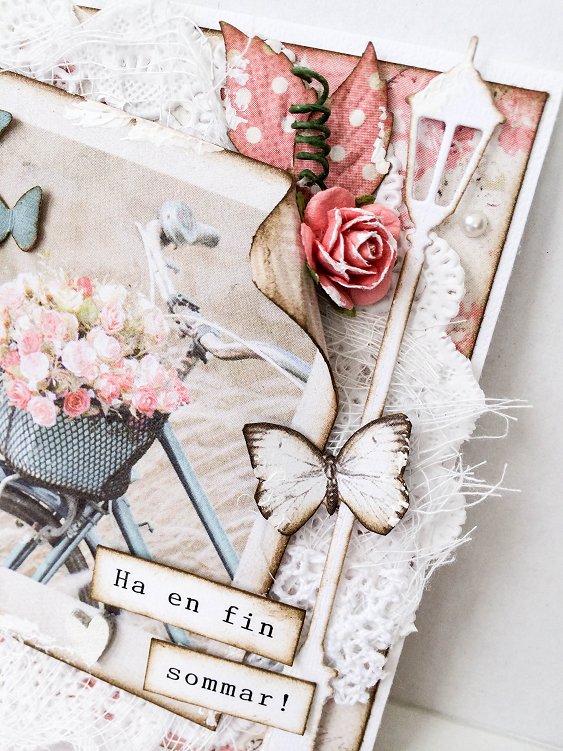
The white butterfly is from another paper from the “Coffee in the Arbour” collection. I really really like when they have this kind of paper that I can cut out from and they also have several collections with butterfly paper that you can use this way!
To have this little vintage look I have used a little lace, doilys, gesso and so on and I really hope you like it.

Malin

This card will be sent to a very very nice girl I meet on the internet! 😉


This second card is a 15x15cm card, this is the ones I usually do.
ME-05
I have been using paper from the “Coffee in the Arbour” collection and I really like the color in it. I love that there are also a paper with picture to use on my card if I don´t always want to colour stamps and so on.

ME-06 ME-07 ME-08

A little card just to invite someone for a Swedish ” fika”. We love it here in Sweden. 😉
ME-09

Hope you will get some inspiration from it and I hope you all have a wounderful summer!
THANKS for having me as a guest again.
Hugs

Malin-sign

Guest Designer Mary Catt

1

Posted by Carita Ruckman

23 May, 2016 - , , ,

Write a comment

Hello there!

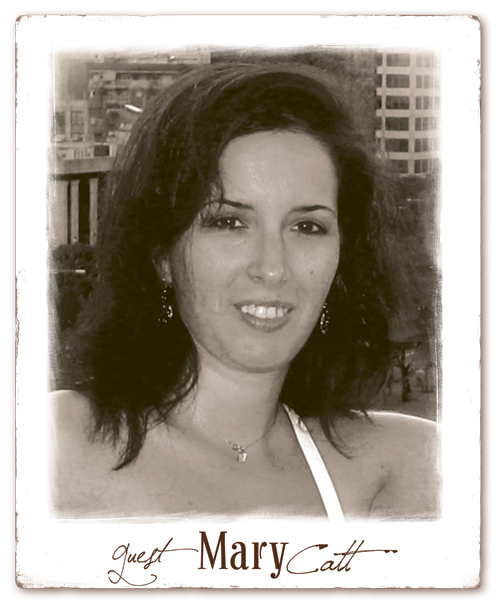
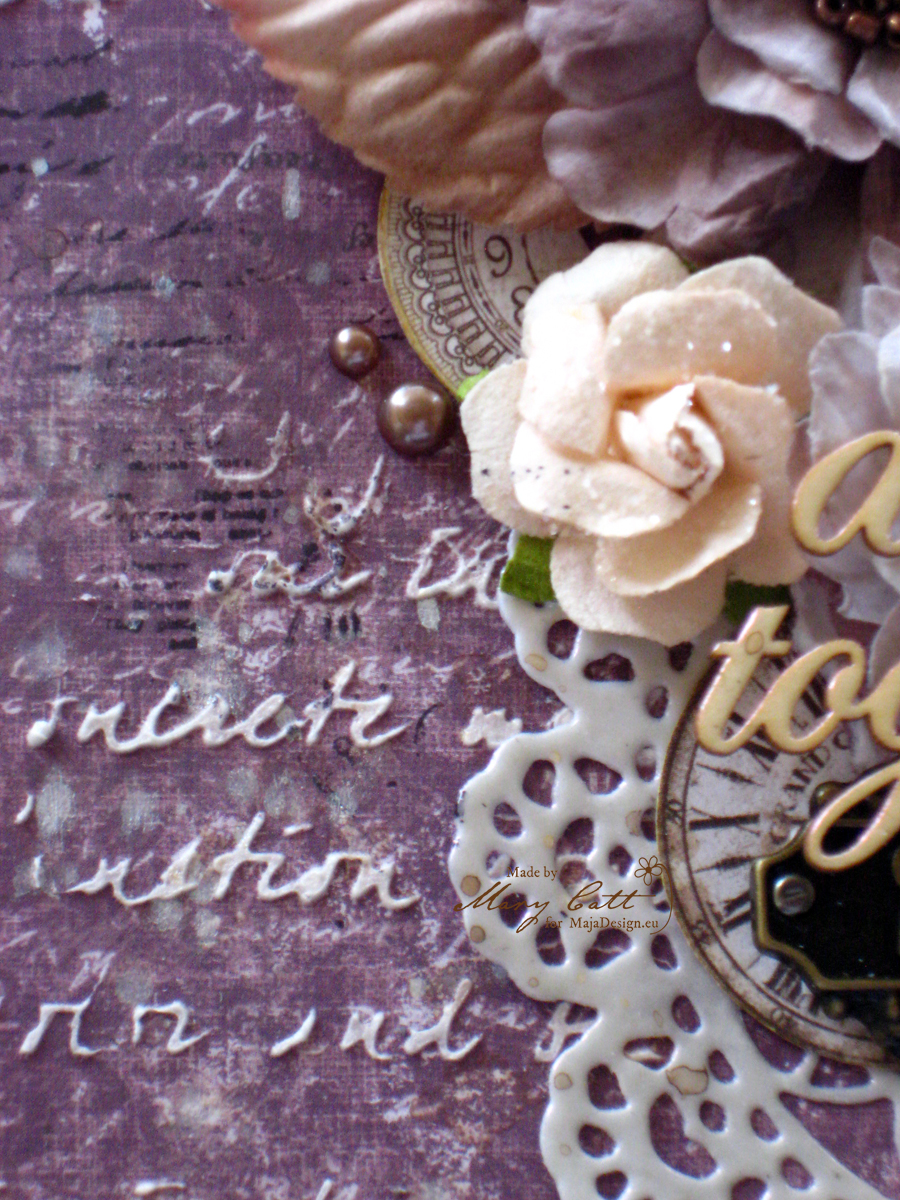
My name is Mary Catt. I’m so happy, for being here today, as a guest designer, in this amazingly talented team and with the most beautiful papers.

Mary-Catt

Well, before I start, let me introduce my self… I live in beautiful Greece with my awesome husband and our three wonderful children. I work full time as a secretary in a private secondary education school. I met scrapbooking two years ago and since then I became an obsessed scraper… oh yes, I’m addicted to it, what can I do?

I still consider myself as a beginner and I’m always trying to improve my skills. I mostly do layouts but I love design tags, cards, mini albums, canvases and altered items as well. My style is mixed media, with a little vintage and some shabby chic touches. I love working with Maja Desing papers. They are so chic and elegance! I also love using my stencils, pastes and mists. Flowers and embellishments are always present in my projects.


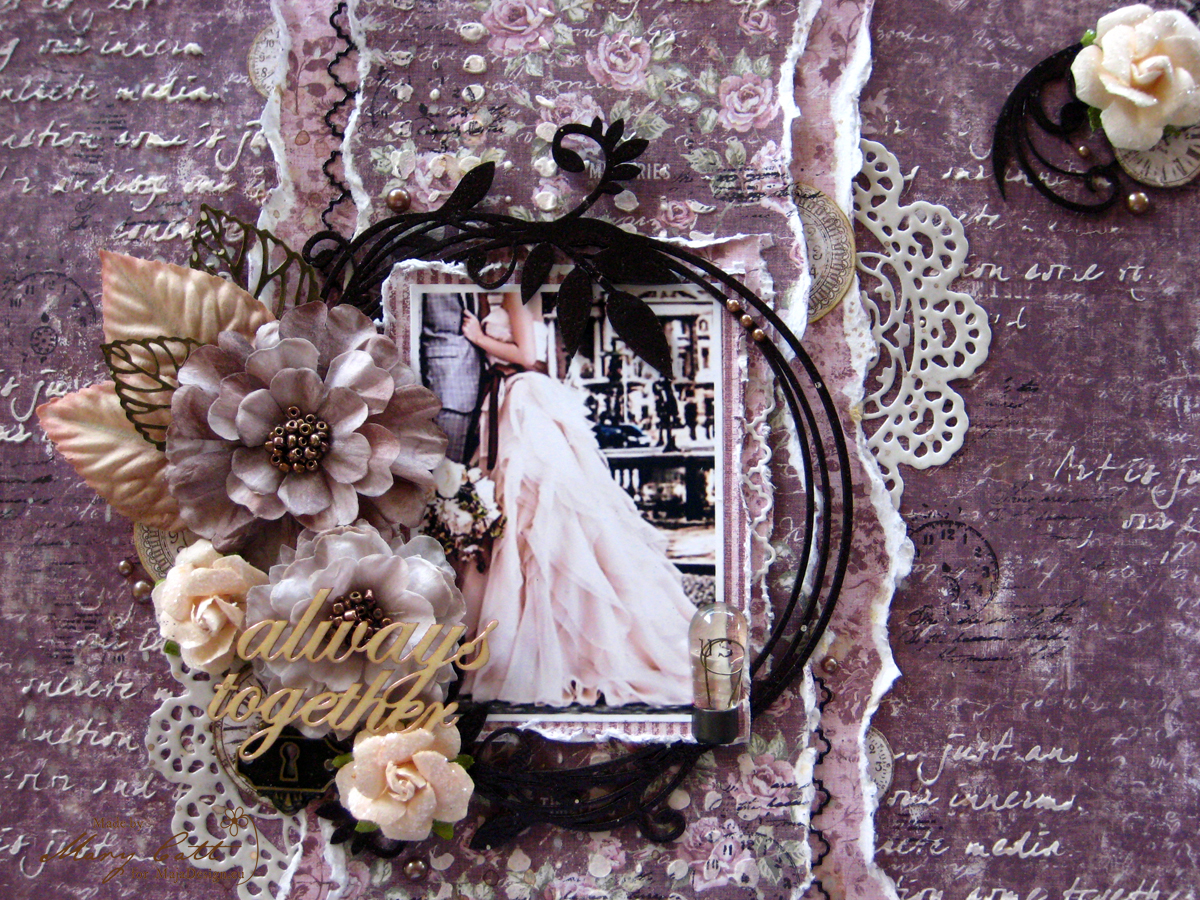
I’m so excited to share with you, two layouts, I made with these beautiful papers!

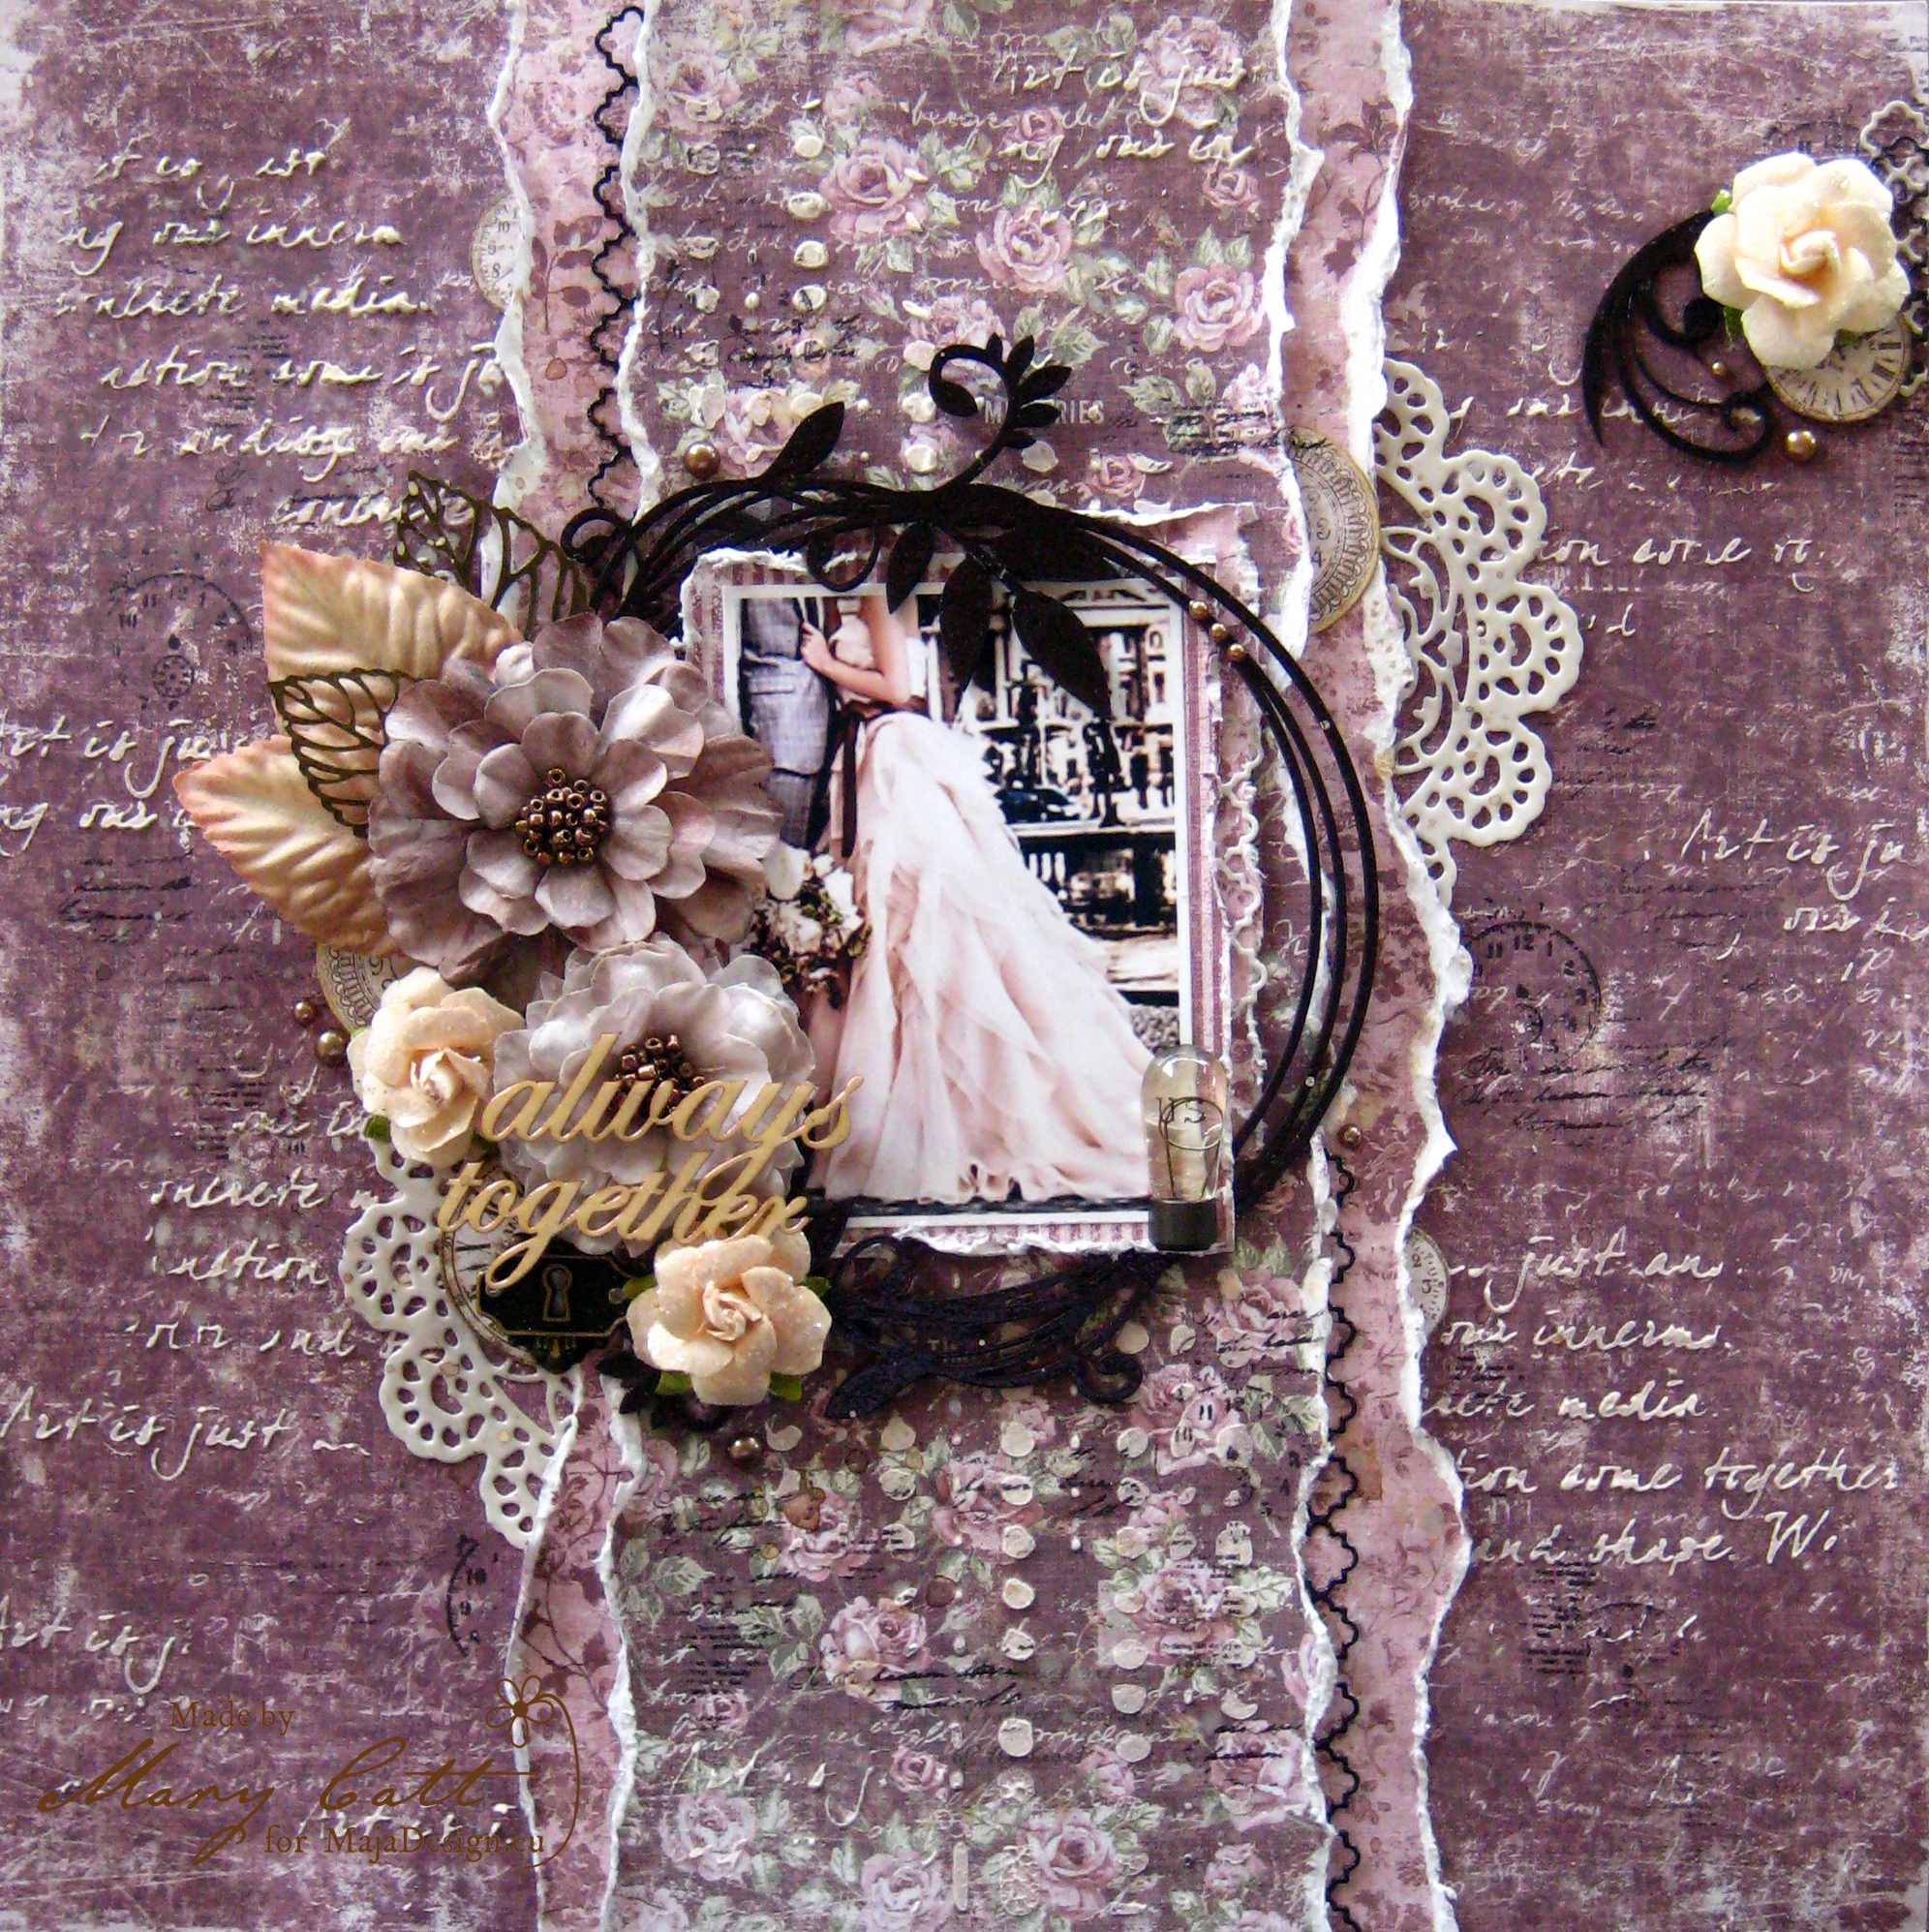
Layout

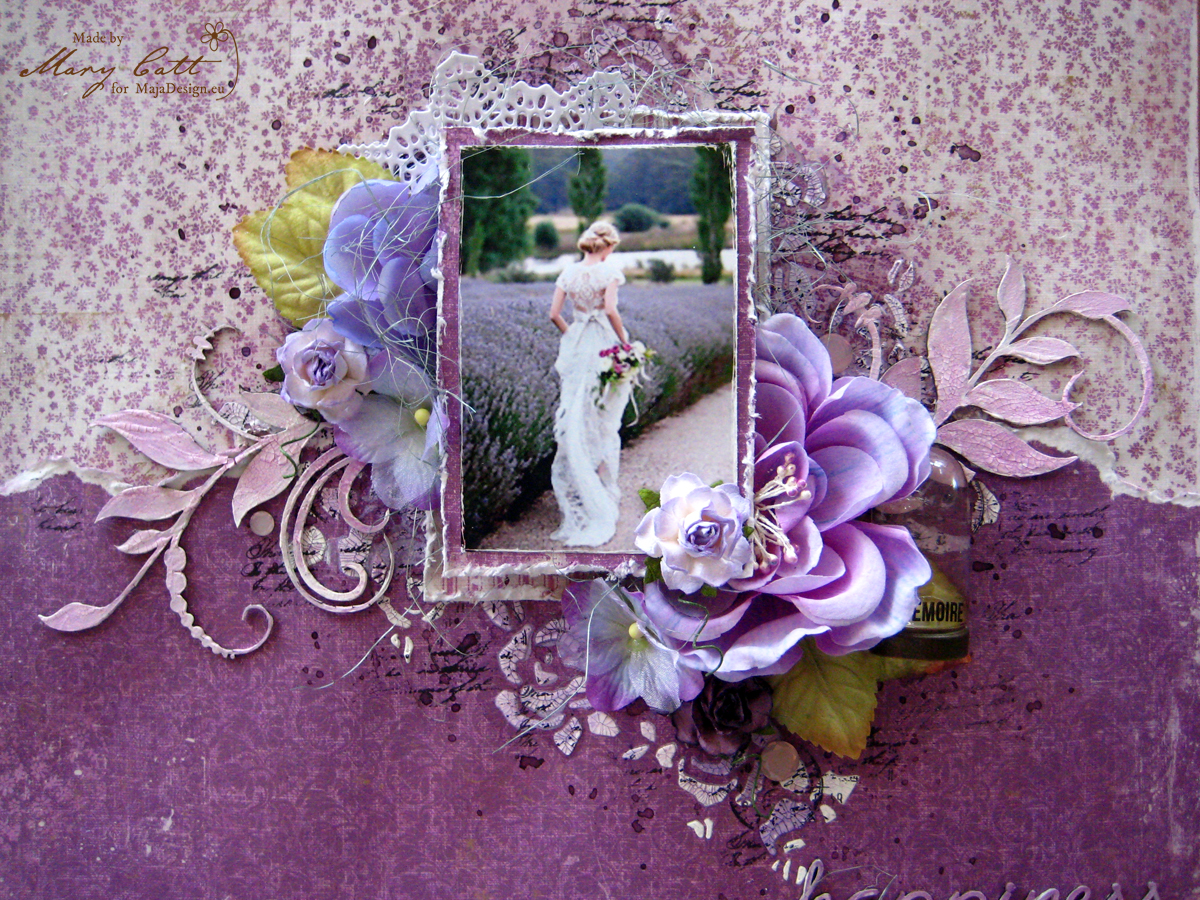
For the first one, I used the ‘’Colorful’’ and the ‘’Picking Flowers’’ papers, from the ‘’Enjoying Outdoors’’ Collection.

Enjoying-Outdoors-P

I tore the ‘’Colorful’’ paper in half and glued it, in the lower half of the other paper. I love the vintage feel the torn papers are giving.

Close up 5

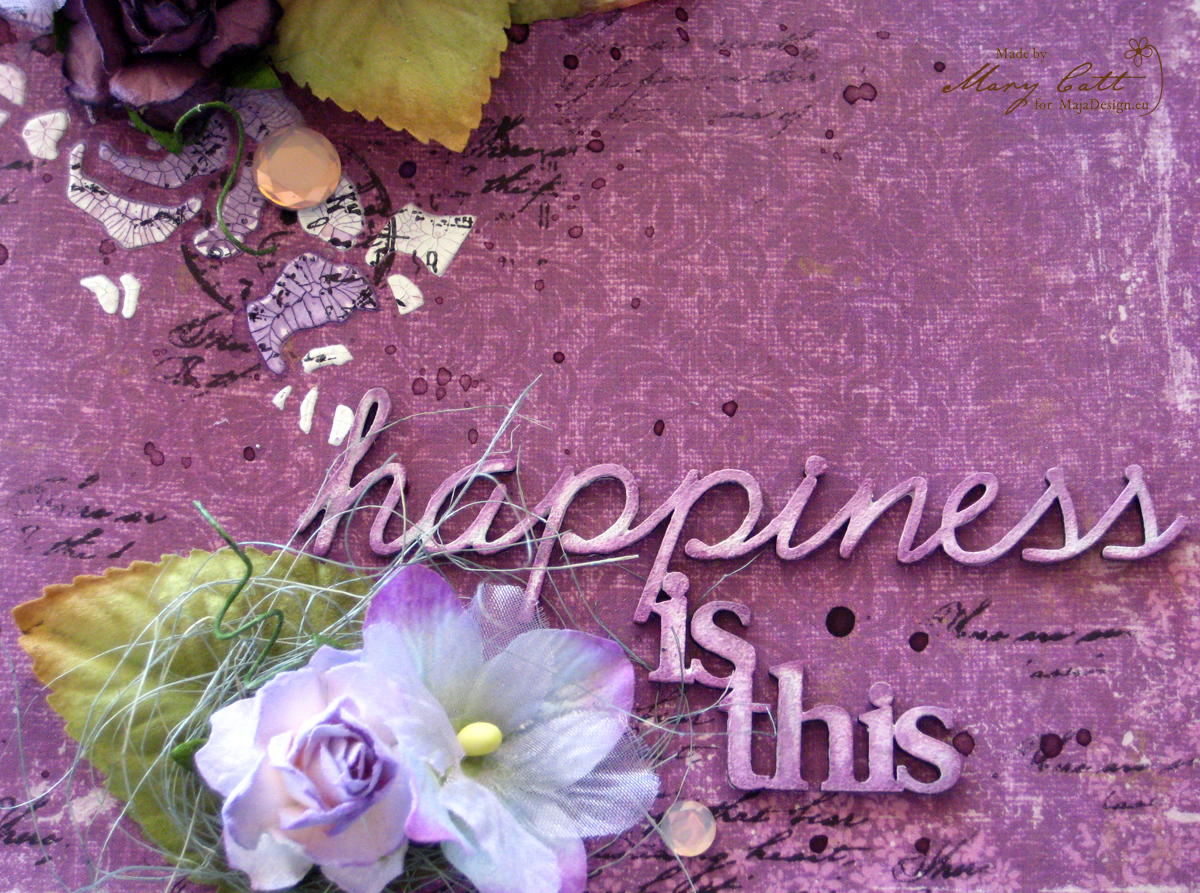
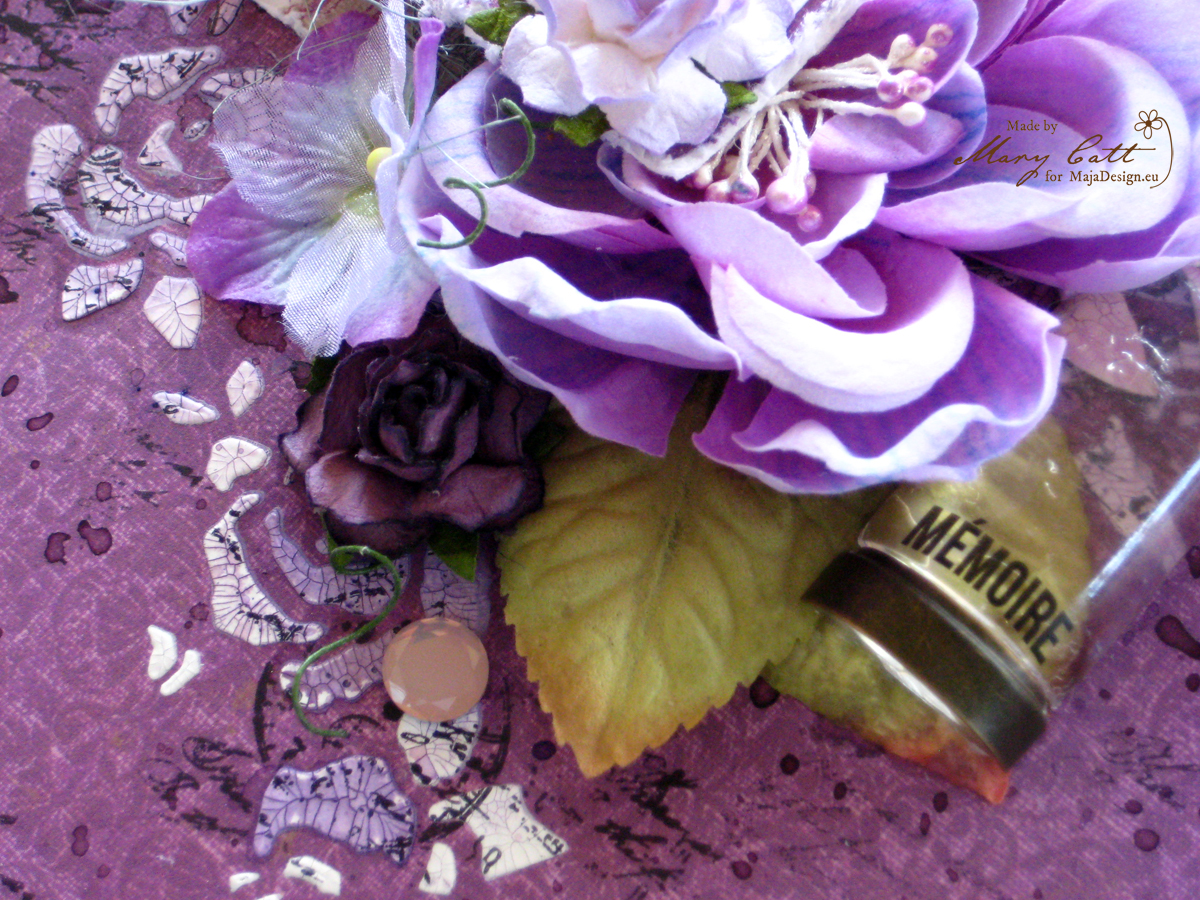
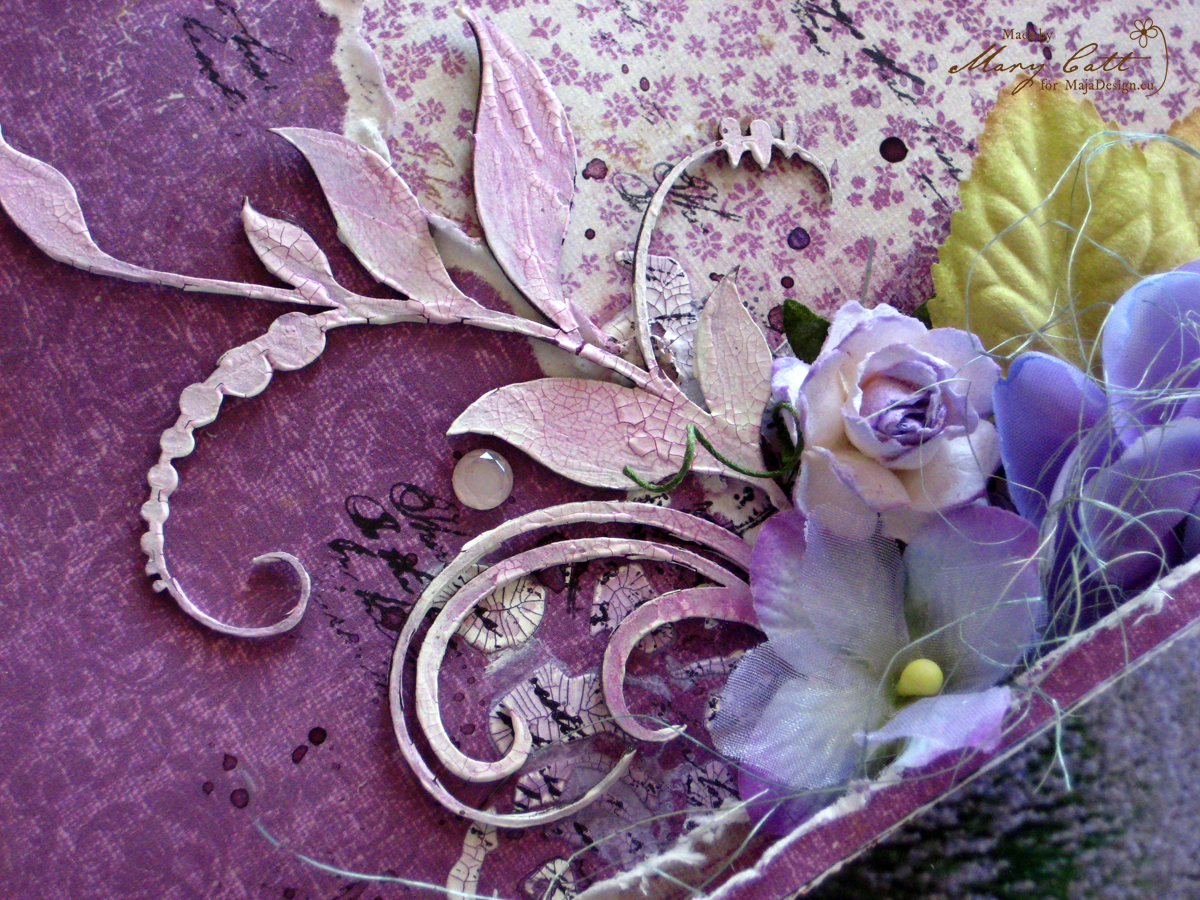
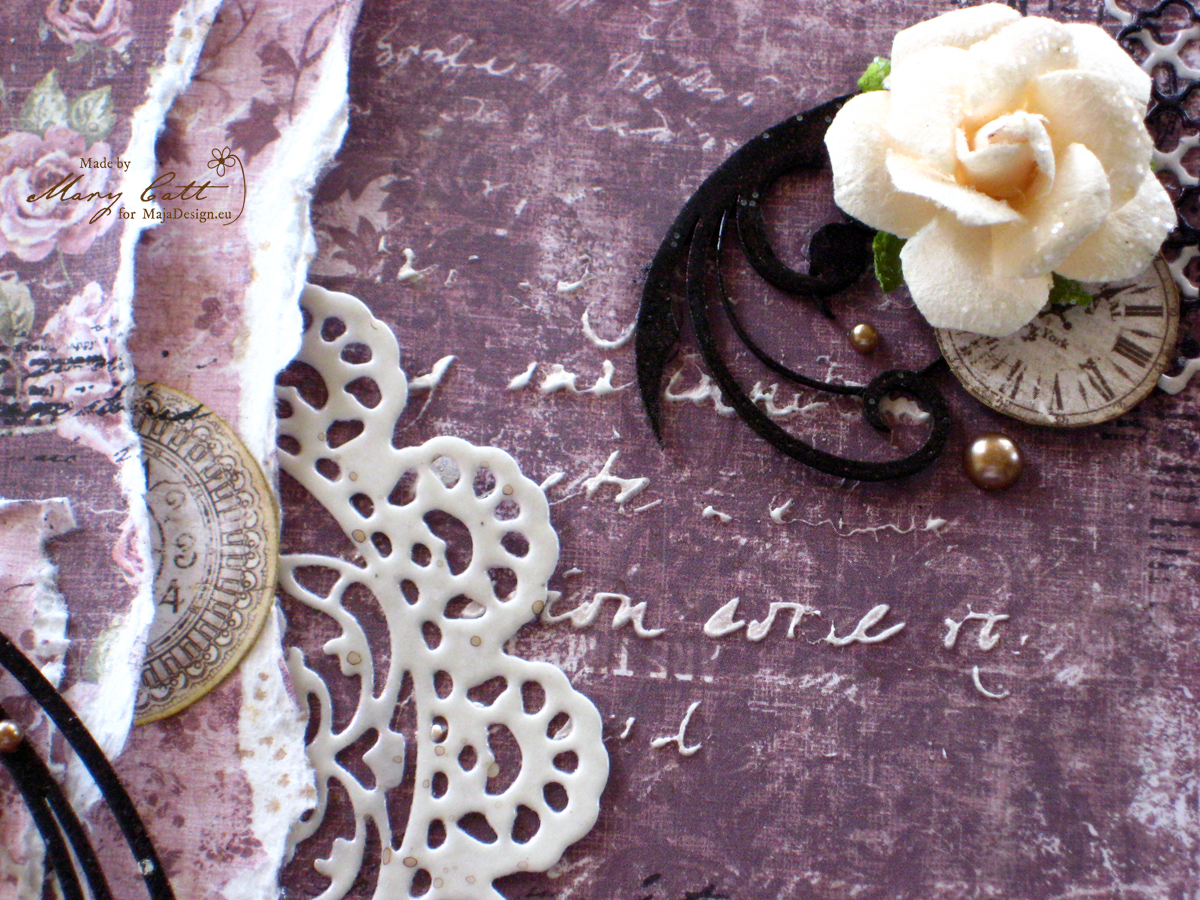
To design my background I used Finnabair white crackle paste with a floral stencil. When it was dried I added the ‘’Open Arms Amethyst’’ and ‘’Tea Pot Purple’’ Lindy’s Stamp Gang mists. Then it was the time for some stamping.

Close up 3

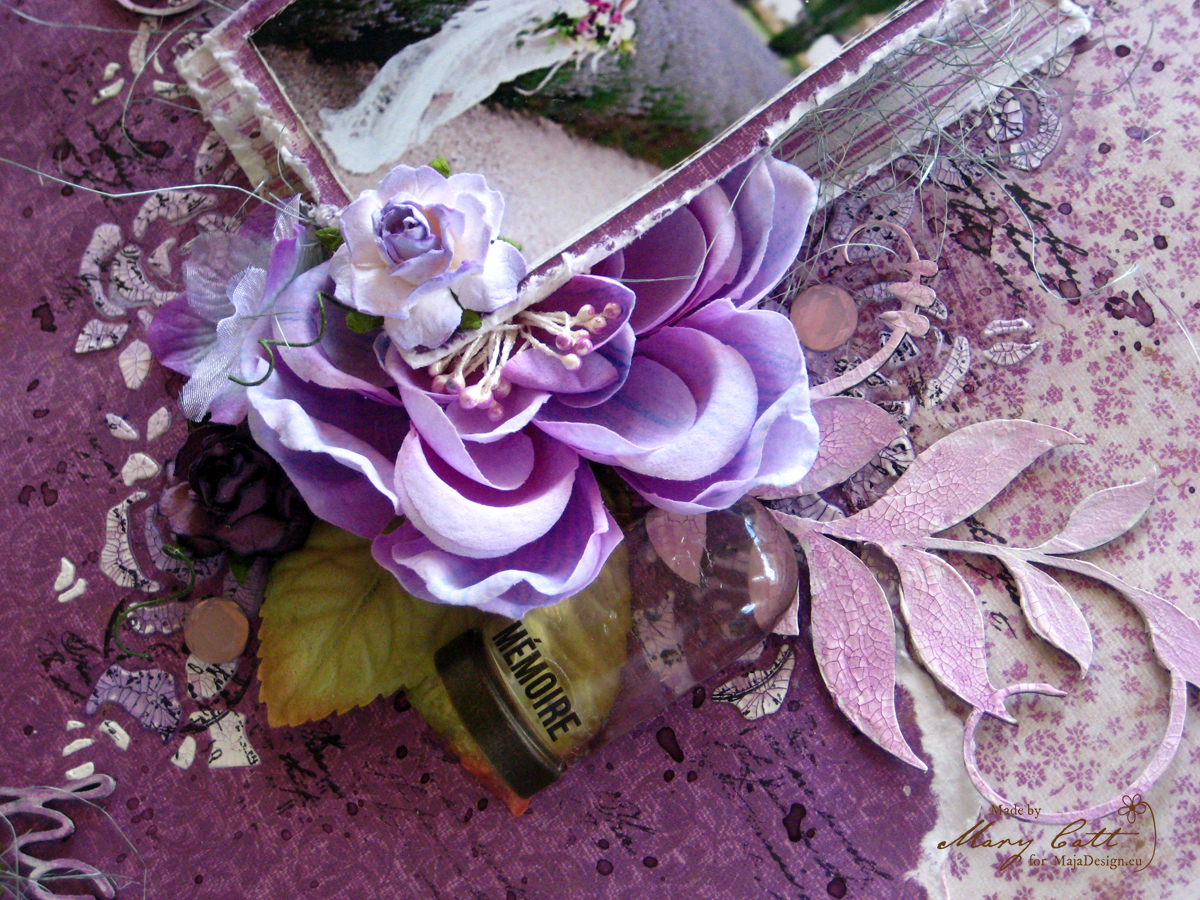
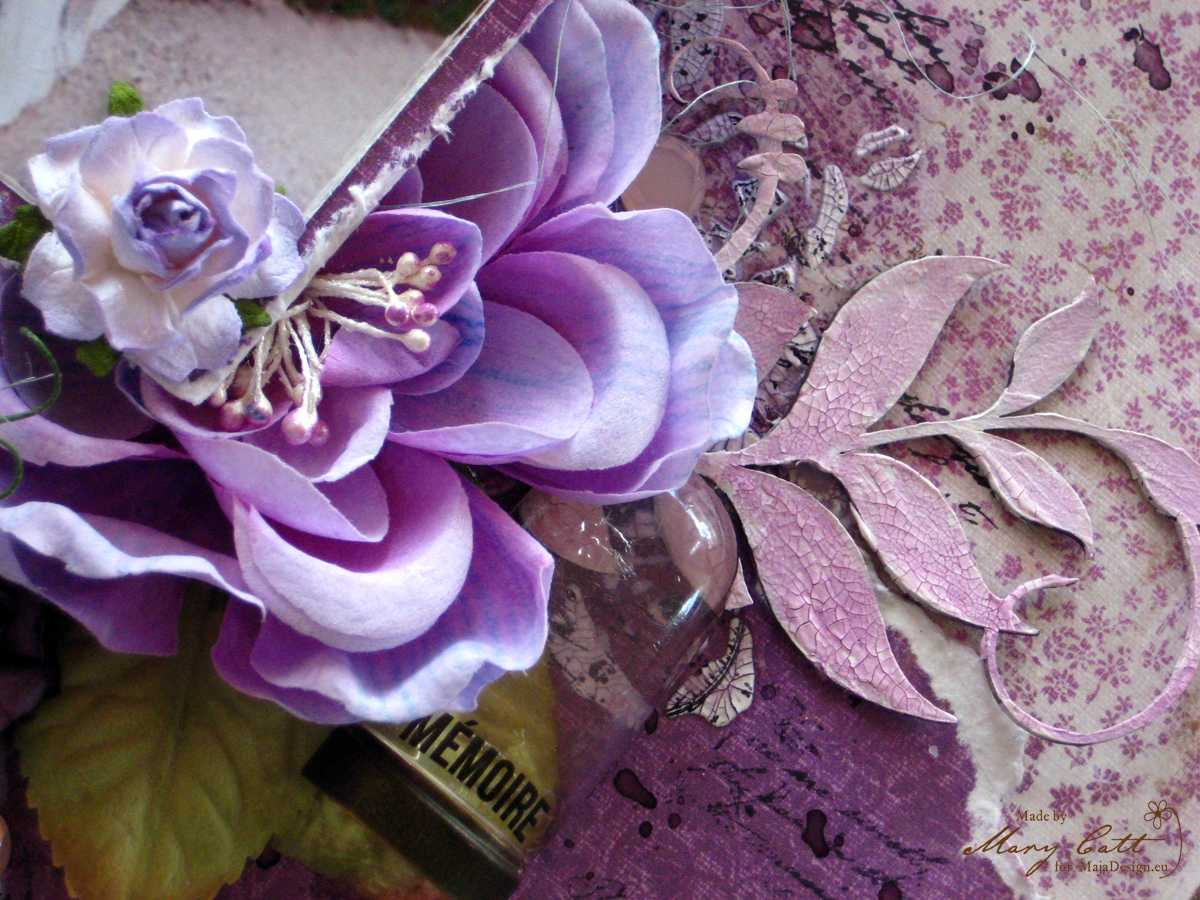
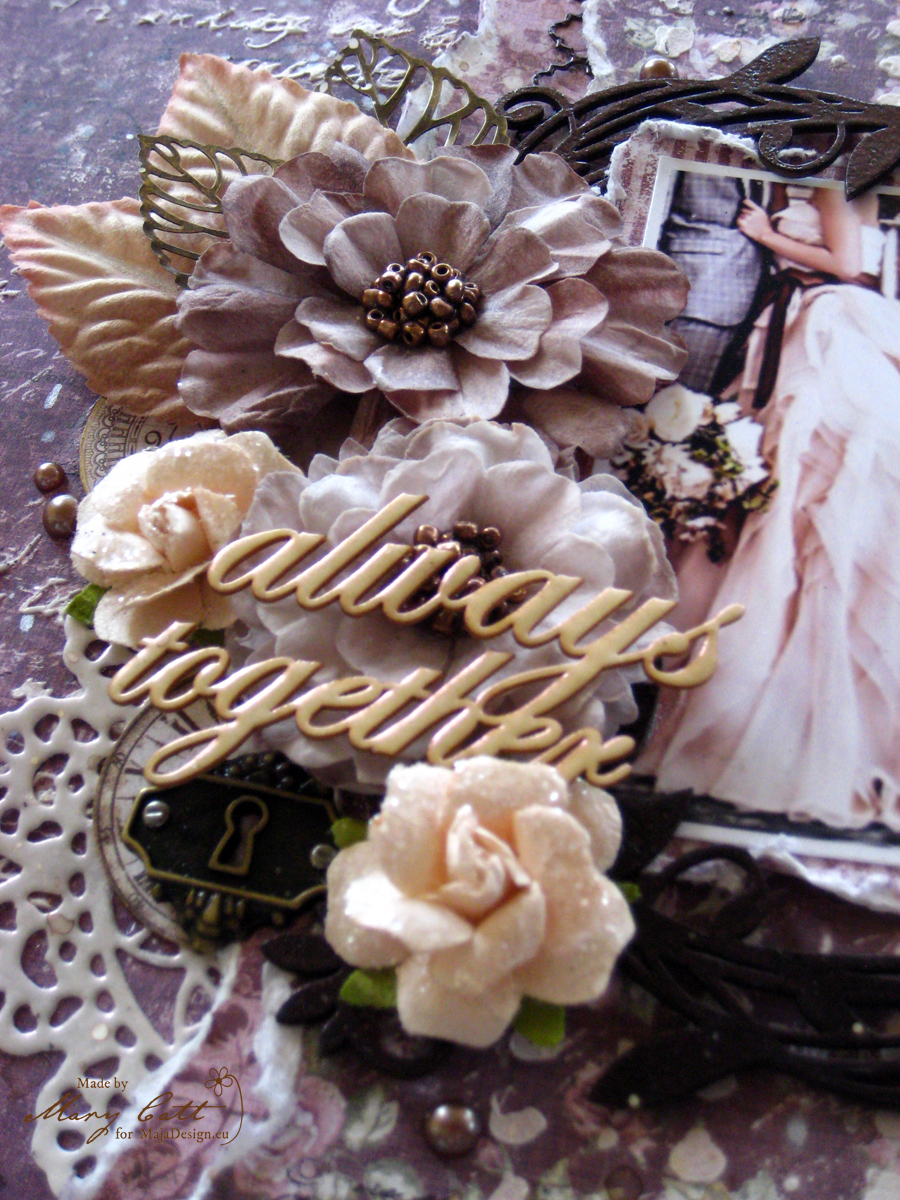
My ‘’2Crafty’’ flourish chipboards were covered at first with white crackle paste and then I colored them with ‘’Seedless Preserves’’ Distress ink.

The title was primed with gesso and also colored with the same ink.

Close up 1

I added my floral clusters and my favorite Prima die cut doily mixing with a little sisal.

Close up 2 Close up 4

A final touch with some splatters and some Prima crystals here and there and my page was ready.

Close up 6


Now, for the second layout I used the ‘’Vintage Autumn Basics’’ Collection and the No. IV, No. V, No. VI and No.XVI papers.

Autumn-Basics-P (1)

Layout

In the center of my paper I glued down two torn strips of paper one against the other. Then I mixed Finnabair Light Paste with Peach Opal Mica powder and applied with two different stencils.

Close up 5

I heat embossed my chipboards and die cuts with Lindy’s Stamp Gang embossing powders ”Midnight Ruby” and ”Angel Wings Ruby”. Then I made some random stamping.

Close up 2

I added a big floral cluster on the one side of my round chipboard and placed my embellishments.

Close up 1 Close up 4

To finish my layout I made some splashes with ”Clam Bake Beige” Lindy’s mist and glued some pearls.

Close up 3 Close up 6


Camilla, thank you so much, for inviting me as a guest designer!!! It’s been a real pleasure for me!!!

If you want you can see more of my work here:

http://maryscraftymoments.blogspot.gr/

Mary-sign

Guest designer Debbie Dolphin

2

Posted by Carita Ruckman

11 April, 2016 - ,

Write a comment

Hi there!

My name is Debbie and I live in the outskirts of a well known Market town, which is the gateway to the gorgeous Yorkshire Dales in the North of England. Ive been crafting one way or another all my life. I am married and Mum to a 19 year old boy and a 17 year old girl. When Im not crafting I love to spend time in the countryside with my Spaniel.

I have previously worked in the Craft Industry for 10 years, but now I just play at it. To relax I love to water colour and create using gorgeous papers.  I came across Maja Design a few years ago and have been in love ever since.

Debbie-Dolphin

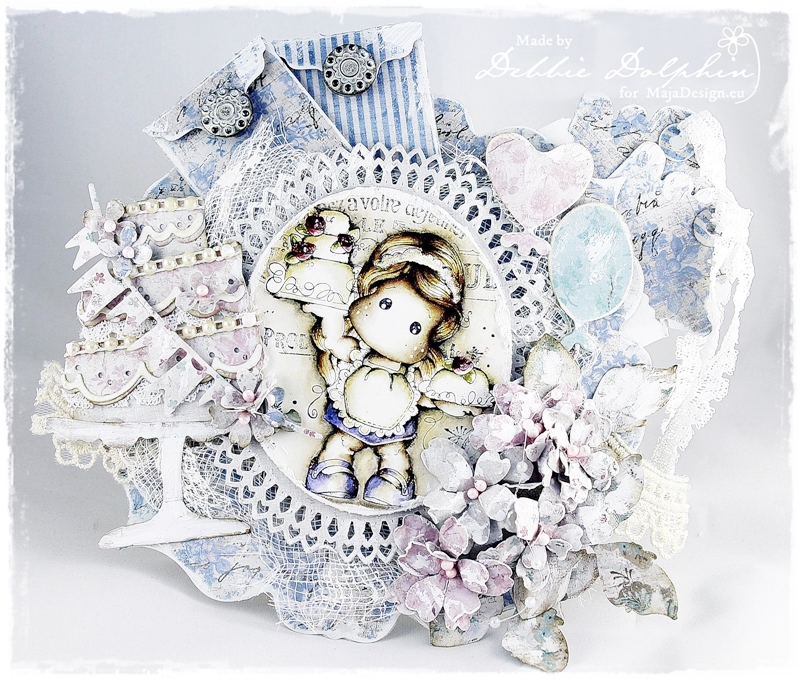
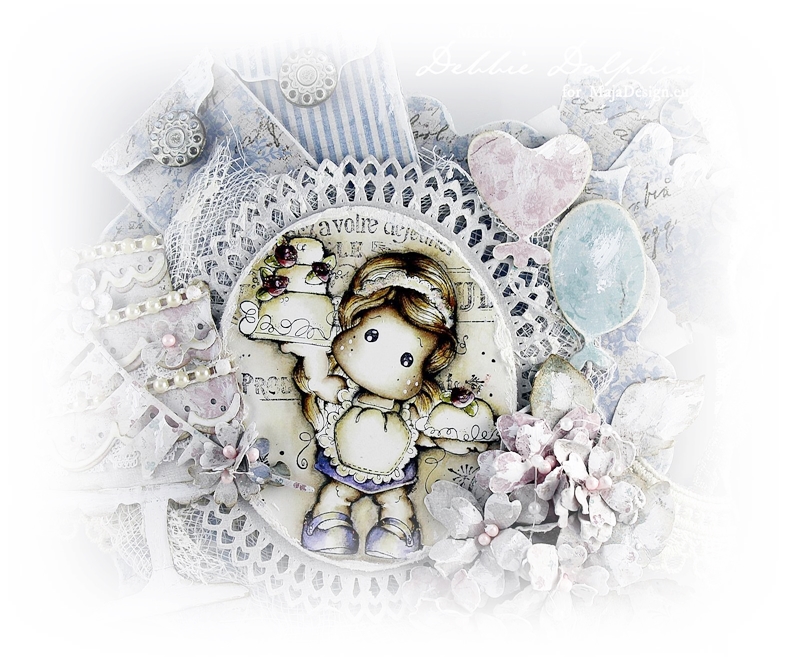
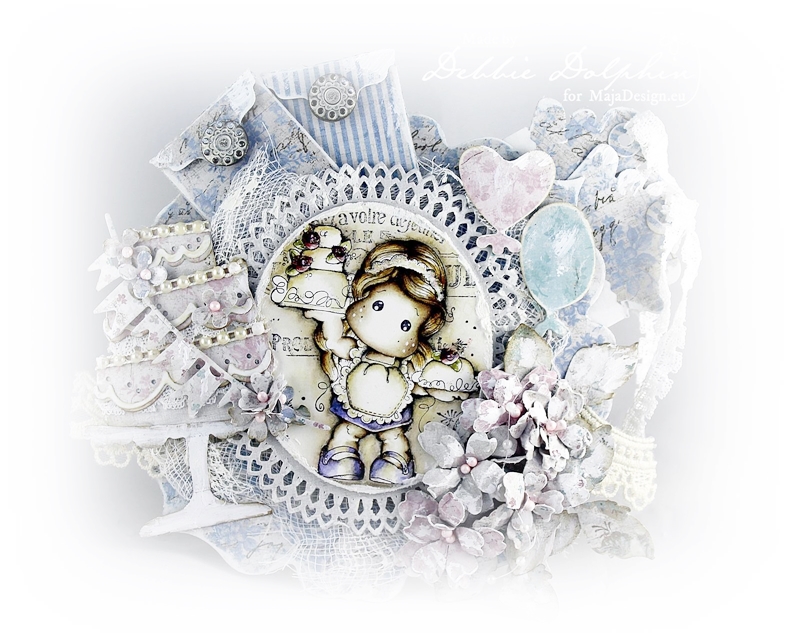
This is my project for you:

Debbie Dolphin
For my card I watercoloured a Magnolia stamp ‘Rose Cake Tilda’ with Distress ReInkers and pens. I have used a selection of Vintage Spring Basics to create my card.

Debbie
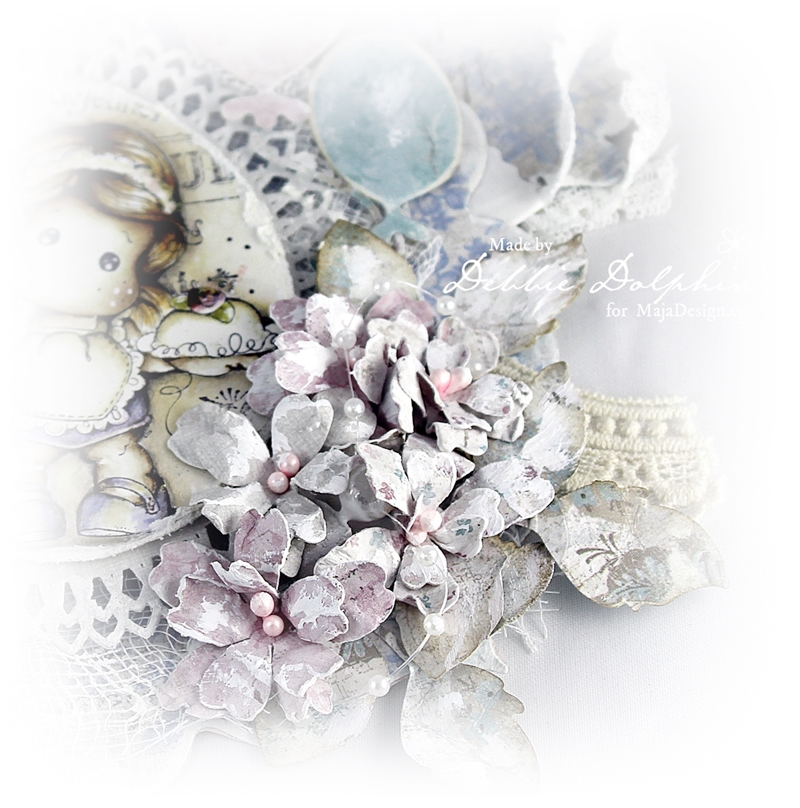
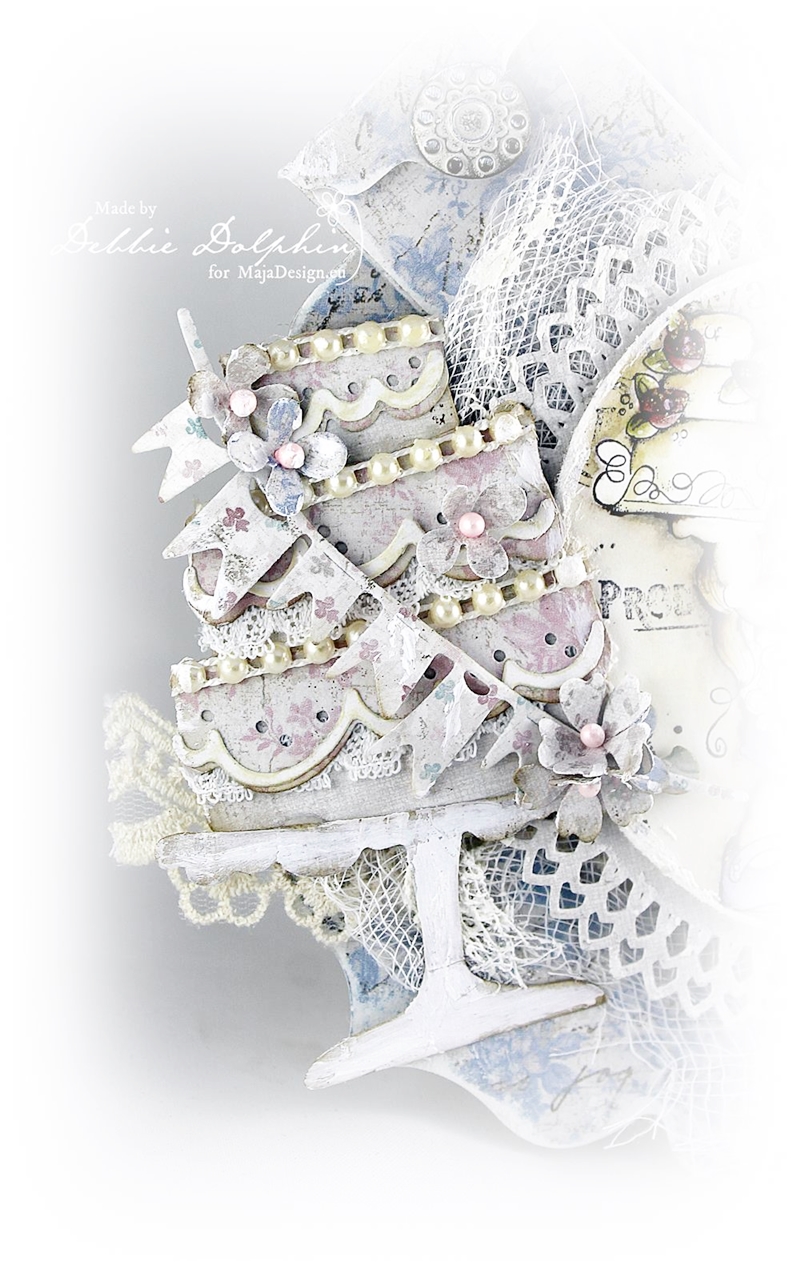
I love to use dies to create my own embellishments and here Ive used DooHickeys Celebration Cake, Flowers, Rose Leaf ,Envelope Tag and Scallopped Tag. The Oval around my image is a Spellbinders Die.

Debbie close-up

Close up Debbie
For a more Shabby Chic Vintage look I added moulding paste and white acrylic paint to the edges of the card and to the tips of the flowers.

Debbie D
Hope you’ll like it.

Thanks for visiting.

Debbie-sign

Special Guest Designer – Camilla S. Bakke

4

Posted by Carita Ruckman

14 March, 2016 - , , , , , ,

Write a comment
Hi there! I am Camilla S. Bakke. I am so, so happy to be guesting this amazing team with the most beautiful pattern papers you can imagine!
 Camilla-S.Bakke
But first something about myself. I live in Norway together with my husband, our two year old son, and two spoiled cats. I work full time as a teacher. And this year I work in lower secondary school as a teacher in 10th grade.
But apart from that I love working with stamps and papers. And Maja Design is my absolutely favorite! I love each new collection, and sometimes I feel it is hard to use them, because they are so beautiful.
I like making cute cards, with a vintage or shabby touch. And I think the papers from Maja Design fits my style perfectly. I like pastels, and also laces, doilies, butterflies, post marks… The list is long. But most of all, I enjoy colouring the images with Distress Ink. And I feel that the colours I use, fits the colours on the Maja Design pattern papers so well.
As you might understand, with a job like mine and a two year old; there is not that much room for my hobby. But when I feel I can allow to treat myself, I make a card!
I am going to show you some new projects today, and also a small tutorial on how I make homemade flowers.
But first to a lollipop card I made to my sweet grandmother Sigrid, who celebrated her birthday last month.

Lollipop cards are fun to make, and I can see they are popular in Norway now. This is my first!

The lovely pattern papers I have used on my lollipop are from the collection Coffee in the Arbour, “Blueberry cupcake”, “Lovely weather” and “Butterflies are free” (I have cut out the butterflies from the paper).


The text is written on my computer and printed out on watercolour paper. The postmark stamp is from Stempelglede. The flowers are from Wild Orchid Crafts. I have also added Frantage as white spots around the image. And the glitter on the butterflies, is Stickles – Star Dust.
The image from Magnolia is coloured with Distress Ink, re-inkers and Markers. The blue colour I use is called Weathered Wood, and I use my Marker for this colour. The dark shadows are made with the colour Hickory Smoke (also the Marker).
Under you see the back of my card, where you can write a greeting. The card is fasten to a paper straw.
You might see the different layers on the photo under.
I put the lollipop together with a flower I gave my grandmother on her birthday.
Hope you liked it, and maybe you fell the urge to make one your self!
♥♥♥
Now I will show you how you can make homemade flowers. I have cut mine out with dies (DooHickeys) from Magnolia. But you can use any flower dies really.
1. Cut out some flowers from your beautiful Maja Design papers. I have used two pattern papers from the Enjoying Outdoors collection, “What a beautiful day” and “Having tea in the sun”.


2. Use a mini mister from Rangers (or something similar), and spray water onto the paper flowers.
3. Curl the flowers together, and let them dry.
4. Then fold up the flowers.
5. To make the look even more shabby, give them a brief stroak with white Gesso.
6. Do not paint all of the flowers, let the beautiful Maya Design papers show through.
7. Give the rest of the cut outs a brief stroke with the paint too. As you see it is a bit transparent.
8. Put them together with two stamens (mine are from Wild Orchid Crafts).
8. One of the flower put together.
 
9. All three of them, ready to be used on any project.
♥♥♥
Here is the card I made with the flowers:
The papers used are from the Enjoying outdoors collection – “Feeling good”. I have used the front side of the paper on the front of the card, and the back side of the paper inside the card. It is a folder card. The image is from Tickled Pink Stamps. And I have coloured her with Distress Ink, re-inkers and Markers.
A close up of the home made flower.
And over you can see that I have put together two of them, also with some leaves.
The green paper I have used is also from the Enjoying outdoors collection – “Woodlands”.


 The card is folded on 5 cm and 20 cm. It measures 15 x 30 cm. Under you see the back:
And here is the inside. I have made a tag that you can write a greeting on. Look at the fantastic paper!


And under the “cash”-text you can place the money-gift.
♥♥♥
Here is another confirmand card I have made. I have used the lovely papers from the Vintage Spring Basics Collection – “3rd of March” (both sides) and “4th of March”. I have also used Enjoying outdoors – “Woodland” for the leaves.
This image is also from Tickled Pink Stamps, and I have coloured her with Distress Ink, re-inkers and Markers.


The flower is from I am Roses.


Under you see the back of the folder card.
Here is the inside with the tag/card to write on.


♥♥♥
Here comes my last confirmand card. Also with a Tickled Pink Stamps. The papers are from the Enjoying Outdoors collection – “Woodland” and “Having tea in the sun”. I have also used a page from an old book, and placed between the two patternpapers. You can spot it on the upper part of the card.
Also this image is coloured with Distress Ink, re-inkers and Markers. The small flowers are punched out with a Retro Flower punch (small). I have added Stickles – Star Dust on to them. The leaves are cut out with a DooHickey die from Magnolia.


I have added Stickles – Star Dust onto the flowers, and spots of Liquid Pearls around the image. On the letters “Hurra” I have attached Crackle Accents.


The small flowers are punched out from the paper called “Having tea in the sun“.


 The metal corner and the butterfly are painted with White Gesso. 


The pennant is made with a DooHickey die from Magnolia, and the letters are made with a Sizzix die.
The shape of the card is made with a Envelope Art from Dutch Doobadoo.
The swirl stamp is from Stempelglede.
♥♥♥
At last I have made a Christmas gift box for you. I just love the Christmas papers from Maja Design, and this collection is no exception. It is called Home for the Holidays. I have used the papers called “A real fellow bs“, “Brought you a gift bs“, “Diecuts” and “Together“.
For the shape I have cut out hard cardboard with a GoKreate die. Then I also cut out (with scissors) two rectangles measuring 10 x 10,5 cm. One for the bottom and the other one for the lid. The box is four cm high. (The lid is three cm high).


The cute Christmas girl is from Magnolia, and I have coloured her with Distress Ink, re-inkers and Markers. The red colour is both Fired Brick and Aged Mahogany.
The flowers are cut out from the sheet called “A real fellow“, and I have used Magnolia DooHickeys. The post mark stamp is from Stempelglede.


The post stamps are cut out from the sheet called “Diecuts“.


You can see the different layers. Under each pattern papers I also have a Bazzil paper – Vanilla. I sew them together with a sewing machine.


The small pinecones are coloured with a stroke of White Gesso.


The tree is made with a DooHickey, and cut out from the “Together” paper.
Behind the image I have cheese cloth, currugated paper and a mini bag with two cute tags (DooHickeys). I have attached Vintage Seem Binding on the tags. They are first wet with water, then curled up and left to dry.
Thank you so much Camilla and Marie for having me as your guest for March!! It has been so much fun!
If you want to see more creations with Maja Design papers, please visit my blog “Camilla’s blogg“.
Hope I inspired you a little today.
With love, 
Camilla