Box for a mini album

1

Posted by Evgenia Petzer

17 June, 2017 - , ,

Write a comment

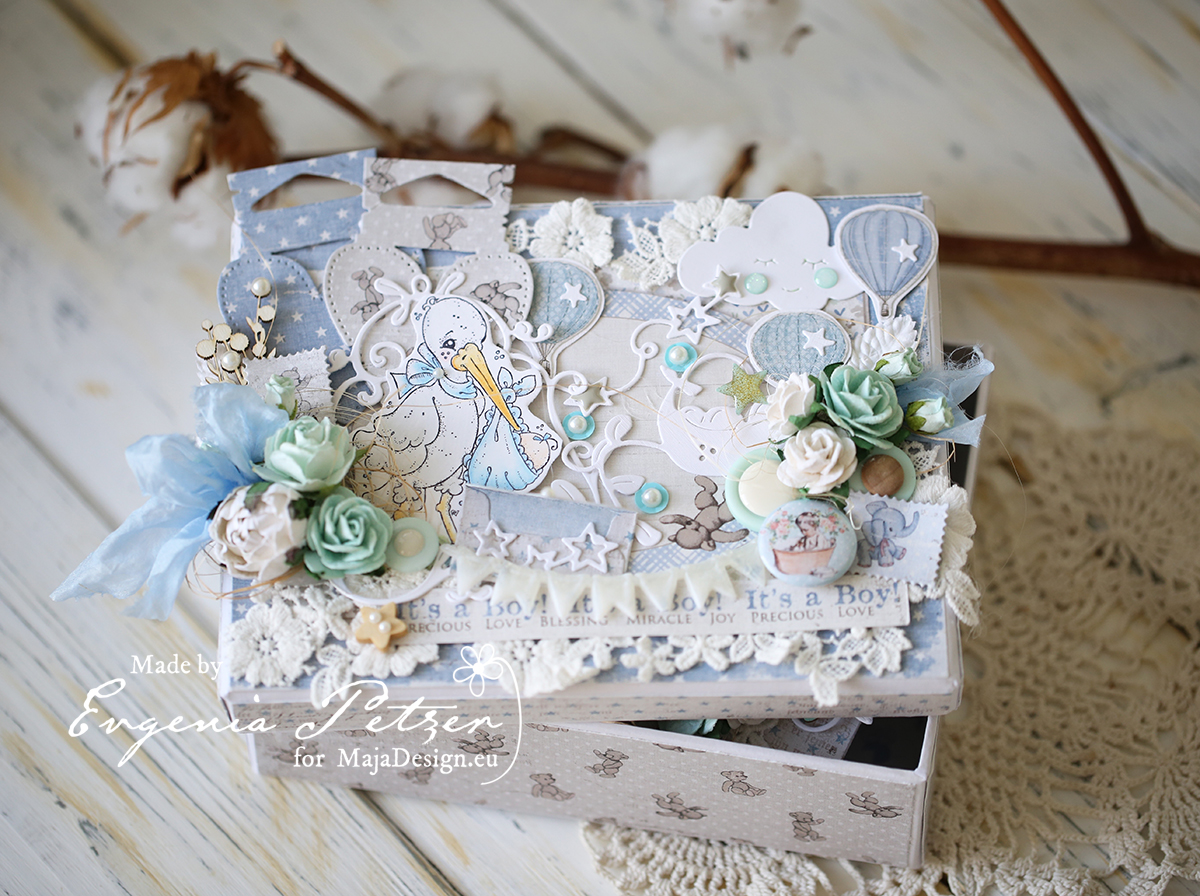
Hello dear friends!  Evgenia Petzer with you today. Last time I have showed you the baby mini album and this time time I will show you a box, in which it comes:)

Its just a perfect size and can be used for the baby album itself or for the little things of your cutie.

lots of die cuts, lace and other little embellishments here and there. The balloons that I cut from the maja paper I place on the white yardstick and they become quite firm.

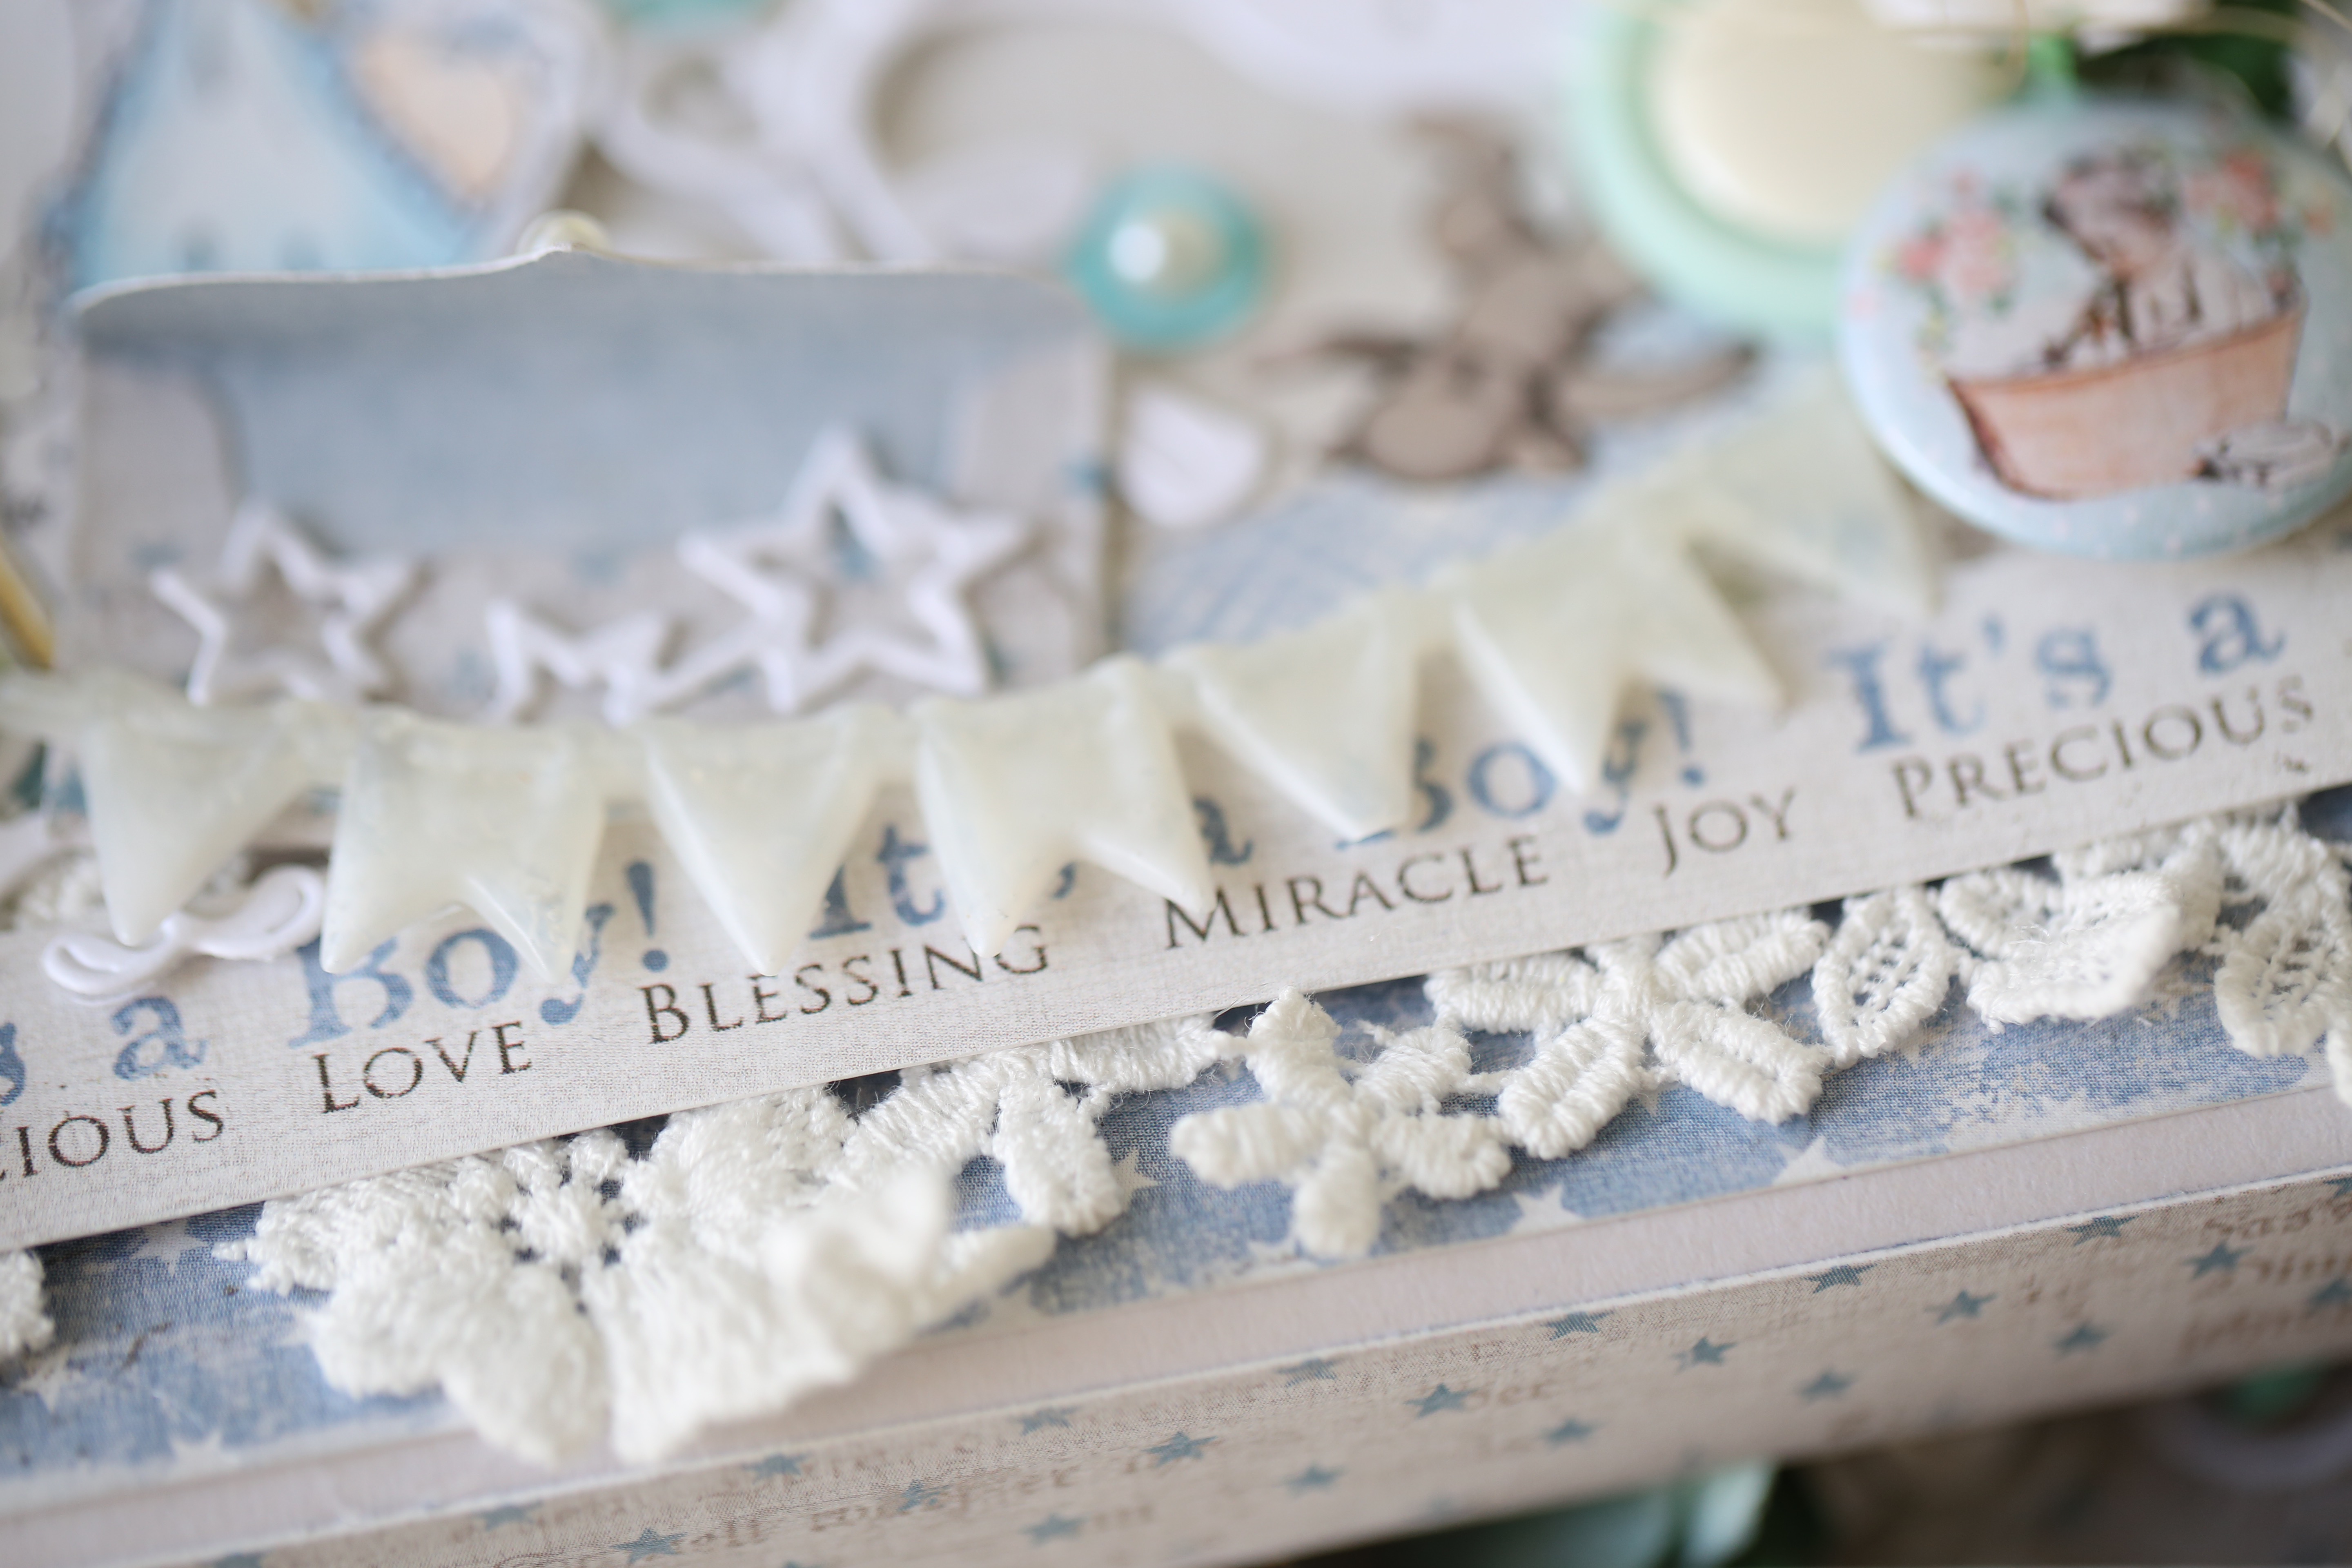
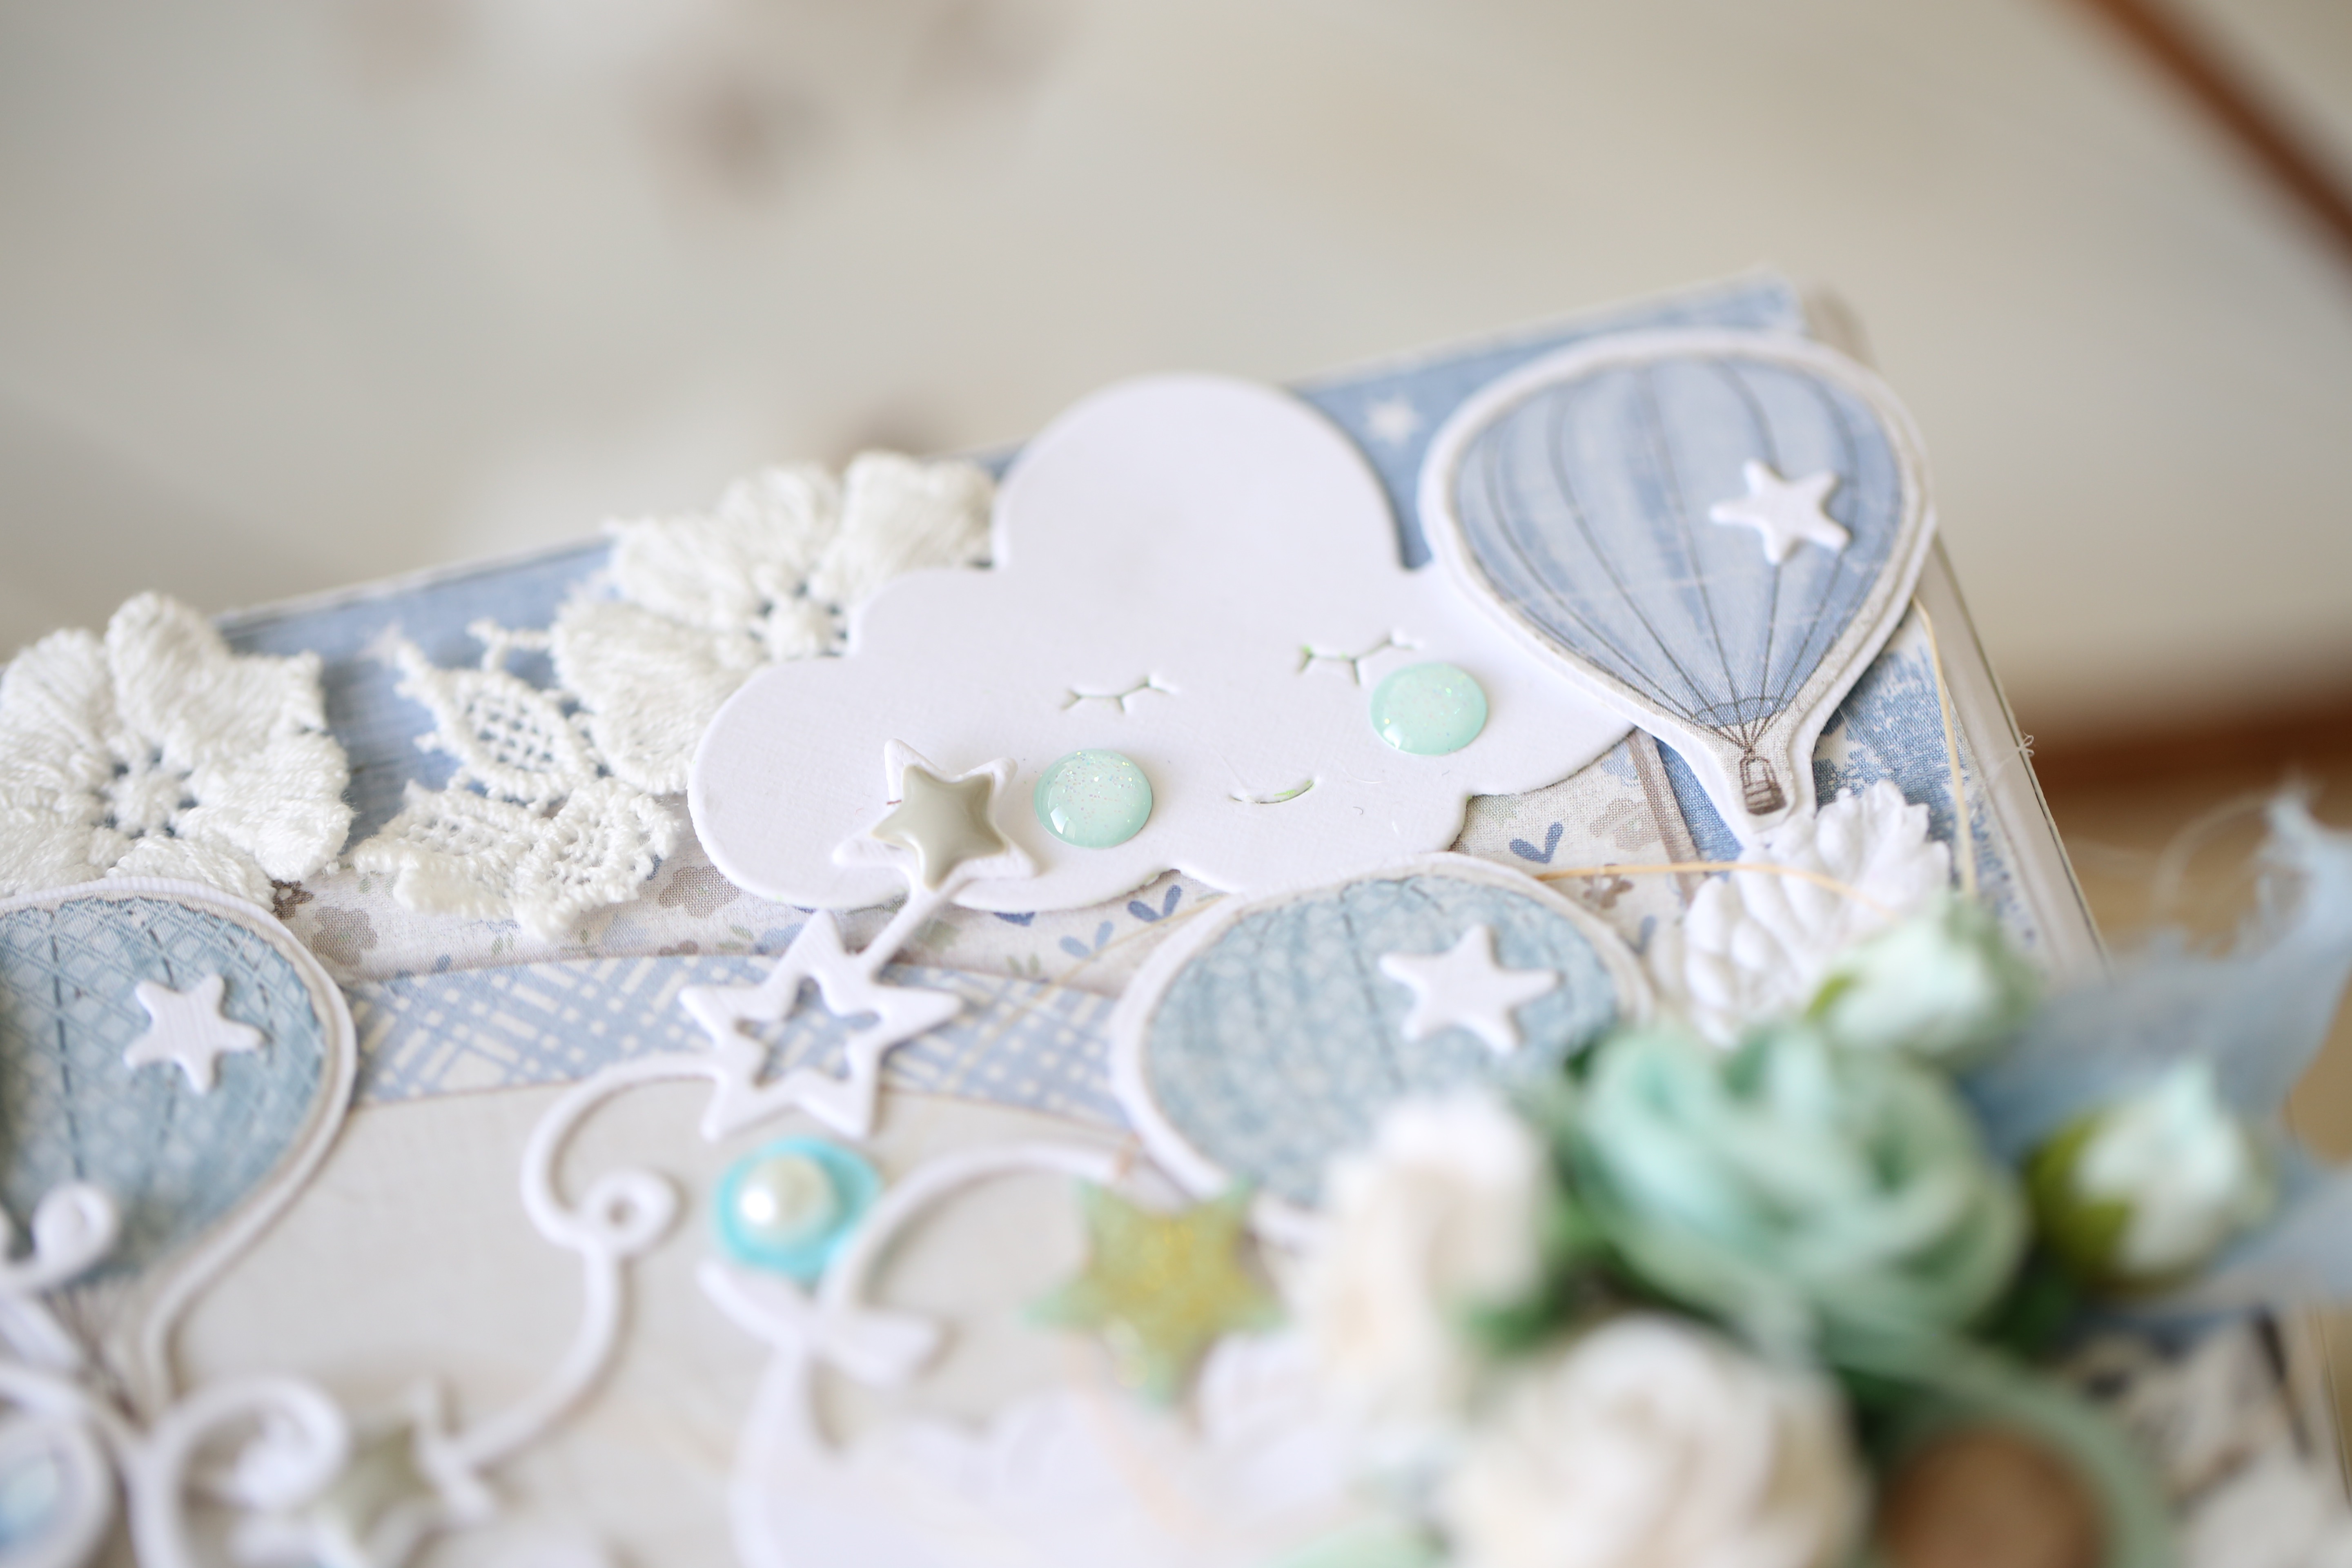
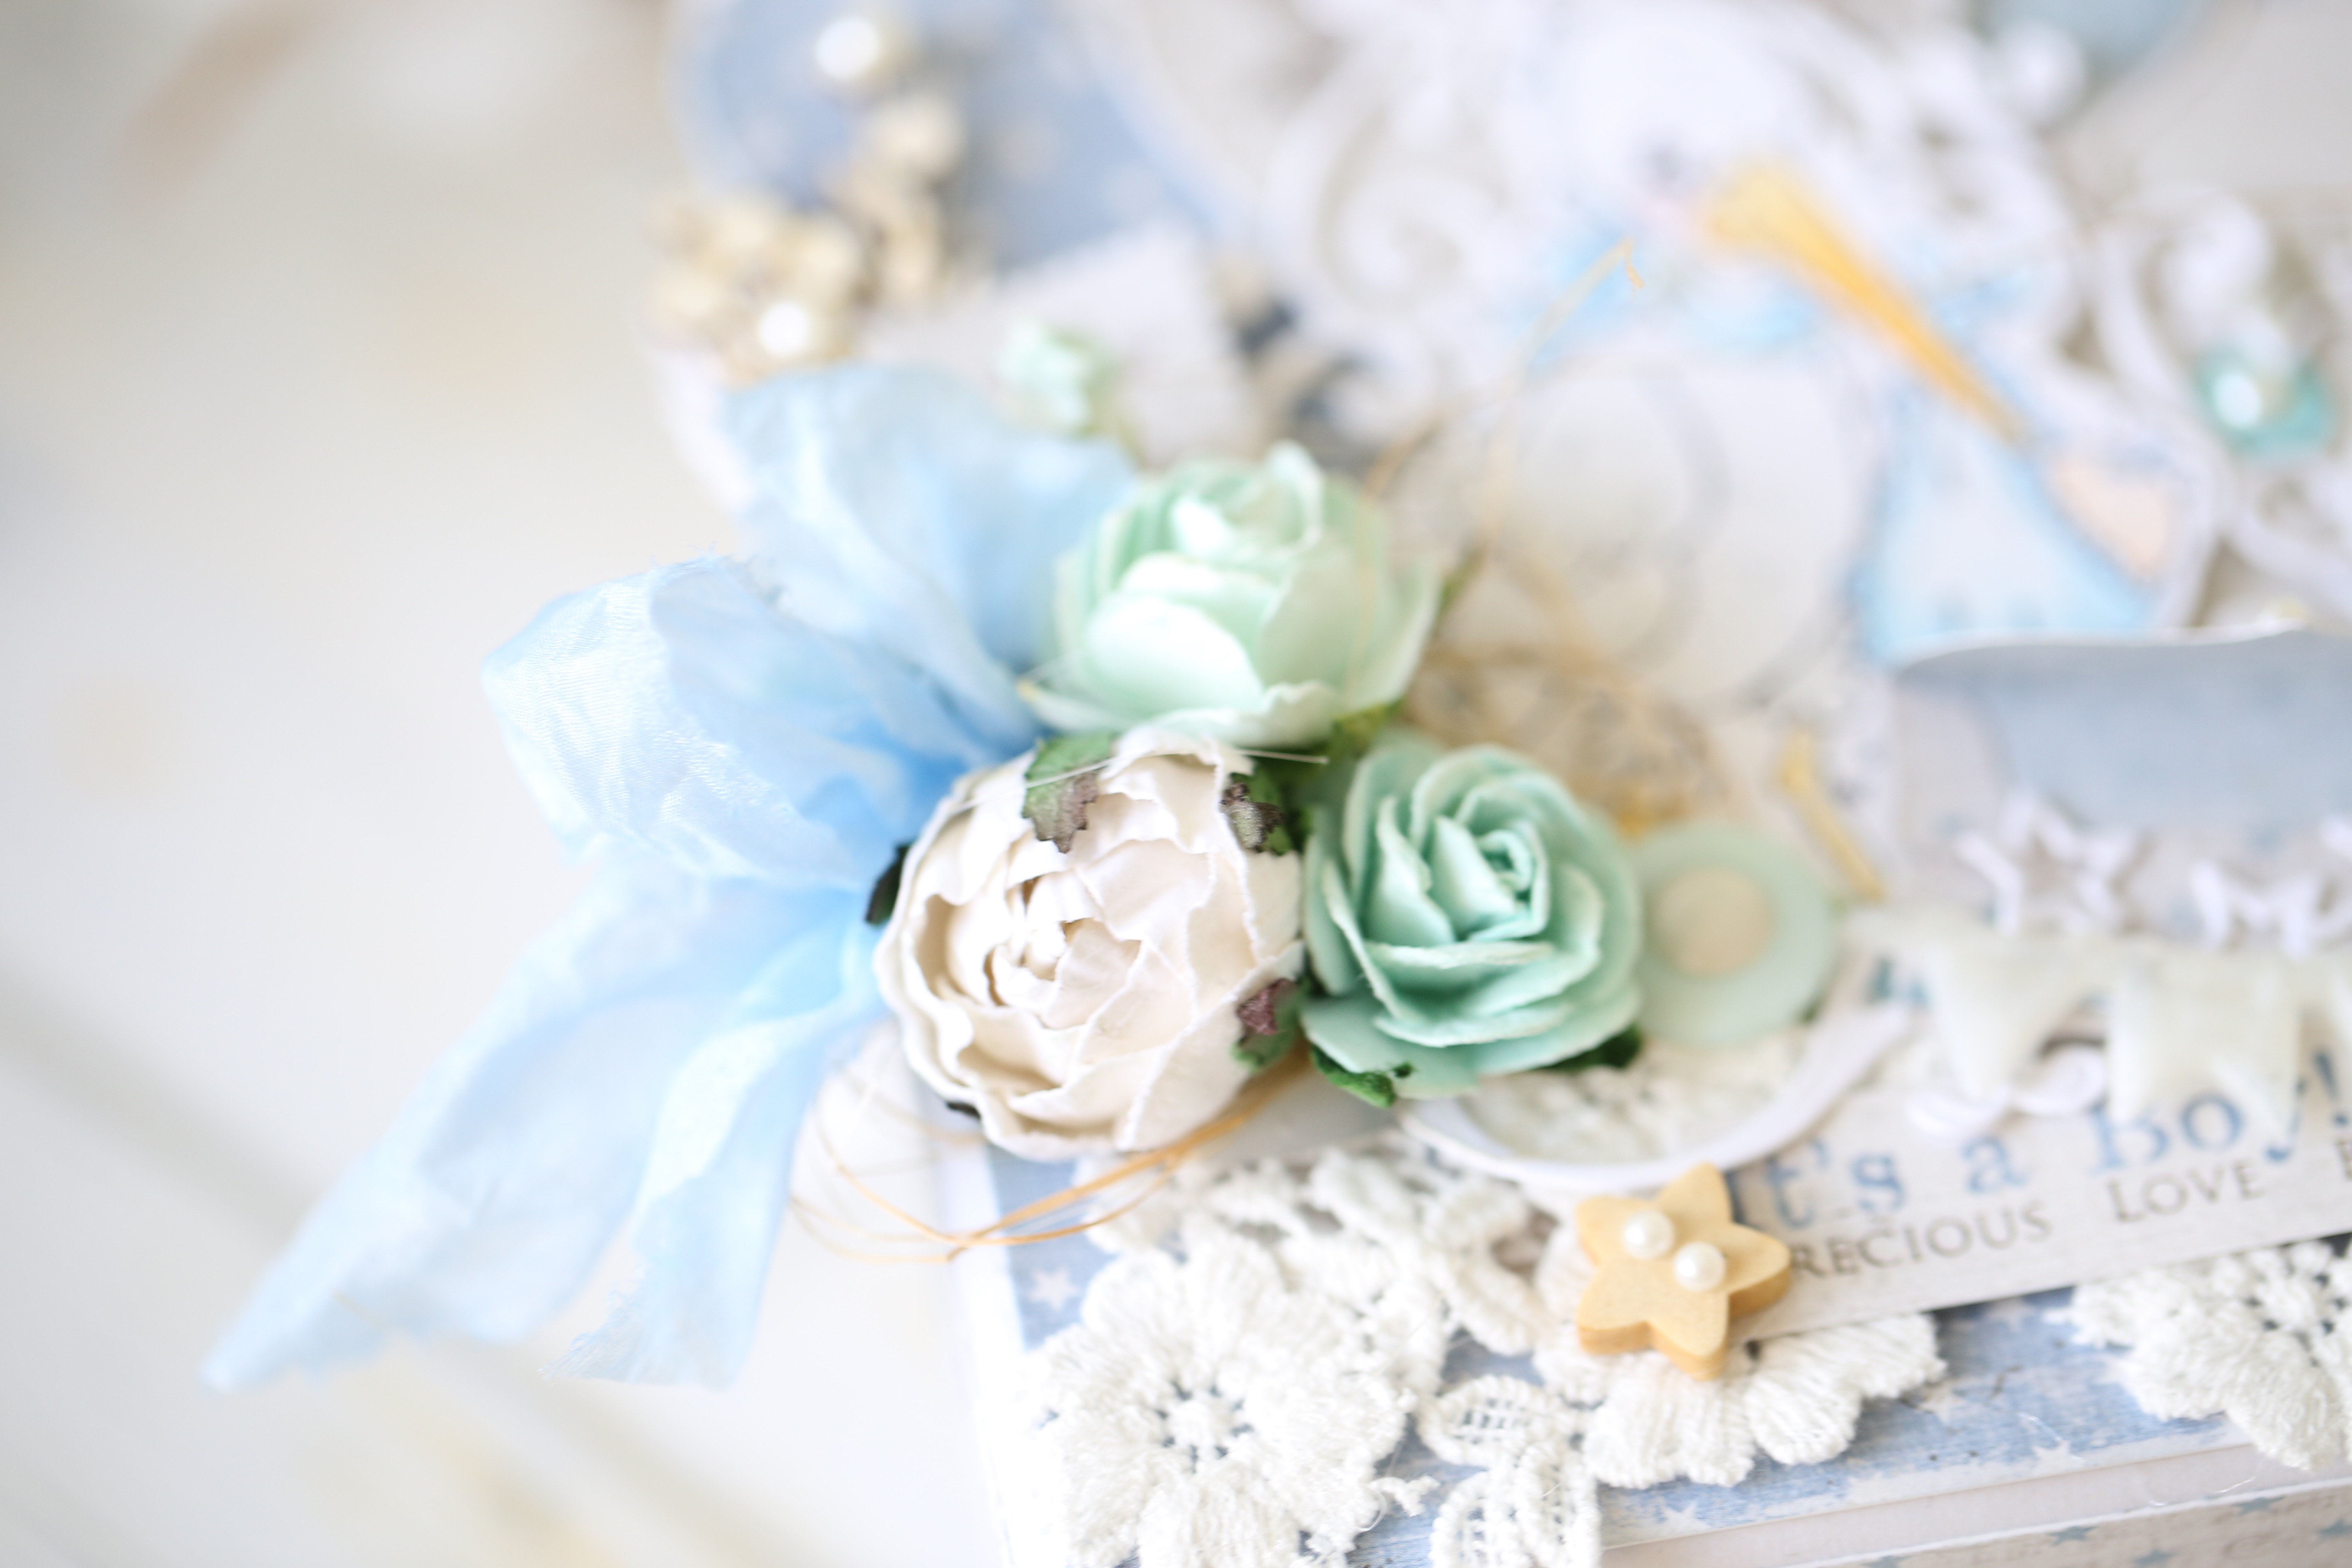
Box_mBlogand some close ups:

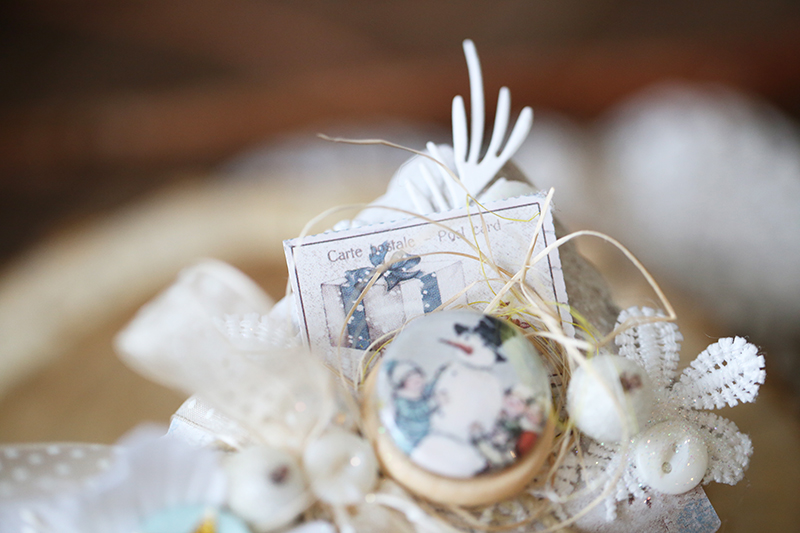
CA2A7708 CA2A7709 lovely flowers are from Wild Orchid Crafts, the dies are from Magnolia.CA2A7711 CA2A7713

Of course I have used the gorgeous Baby Vintage collection:

Have a great day,

Christmas cakes that won’t make you fat:)

0

Posted by Evgenia Petzer

29 December, 2016 - ,

Write a comment

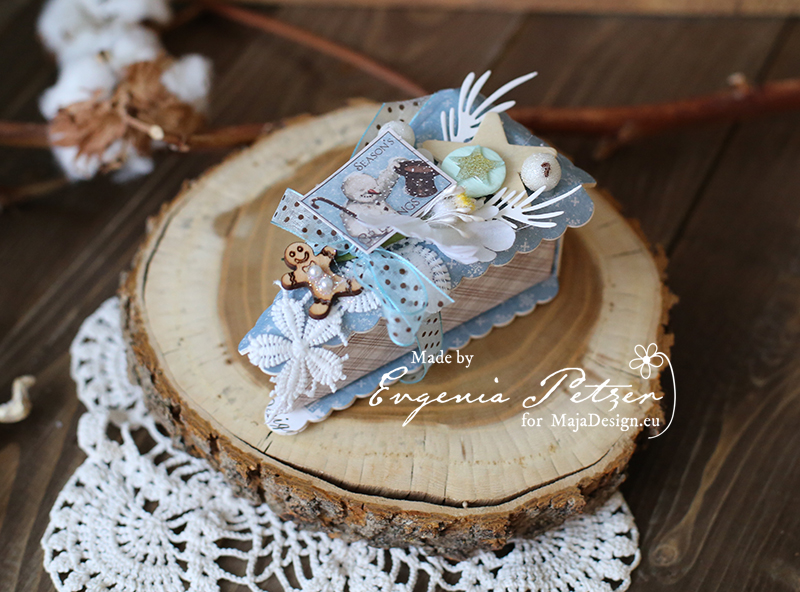
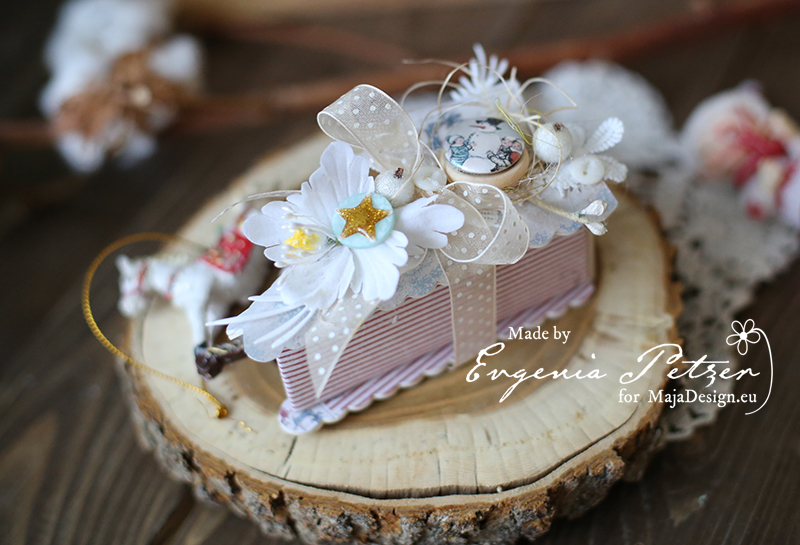
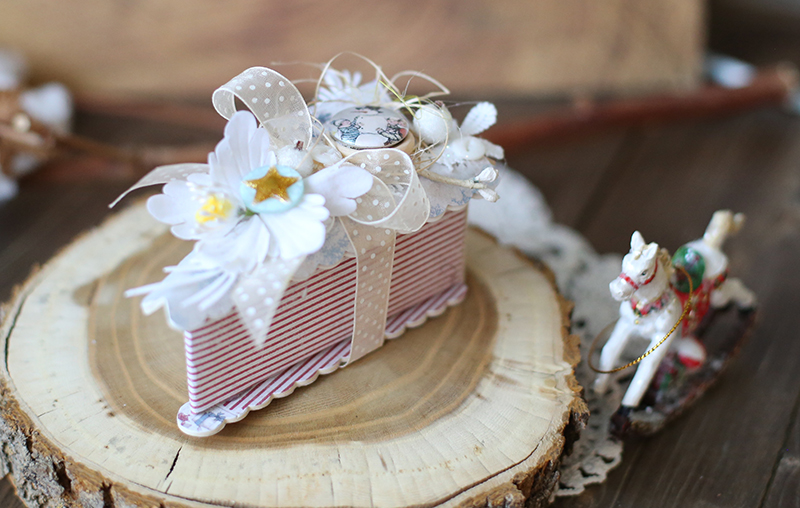
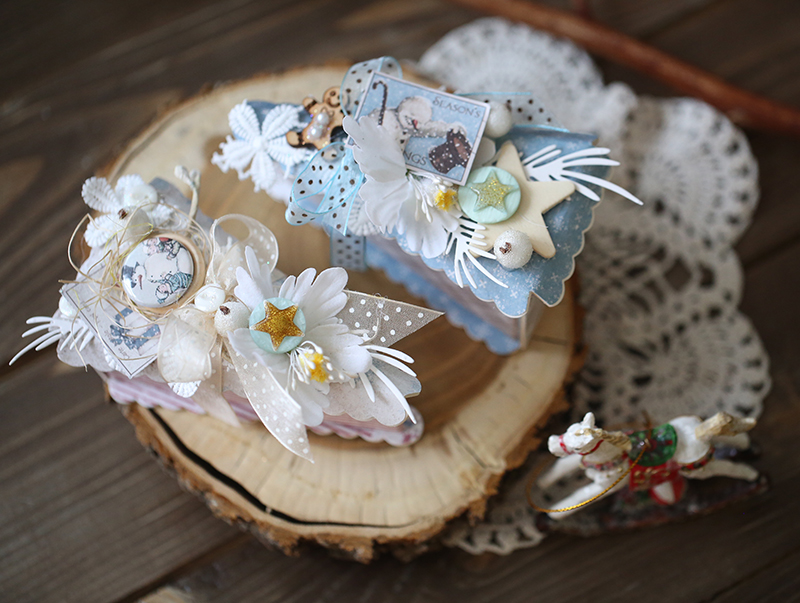
Hello dear friends, its Evgenia Petzer with you today. I would love to show you small gift boxes that are made in a shape of a slice of a cake. Mine are Christmas themed.

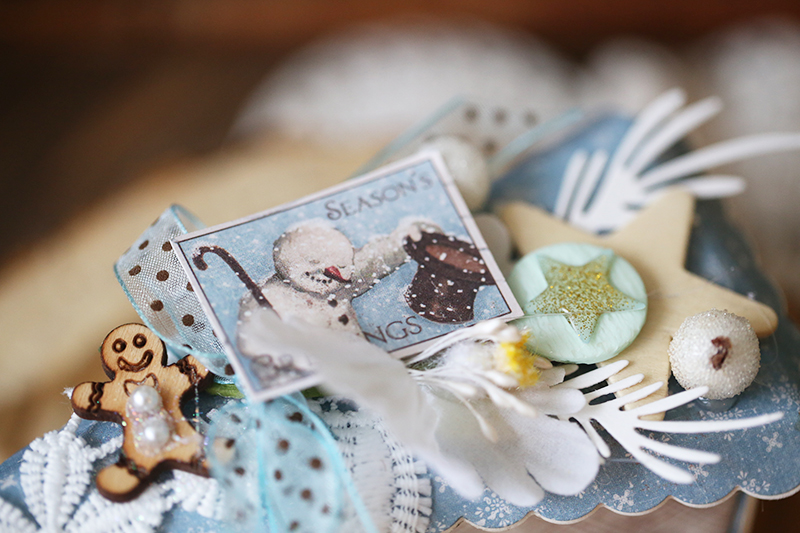
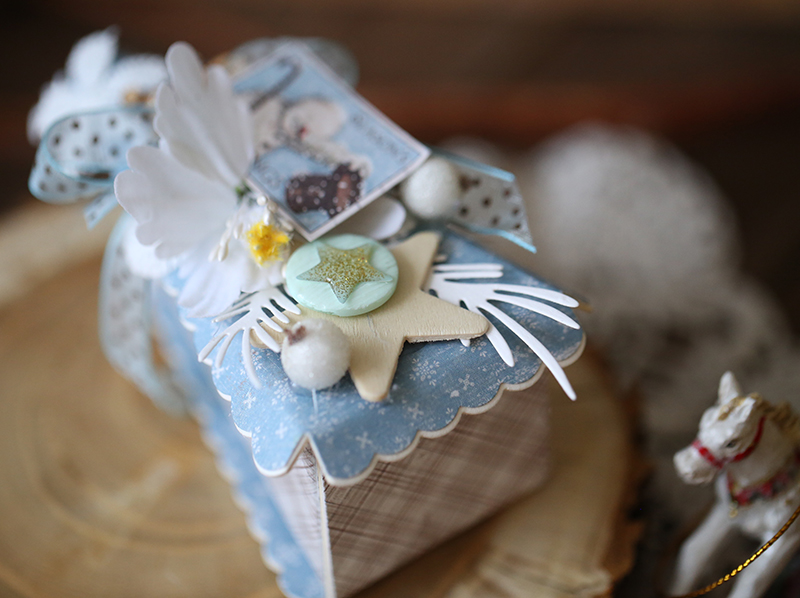
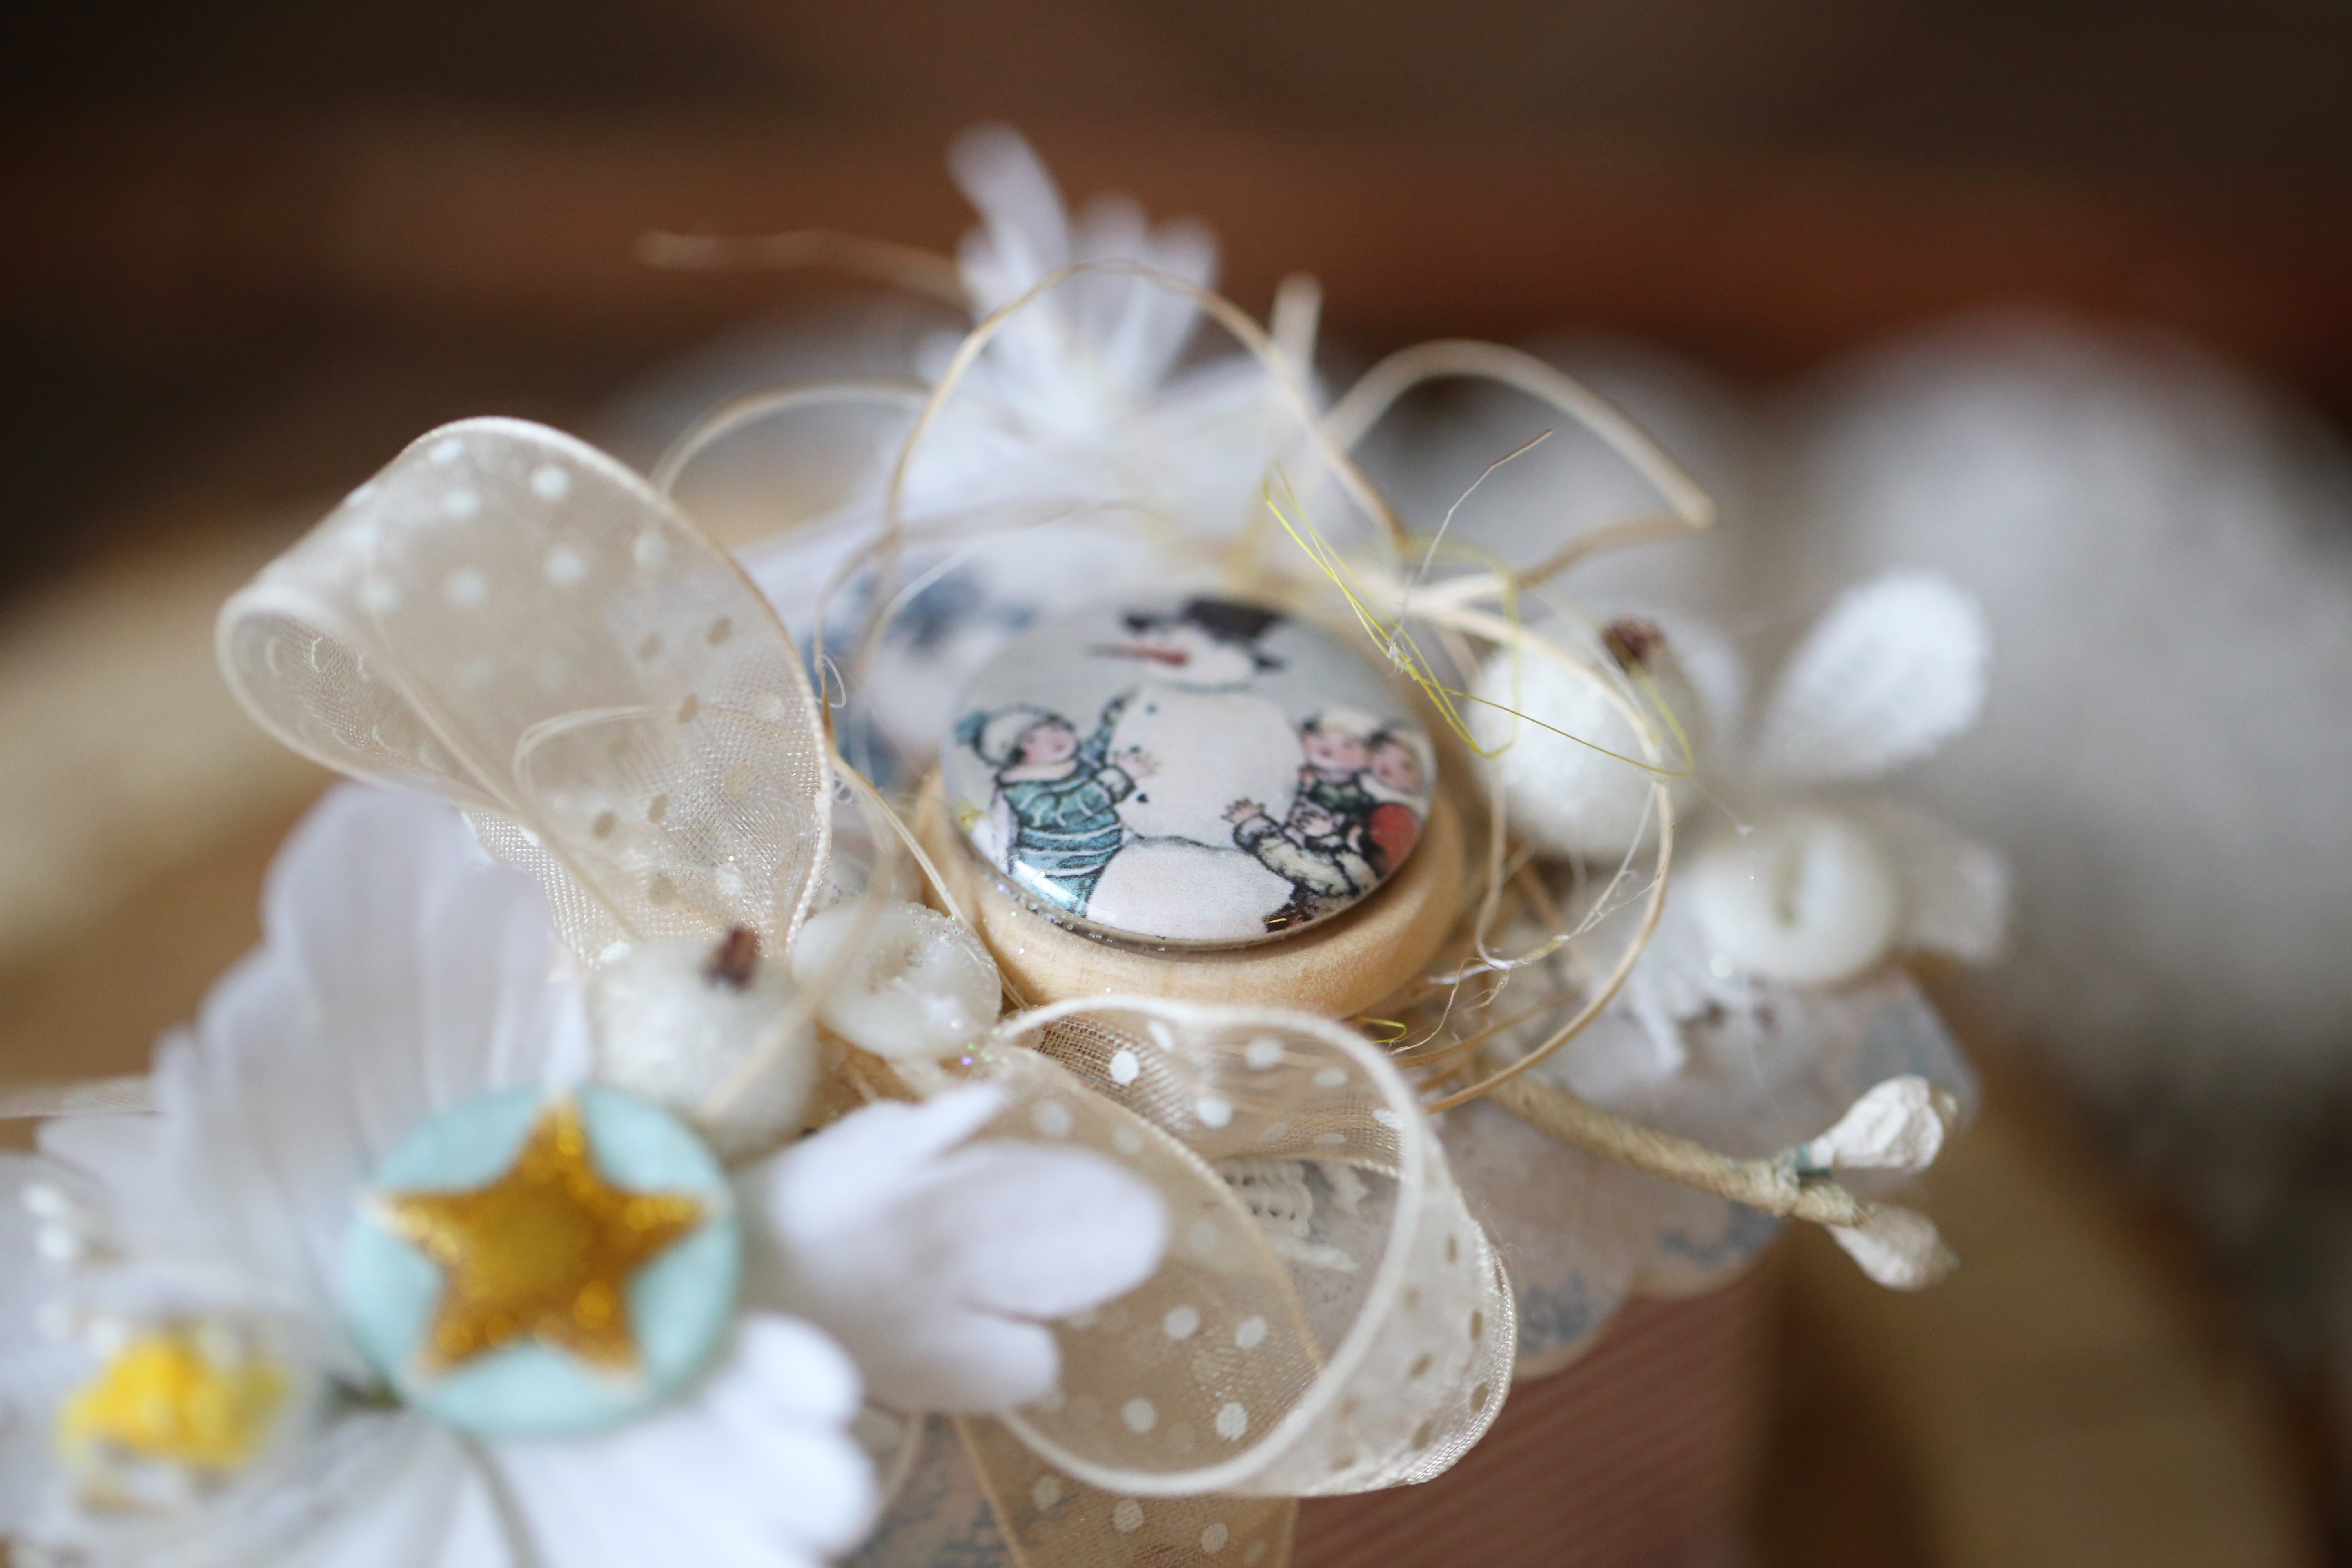
These are perfect small compliments to any gift and even the adults are so surprised and interested to look inside, the kids are even more excited! (This is a die from Sizzix, Eileen Hull collection they cut the cardboard, so they are pretty strong and stable)blue_christmas_slice_petzer_maja_designLots of layers, I just love those snowmen

blue_christmas_slice_petzer_maja_design_det1 blue_christmas_slice_petzer_maja_design_det2and the second one:

red_christmas_slice_petzer_maja_design

red_christmas_slice_petzer_maja_design_2

red_christmas_slice_petzer_maja_design_det1

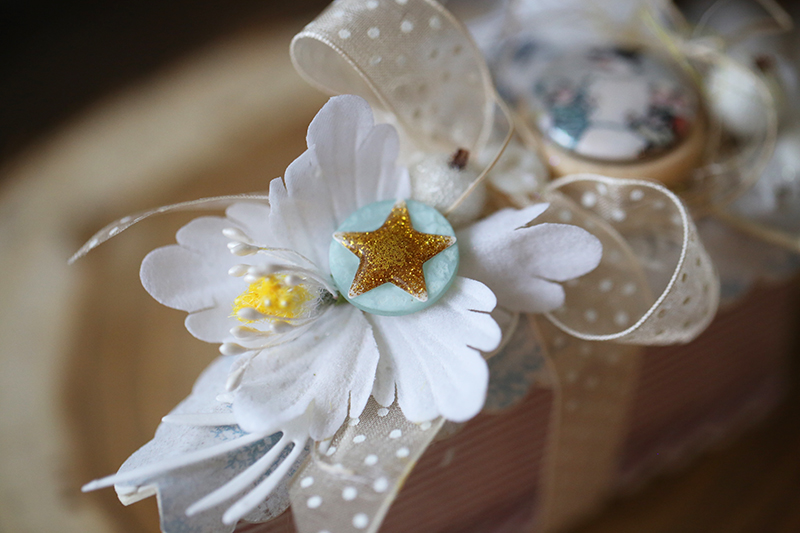
ribbons, flowers, so glitter and pearls- this mixture is just perfect for almost any occasionred_christmas_slice_petzer_maja_design_det2 red_christmas_slice_petzer_maja_design_det3

and two of them together:

blue_christmas_slice_petzer_maja_design_together

Home for the holidays collection:

As this is my last post for 2016 I want to wish all o you the very best in 2017! Am it be the good year for all of us and our families!

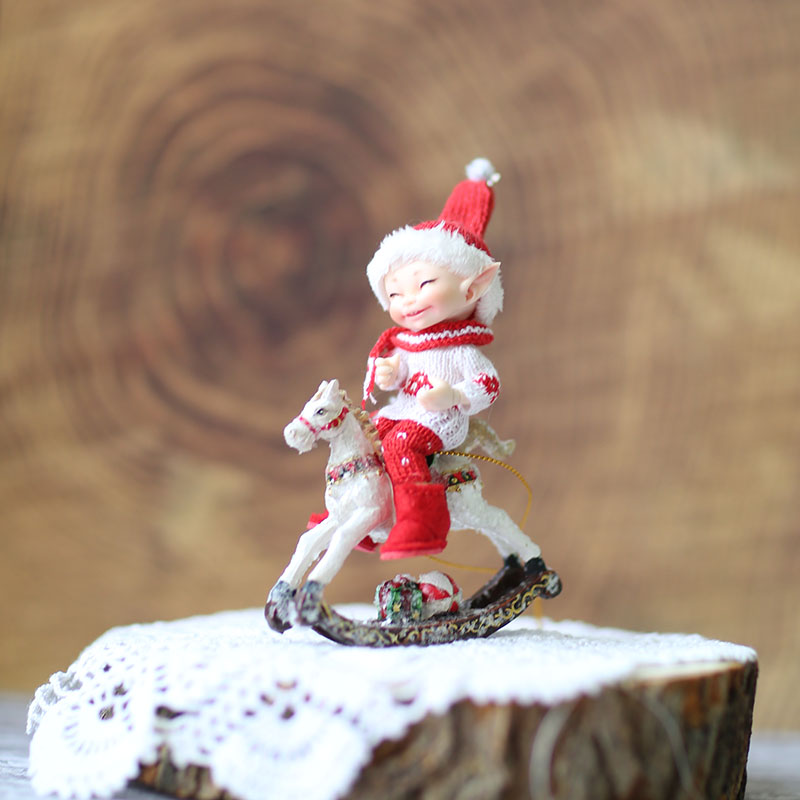
me and my little fellow are ready for New Year (in Russia we celebrate it as a main Winter holiday)

realpuki_horse

Chocolate Hearts at Christmas

1

Posted by Silje Kristin Aunan

20 November, 2016 -

Write a comment

Hello Everyone ? I hope you all having a wonderful weekend ?

Today it is me, Silje Kristin that are reay with some Christmas inspiration, made with some lovely Maja Papers  ?

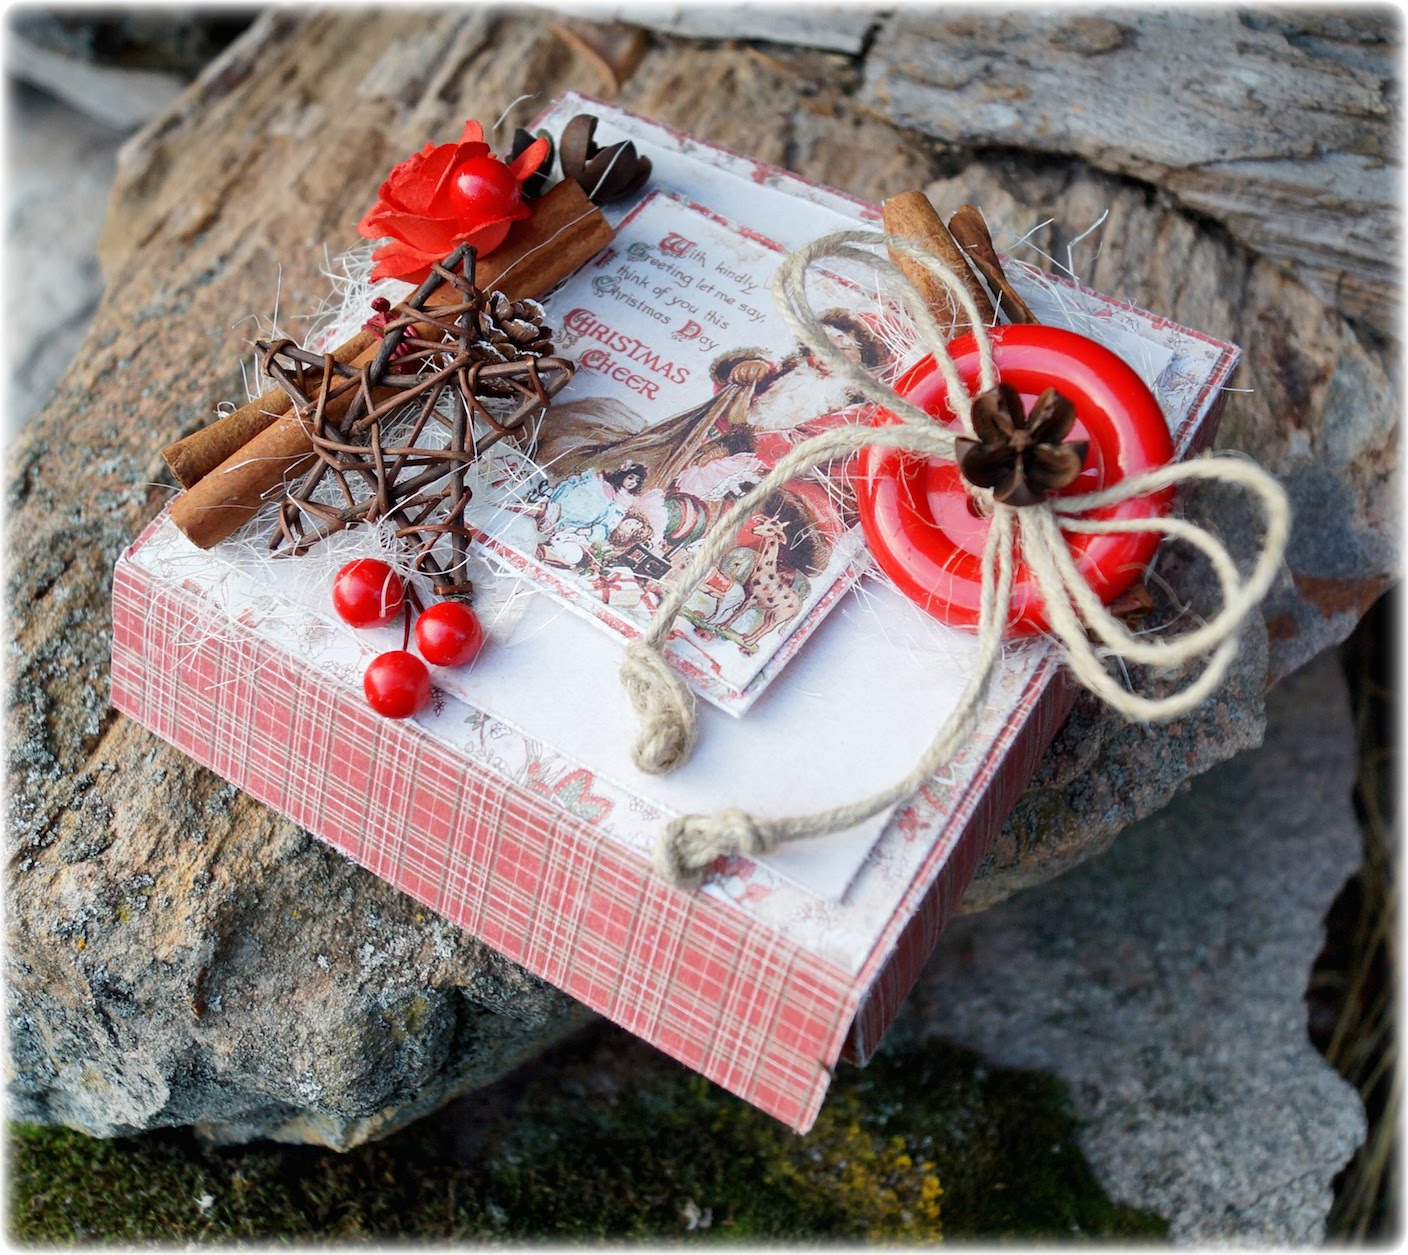
It has bean many Christmas gifts lately and this is no exception. I have this Sunday decorated a box of chocolate hearts, which you can buy in the Norwegian food stores. Maby you have a box with some sweets in your country that you can turn in to a beautiful Christmas Gift like I did 🙂

I like many others have is in love with the new collection to Maja Design – I Wish. I’ve spent more of the gorgeous sheets that can be found in the collection. The sheets I used on this project is: I Wish Christmas was Today, I Wish Santa will Remeber Me, I Wish we will deck the Halls and I Wish to play in the Snow.

I’ve made a box where I can get the box with chocolate hearts inside. The box fits the dimensions of the box with the chocolate hearts. 

 On the top of the box I’ve chosen to decorate with details that remind us of Christmas. Cinnamon stick, red berries, stars of wood, pinecone, big red button with ribbon and a red flower.

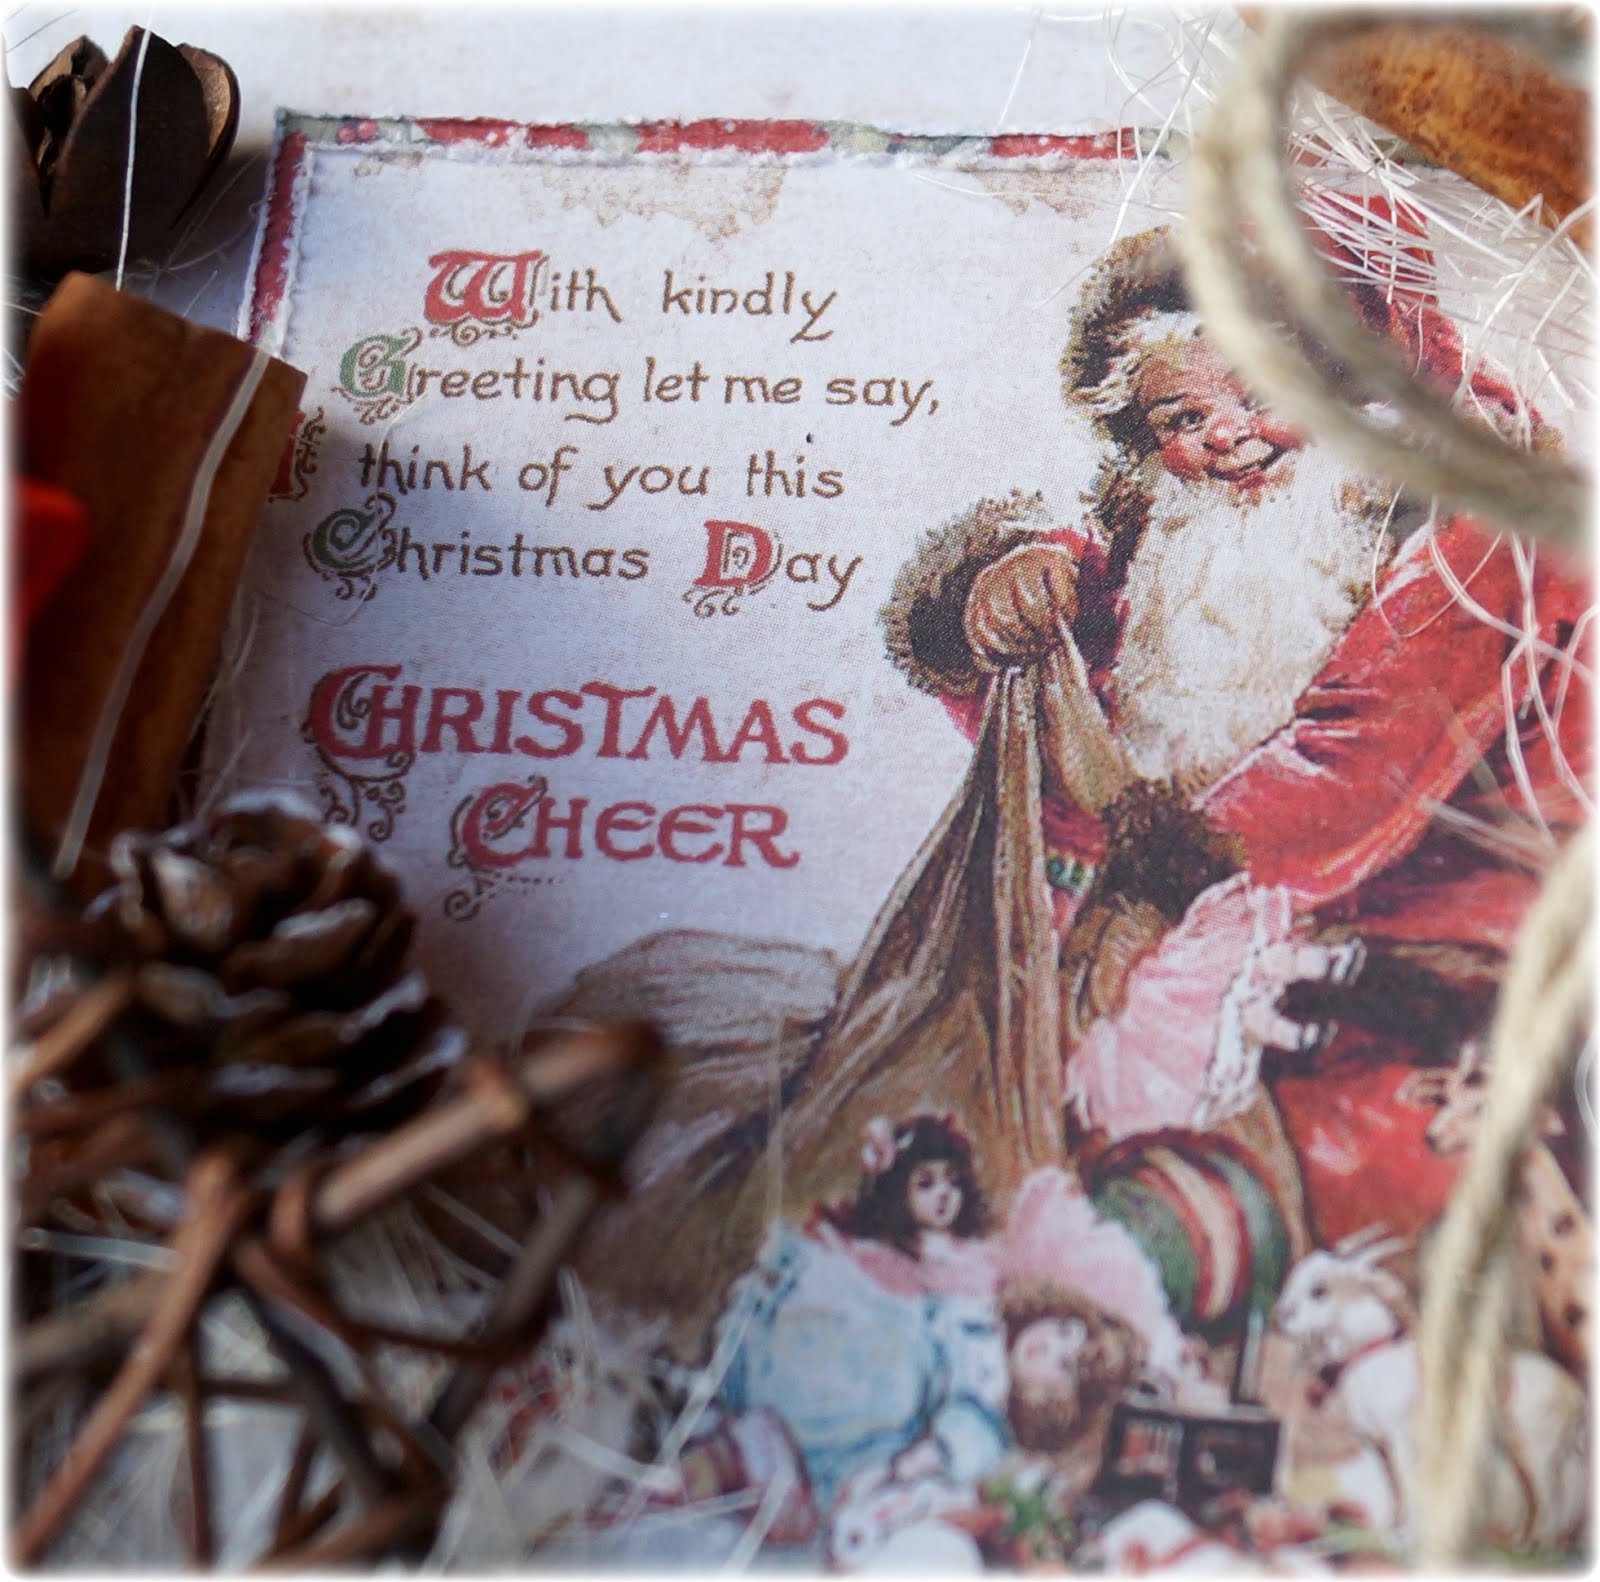
The image on the chocolate box is taken from the sheet called I Wish – ephemera. This is a sheet with some lovely Christmas designs. I have used the Santa Claus, with the text: With kindly Greeting let me say, I think of you this Christmas Day. Christmas Cheer. 

Seems this text fits perfectly to the lucky one that get this Christmas gift ?

Around the box, I have red wax tread which is attached with a ribbon and button in the front. Taking this away, you can peek to see what’s inside ?

The Stamp I have chosen to use seys Merry Christmas only on Norwegian, the stamp is from kaBoks. I’ve used black embossing powder from Ranger.

A easy, but lovely Christmas gift from me today ?

SiljeKristin-sign

Vintage Winter Box (Tutorial)

2

Posted by Silje Kristin Aunan

9 October, 2016 -

Write a comment

Hello Everyone 🙂

Today I am ready with a step by step made for Maja Design, I intend to show you how you can decorate various boxes in a easy way.

I’ve created a easy box using two papersheets from Home for the Holidays: Traditions and Together.

The explanation of how you can make this box, standing under eatch picture 🙂

STEP ONE:

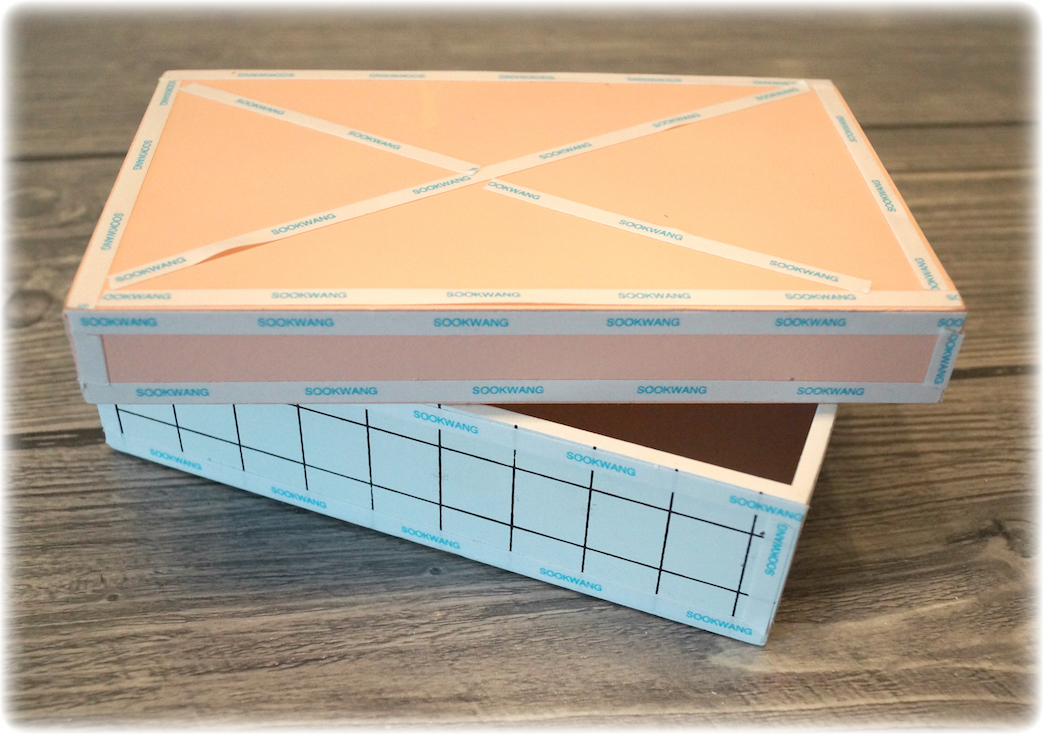
This is the wooden box I have chosen to use. I have used double sided tape on all the edges on the lid and the bottom.

STEP TWO:

When I make these boxes, I use not a cutting board. I remove the paper off the tape, I put down the page with the tape down on the sheet and use a Knife for cutting around. I do this to the box is covered. It’s an easy way to decorate boxes on, you do not have a measuring the paper and use your cutting board.

STEP THREE:
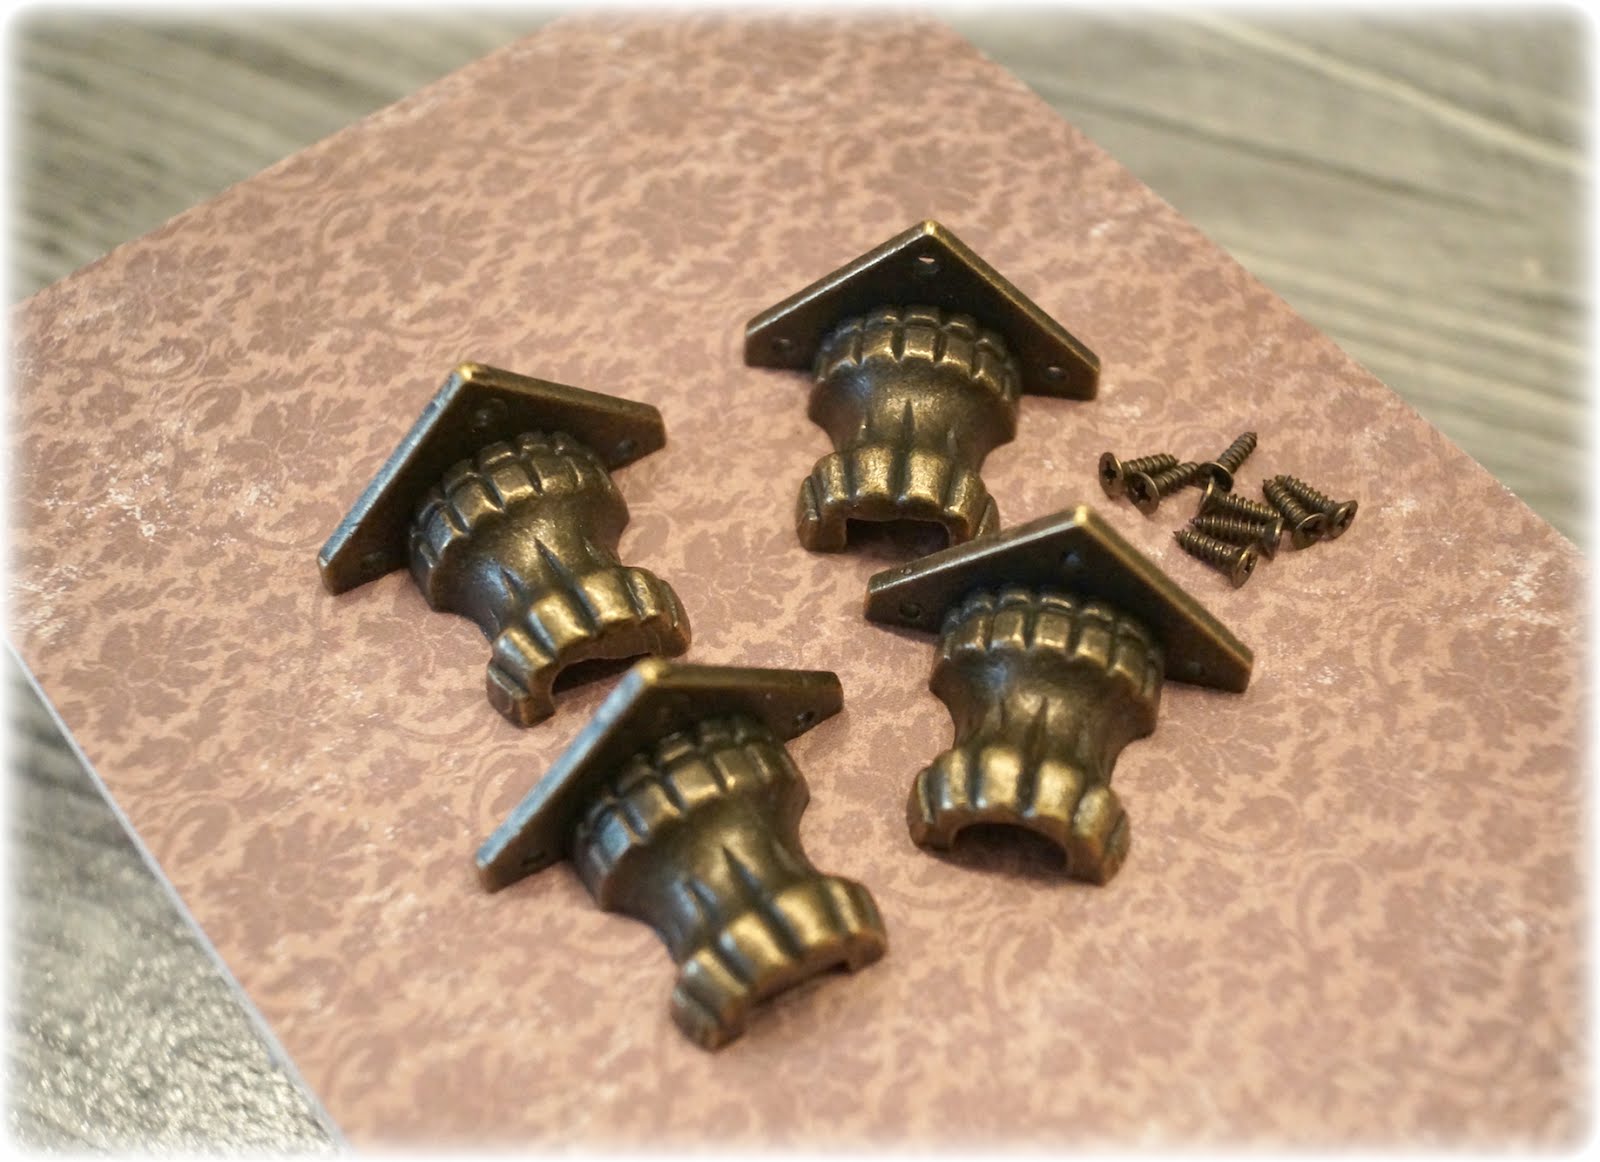
The bottom part of the box, I turn, then I attach the feet in bronze under. In this way the box have something to stand on.

STEP FOUR:
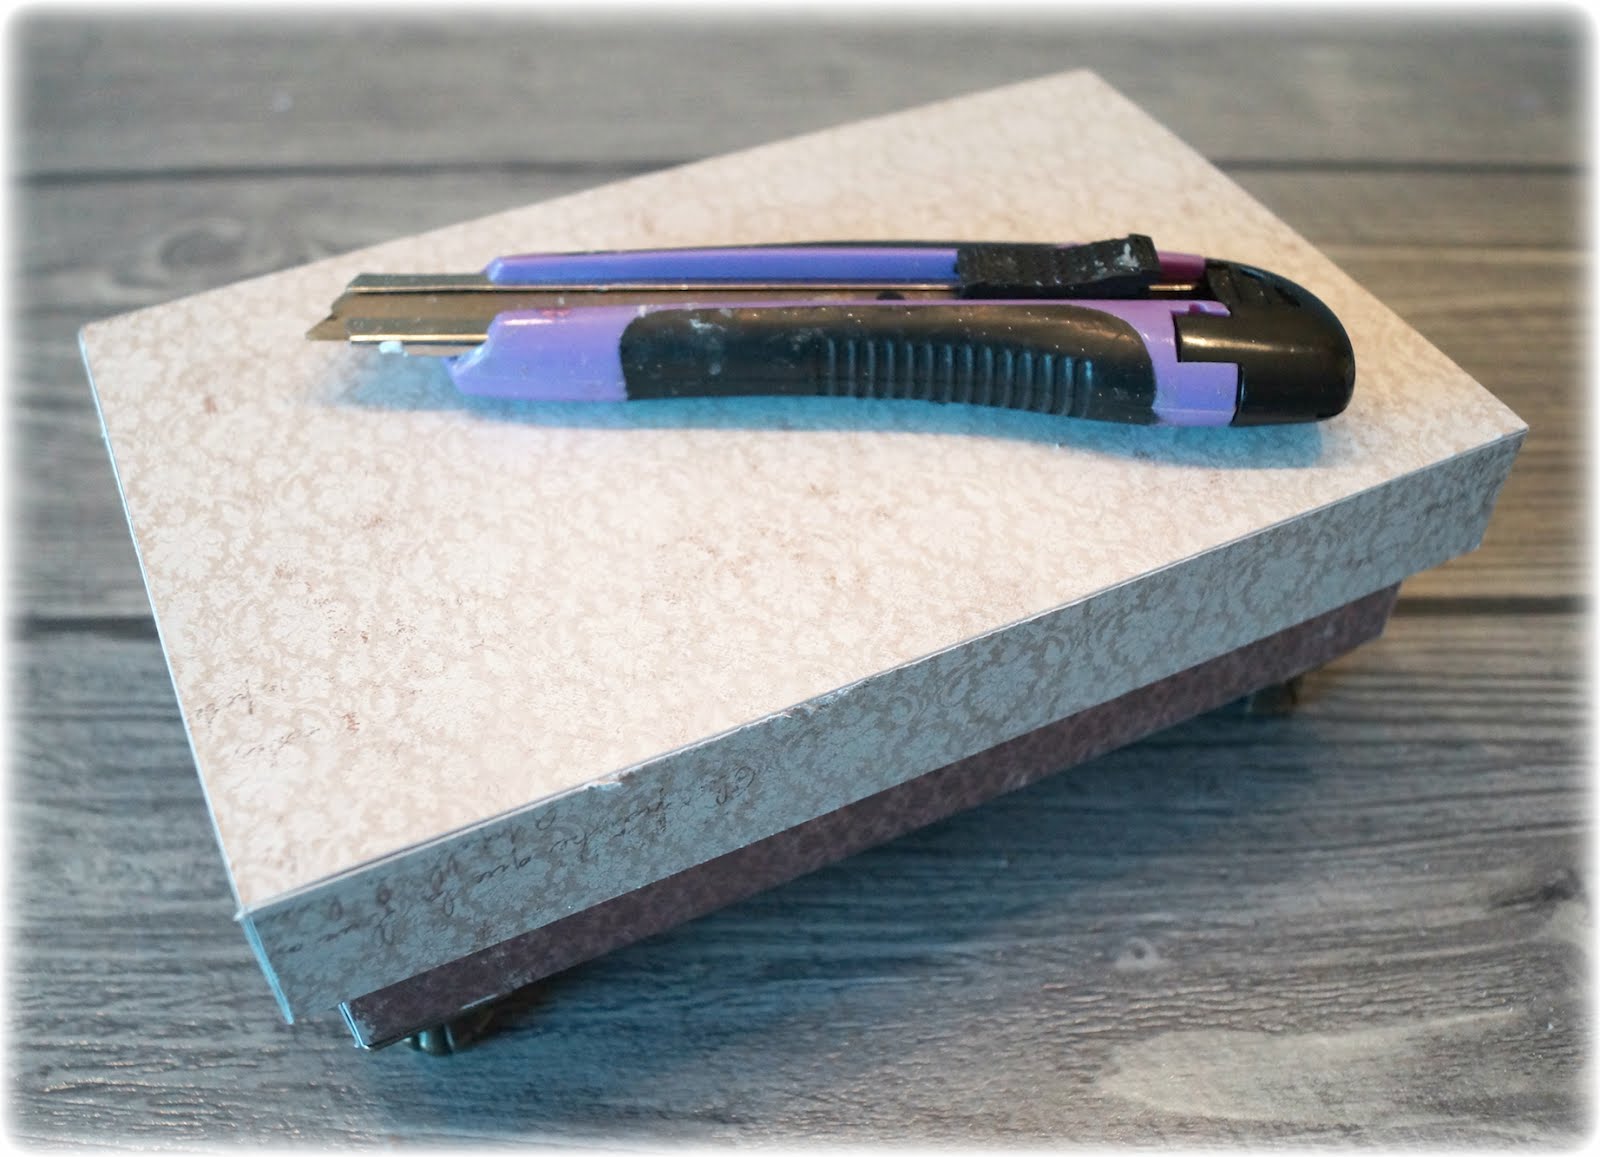
Use a knife to go over all teh edges and scratch the paper. Then you get a vintage look without using ink.

STEP FIVE:
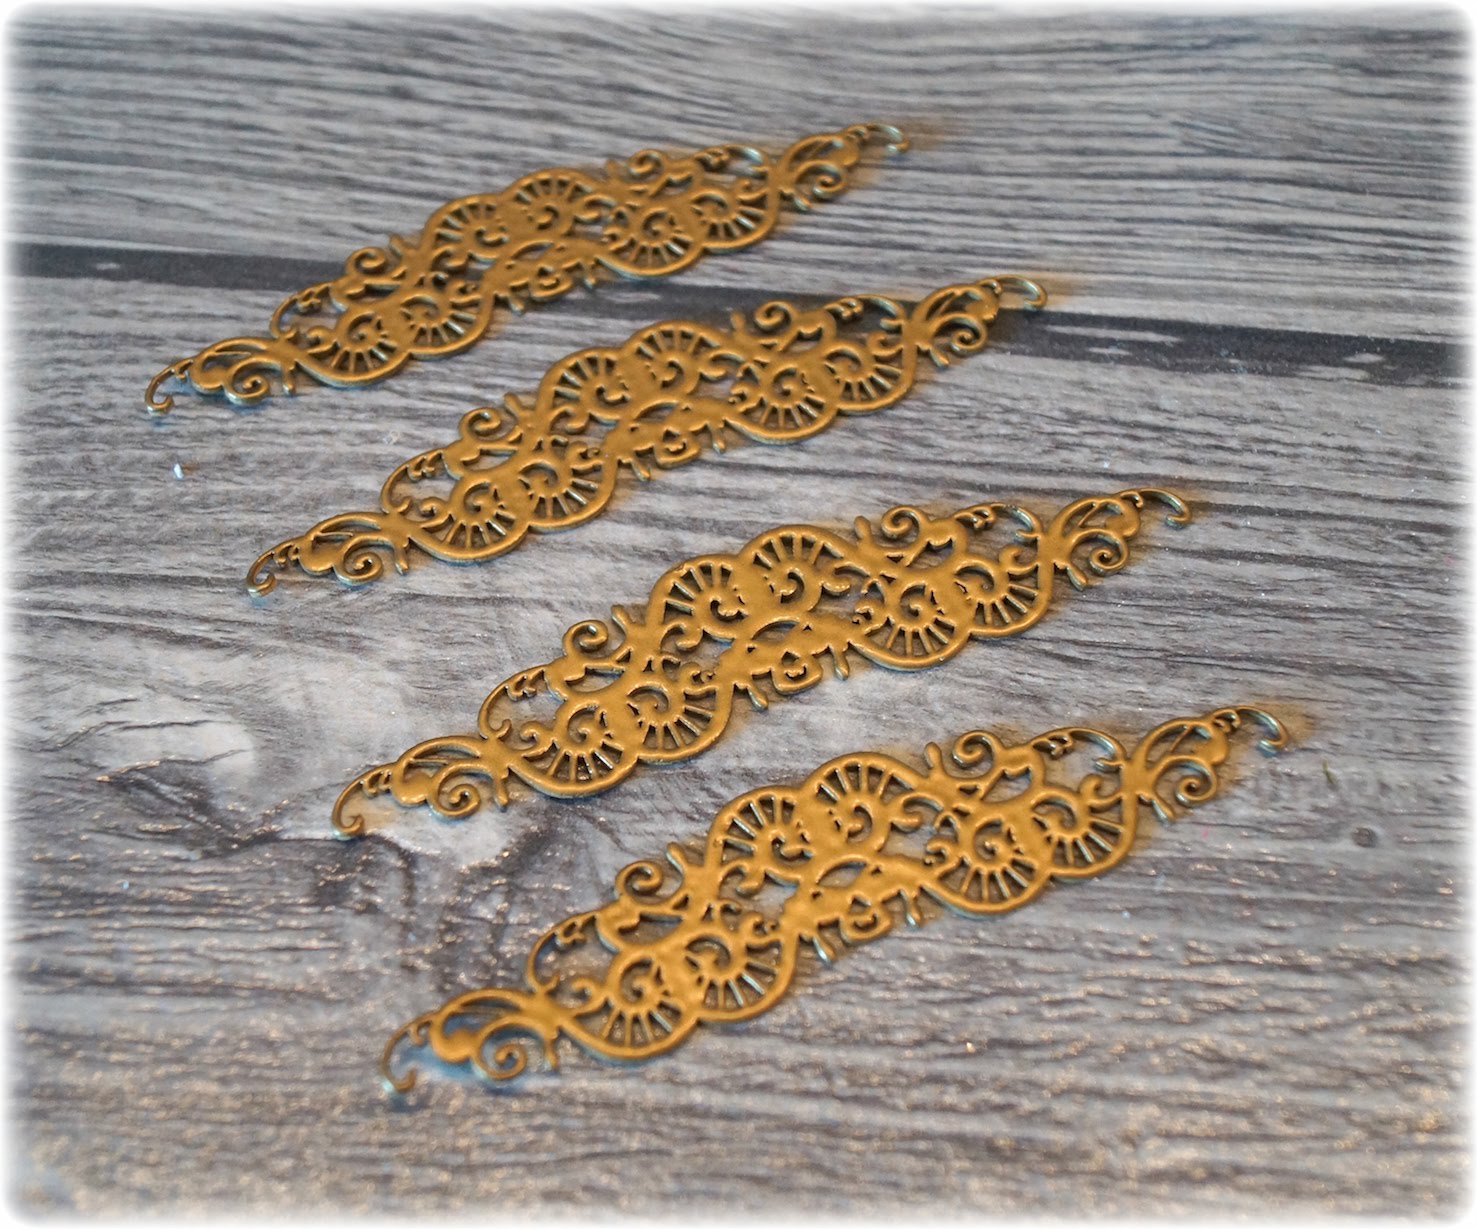
I’ve spent four shipboards from Wycinanka, I’ve embossed them with gold powder before I glue them on the sides of the box.

STEP SIX:
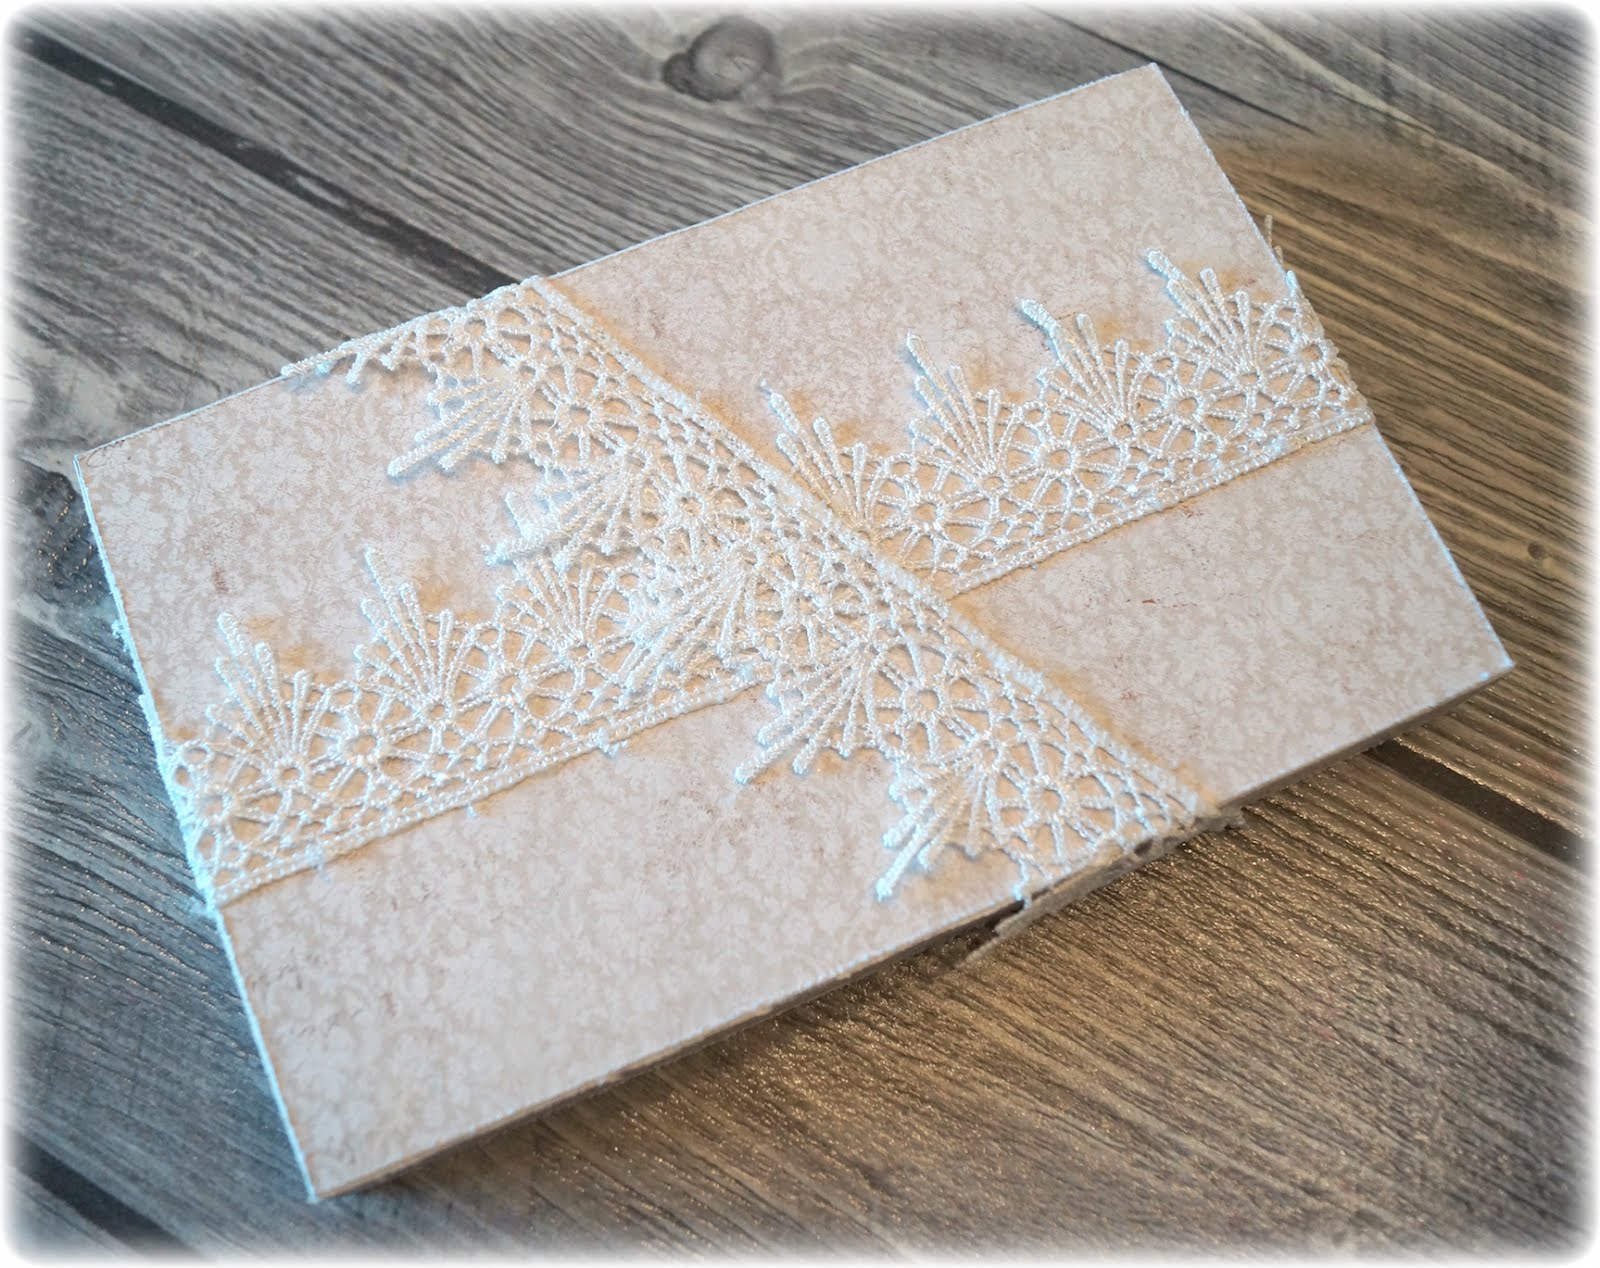
On the lid I have attached some white cotton ribbon.

STEP SEVEN:
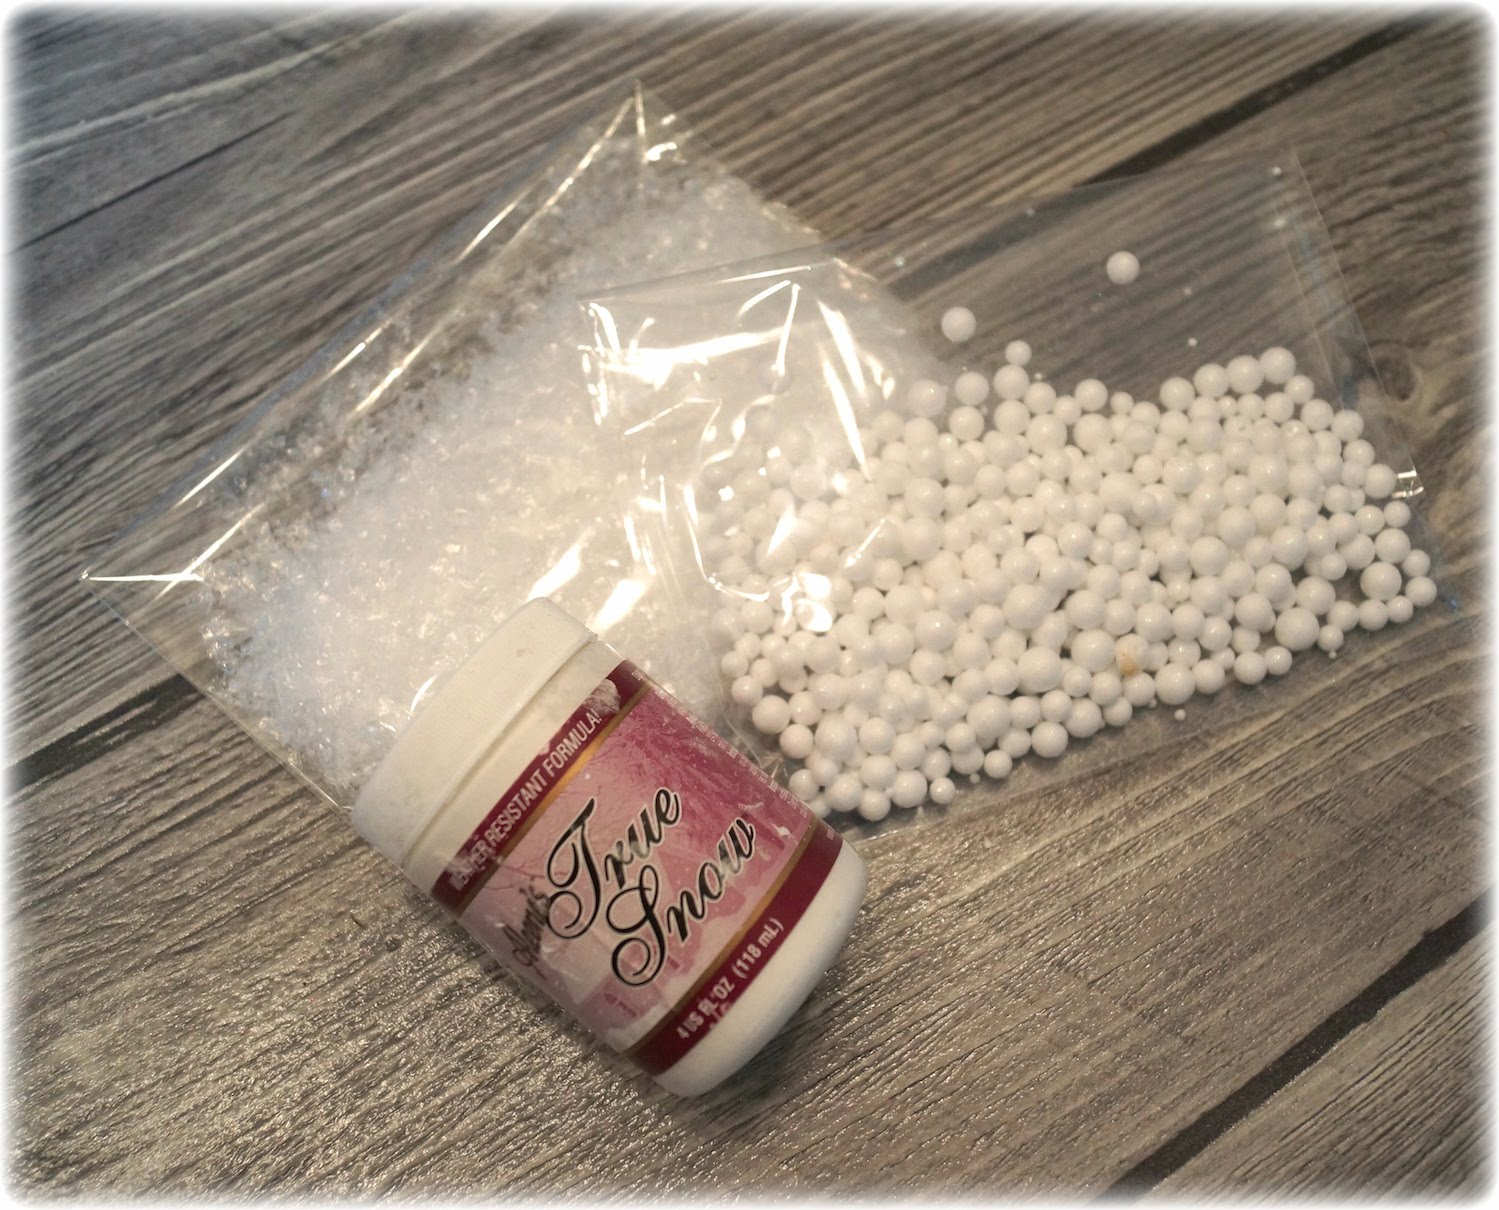
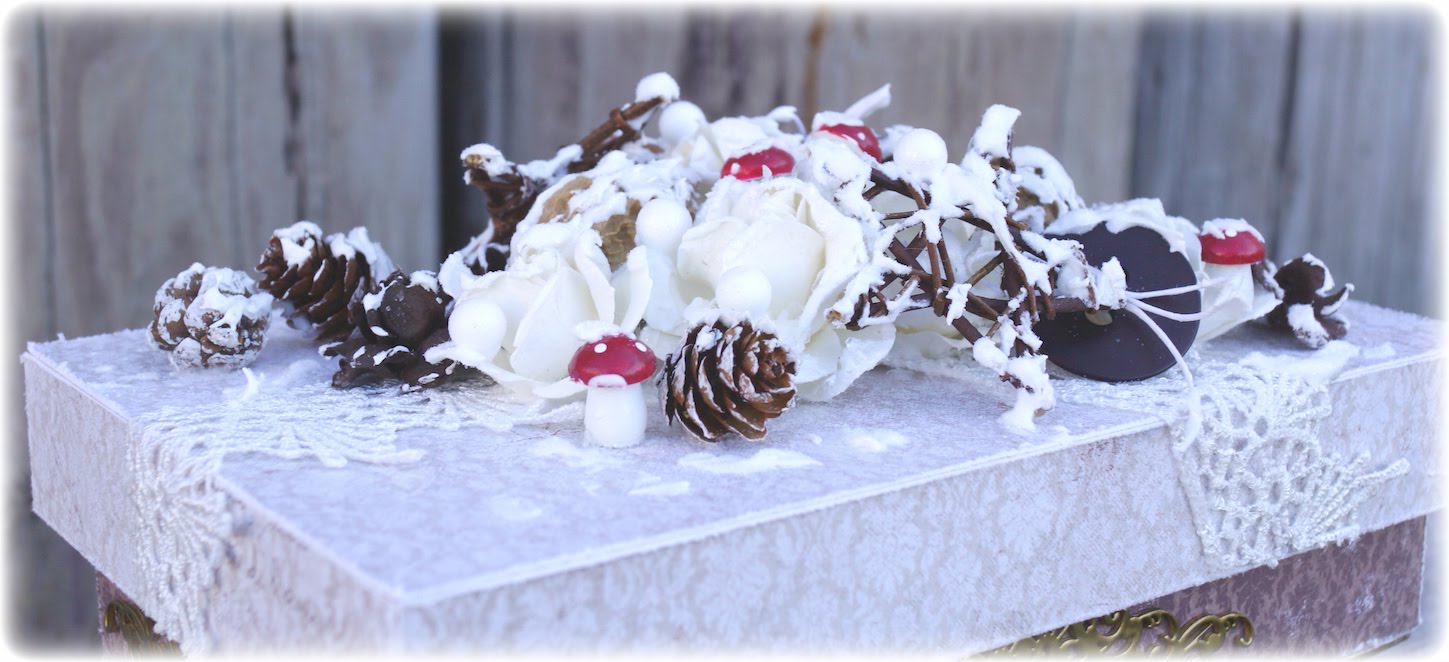
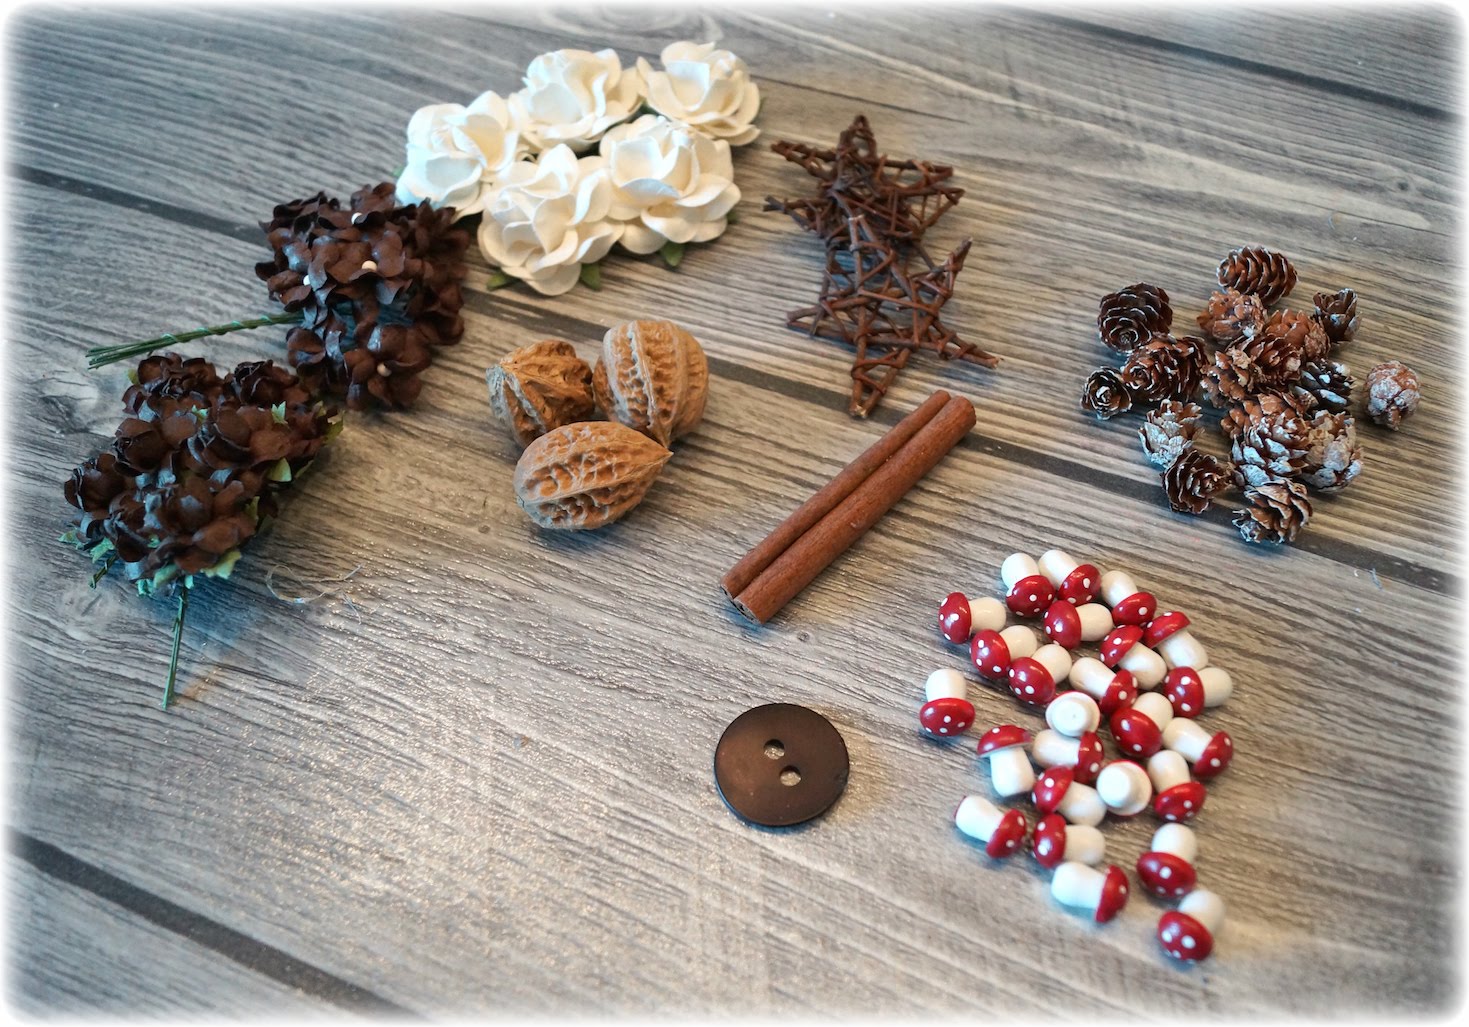
On the top of the lid I have used flowers, walnuts, mushrooms, cinnamon stick, stars and one button. These I have covered with True Snow, Plastik Snow and Glitter.

It’s really difficult to take images along the way while placing flowers and details, because I constantly had to move them around along the way. But I’ve done is I’ve just built around three large white flowers until I was happy with the lid.
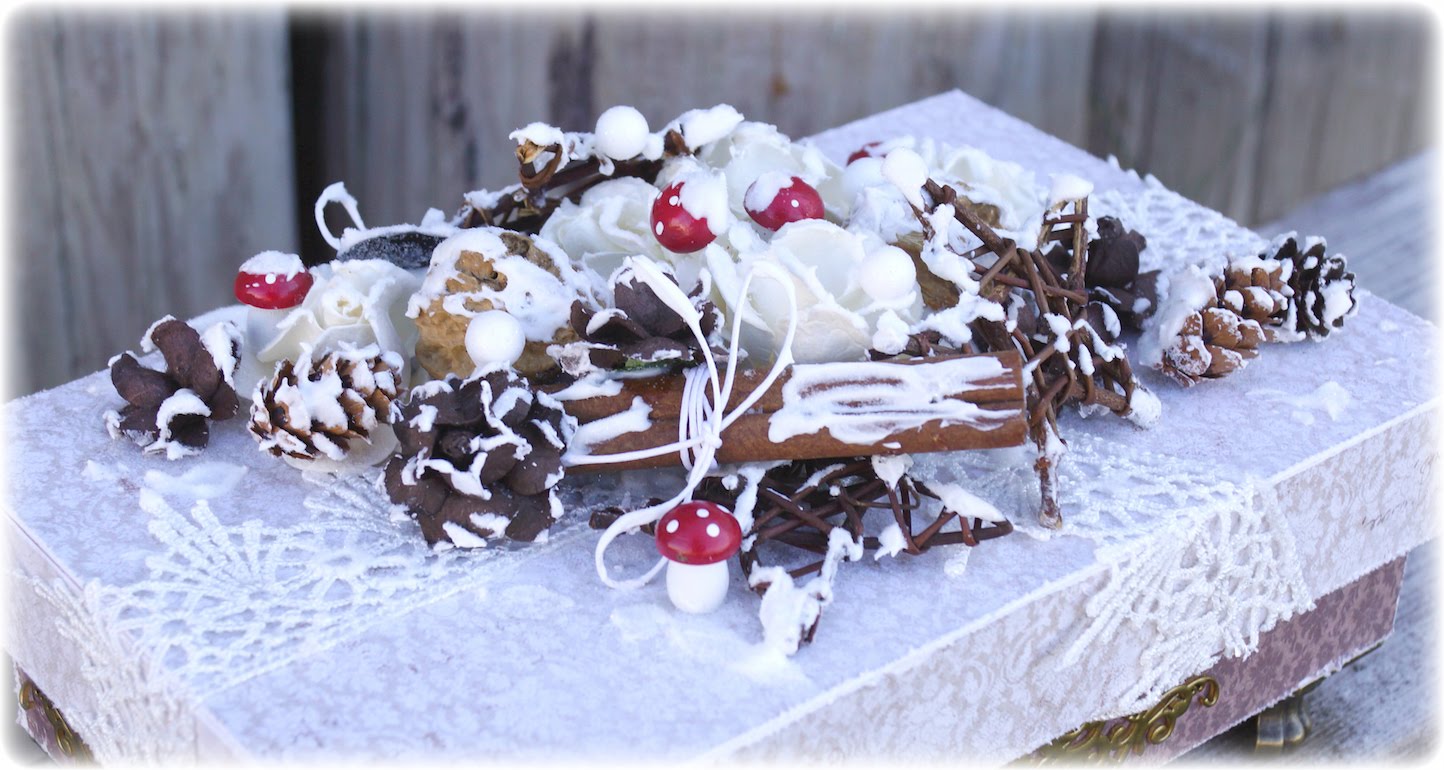
Then the box is finished. A simple box, but at the same time full of lovely winter details covered with snow and Glitter <3
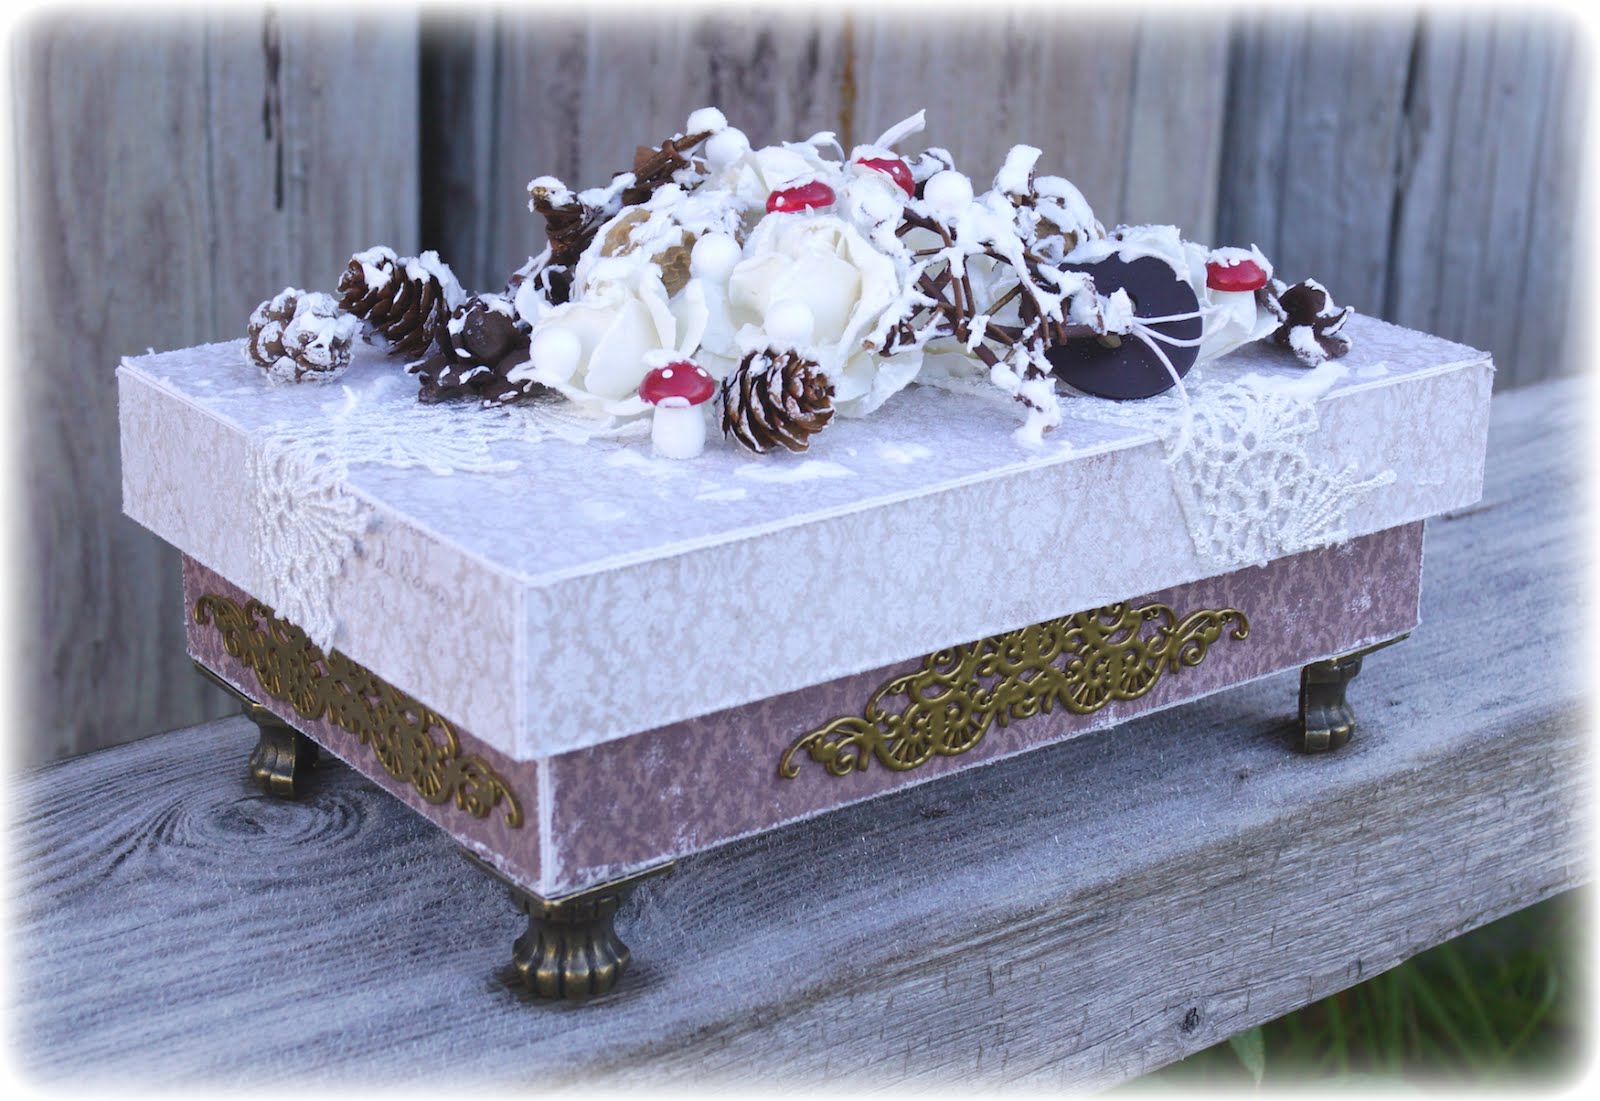
SiljeKristin-sign


Jewelery Box to the Young Woman

1

Posted by Silje Kristin Aunan

19 June, 2016 -

Write a comment

Hello Maja Followers

Today I stop by the Maja Design blog, becuse I have a new project made in lovely  Maja paper. A simple box to a young woman who is to be confirmed.

For this box I have used sheets from a Maja Design collection  called for Ska Vi Ta En Fika 

The sheets I have used are :
Kladdkaka, Kärleksmums, Söders Höjder and Mandelkaka.

Fika-P

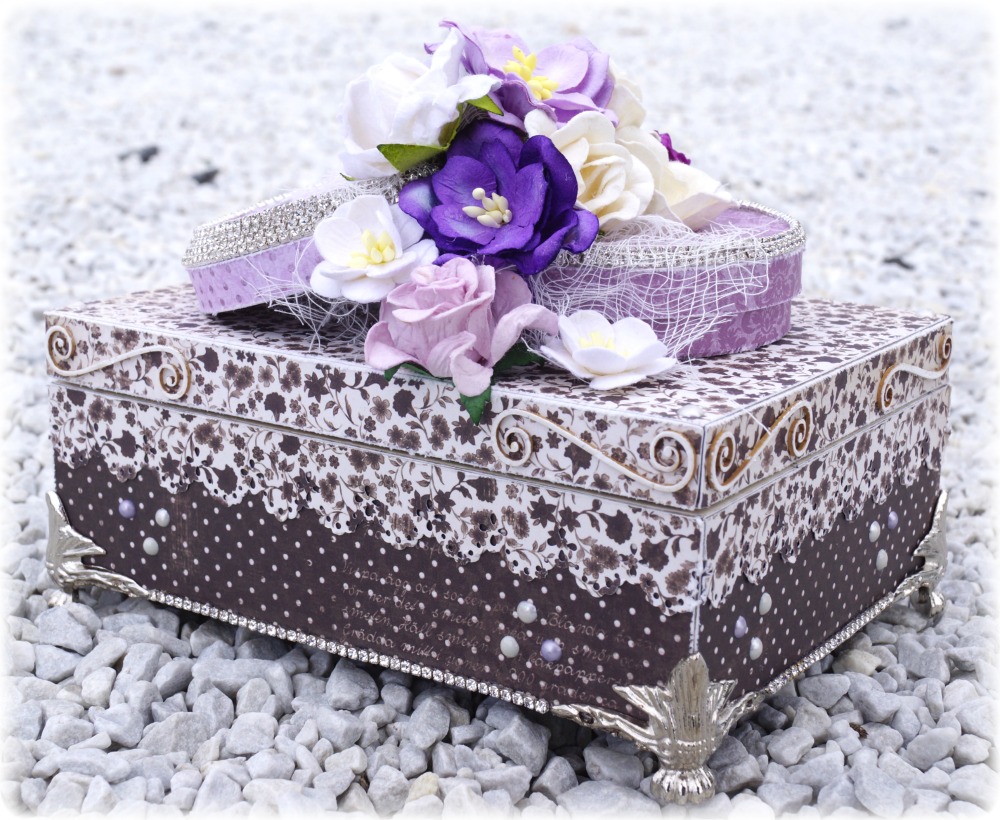
I placed the pattern sheets directly on the box and put them on with double sided tape. The punch that I’ve used is from Martha Stewart and called Eyelet Lace. 

I often create boxes that I use metal feet in silver, and yes it is on this box too. At the bottom edge, I glue on a silver chain, which runs all the way around the box. On the lid I have used wood from Wychinka, these I have embossed with white embossing powder from Ranger. The three half pearls that you find on the side of the box are made with Nuvo Crystal pearls, the colors I have used are Oyster Gray, Ivory Seashell and Wisteria.
On the back of the box are the details about the same as on the other sides, the exception is that I have not pearls on the side and the wood from Wychinka are smaller than those at the front.

On top of the box you will find the big details. 
What I ‘ve done is I ‘ve spent a round box and covered the lid and the bottom with patterned sheets and silver chain with diamonds. These I have glue little bit on the top of each other.

At the center of the two circles I have placed a lot of flowers in white and alot in various purple tones. Under the flowers I have used some cheese cloth for an extra effect. This can be done on any type of project you create, if you dont whant to use leaves under the flowers, use some cheese cloth instead. 
The flowers are from Wild Orchids.

On one of the circles, you can see the name Maren. Maren is the girl this box is made too.

The letters I have used are from Prima and I made them brighter with Wink of Stella Bruch White.

If you Opens the box, I’m sure Maren can fit all the jewelry she gon on her special day <3

SiljeKristin-sign