Hello Everyone 🙂
Today I am ready with a step by step made for Maja Design, I intend to show you how you can decorate various boxes in a easy way.
I’ve created a easy box using two papersheets from Home for the Holidays: Traditions and Together.

The explanation of how you can make this box, standing under eatch picture 🙂

STEP ONE:

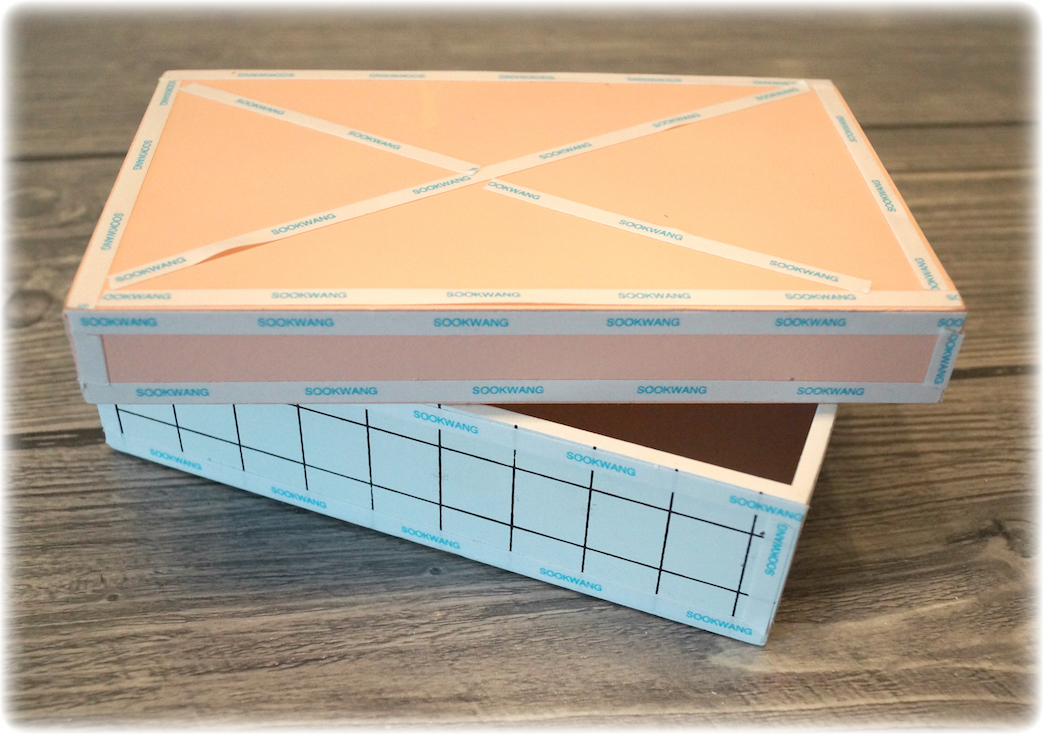
This is the wooden box I have chosen to use. I have used double sided tape on all the edges on the lid and the bottom.
STEP TWO:

When I make these boxes, I use not a cutting board. I remove the paper off the tape, I put down the page with the tape down on the sheet and use a Knife for cutting around. I do this to the box is covered. It’s an easy way to decorate boxes on, you do not have a measuring the paper and use your cutting board.
STEP THREE:
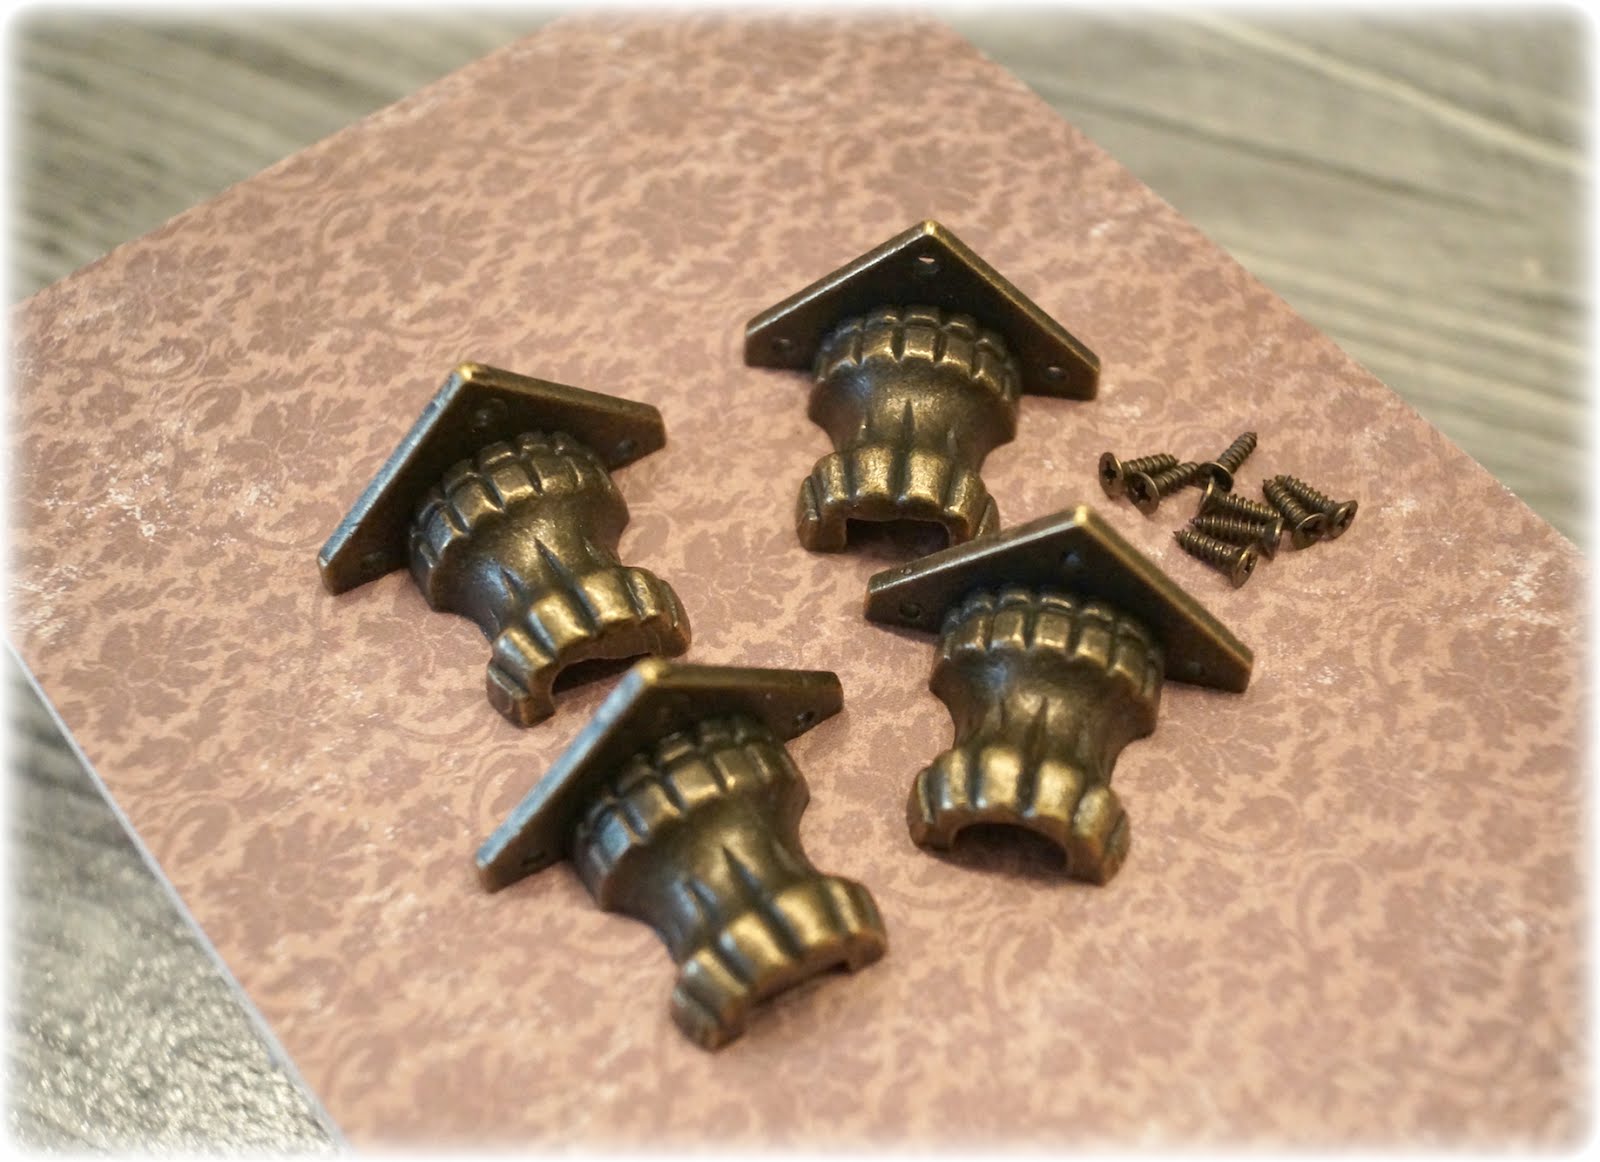
The bottom part of the box, I turn, then I attach the feet in bronze under. In this way the box have something to stand on.
STEP FOUR:
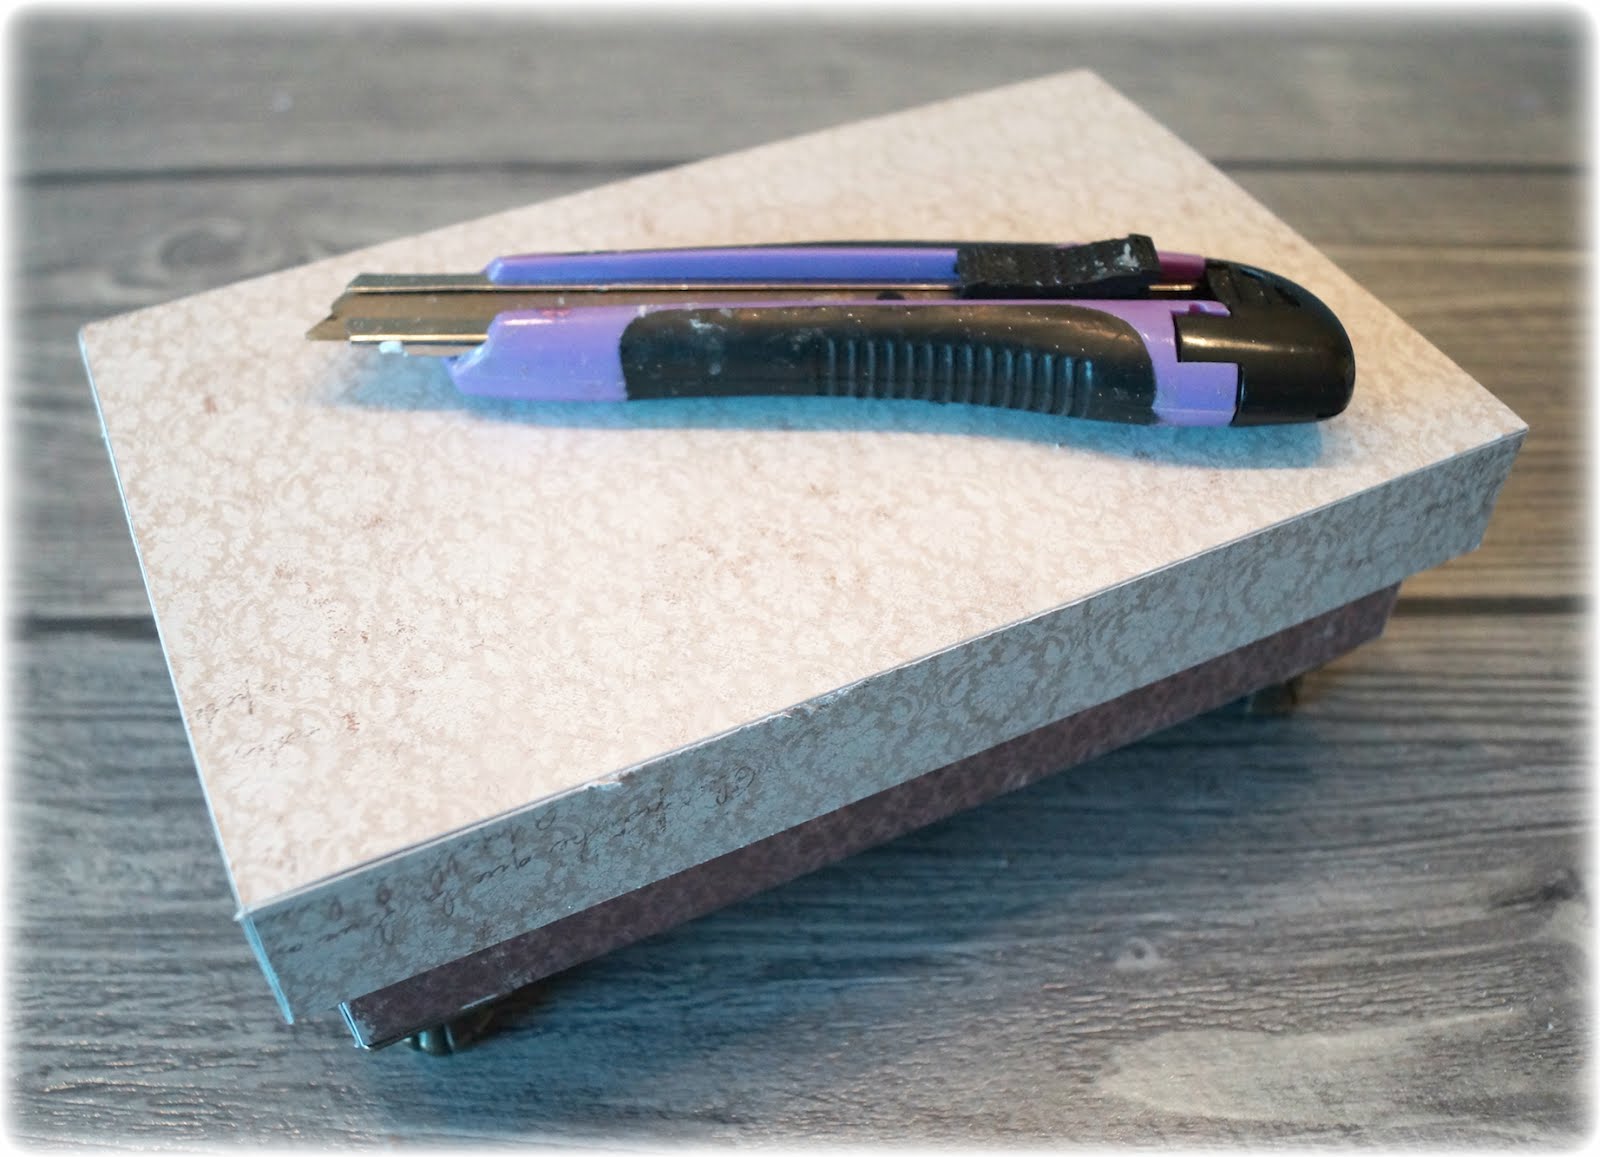
Use a knife to go over all teh edges and scratch the paper. Then you get a vintage look without using ink.
STEP FIVE:
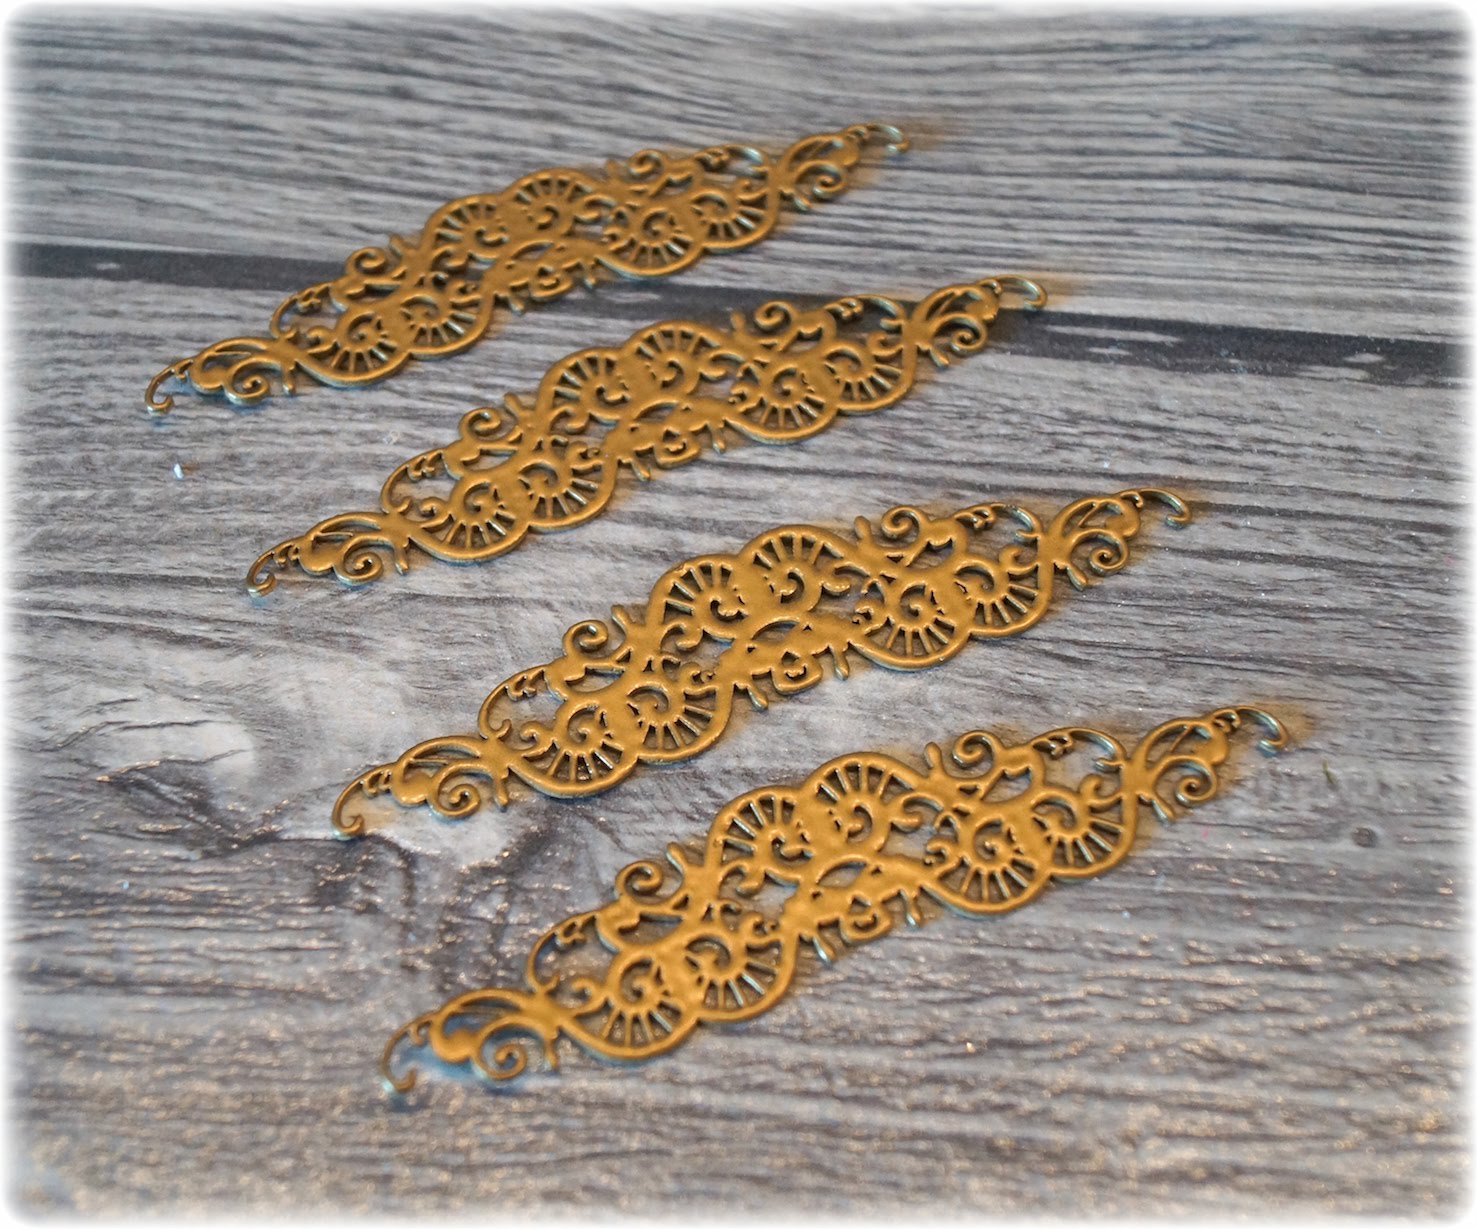

I’ve spent four shipboards from Wycinanka, I’ve embossed them with gold powder before I glue them on the sides of the box.
STEP SIX:
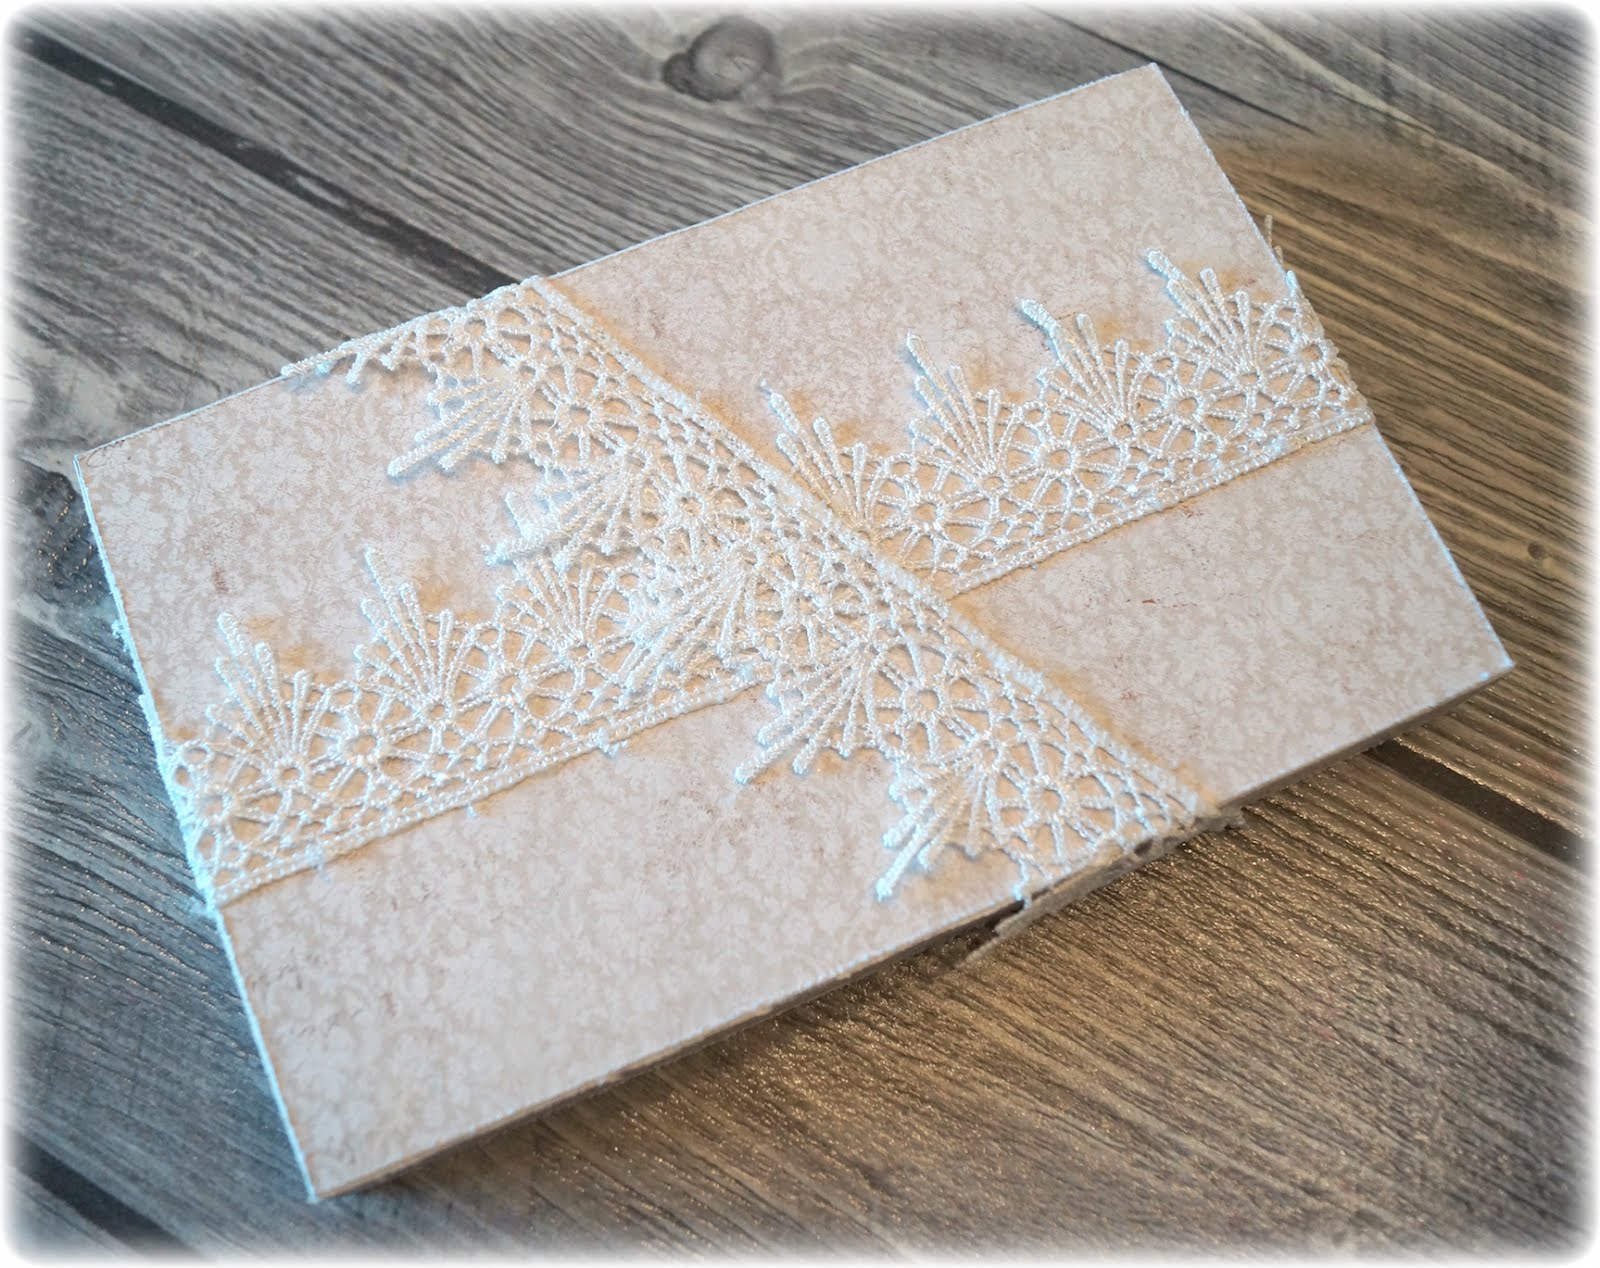
On the lid I have attached some white cotton ribbon.
STEP SEVEN:
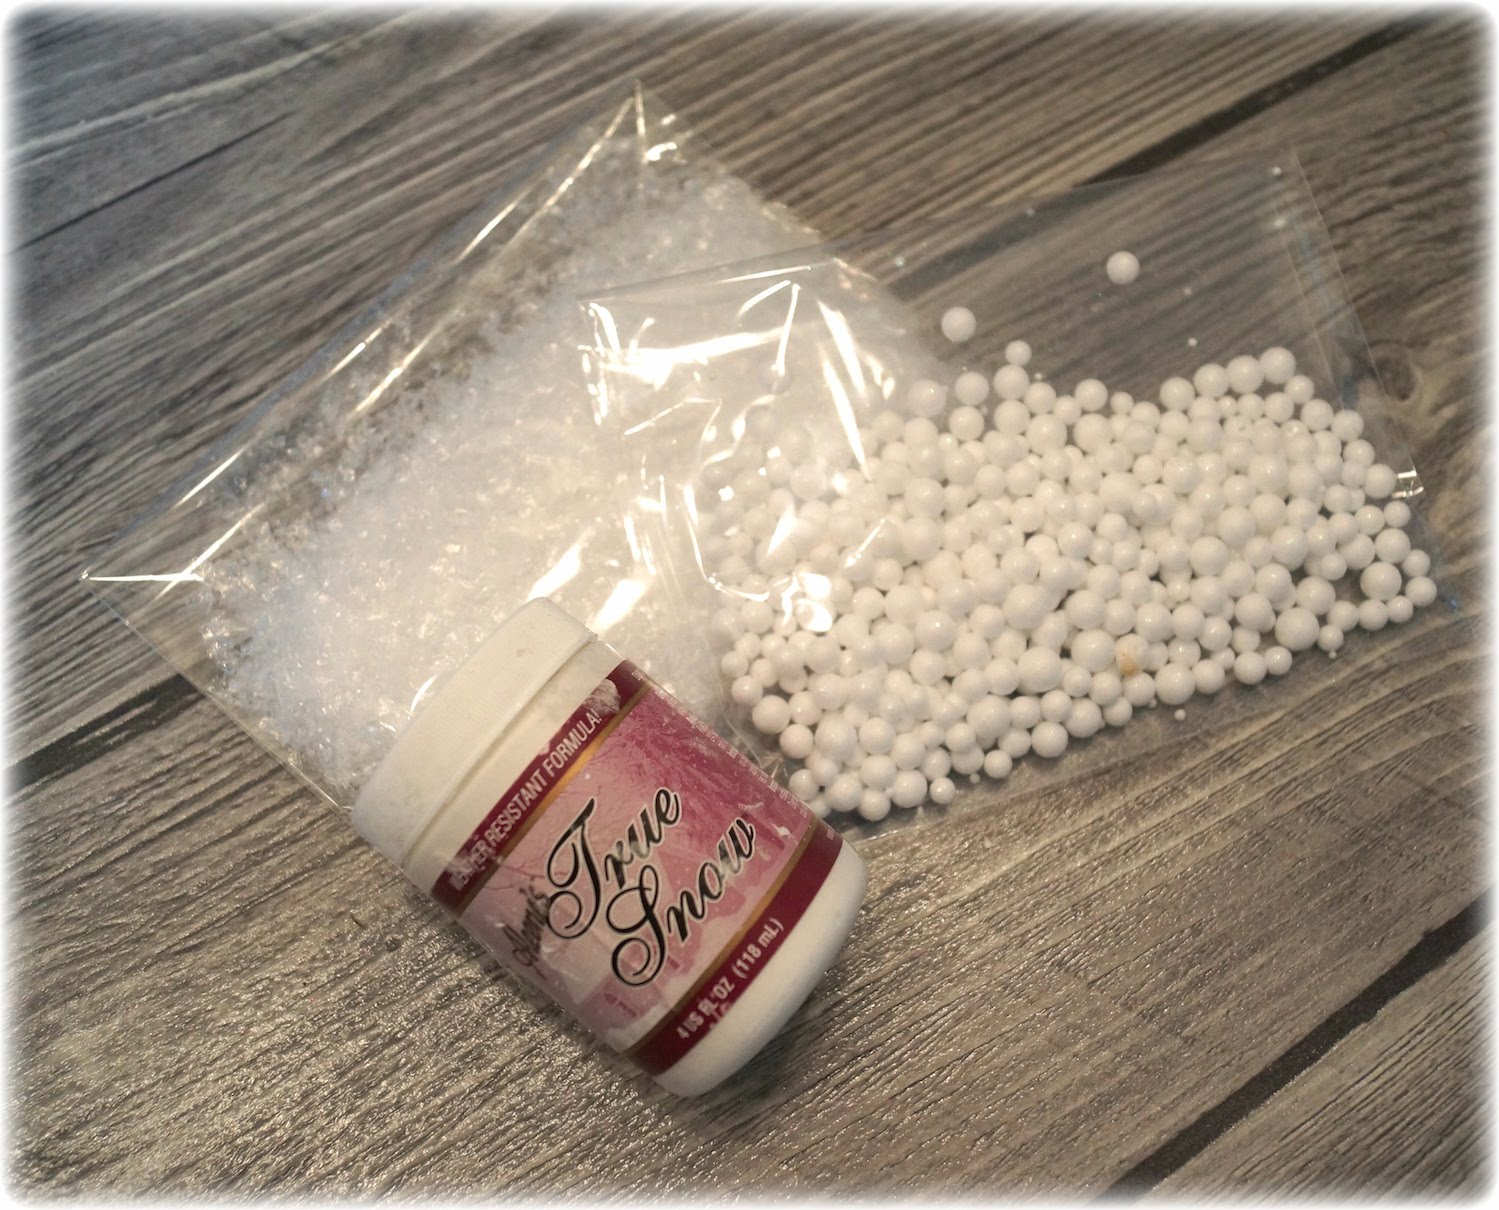
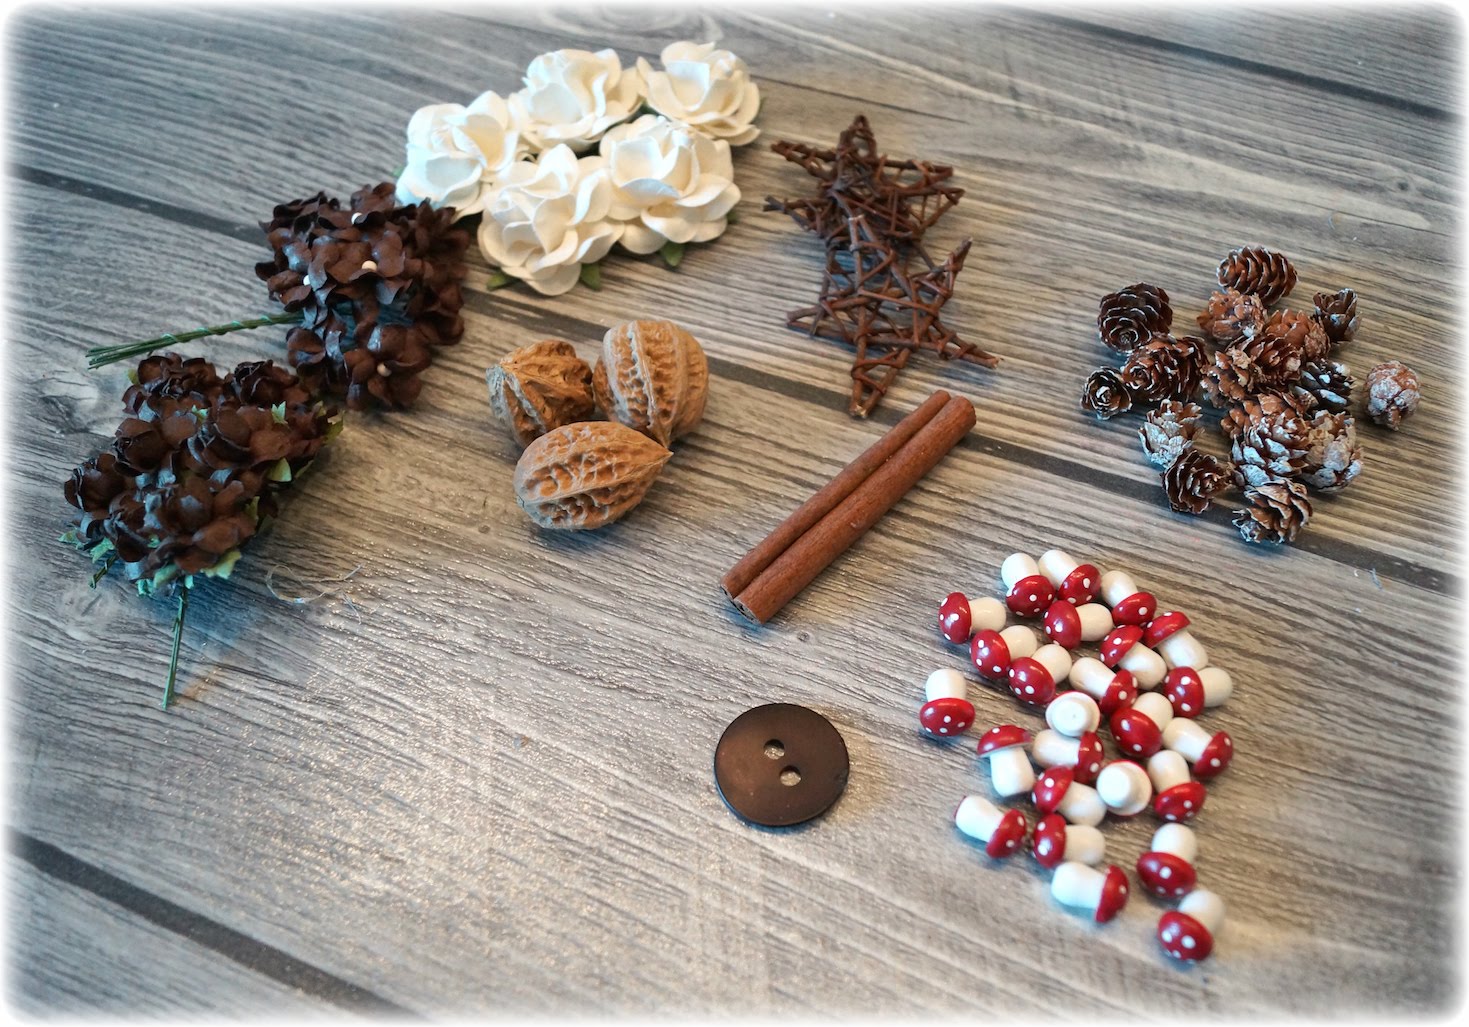
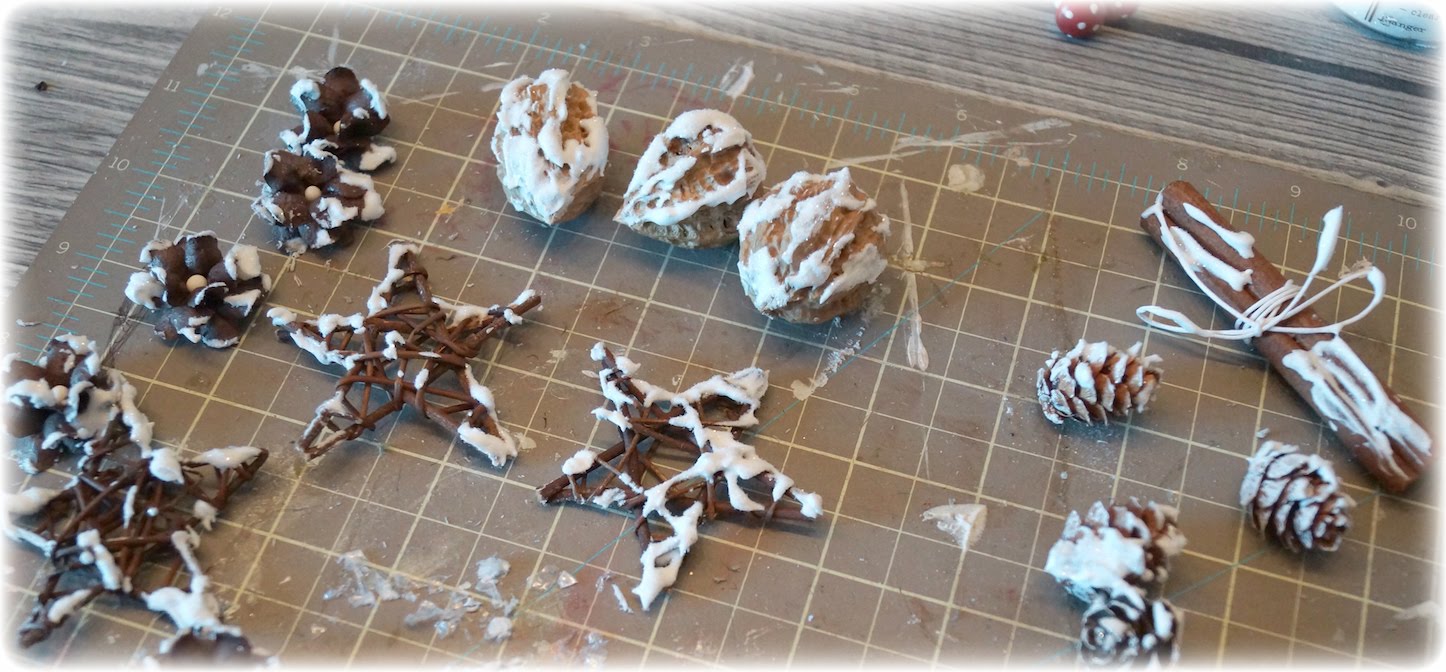
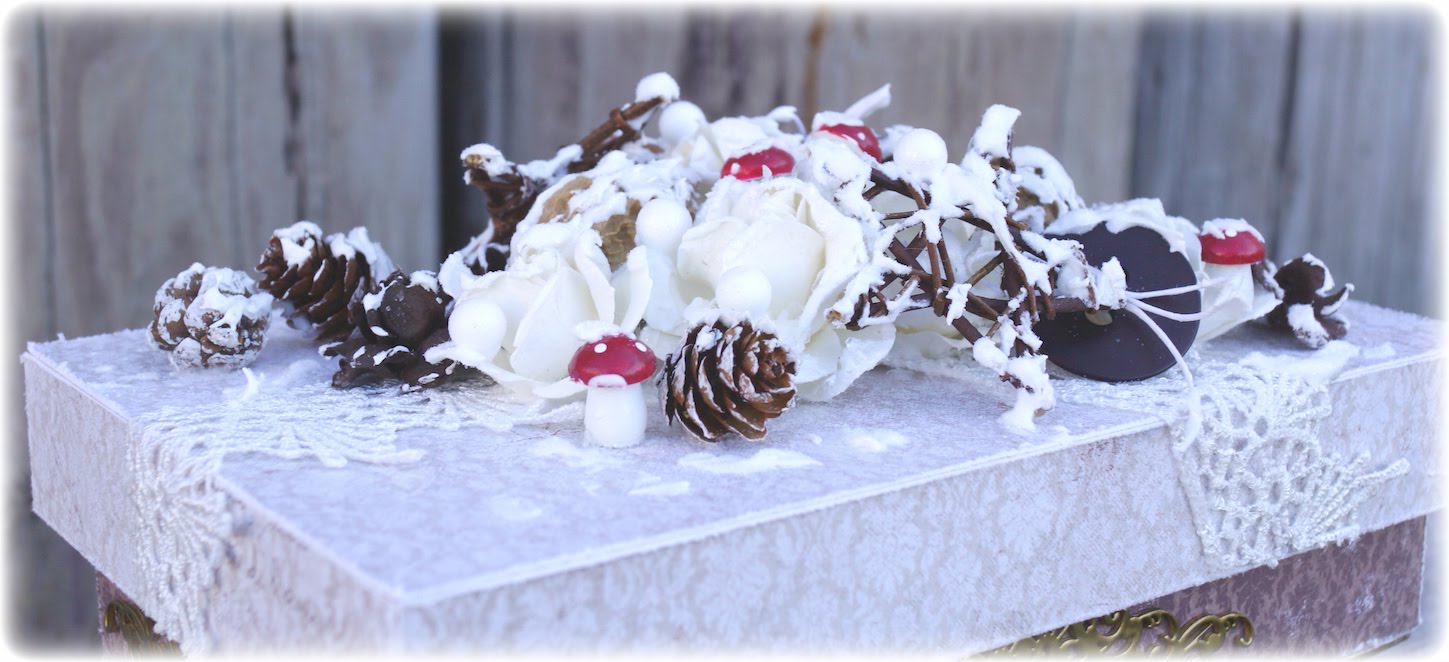
On the top of the lid I have used flowers, walnuts, mushrooms, cinnamon stick, stars and one button. These I have covered with True Snow, Plastik Snow and Glitter.
It’s really difficult to take images along the way while placing flowers and details, because I constantly had to move them around along the way. But I’ve done is I’ve just built around three large white flowers until I was happy with the lid.
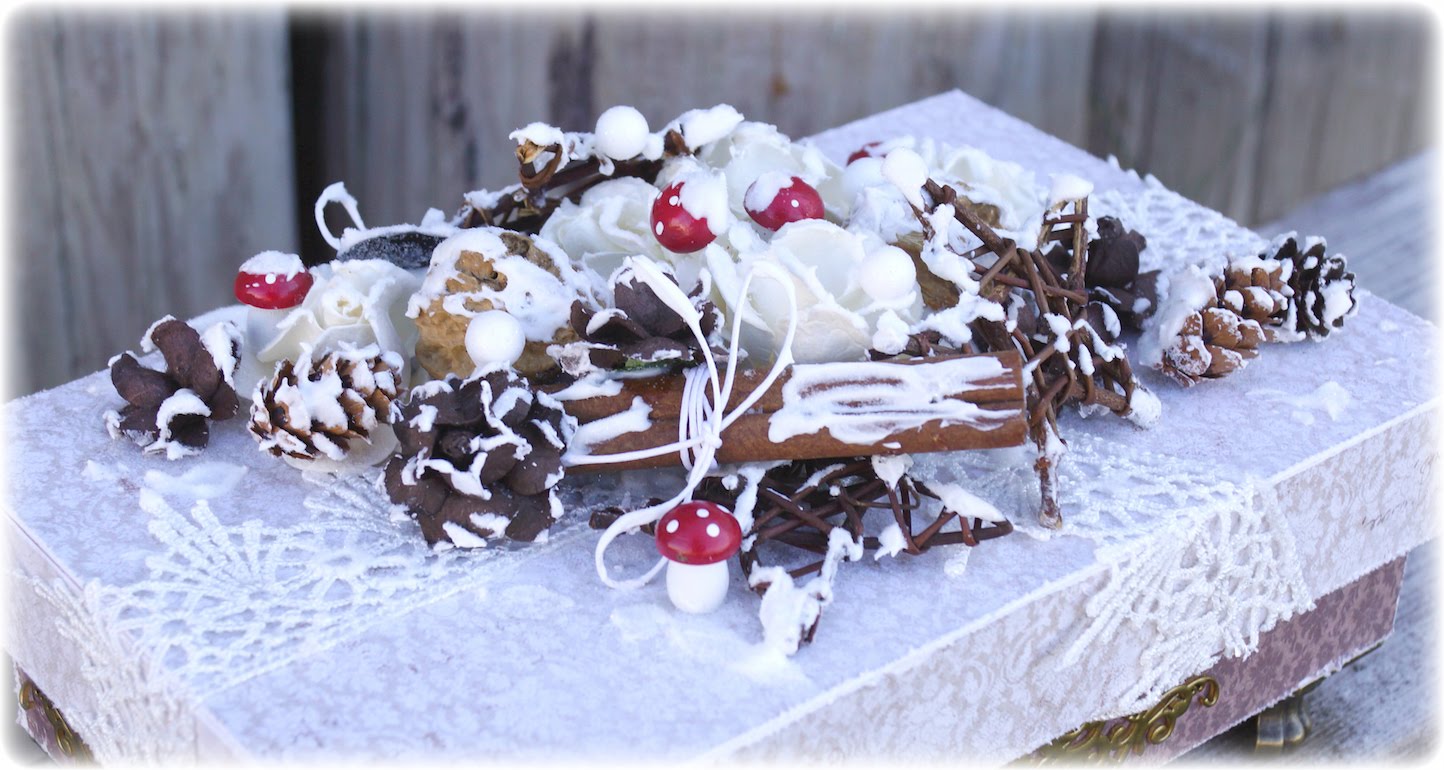
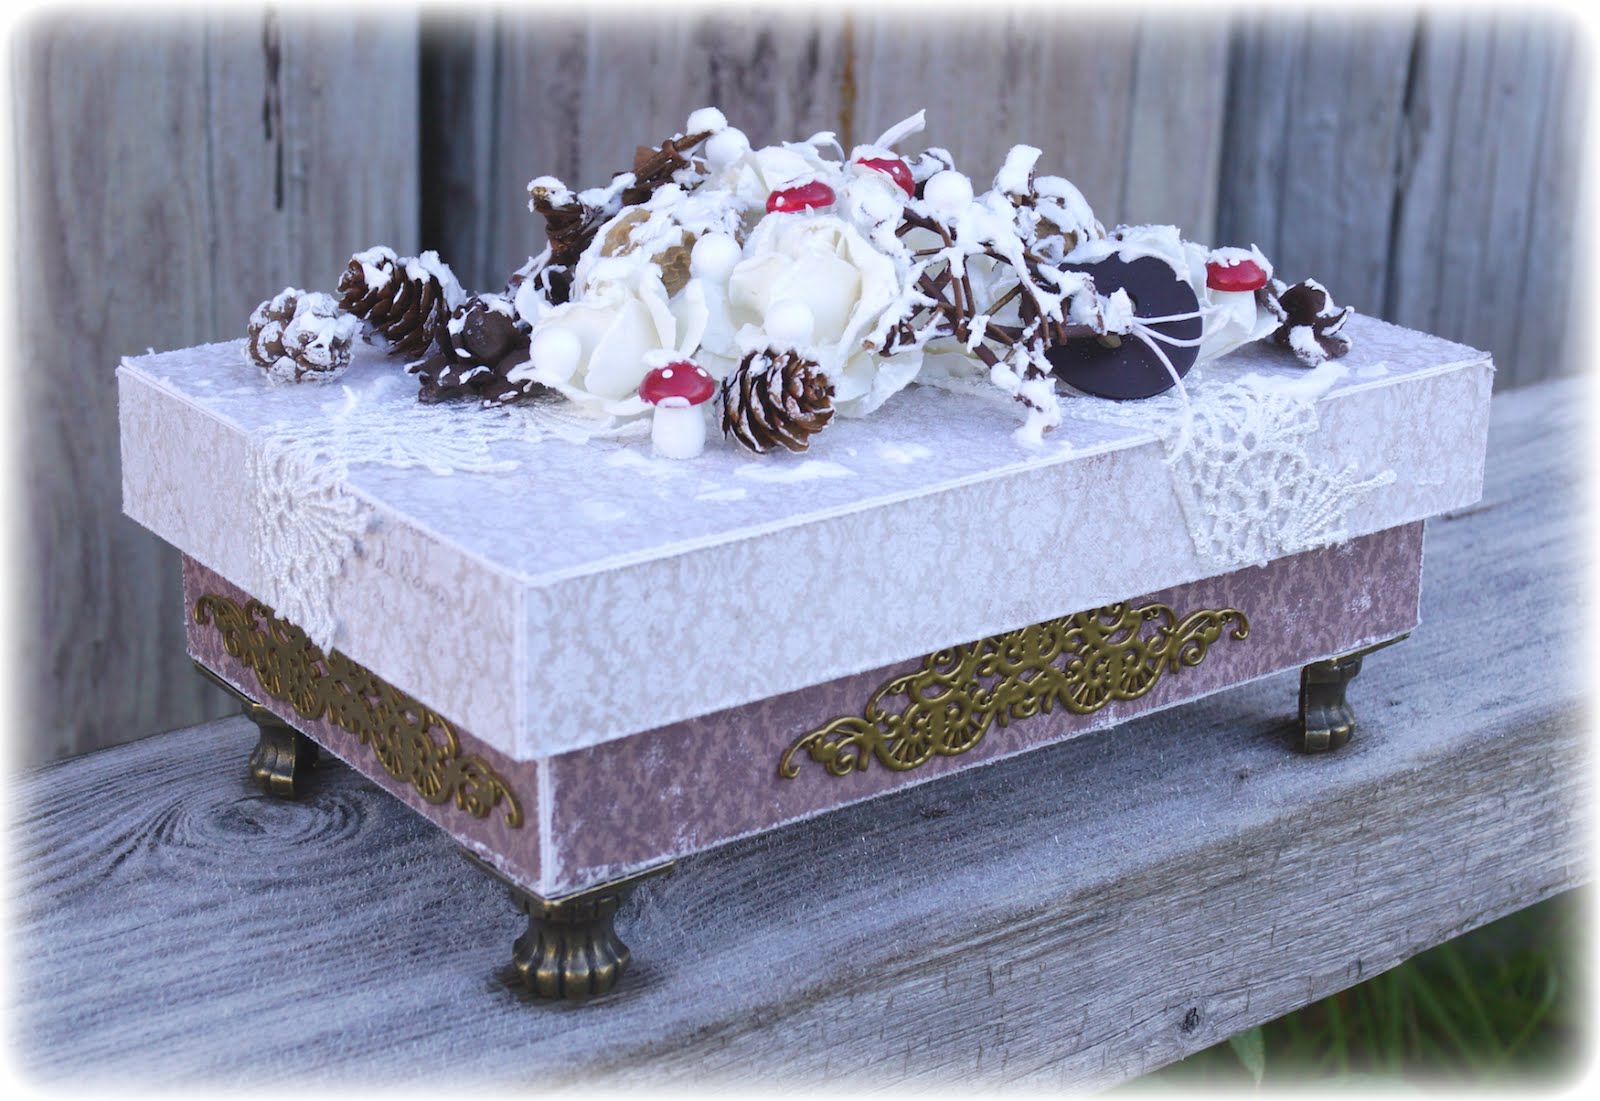
Then the box is finished. A simple box, but at the same time full of lovely winter details covered with snow and Glitter <3


2 Comments
A really beautiful box here Silje, it looks truly amazing and thanks sooo much fr the tutorial for it too, it´s just great.
So beautiful❤️ You are a true inspiration Silje. Thanks for the tutorial.