Sweet

2

Posted by Lenet Mos

15 February, 2018 - ,

Write a comment

Hello  dear Maja fans.

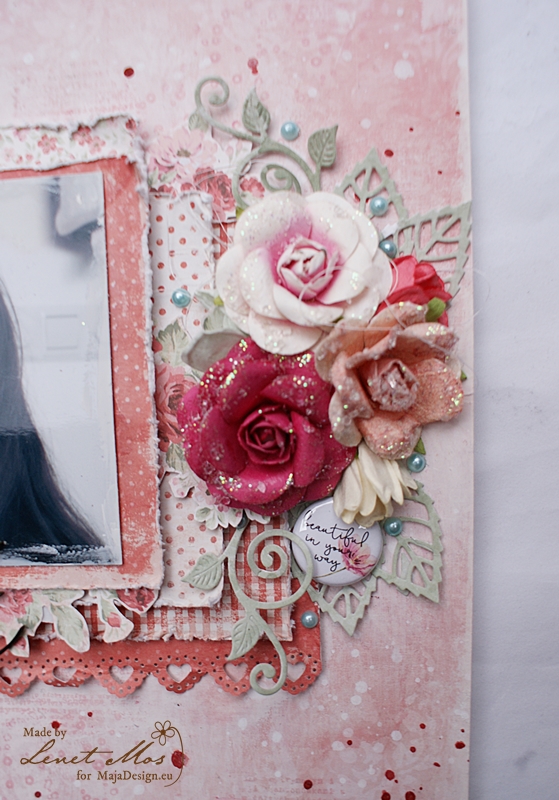
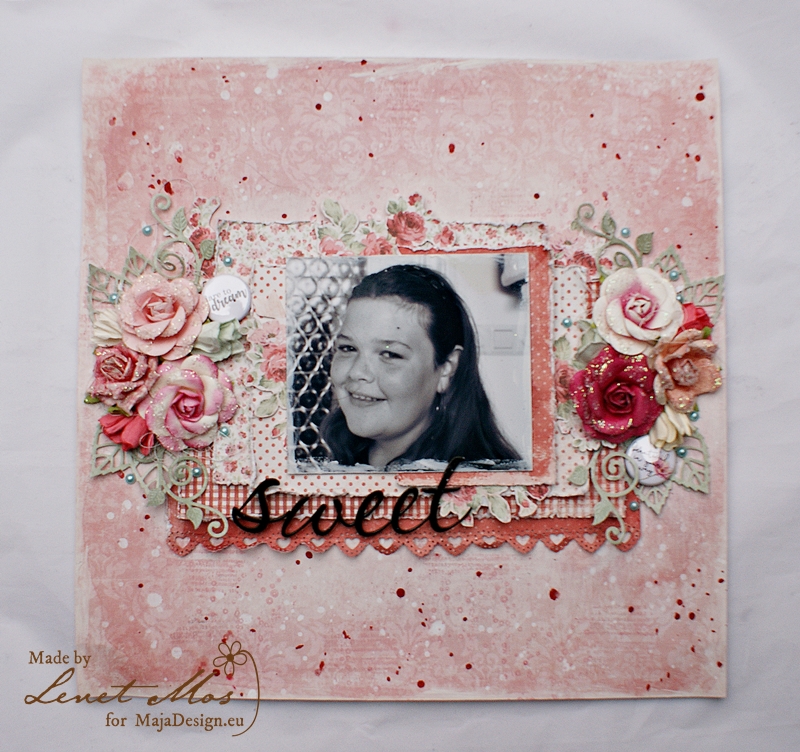
Today it’s my turn again to inspire you and this time I have a tutorial of how I made this lay out for you.

For this one I used the beautiful papers of the summertime collection.
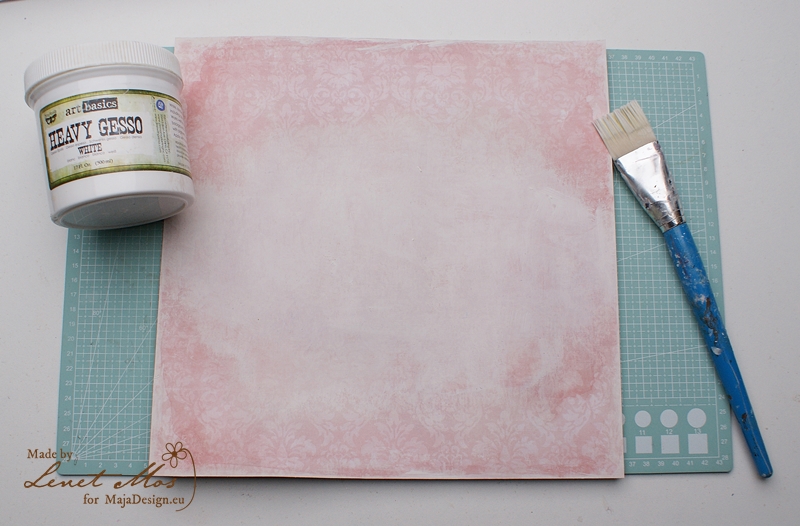
 

For the background I used the backside of Flowers every where. I high-lighted the area where want my to make my composition with some gesso
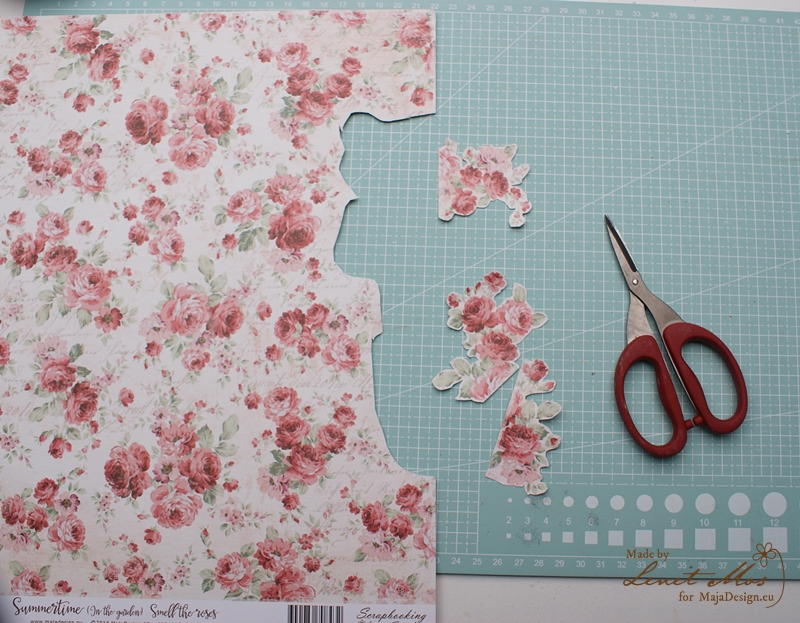
While the gesso is drying  I cut out some roses out of the smell the roses sheet, those I will tuck behind the picture and papers later.
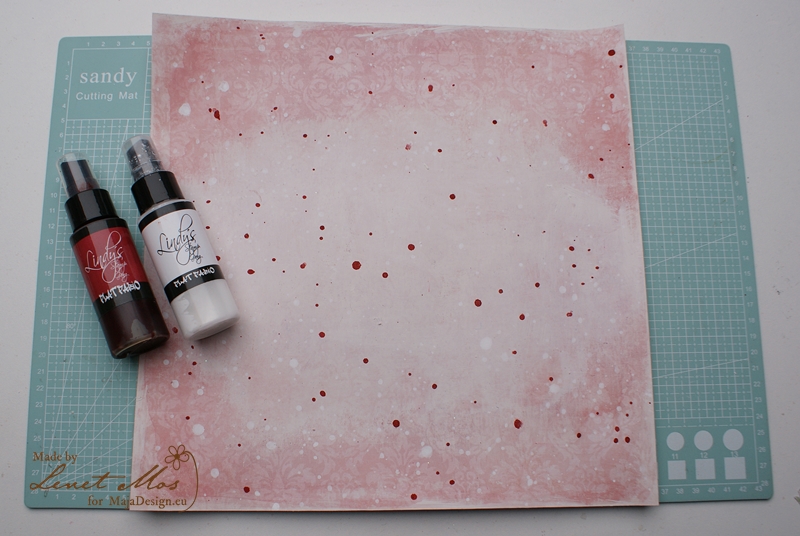
 

When the gesso is dry  I made splatters with  Lindy’s flat fabio”s sidewalk chalk and queen of hearts red.
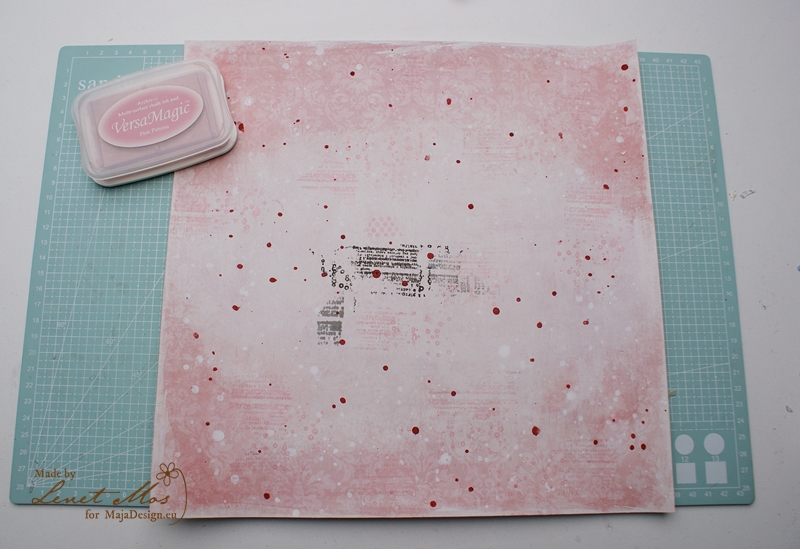
Than I added some random stamping when the splatters were dry.  To see what  the stamp and what color ink I like and want to use,

I did some test stamping at the place that will be covered with the papers. This way I can have a better look at what feels right for me.

I decided to use Pink petunia from versaMagic.
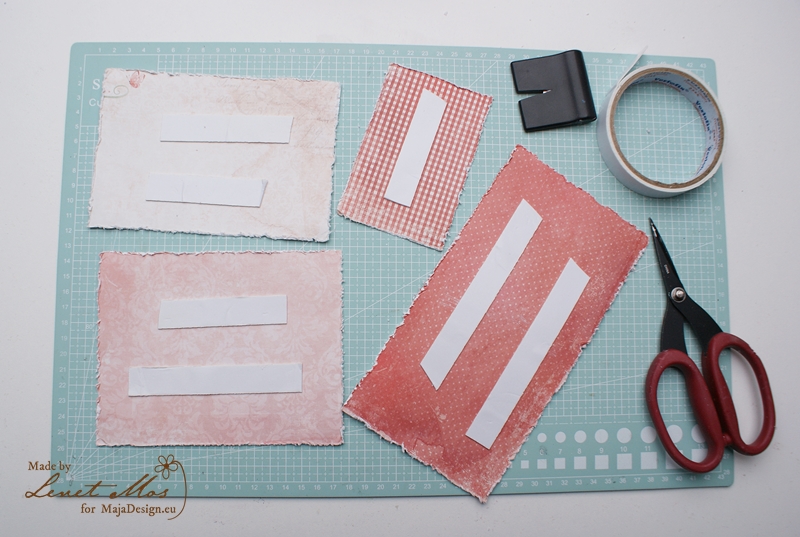
After choosing the papers I want behind my picture, cutting them in the right size I distress the edges with mt paperdistresser from Making Memories

I have this one for I think 10 years used it a lot and really love it. I tried other distressers  when the were introduced  but always went back to using this one.

For sticking the papers on to the papers I use  foamtape because it gives your layout some demension.

I always stick it in the middle so you can tuck flowers or other embellies behind it later on.
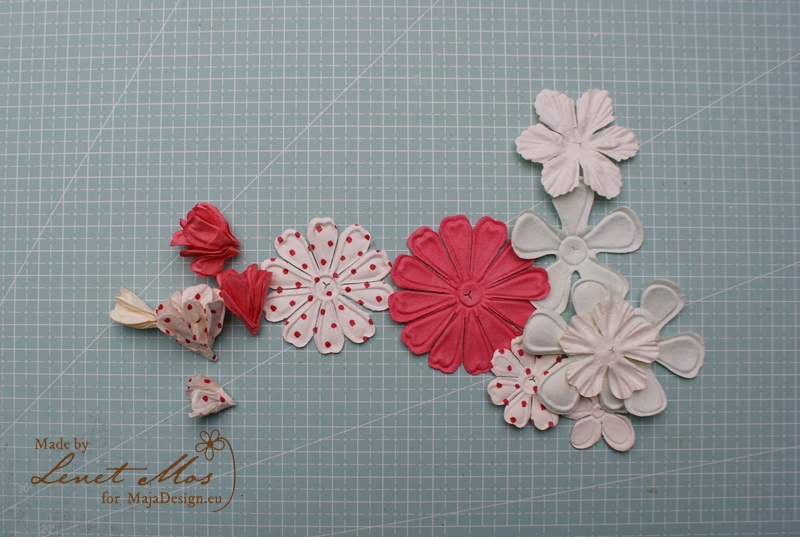
Because i own a lot of supplies I never used I gave myself the challenge to try to use some oldies on every project I make from this layout on..

This time I took these Prima flowers. I crunched them to these flowers and  tucked them with the roses .

I love the the way the look now so I’m sure I will use this more often in the future.
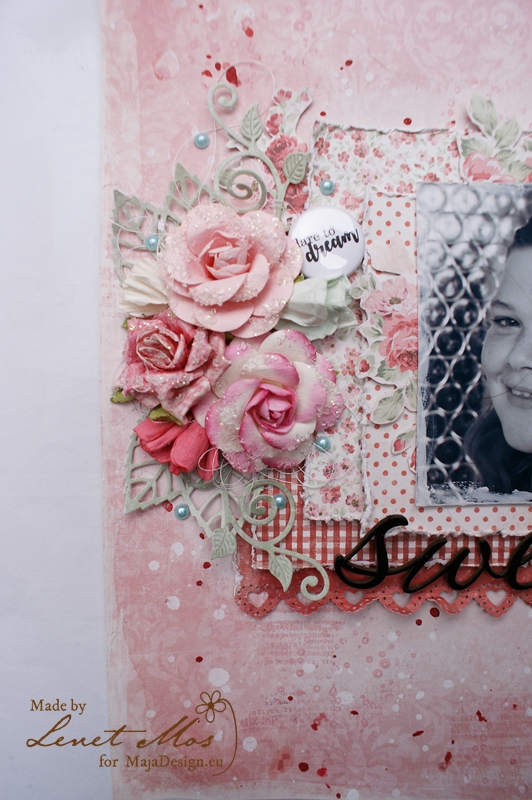
   

After sticking the papers and picture on to the background , I embellished  it with roses from Prima, badges from cuts2luv , pearls from the dollarstore.

The leaves are made using  Monochromes shade of Sofiero – Celery/Sage with dies from My favorite things and the swirly ones I think from Marianne Design.. and l tucked the roses I cut out earlier between the layers of the papers.

The edge with the little hearts is made with a punch from Martha Stewart. the word Sweet is a chippy from dusty attic that I colored with black embossing powder.

I hope you enjoyed this tutorial and that it inspired you .

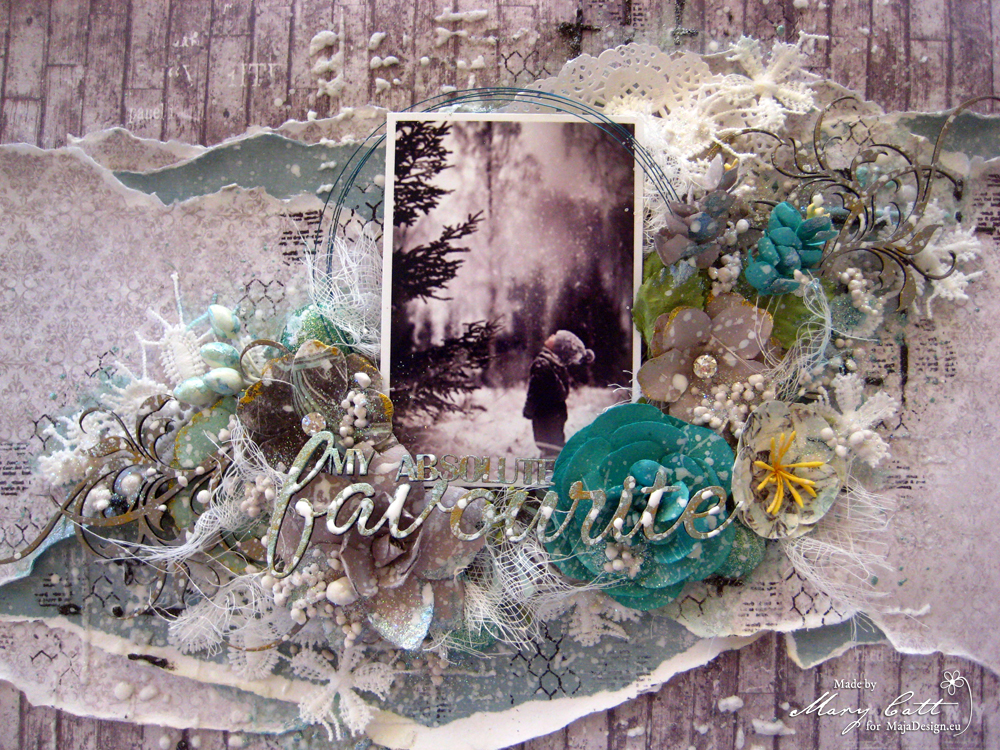
My Absolute Favourite

2

Posted by Mary Tzalla

16 January, 2018 - , ,

Write a comment

Hello Maja fans!

I wish you all a very happy New Year full of health, love and hapiness. Mary with you today to share my inspiration for January.
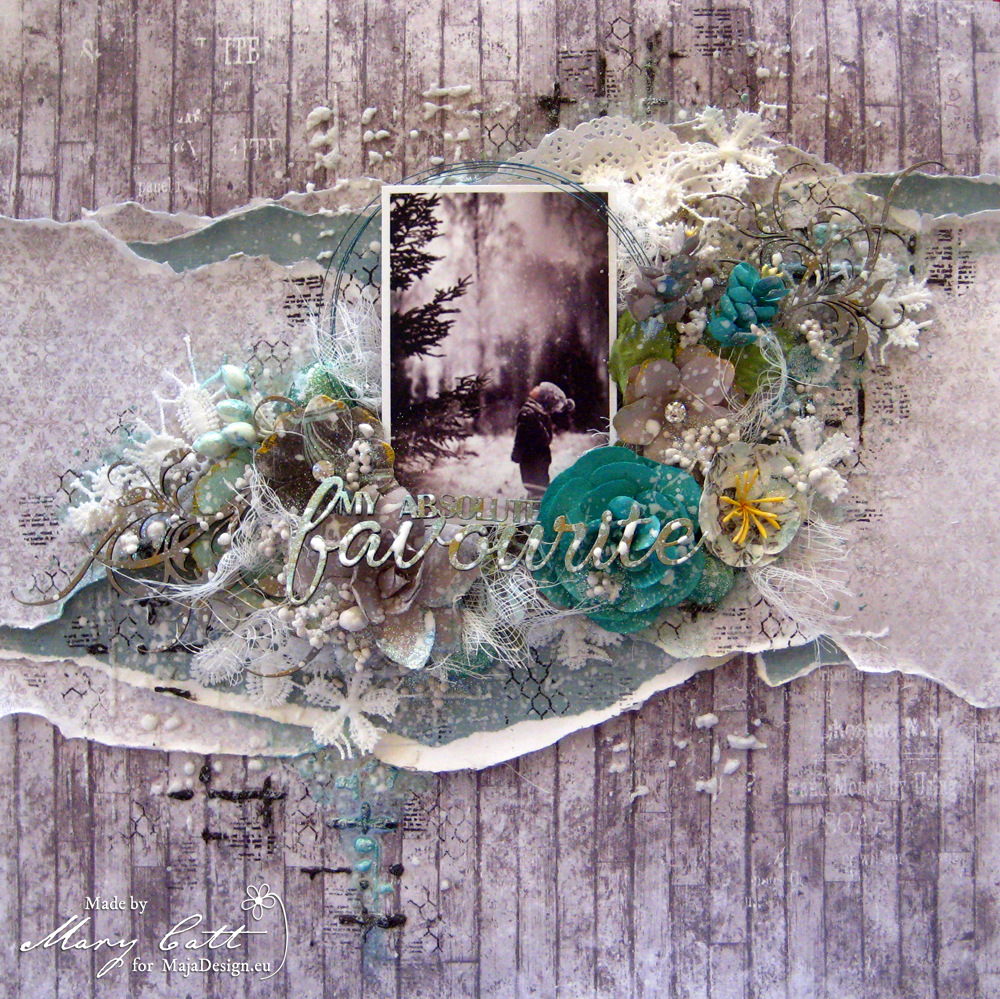
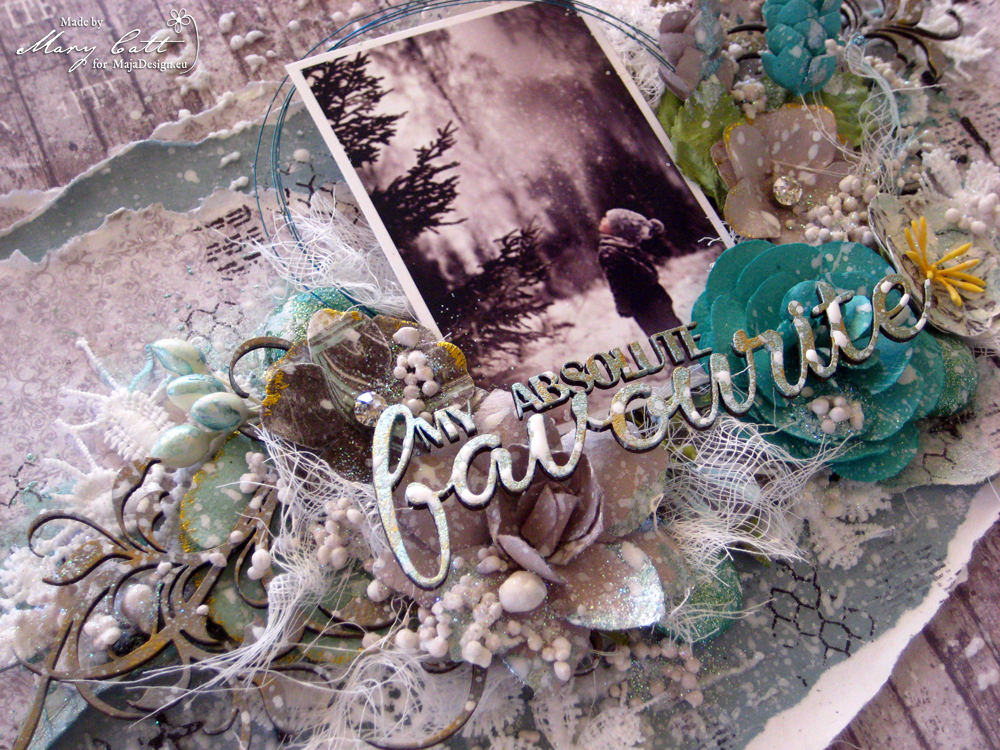
When I found that beautiful photo on Pinterest, I wanted to scrap it and finally I made a soft wintery layout in grey and teal colors, with lots of flowers, laces and chipboards. But, before I continue more I want to give all the proper credits to the ”unknown” photographer.

I combined two paper collections, the ”Nyhavn” and the ”Vintage Summer Basics”. I choose the ”Sitting at the Dock” paper from the ”Nyhavn” collection for my background paper. Then, I added some layers with the ”Eating Out” paper from the same collection and the ”1934” from the ”Vintage Summer Basics”.

First, I gave my background a coat of clear gesso. When it was dried, I added some texture with snowflake paste and a stencil and then I used graphite paste with a second stencil to give more contrast on my page. I also made some stamping here and there. I continued by coloring my page with the sparks ”Mermaid Sparkle” acrylic paint. 

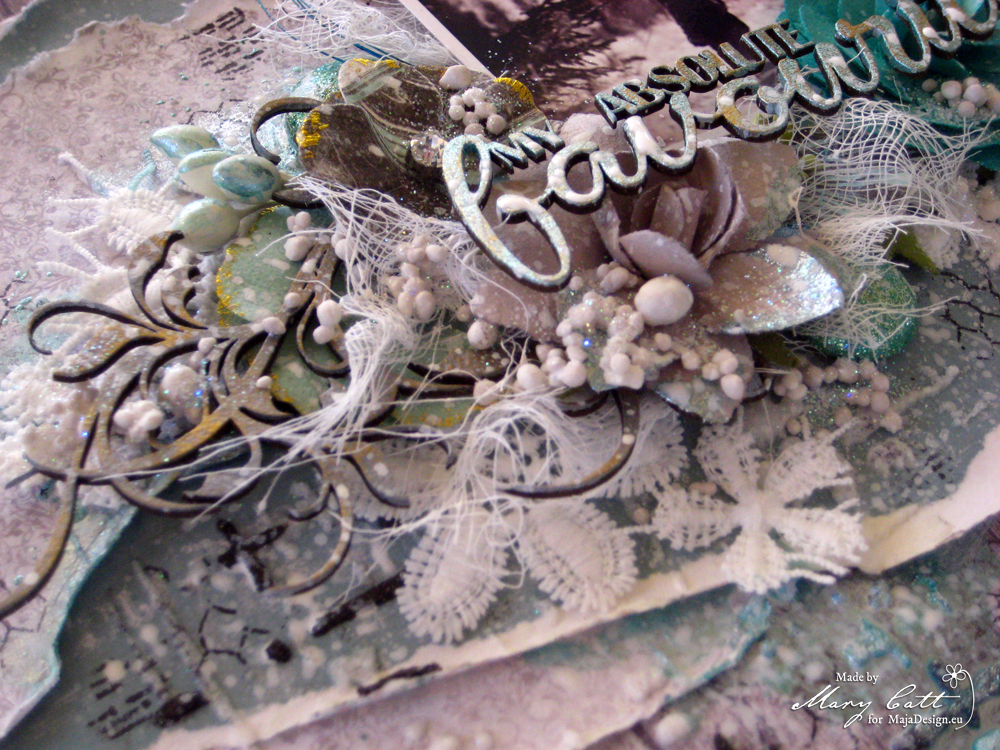
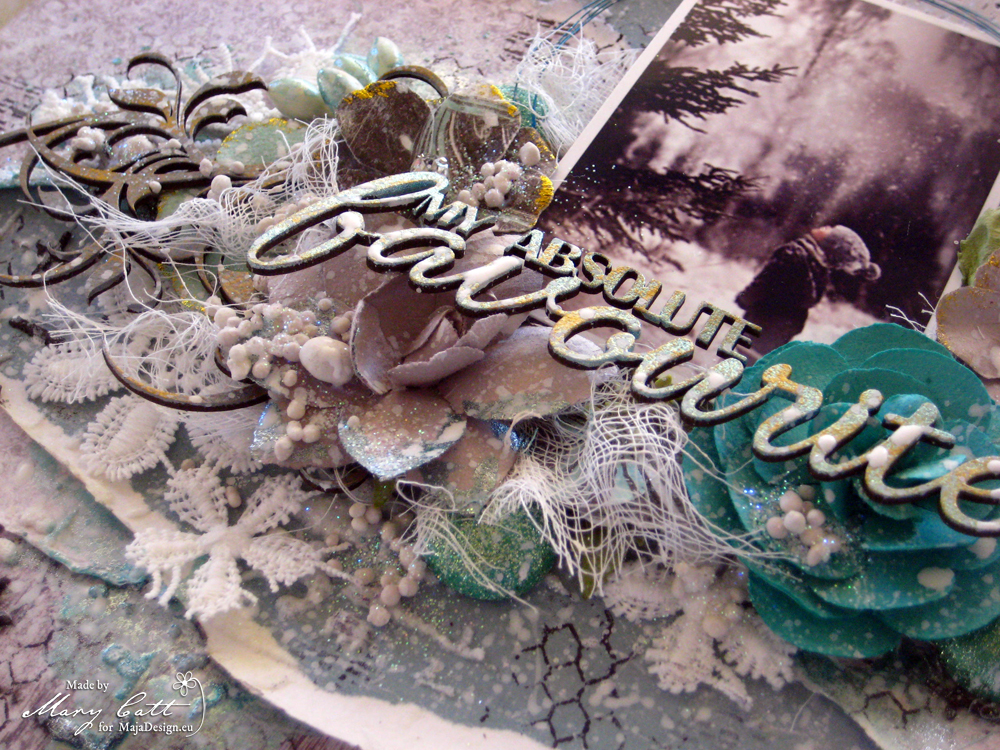
I painted the flourish chipboards with the metallique ”Silver Spoon” acrylic paint and the chipboard title with the sparks ”Mermaid Sparkle” acrylic paint. Then, I gently rubbed them with the ”Vintage Gold” wax. The chipboards I used, are from Dusty Attic.

When everything was glued down, I added some art stones and glitter. I also made some splatters with white gesso diluted with some water.

Papers used:


That’s all for today, my friends!

Thank you for stopping by!


Let It Snow

0

Posted by Lenet Mos

4 January, 2018 - ,

Write a comment

Hello dear Maja Fans,  Lenet  here today.

First of all I want to wish you all a wonderful and creative 2018.

I’m so happy to be a part of this wonderful team and hope I will give you lots of inspiration.

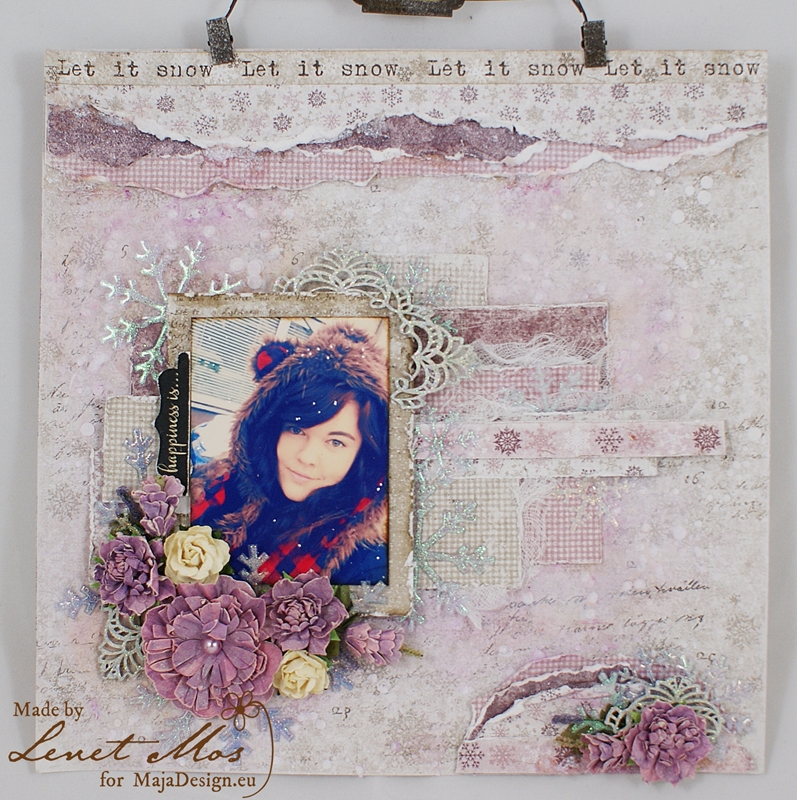
For my first post on this blog I made this layout using the Vintage Frost Basics.

Frost-Basics-P

SONY DSC

Because this picture is taken when we had the first snow this year I decided to give it a real snowy theme.

First thing I did was making a snowy effect on the background paper using embossing paste and the Confetti#2 stencil from dusty attic.

I used a lot of sparkly snowflakes, they  are clear flakes from Maja Road where I put ranger diamondstickles on.

SONY DSC

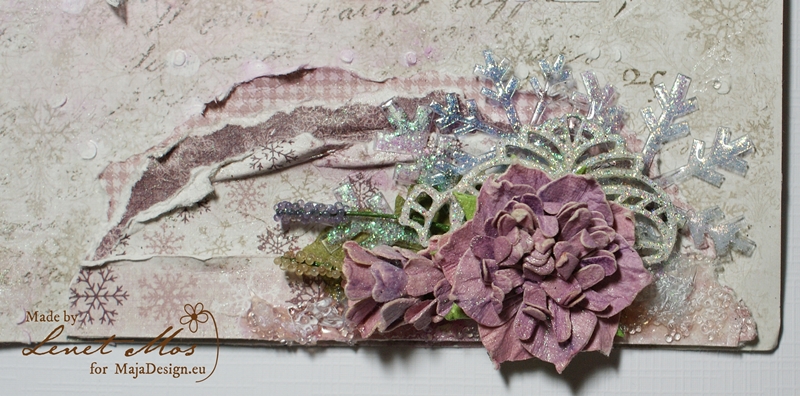
Some of the flakes I cut in pieces and sticked  them behind the flowers instead of leaves.

SONY DSC

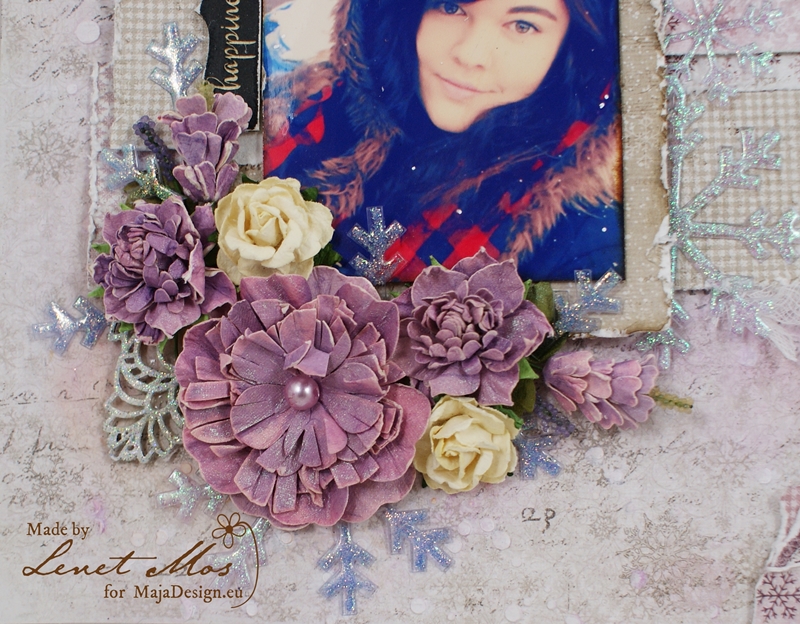
I don’t know the brand of the chipboard frame I used, but I glittered it with a mixture of clear embossing powder and fine glitter , cut it in pieces and glued it at different place on the layout.

The flowers are from 49 market and wild orchid.

Thank you for stopping by , I hope I gave you some inspiration with this layout


Lenet-sign-site

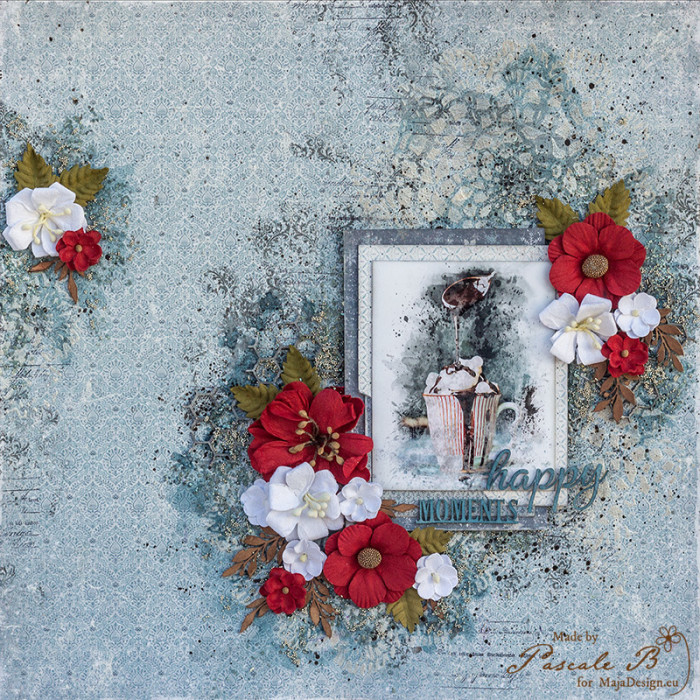
Happy moments

0

Posted by Pascale B

21 December, 2017 - ,

Write a comment

Hello Sweeties

Today I’m up on Maja Design blog with a layout featuring the Joyous Winterdays collection. The weather is a little bit crazy nowadays, cold, windy, … So I was thinking that perhaps a hot chocolate will be a great idea, what do you think?

Happy Moment by Pascale B.

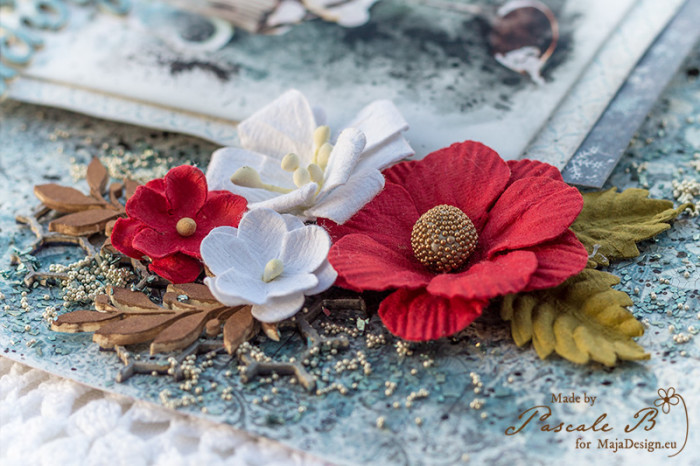
I began to add some random stamping. Next, I primed the background with clear gesso. I find that the stamp images are crispier that way.

Happy Moment by Pascale B.

Next step, I added a design with a stencil and Platinum crackle paste. I love the pearl effect of this paste.

Happy Moment by Pascale B.

While the crackle was drying, I painted the chipboards with different inks and Magical. When the title was dry I embossed it with a clear embossing powder.

Happy Moment by Pascale B.

I added some colors to the background with different shades of blue-gray.

Happy Moment by Pascale B.

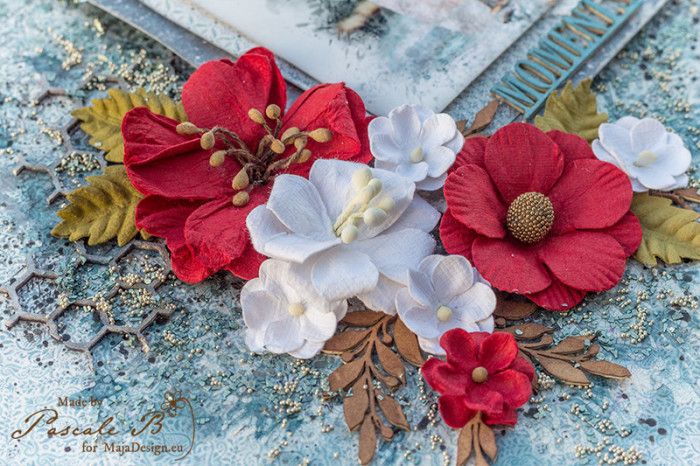
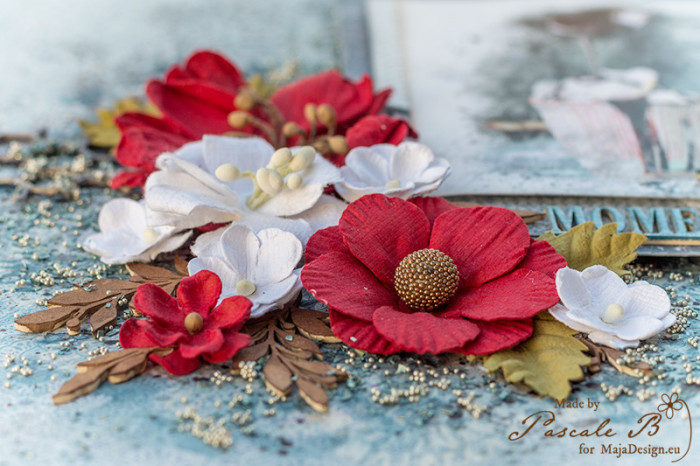
Next, I cut a few papers to add under the photo and glue all the embellishments with a 3D gel.

Happy Moment by Pascale B.

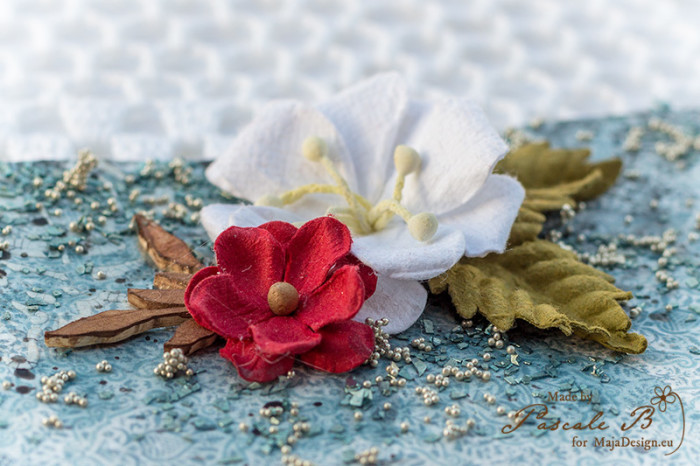
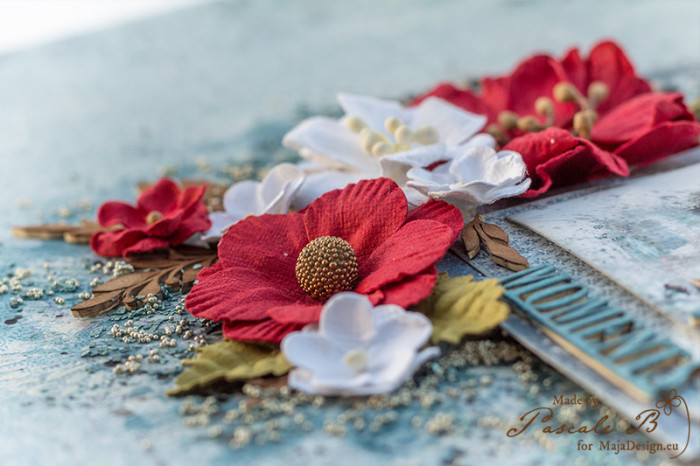
To finish the layout I added some glass glitter and microbeads.

Maja Design products:

Glisten bs
Glisten bs
Snowball fight bs
Snowball Fight
Blizzard
Blizzard
949-Paper-pack-Joyous-Winterdays-w
6×6 pad

Pascale-sign

The Joy of Christmas

0

Posted by Maja Nowak

20 December, 2017 - ,

Write a comment

Good morning, Maja Friends, welcome to the blog today 🙂

Christmas is just a couple of days ahead and I just can’t wait for the celebration to begin, for the Christmas Eve family gathering, carol singing and eating traditional Polish food delicacies (it is a custom to have twelve courses for the Christmas Eve supper and you must at least try a bit of all of them!) And of course, it’s a great occasion for taking family photos to scrapbook later 😉

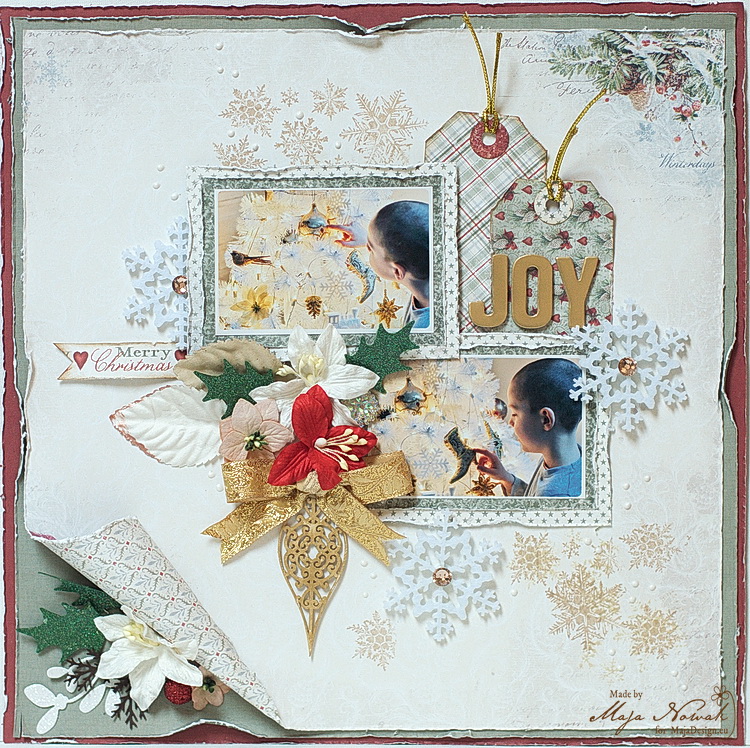
But before I take new pictures I still have some old ones that I used for this last layout and post this year:

mdjoy

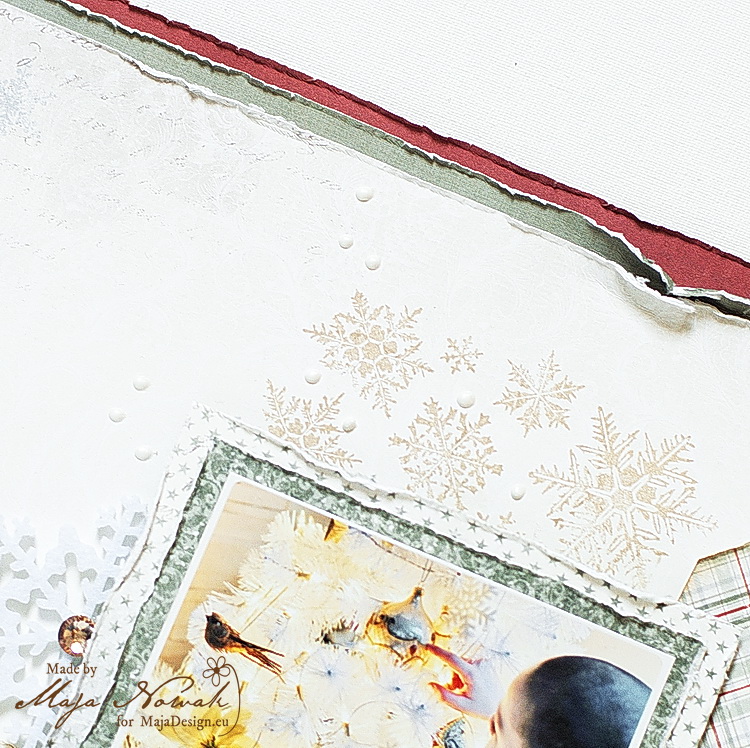
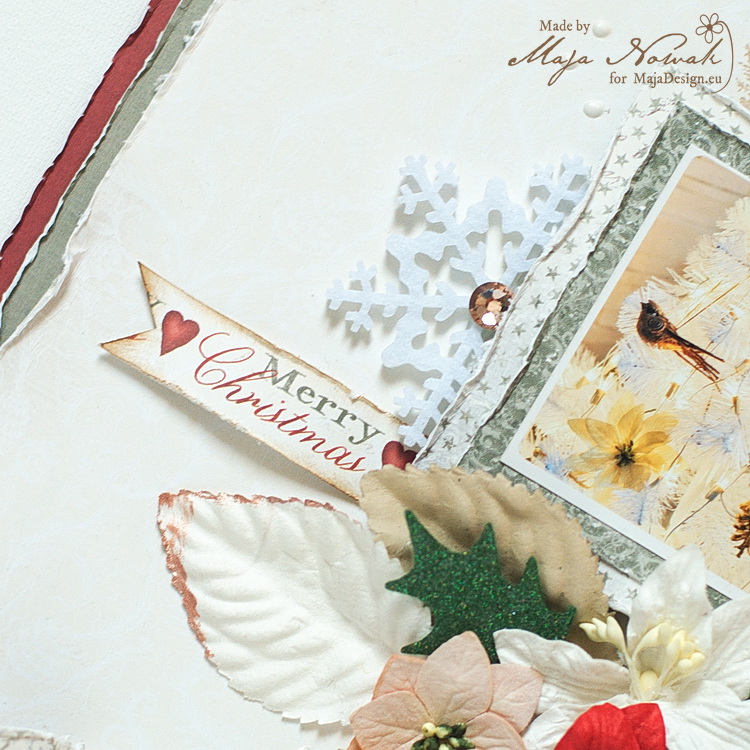
I’m really happy that Maja releases Monochromes for each collection now! They save me a lot of wondering which paper to sacrifice for the background 😉 Here I layered two Monochromes papers under the main background sheet. Then I added some snowflakes stamps:

mdjoy1

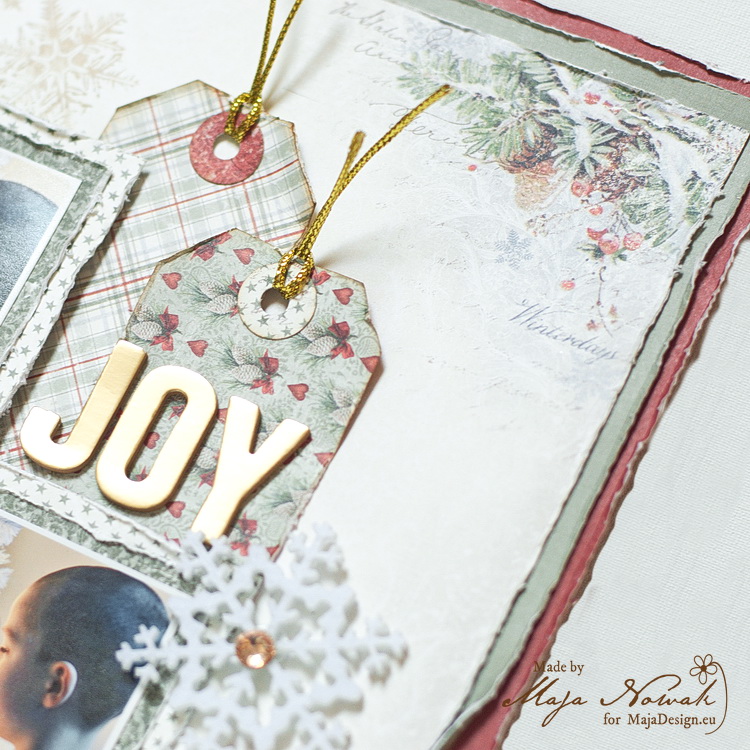
Then I matted the photos with pieces of papers and hand-cut tags and the title using foam gold letter stickers:

mdjoy2

With each sheet, Maja gives you a bonus border on the signature strip. I really love using those snippets 🙂

mdjoy3

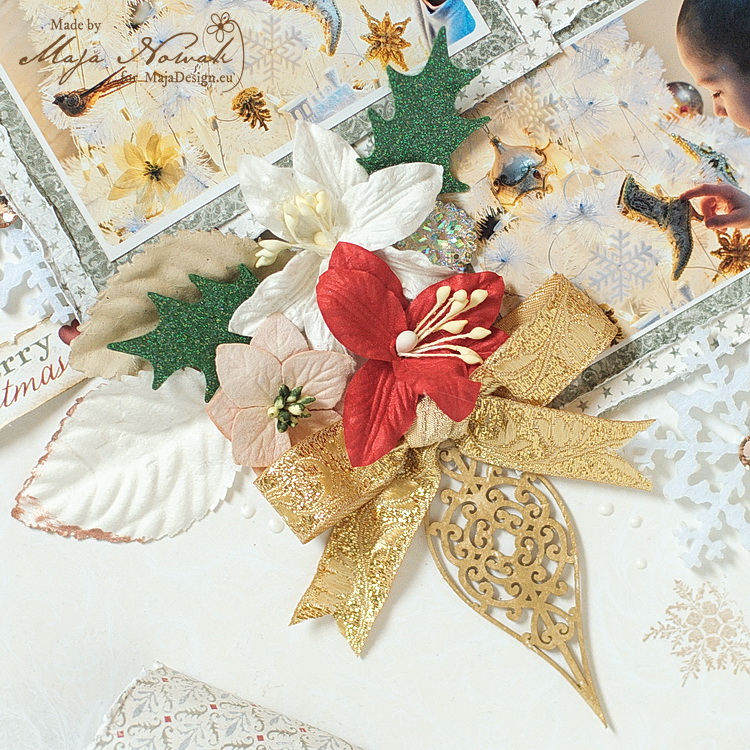
I also added the flower cluster containing mulberry flowers, die-cut leaves, a chipboard bauble, a crystal gem and gold metallic ribbon:

mdjoy4

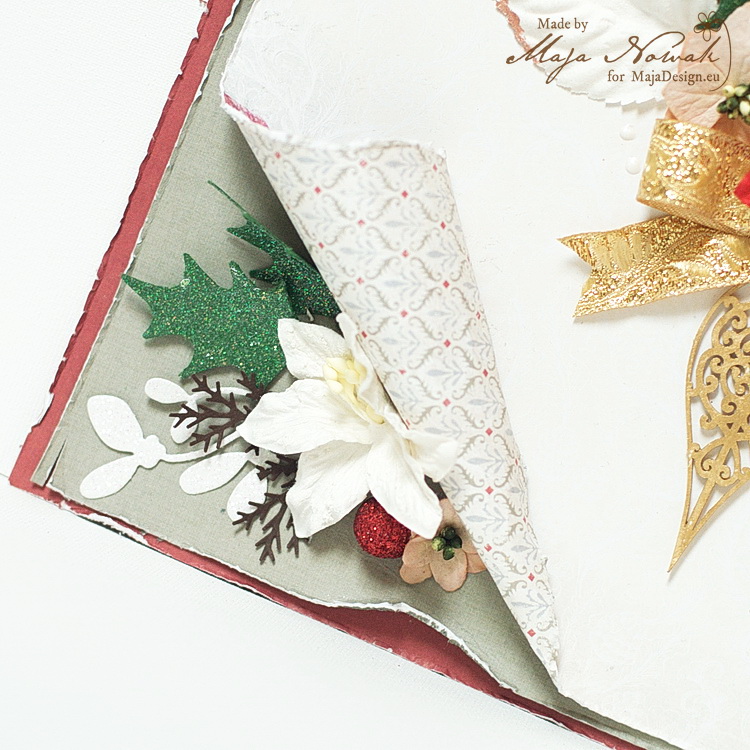
The Playful sheet I chose for my background has a girl image in the bottom left hand corner, which didn’t really match my photos. So I just rolled it over and hid, putting another small flower cluster in between the layers 🙂

mdjoy5

Here’s what I used for my layout:

Maja Design papers:

Other: flowers: Petaloo, Wild Orchid Crafts; dies: Magnolia, Sizzix, Craft&You Design; punch: Woodware; stamp: Tim Holtz; chipboard: Scrapiniec; foam letters: American Crafts; felt snowflakes, bling: home&you; ribbon: my stash.


Since this is my last post this year, I’d like to wish you a very merry Christmas, filled with love, peace and joy, and all the best in the New Year!

Maja-sign