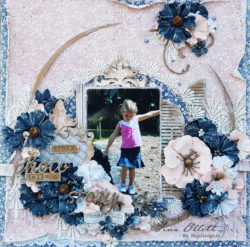
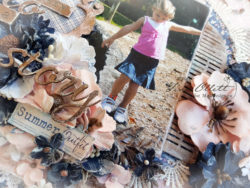
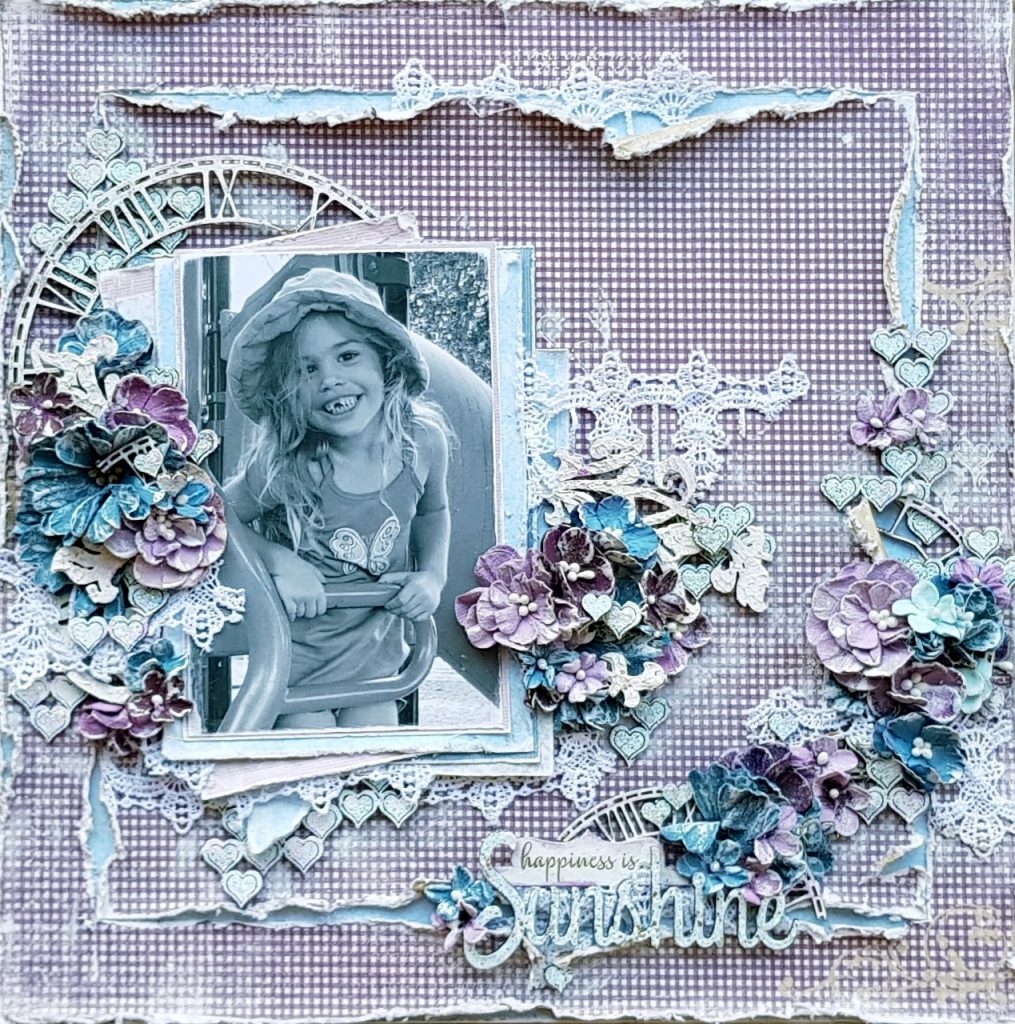
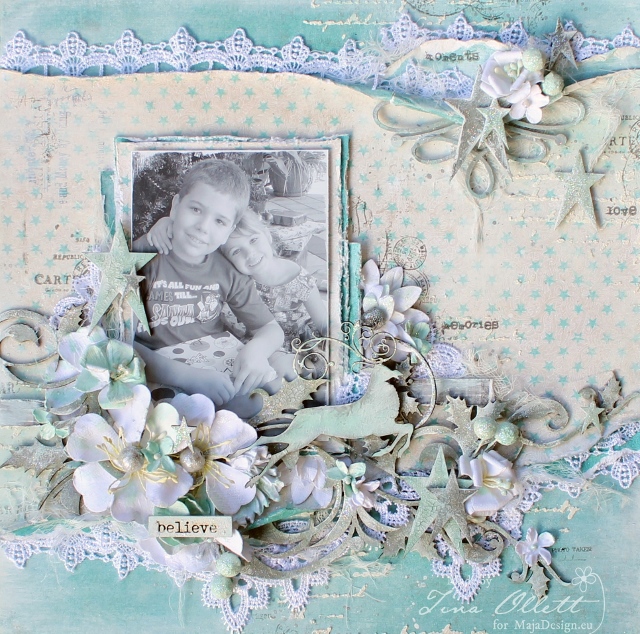
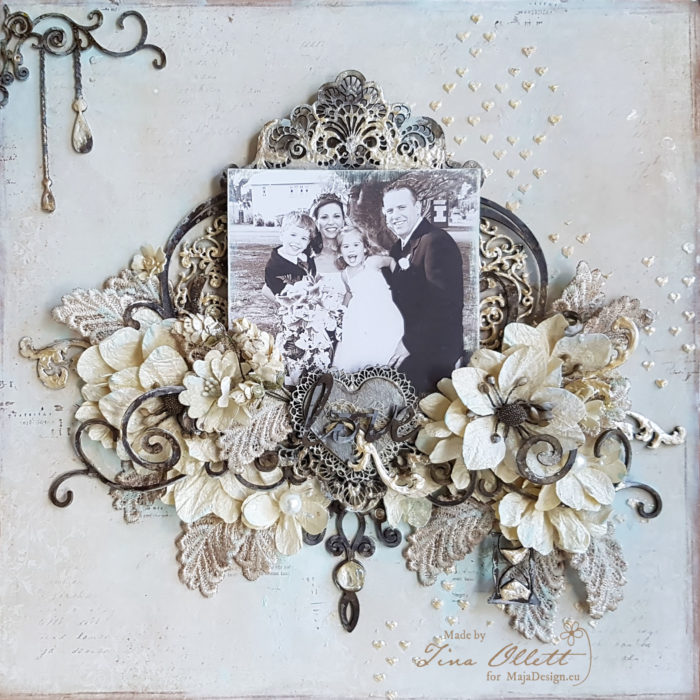
Hello and welcome Maja Design friends. It has been a little while since I last was here. But I am back finally today to share with you my newest creation called “Let your smile change the world”. I thought this title was quite apt for our challenging times at present.
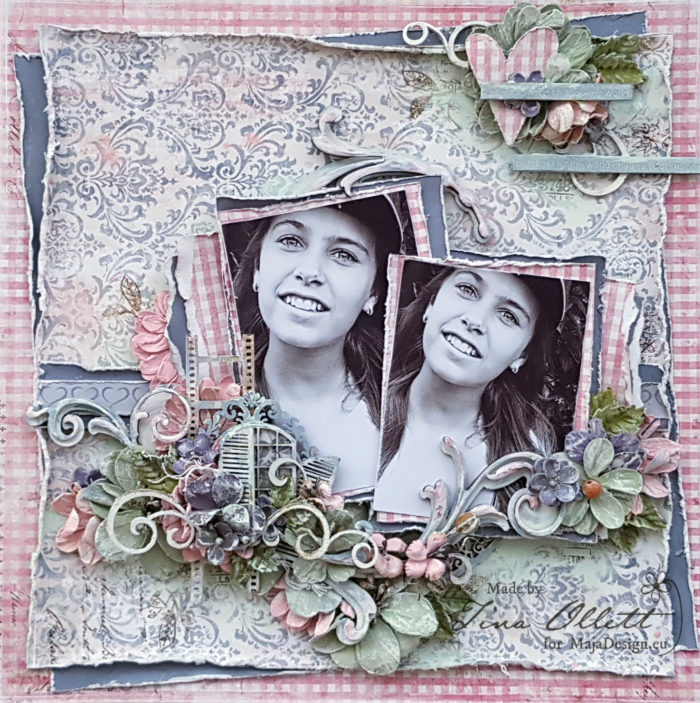
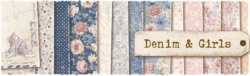
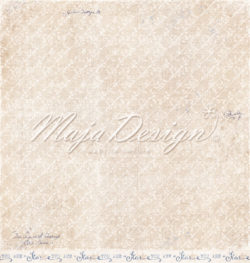
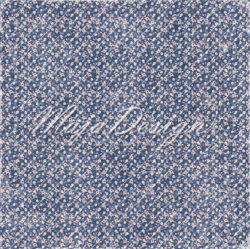
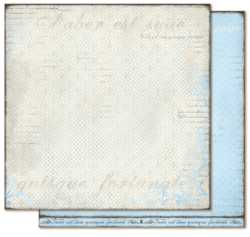
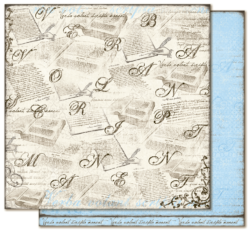
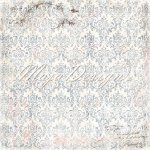
So of course being my first project back after a long break, I was so keen to use the latest release papers from Maja Design which is called “Miles Apart”. Oh how my heart melts every time I look at these papers. They are simply so soft and subtle with that always so special vintage aspect of the Maja Design line of papers.
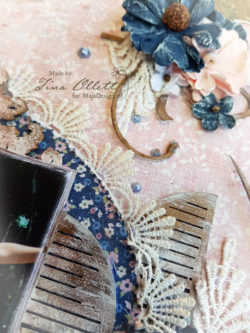
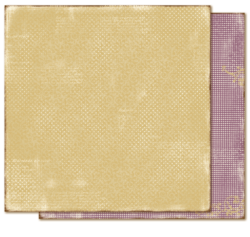
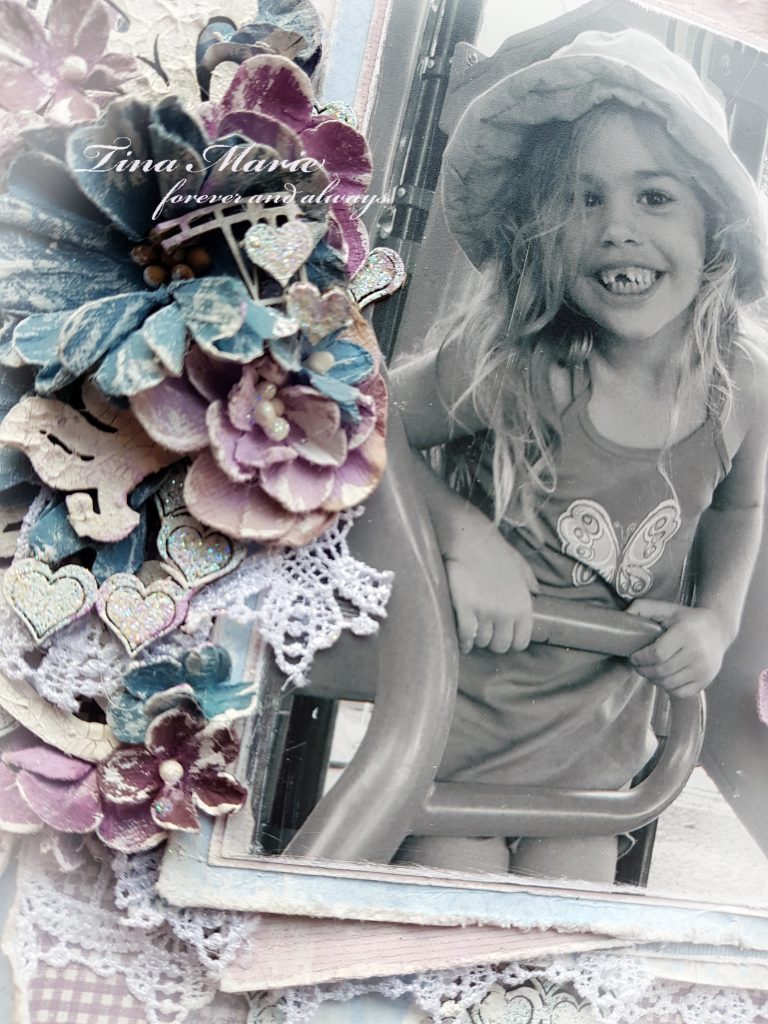
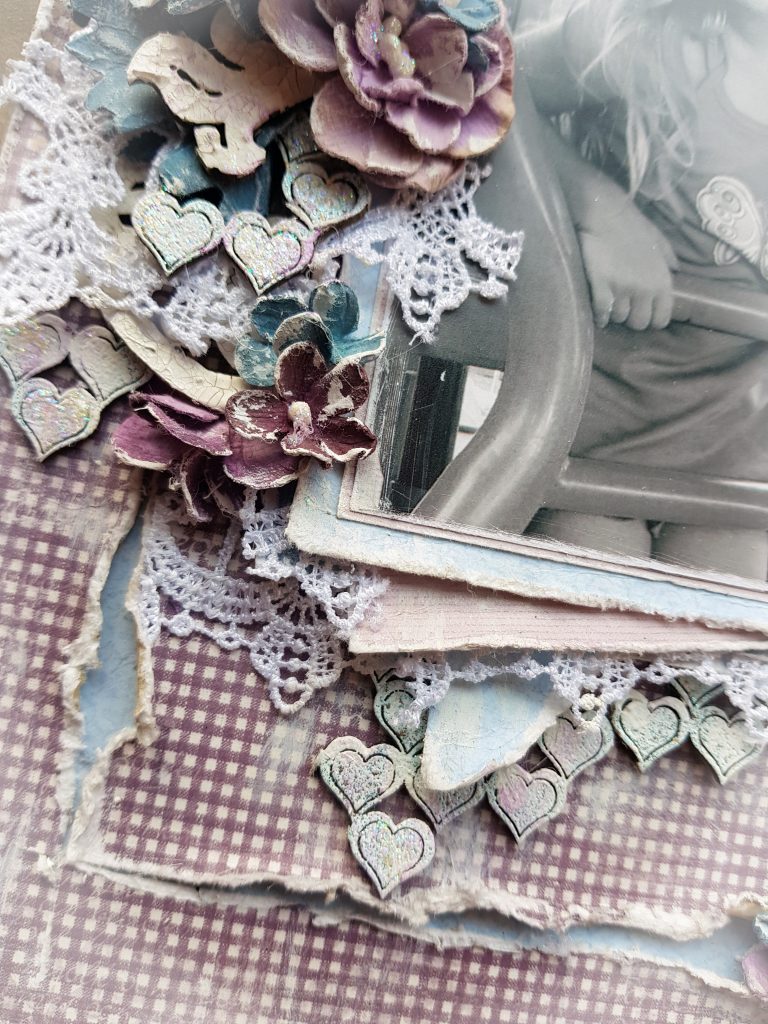
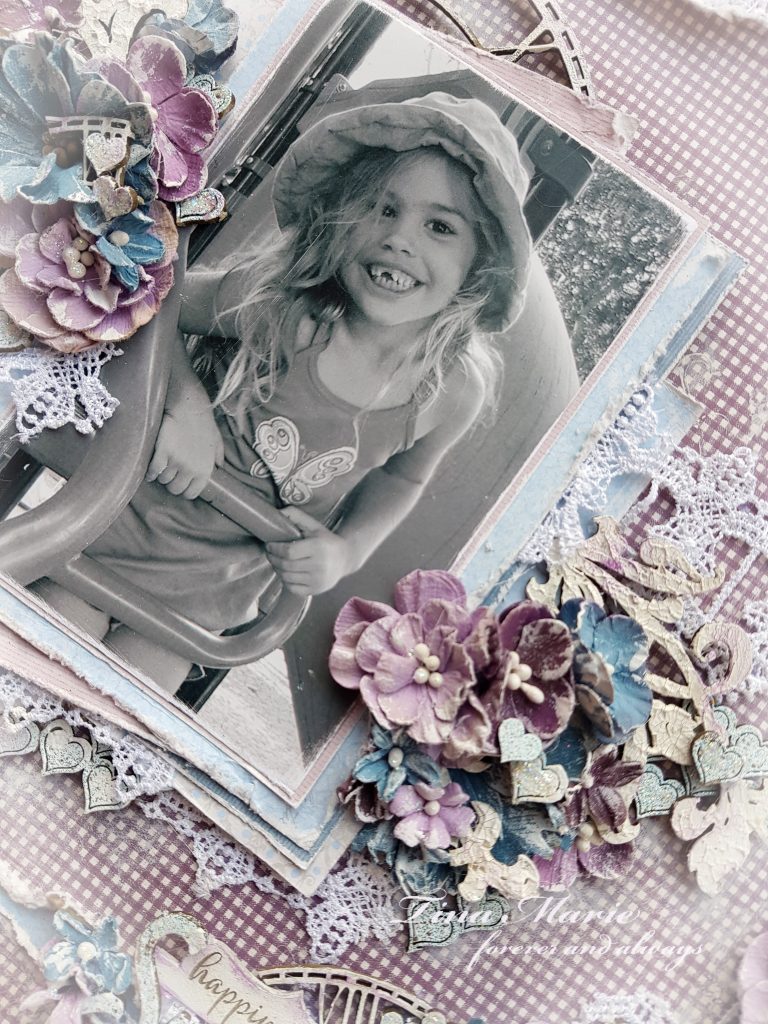
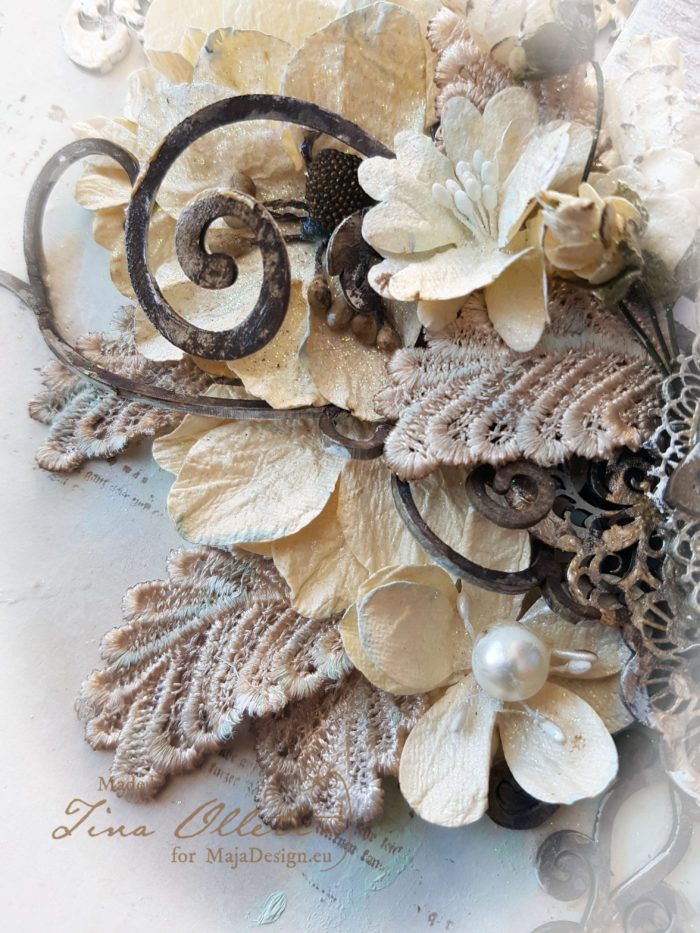
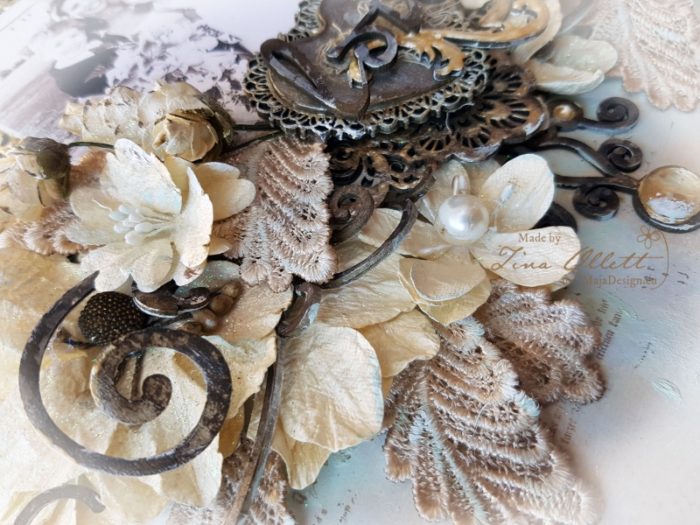
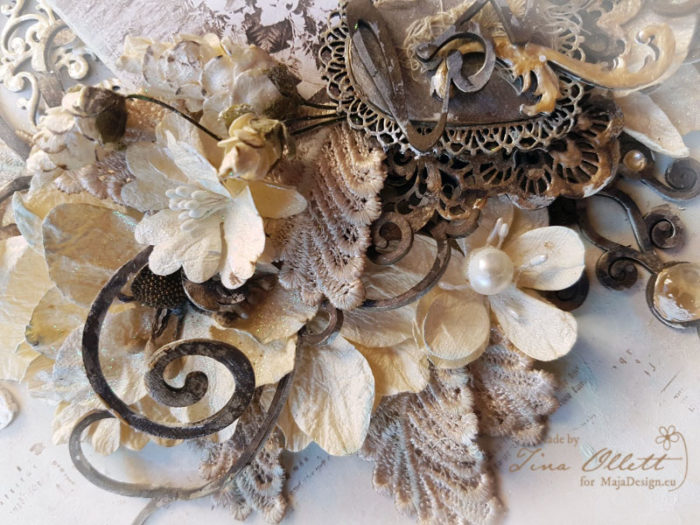
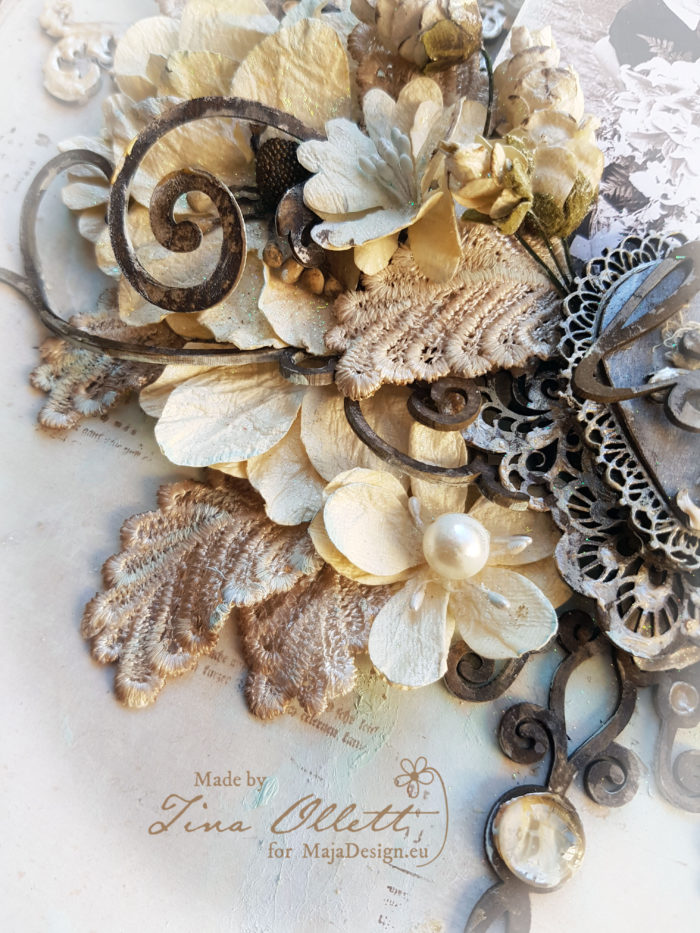
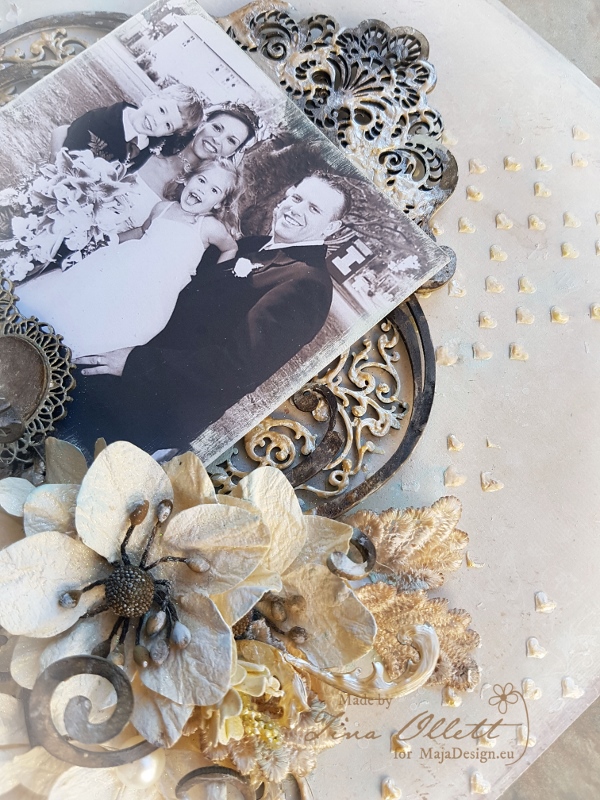
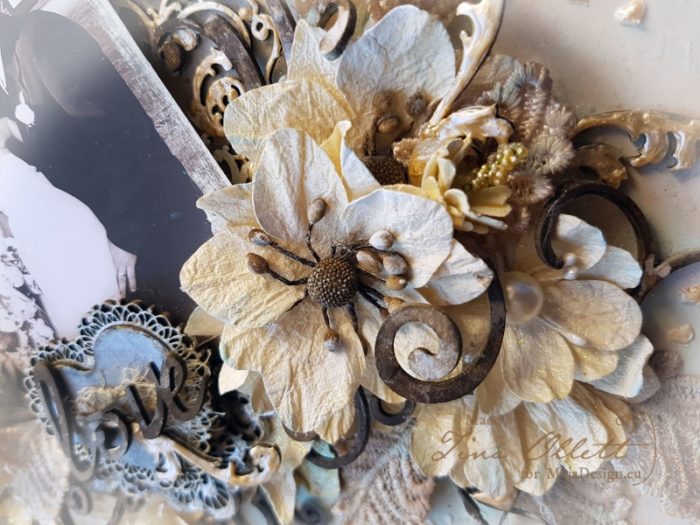
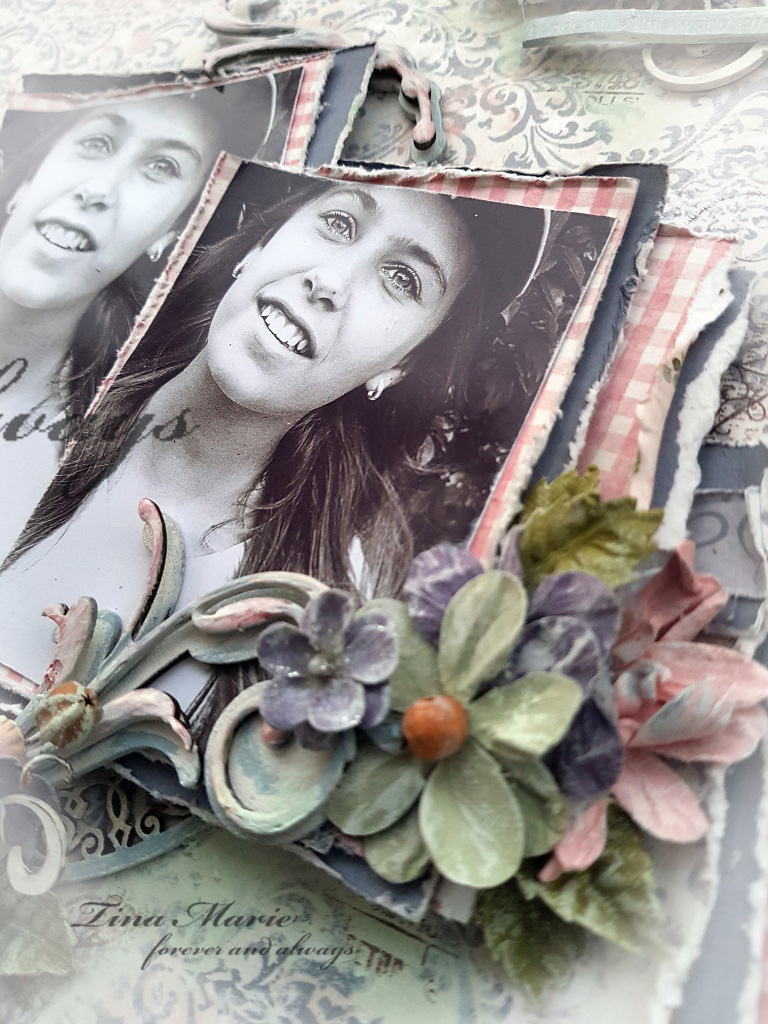
My starting point here was gutting and distressing and then the layering of my papers. I chose the pink from “Distance” to frame the layout and “Stay Home” were used as the centre piece. And then along the way I found the addition of the Aloe from the beautiful 49andMarket Seaside Blooms flowers, helped keeping the project soft and subtle.

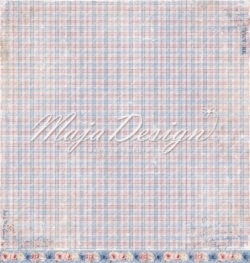
Distance
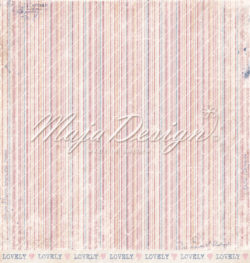
Hopeful

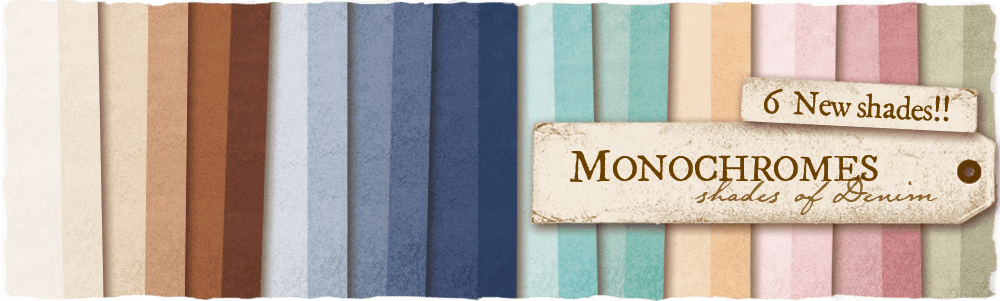
Monochromes – Shades of miles – Steel Blue
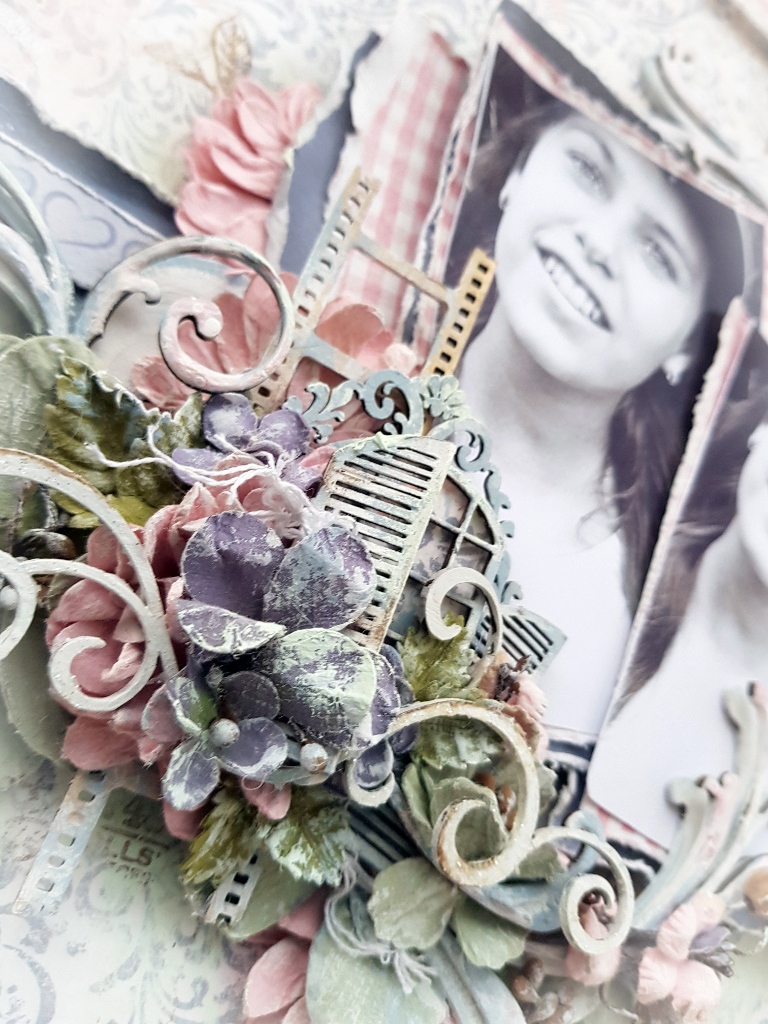
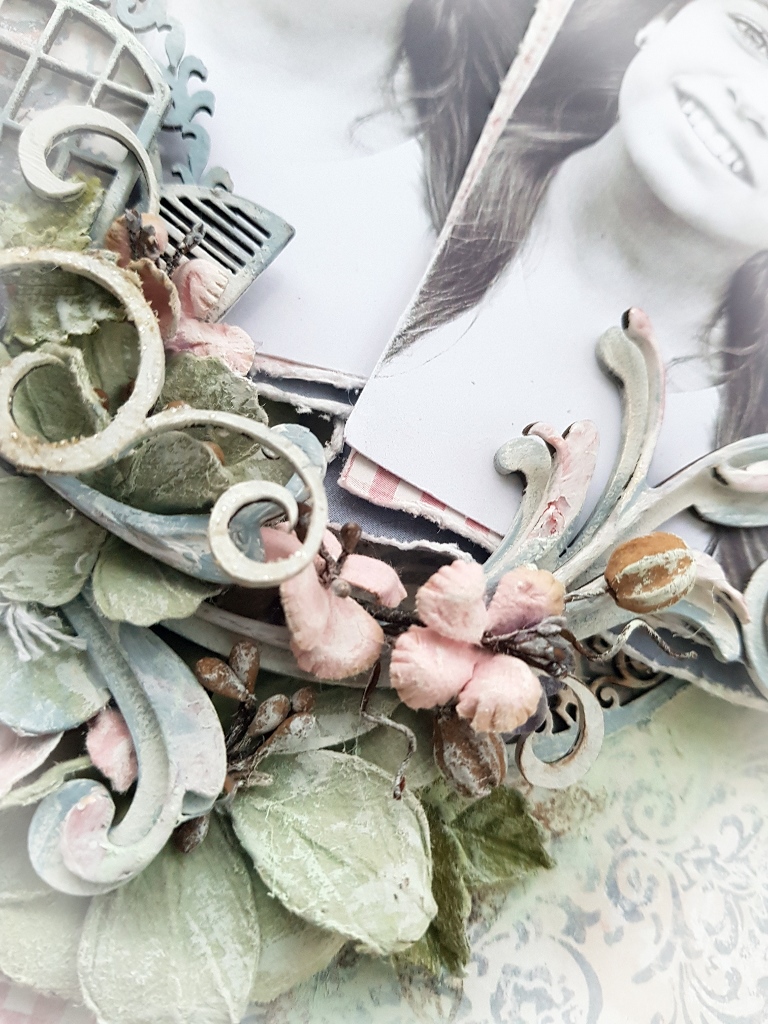
I chose a portrait photo, that I adore of my youngest, and swapped it to black and white and printed them out in differing sizes. I layered these up on torn sections and cut mats of the leftover “Miles Apart” papers. I also cut a heart freehand from the “Distance” leftovers.
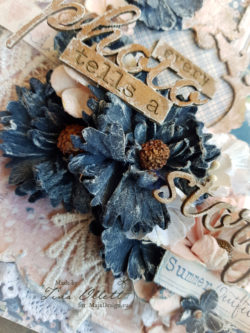
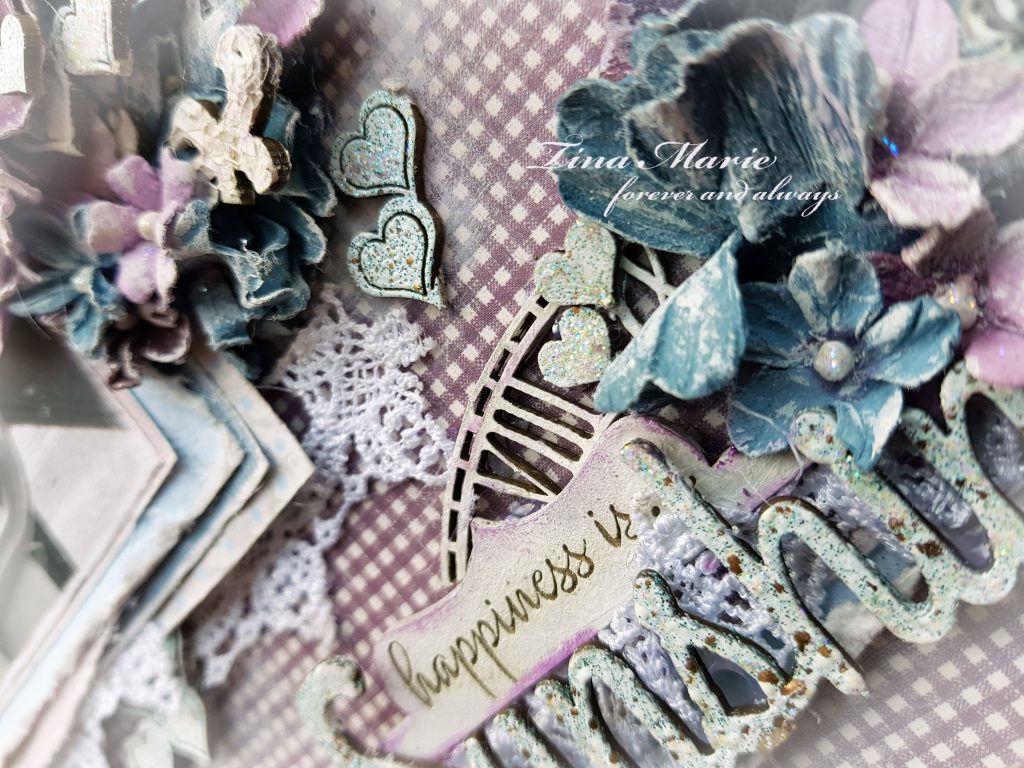
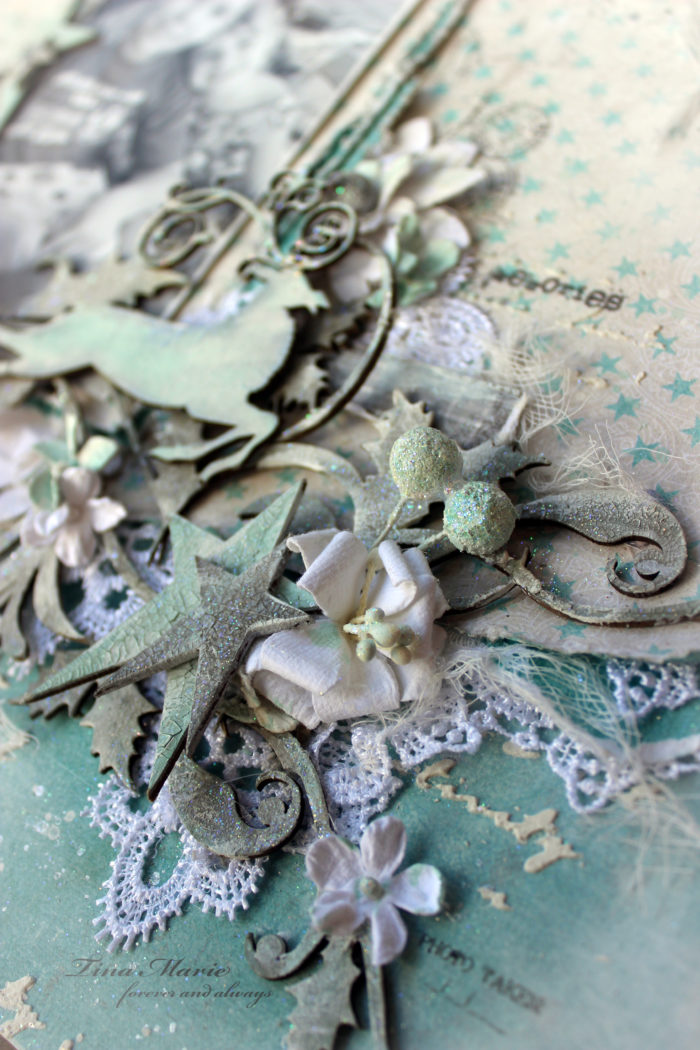
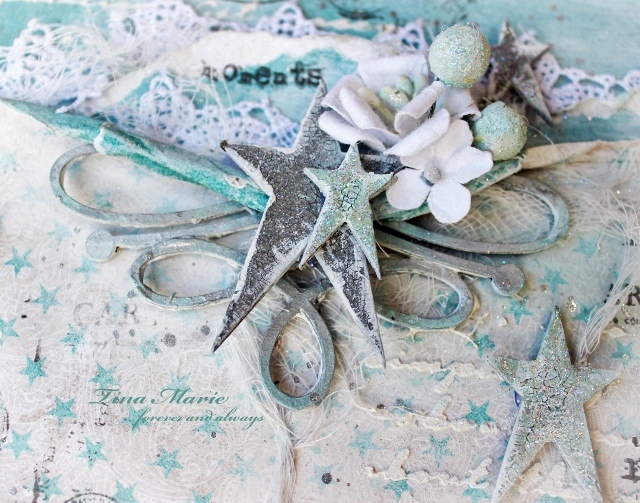
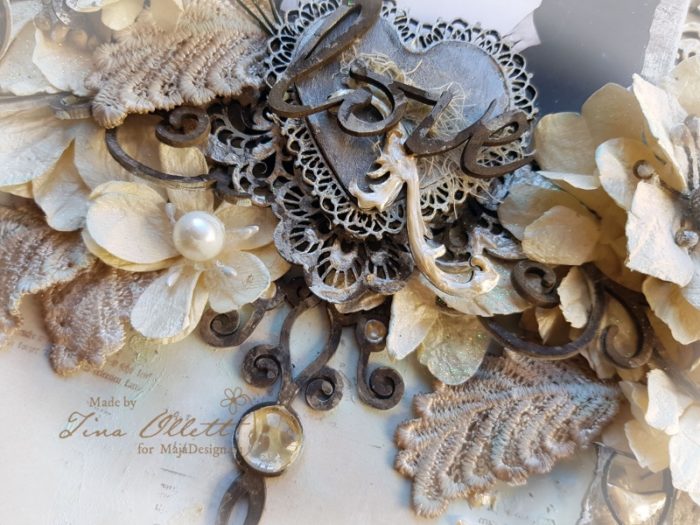
I have used lots of gorgeous Dusty Attic chipboards and 49andMarket flowers to help embellish this project and frame my photos.
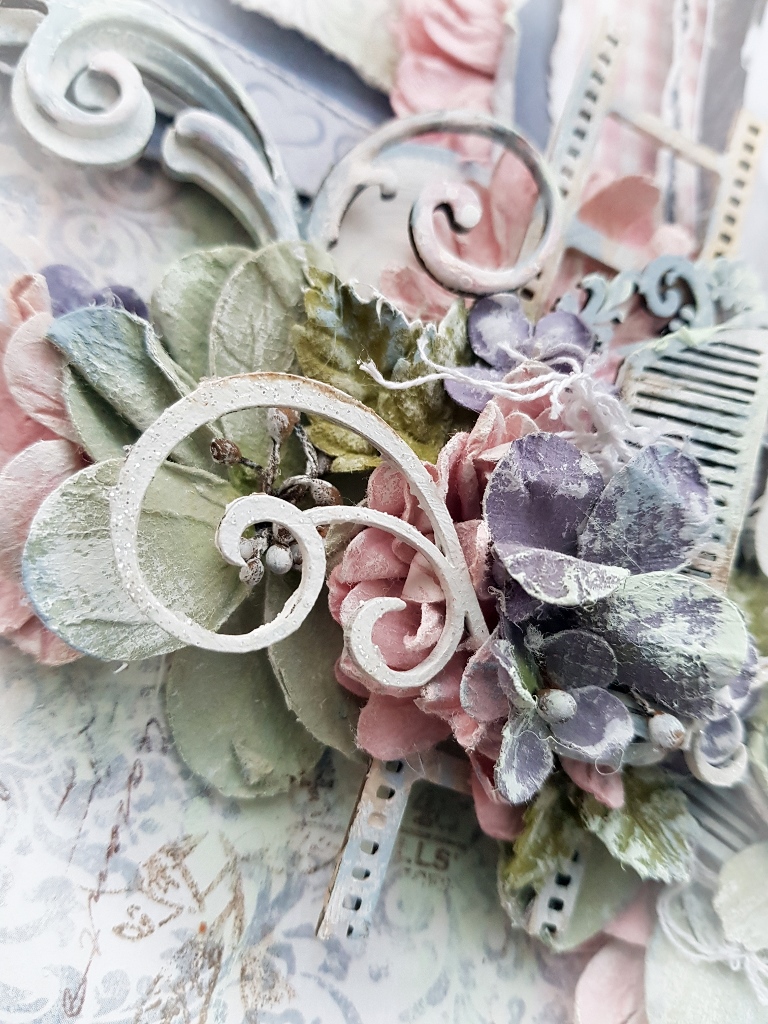
All my chipboard pieces were primed with a Liquitex Clear Gesso. This helps to protect the chipboard from becoming too wet from the medias. I think it also gives your chipboard a truer colour from whatever medium you are adding. They were, once dried, coloured with acrylic paints.
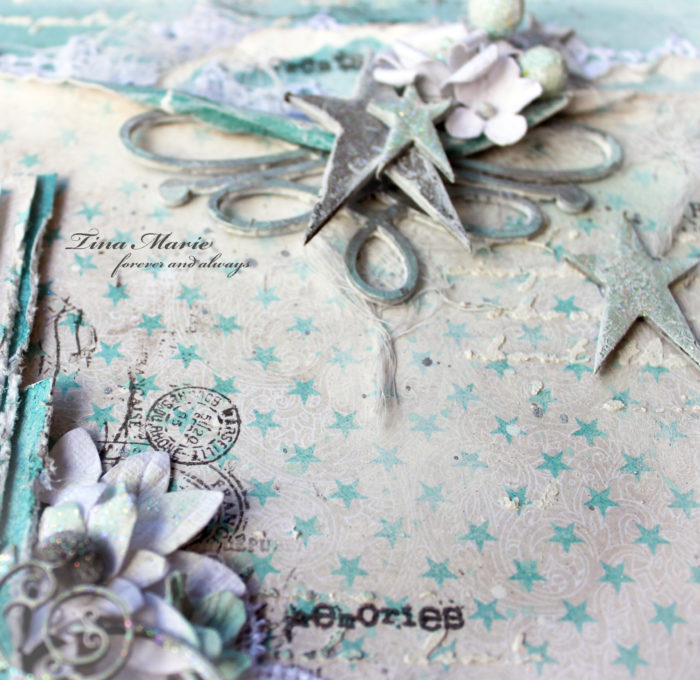
I also added in a little random stamping using Walnut Stain distress ink and a 49andMarket stamp. But really I didn’t need to do too much to this background as it had a lot of detail already there.
And the full Sentimental Quote at the top right of the layout reads :
“Let your smile change the world, but don’t let the world change your smile.”
And that is all from me today.
Until next that I am here, take care and happy crafting.
Hugs

Other Products Used
Dusty Attic Chipboards
49andMarket’s Seaside Blooms Aloe
49andMarket’s Garden Petals Ballet Slipper
49andMarket’s Tickets and Numbers
Distress Ink Walnut Stain
Art Alchemy Acrylic Paint Rose Gold
Ranger Liquid Pearls Blush
Little Birdie Matt Chalk Paint – Whipped Seafoam
Little Birdie Matt Chalk Paint – Rainy Day