“Memories are timeless treasures of the heart” by Tina Ollett

1

Posted by Tina Ollett

20 November, 2018 -

Write a comment

Hello and welcome Maja fans. Tina Ollett with you today to share a project created using the gorgeous collection of Vintage Autumn Basics. I hope you enjoy this layout which I have titled

“Memories are timeless treasures of the heart”.

I decided to go with the colours of the clothes my little girl was wearing in the photo. She had camoflague shorts on so the greens in this were quite dark. To highlight this green I decided to lighten the papers by distressing and sanding all of the layers that I used for this project. I have listed the papers that I have used to do this project below.

No IV

no.VII BS

No. X bs

No. V

The addition of Dusty Attic chipboards were added in to help frame the photo. And adding this to the photo prompted me to wrap some garden vines and frames around the chipboards.

I have added in some moss and art stones. Here you can see the lovely distressed layers.

 I have also made some resin moulds of the bird and Window and Shutters. They are so cute. The bird above and the windows and shutters below.

Some more close-ups for you.


Thanks for popping by today. I will see you back here next month. Until then take care and happy scrapping.


“Adore” by Tina Ollett

1

Posted by Tina Ollett

9 May, 2017 - , ,

Write a comment

Hello and welcome Maja followers!

Tina Ollett with you here today to share my next Design Team creation. Last time I was here I shared something a little rustic /country, so this time around I have decided on something Shabby Chic to showcase this gorgeous photo of my two girls. And what better collections to use to create this with, but the ever gorgeous

Vintage Spring Basics and the Vintage Summer Basics.

Vintage-Spring-Basics-P

Vintage-Summer-Basics-P

Just perfect to create that pretty shabby page.

This I have titled “Adore”………

2017-05-08 Adore 010 (1024x1022)

 I used the Vintage Spring Basics 7th of May as my background page but I firstly cut a photo mat from the centre to save on paper. I then layered torn Vintage Summer Basics 1922 and the Vintage Springs Basics 4th of May over this. When creating shabby layouts I like to leave large areas of the white paper core to give it an complete border and it also saves on sanding or inking.

2017-05-08 Adore 007 (768x1024)

Here you can see the layered torn papers and above that the photo mats with distressed and sanded edges.

2017-05-08 Adore 008 (768x1024)

I have layered over the top of the background page two sections of lace. I have run a piece of seam binding through the top piece of the lace and I tied it in a bow at the right side of the photo where it hangs to hold the chipboard title “Adore”. This chipboard piece was simply dressed in gesso and Liquid Pearls was swiped across and around the edges to highlight the titled.

2017-05-08 Adore 026 (768x1024)

I love to create flower clusters, and this one was no exception. I used leftovers from many of my flower baskets that sit under my desk. They were all whitewashed with gesso to keep in with the shabby chic design. To complete the layout I added in some Kaisercraft paper leaves, a Dusty Attic frame which was dressed in Platinum Liquid Pearls and cut into several pieces and also a little cheesecloth.

Well that is all from me today. I hope you have enjoyed popping by. Until next time, take care and happy crafting.

Tina-sign

“She loves in Colour” by Tina Ollett

1

Posted by Tina Ollett

25 April, 2017 - ,

Write a comment

Hello again everyone! Tina Ollett with you again today to share my next Maja project with you.
Today I have something much more different than I would normally do as a project for Maja. Whenever I look at my collections of Maja I see Vintage, Shabby, Shabby Chic. But never have I considered something country rustic! Well that is exactly what I have created for you today. This all come about when I come across my other Design Team project Moodboard at Dusty Attic. Of course by now you would all know that each and every project I create has an element or should I say a lot of elements of chipboards. Well anyway their moodboard this month motivated me to go in search for that perfect paper collection that could combine all this and more.

Walking-in-the-forest-P

Walking in the forest was the most perfect fit for my project today. All the rustic colours of the countryside!  You will see that choosing the papers for me was the hardest decision of all in the video that I made for this project today. If you keep scrolling through my blogpost you will find the link.

I have titled this project ……….“She loves in colour”…………

2017-04-25 2017-04-25 001 003 (1024x1020)

My photo of choice for today’s project was one taken late last year of my eldest daughter with a friend that we would see on my girls’ afternoon Violin tuition lessons. This friendly beauty lives in the paddock of the house that I would park at. And on most afternoons it would walk to my car just to check and see who it was! I was able to capture this gorgeous photo of both these beauties on one of our afternoon visits.

2017-04-25 She loves in Colour 012 (768x1024)

For this layout I have used my Maja Design papers in my layering with lots of blooms, chipboards and elements cut from the Die Cut sheet.

2017-04-25 She loves in Colour 013 (768x1024)

And from a different view.

2017-04-25 She loves in Colour 014 (1024x768)

You can see above that I have used a chipboard quote. My title for this layout was taken from the quote. It reads:

She see in black and white, thinks in greys but loves in colour…..

2017-04-25 She loves in Colour 020 (768x1024)

And the flowers are all from the 49andMarket series of Rustic Blooms. These were co-ordinated with some Dusty Attic chipboards that were coloured with differing mediums from Distress Inks to Rusting Powders and Crackle. If you follow the link below you will see how these were all dressed in the video.

2017-04-25 She loves in Colour 022 (768x1024)

This chippie was simply dressed with a little Liquid Pearls.

2017-04-25 She loves in Colour 023 (768x1024)

You can see above the layering of these gorgeous papers from Maja Designs. The die cut sheets are a fabulous idea to add that touch of difference to any layout. The journal cards I used from the Die Cut sheet were cut into mutiple pieces to make them go further. All the layers of patterned papers were sanded, distressed and randomly inked.

2017-04-25 She loves in Colour 025 (768x1024)

Again you can see the layering along with the added embellishments.

2017-04-25 She loves in Colour 028 (768x1024)

This little cute guy above was fussy cut from the Die Cut sheet. He is just too cute to leave out, don’t you think?

For my layout I have used the following papers from

Walking in the Forest :

The colours of fall ( a and b)

Die Cut Letters bs

and

Die Cut Sheet (a and b sides)

Well that is all from me today. I do hope you enjoyed your visit here! As I mentioned I have made a video to go with my post here. Just click on the link below to take you to it! Enjoy!!

Until next time happy crafting and take care.

Tina-sign

“Heartfelt Love” by Tina Ollett

2

Posted by Tina Ollett

11 April, 2017 - ,

Write a comment

Welcome dear Maja friends. I hope this blog post finds you all well and happy. Today I am here to share a very simple card I created using the ever so versatile Sofiero collection. I have fallen madly and deeply in love with the softness of this paper collection.

2017-04-11 Heartfelt Love 012 (1024x768)

I kept this card very simple, as much as it didn’t feel right ……..it also did. Crazy I know but I had piles of flowers sitting around the card and adding flowers just distracted from the simple elegance of it.

Sofiero-L


I have used the 6 x 6 pack perfect for cardmaking. Enjoying the fragrance was used as the background and I layered another strip of it along with Strolling down the path, with a little lace. See simple!

2017-04-11 Heartfelt Love 008 (768x1024)

I used some Dusty Attic Chipboards along with a metal swallow embellishment to help decorate the card. The elegant scroll was dressed with liquid pearls and the cute Cameo Ribbon was coated with Gesso. I then cut an oval shape from the Royal Summer Residence to help it pop a little. I then highlighted them a little more with a little Star Dust Stickles.

2017-04-11 Heartfelt Love 007 (768x1024)

I tucked in a little muslin and then added in some sweet tiny little micro beads.

2017-04-11 Heartfelt Love 006 (768x1024) (768x1024)

The little swallow I think just completed this little project. It was primed with a little gesso and then I sprinkled over a little colour of Pale Pink Mica Powder. And finally I have topped the embellishment cluster with the word strip “Heartfelt Love”.

Well that is all from me today. I hope I have inspired you to pull out your Maja Papers and create something small and simple, but very very elegant.

Until next time take care my friends and happy scrapping. xxx

Tina-sign


“Love you to the moon and back” by Tina Ollett

2

Posted by Tina Ollett

28 March, 2017 - , ,

Write a comment

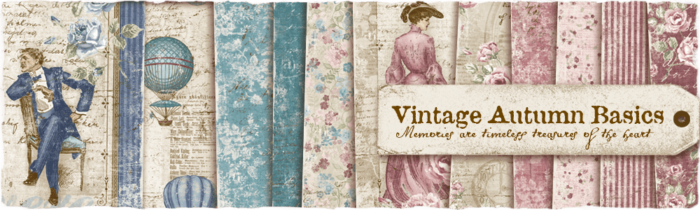
A big big welcome back to the home of Maja Design.  Today I have for you my next Maja Design Team creation.

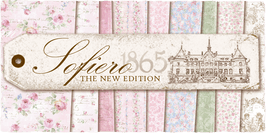
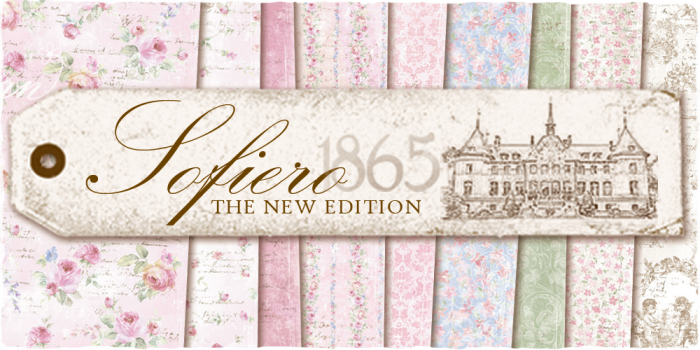
It was so exciting to hear that “Soferio” an old favourite was being reprinted into a new edition with an additional Die Cut Sheet and Monochromes.

 Can’t wait to share with you my next creation but until then I present to you

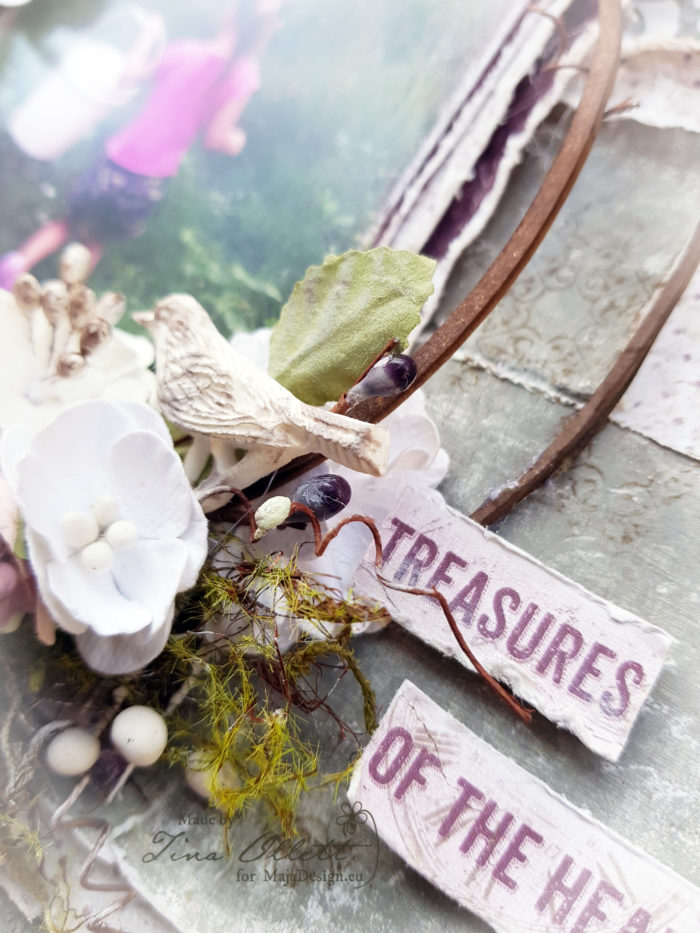
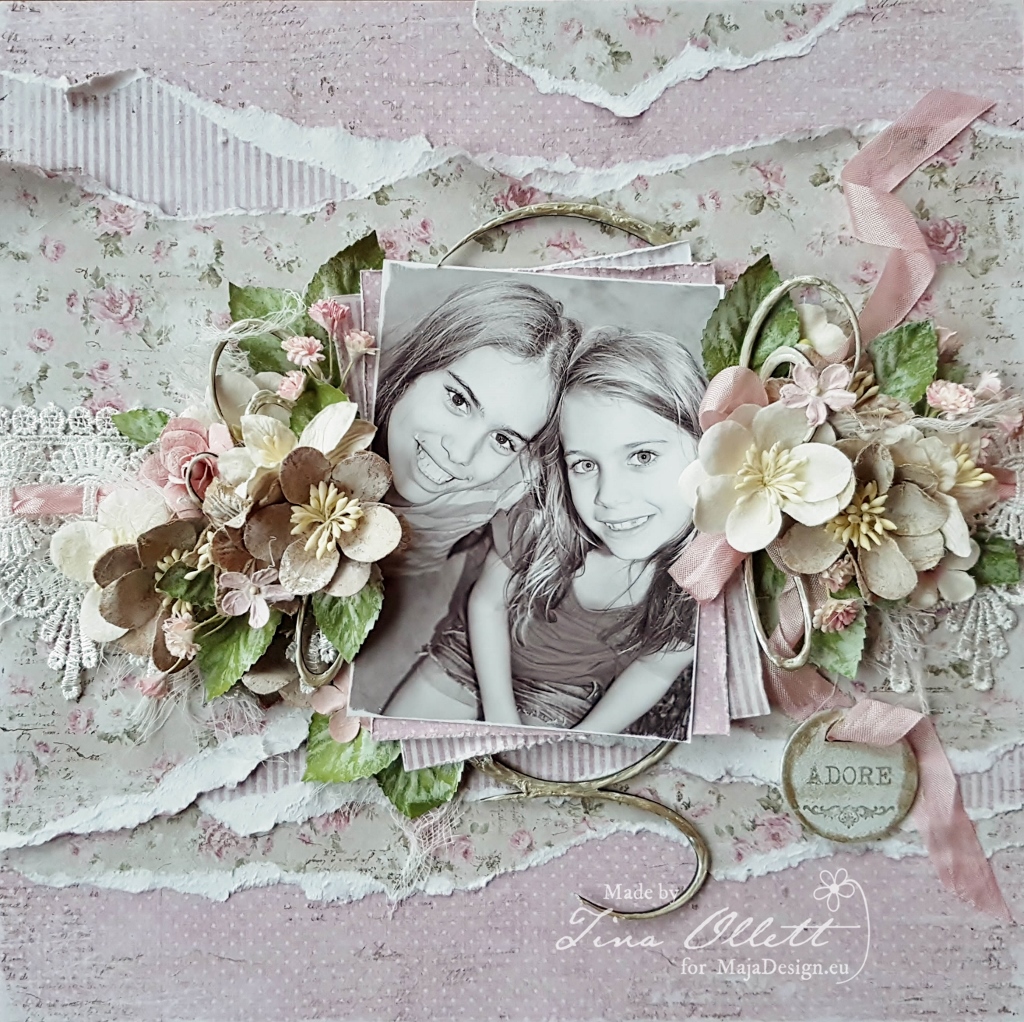
“Love you to the moon and back”……..

2017-03-28 Love you to the moon and back 023 (1020x1024)

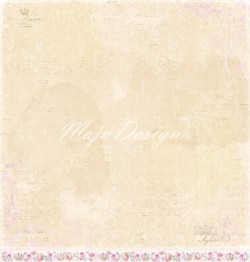
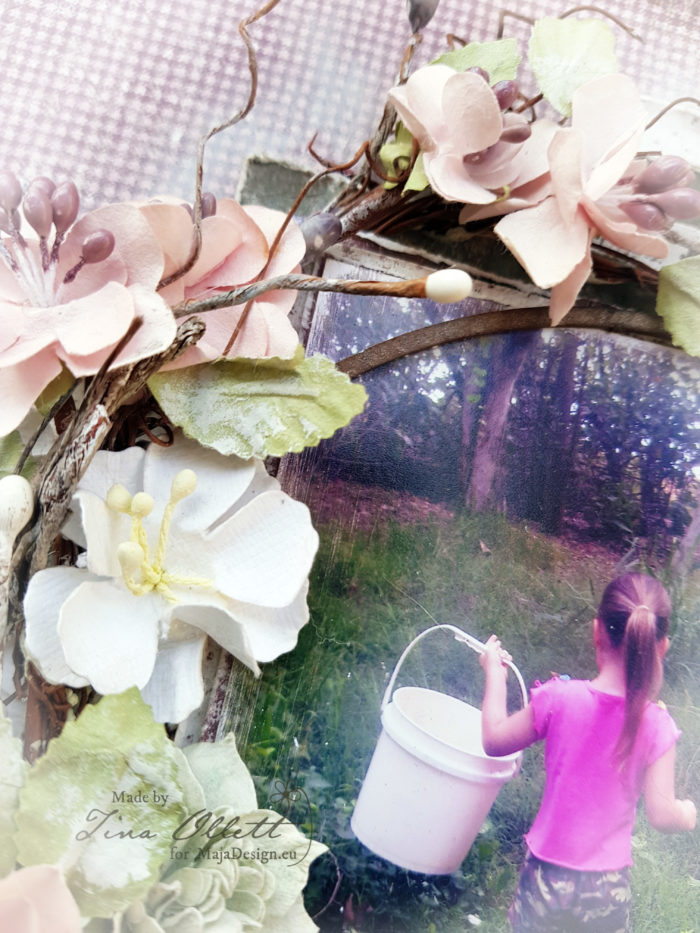
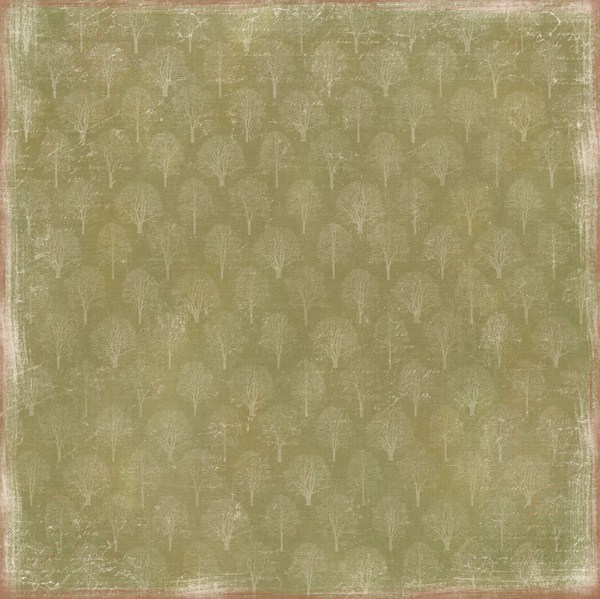
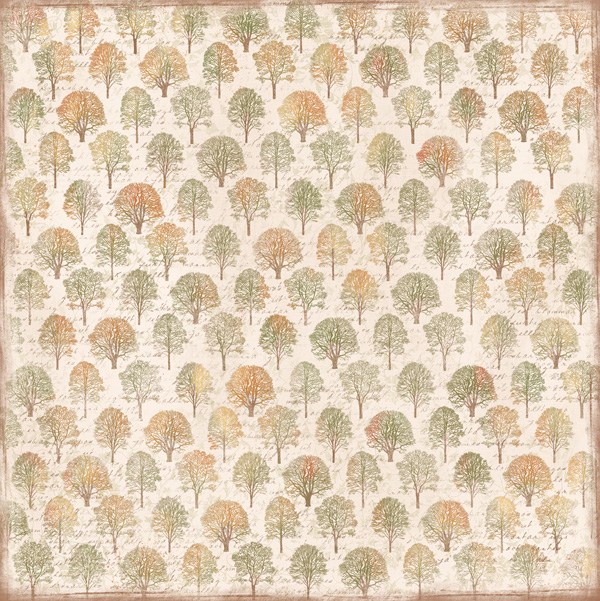
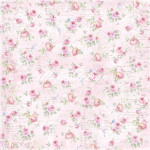
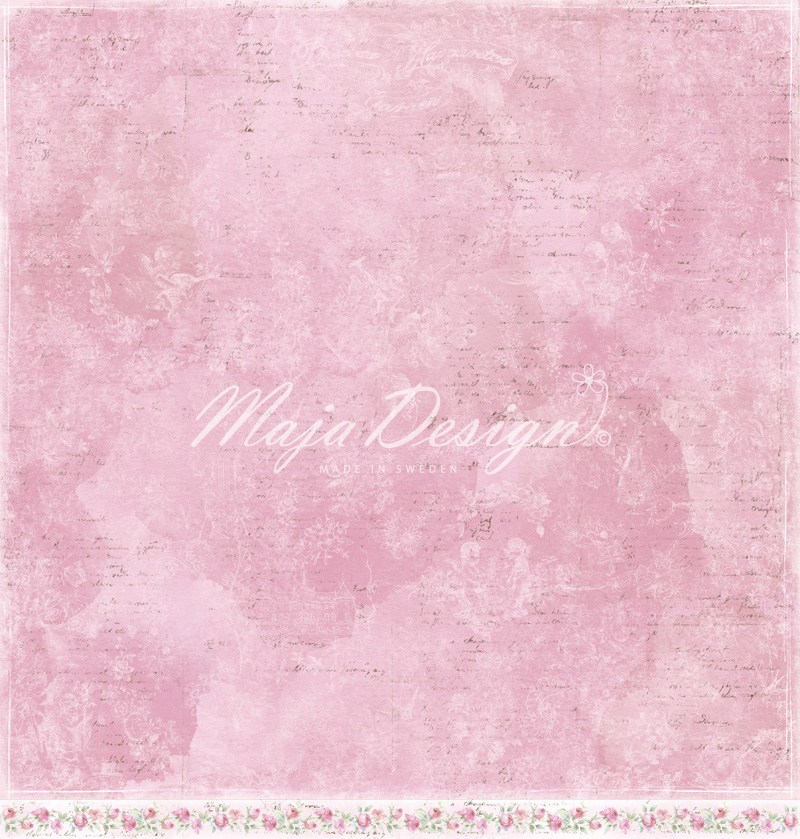
 As soon as I saw this first sheet of the collection called Strolling down the rose path, I instantly knew that this was where I would start. I teamed it with “Enjoying the fragrance” to create this lolly coloured layout of my gorgeous girl.

Sofiero Collection

Strolling down the rose path bs

Strolling down the Rose path bs

Enjoying the fragrance bs

Enjoying the fragrance bs

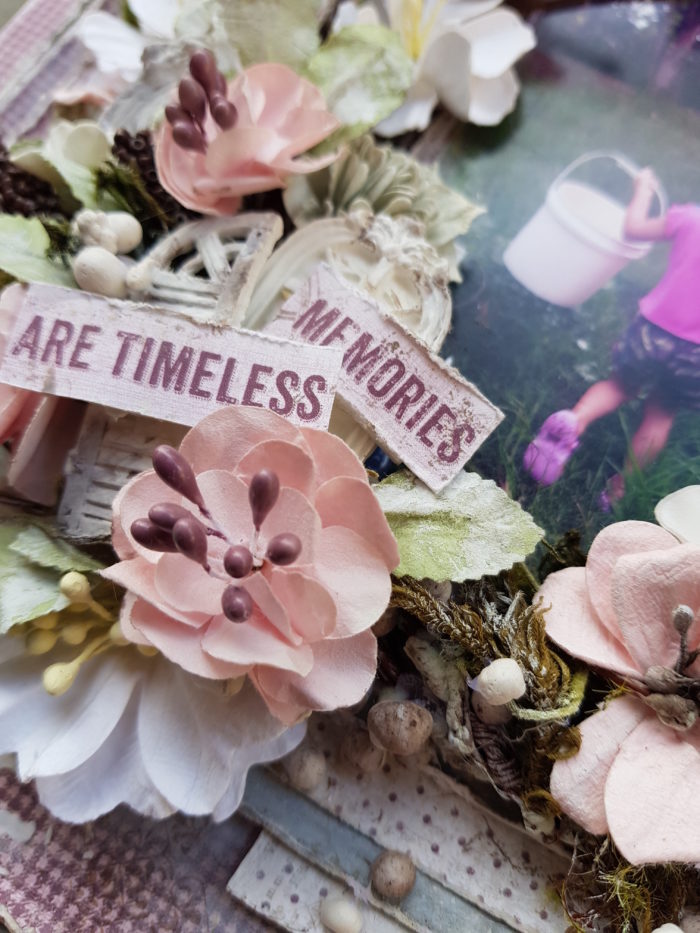
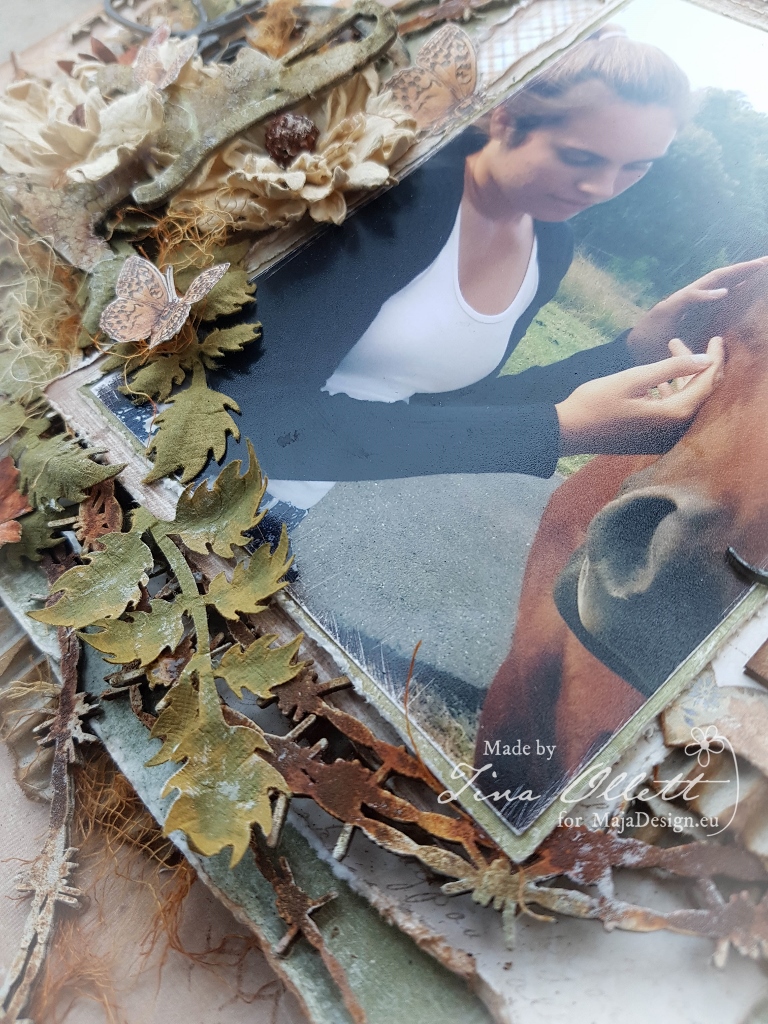
My starting point for this layout was to stamp and stencil with texture paste the background of Enjoying the fragrance. I have used Distress Ink Ground Espresso with a 49andMarket Stamp – Ethereal Stamp Set.  The edges of the paper were also stamped and powder embossed with another 49andMarket Stamp Set called Gabi’s Line Stitch . Once this was heat set I cut a wavy pattern from around the stamped image and then backed this to Enjoying the fragrance bs.


2017-03-28 Love you to the moon and back 002 (768x1024)

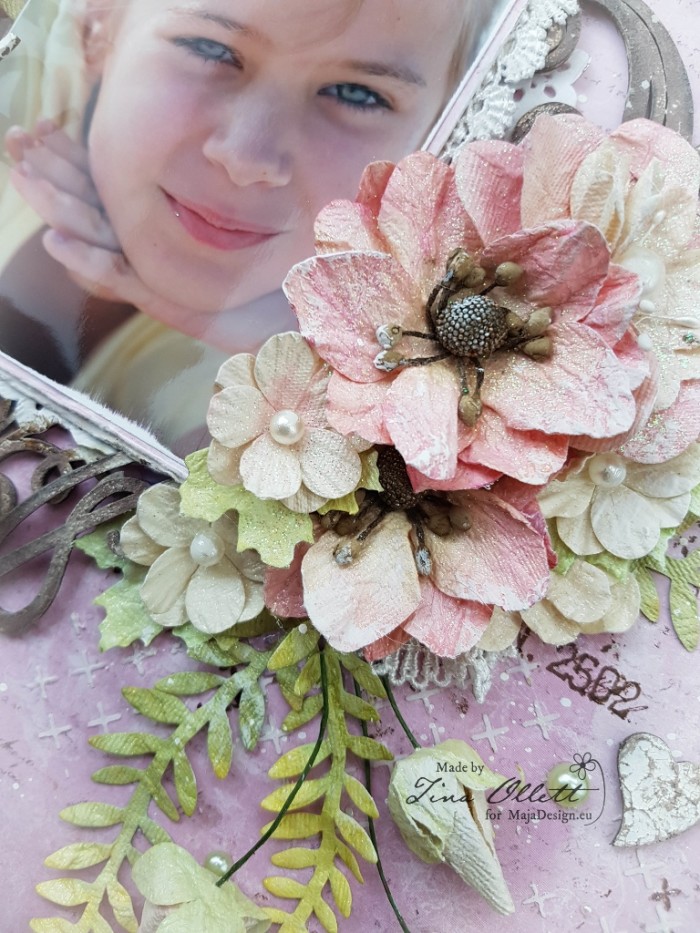
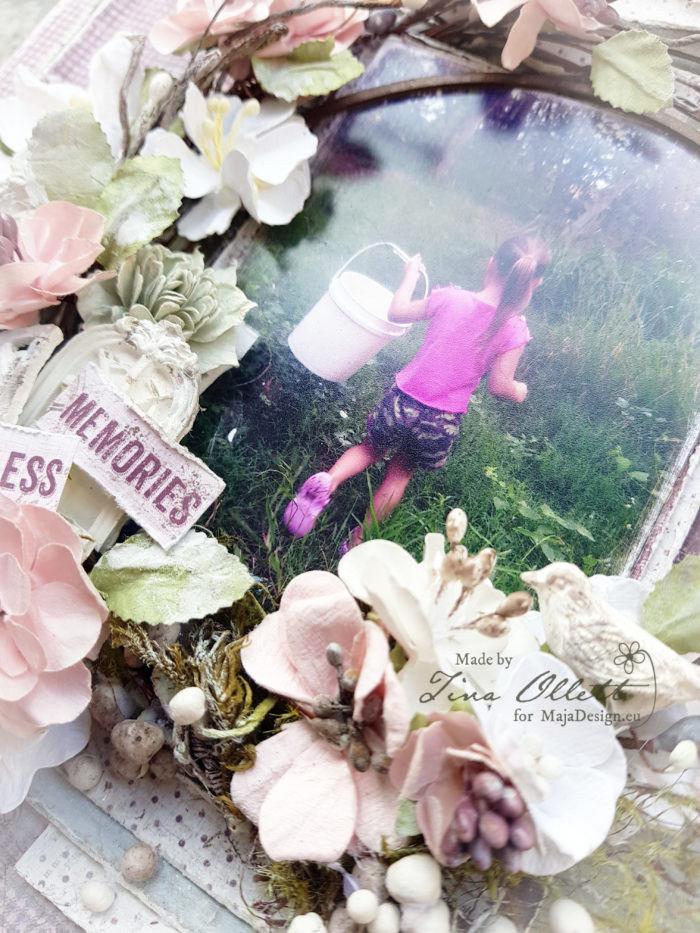
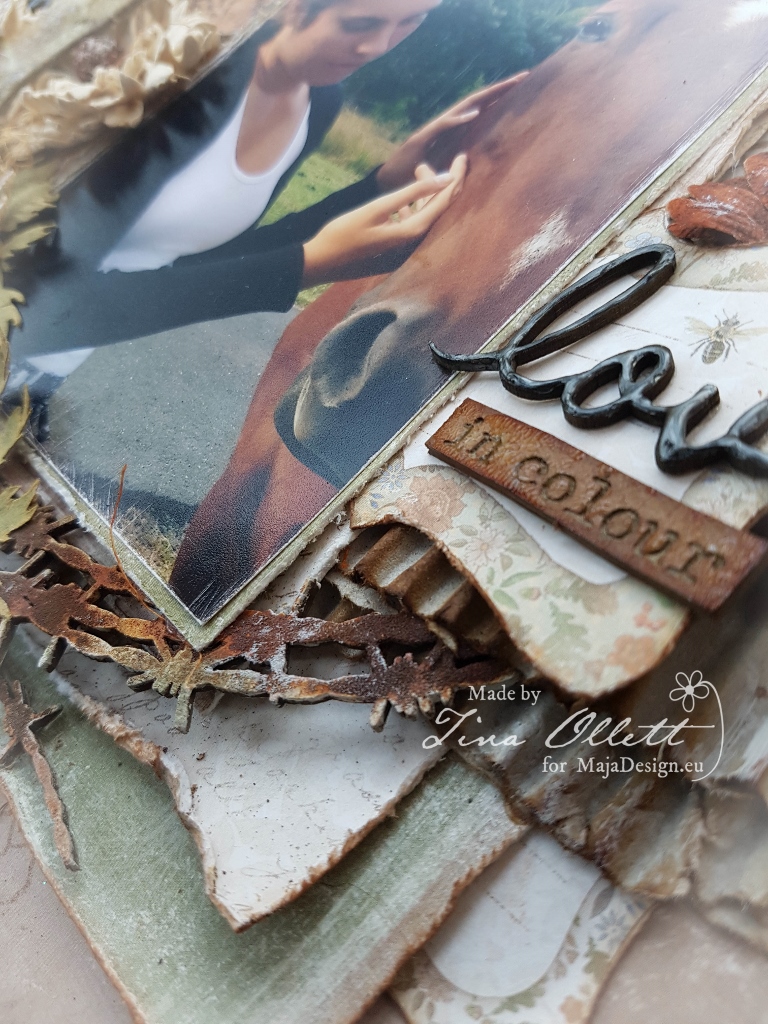
My photo was matted using pieces from the 6 x 6 paper pack of the same papers. They are so darn cute perfect for matting this sizing of photos.

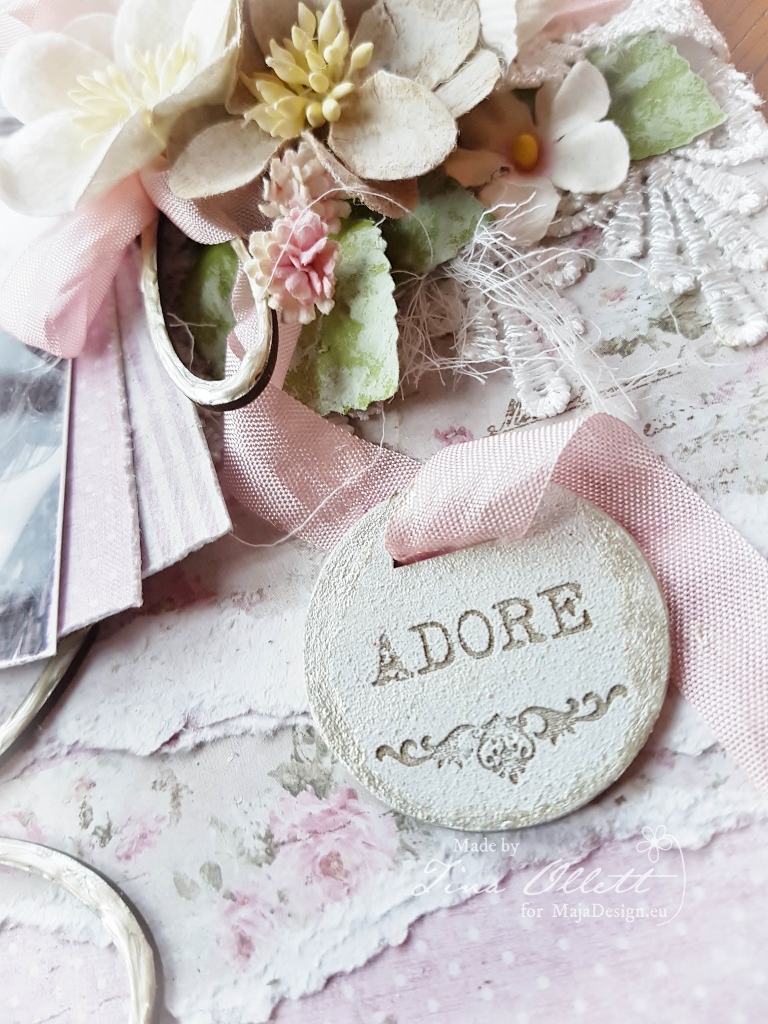
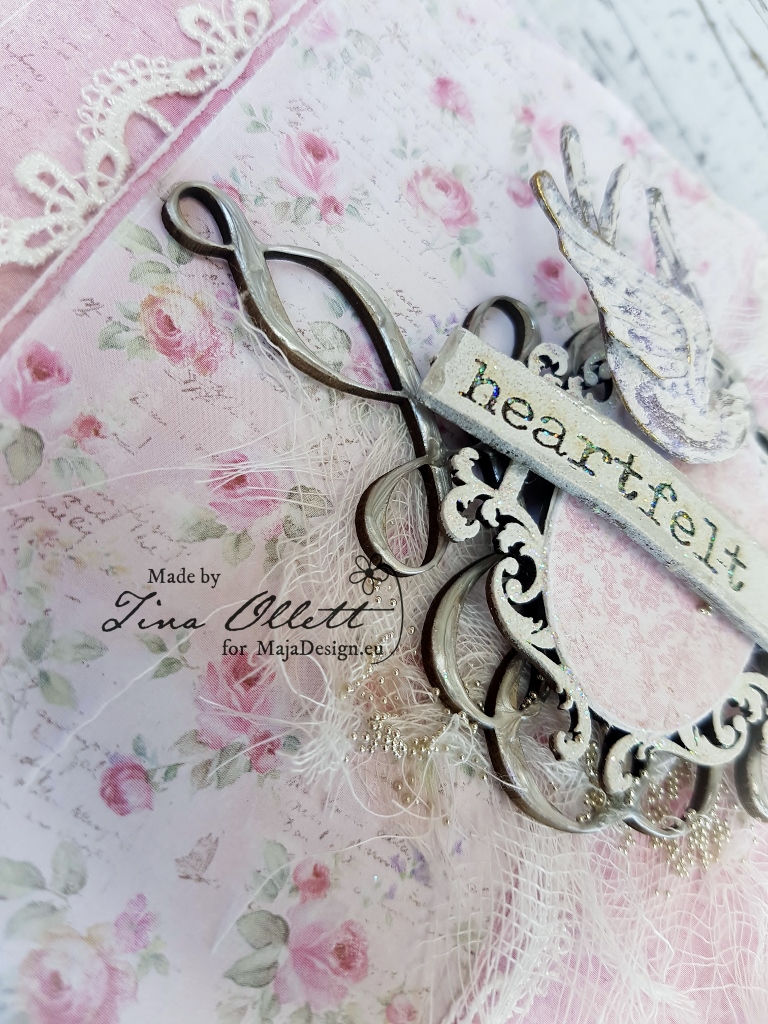
As you can see above I have also tucked in some small snippets of miscellaneous lace I found sitting on my desk.

2017-03-28 Love you to the moon and back 016 (1024x768)

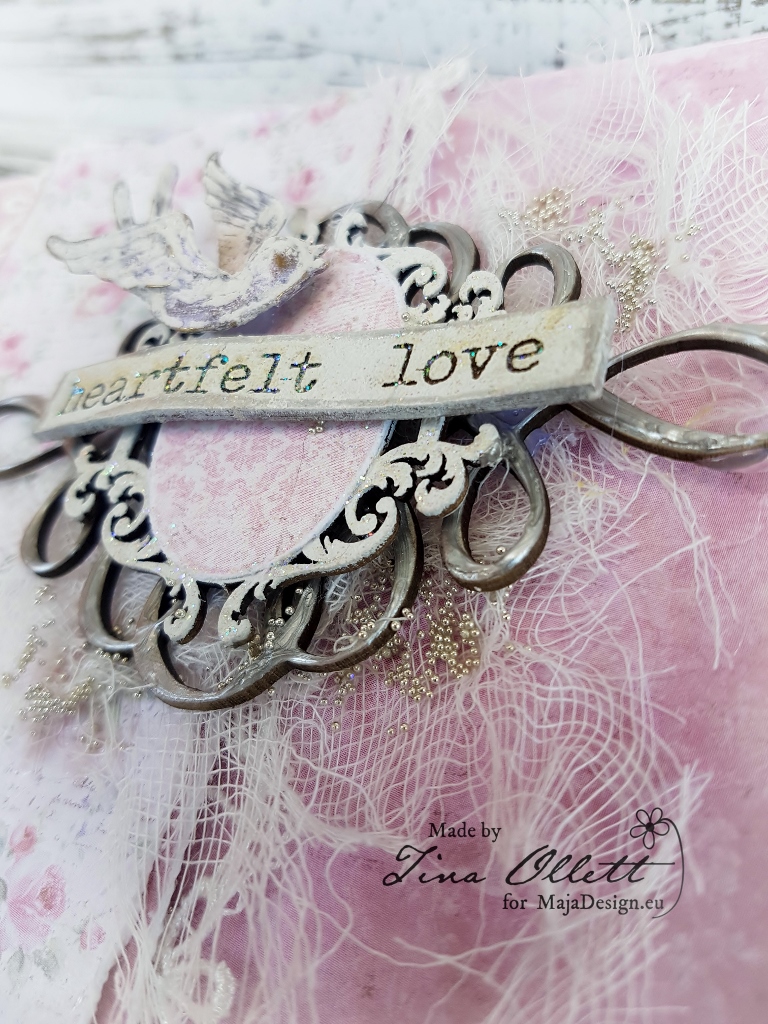
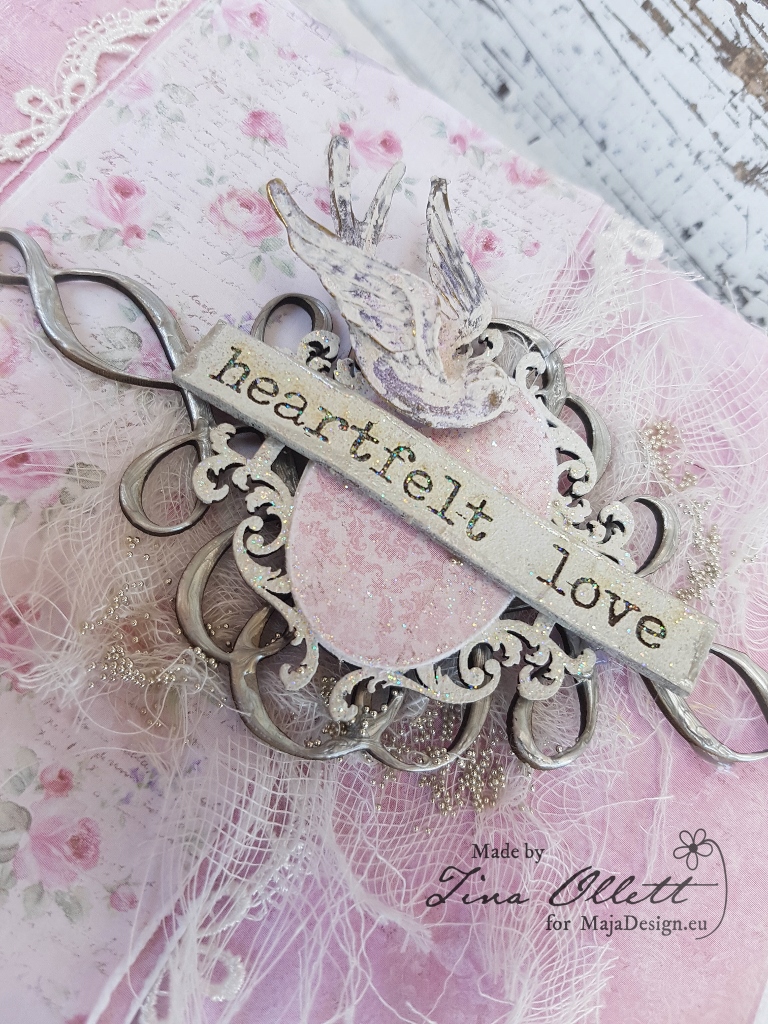
My photo and paper matting were sat upon some Dusty Attic chipboards that I put together to make a unique heart shape frame. These chipboards were gessoed and then inked randomly with Ground Espresso Distress Ink. I also rubbed a little Liquid Pearl “Blush” over and around the edges to pick up on the pink shades from the papers.

2017-03-28 Love you to the moon and back 020 (768x1024)

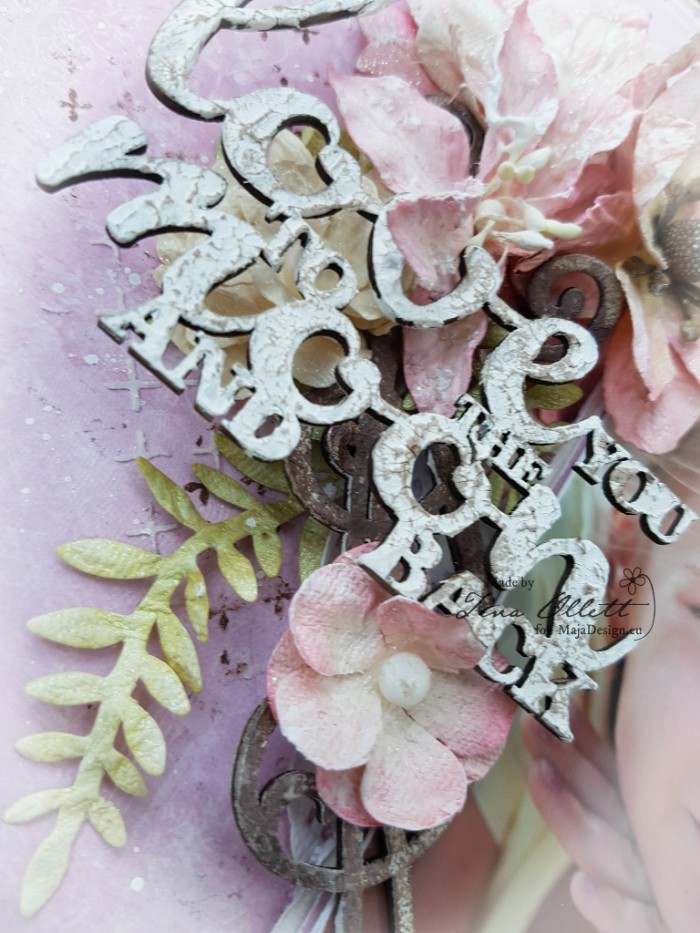
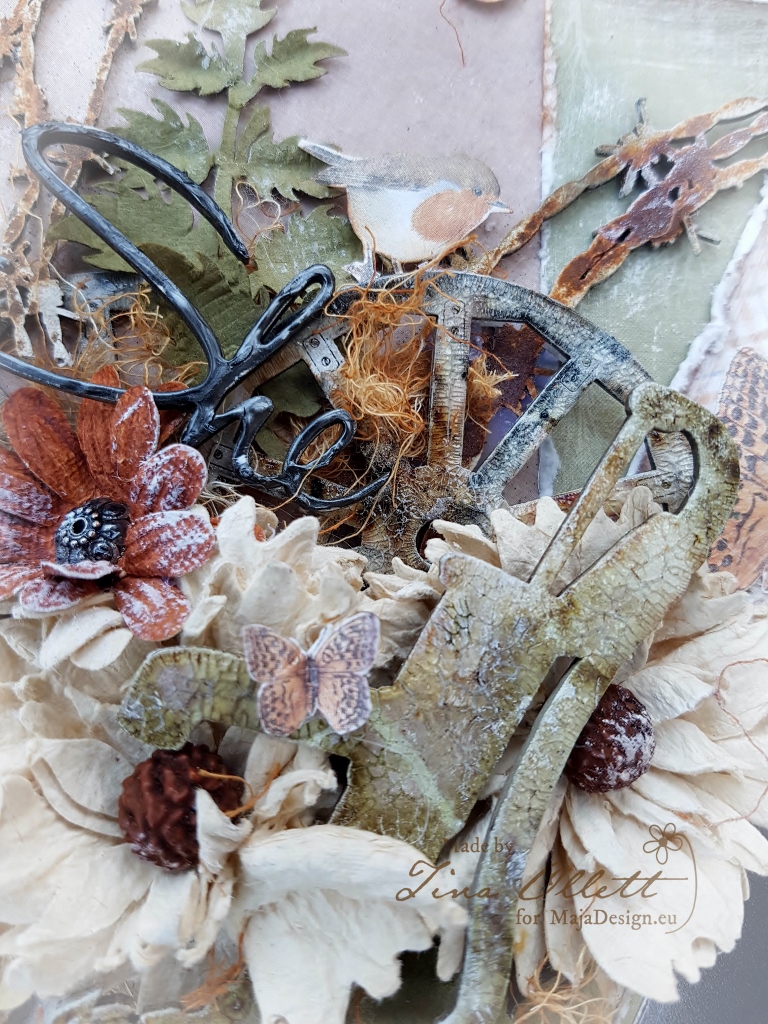
My Dusty Attic title “Love you to the moon and back” is a very special saying that my gorgeous girl and I have used for each other for as long as I remember. So it was only fitting to use it here. This was dressed in Finnabairs Art Extravagance Texture Paste White Crackle. Once it was dried I rubbed in some of the Blush Liquid Pearls and then rubbed over the textures with a little more of the Distress Ink.

2017-03-28 Love you to the moon and back 021 (768x1024)

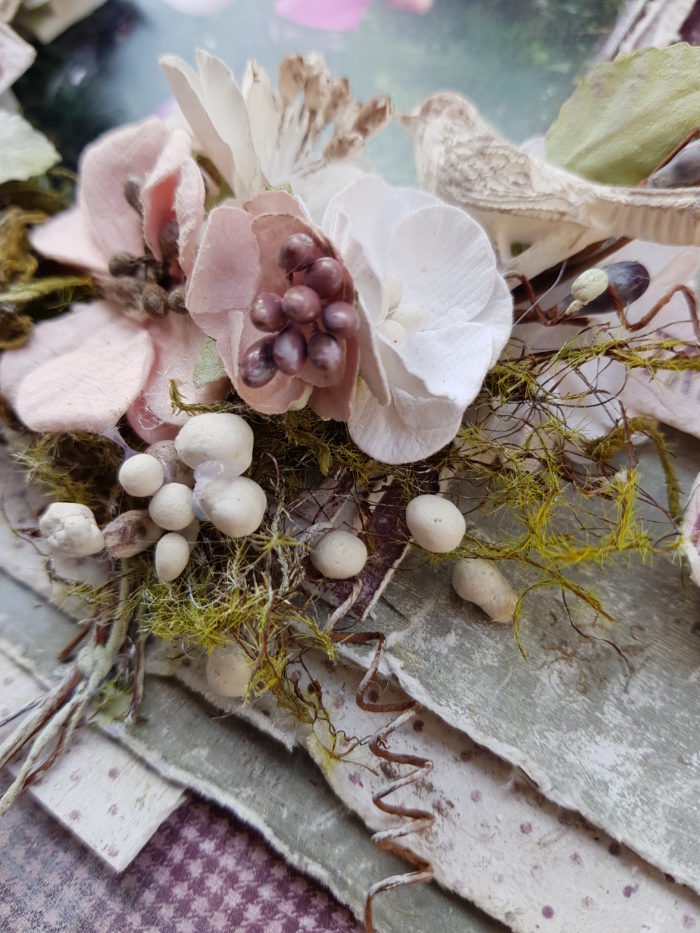
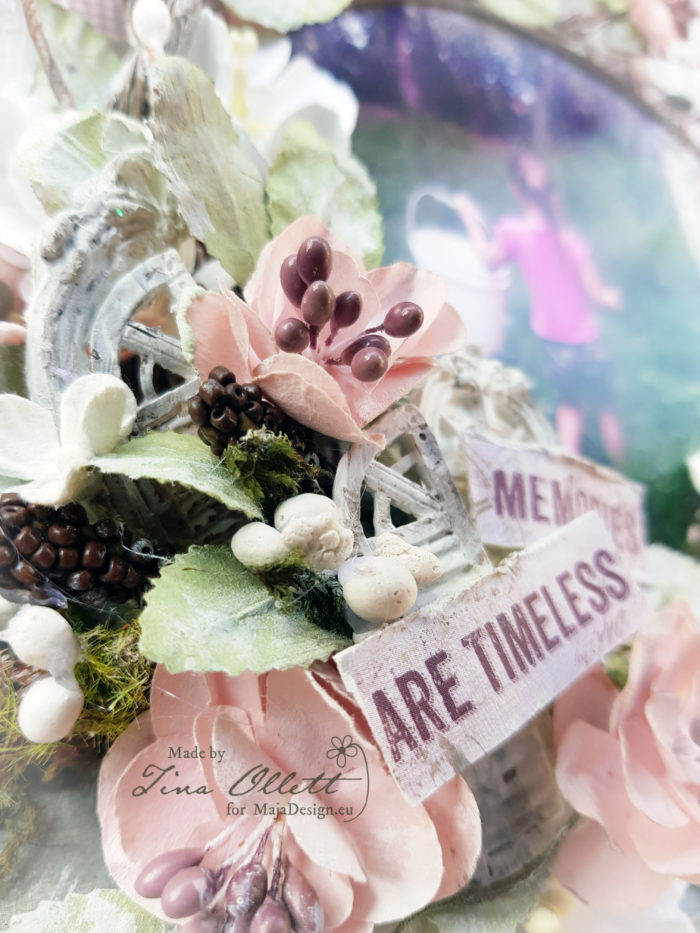
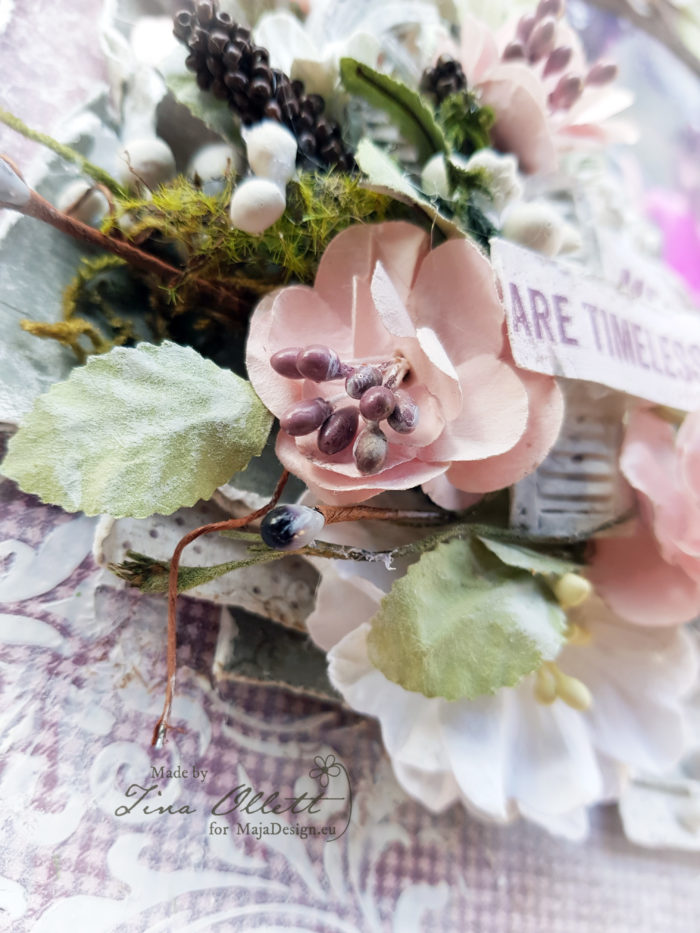
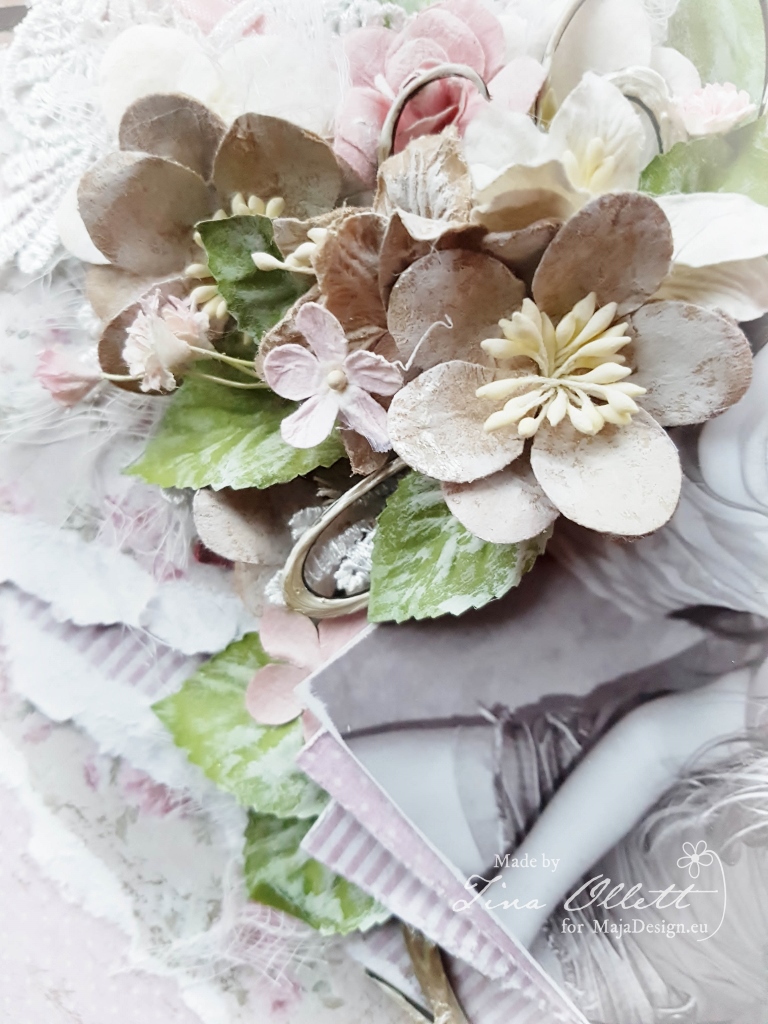
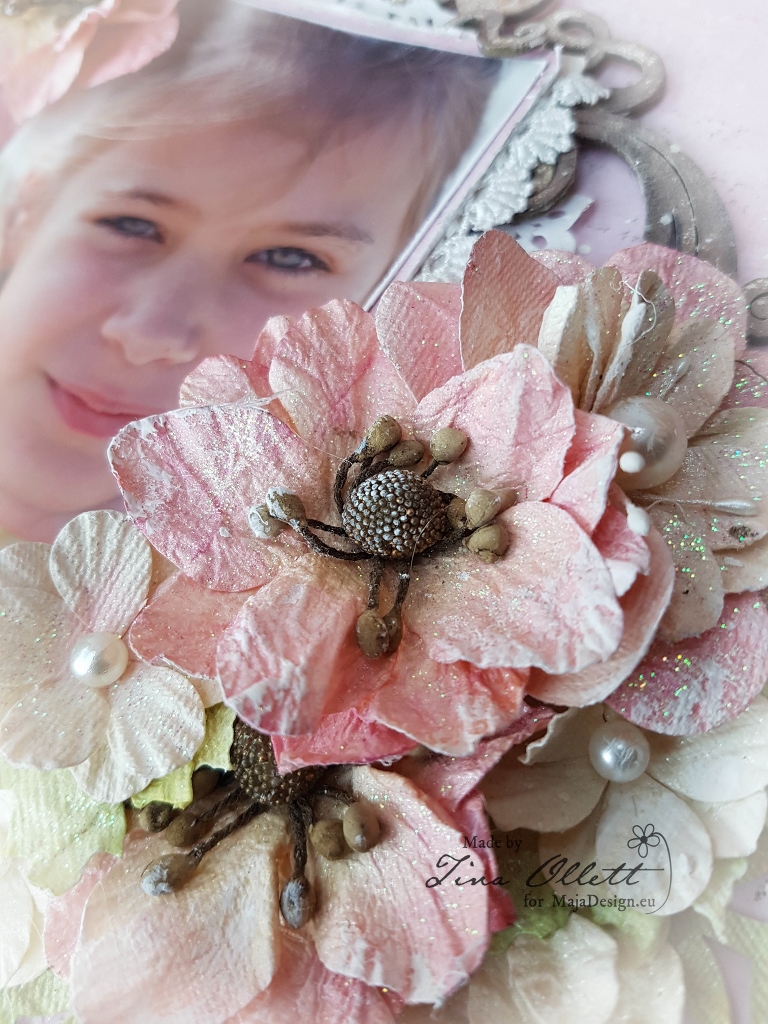
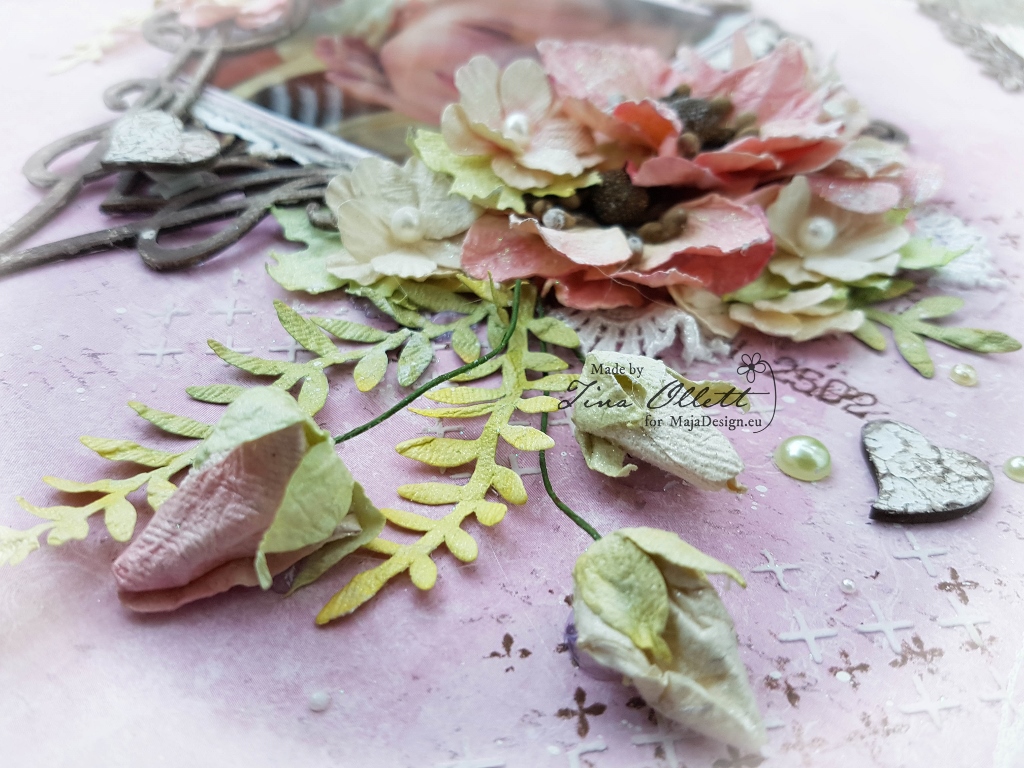
My clusters of flowers that I have used here are the newest of the 49andMarket collections.

Shimmer and Shine in both the Blush and Ivory Melange. They compliment these papers perfectly!

2017-03-28 Love you to the moon and back 022 (768x1024)

And one more sneak peek!

For your convenience I have made a full and complete list of the materials used for this creation below.

I hope you have enjoyed my layout today. As I said before I have another coming up using this same beautiful beautiful collection.

I can’t wait to share it with you! Until then happy scrapping.

Tina-sign

Materials List

Sofiero New Edition – Enjoying the lovely fragrance SOF-616

Sofiero New Edition – Strolling down the Rose path SAF-615

Dusty Attic – “Love you to the moon and back” DA1190

Dusty Attic – Fancy Accent #1 – DA1623A

Dusty Attic Corner Swirl #1 DA1574

Dusty Attic Ornate Corner #DA0465

Dusty Attic- Mini Chains – DA04058

Dusty Attic – Criss Cross Stencil

Dusty Attic – Pearls DA

Miscellaneous Coloured Pearls

49andMarket – Gabrielle Pollacco – Gabi’s Ethereal Stamp Set

49andMarket Gabi’s Line Stitch Stamp Set

49andMarket – Shimmer and Shine – Blush Melange

49andMarket – Shimmer and Shine – Ivory Melange

49andMarket – Shimmer and Shine – Blush Jardin

Lace – Miscellaneous Pieces

Distress Ink Ground Espresso

Ranger Texture Paste

Finnabair – Art Extravagance – Texture Paste – White Crackle

Finnabair – Art Basics – Heay Gesso

Liquid Pearls – Blush

Versa Mark Ink

Embossing Powder – Seafoam