Hello lovely friends and a big merry welcome to the Maja blog.
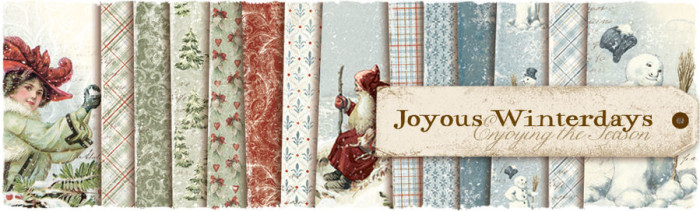
Today I am sadly sharing my last project for 2017. And since we are about to celebrate Christmas I just had to create one more layout depicting the season. My previous post here was a Christmas layout using the beautiful Joyous Winterdays, so I decided to use this same collection again but using the reds, greens and creams of this collection. I have added in a little black to help the project pop!
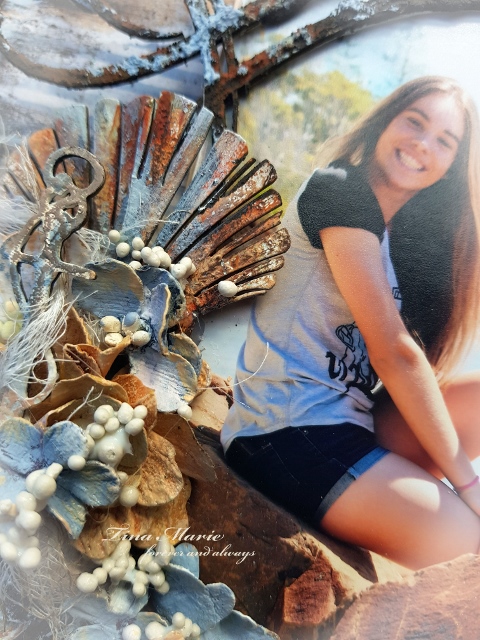
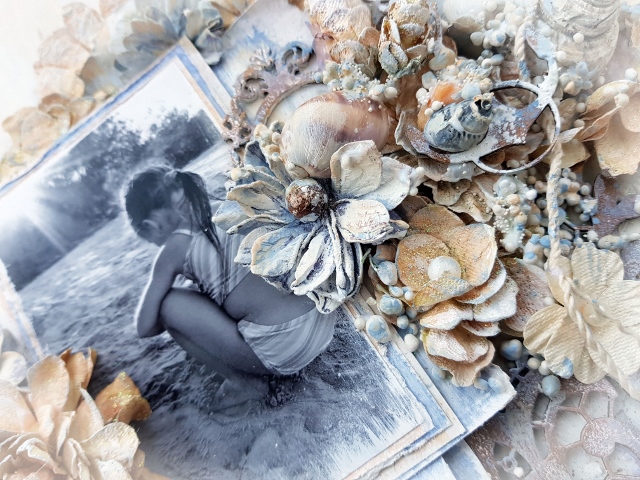
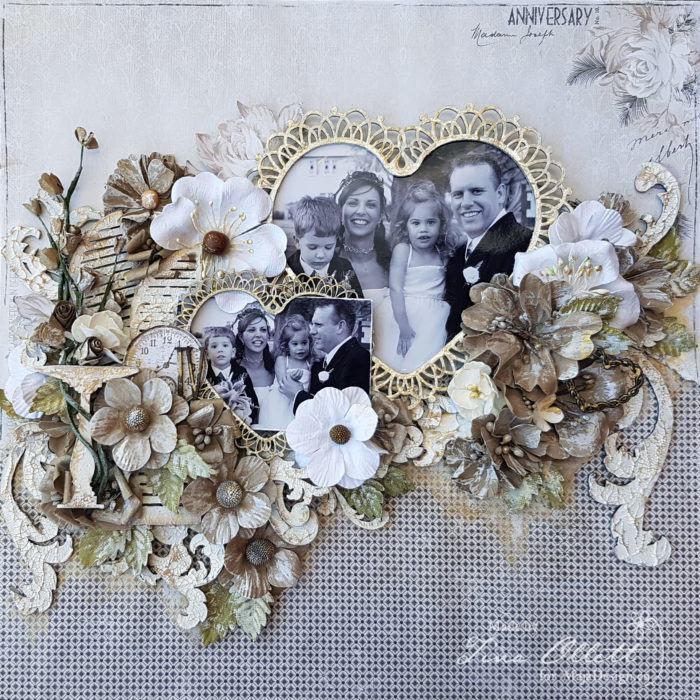
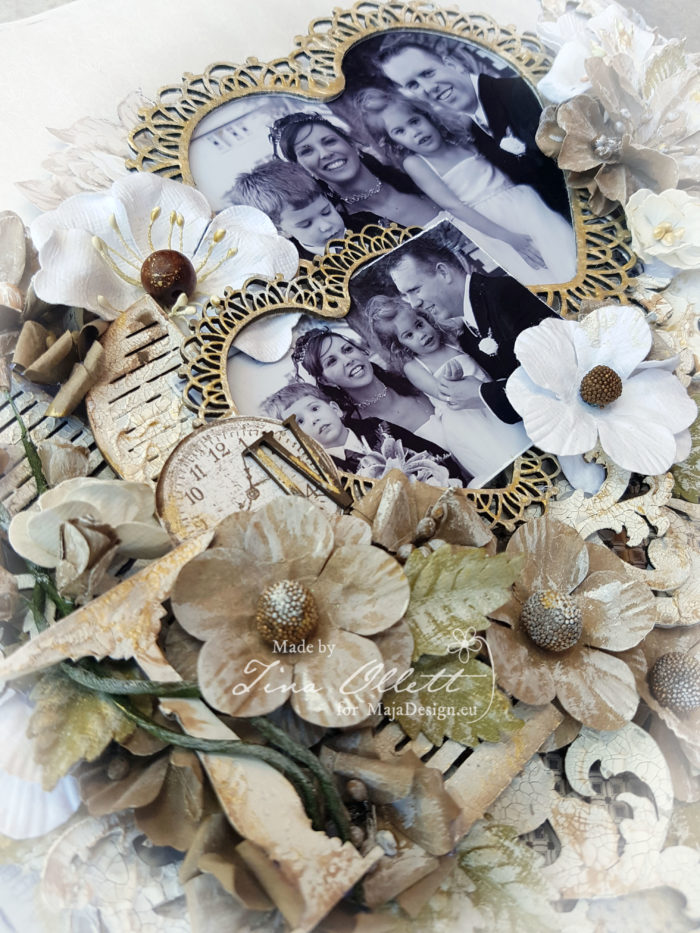
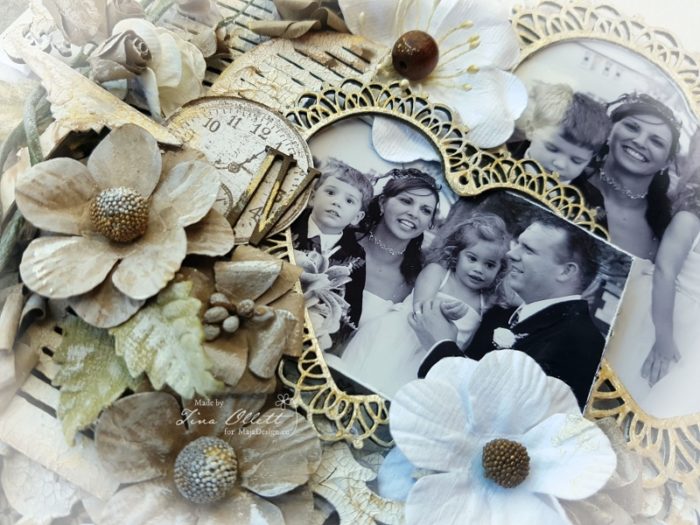
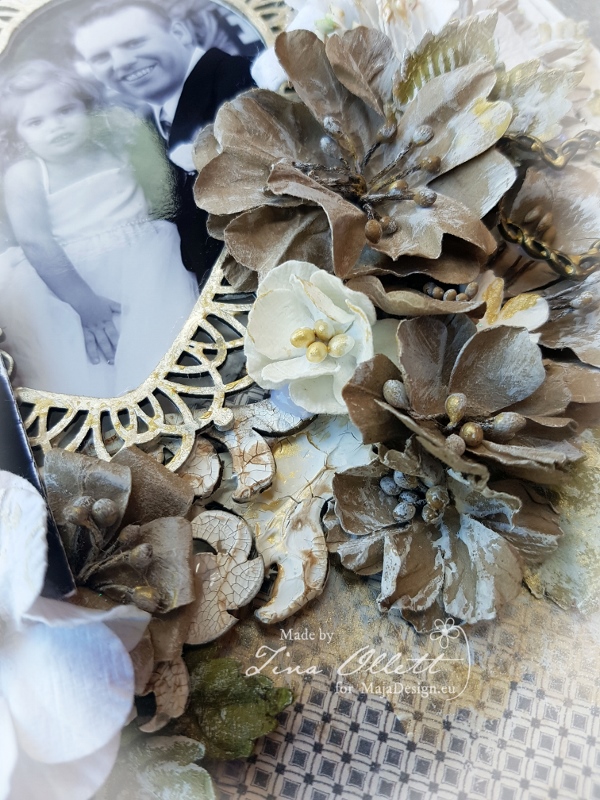
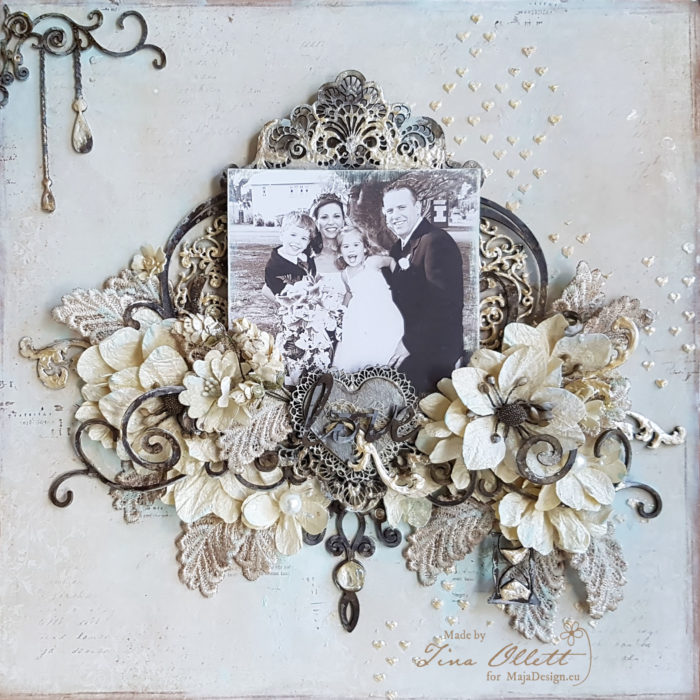
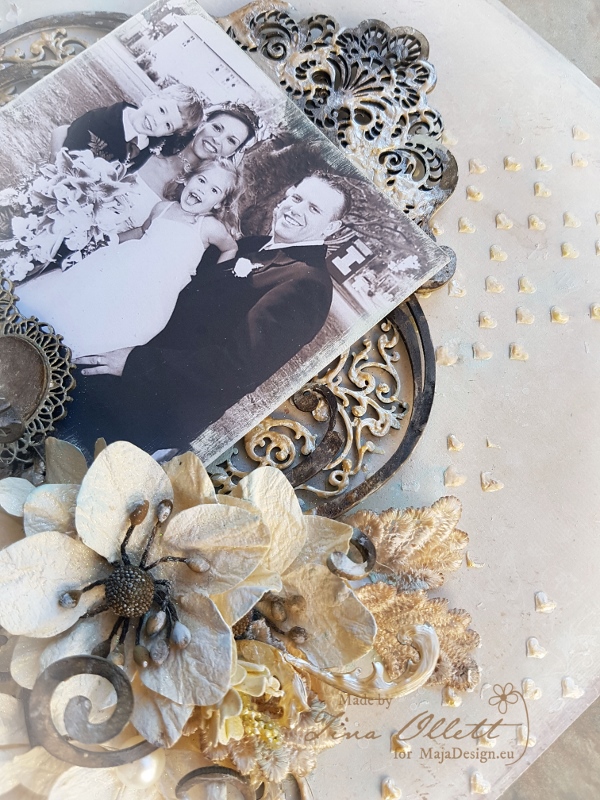
The focus of my project of course is a black and white photo of my eldest son and youngest daughter in a sweet embrace, enjoying the joys of unwrapping presents on Christmas morning in 2010.
I hope you enjoy this as much as I did creating it.
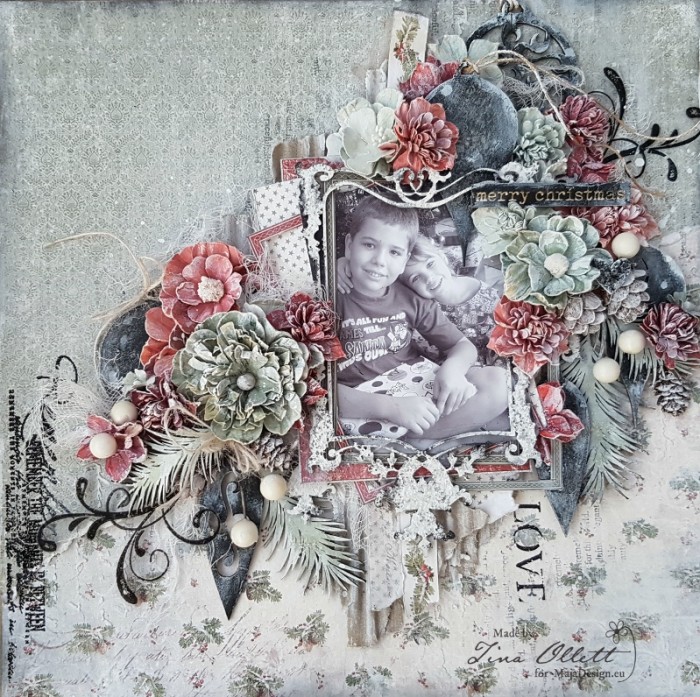
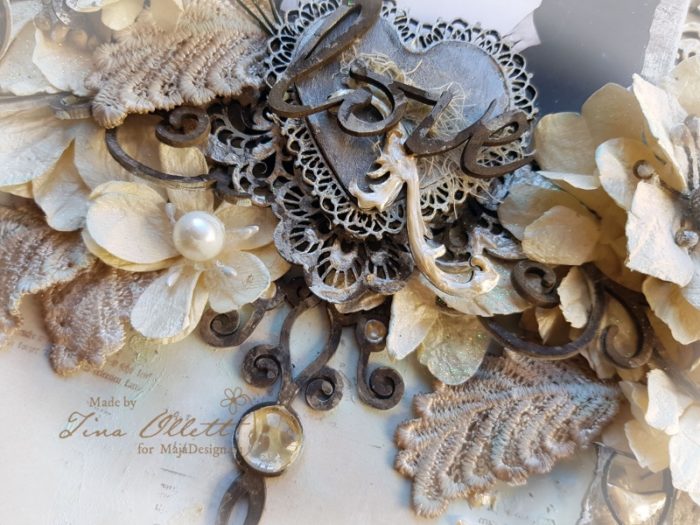
Below are all the papers I used for “Merry Christmas”. I tore the base of Evergreen to sit upon the Beautiful Pines. I have used the pattern of the pines and made the clusters on my page to look as close to as the pattern. I cut several of the frames down from the Ephemera paper and layered with torn and cut pieces of the remainder of the reverse of Evergreen. I love the little stars on this. Can’t wait to use this piece for another project. I did some stenciling using texture paste through the Dusty Attic script stencil and whilst it was wet sprinkled a little Dress My Craft Sparkling Dust and left it dry to the texture paste. I also did a little random stamping using a script stamp from my collection with black soot distress ink. I have also powder embossed the quote “Remember the moments in between” with black embossing powder at the left of the layout.
-
-
-
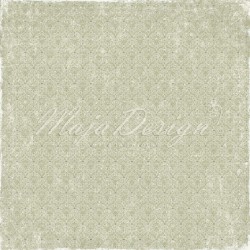
Evergreen
-
-
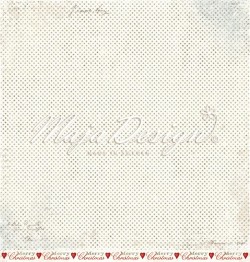
Evergreen bs
-
-
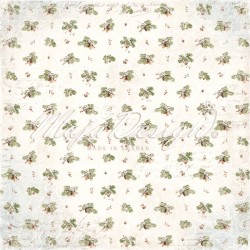
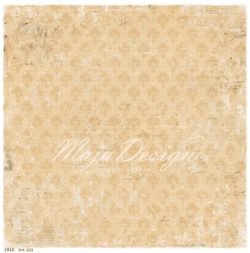
Beautiful Pines
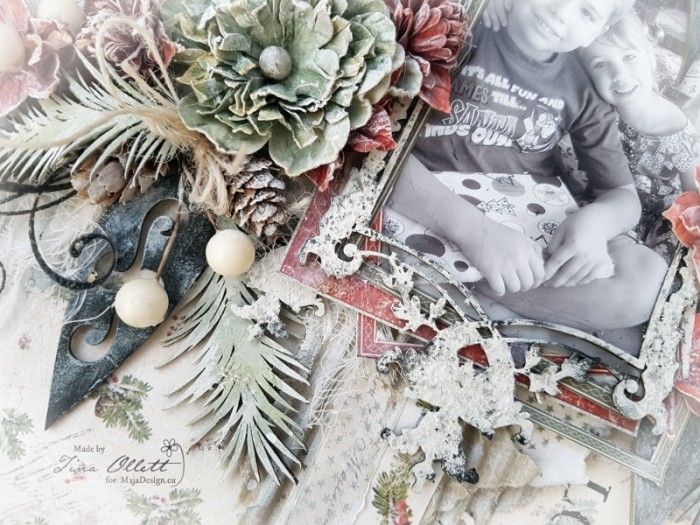
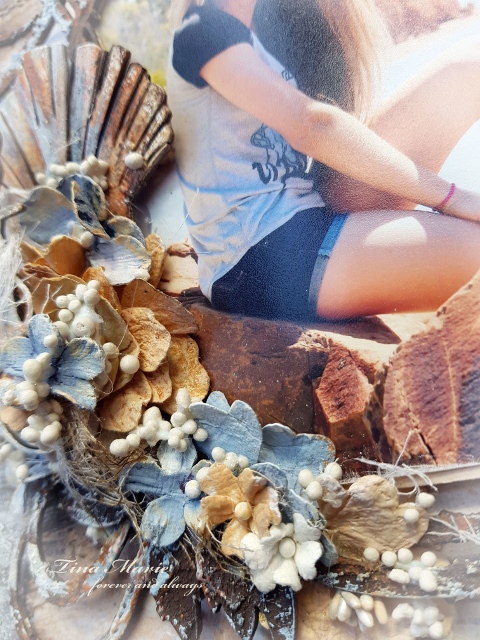
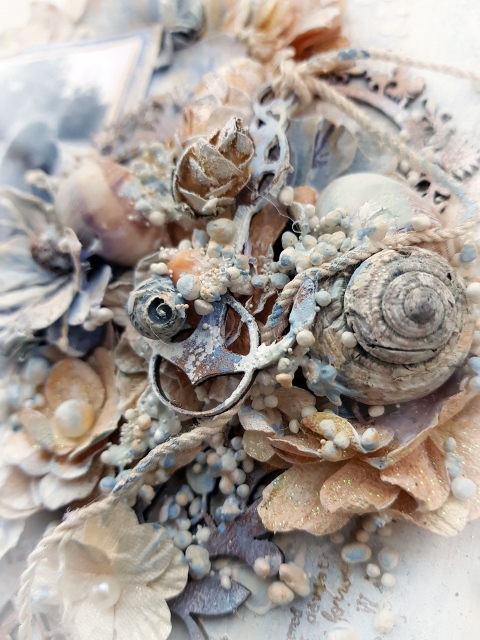
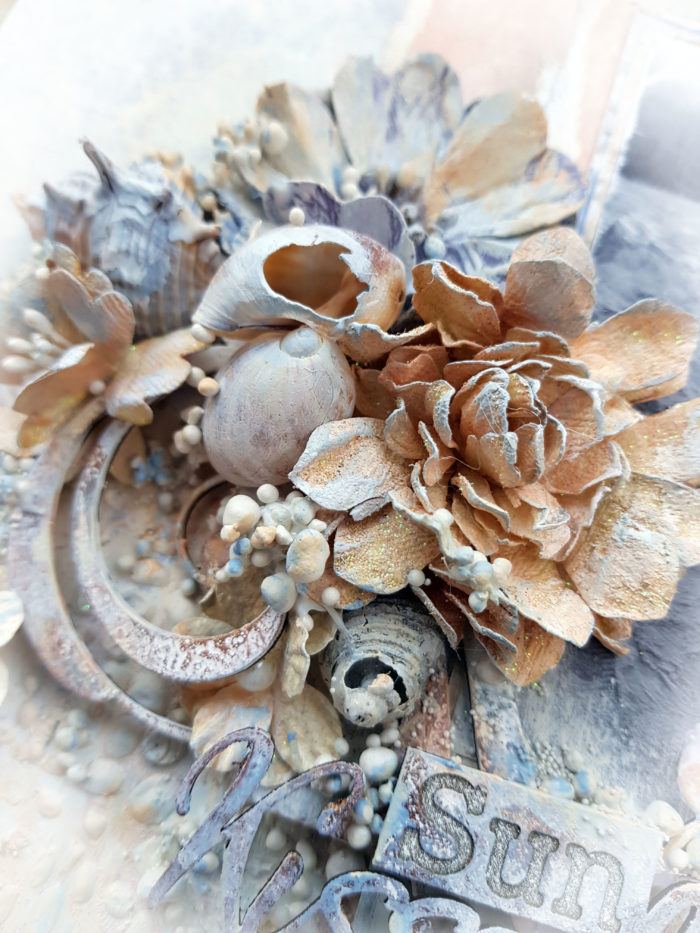
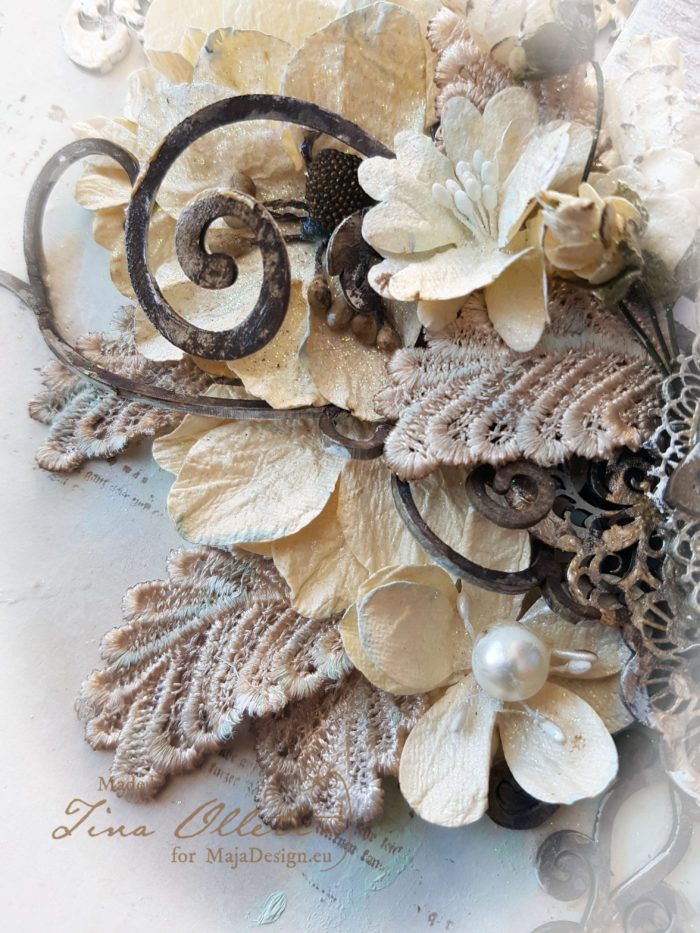
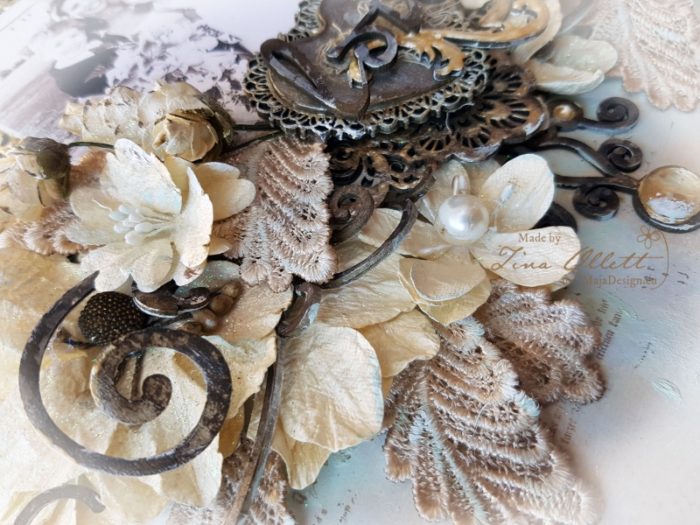
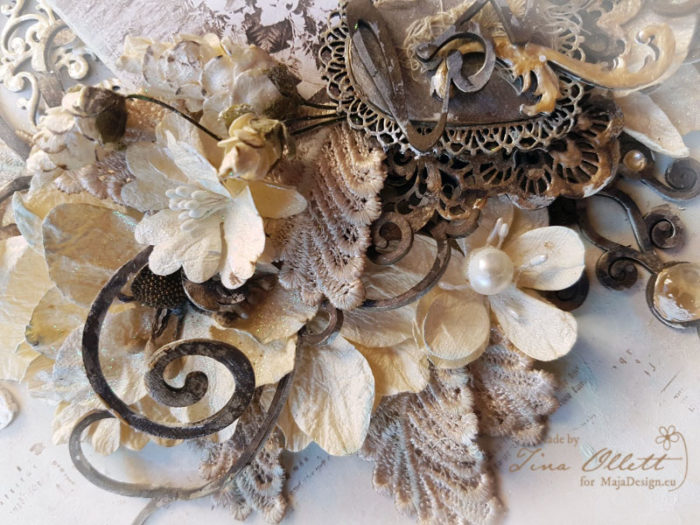
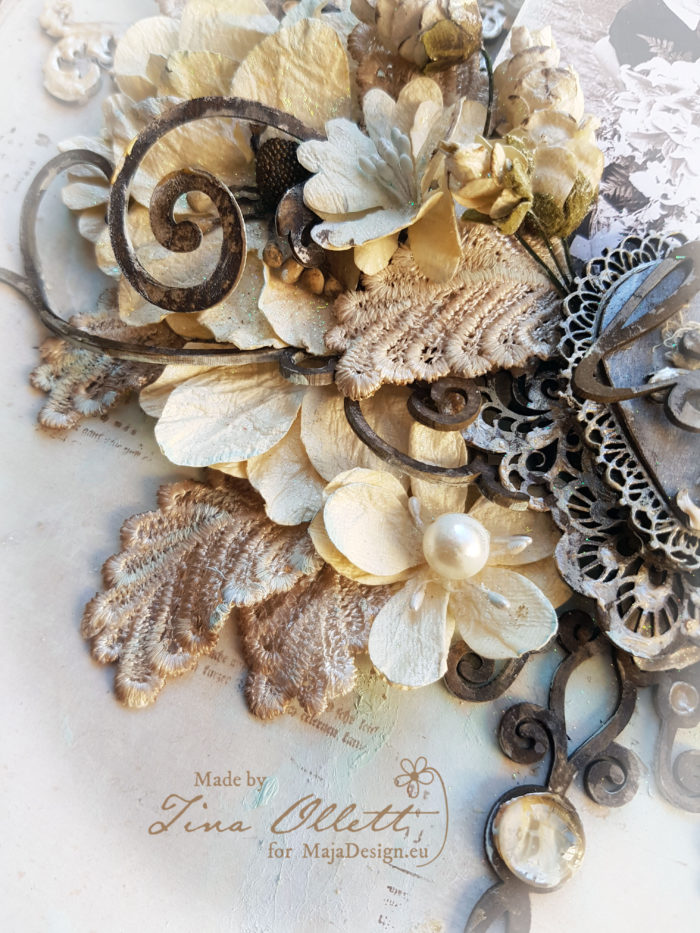
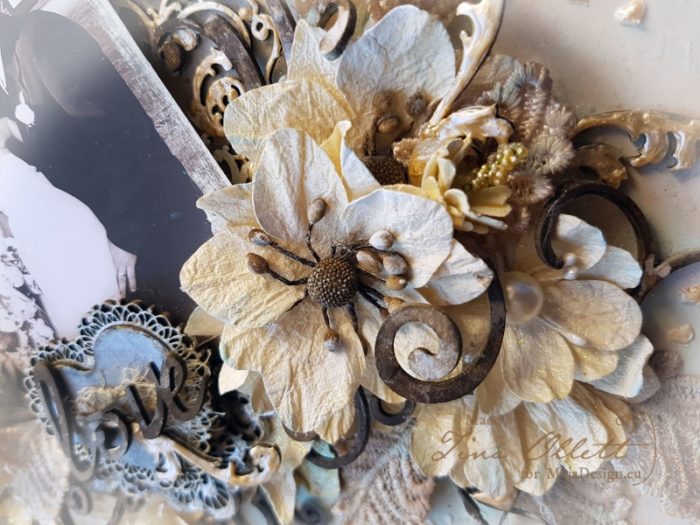
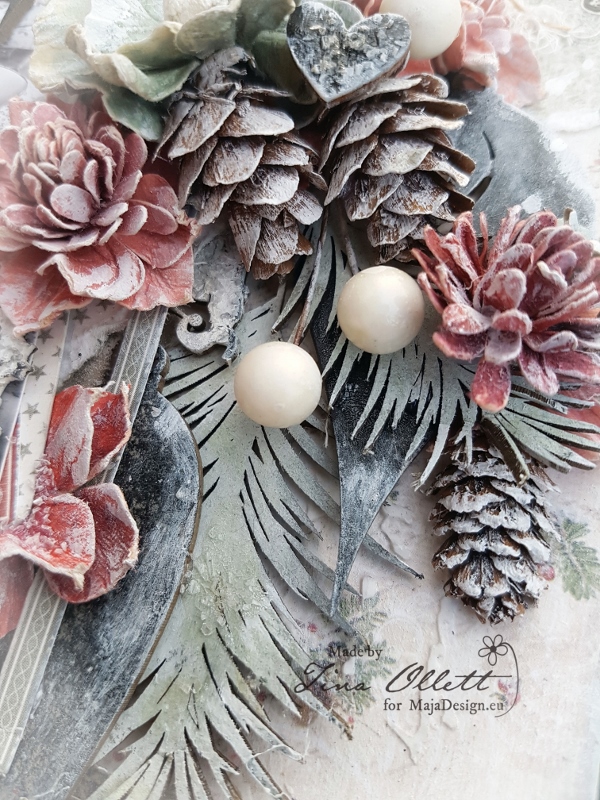
I have used a number of pieces of Dusty Attic chipboards to help create the design for my project here. The baubles were all inked with black soot distress ink and coated with Distress Crackle Clear Rock Candy to give an aged look to each. Once it dried I dry brushed them with a little white gesso. The pine sprigs which you can see above were wiped with Distress Ink Bundled Sage and also dressed in a little Distress Crackle too. I sprinkled some Diamond Dust over these whilst they were still wet too and left them to dry.
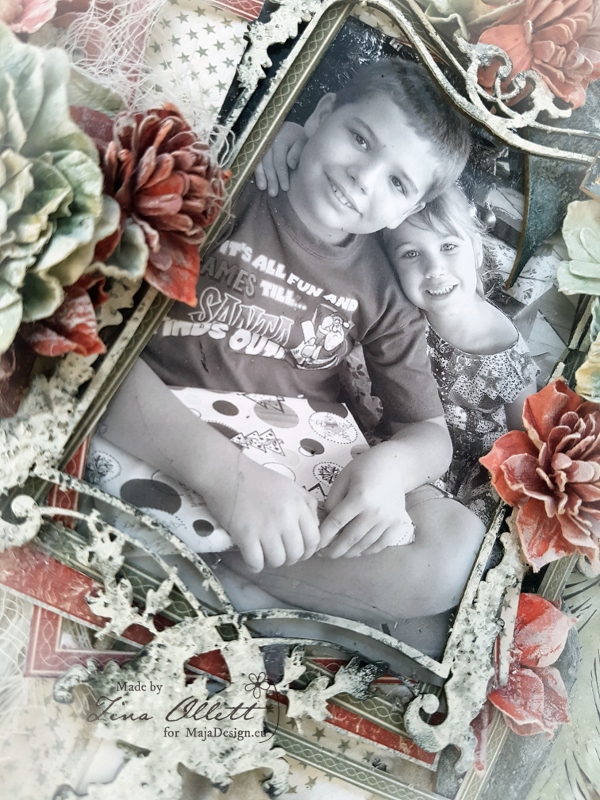
Here you can see the Antique Frame that I have used to help frame the photo as well as several of the frame mattings from the Ephemera sheet. This was dressed with Gesso, Distress Black Soot ink, Distress Crackle Paint and Diamond Dust.
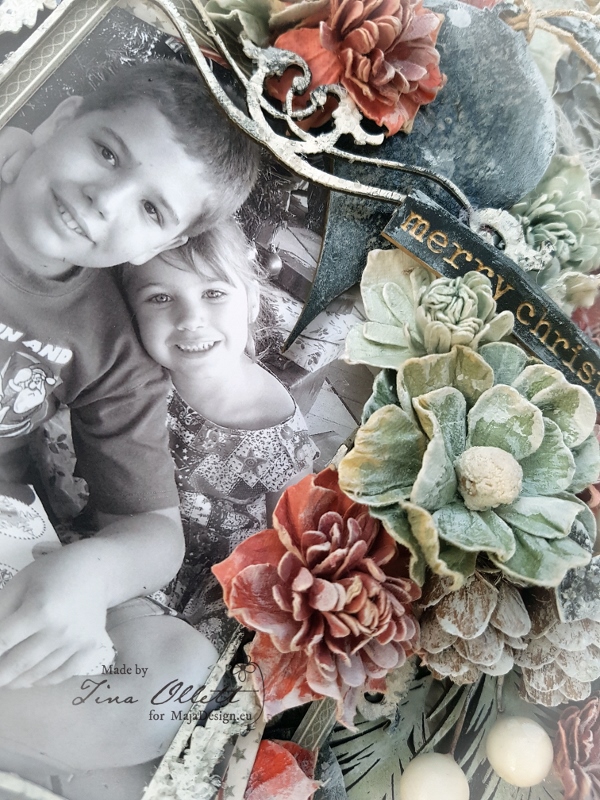
I have used a number of different blooms from the 49andMarket Vintage Shades collection in shades of Blues, and Reds. I also added in some little pine cones which I have cut in half to sit on my page flat.

And from a different view. Here you can see that I have added in some jute cording and also dressed my finished page with a little or a lot of dry brushing to help tone down the colours especially the black. I wanted it to look aged which I think I did achieve here compared to how it look with only the ink.
Well that is all I have to share with you today. I hope I have inspired you to create something to get into the spirit of Christmas. Or maybe to scrap those special photos you will be taking in the upcoming week.
I would like this opportunity to thank you for all your support this year and to wish you and yours a most festive Christmas season and a very happy New Year.
Stay safe and take care.
Lots of love and hugs………….

 Vintage Romance – Deep Love bs